We feel like Santa Claus! Join us today at Creative Scrapbooker Magazine’s 12 Days of Giving.
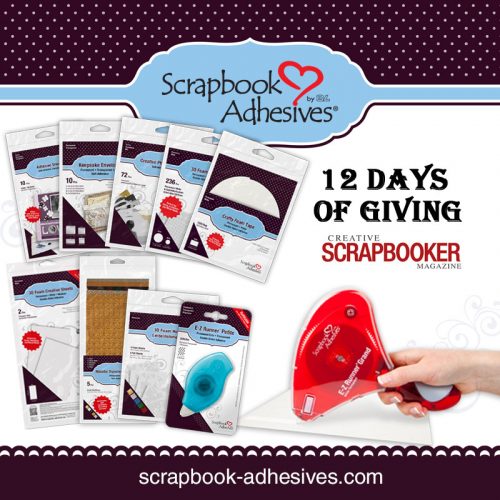
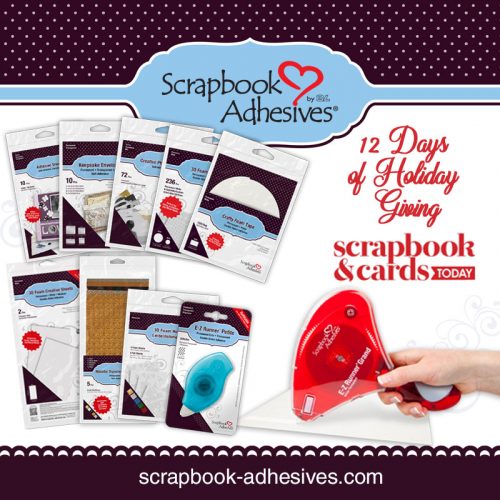
Click the button or image below to visit Creative Scrapbooker Magazine’s blog to enter to win this prize package worth over $57! Winners will be announced on December 24. Visit CSM for all the contest details.
Stay with us on social media and the newsletter so you don’t miss any of the opportunities to win!
It’s the 3rd opportunity for you to win this week! Be sure to visit THIS GIVEAWAY POST and THIS GIVEAWAY for an additional Holiday Giveaways and chances to win!
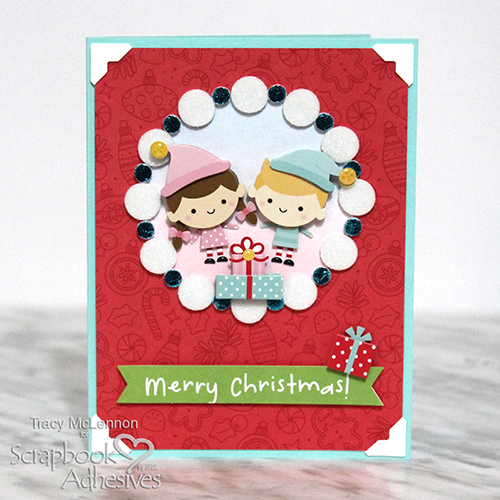
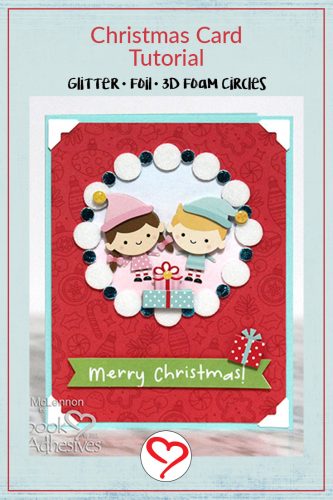
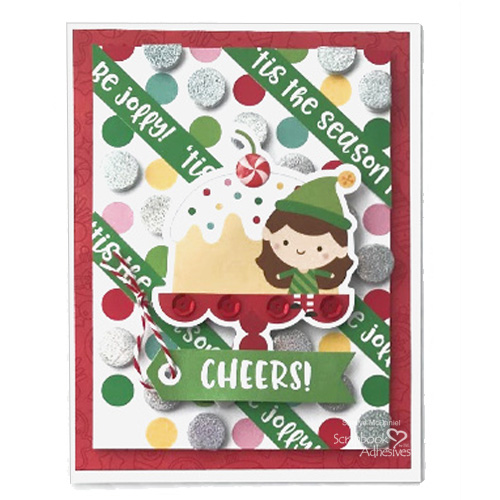
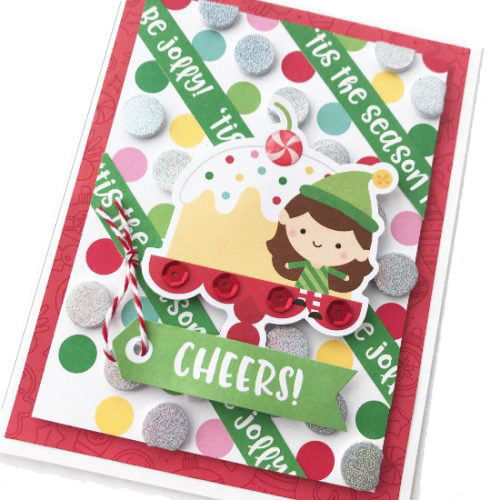
Welcome back, crafty friends! Tracy here, and today I have a Sweet and Simple Christmas Card to share. This fun little tutorial will show you how to Wear Your Adhesive on the Outside. Here are all of the details.
Let’s Get Started
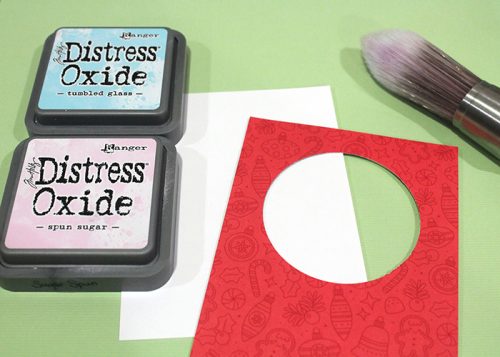
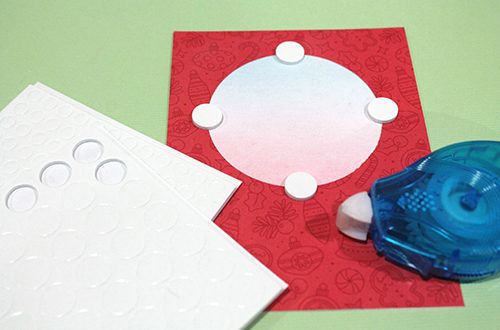
To start, you will want to cut a piece of white cardstock and the patterned paper for the front of the Christmas Card to the same size, 4 x 5.25-inch. Using a 2.75-inch circle punch, I cut a hole out of the patterned card front. Next, I used Distress Oxide inks and a stencil brush to add subtle colour under where the hole was punched out of the patterned piece.
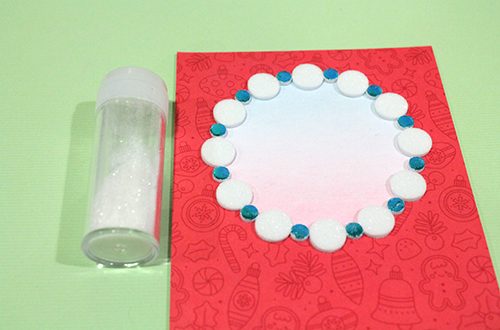
The next step is to take the liners off of the large 3D Foam Circles White and then cover them with fine glitter.
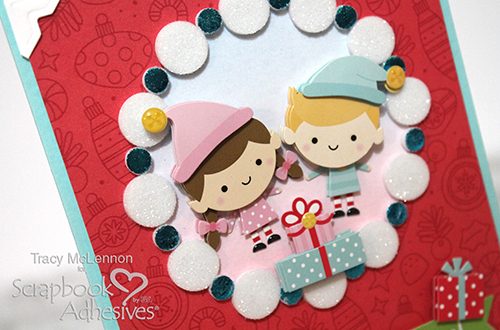
Adhere the patterned card front to the light blue cardstock base using Creative Photo Corners White. Add the super cute Doodlebug pieces to the Christmas Card in the middle of the 3D Foam Circle wreath.
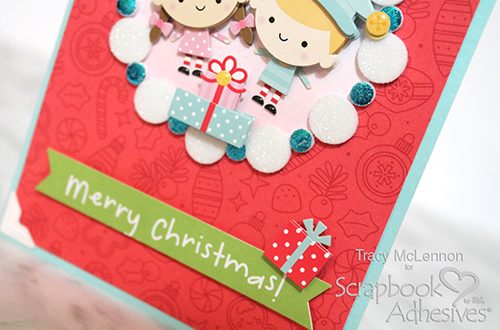
Finally, add the Merry Christmas sentiment and gift box embellishment to the bottom of the Christmas Card.
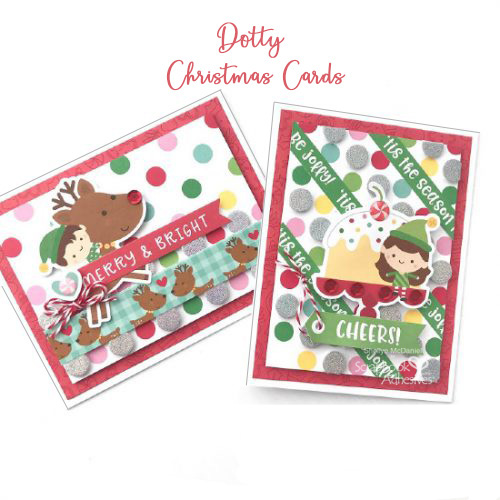
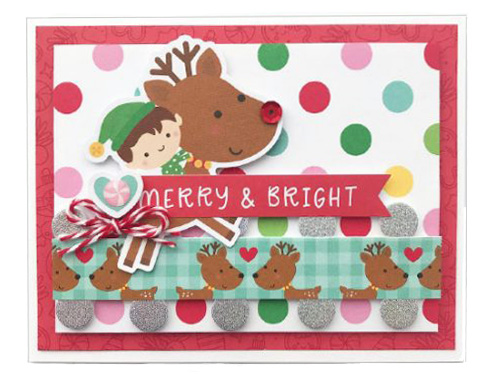
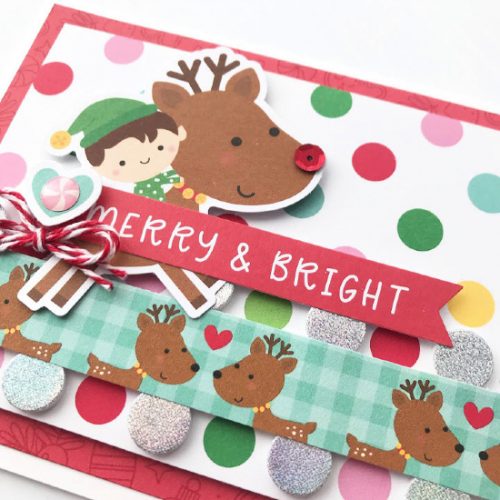
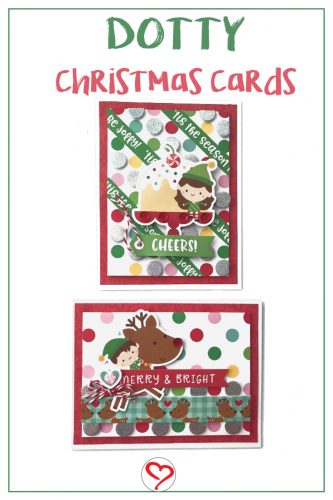
Happy Tuesday! It’s Shellye today and I’m sharing a duo of adorable Christmas cards. These are featuring Doodlebug Design and 3D Foam Circles to make dots on my “dotty” cards!
I’m using a Christmas collection from Doodlebug with multi dot patterned paper. 3D Foam Circles work in between the layers to attach the dot paper to the red base paper.
I created a pattern over the dot background with 3D Foam Circles, the larger size. Metallic Transfer Foils Holographic in silver are added over the tops of the 3D Foam Circles. I love the simple amount of shimmer that it adds!
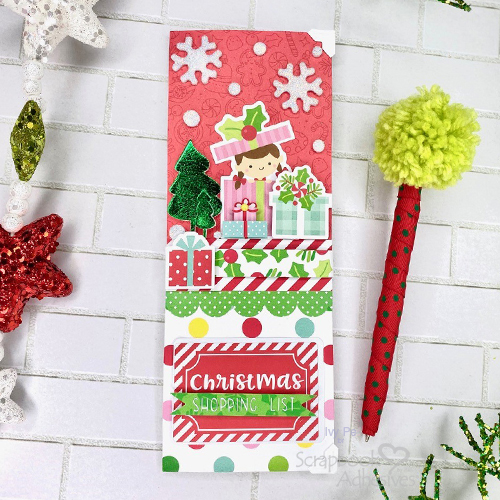
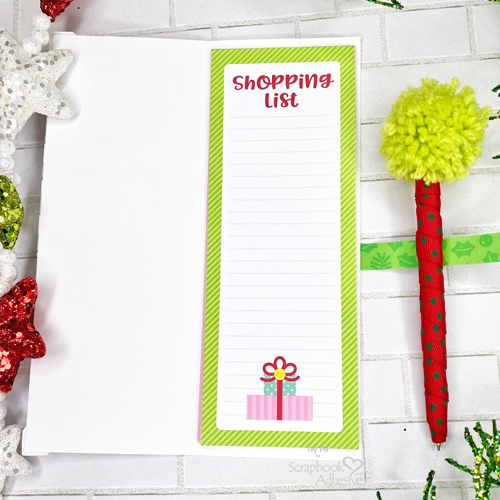
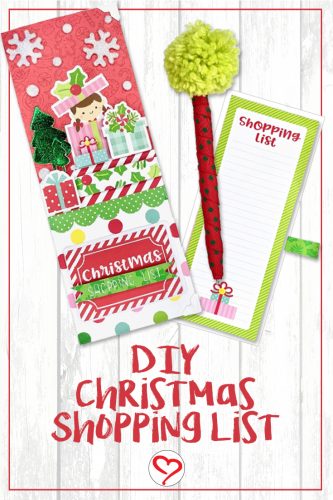
Hi crafty friends Ivy here I’m so excited to be a Guest Designer for Scrapbooks Adhesives by 3L®! Today I have a project we all need for this season a shopping list booklet!
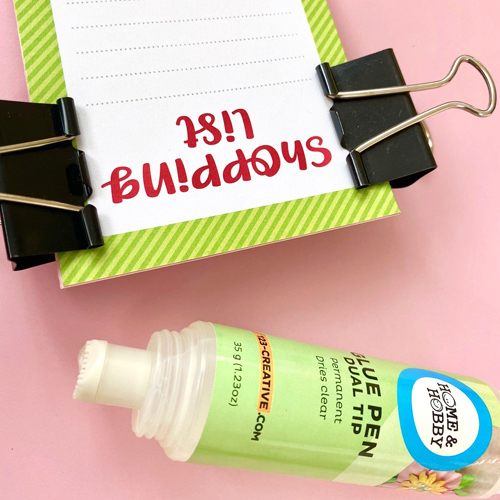
Christmas Shopping List Base
To start, I chose a shopping list cardstock from a paper pack I have as a template. With pink printer papers, I cut the same size as the template which is 3 x 8-inches. Using two binder clips to hold them together, I adhered the edge with the Dual Tip Glue Pen.
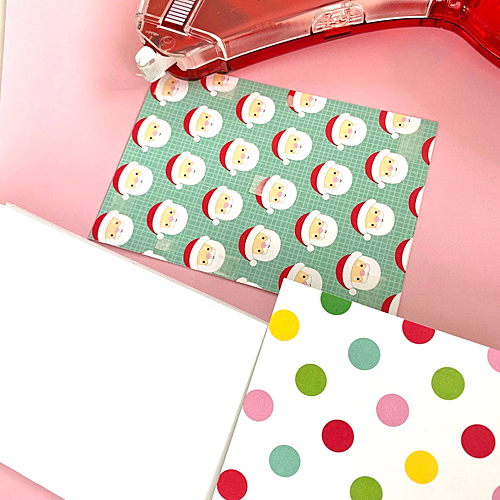
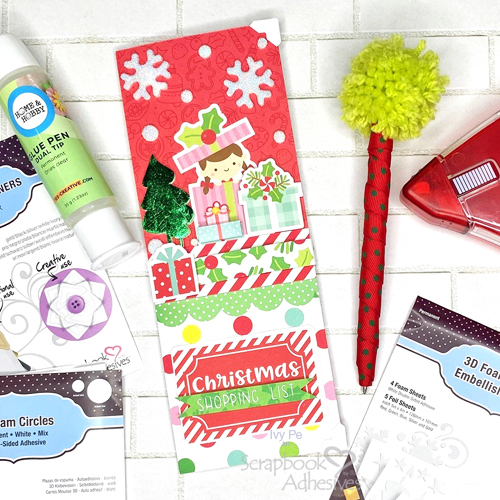
Shopping List Cover
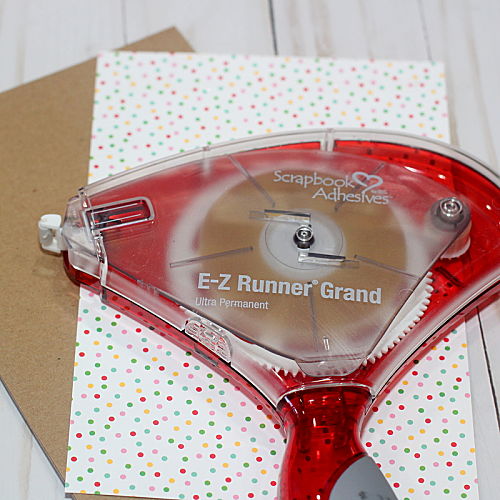
For a booklet cover, I cut a piece of white cardstock to 6.5 x 8.5-inches to fit the list. Then score down the center. To make the cover cute, I used patterned paper to cover the booklet cover using the E-Z Runner® Grand Refillable Dispenser.
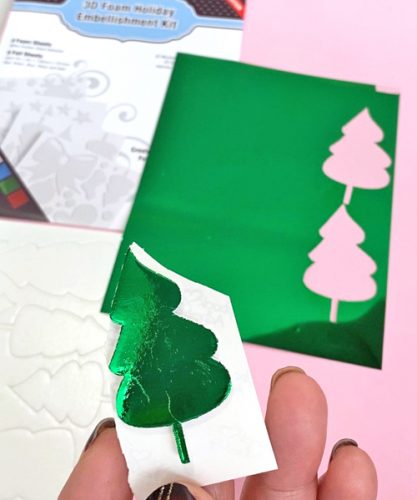
Now the fun begins, embellishing the Christmas Shopping List cover! I decorated my cover using some Doodlebug Odds & Ends and 3D Foam Holiday Embellishment Kit.
For the trees, I foiled it with the solid green foil that was included in the kit. It is SO EASY! Take off the top liner, place your foil COLOR SIDE UP over the 3D Foam Tree and rub to transfer the color to the shape. Peel off and you have yourself a foiled tree. Best part? No tools!
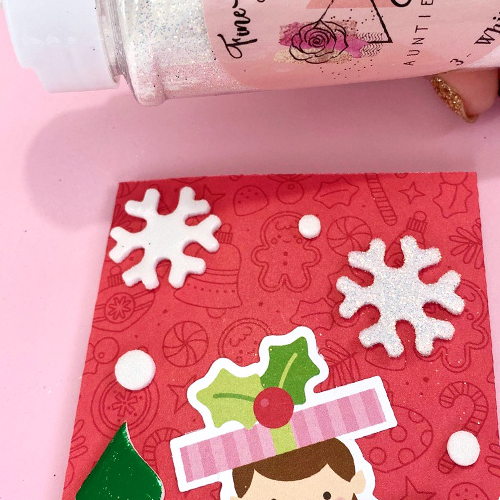
For the snowflakes and snowballs I used some glitter to give some sparkle. The 3D Foam Snowflakes and the 3D Foam Circles in small size are included in the 3D Foam Holiday Embellishment Kit.
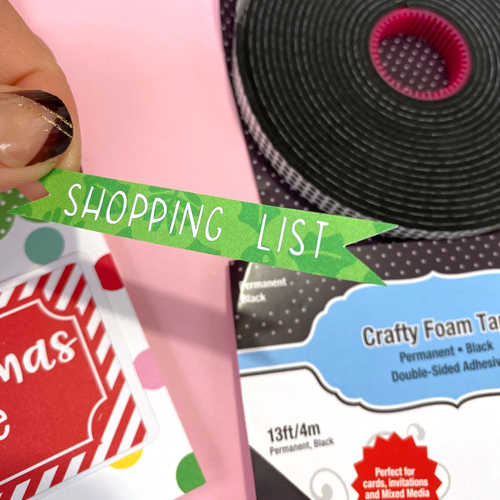
For the words “shopping list,” I cut it out of my electronic cutting machine and vinyl. Then placed it on a little label that I hand cut with scissors. The label was popped up Crafty Foam Tape Black for some dimension.
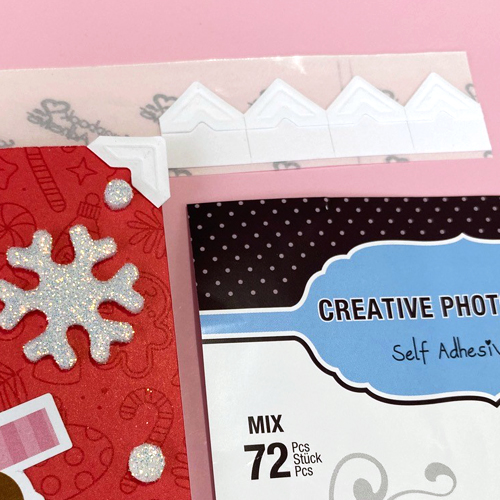
The corners needed a little something so I placed a creative photo corner on each one – it was the perfect touch! I chose the Creative Photo Corners in White from the Creative Photo Corners Mix Pack.
This is how the final project looks like…what do you think? Now you’re organized in holiday fashion!
Thanks for Participating in Stamp and Scrapbook Expo Giveaway! Winner was announced on their blog 🙂 See more upcoming holiday giveaway events by subscribing to our FREE newsletter – scroll down to sign up!
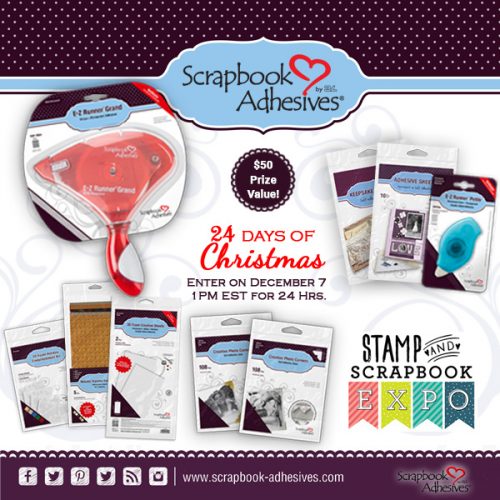
We’re starting the holiday season off with the first of several giveaways. Thank you to Stamp and Scrapbook Expo for the opportunity to celebrate with a $50 value prize full of Adhesives!
This giveaway is hosted on Stamp and Scrapbook Expo’s blog, but hurry and Enter NOW!
It starts TODAY, December 7, 2019 at 4PM EST. (We apologize for the time difference in the newsletter!)
You only have 24 hours to visit their blog and leave a comment as your entry. Click the button or image below:
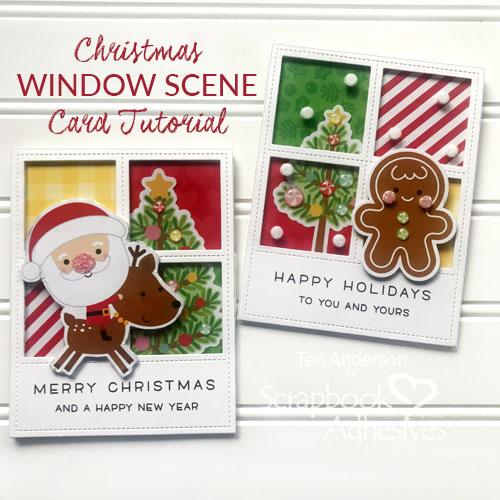
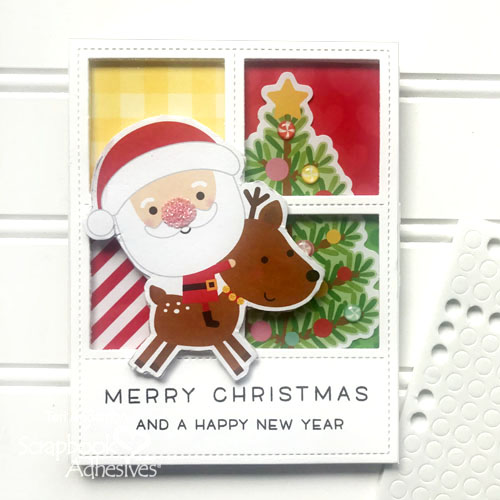
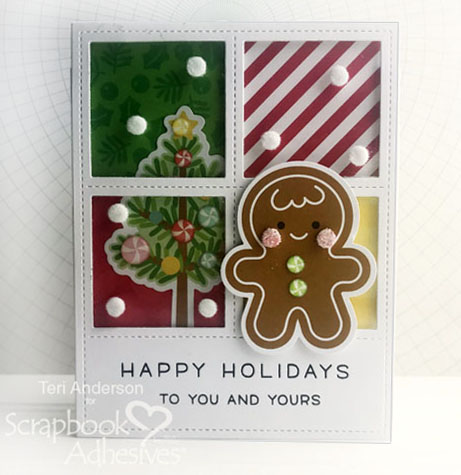
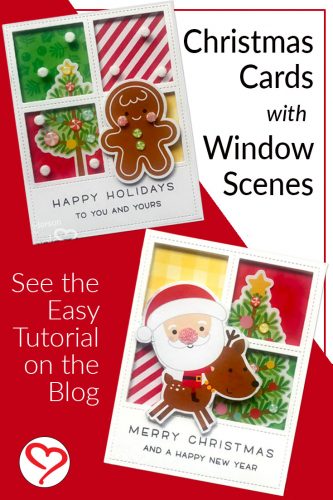
Hi, everyone! Are you looking for a unique Christmas card to send out this year? It’s Teri here, and I’m going to show you how to make window scene Christmas cards that are sure to wow your friends!
These cards are easy to make with a little creative muscle and a few basic paper crafting supplies!
Starting the Window Scene
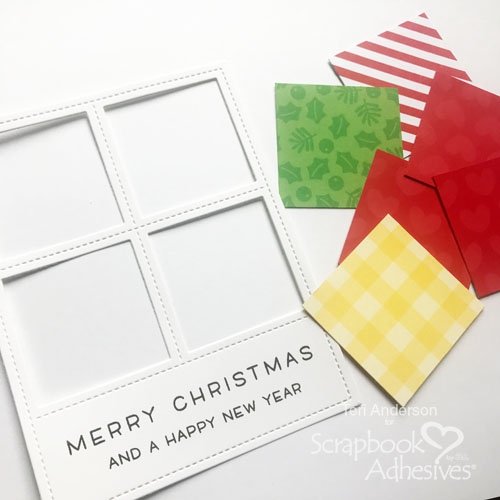
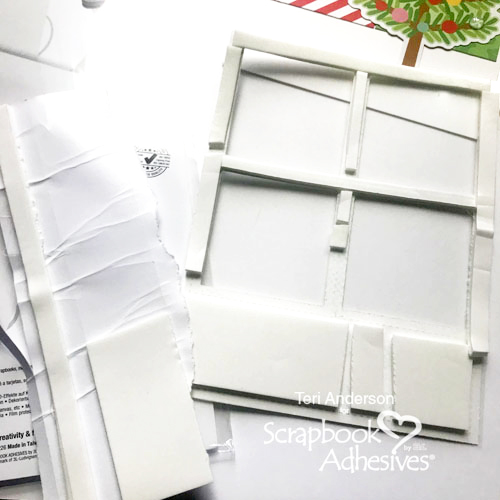
Start by cutting a window from cardstock. You can either use a window die or a paper trimmer. If you are using a paper trimmer, simply cut a rectangle and then cut four squares out of it.
You’ll also want to cut four squares of patterned paper slightly larger than the openings, to place behind the windows.
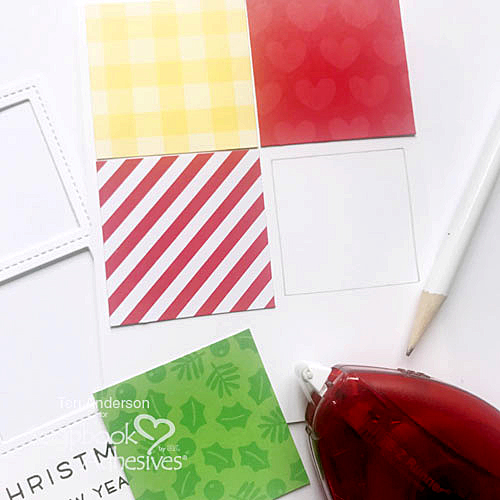
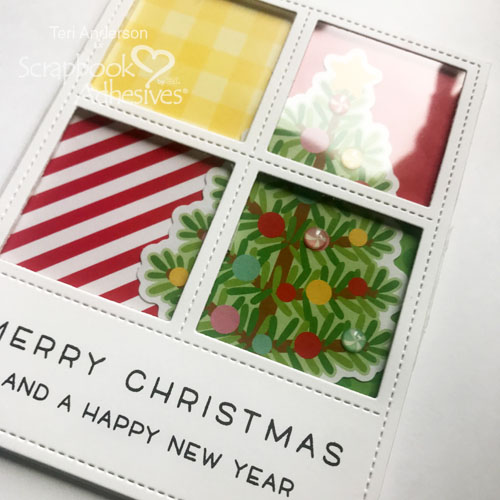
Stamp or write a sentiment on the front of the window. Set the window on a card base. Use a pencil to mark the window’s openings. Adhere the patterned paper squares to the card.
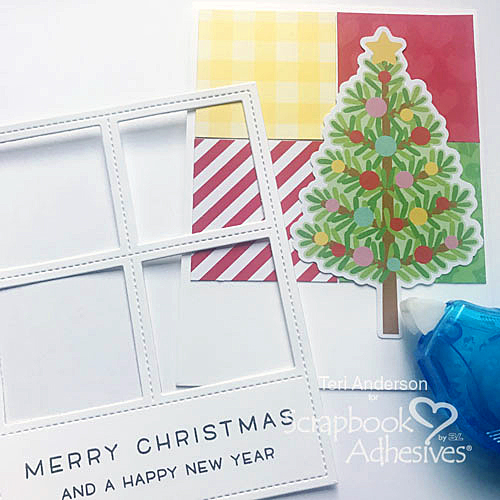
Place a piece of transparency film on the back of the window panel. Add a die-cut tree the card. Use the tree as it is or decorate it by adding gems or enamel dots to it.
Flip the window panel over and add strips and blocks of 3D Foam to it. You can use Crafty Foam Tape or you can make your own strips and blocks by freehand cutting them from a 3D Creative Foam Sheet.
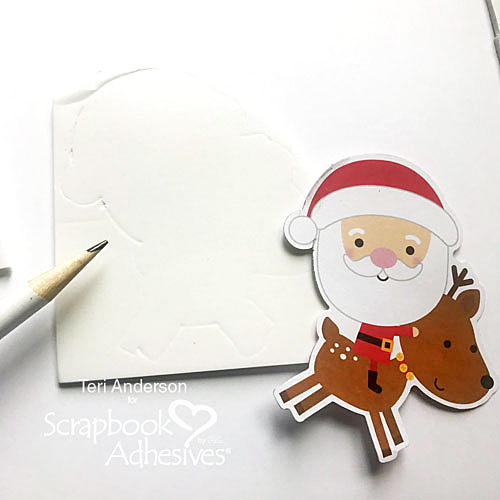
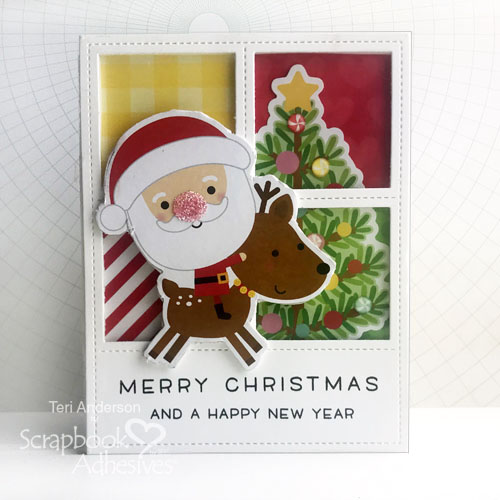
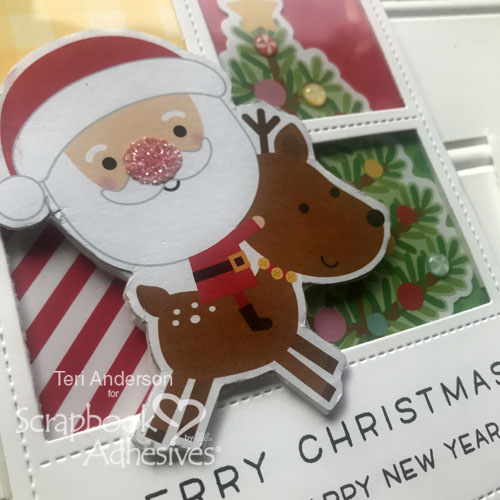
Complete your window scene by adding a Christmas die-cut, like a Santa or reindeer. To make it pop, adhere it with 3D Foam. I decided to trace the shape with a pencil on a piece of 3D Foam Creative Sheet, cut it out with my scissors and affix the die-cut right onto it.
You can kick things up a notch by decorating the die-cut. I gave Santa a glittery nose by mounting an Adhesive Dot to it and dumping glitter on top. So fun!
Kicking Up Your Window Scenes Even More
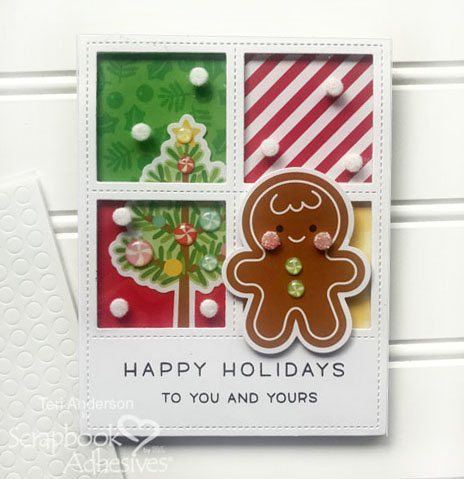
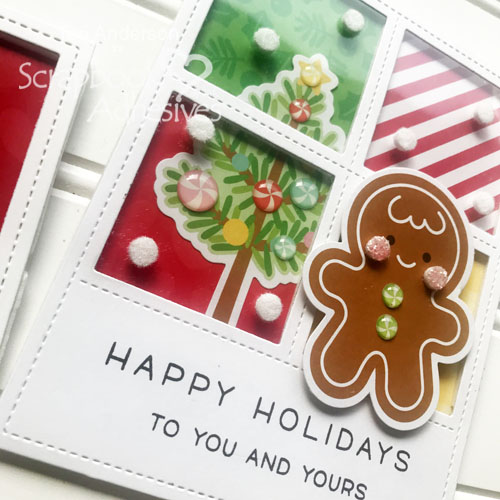
Another fun way to kick up your window scene Christmas cards is to add a little snow to the windows. Randomly apply 3D Foam Circles to the windows and the dump white flock or glitter on them.
Craving more realistic snowflakes? Try using the 3D Foam Snowflakes instead!
I hope you enjoyed this tutorial! I’d love to see your window scenes! Share your links with me in the comments section so I can leave you some love!
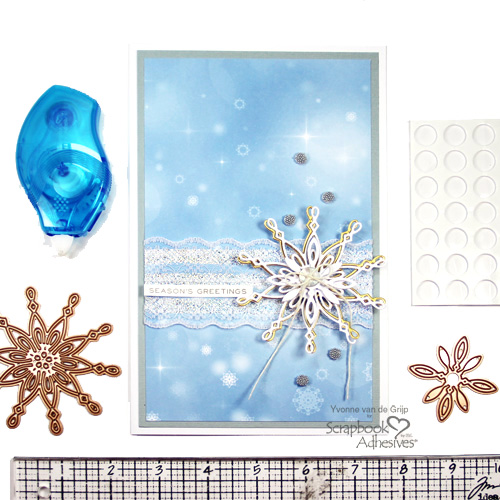
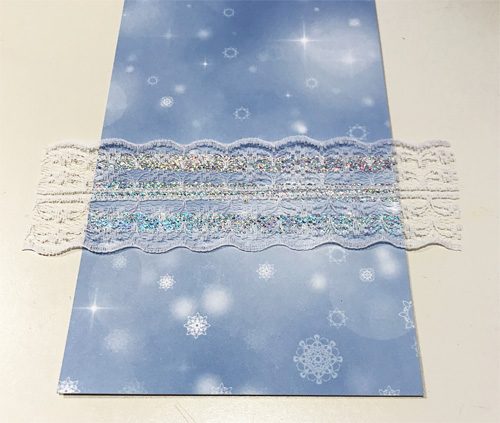
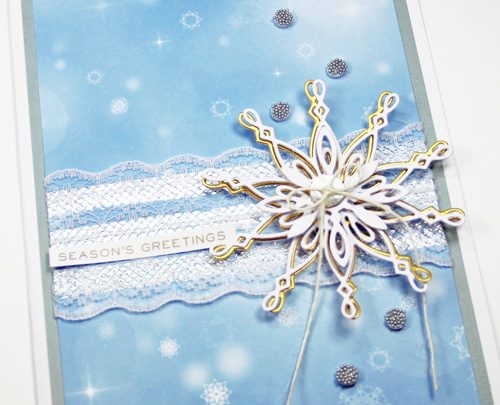
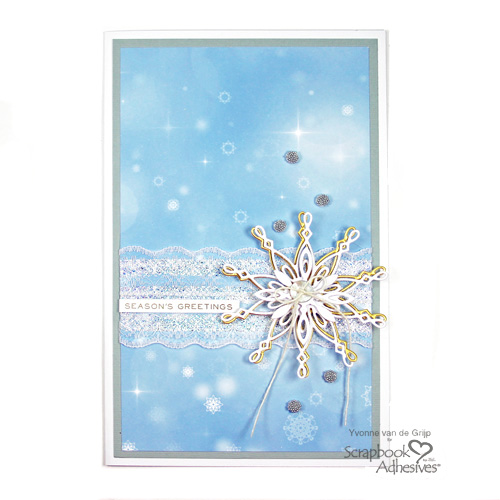
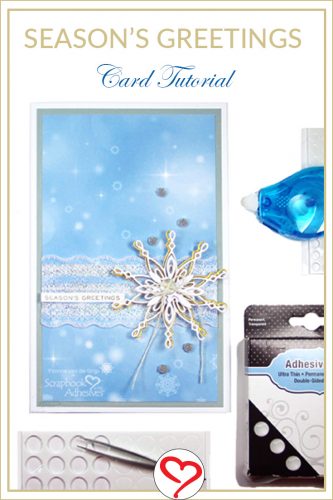
Season’s Greetings! It’s Yvonne with a Laced Snowflake card. Lace always gives such a romantic touch to a card. Since it’s a Christmas card I added sparkle using Metallic Transfer Foil and the E-Z Runner® Petite Permanent Dots Refillable Dispenser.
Laced Snowflake Card Background
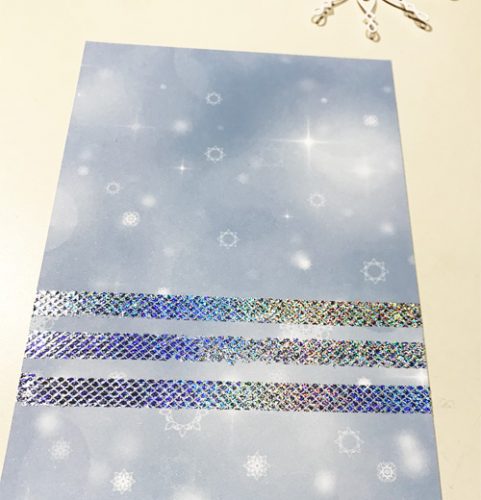
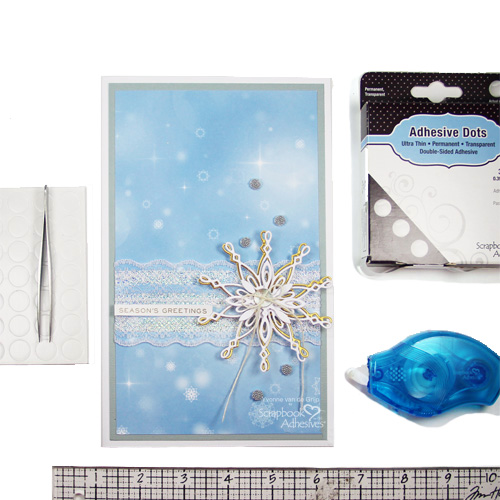
First cut a piece of blue patterned paper to a rectangular that fits your card base.
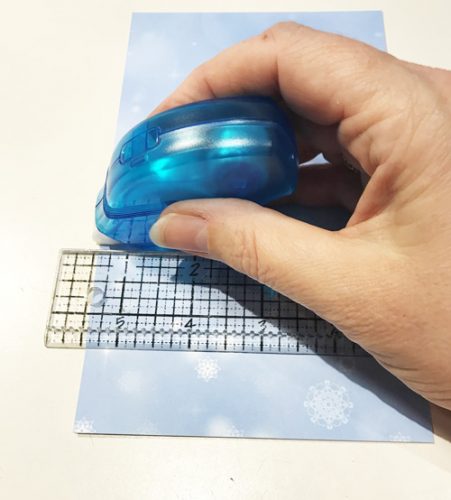
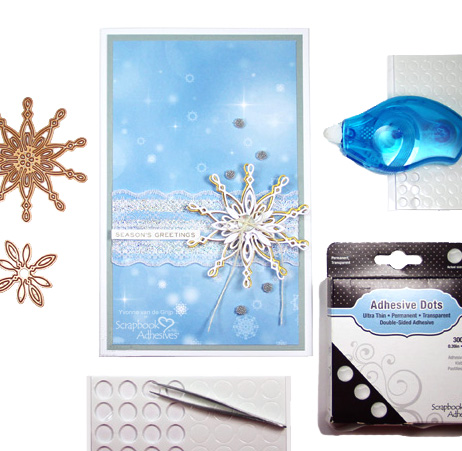
Use a ruler to make straight lines with the E-Z Runner® Petite Permanent Dots Refillable Dispenser. We will be foiling on top of the adhesive to show a design on the card front. This technique is known as “Wear Your Adhesive on the Outside.”
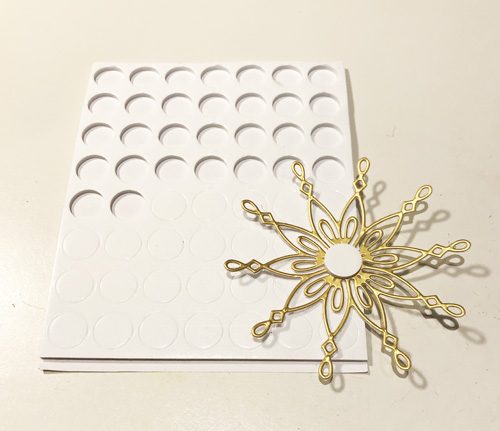
Making the snowy silver circles is very easy. Remove the top liner from a few 3D Foam Circles White Mix in the small size and sprinkle silver micro beads on top. Make sure to press the beads into the adhesive.
Then place the beaded circles onto the card. Yep, another medium to use to “Wear Your Adhesives on the Outside!”
Finish the card with a Season’s Greetings sentiment sticker and voila, your Laced Snowflake card is ready to be sent!
Other Etched Dies and Die Cutting Machine: Spellbinders® Paper Arts -Yuletide Snowflakes A Charming Christmas Collection; White, Grey, Gold, and Patterned Cardstock; Silver Micro Beads; Lace; Button; Twine; Sentiment: Tim Holtz -Holiday Talk
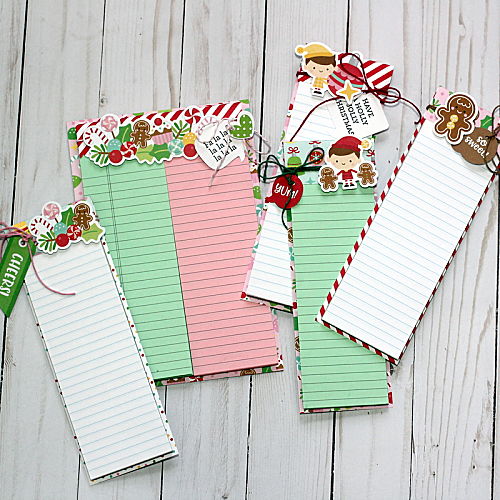
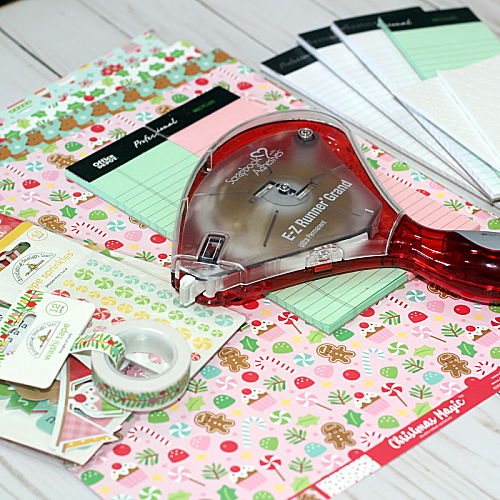
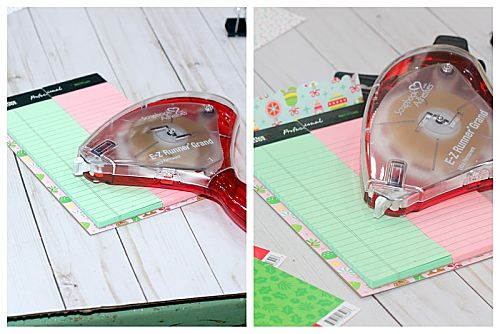
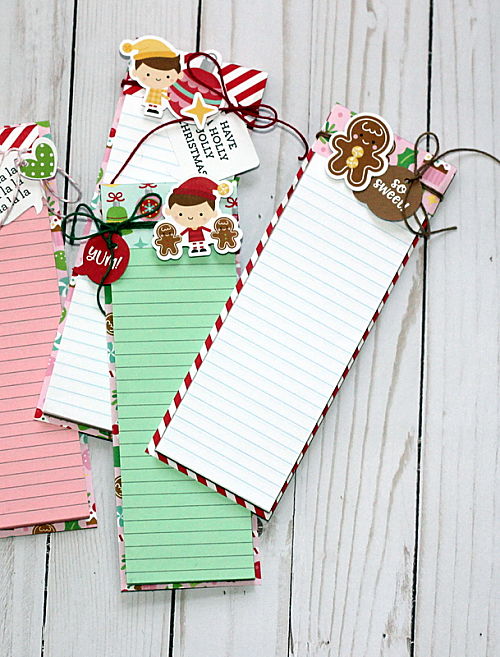
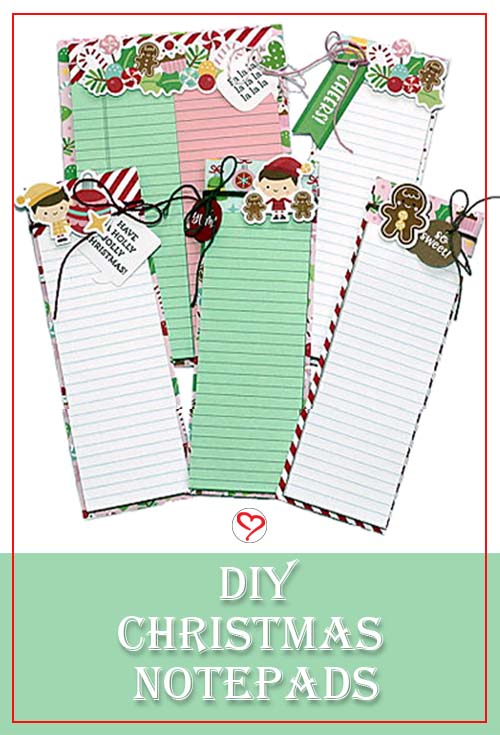
My supplies include notepads 8 x 5-inches, cut in half ( an office supply store will do this for a small charge), Christmas themed pattern paper, E-Z Runner® Grand Ultra and 3D Foam Circles.
Christmas Notepad Basics
To create the double notepad adhere two (single) together, side by side, add a piece of cardboard covered with patterned paper to the back of the notepads. This will add stability to the double pad. Adhere with the E-Z Runner® Grand Ultra. This bad boy makes it easy to cover the cardboard with pattern paper.
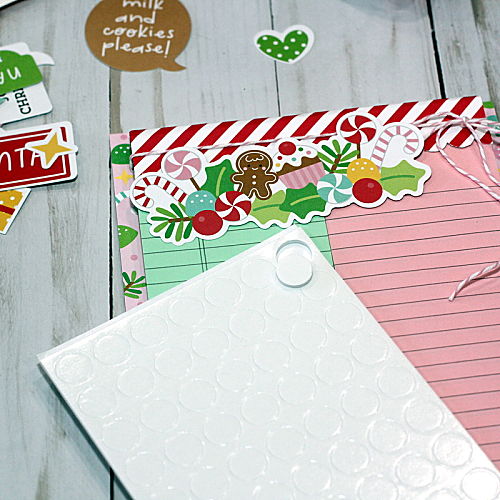
Place adhesive on the backs of the notepads with the E-Z Runner® Grand Ultra. Position them on the covered cardboard back. Add the topper 5 ¼” x 3” with a coordinating pattern paper using the same adhesive.
Decorating Details
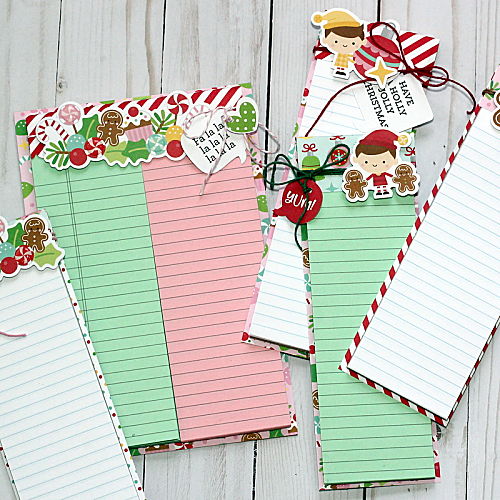
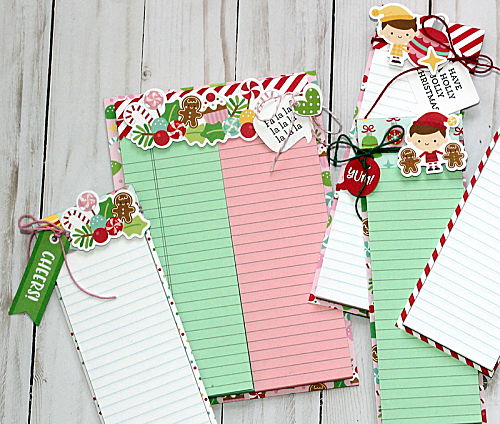
Tie twine around the topper and add themed die cuts/stickers to decorate the topper. Adhere with 3D Foam Circles.
To make the single notepads 8 ¼” x 2 ¾” the same steps apply. These are really fun to make and people really love receiving them. They are kid-friendly too!!!
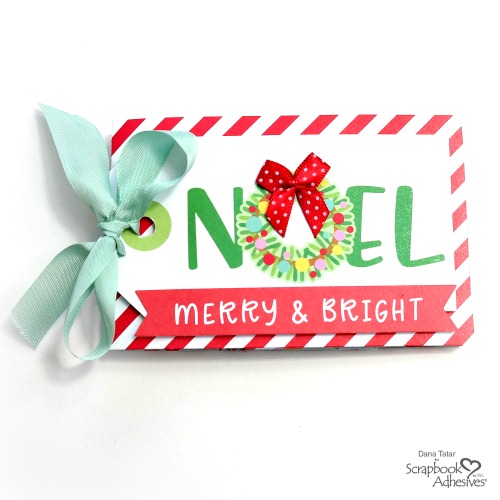
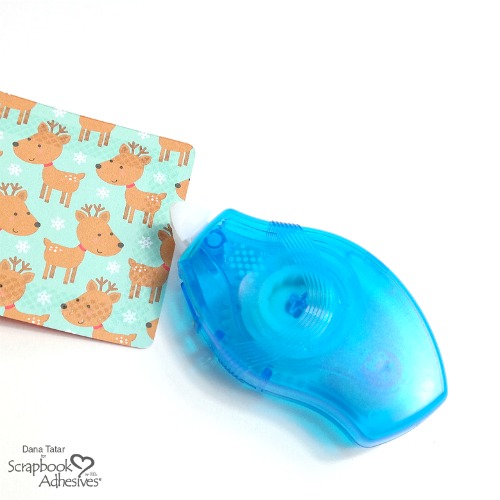
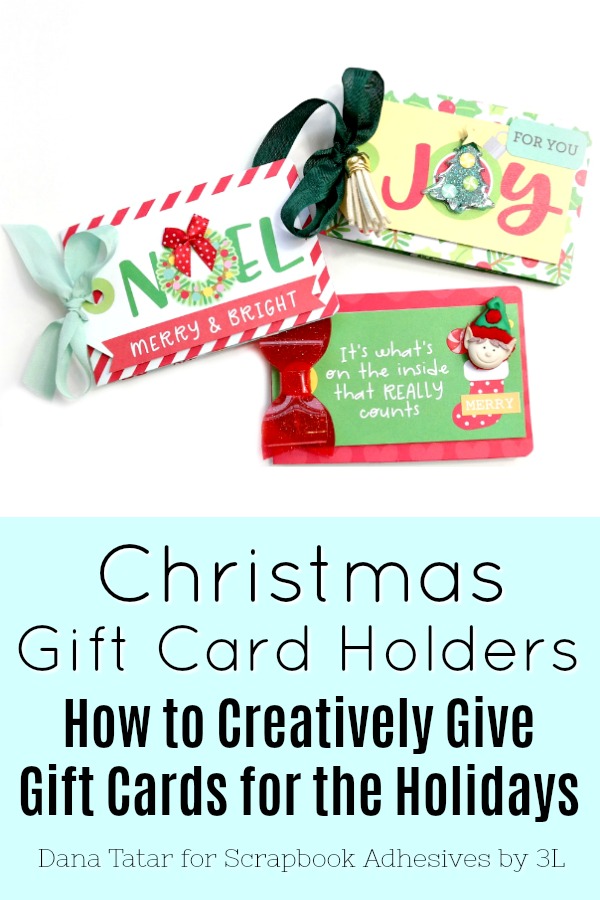
Hi friends! Dana Tatar here today sharing how to make gift giving creative again with a gift card holder tutorial! I’m trying to give less stuff for the holidays and instead more ways to spend quality time together. Giving a gift card to a favorite restaurant is always the right size and provides a great opportunity to enjoy the company of friends.
I used the super cute Doodlebug Designs Christmas Magic collection for my cards, which come together in just a few simple steps. You’ll have a stack of DIY gift card holders just in time for the holiday season!
Gift Card Holder Construction
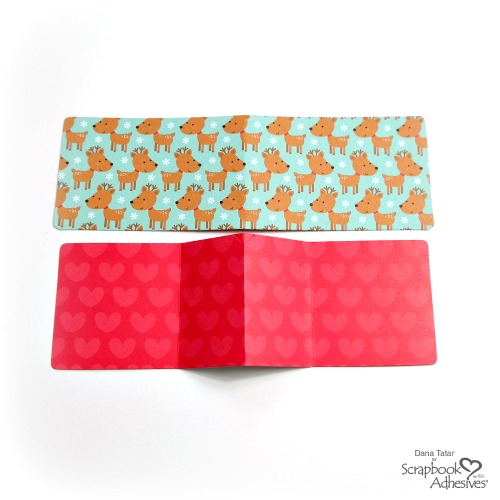
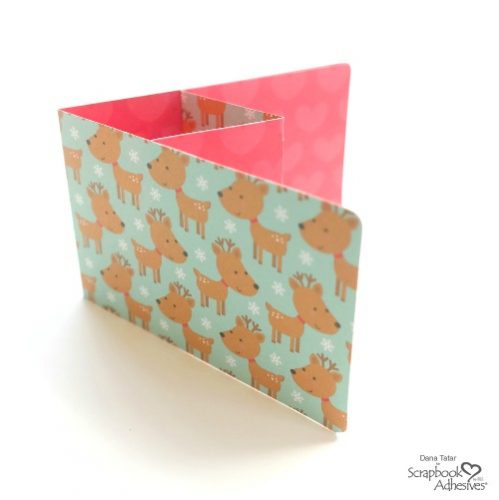
Use the Sizzix Slider Card Bigz L Die to cut festive patterned paper into pieces to create a gift card holder. Fold along the creased lines. Designer Note: If you don’t have this die on hand, make your own template from any gift card holder.
Carefully line up the inside piece with the outer piece of the gift card holder and press to seal.
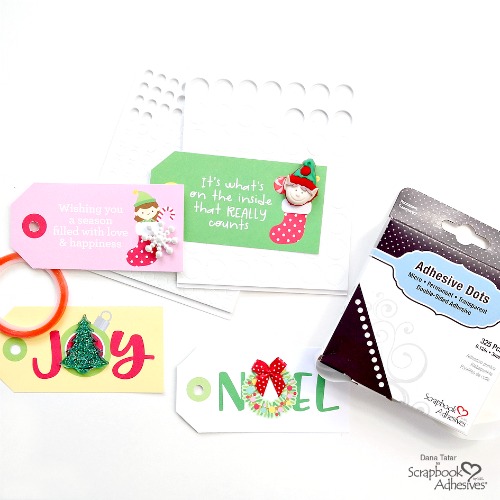
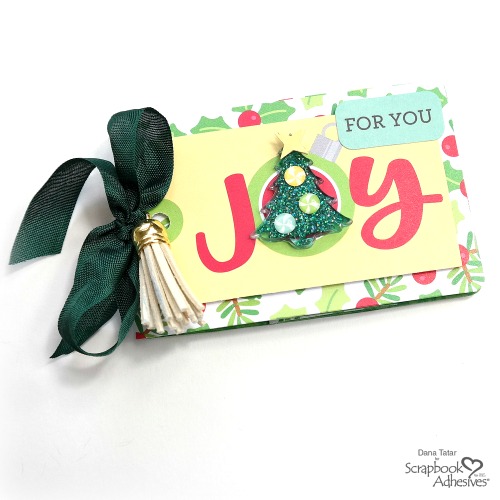
Creative Christmas Tag Toppers
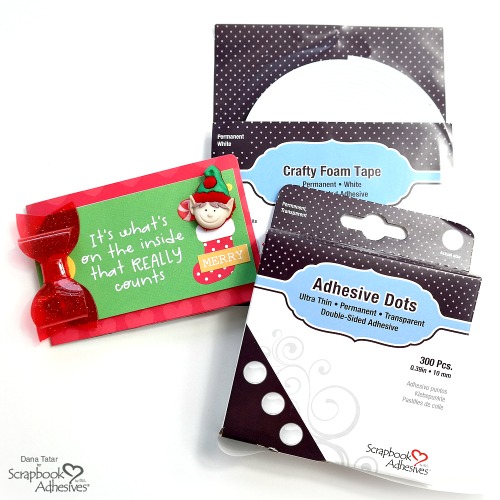
Creating dimensional Christmas tag toppers for each gift card holder is easy with the right adhesive! 3D Foam Circles are perfect for adhering buttons. Use HomeHobby by 3L Extreme Double-Sided Tape to add heavier acrylic embellishments to a tag. Micro Adhesive Dots are the perfect size to hold small bows and sequins.
Ultra Thin Adhesive Dots are great for securing bulkier lightweight items, like the plastic bow shown above. The thin transparent adhesive is not visible on the finished tag! Once the tags are finished, attach one to each gift card holder using Crafty Foam Tape.
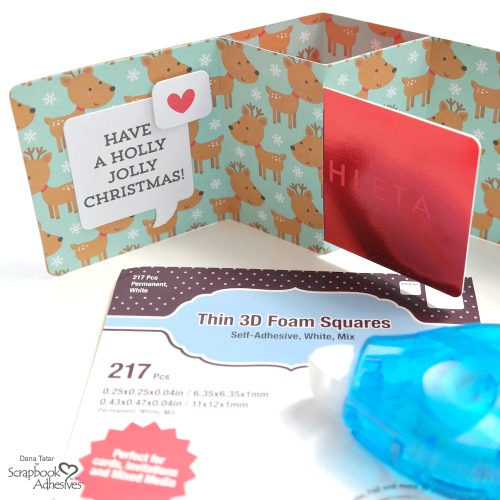
Don’t forget to decorate the inside of the card. Thin 3D Foam Squares add dimension to die-cuts without too much bulk!
I hope your holiday season is full of joy! Thanks for stopping by today. ~Dana