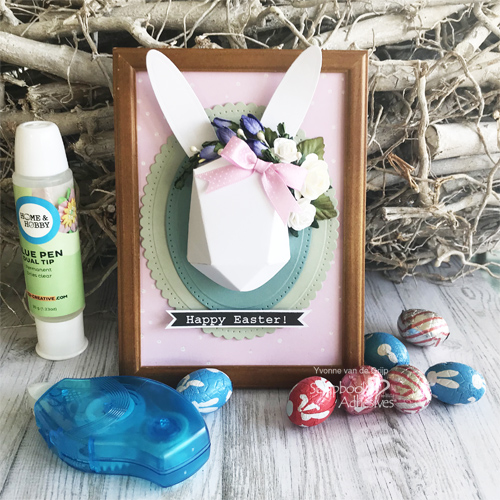
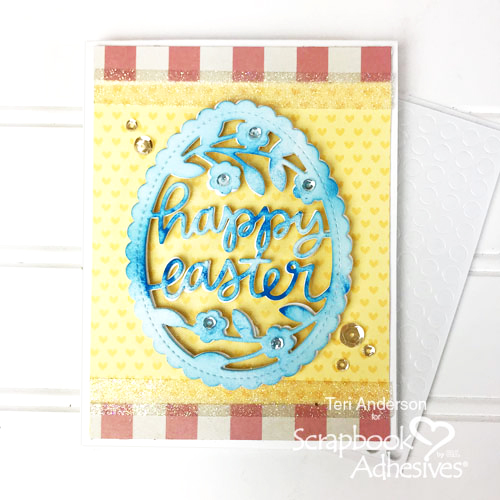
Hi, friends! Can you believe Easter is next week? Teri here to show you how to make a handmade stacked Happy Easter Card. This card is sure to make the recipient smile!
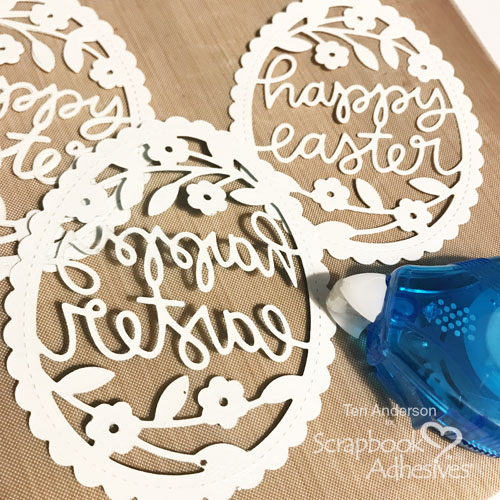
Stacked Happy Easter Egg Element
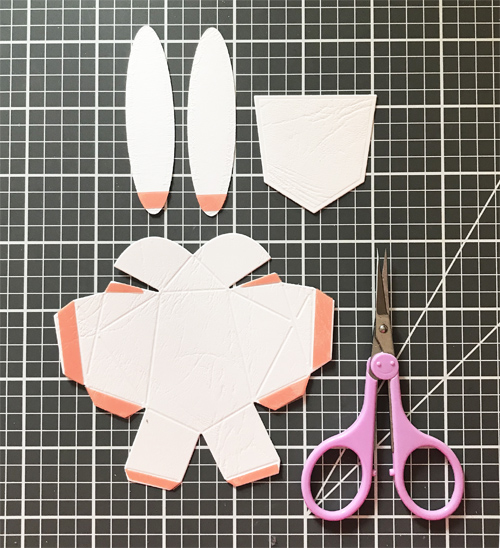
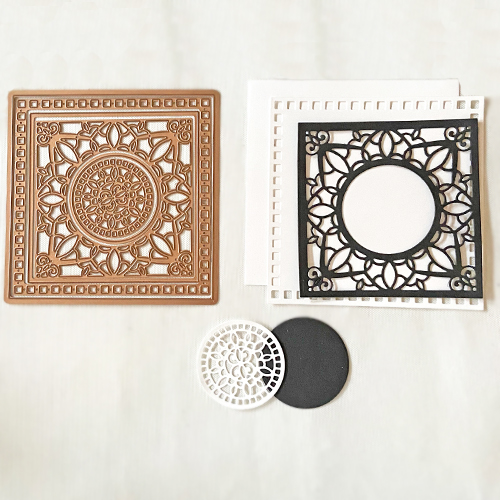
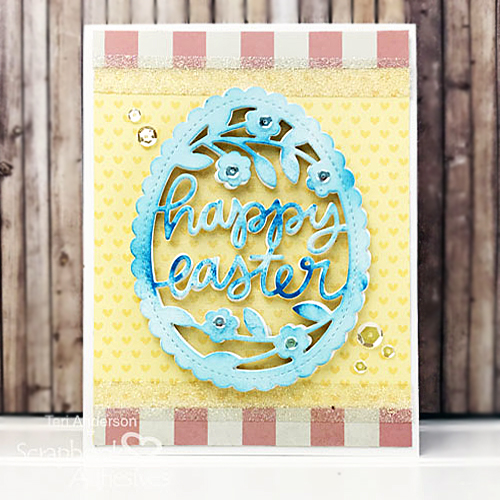
Die-cut four Happy Easter Egg shapes from white cardstock. Apply color to one of them with ink or markers. The colored die cut will be stacked on top.
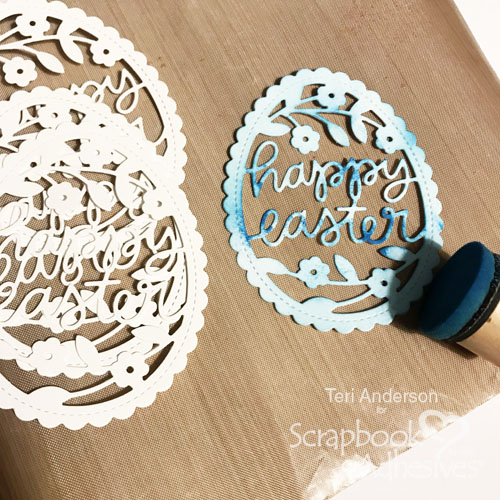
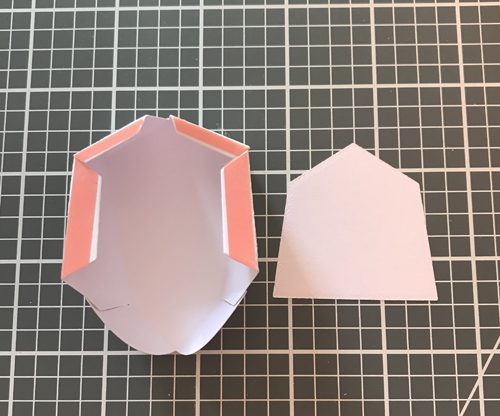
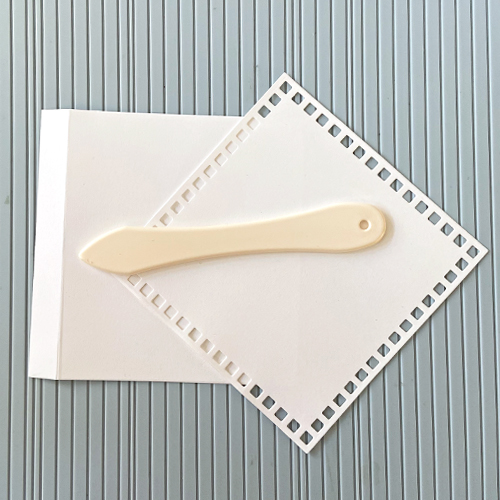
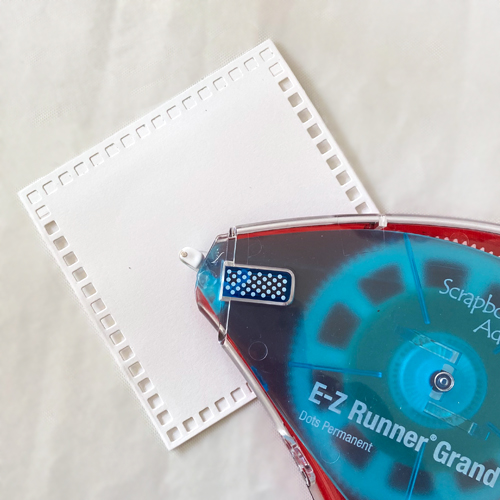
Stack the white egg die cuts on top of each other to make one Happy Easter Egg shape. I find the E-Z Dots® Permanent Refillable Dispenser and E-Z Dots® Petite Permanent Refillable Dispenser are perfect to use for this step, especially with an intricate design like this egg. When the adhesive rolls on the die cut, it sticks to the back and does not leave strings or residue in the open areas.
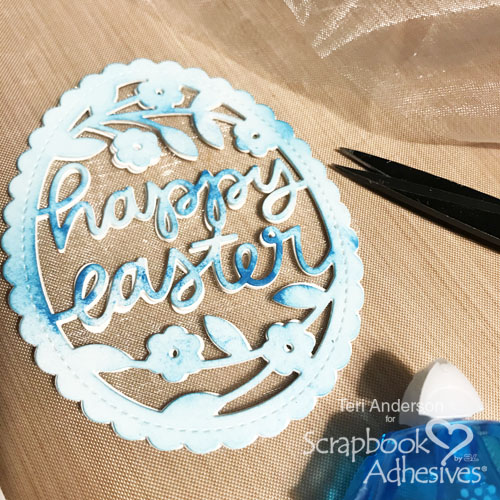
After you stack the die cuts with the colored one on top, apply tulle (or vellum) behind the egg’s opening. Set the egg aside.
Create the Card Front with Some Glitz
Make a card base from white cardstock. Add a square piece of patterned paper on the card front and then adhere two strips of patterned paper to cover the rest. Apply pieces of Extreme Double-Sided Tape on top where the square and strip of papers meet toward the top and bottom.
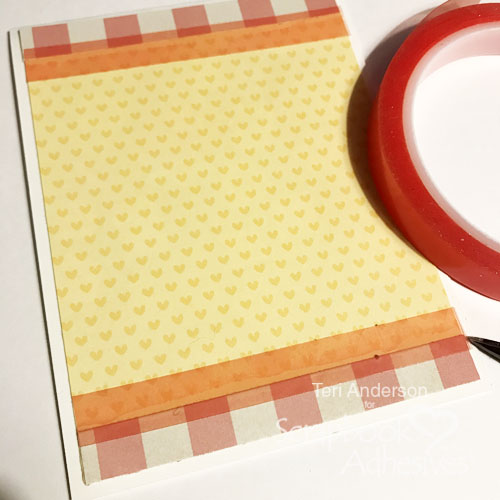
Remove the red liner and cover the tape with glitter. Press the glitter into the tape to secure and tap off excess. Now you have a little sparkle to your card. Not a fan of glitter? Use flock or our Metallic Transfer Foil Sheets instead.
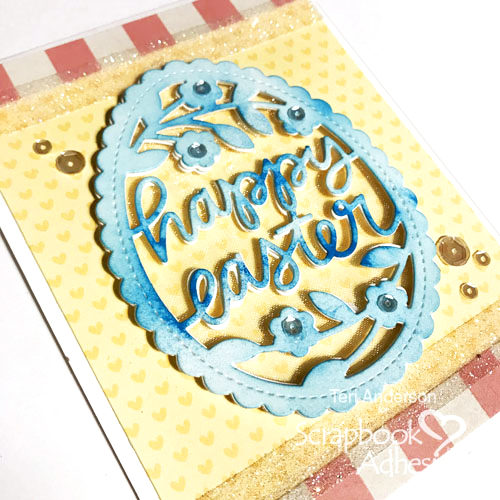
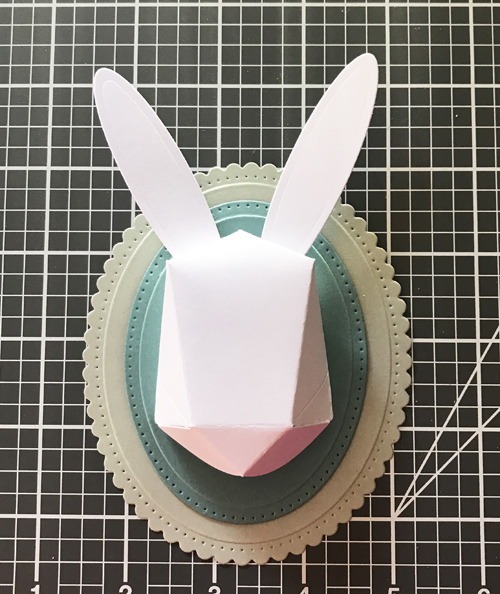
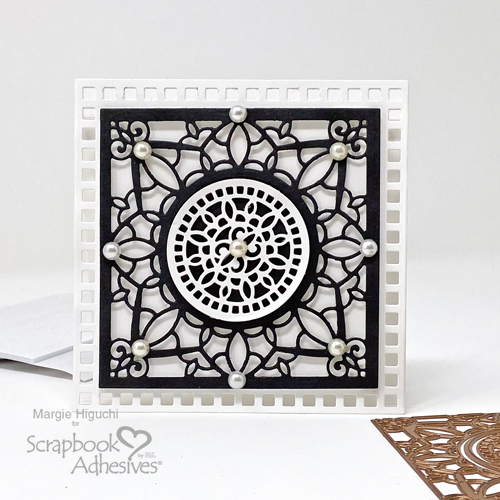
Complete your card by centering and lifting the Stacked Happy Easter Egg shape on the card front with a combination of 3D Foam Circles White Mix and 3D Foam Strips. Then add embellish the egg with rhinestones. Place three to five sequins to the background with Adhesive Dots Micro.
I hope you enjoyed this tutorial and are inspired to make your own Stacked Happy Easter Card for your loved ones and friends.
Happy creating!
Teri Anderson
Creative Time: 60 Minutes
Skill Level: Intermediate
Materials Needed
Scrapbook Adhesives by 3L®
- E-Z Dots® Permanent Refillable Dispenser
- E-Z Dots® Petite Permanent Dots Refillable Dispenser
- 3D Foam Circles White Mix
- 3D Foam Strips
- Adhesive Dots Micro
HomeHobby™ by 3L
Other
White Cardstock: Neenah Paper; Patterned Papers: Doodlebug Design and American Crafts; Die: Pretty Pink Posh; Sequins: Pretty Pink Posh; Blue Ink Pad: My Favorite Things; Glitter: Doodlebug Design; Tulle
Save It to Pinterest!
Visit our Website and Blog!
Sign up for our Newsletter so you never miss a contest or giveaway!