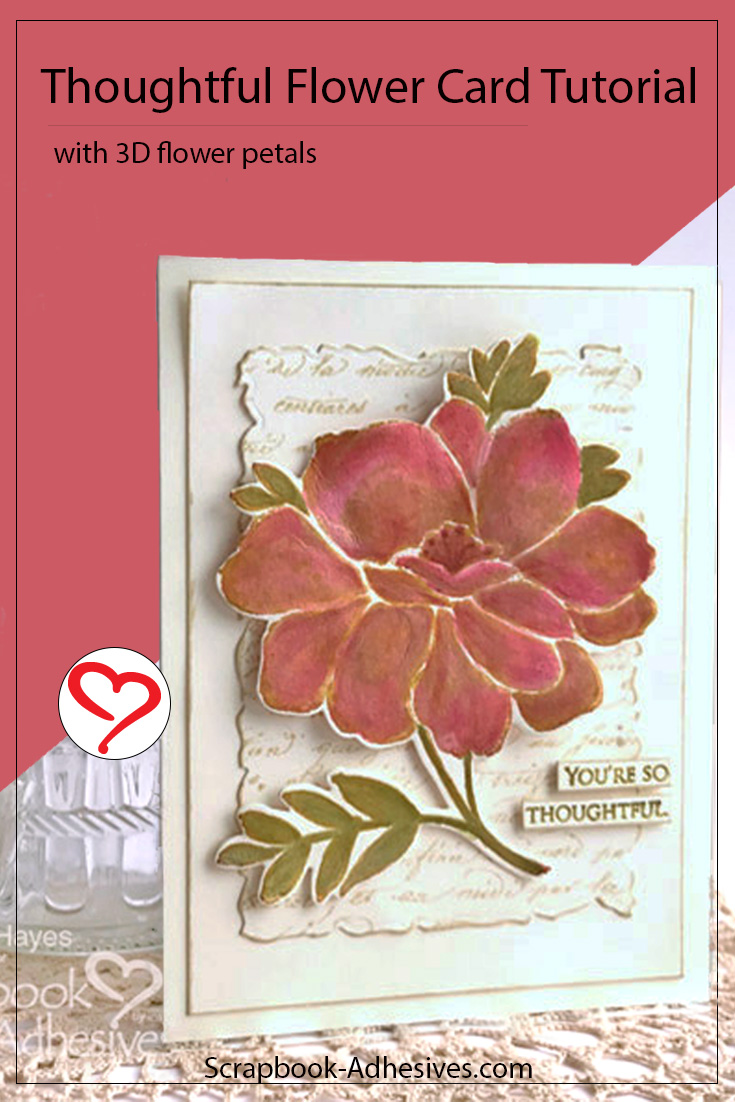
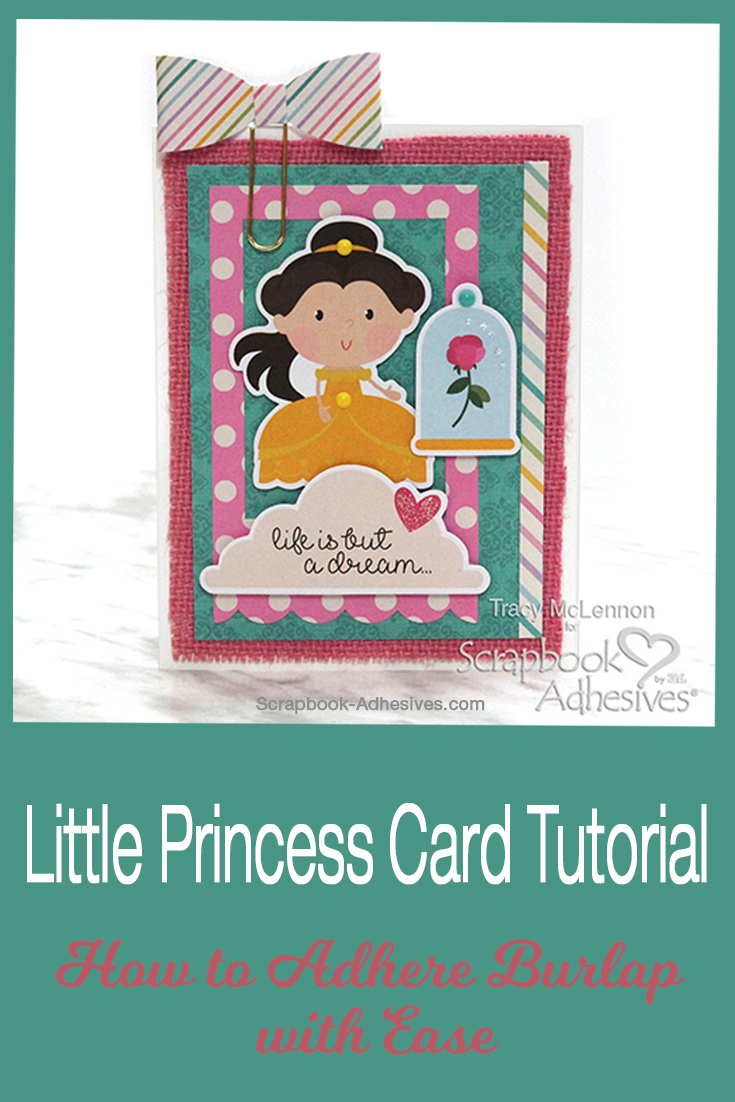
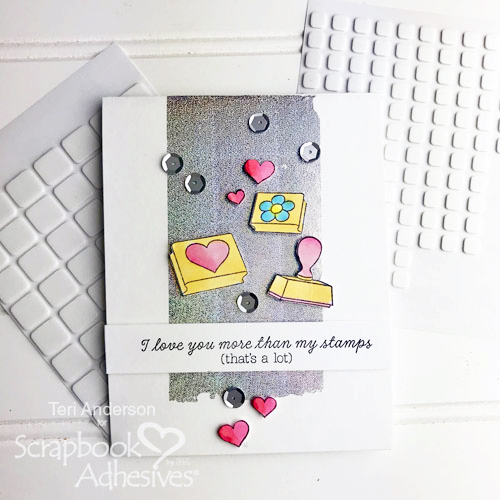
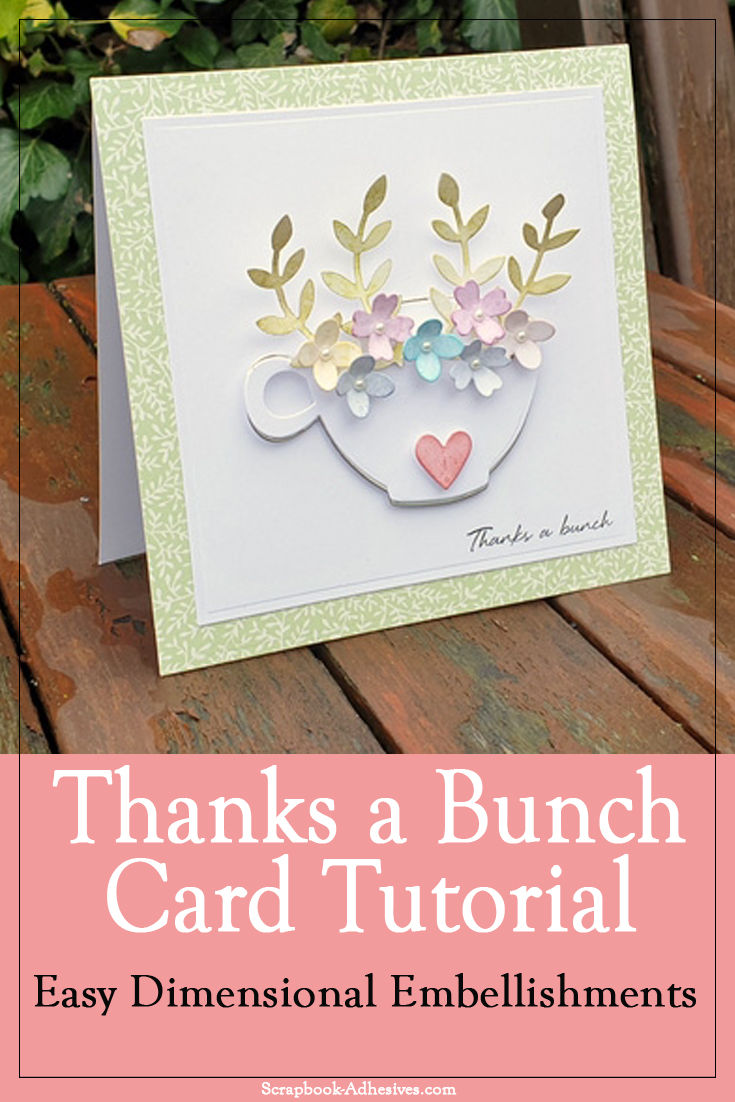
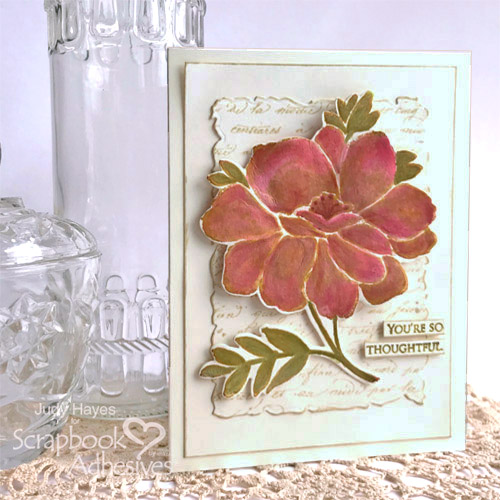
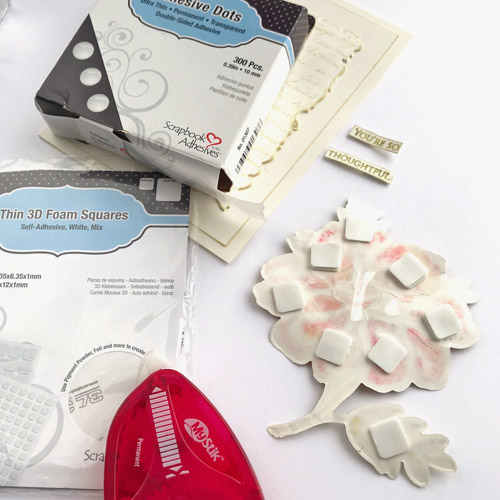
Hello! It’s Judy here today with a tutorial for my “You’re so Thoughtful” flower card that features dimension. Using Thin 3D Foam Squares and Adhesive Dots Ultra Thin to fasten the flower, the petals are slightly raised while the center of the flower is attached flat to the card.
You’re So Thoughtful Card Base
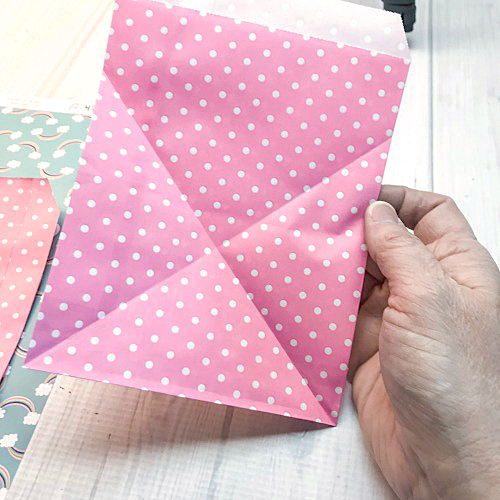
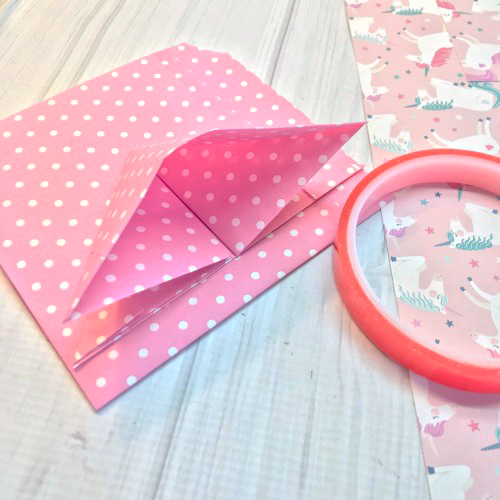
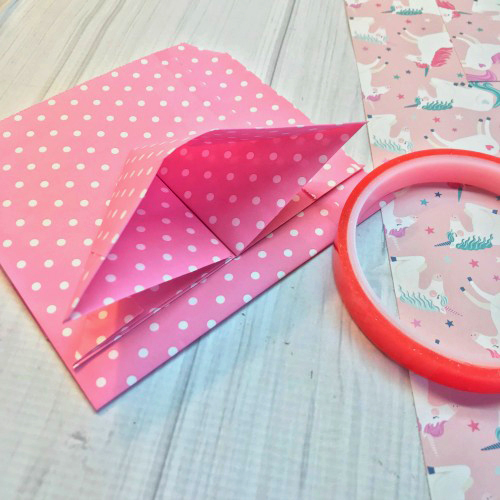
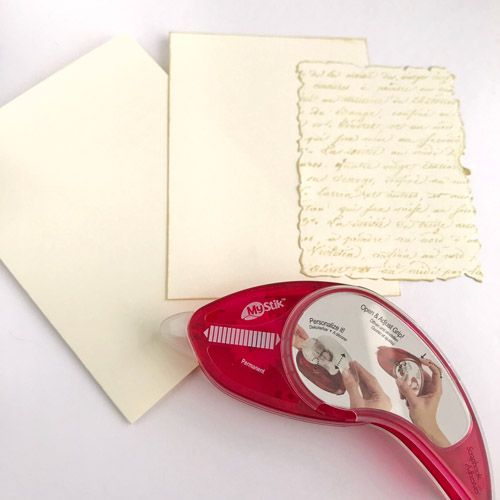
This card has a 4.5 x 6 inch cream card base, then a cream rectangle mat with inked edges. Next I have a die cut shape that is stamped with script and has inked edges. These layers are assembled with MyStik® Permanent Strips Dispenser. This dispenser can be personalized with photos or papers, like a tiny work of art on your dispenser!
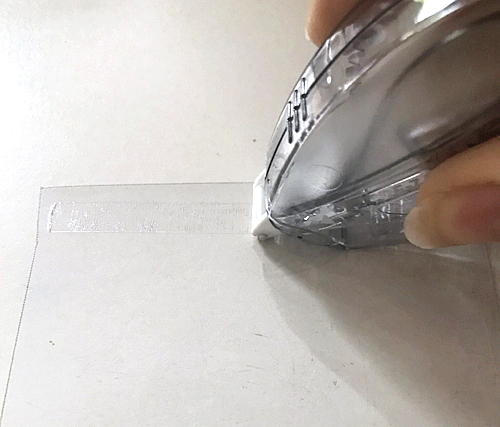
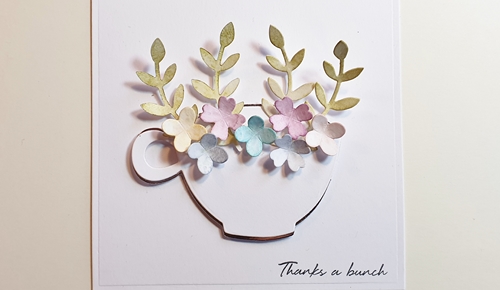
Stamp the flower on cream cardstock with ink. Then die cut and watercolor the image with water based inks. Shape the petals while the paper is still damp, and allow it to dry.
Now fasten the flower to the card with Thin 3D Foam Squares White Mix on the back of the petals. On some petals, layer two Thin 3D Foam Squares for more depth. Use Adhesive Dots Ultra Thin on the back of center of the flower. One strip from MyStik® Permanent Strips Dispenser is on end of the stem.
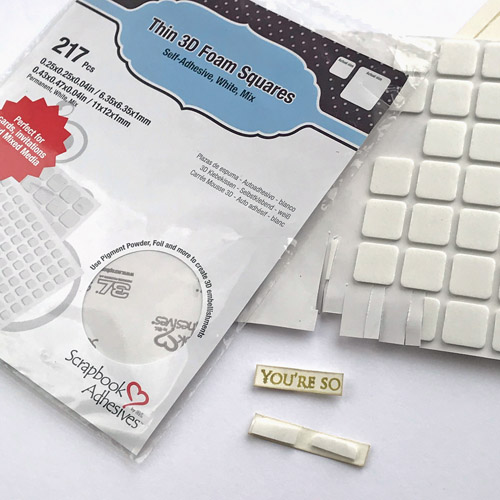
Stamp the verse on narrow strips of cream cardstock. Fasten each piece with Thin 3D Foam Squares White Mix cut to fit. It’s so easy to do by cutting through Thin 3D Foam Squares with scissors! That way the unused pieces remain on the liner sheet for another project.
You can see the flower petals are slightly raised and center is flat to make a pretty and dimensional flower card!

Thanks for visiting!
Judy
Creative Time: 60 Minutes
Skill Level: Intermediate
Materials Needed:
Scrapbook Adhesives by 3L®
MyStik® Permanent Strips Dispenser
MyStik® Permanent Strips Refill
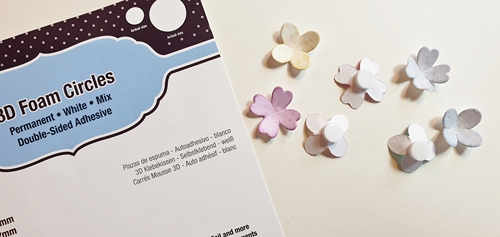
Thin 3D Foam Squares White Mix
Adhesive Dots Ultra Thin
Other Supplies: Imagine Crafts Versafine Clair Golden Meadow; Penny Black Stamps: Script, Dreams of Love, Grateful Sentiments; Penny Black Dies: Dreams…Cut Out; Ranger Distress Inks: Peeled Paint, Worn Lipstick, Festive Berries, Antique Linen; Cream Cardstock
Pin it!