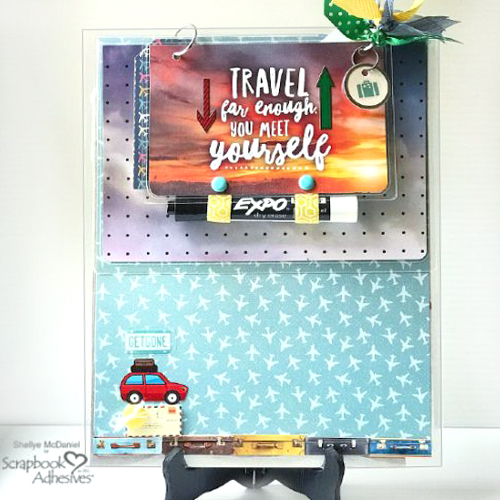
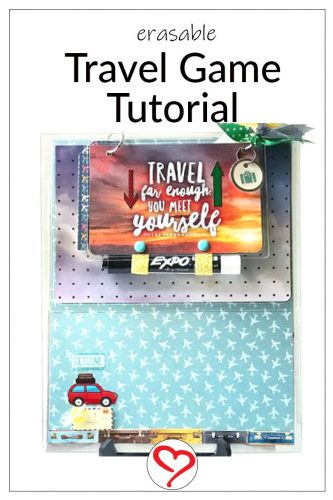
Hello, Shellye McDaniel with you today. I’m sharing this cute set of “Travel Games” featuring travel themed papers and the Self-Laminating Pouches – Cards X-Large, Large, and Medium. This should help keep those impatient travelers from being bored, right?
I have used the “Explore Your World” Collection from patterned papers, stickers to journal cards from Paper House Productions. Aren’t they perfect for this project?
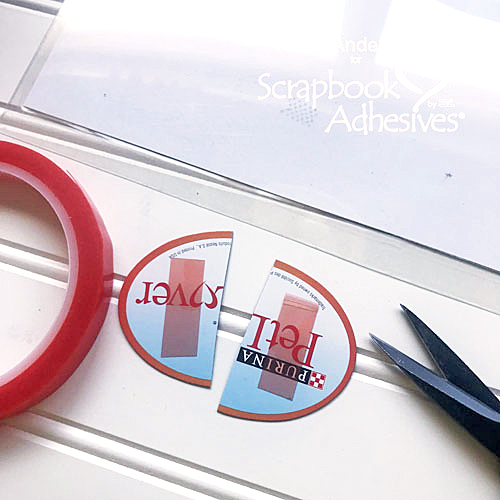
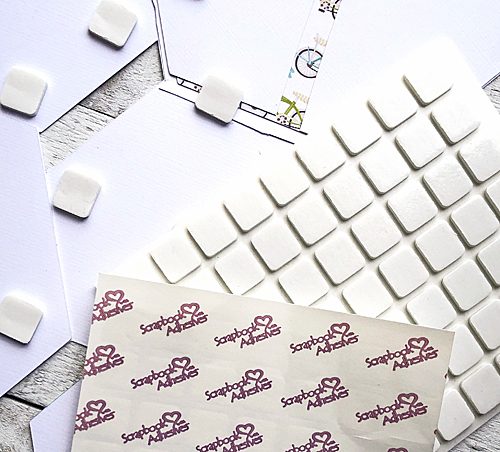
I’m using the HomeHobby by 3L Self-Laminating Pouches, which are cold laminating, and you don’t need additional accessories or a heat machine. here’s a quick video that shows how to use them.
Travel Game Pages
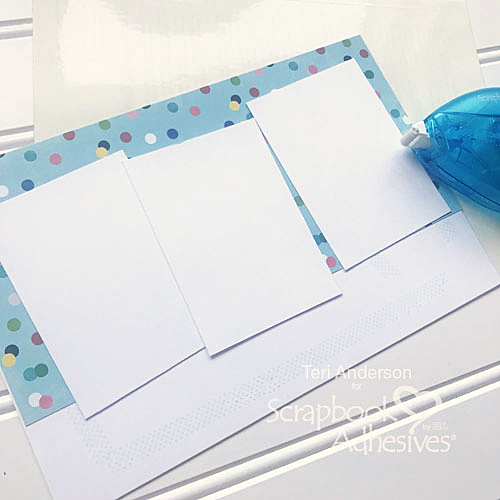
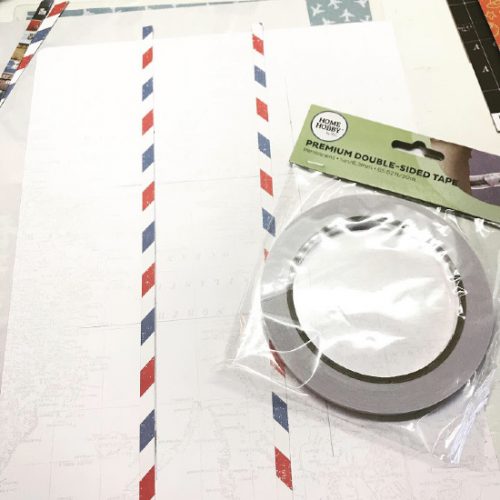
To begin I selected various sizes of the Self-Laminating Pouches – Cards X-Large, Large, and Medium. Following the dimensions of the pouches, I cut the patterned papers to fit into each one.
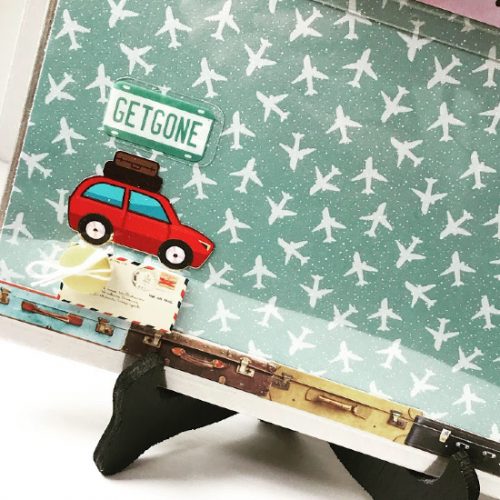
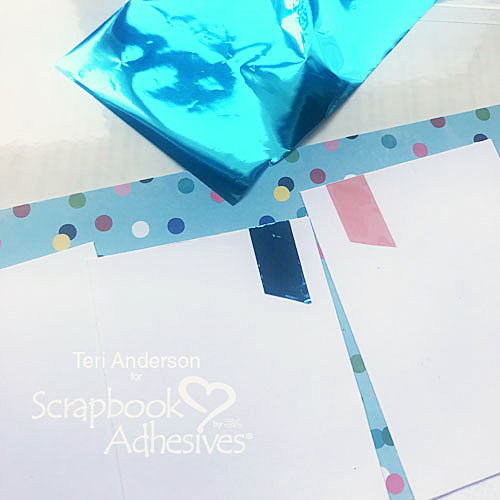
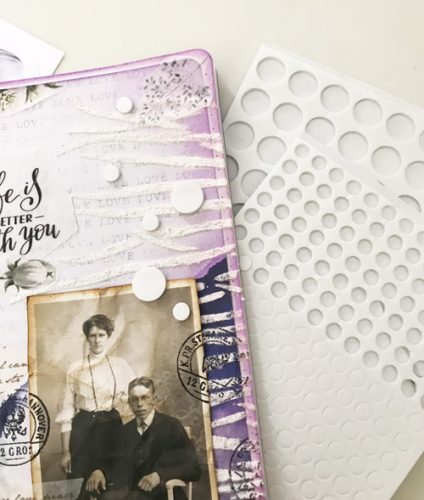
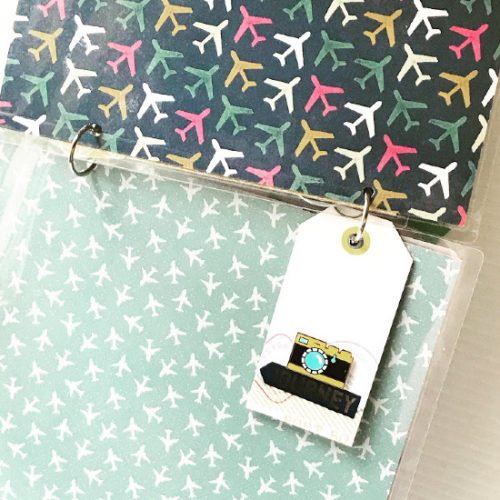
I used Cardstock stickers, Clear Cuts, and Faux Enamel Stickers to decorate the laminated pages. Dimension was added to several stickers when I incorporated the 3D Foam Squares White Mix. To attach the button I used the Adhesive Dots 3D.
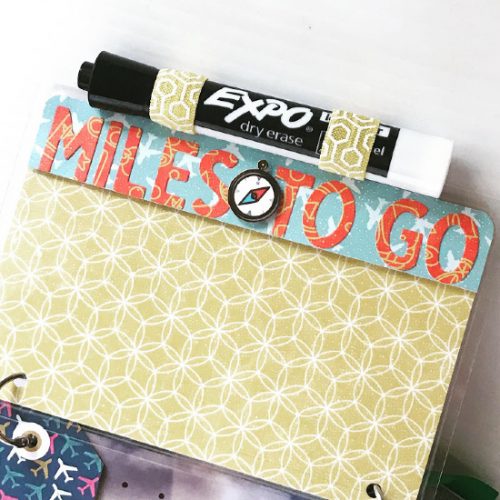
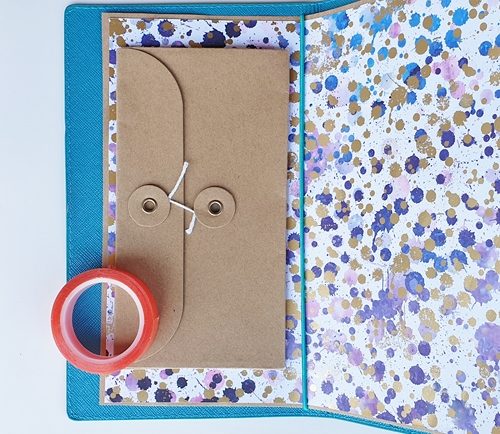
Before I added the strip of paper (shown above), I used elastic to create a pen holder. First, I cut two pieces of FOE and then folded over to make a loop. I used two large brads to hold the elastic in place. To hide the backs of the brads, I added the strip of airplane paper.
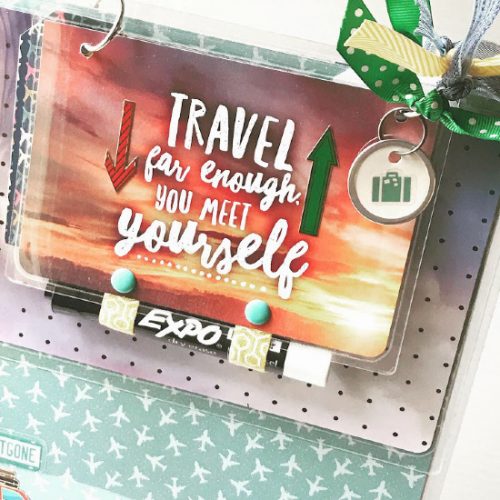
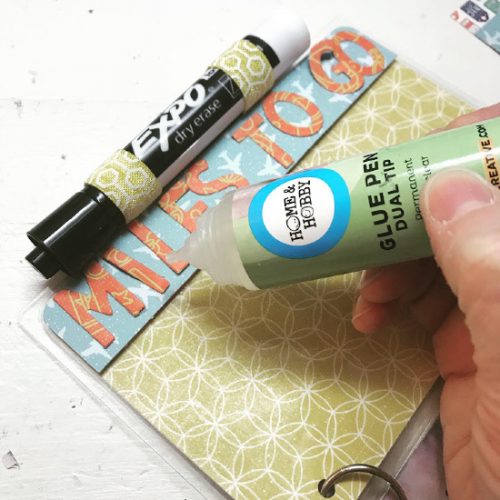
In decorating the blue paper strip, I die-cut letters for the title. The Dual Tip Glue Pen is perfect for attaching the small letters!
Let’s Connect the Dots!
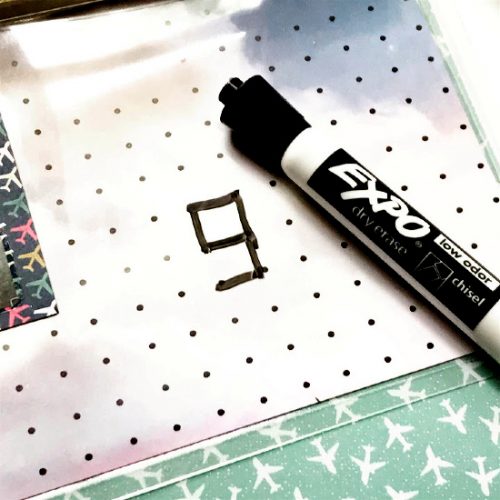
For the “Connect the Dots” page, I drew small dots with a black marker on the Up, Up & Away We Go double-sided paper before inserting into the Self-Laminating Pouches – Cards Large. When using a dry-erase marker, the game can be played over and over!
Note Taking Ideas
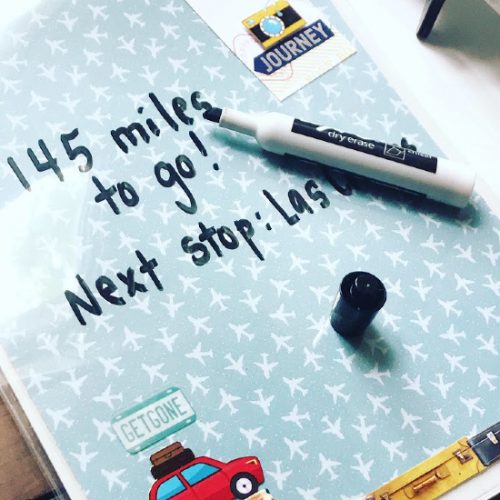
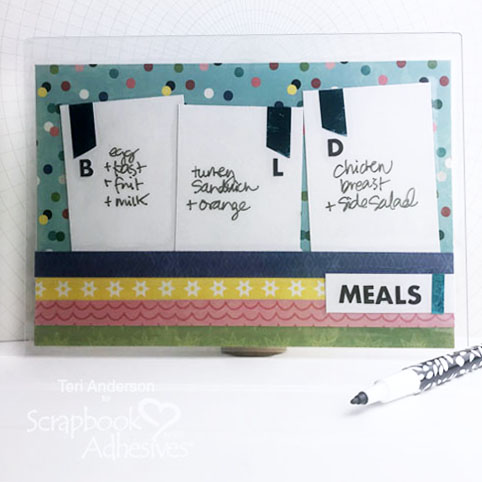
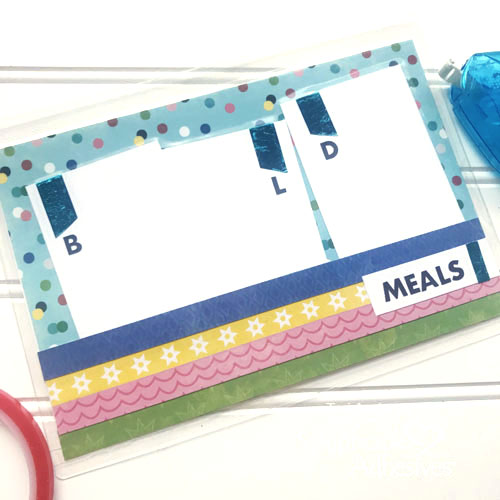
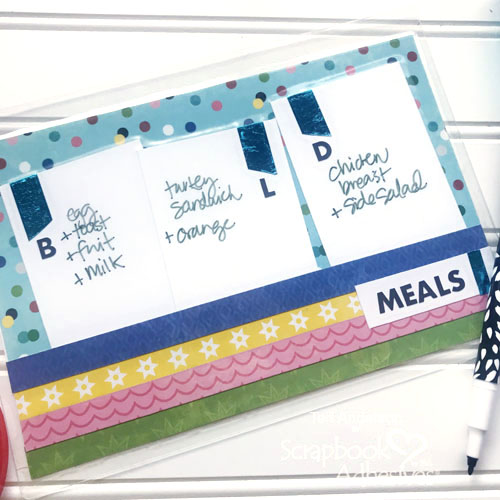
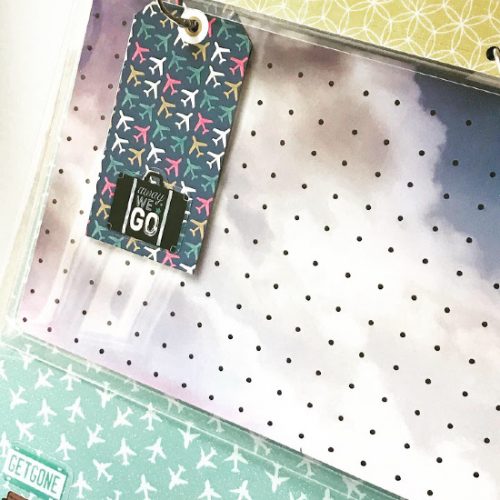
The Notes page is larger and perfect for reminders, drawings, or making notes. Here I’ve used the Self-Laminating Pouches – Cards X-Large. I used tags from the Explore Your World Tags double-sided paper for decoration in between the pages.
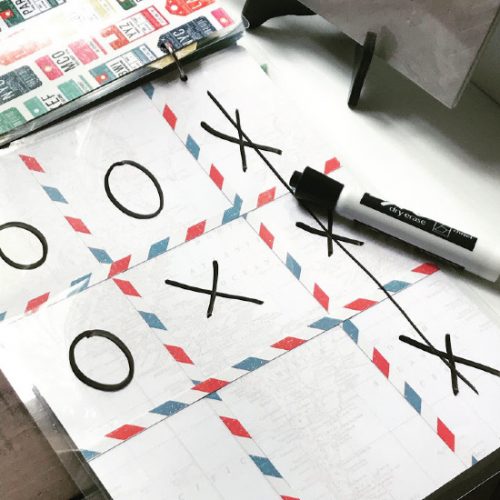
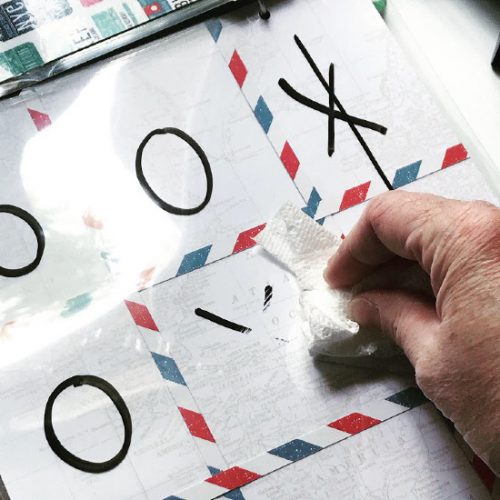
Tic-Tac-Toe

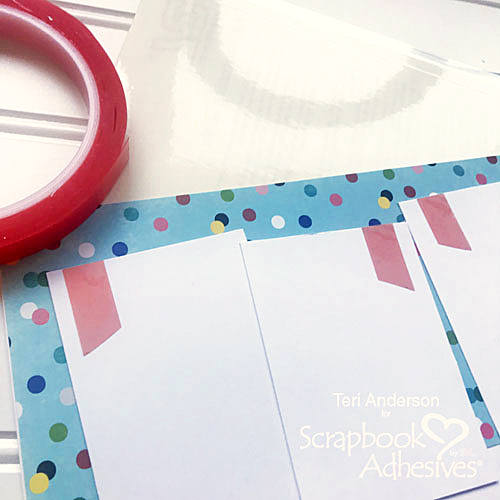
The final page: Tic-Tac-Toe! After cutting the Suitcases double-sided paper to 8.5″ X 11″, I used the leftover stripes to create the lines. I chose the Premium Double-Sided Tape 1/8in to attach the strips.
In finishing, I used 1-inch binder rings to hold the pages together.
Thank you for joining me today!
Shellye
Creative Time: 1 Hour
Skill Level: Beginner
Materials Needed:
Scrapbook Adhesives by 3L®
HomeHobby by 3L®
- Dual Tip Glue Pen
- Self-Laminating Pouches – Cards X-Large, Large, and Medium
- Premium Double-Sided Tape 1/8in
Other: Paper House Productions: Explore Your World Tags Double-Sided Paper, Suitcases Double-Sided Paper, Up, Up & Away We Go Double-Sided Paper, Explore Your World Map Double-Sided Paper, Luggage Tags Double-Sided Paper, Around The World 3D Sticker, Let’s Explore Cardstock Stickers
Love It. Pin It!
Visit our Website and Blog!
Sign up for our Newsletter so you never miss a contest or giveaway!