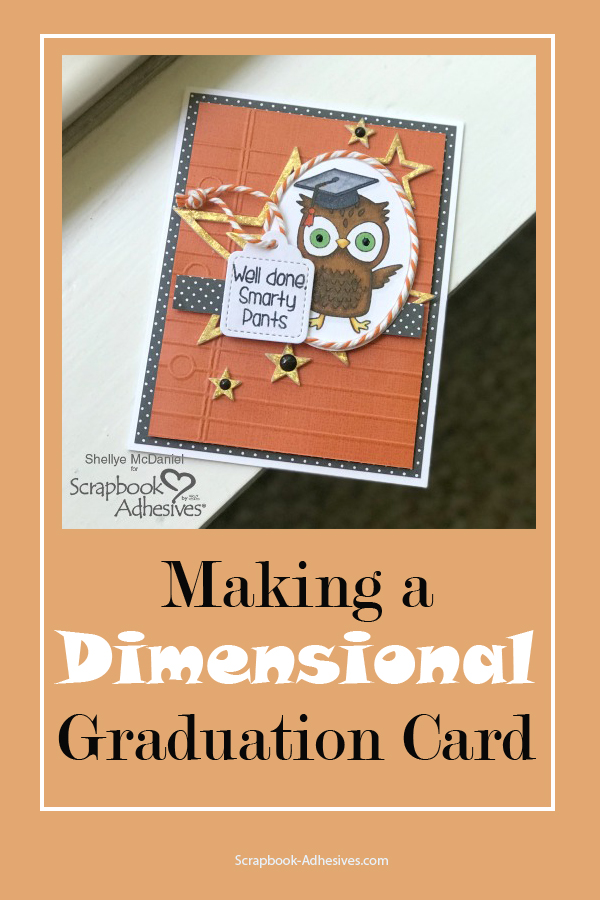
It’s that time of year – graduation! Do you have a graduate? Shellye McDaniel here today to share a sweet 3-D card for one of my favorite graduates!
Graduate Card How-To
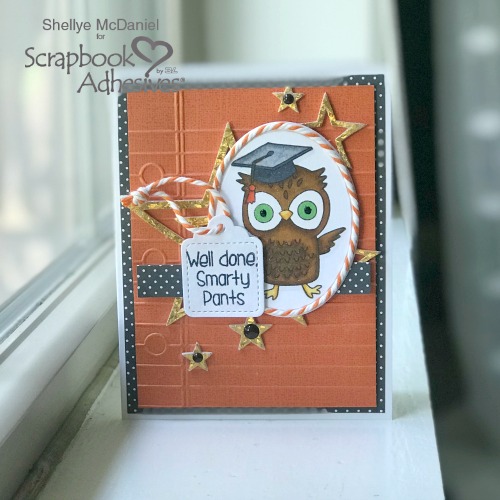
To get started with my graduate card, I cut an A2 card from 110 lb. cardstock. Next, I cut a black dot patterned paper that measured 4″ X 5.25″ and attached it with Premium Double-Sided Tape 1/2-inch to the card base.
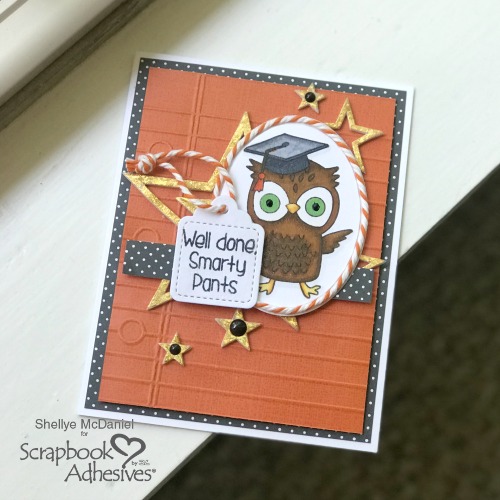
With a piece of orange cardstock measured to 3.75″ X 5″, I embossed with a notebook paper design. Using Crafty Foam Tape White, it was attached to the center of the black dot paper.
Embellish the Card
After stamping and coloring in the owl image with alcohol markers, I die cut the image out with an oval die.
Next, I used a size-larger oval die and cut another shape from white cardstock. I applied adhesive to the second oval with Adhesive Sheets 4×6 inch and then pressed the chunky twine around the edge of the shape.
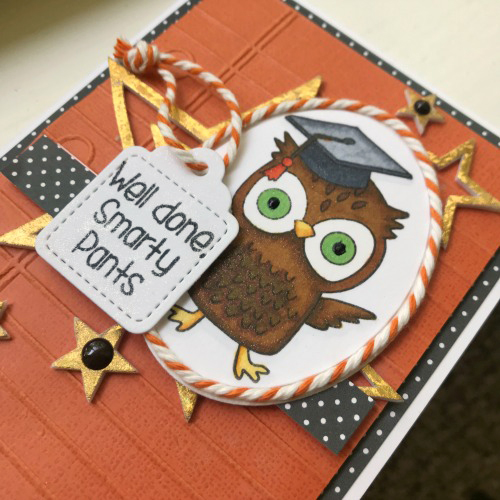
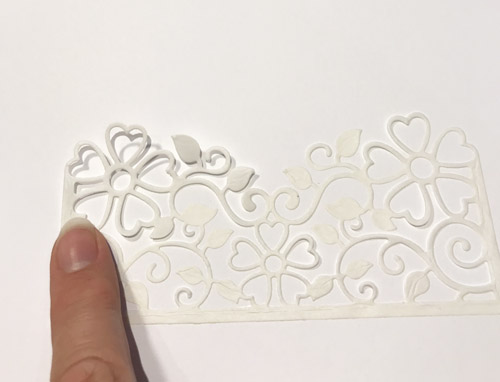
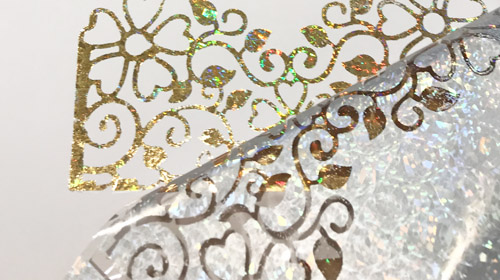
To add even more flair and fun, I assembled several of the 3D Foam Stars and used the Metallic Transfer Foil Sheets Holographic in Gold to make them shine! In completing my Graduate Card, I used 3D Foam Squares to attach items such as the strip of dot paper and the cute tag.
Thank you for stopping by!

Creative Time: 30 minutes
Skill Level: Intermediate
Materials Needed
Scrapbook Adhesives by 3L®
Metallic Transfer Foil Sheets Holographic
Crafty Foam Tape White
Adhesive Sheets 4×6 inch
3D Foam Stars
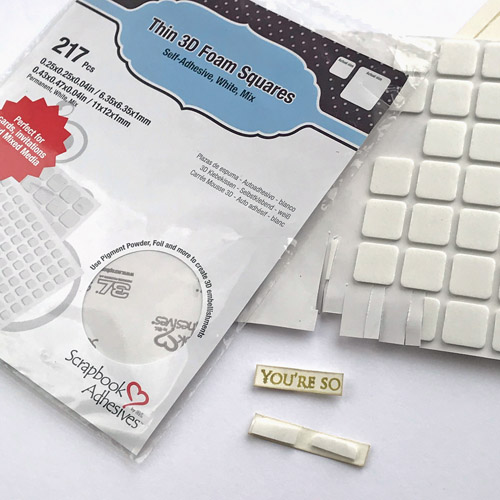
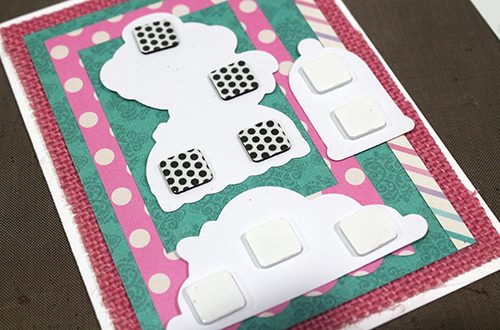
3D Foam Squares White Mix
HomeHobby by 3L®
Premium Double-Sided Tape 1/2-inch
Other:
Stamp: Darcie’s (Owl Stamp and Sentiment); Black Dot Patterned Paper, Enamel Dots, and Twine: Doodlebug Design; Glitter Pen: ZIG (Wink of Stella in Iridescent); Embossing Folder; Orange Cardstock
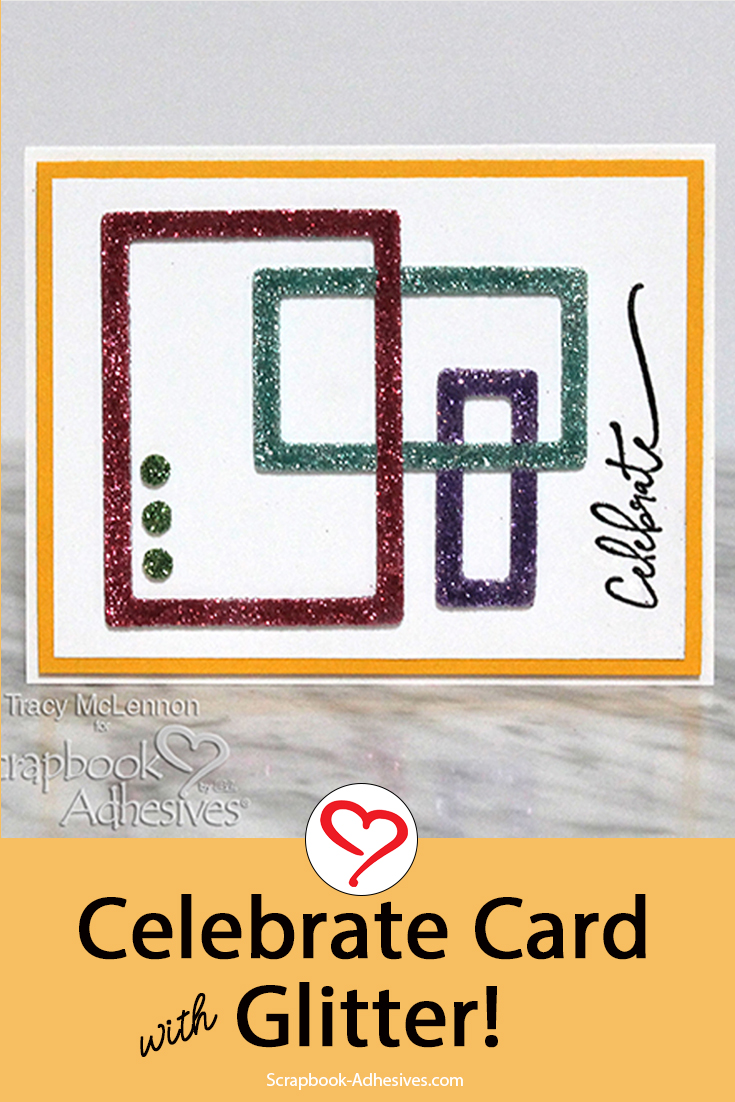
Pin It!