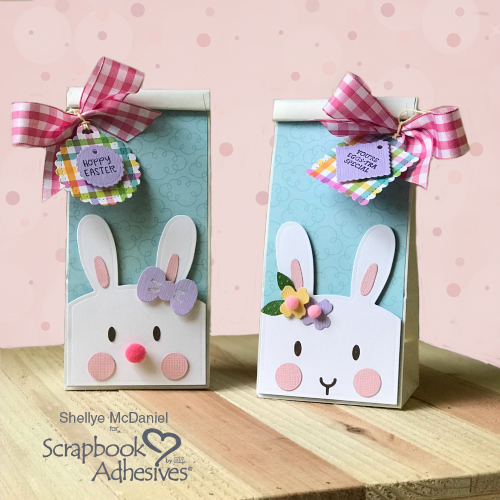
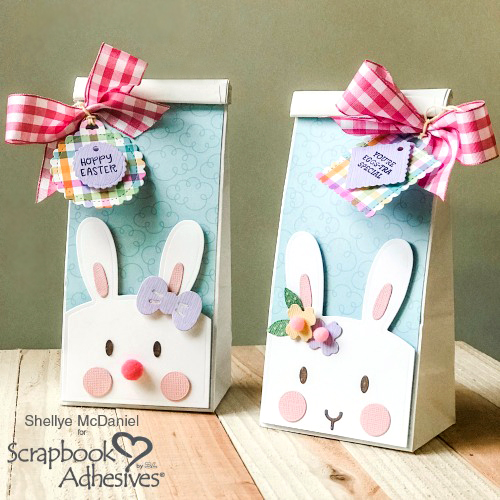
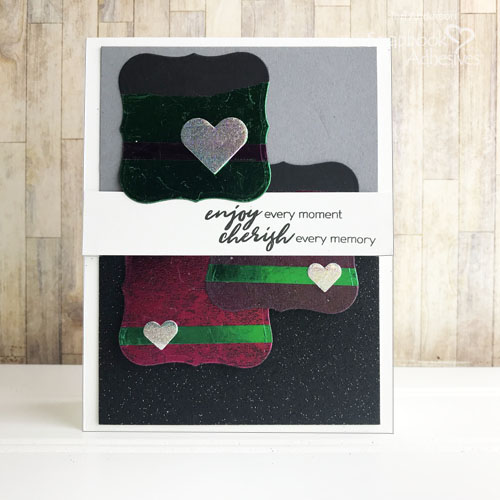
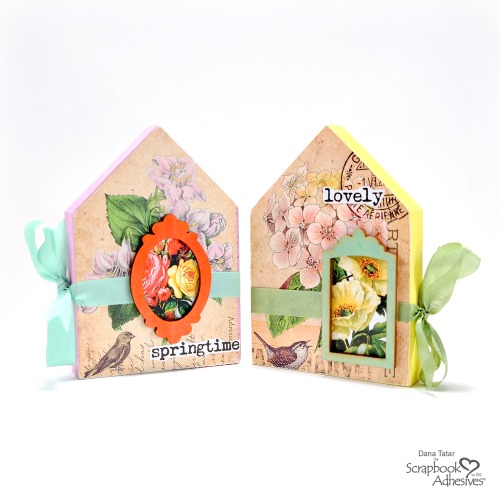
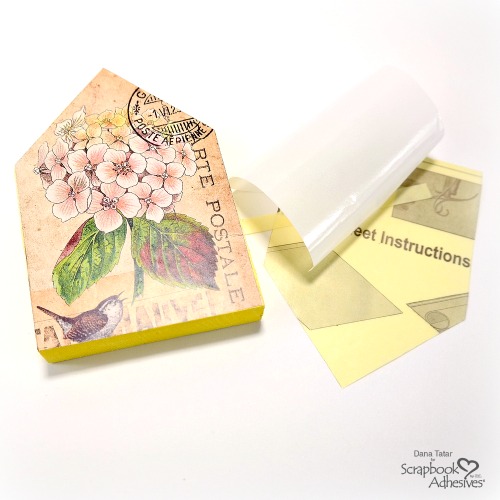
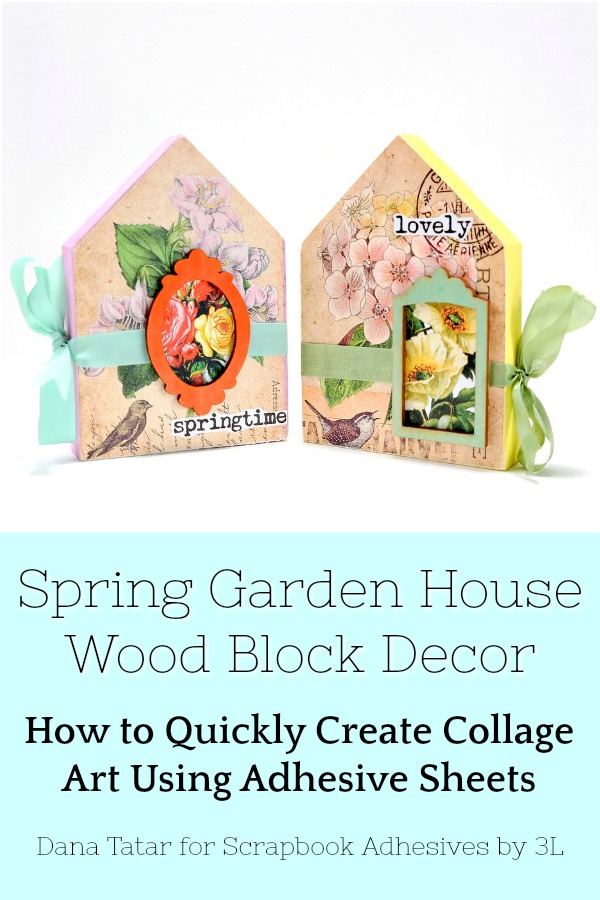
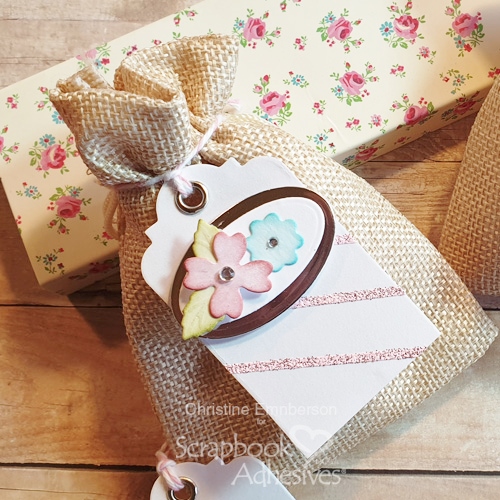
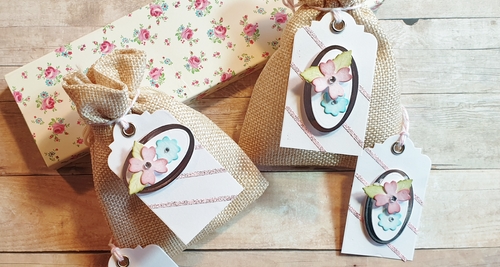
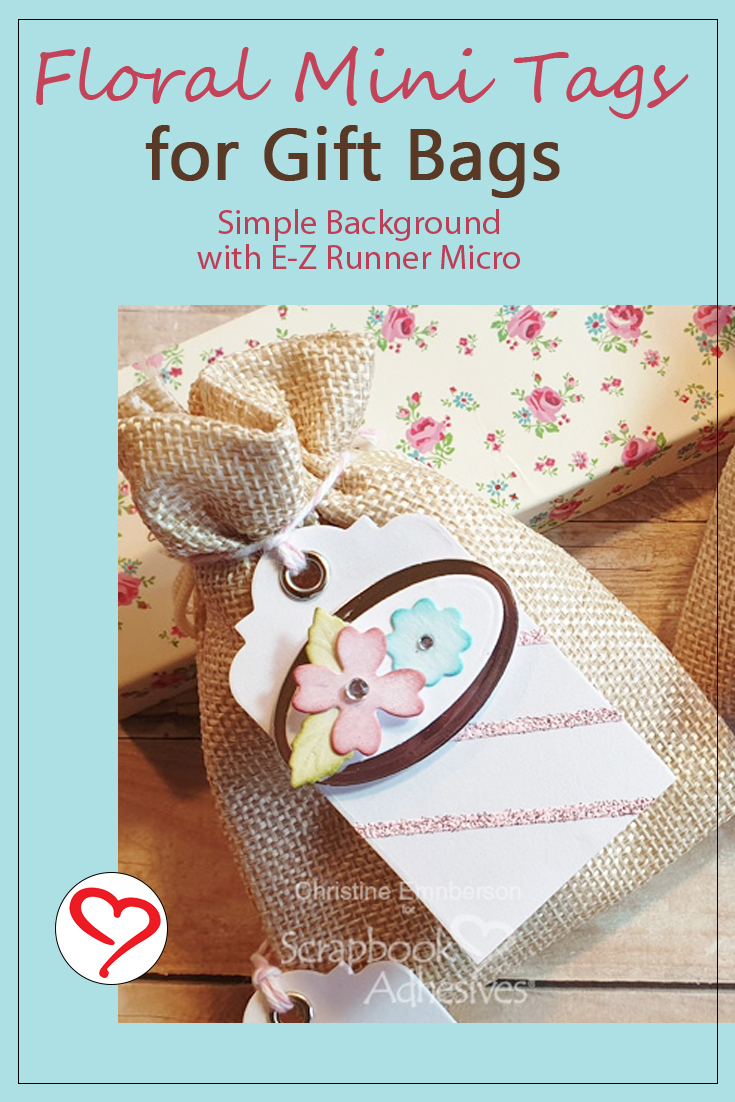
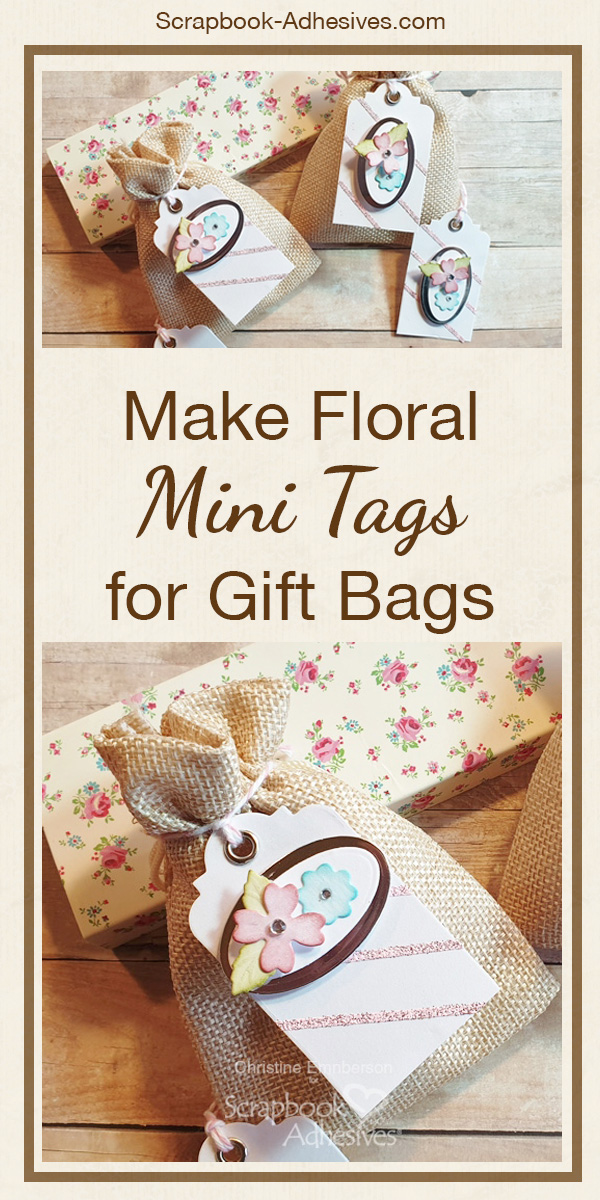
Hi everyone, Christine here today sharing with you some Floral Mini Tags, perfect to adorn little gift bags or boxes, and easily made with Scrapbook Adhesives by 3L® adhesives.
Mini Tags Step Outs
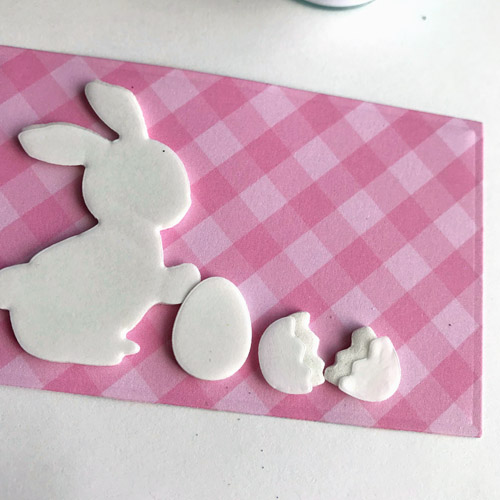
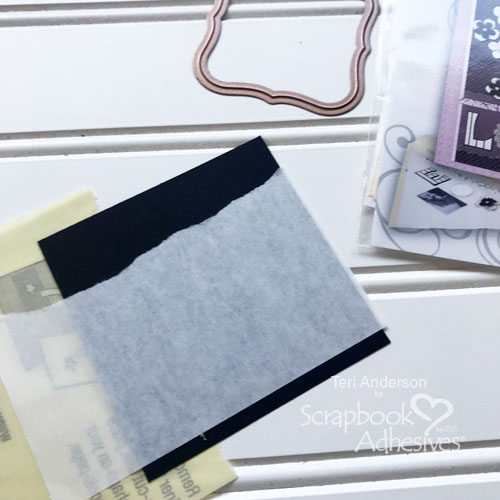
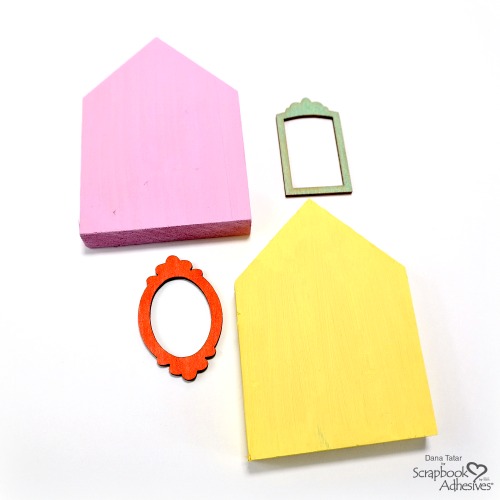
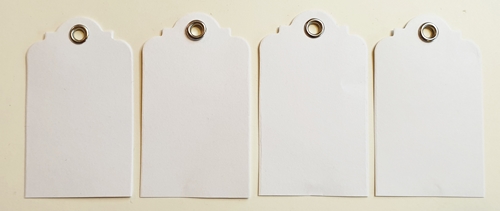
To start, I selected four white mini tags. These were purchased but you can die-cut them too.
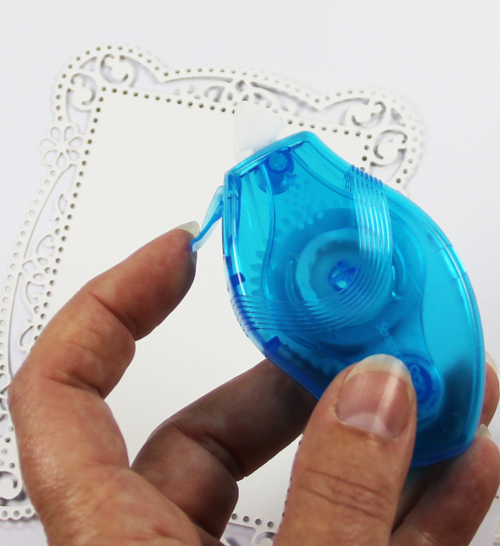
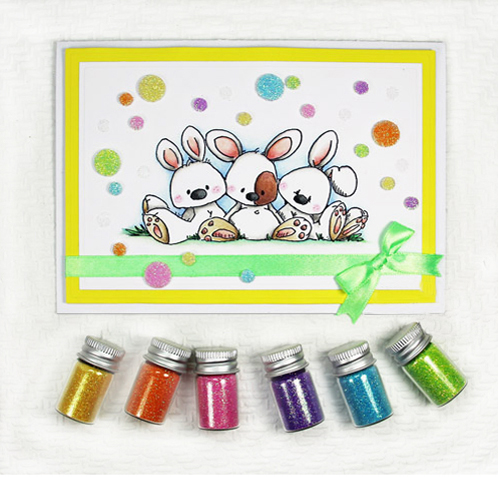
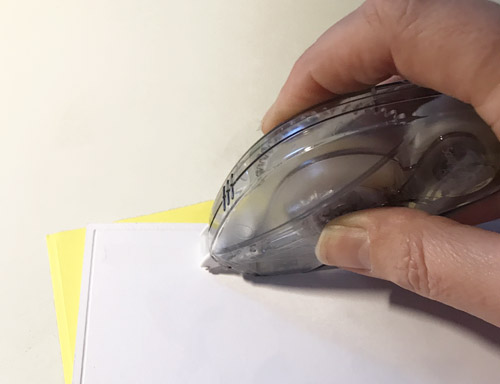
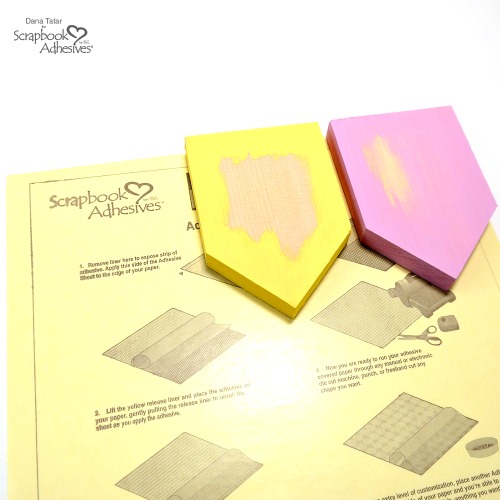
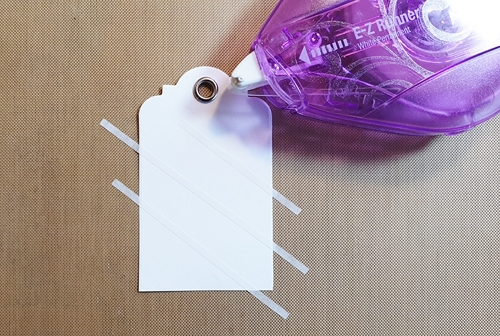
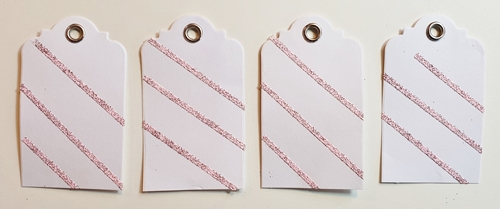
Using the E-Z Runner Micro Refillable Dispenser, apply diagonal strips. This clever dispenser applies strips that are only 1/8″ wide and it is centered on the liner for easy application.
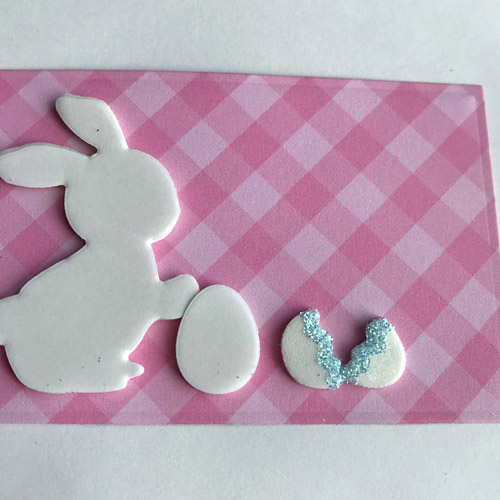
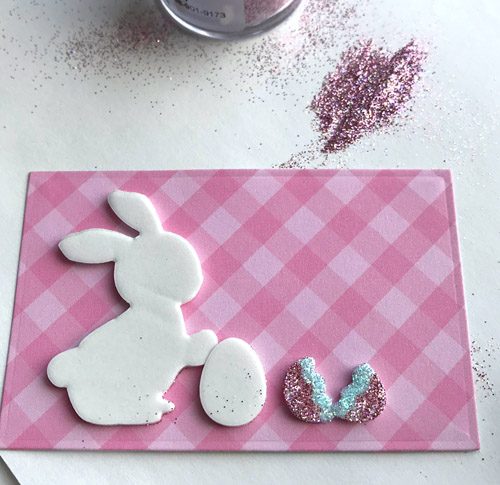
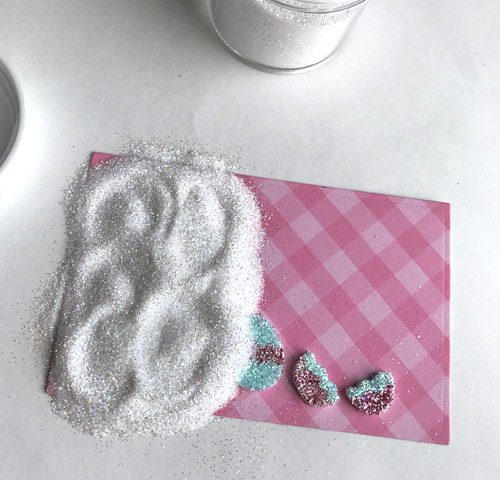
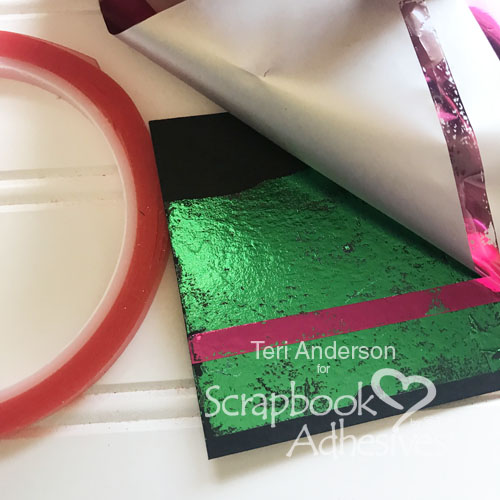
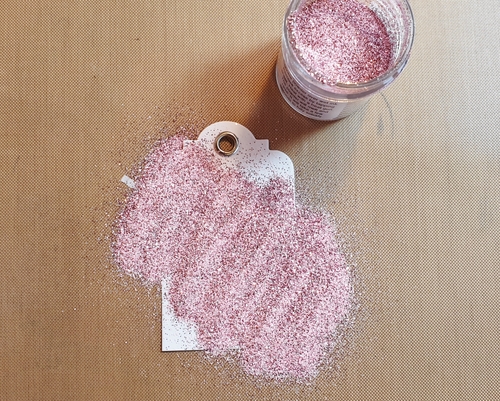
Cover the mini tags with embossing powder, tap off excess and set with heat tool.
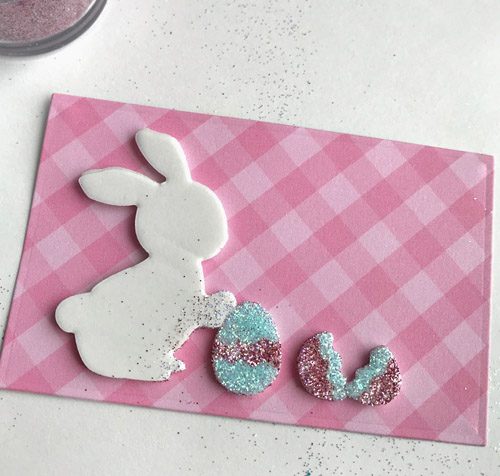
Four Striped Mini Tags
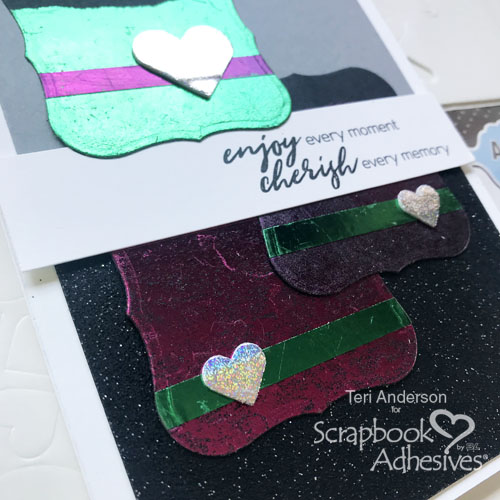
The narrowness of the tape makes the stripe design look light and delicate.
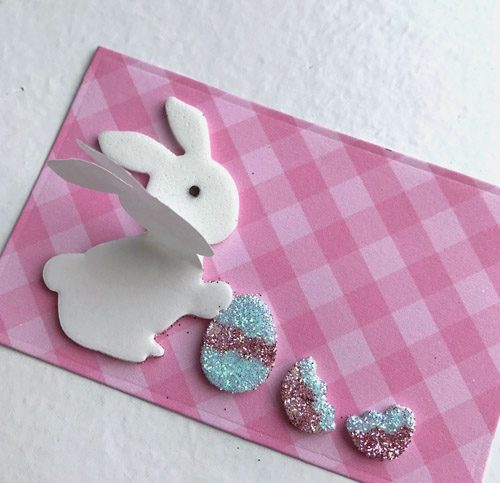
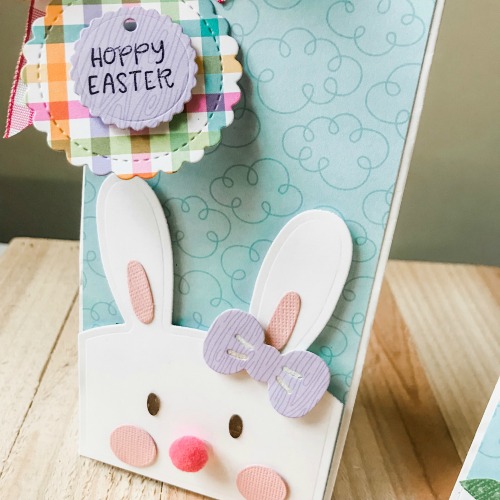
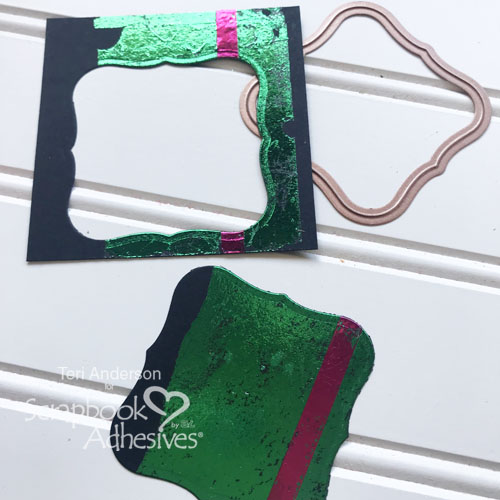
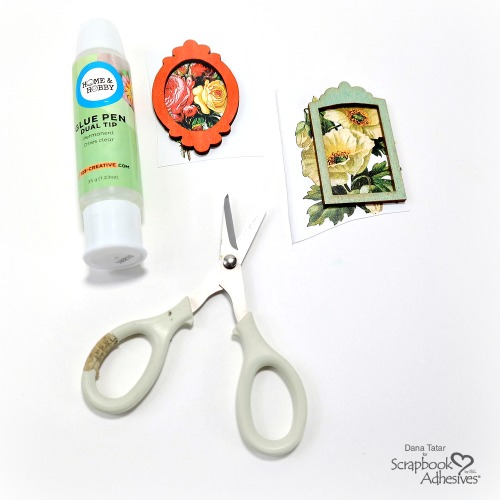
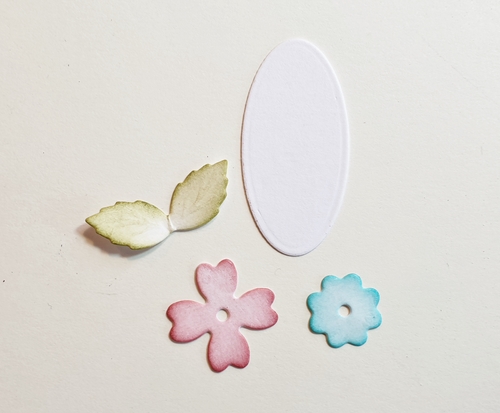
Next, I selected some die cuts, small oval, leaves, and flowers. I colored them with various distress inks.
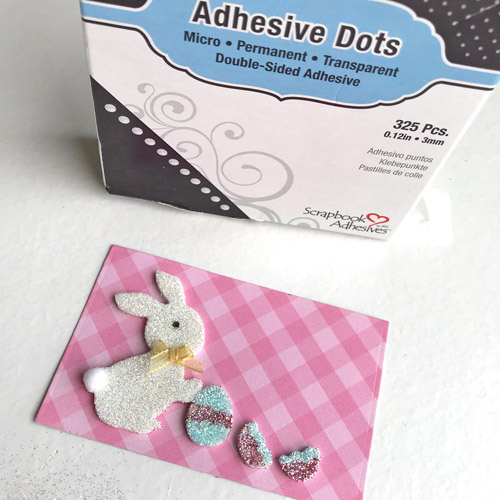
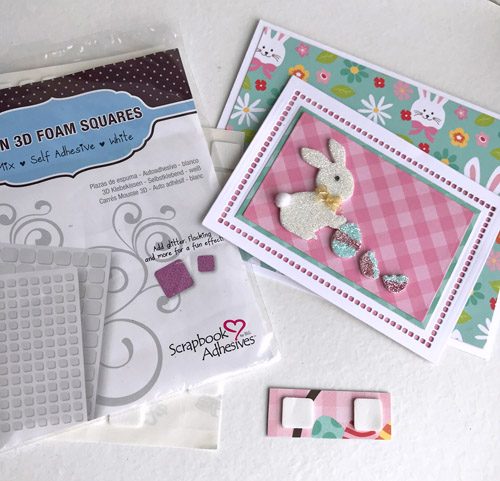
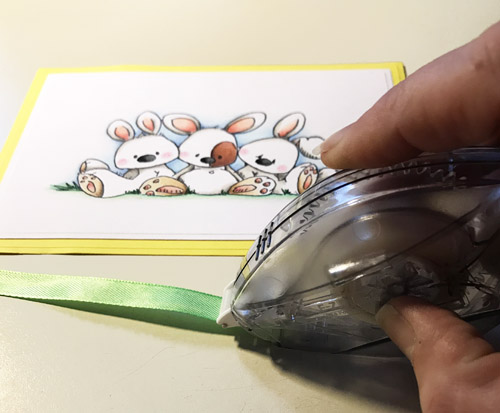
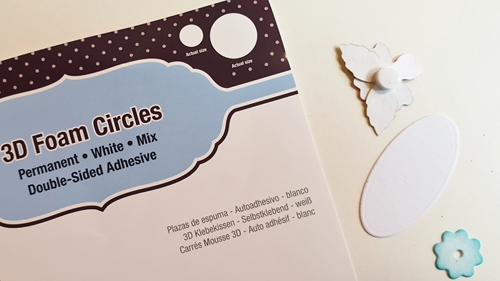
Assemble the flowers and apply 3D Foam Circles White to the reverse. Available in two sizes in each pack, the smaller circles hold tiny embellishments securely in place.
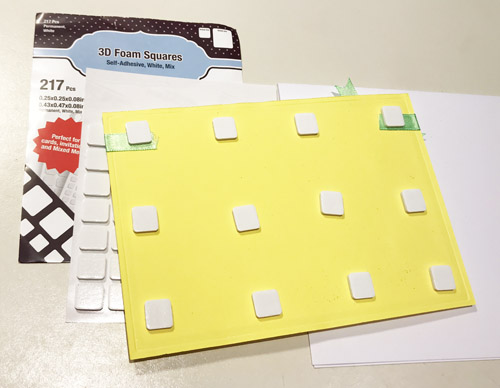
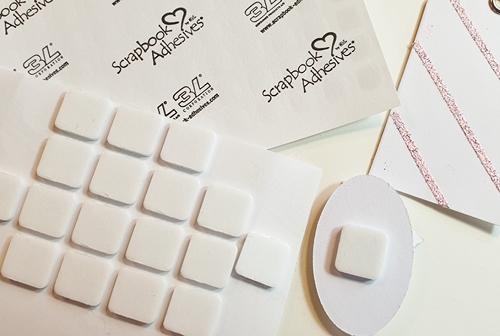
Switching to 3D Foam Squares Regular for the reverse of the larger embellishments.
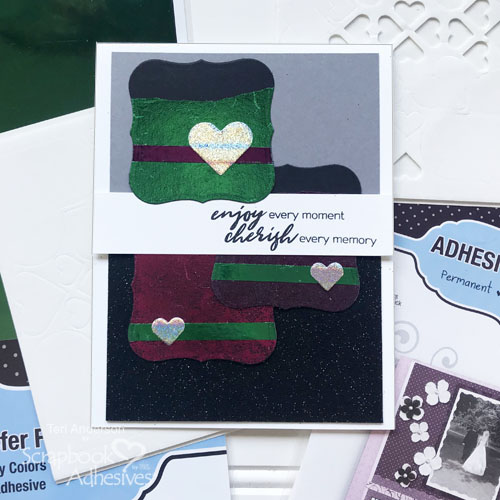
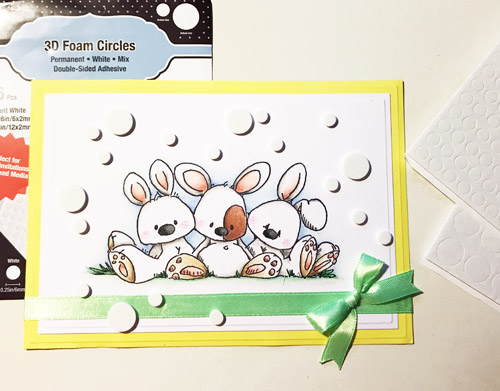
I finished with an additional touch of twine and little gemstones to the flower centers.
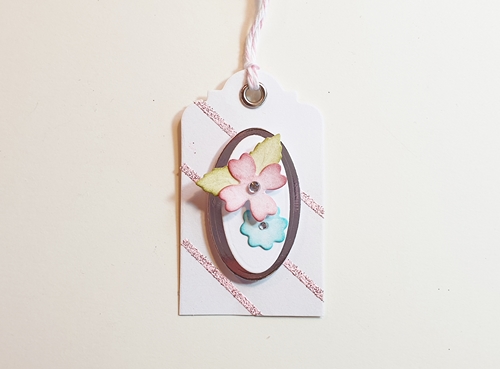
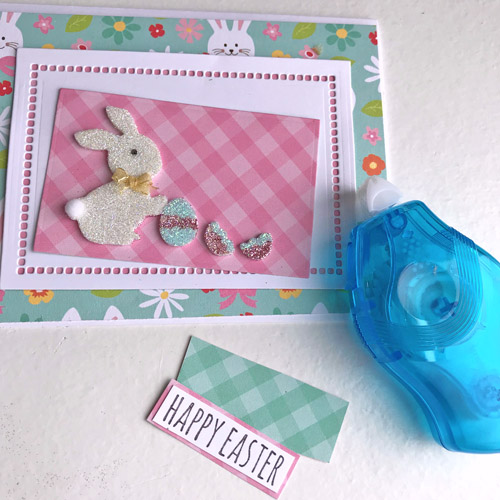
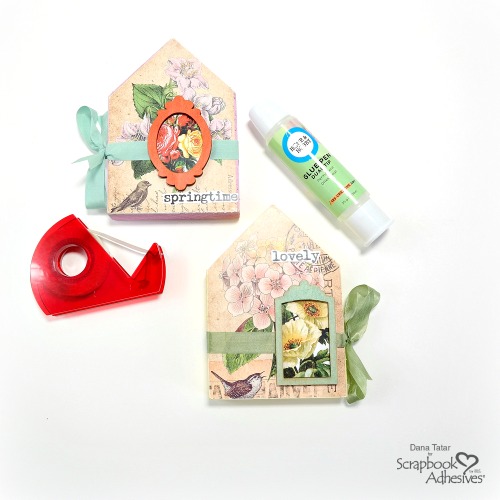
Here is another look at the mini tags! By varying where the ovals are placed, the tags are different but still have a coordinating look.
Thanks for stopping by and don’t forget to check out the great products on the website.
Christine
Creative Time: 25 Minutes
Skill Level: Intermediate
Materials Needed
Scrapbook Adhesives by 3L®
3D Foam Circles, White
3D Foam Squares White Regular
E-Z Runner Micro Refillable Dispenser
Other
Craft Dies: Spellbinders® Paper Arts (Swallow and Heart (flowers)); White Mini Tags; WOW Embossing Powder; Watercolor Card; Silver Foil Card; Pink Twine, Distress Inks; Gemstones
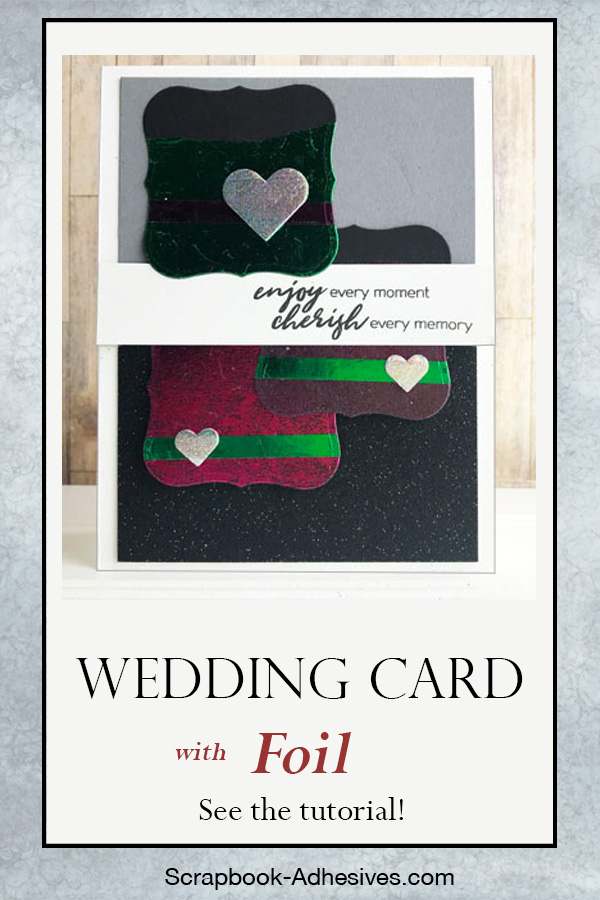
Save It to Pinterest!
Visit our Website and Blog!
Sign up for our Newsletter so you never miss a contest or giveaway!