Hello friends! Today, I’m sharing some quick fun luggage tags! With the graduation season upon us, I thought these tags would be perfect little gifts for graduates!
Creating Quick and Easy Luggage Tags
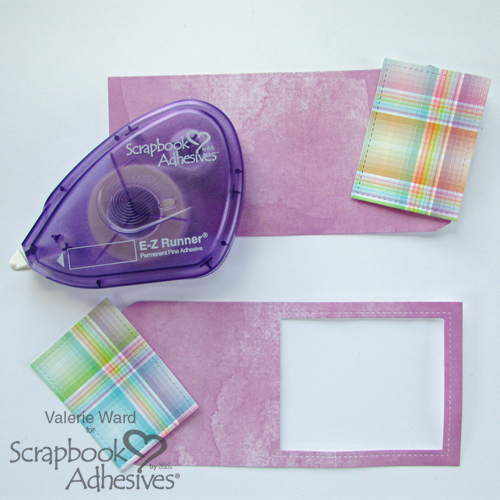
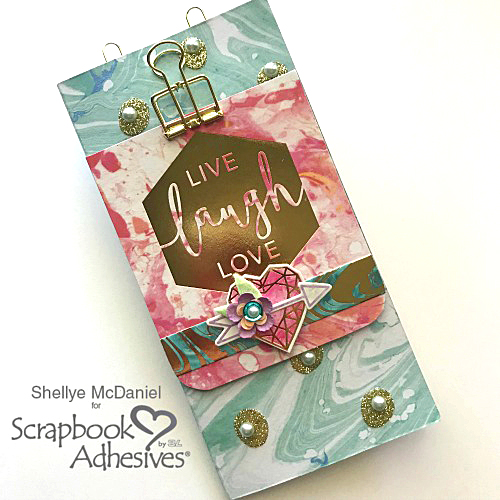
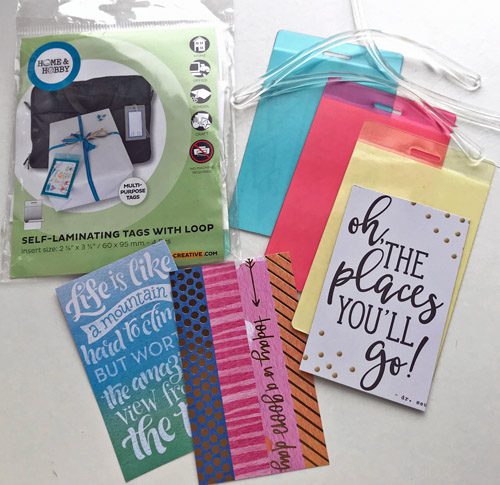
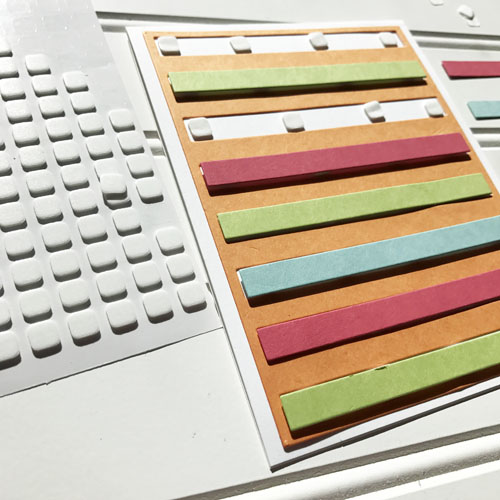
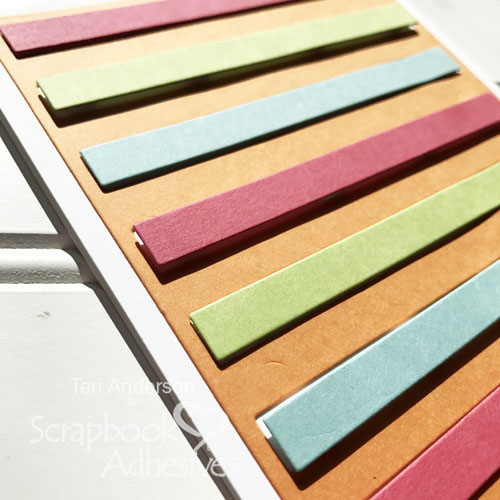
Self-Laminating Tags with Loops make these tags easy! Just add fun colors by simply cutting colorful patterned papers into 2 3/8 x 3 3/4 inches to fit in the laminated tags.
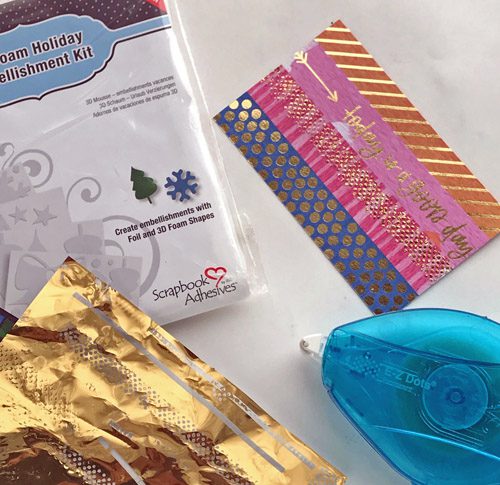
Let’s embellish the cut papers before sealing them in the laminated tags. I’ve used a combination of E-Z Dots® Permanent Refillable Dispenser and E-Z Runner® Micro Refillable Dispenser with gold foil from the 3D Foam Holiday Embellishment Kit. Use them to add gold accent on front and back of two cut papers. It gives it such a great effect, don’t you think?
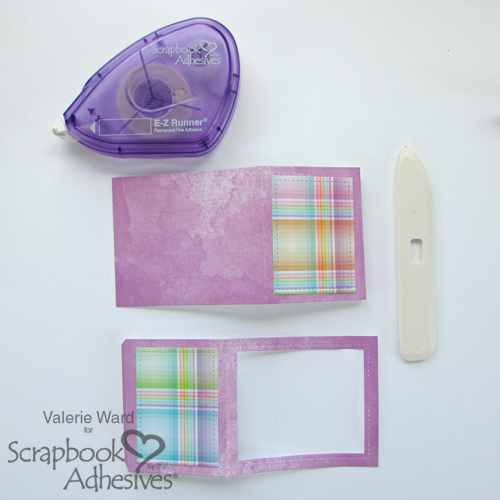
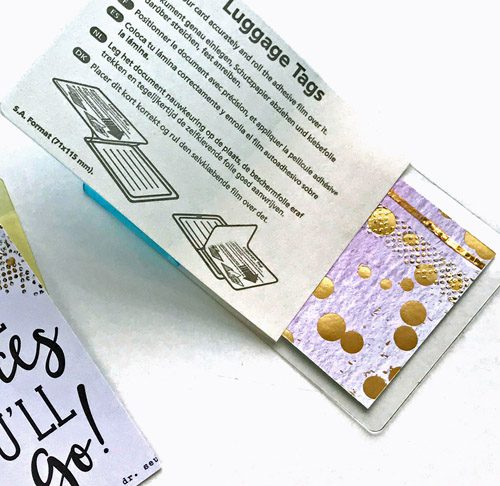
Next, add the embellished cut paper into the Self-Laminating Tags with Loops.. Then gently peel back adhesive liner and press tag edges together. The photo below shows that the instructions are printed on the liner. Lastly, thread the clear loop through the opening.
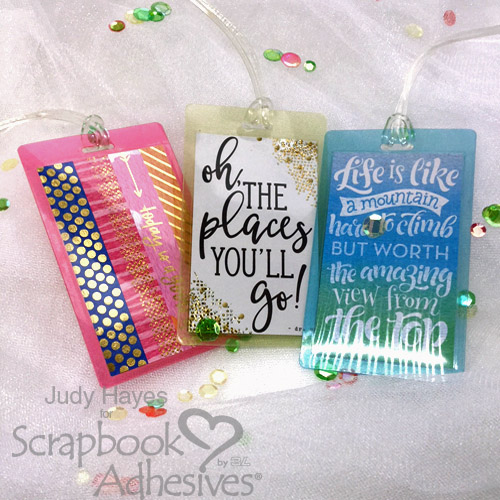
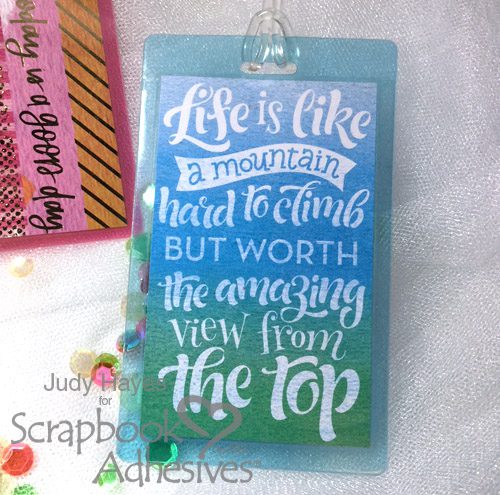
That’s it – Fun Luggage Tags are made! There are a set of four different colored tags that includes clear, pink, blue and yellow. Each tag has personality 🙂
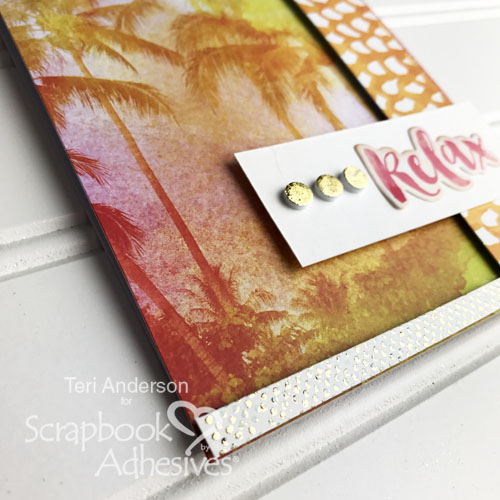
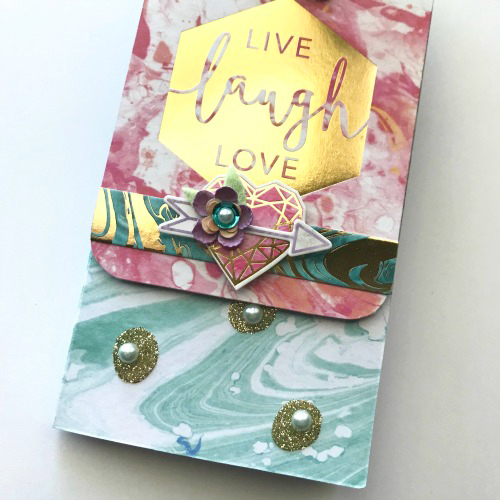
This pink tag has gold dots strip added using E-Z Dots® Permanent Refillable Dispenser and gold foil.
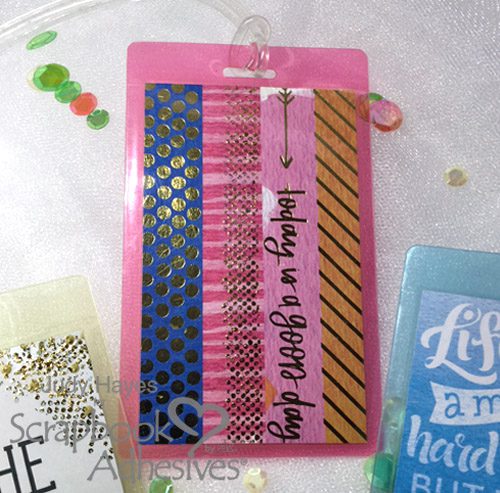
Another tag I added gold dots on corners with gold foil and E-Z Dots® Permanent Refillable Dispenser.

For this blue tag, gold stripe and dots on the back with E-Z Runner® Micro Refillable Dispenser and gold foil.
Thank you so much for stopping!
Happy crafting!
Judy
Creative Time: 30 minutes/Beginner Level
Materials Needed:
Scrapbook Adhesives by 3L®:
Self-Laminating Tags with Loops
E-Z Dots® Permanent Refillable Dispenser
E-Z Runner® Micro Refillable Dispenser
3D Foam Holiday Embellishment Kit
Other Supplies: Papers with inspiration verses – Paper House Color Washed, Bella Blvd Make Your Mark, Simple Stories Graduation
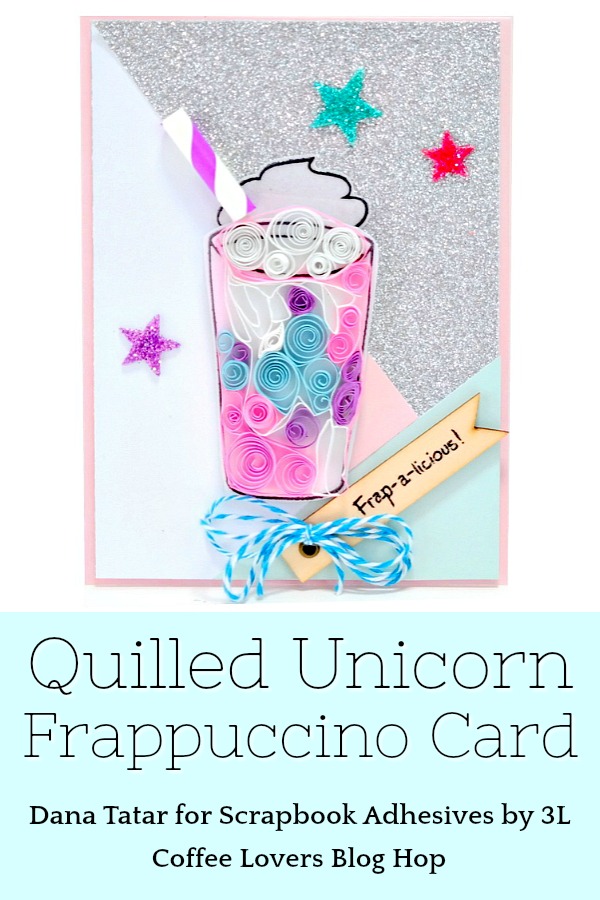
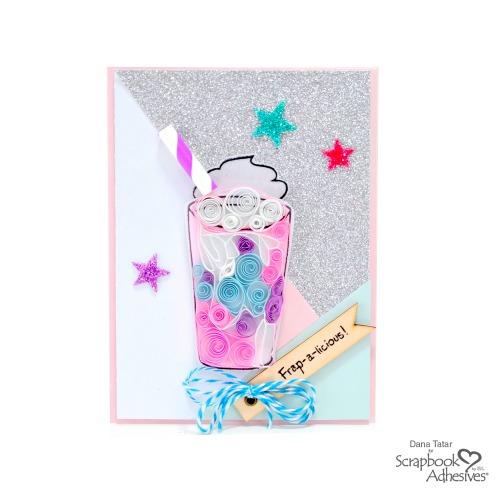 Quilling was the perfect way to mimic the swirls of color in a Unicorn Frappuccino. I used quilling paper and a