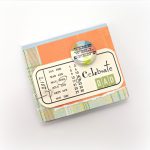
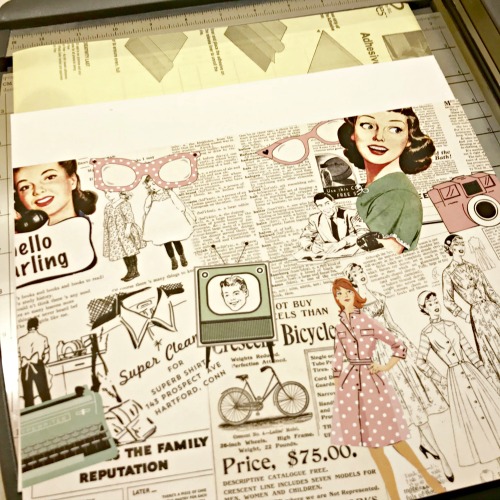
Sunday Greetings! Shellye McDaniel along with you today. I have a so-simple tutorial for making this fun Retro Girl Traveler’s Notebook.
Creating a Retro Notebook:
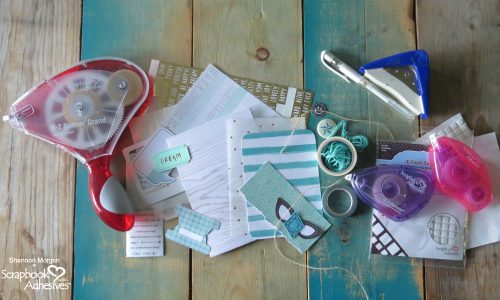
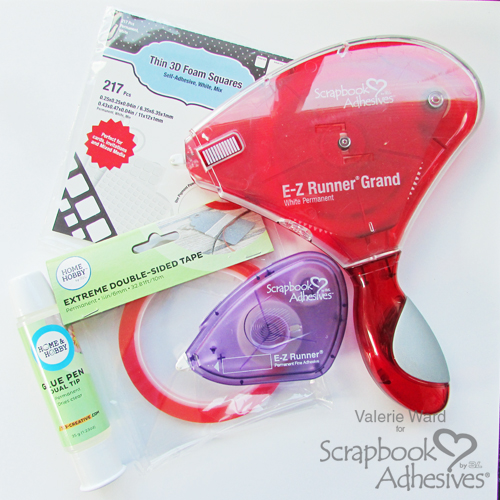
First, you will start with just a few basic supplies: 9 x 12″ craft foam, Adhesive Sheet 12 x 12″, Extreme Double-Sided Tape 1/4″, elastic cording and your favorite scrapbook paper. You will also need these tools: 1/8″ hole punch, an awl or eyelet setter, ruler, corner-rounding punch, paper trimmer (I used a guillotine), scissors, and a lighter (optional).
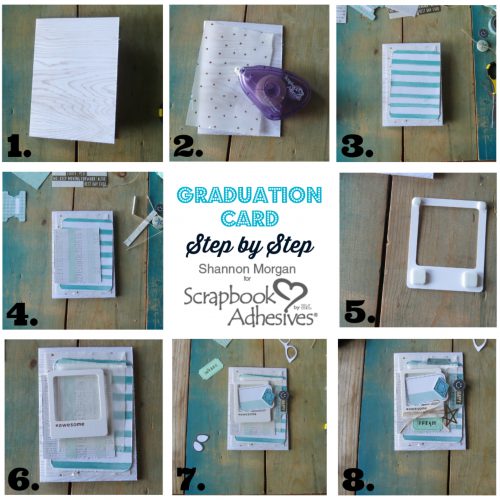
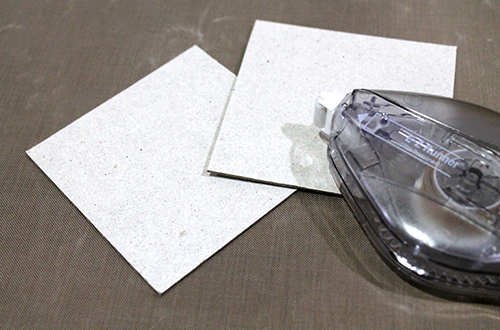
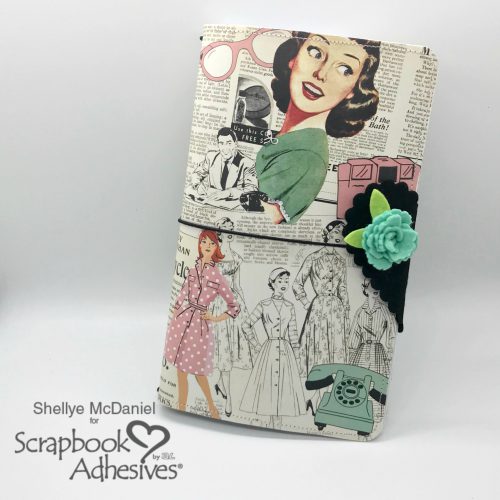
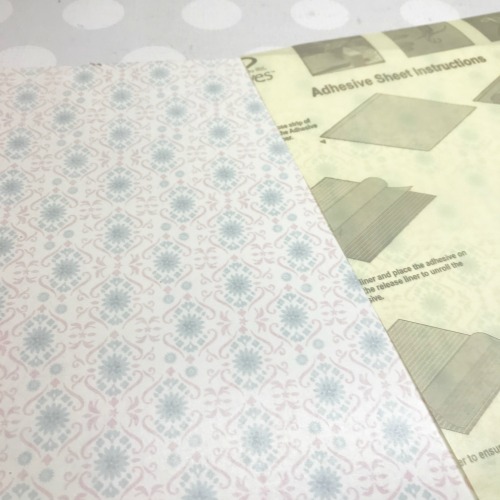
First, you will need to cut your scrapbook paper, adhesive sheet, and foam to measure 8.75 x 11.25″. Carefully apply the adhesive sheet to the backside of the scrapbook paper.
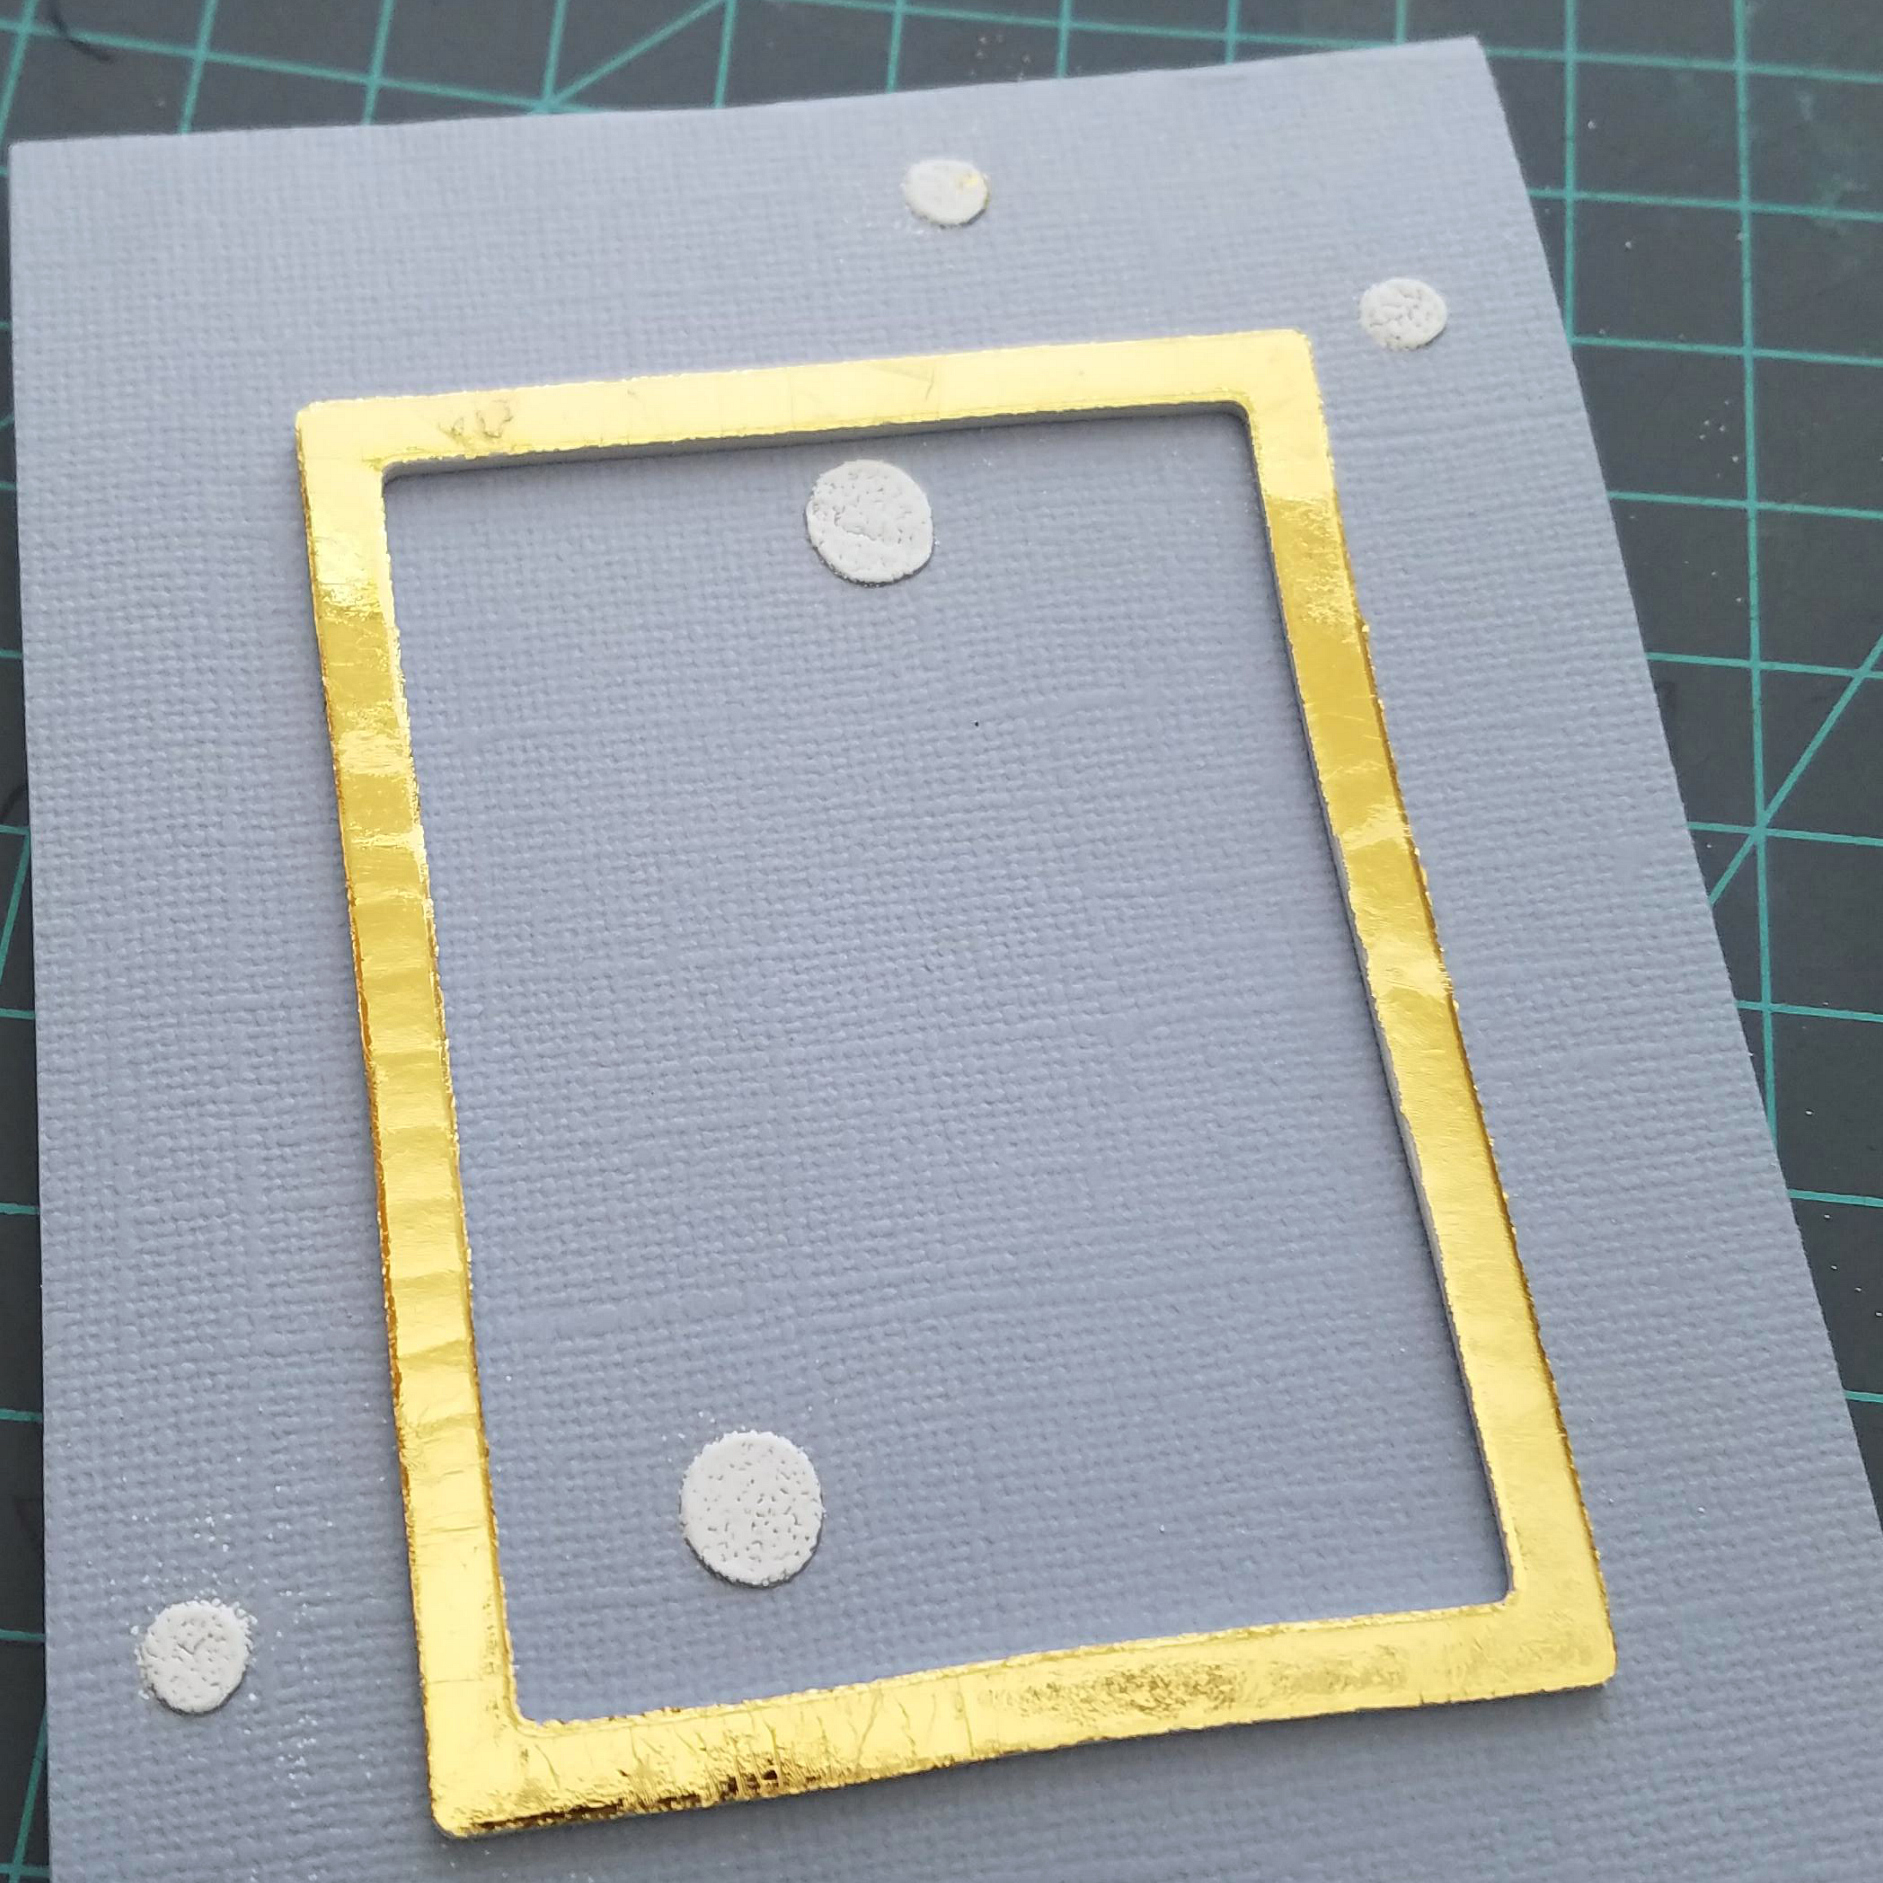
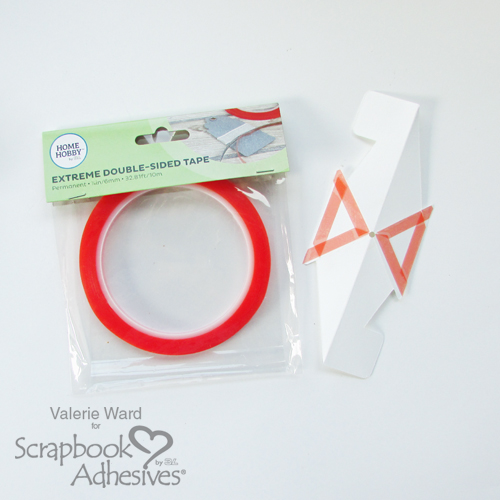
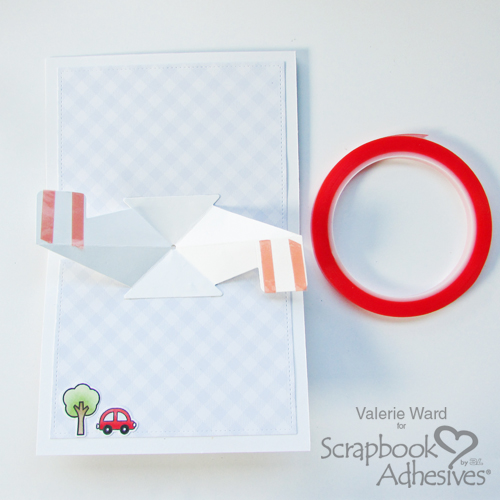
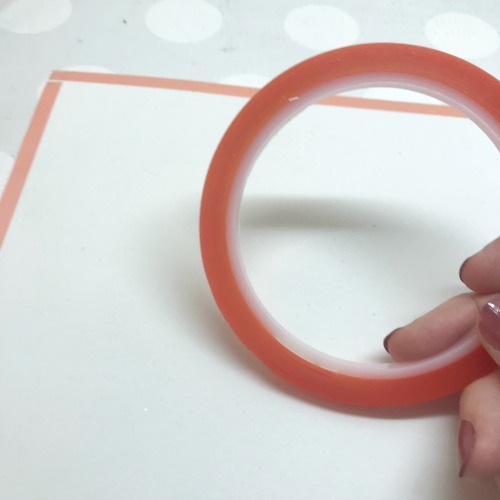
Next, you will add strips of the Extreme Double-Sided Tape 1/4″ to all edges of the foam sheet. Make sure that you get as close to the edge of the foam as possible.
After removing the backing from the double-sided tape, attach the foam sheet to the adhesive side of the scrapbook paper. Using your corner-rounder, punch all four edges of the foam/paper.
Next Up:
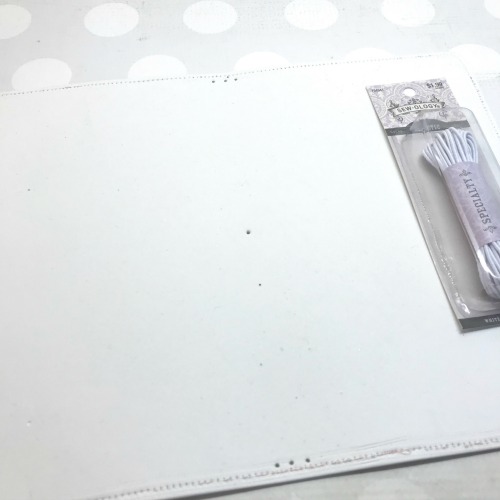
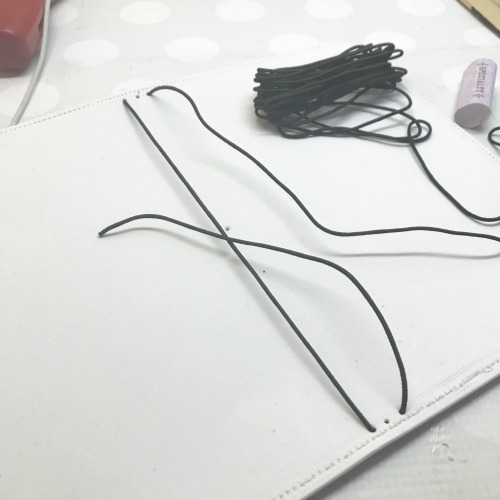
Now it’s time to create the holes and string through the elastic cording. Using your ruler, find the center of the foam. From the bottom: come up 0.5″ and mark two spots at 0.25″ on both sides of the center mark. Repeat the same process for the top:
Next, use your 1/8″ hole punch, punch the two holes at the top and bottom.
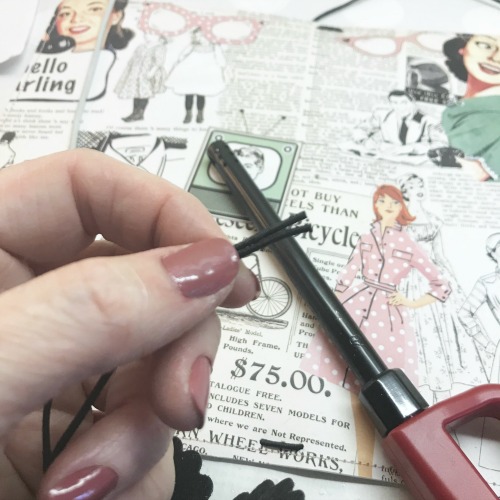
Again find the center of the foam by its length and height to create the middle hole. Use your awl or eyelet setter to create a hole.
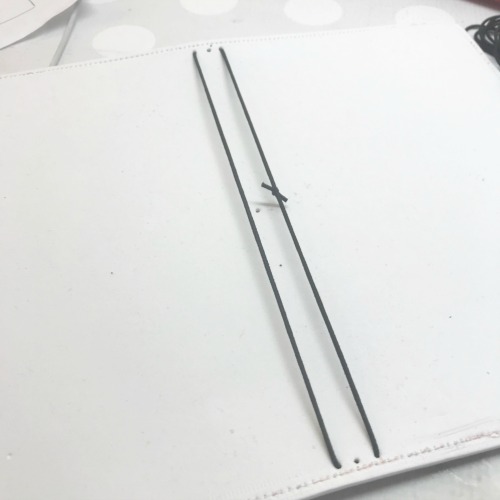
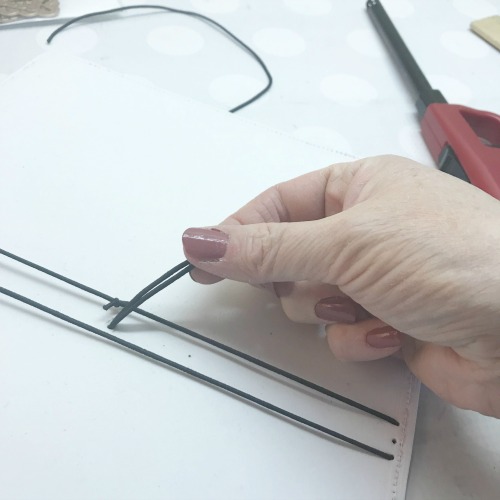
Cut approximately 18″ of elastic cording from the roll. This next step is optional, but makes stringing so much easier! Use a lighter to quickly melt the ends of the elastic. Now you are ready to begin stringing the holes as shown below:
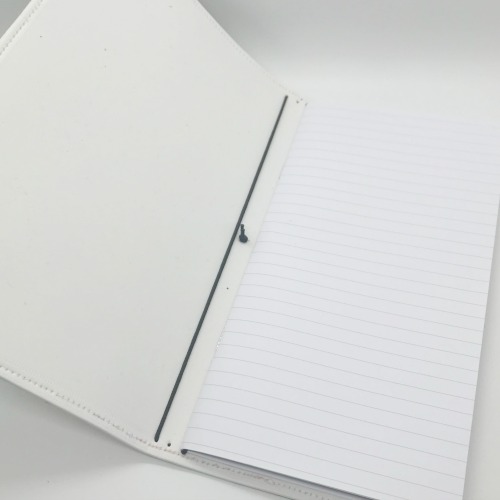
Before tying the ends together, test the tension to make sure that you have enough slack to accommodate the insert(s).
Finishing Up:
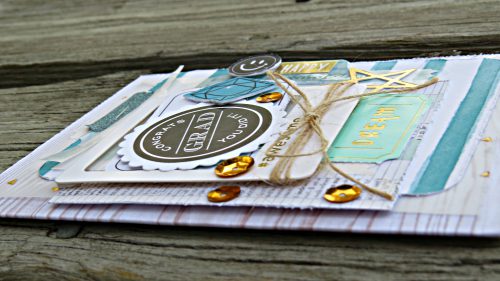
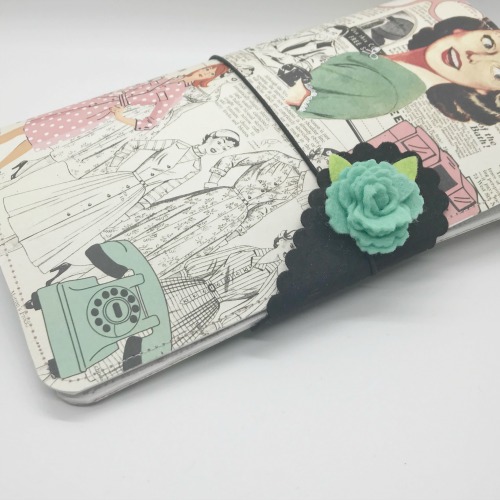
Finally, you are ready to add the closure band and protective edge.
For this, I have used a 3.5″ heart die to cut the shape from black felt. Two holes were punched on both sides of the heart. After cutting about a 12″ to 13″ piece of cording, I strung it through the holes of the heart and then through the center hole of the foam cover:

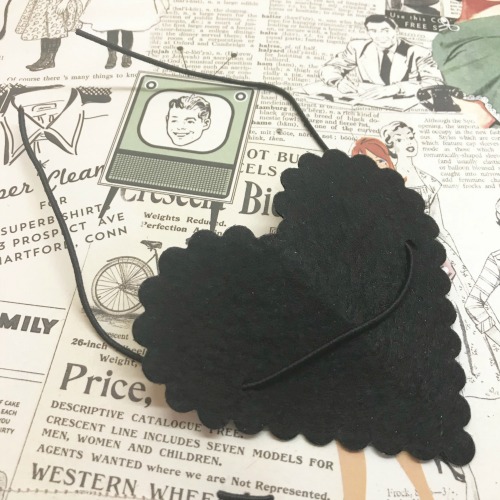
Before tying off the cording, adjust the length by making sure the center loop of the cording is the same length as the bottom of the notebook cover. Knot the cording and trim off the excess.
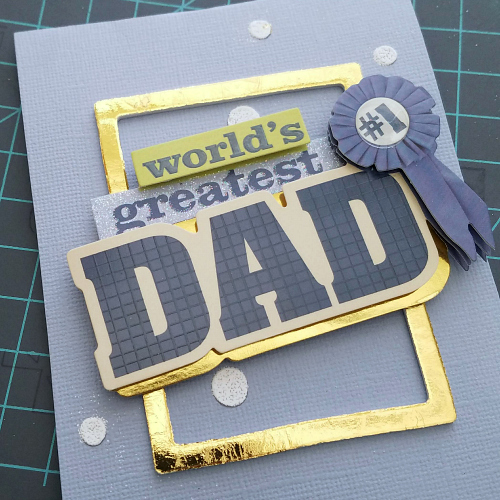
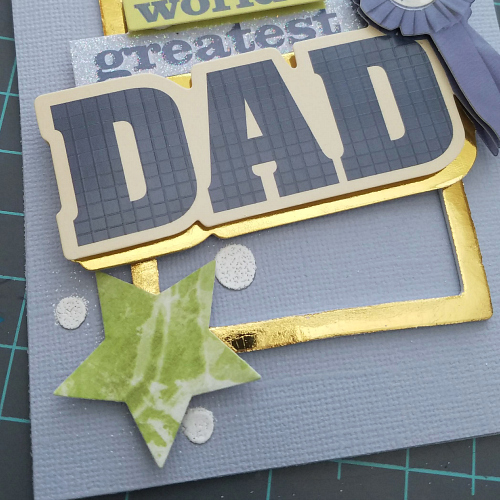
In finishing you may want to add more embellishments, paper clips, pen holder or even try machine stitching as I chose to do!
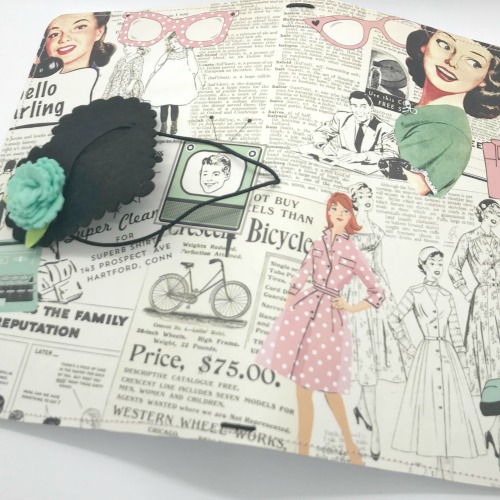
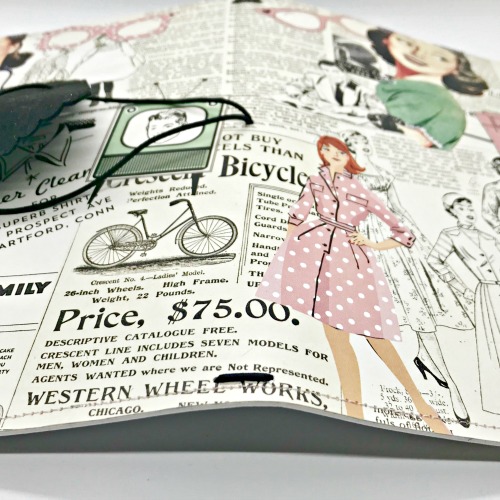
I’m so pleased with how this Retro Notebook turned out. By using the Adhesive Sheet, you are sure to get a smooth application of paper to foam without any bubbling of the paper. Give it a try and I think you’ll love the results too!
Thank you for joining me today!

- Creative Time: 60 minutes
- Skill Level: Intermediate
Materials Needed:
Scrapbook Adhesives by 3L®:
Adhesive Sheets 12 x 12″
HomeHobby by 3L®:
Extreme Double-Sided Tape 1/4″