Hi everyone, Jana here with a new layout for you using my favorite Scrapbook Adhesives by 3L® product, Crafty Foam Tape!
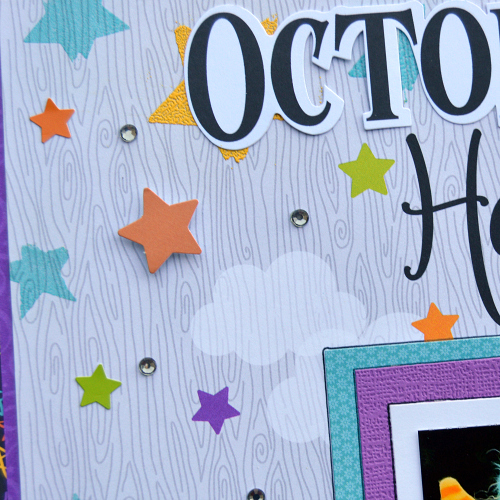
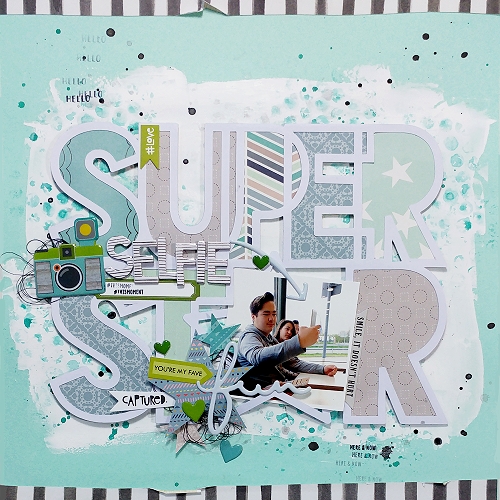
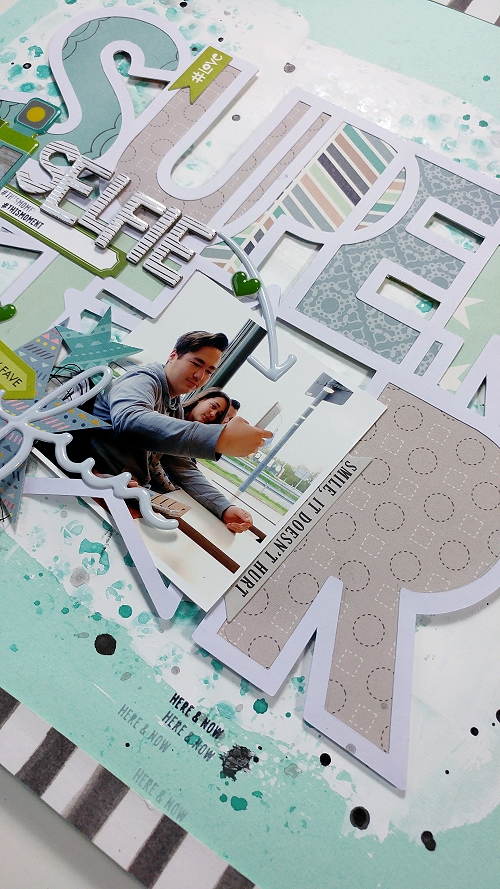
The scrapbook page focuses on a photo that shows my oldest son taking some selfies. I’ve never seen a boy taking so many pictures of himself! But I really enjoy watching him taking different poses and faces, it’s so much fun!
Creating the Layout
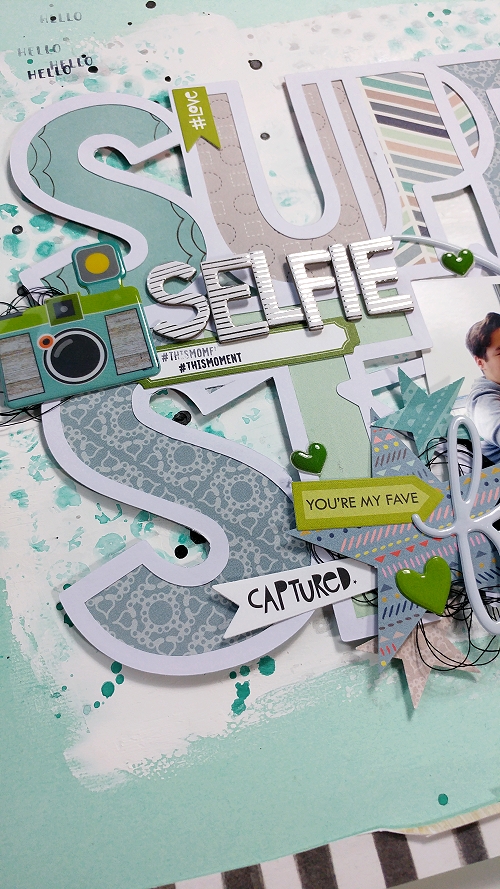
On a mint cardstock, I added white acrylic paint and stamped with bubble wrap in coordinating color paints. It needed just a little something so I randomly flicked liquid ink. I wanted just enough to frame my “Super Star” title which I used Crafty Foam Tape to pop it up. Love that it gives the perfect height and dimension!
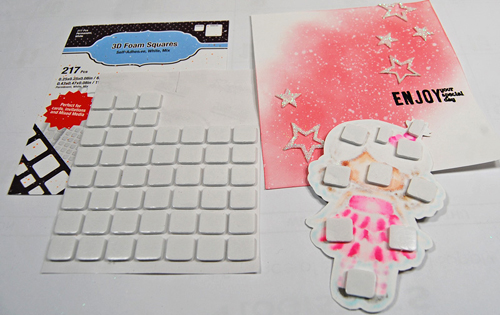
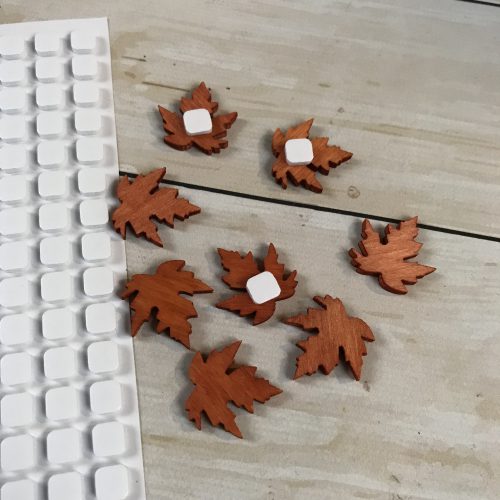
3D Foam Squares are my “go to” adhesives for tiny elements and details. They come in different sizes and height, just perfect!
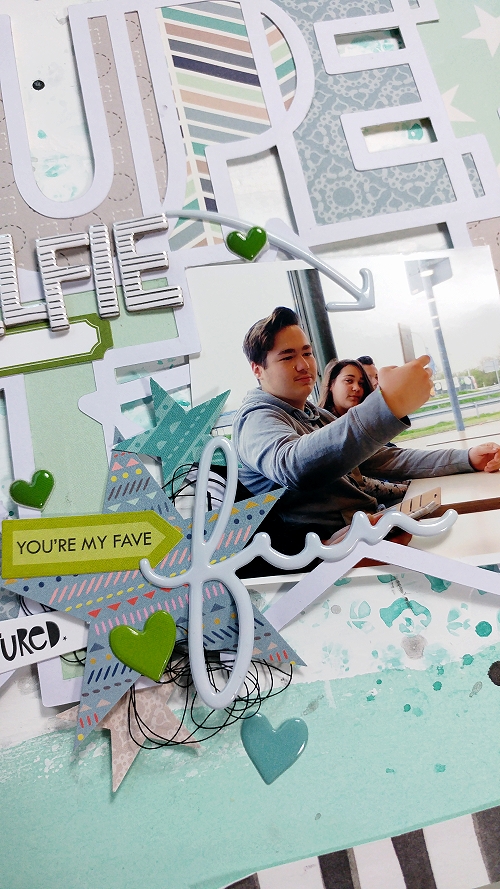
Here I’ve added some tangled thread for more texture and interest. I used Dual Tip Glue Pen to adhere the thread and the big star. The E-Z Runner® Permanent Strips is the perfect choice for the paper strips! You can easily apply single strips get the right amount of adhesive you need for a small item.
It was really fun putting this layout together, and am very happy how it turned out. There’s a process video on how I created it, watch below:
Supplies:
- Crafty Foam Tape
- E-Z Runner® Permanent Strips
- 3D Foam Squares White Small
- HomeHobby Dual Tip Glue Pen
thanks for stopping by today