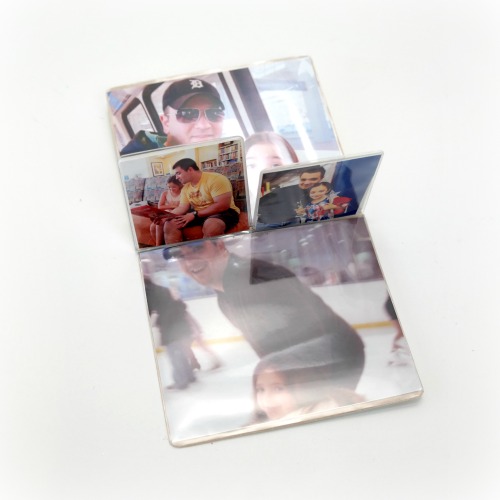
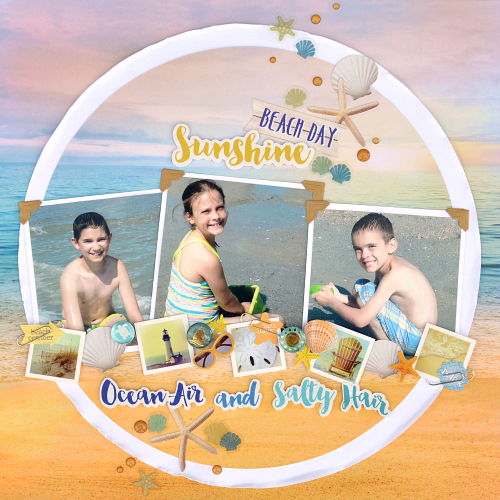
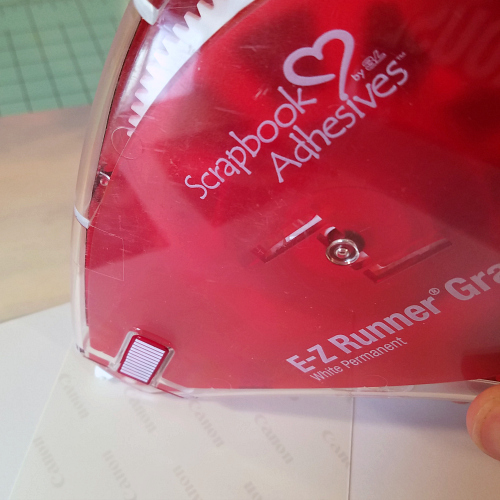
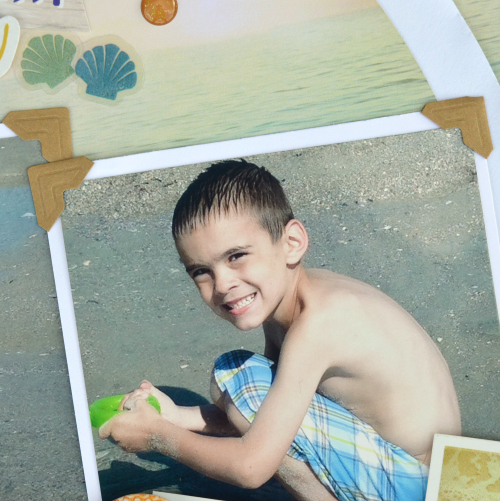
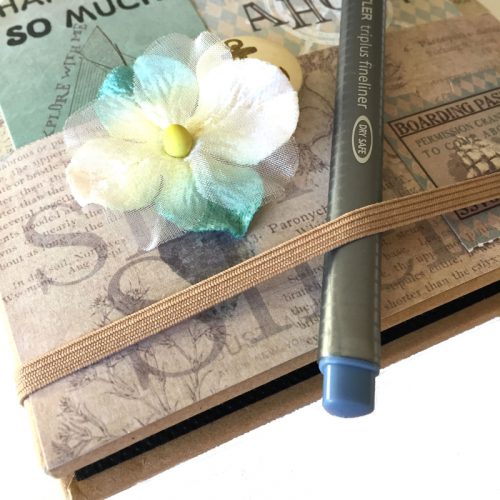
Latrice here today with a summer vacation layout as we wind down to a couple of school days in Illinois. I am busy prepping activities for my three kids to stay busy from swimming, soccer, dance and such. No big vacation planned this time like last year’s (their first) cruise to the Bahamas. I wanted to scrapbook a few of my favorite photos from that trip of my daughter. She really soaked it all in and enjoyed herself. Learning about the culture really sparked something inside her. Here is the 12 x 12″ page I’ve created using the E-Z Runner® Grand Dispenser and a couple of the Dodz Adhesive Dots.
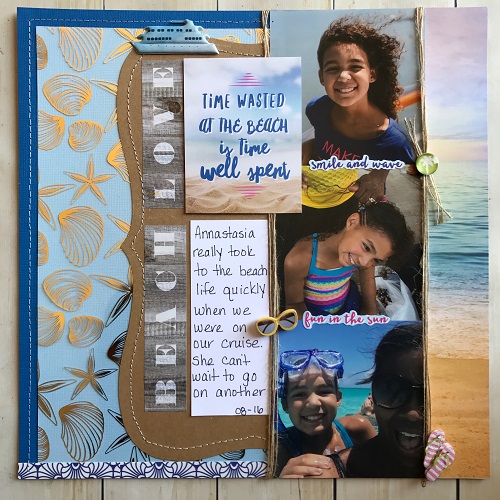
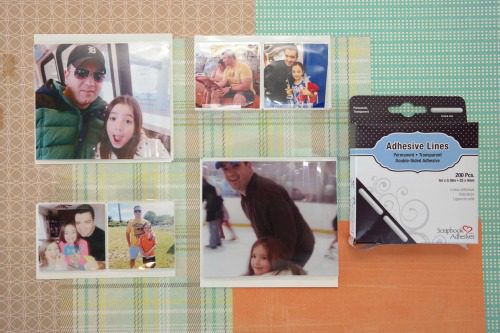
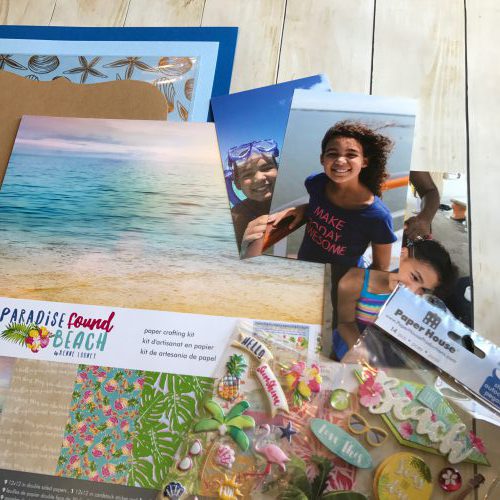
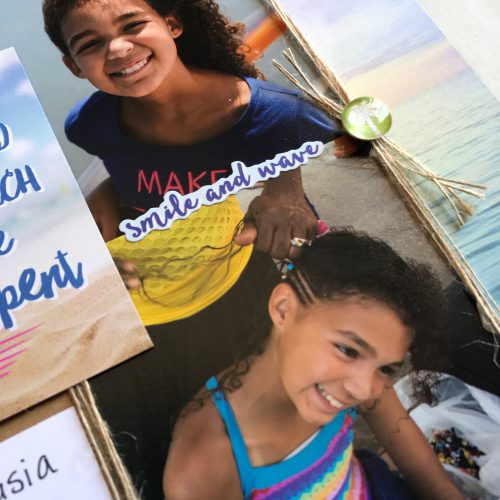
I always try to get multiple photos on a page so I printed the images a little smaller at 4 x 4″ to get three photos on there vertically. To add more pictures without really filling up the page, you can print 3 x 3″ or 2 x 2″. How about trying those Fuji Instax pictures?
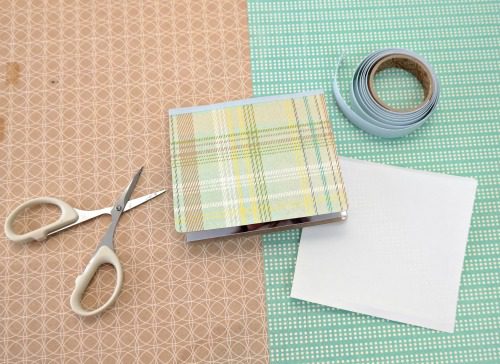
I used Paradise Found Beach Collection from Paper House Productions, as well as some coordinating cardstock I found from other companies in my stash.
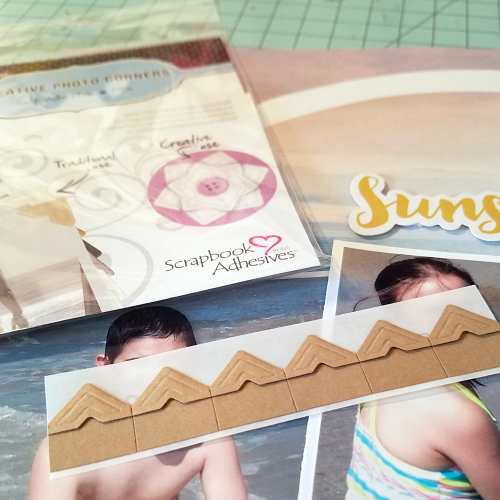
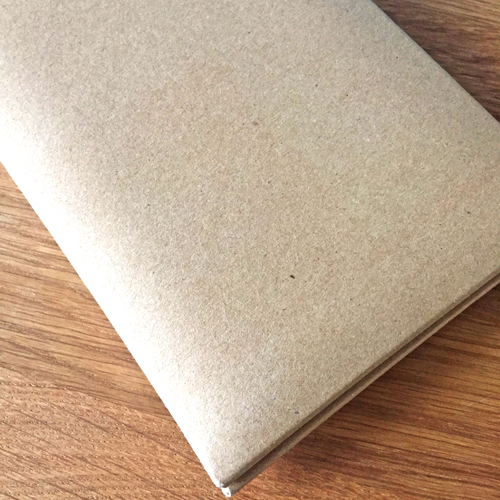
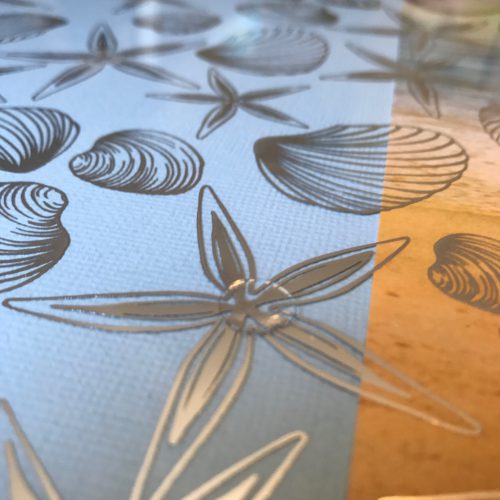
I chose a little beach paper, the gorgeous gold seashell overlay and a bracket shaped piece of cardstock to create my background.
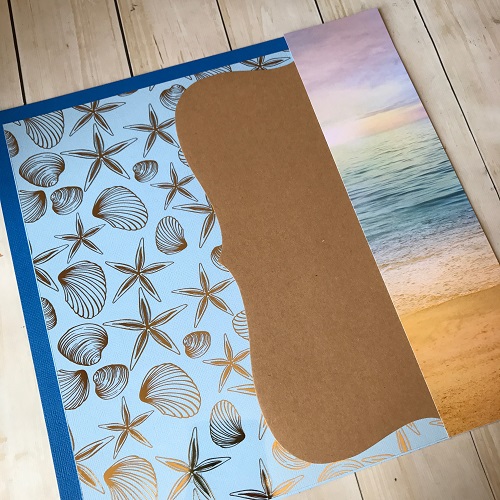
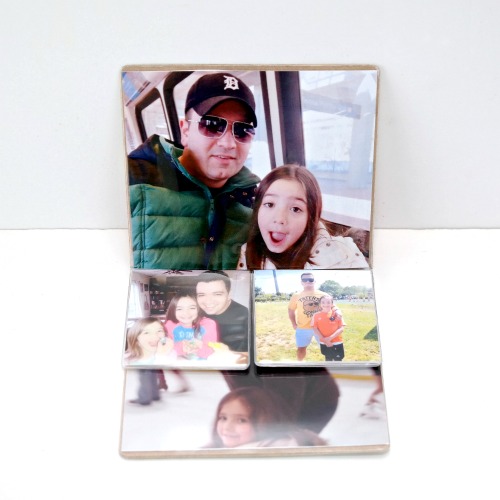
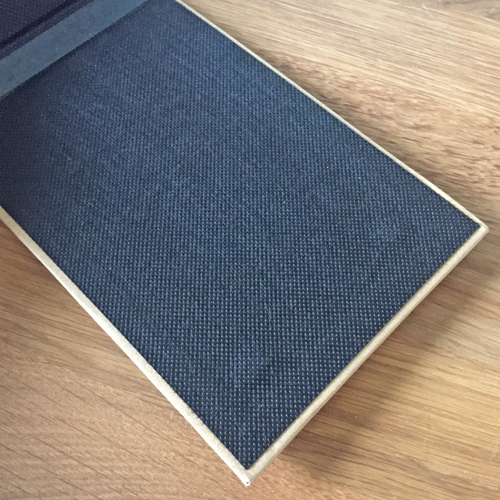
I love layers, but I do keep them simple. I ended up moving the kraft bracket cardstock over once the photos were added. Below you can see the Dodz Adhesive Dots are perfect to adhere the overlay piece because they are clear and double-sided. I used the Adhesive Dots Ultra Thin.
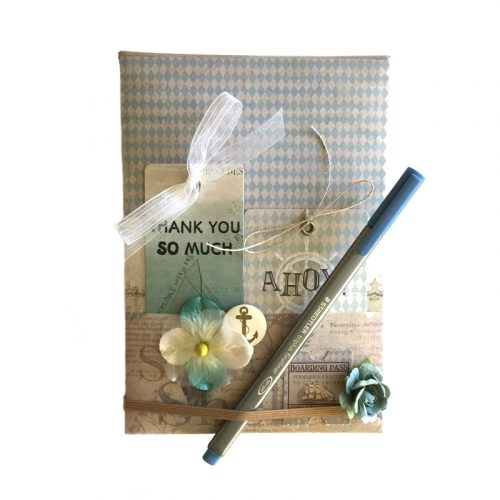
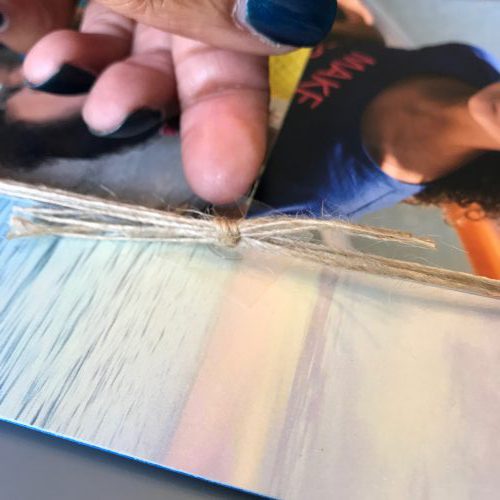
I also use one of the Adhesive Dots Ultra Thin to hold a knot in place.
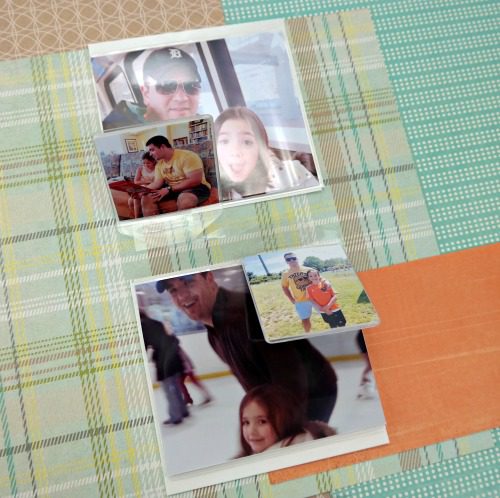
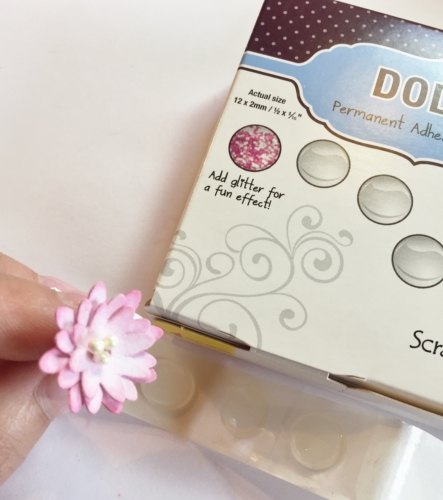
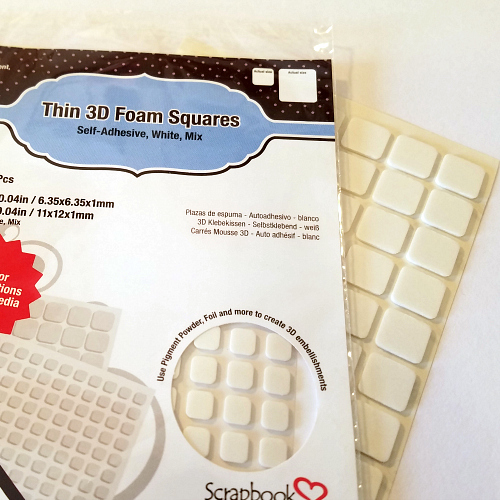
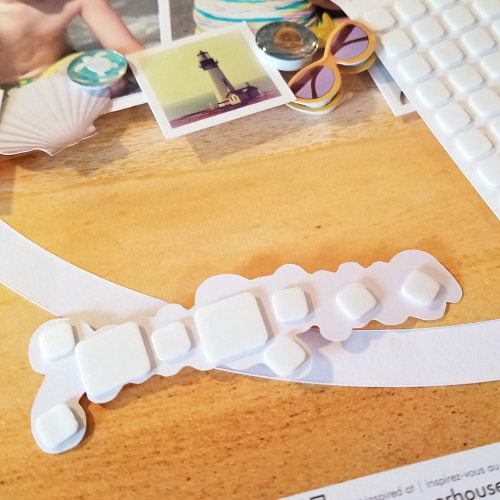
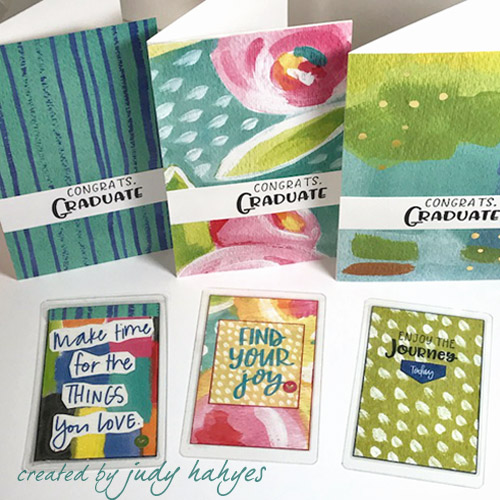
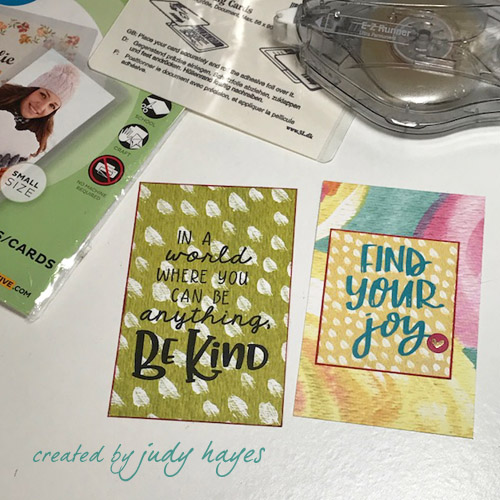
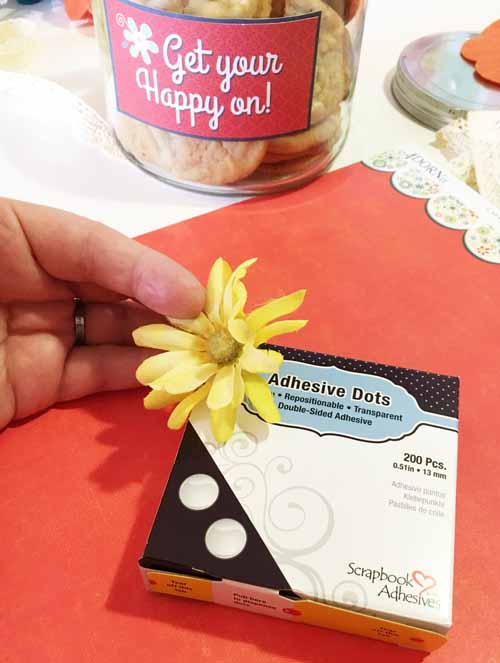
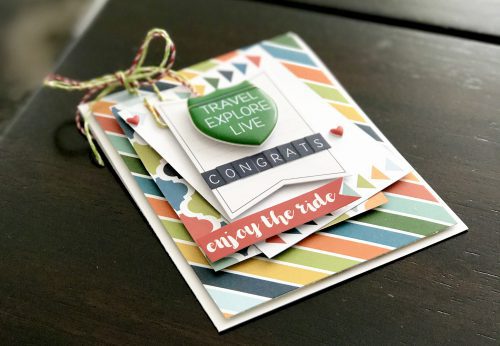
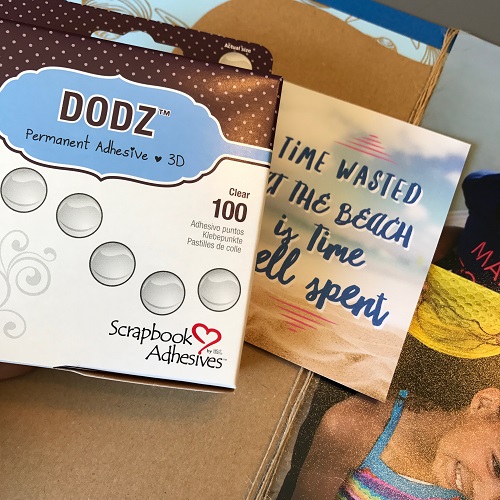
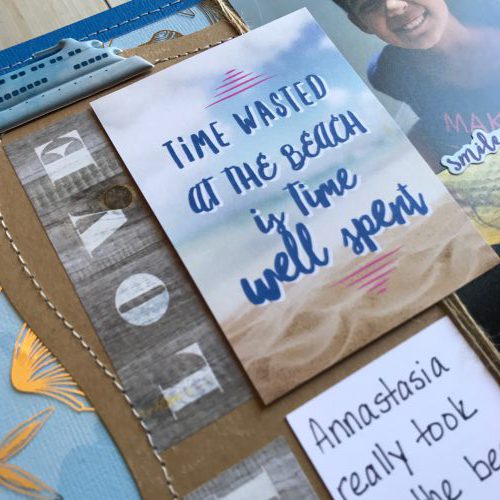
Sometime I love using the Dodz Adhesive Dots 3D to raise up cards and such. They are sturdy and keep things in place perfectly. I just place one on each corner of the 3 x 4″ card.
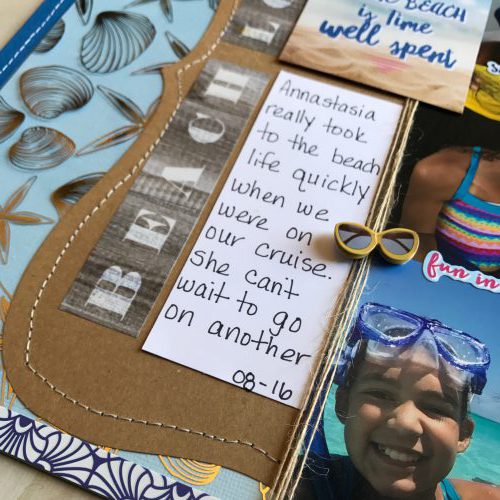
To finish the layout I added some letter stickers and more items from the Paper House Productions kit for my title, some hand written journaling and machine stitching.
Can’t wait to snap some summer photos for this year. We still have one more day of school left! Kids are hanging in there.
Thanks for checking out my Summer vacation layout.
Supplies
Dodz Adhesive Dots 3D
Adhesive Dots Ultra Thin
E-Z Runner® Grand Dispenser
Other:
Cardstock: American Crafts and Recollections
Patterned Paper: Paper House Productions
Letter stickers: MAMBI (Me and My BIG Ideas)
Save