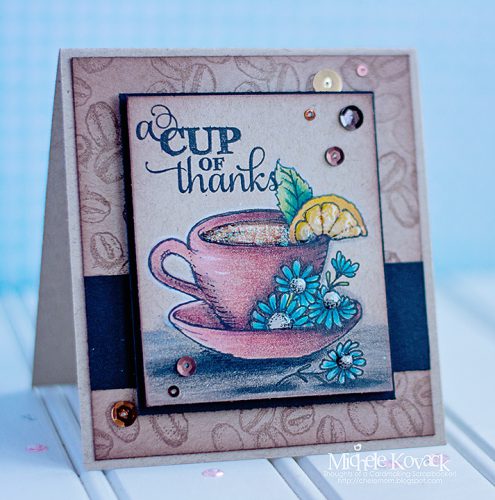
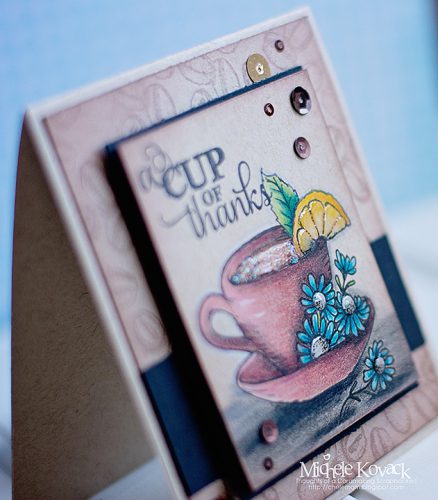
Hey everybody! Today I thought I would share my go-to adhesives for adding texture to my paper crafting projects. I LOVE to add ribbon, trims, lace and fabric to my layouts and cards, but with that comes the need for some specific adhesives to make sure that everything stays in place.
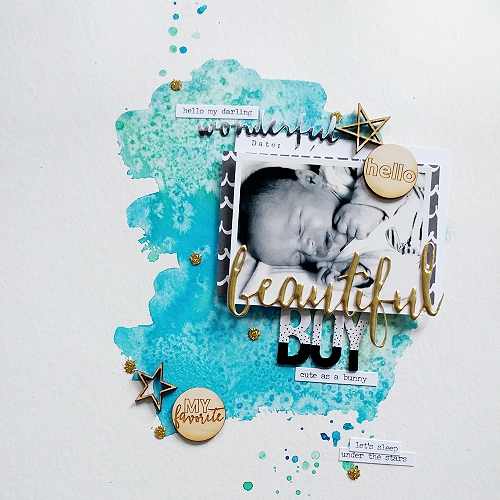
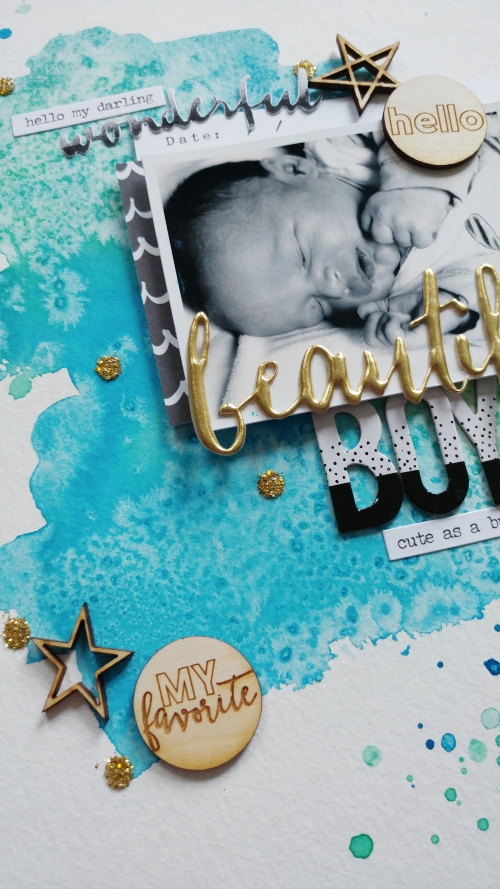
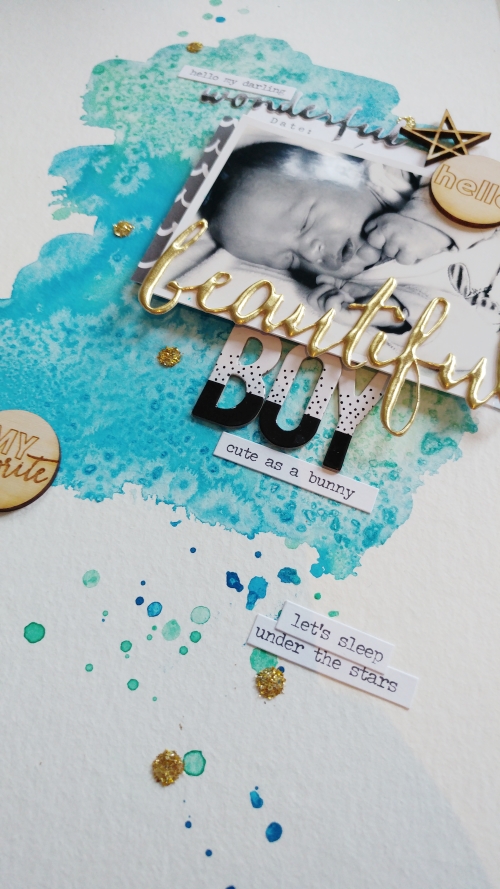
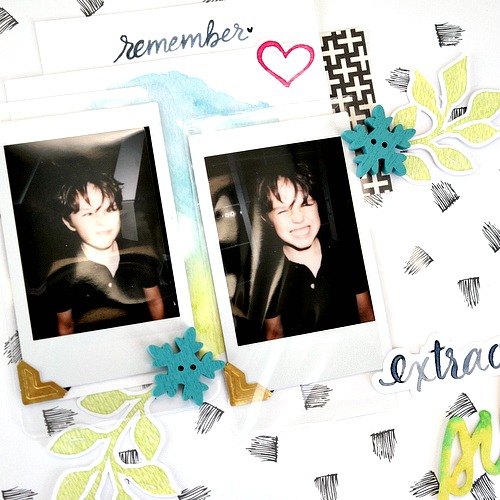
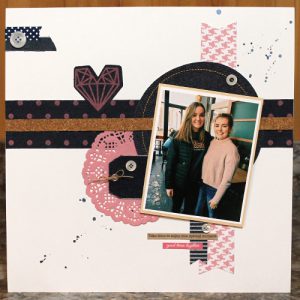
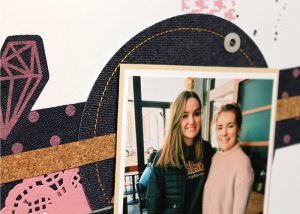
The quick layout I have to share uses lots of those specific adhesives. On this layout alone I added ribbon, denim in different weights, buttons and cork.
Here are some tips on what adhesives I would use when adding specific elements that are NOT paper based.
Fabric/Ribbon/Lace
Extreme Double-Sided Tape (1/8″, 1/4″ and 1/2″): This fabulous stuff comes in 3 different widths, perfect for every situation.
I use ribbon and lace a lot on my layouts and cards. Usually I will have it as part of a border across my entire project, and will wrap the ribbon around the back and adhere it in back as well as on the front.
Buttons/Plastic Embellishments
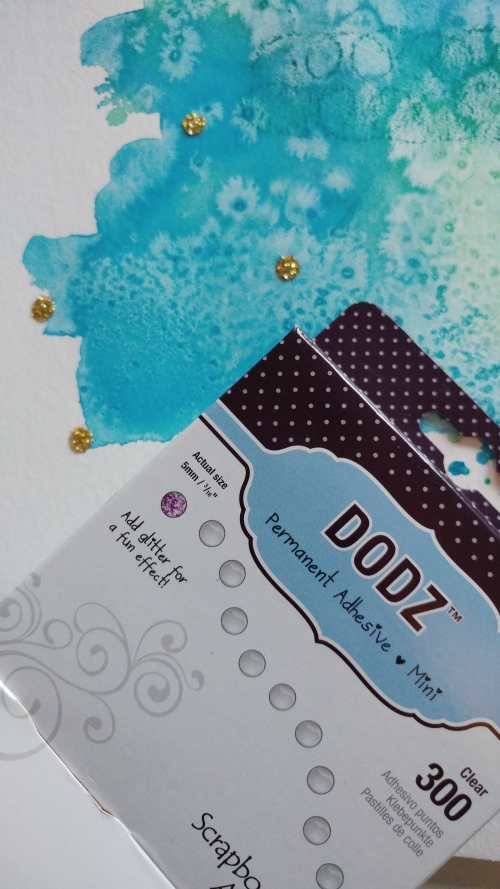
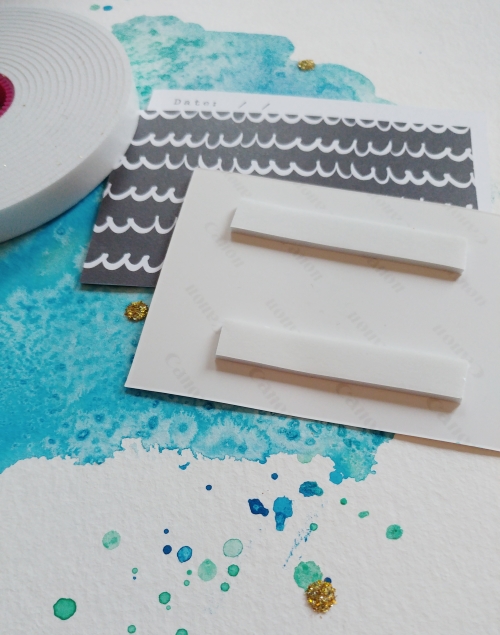
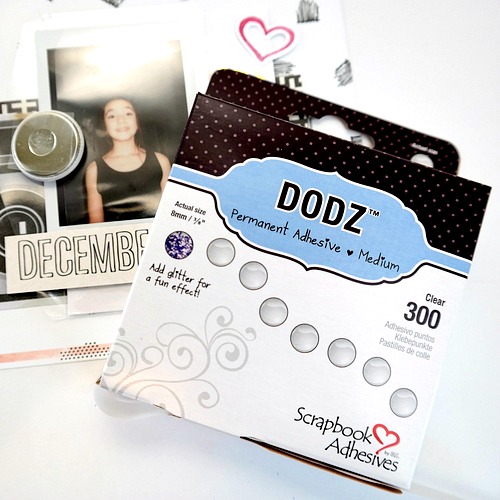
DODZ Adhesive Dots: These also come in lots of sizes and thicknesses for all of your crafting needs.
These little guys can sometimes be tricky. Sometimes it depends on the specific embellishment, what will work or not. But something that ALWAYS seems to do the trick, is Adhesive Dots.
Cork
This is another fairly specific item that you come across from time to time. If you are adhering the cork directly to paper you can use Crafty Power Tape. But I find if you’re adhering the cork to fabric like I did in my layout, then it’s best you stick to the Extreme Double-Sided Tape.
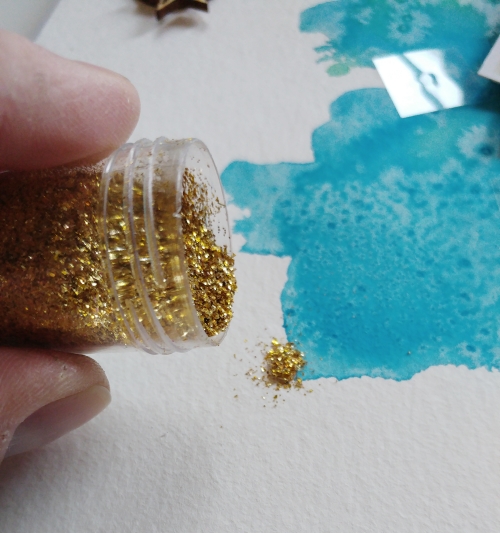
Beads/Glitter
Sometimes to finish a project, you just need to add a little sparkle. I will often use my Dual Tip Glue Pen to draw exactly where I want some glitter or add a daub in the middle of a handmade flower and add some beads.
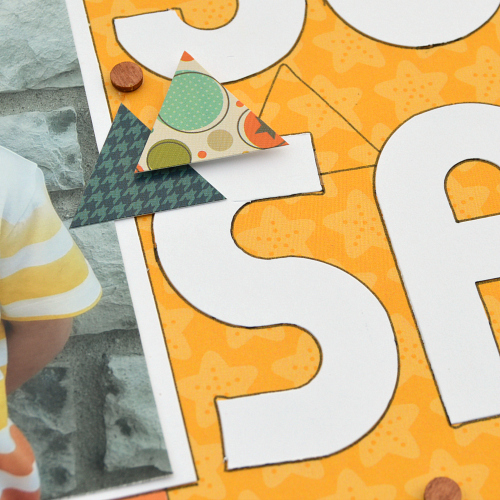
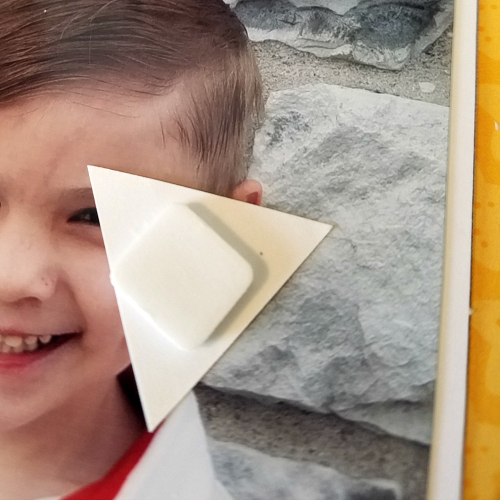
Acetate/Photo Overlays
This is something that can be tricky too. But my go to is always Extreme Double-Sided Tape. If I’m concerned about seeing the adhesive through the acetate, I will make sure I have and embellishment of some sort that I can hide my adhesive behind. It doesn’t take much of this adhesive to keep something in place.
Another trick that I use for adding photo overlays is pairing them with Creative Photo Corners.
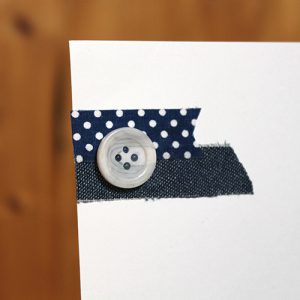
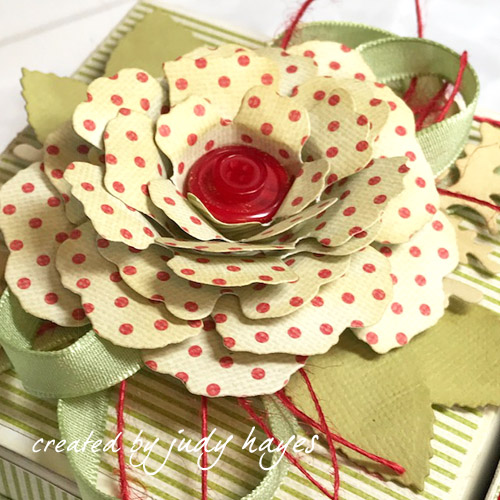
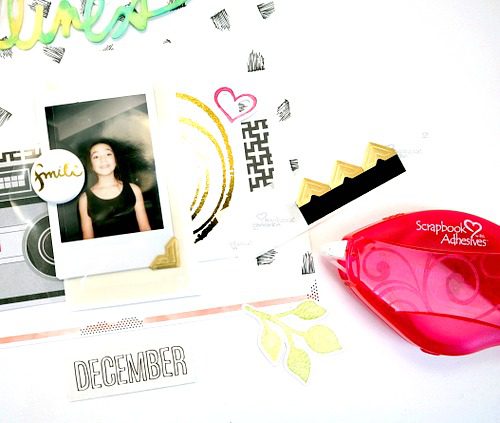
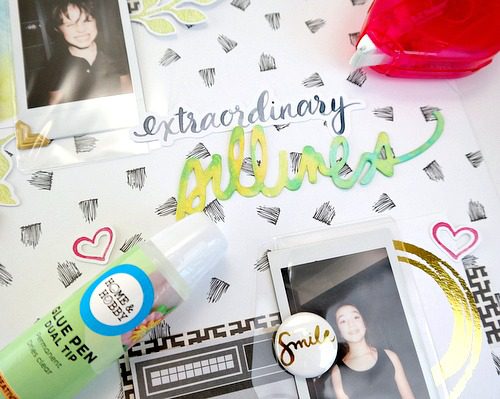
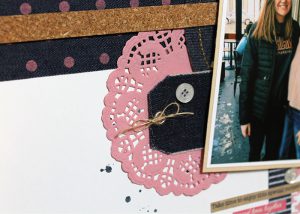
In the photo above I have a little strip of denim fabric and polka dot fabric tape, that just happened to have lost it’s stickiness. For both of these I used my Extreme Double-Sided Tape. Then I added my button using DODZ Adhesive Dots- Small.
Thanks so much for stopping by! I hope this helps in the future when choosing the right adhesives to add a little texture in your crafty life.
Tracy McLennon
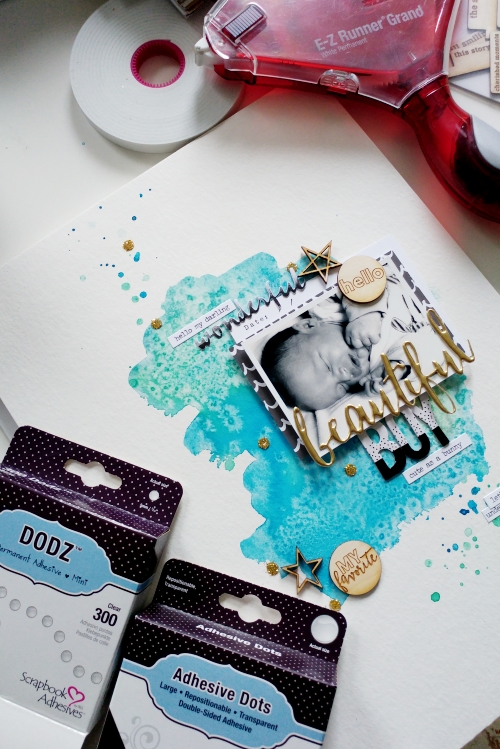
Supplies:
E-Z Runner® Grand
3D Foam Squares Black Regular
Extreme Double-Sided Tape 1/2″
DODZ Adhesive Dots Small
Crafty Power Tape
Other:
White and Taupe Cardstock; Patterned Denim; Denim Circle and Tag; Cork; Denim Ribbon; Fabric Tape; Doily; Buttons

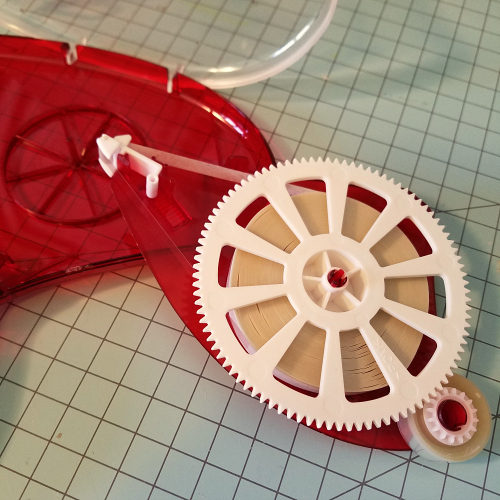
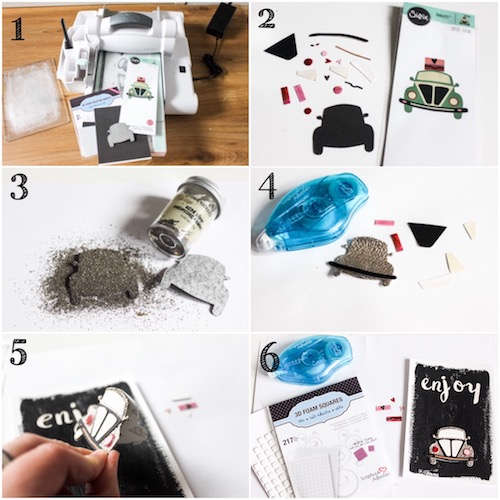
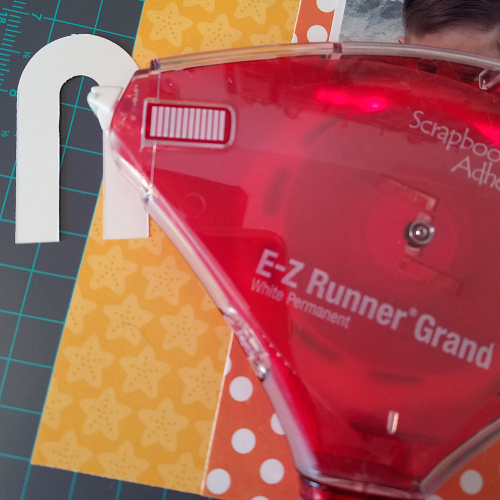 Let’s just review how easy it is to load the cartridges into this E-Z Runner Grand. I love that it’s easy and foolproof!