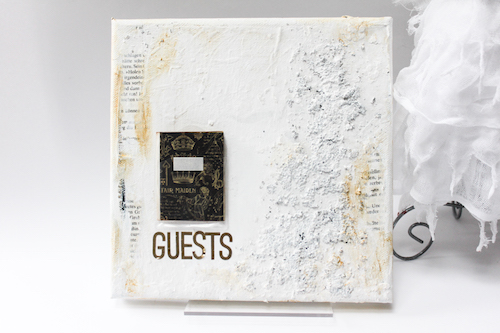
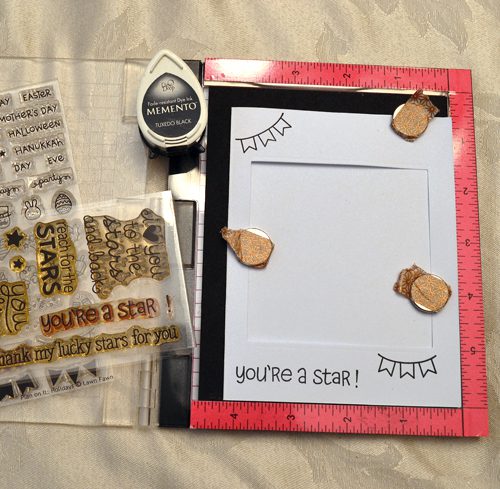
With Valentine’s Day coming up, I am sharing a Valentine Shadow Box Frame for a cute decorative home decor piece. Good morning! It’s Michele here and I have this black shadow box frame from IKEA. By adding some Scrapbook Adhesives by 3L® products into my project, decorating this with stuff from my stash will be fun!
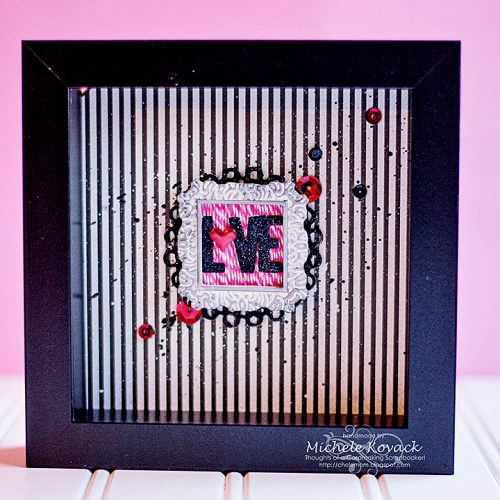
Just pop the glass front out, add a few fun textural elements and a few ink splatters, you’ve got yourself a cute decorative piece!

Creating a Valentine Shadow Box Frame
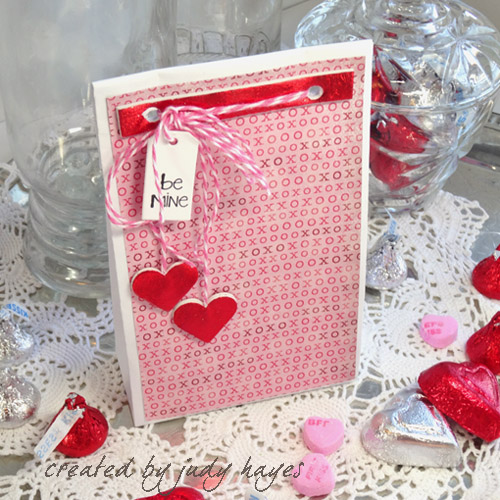
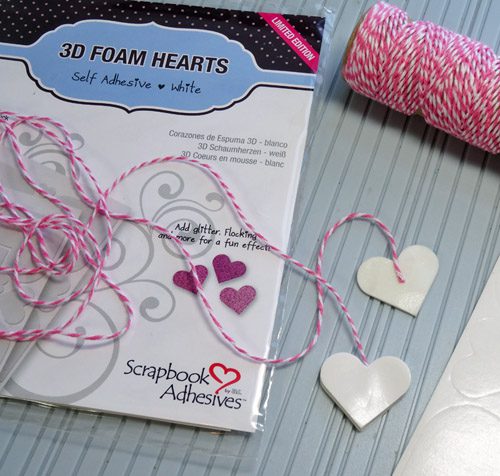
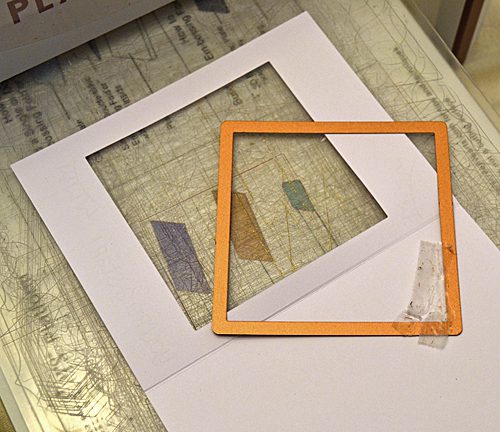
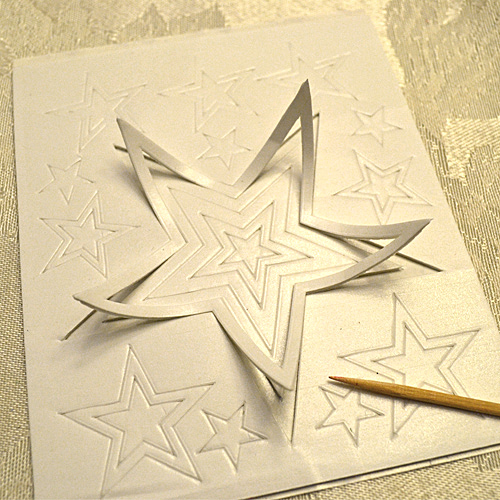
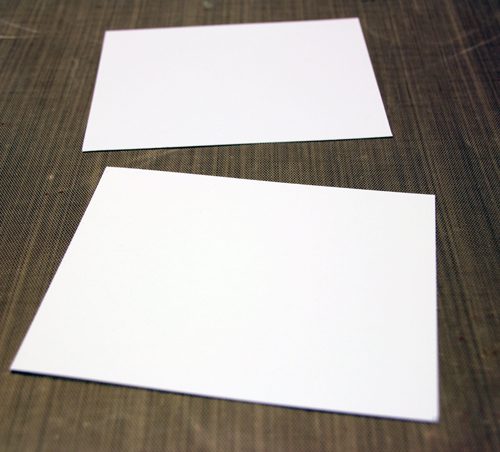
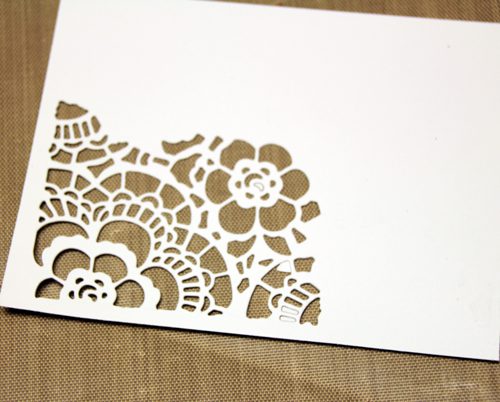
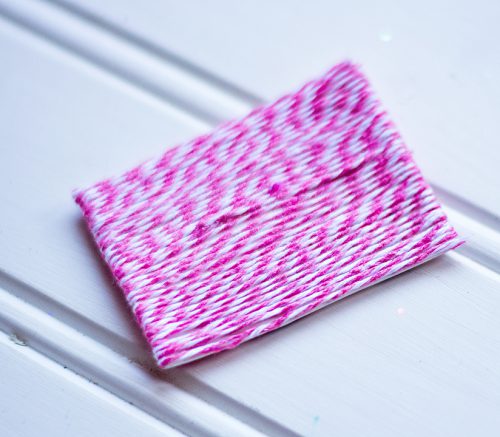
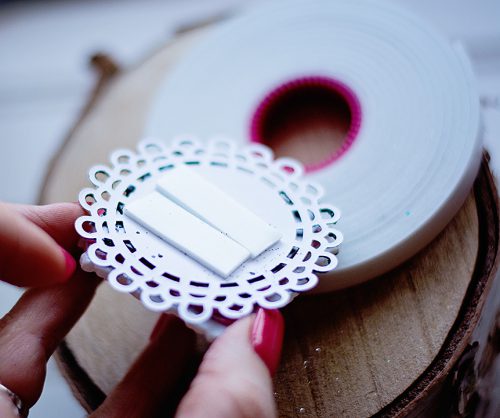
I absolutely love this PINK bakers twine!! I used as part of my focal point. First, cut a rectangle out of 3D Foam Creative Sheets using an etched die.
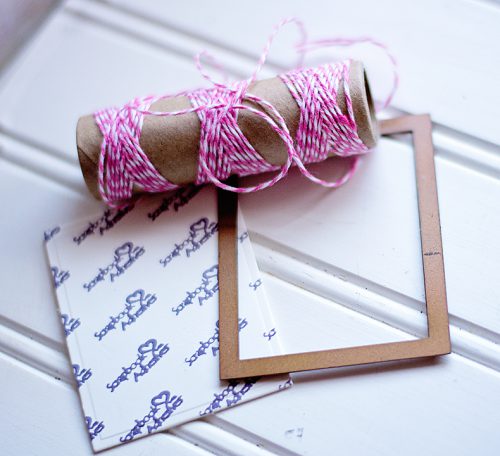
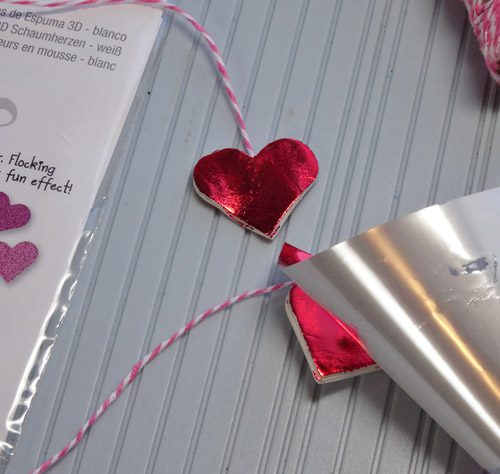
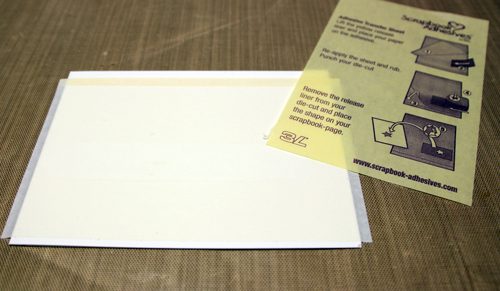
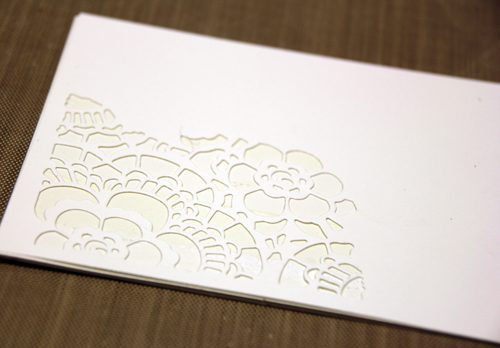
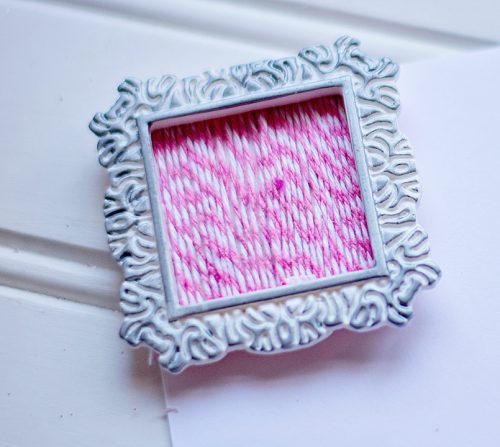
Next, remove the liners from both sides of the rectangle. Cover the foam by wrapping it with the twine…which was super easy because it is sticky on both sides! I love how it came out!
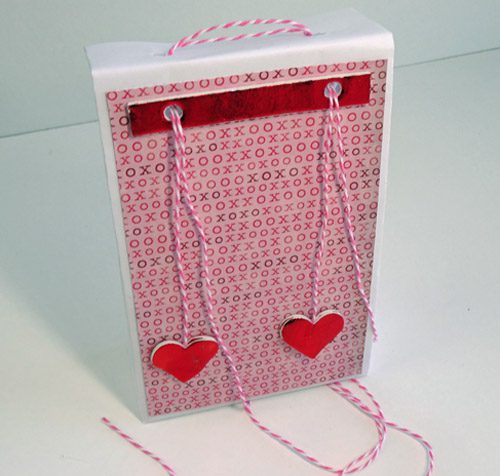
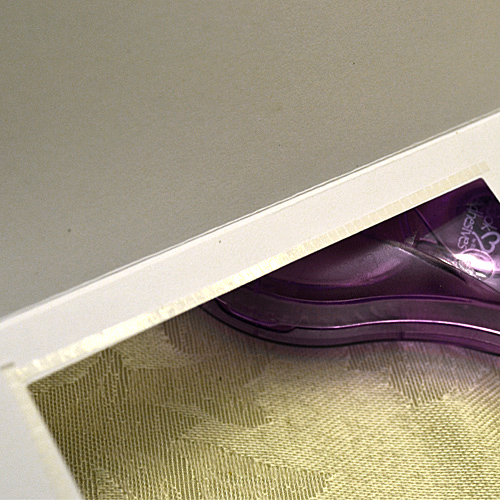
Then I trimmed the twine rectangle enough to fit the inside of my cute frame and secured it in place using the Dual Glue Tip Pen.
Details on the Embellishments
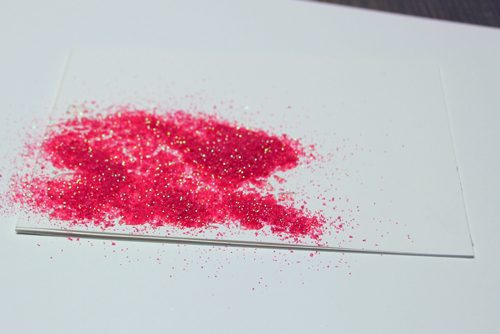
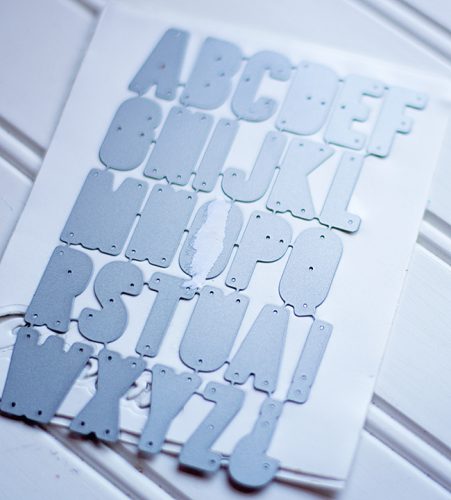
While the glue was drying, I used another piece of the 3D Foam Creative Sheets to cut some letters. I wanted the word, love.
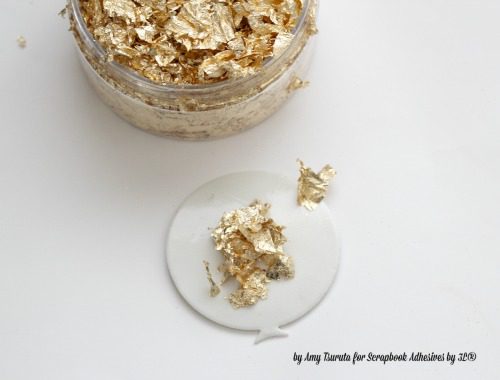
I peeled the top liners off of the letters and sprinkled them with black glitter.
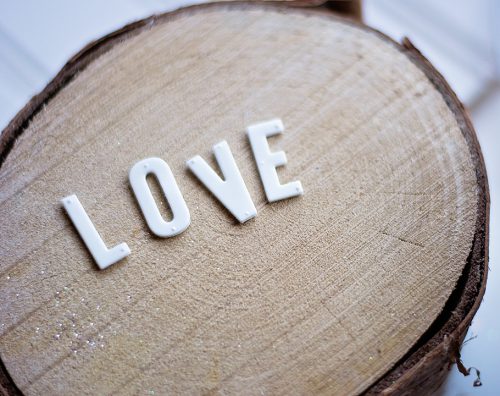
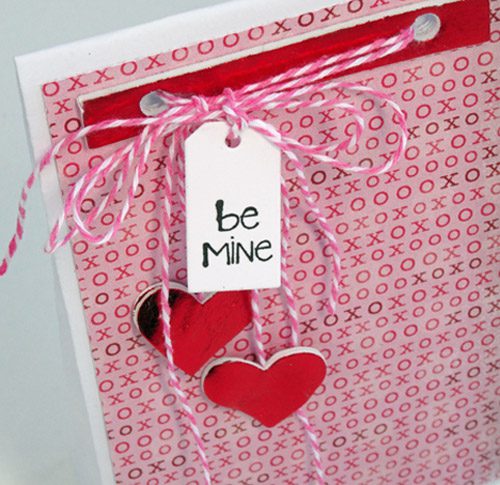
After playing around a bit inside the frame, I came to the conclusion that no matter how many times I rearranged my letters, they weren’t all going to fit. So I replaced the O with a little metal heart. All of this was again adhered using the Dual Tip Glue Pen.
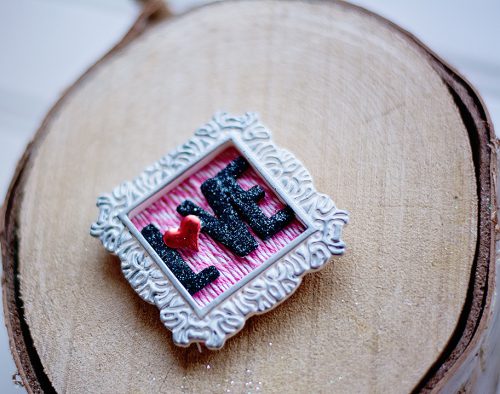
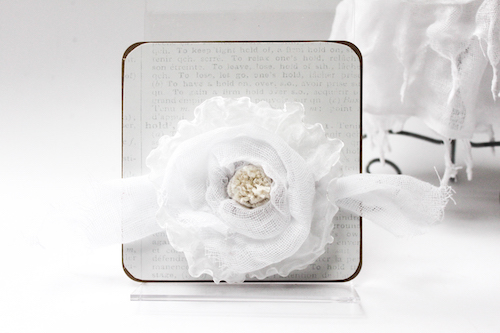
I wanted to be sure that it popped a bit. I used a small white doily from my stash, and adhered it with the Dual Tip Glue pen to the back side. Then add ust a thin layer to the parts that were showing and sprinkled black glitter to match my letters. I used Crafty Foam Tape for dimension and to adhere to the frame.
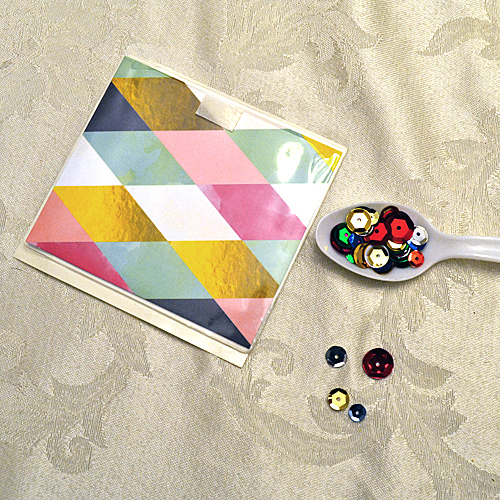
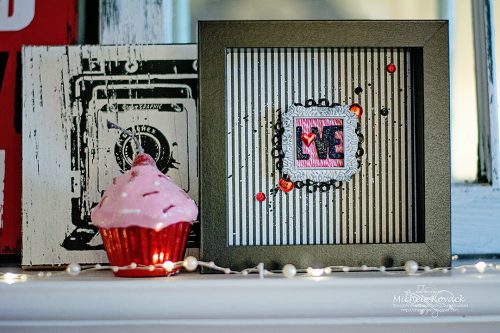
For the back of the shadow box frame, I used striped paper and splattered with white and black paint. After drying, I added sequins with Adhesive Dots to tie it all together. Here is a close up of it on my mantle 🙂
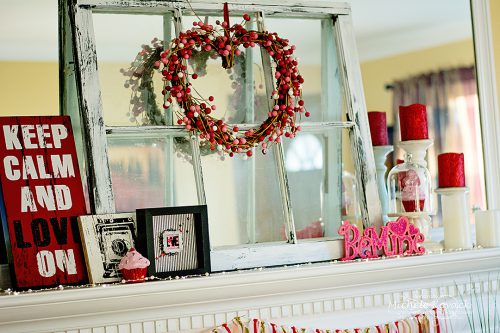
And here is my Valentine mantle in its entirety!
I hope you enjoyed my Valentine Shadow Box Frame project 🙂 Thank you all so much for stopping by today!
Scrapbook Adhesives by 3L®:
Crafty Foam Tape
3D Foam Creative Sheets
Adhesive Dots Mini
Home Hobby by 3L®:
Dual Glue Tip Pen
Others:
Frame: IKEA; Glitter: Martha Stewart; Small Resin Frame: Melissa Frances; Rectangle Die: Spellbinders® Paper Arts; Pink Baker’s Twine; Patterned Paper; White Paint; Black Paint; White Doily; Sequins