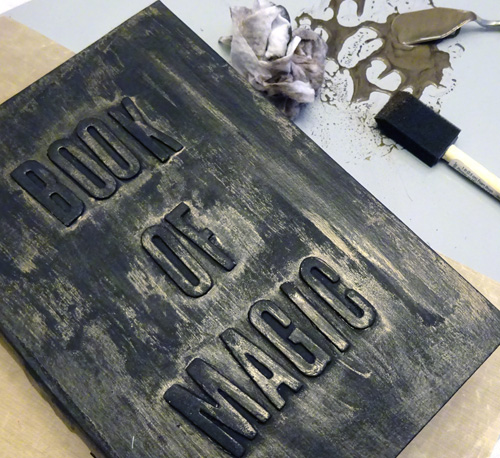
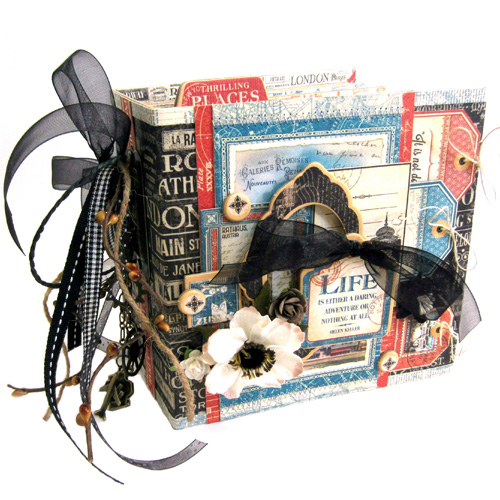
Come in for a spell…I have a Book of Magic for you! I am thrilled to show you what I created using a store bought paper mache boo(!)k shaped box. I mixed paint pigments for the distressed look. What do you think?
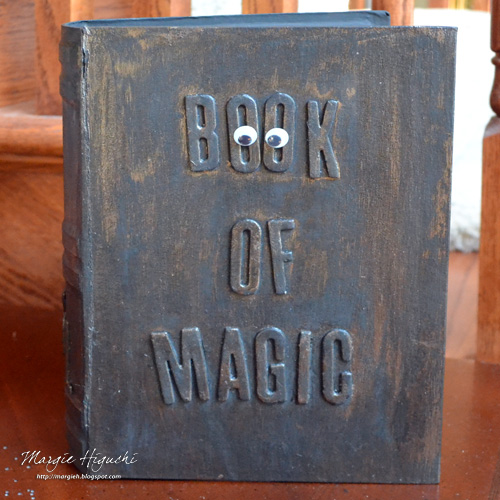
I painted the paper mache book box with black chalkboard paint (three coats with dry time in between coats) on the outside and inside of the box.
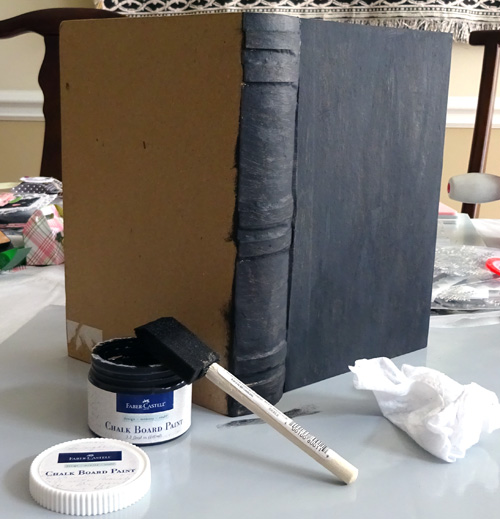
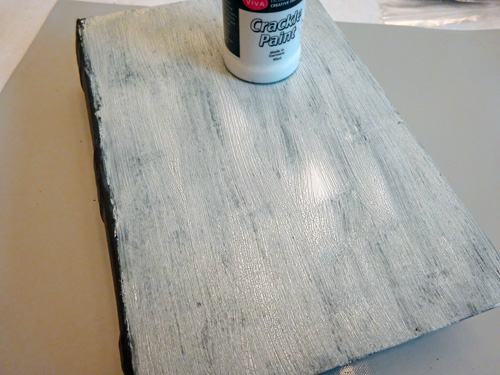
Then I added crackle paint to give it interest and age it a bit. I realized that this particular product dries white! LOL! So I painted another coat of black chalkboard paint for the beautiful cracks. It helps to read the instructions! LOL!
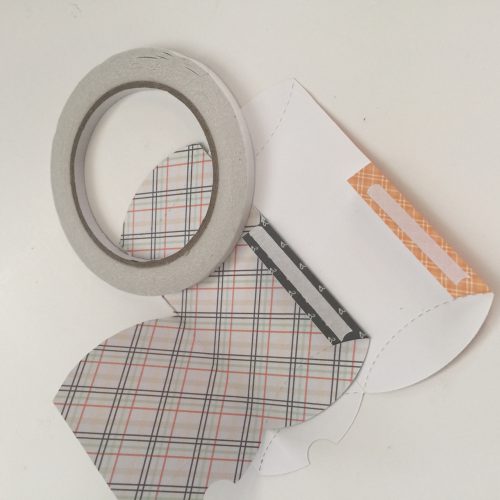
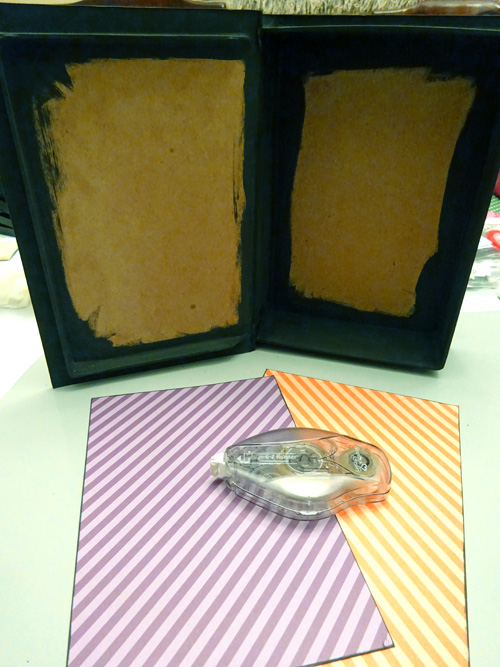
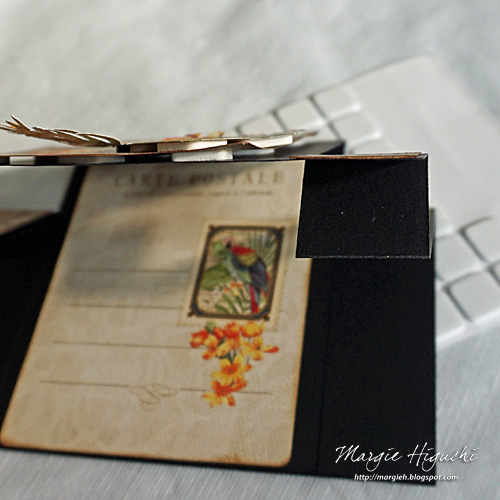
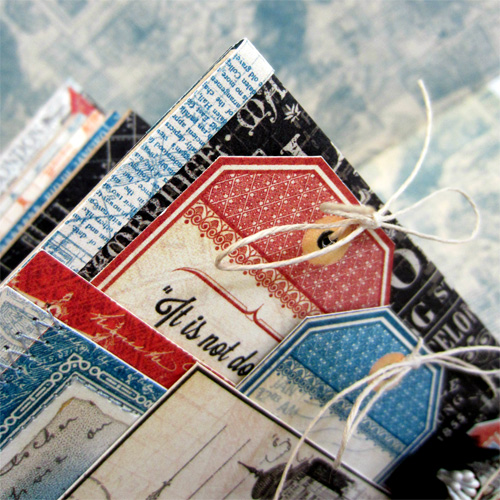
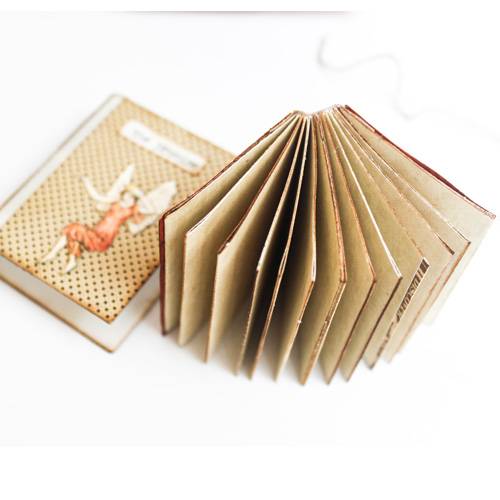
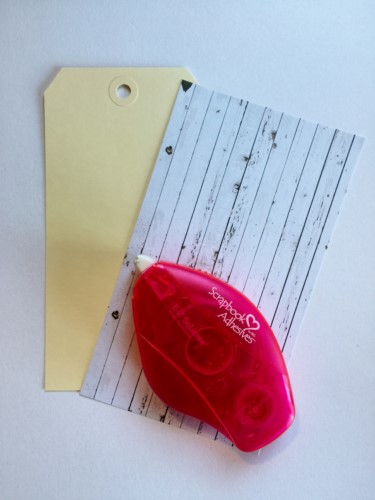
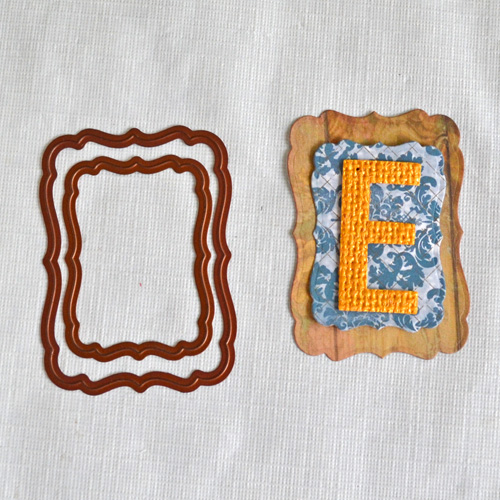
While the paint dries, I trimmed cute patterned paper to fit inside the box. Edge the papers with the same black chalkboard paint and adhere with the E-Z Runner® Ultra Refillable Dispenser,.
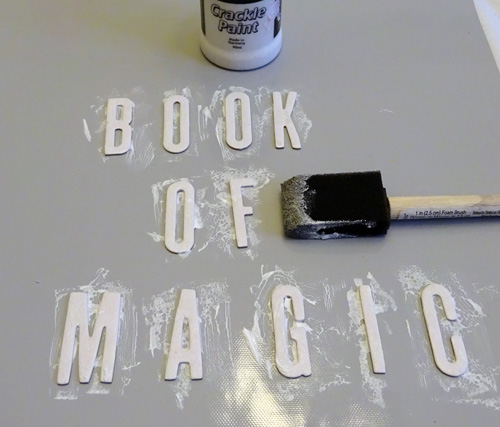
I repeated the same process with the chipboard letters as with the book box, except the first coat was crackle paint and then black chalkboard paint. Lesson learned…HA!
I mixed brown and silver pigment powders with white glue. To make it more of a paint, I added a little bit of water.
With a foam brush and a wet towel, I applied my paint to the book box and wiped it away with the wet towel until I liked the look. The narrow areas between the letters, I applied it with cotton tip swabs. Let dry. Re-apply paint if needed until you get your desired look.
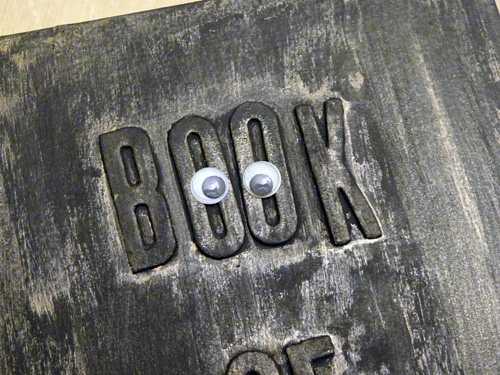
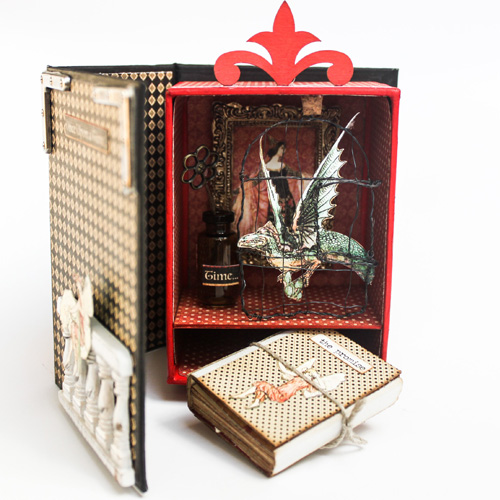
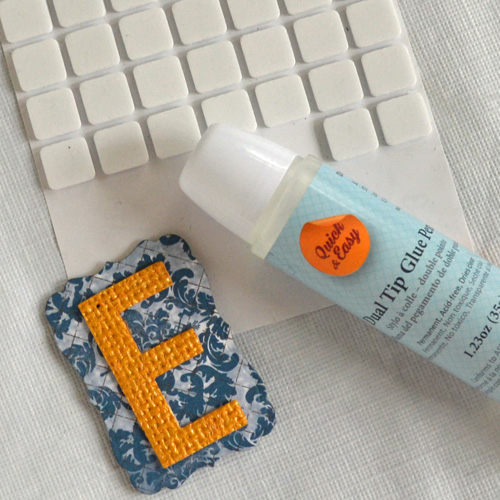
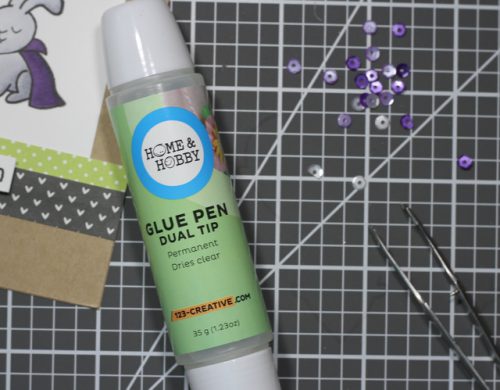
For the final touch, I applied a pair of googly eyes with the Dual Tip Glue Pen for a fun element.
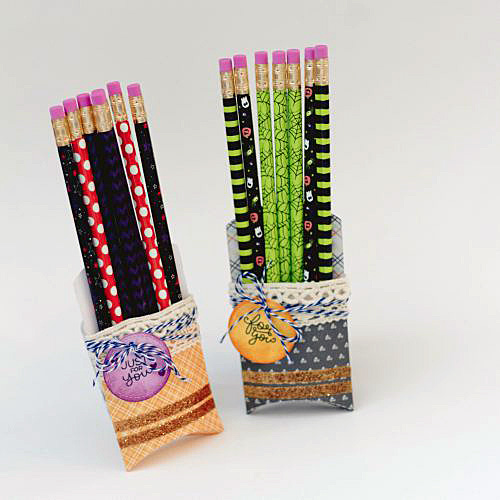
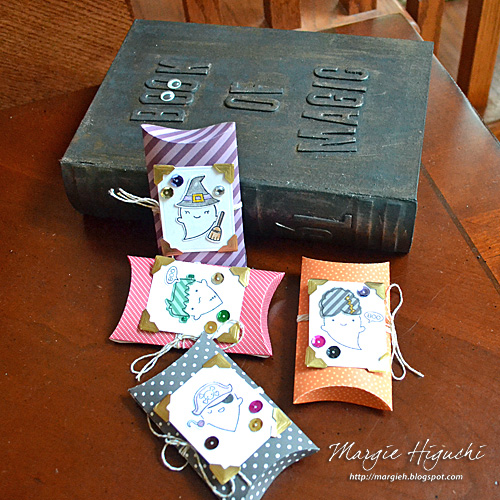
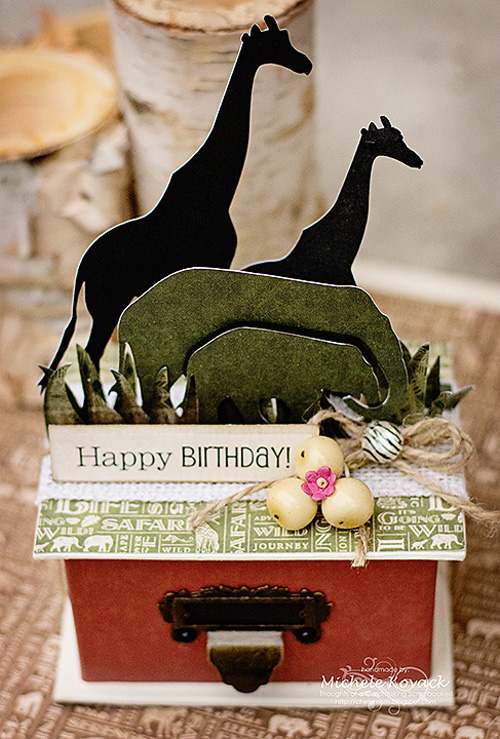
Now to add candy or fun treat boxes like the ones here 🙂
Supplies:
Scrapbook Adhesives by 3L®:
E-Z Runner® Ultra Refillable Dispenser
Home Hobby Dual Tip Glue Pen
Others:
Black Chalkboard Paint: Faber-Castell® Design Memory Craft®
Crackle Paint: Viva
Chipboard Letters: American Craft (Thickers)
Patterned Papers and Treat Boxes: Lawn Fawn
Googly Eyes; Paper Mache Book Box; Foam Brush
Pigment Powder, White glue
Looking for more Halloween inspiration, check out Halloween ideas with Scrapbook Adhesives by 3L®.
Thanks for stopping by! Happy Halloween and be safe out there!
Margie Higuchi
Visit our Website and Blog!
Sign up for our Newsletter so you never miss a contest or giveaway!


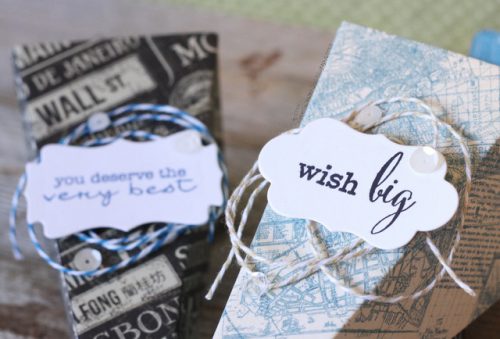
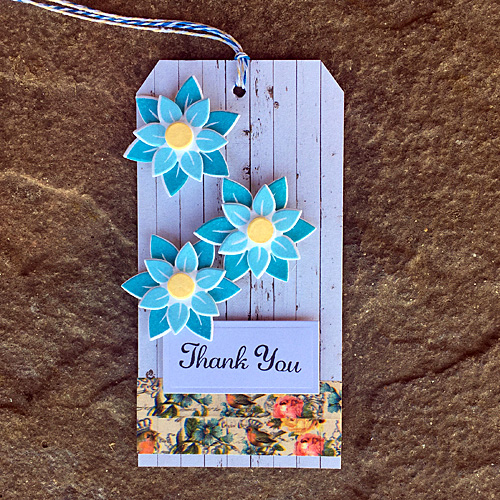
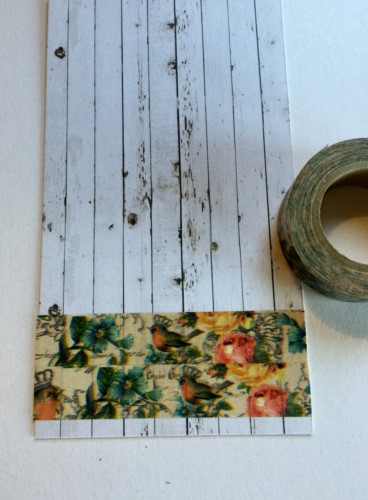
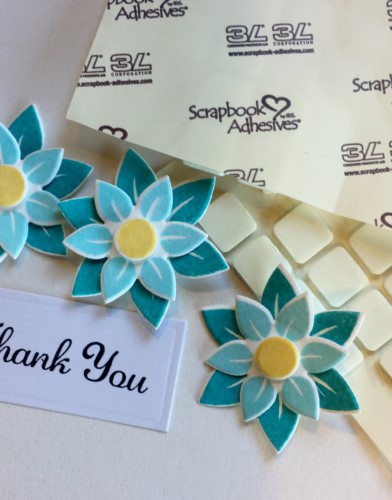
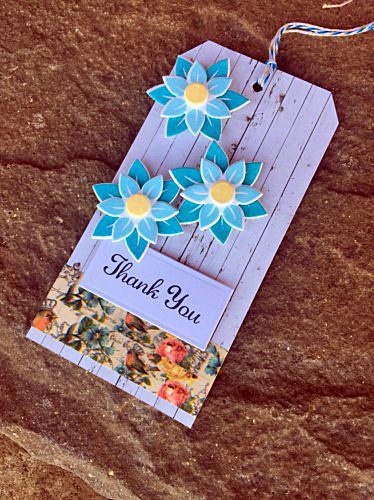

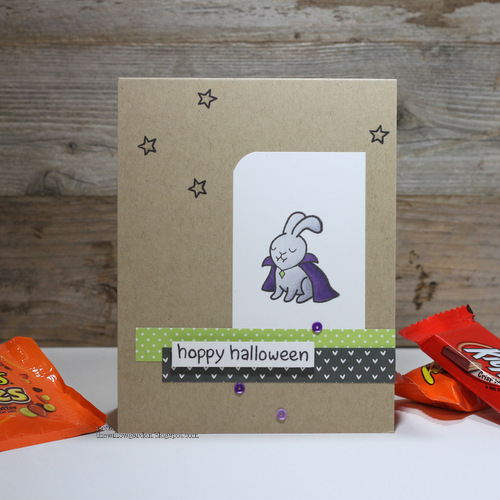
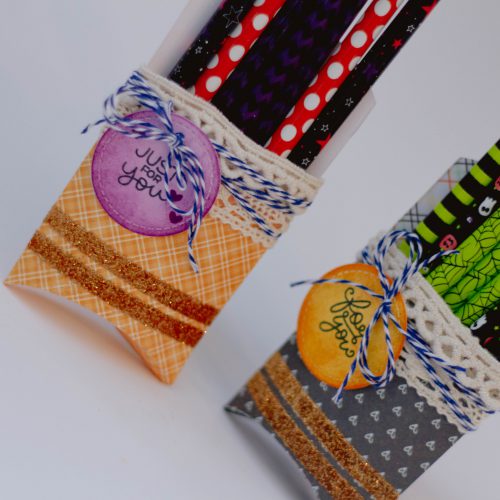
 Add a couple of patterned paper strips for a pop of color. Make the sentiment dimensional by adhering with
 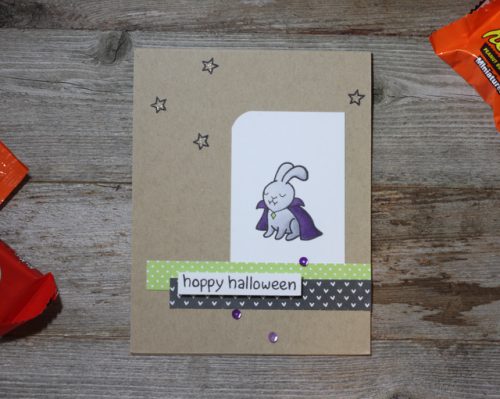 I also colored in the stars with my link of stella pen for a little more shimmer!
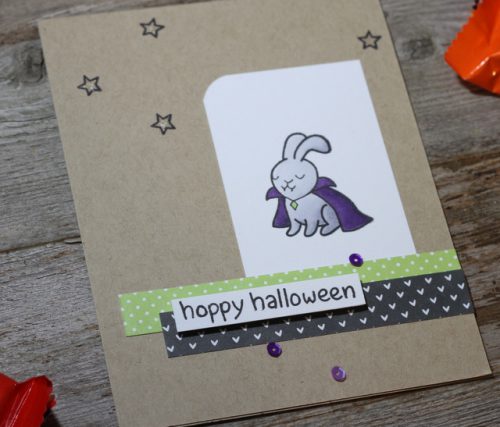 Enjoy!