Welcome to Day 2 of our blog hop with My Favorite Things (MFT) design team! We are excited to share wonderful inspiration created with both company’s products. See what the two talented design teams have done. Find Day 1 here: Blog Hop with MFT – Day 1!
Coffee Card
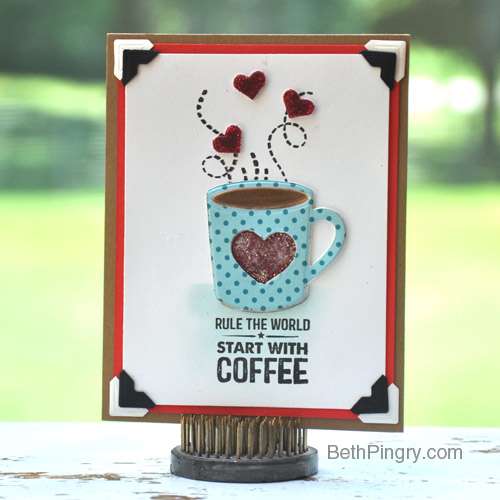
It’s Beth, grab a cuppa and get hopping! Today I have a fun coffee themed card, because without coffee I’m just a messy hair zombie! I die cut the mug with 3D Foam Creative Sheets to make a shaker card. Then I added a piece of clear plastic to cover the heart cut out on one side of the Creative Sheet – it’s double sided adhesive from edge to edge! I filled the it with glitter and micro beads and sealed it with another clear plastic, then added the die cut paper to the top.
Oh wait, first I die cut the opening in the top of the mug, and when layered it exposed adhesive from the 3D Foam Creative Sheet, so I rubbed Pigment Powder Brown to make it look like coffee.
I stamped the steam and the sentiment. Then I added glittered 3D Foam Hearts above the mug. I love the teal and red combo, so I added a layer of red cardstock, and then stacked the Creative Photo Corners White and Black for some extra framing. Beth Pingry
Supplies:
Scrapbook Adhesives by 3L®
E-Z Runner® Ultra Refillable Dispenser
3D Foam Creative Sheets
3D Foam Hearts
Creative Photo Corners White and Black
My Favorite Things
Dots & Stripes Fresh Paper Pack
LLD Perk Up Stamp Set
Die-namics LLD Hot Cocoa Cups dies
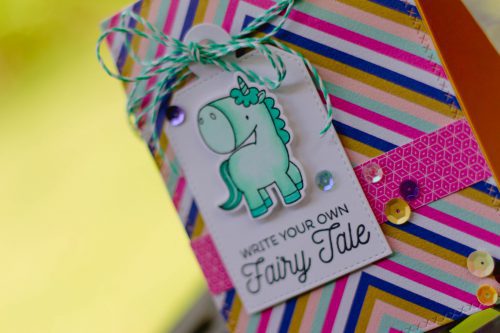
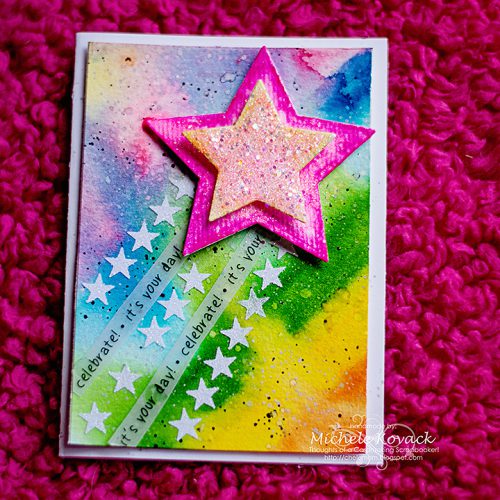
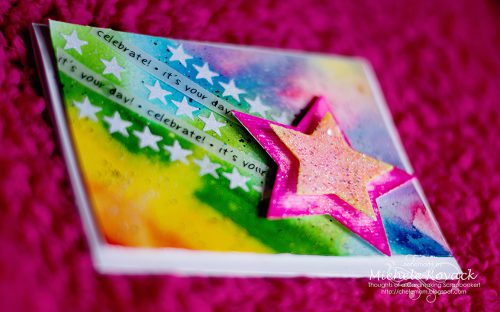
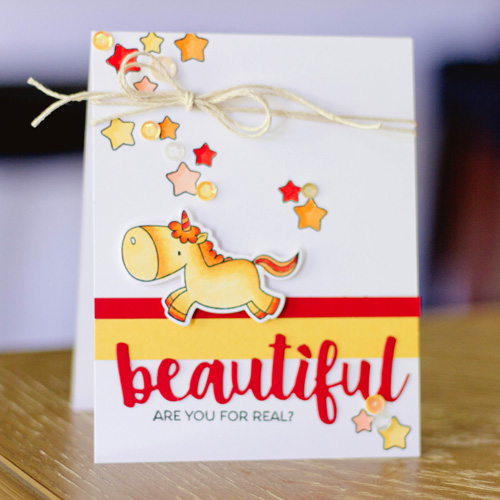
Soda Pop Celebrate Card
Michele here with TWO projects using MFT stamps and dies! I have been enjoying summer immensely! The weather has been perfect this year, so I wanted to make two cards that screamed summer!
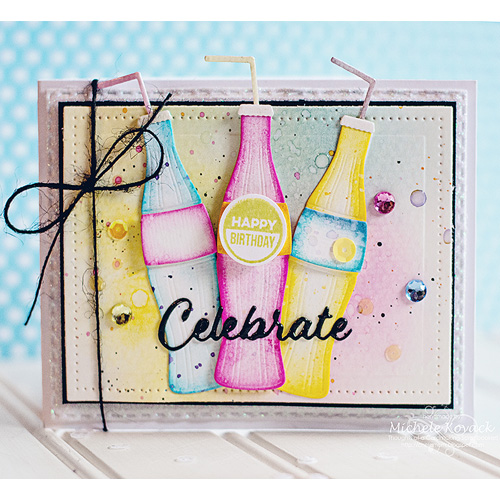
My first card uses MFT’s Die-namics LLD Soda Pop Bottles dies. I just think these are the cutest ever! First I cut them out of water color paper and colored with Ranger inks. Using the same ink to the background panel, I splattered water over them to give them that fun mottled appearance. The three pop bottles were adhered with E-Z Runner® Ultra Refillable Dispenser and the labels are “popped” up with 3D Foam Squares. The sentiment from MFT’s LLD Soda Pop Stamp Set was stamped on a circle. I also added a die cut sentiment cut from black paper. I attached both using Dodz Adhesive Dots Minis. The back panel was adhered to the card base using Crafty Foam Tape. For the finishing touches, I added a bit of black twine and a few rhinestones!
Let’s Chill Card
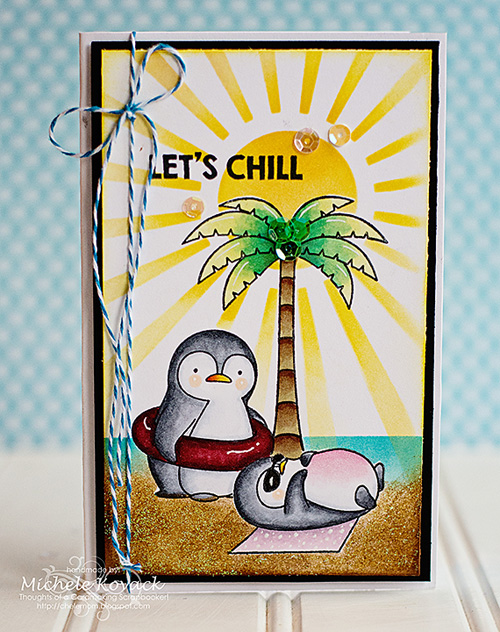
My second card uses MFT’s Penguin in Paradise Stamp Set. This set is so stinking cute, I can’t stand it! I used my Mini Misti to create my scene. Next I colored the penguins with Copic markers and even gave one of them a sunburn! Then I adhered the image to the card base using Crafty Foam Tape White. So I didn’t distract from the cute image, my embellishments were kept to a minimum. I used Twine, and attached a few sequins using the Dodz Adhesive Dots Minis.
Thank you so much for stopping!!! This is such a fun hop!
Supplies:
Scrapbook Adhesives by 3L®
E-Z Runner® Ultra Refillable Dispenser
3D Foam Squares White Regular
Dodz Adhesive Dots Minis
Crafty Foam Tape White
My Favorite Things
LLD Soda Pop Stamp Set
Die-namics LLD Soda Pop Bottles Dies
Penguin in Paradise Stamp Set
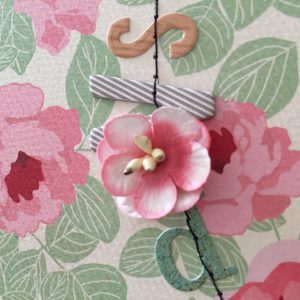
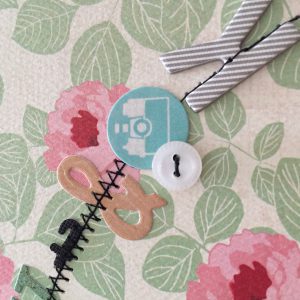
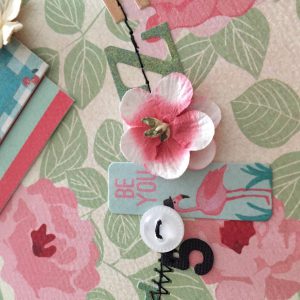
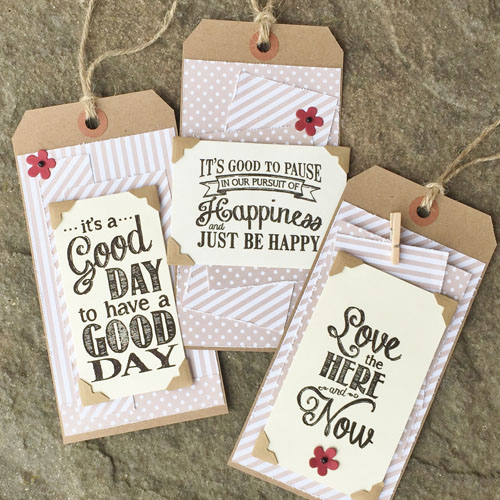
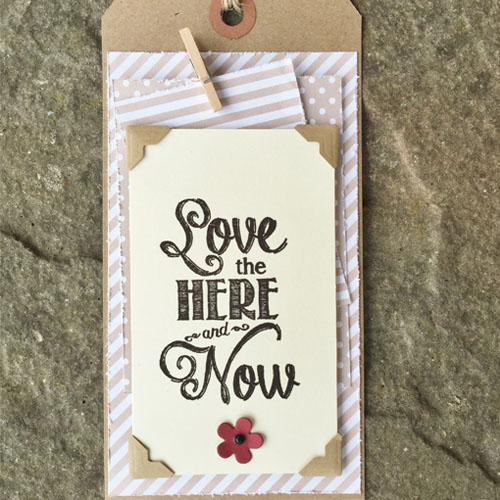
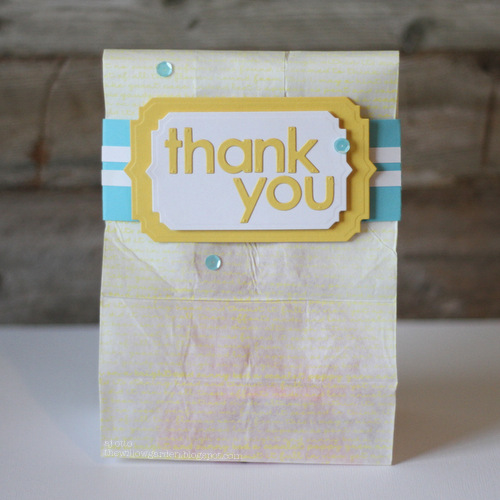
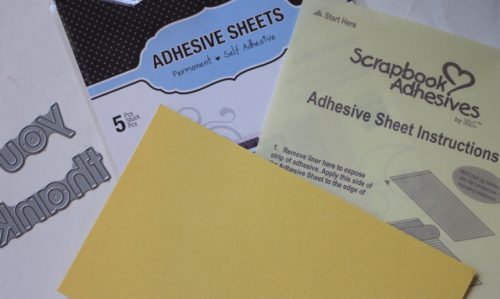
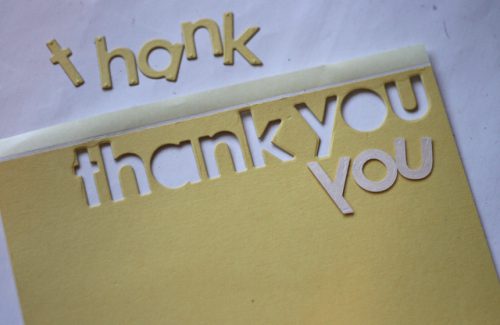
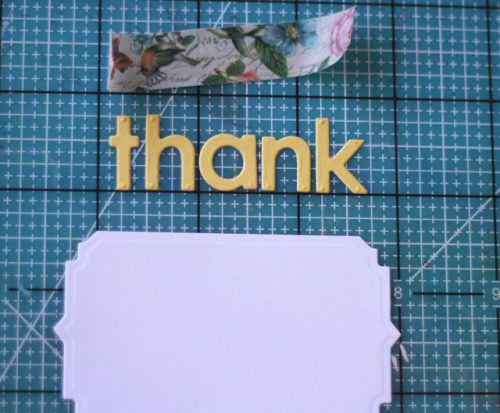
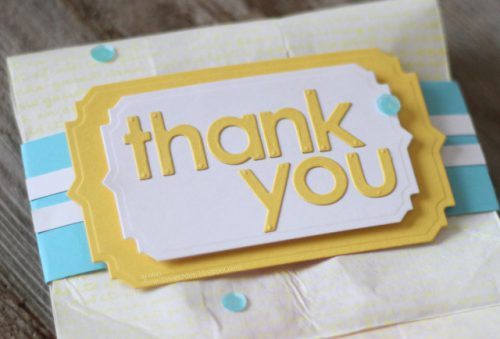
Hi! Treat Sack
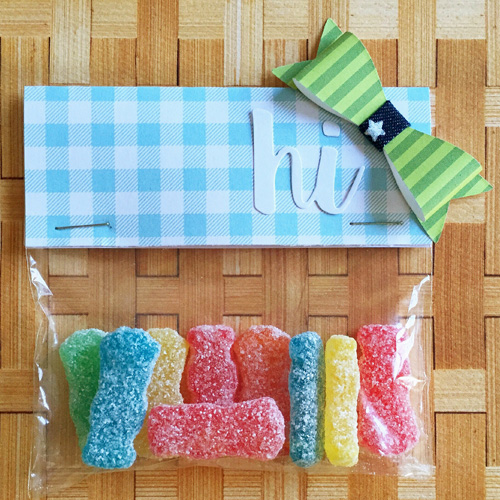
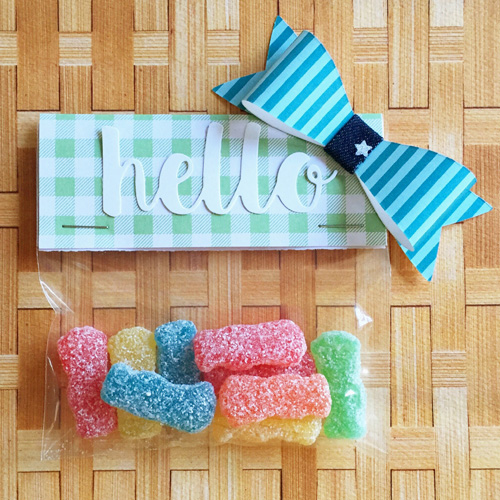
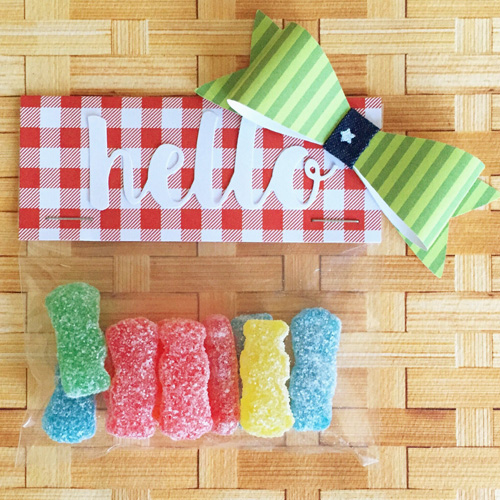
I’m sharing cute, simple treat bags that are perfect for your next summer cookout, gathering or party. I started by using the Die-namics Hello There die-cut to create my ‘hello’ and ‘hi’ sentiments. I placed my paper on our Adhesive Sheets 4 x 6″ for easy adhering. Next, I used the Die-namics Dainty Bows die-cut and the Dots & Stripes Fresh Paper Pack to make those adorable bows! Then I cut a small piece of Denim Ribbons and wrapped it around the center of my bow.
Finally, I cut 3.75 x 4” rectangles from the Gingham Galore Paper Pack, scored and folded them in half. I filled small clear bags with a sweet treat and then placed my folded rectangles over the top and stapled them in place. I peeled the backing from my sentiments and adhered them, as well as my bows to each bag. That’s it – cute, simple and yummy! Erica Houghton
Supplies List
Scrapbook Adhesives by 3L®
Adhesive Sheets 4 x 6″
My Favorite Things
Die-namics Hello There
Die-namics Dainty Bows
Dots & Stripes Fresh Paper Pack
Gingham Galore Paper Pack
Don’t forget to hop over to our friends at MFT by clicking Blog Hop with MFT – Day 2.
Find our Day 3 Blog Hop post here!
Blog Hop Prize Details
Enter to win by leaving a comment through the Rafflecopter App. International entries are welcome.
UPDATE!!
Congratulations to Scrapbook Adhesives by 3L & MFT Blog Hop Winners!! Many many thanks for everyone visiting and commenting during the hop <3
$50 Prize Package of Scrapbook Adhesives by 3L®:
- Andrene
- Tammy Whitley
- Arianna Barbara
$50 Voucher from My Favorite Things (MFT):
a Rafflecopter giveaway
Connect with Scrapbook Adhesives by 3L®:
Facebook – https://www.facebook.com/ScrapbookAdhesives
Website – https://www.scrapbook-adhesives.com/
Blog – https://www.scrapbook-adhesives.com/blog/
Instagram – https://www.instagram.com/scrapbookadhesivesby3l/
Pinterest – https://www.pinterest.com/SBAdhesivesby3L/
Twitter – https://twitter.com/SBADHESIVESBY3L
YouTube – https://www.youtube.com/user/ScrapbookAdhesives
Newsletter – http://eepurl.com/I6dPj
Connect with My Favorite Things:
Facebook – https://www.facebook.com/MFTStamps
Website – http://www.mftstamps.com/
Blog – http://www.mftstamps.com/blog/
Instagram – https://www.instagram.com/mftstamps/
Periscope – https://www.periscope.tv/MFTStamps?:username=MFTStamps&
Pinterest – https://www.pinterest.com/mftstamps/
Twitter – https://twitter.com/MFTStamps
YouTube – https://www.youtube.com/user/MFTKim?&ab_channel=MyFavoriteThings
Flickr – https://www.flickr.com/groups/mftstamps/
Save
Save


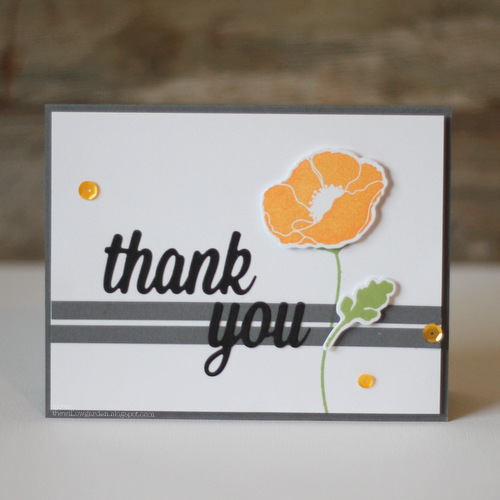
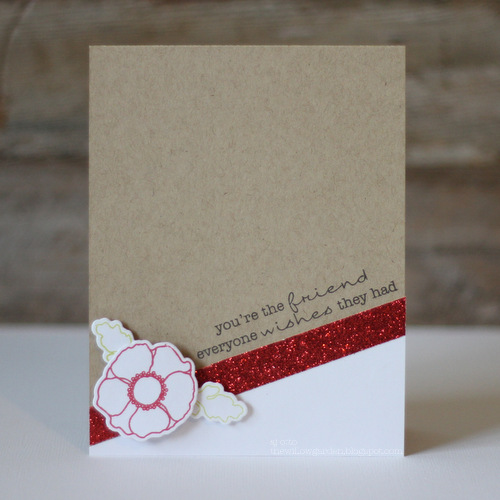
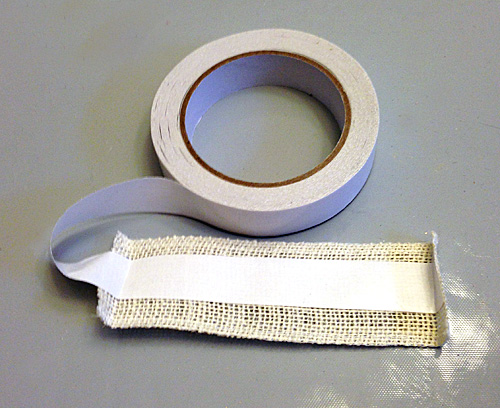
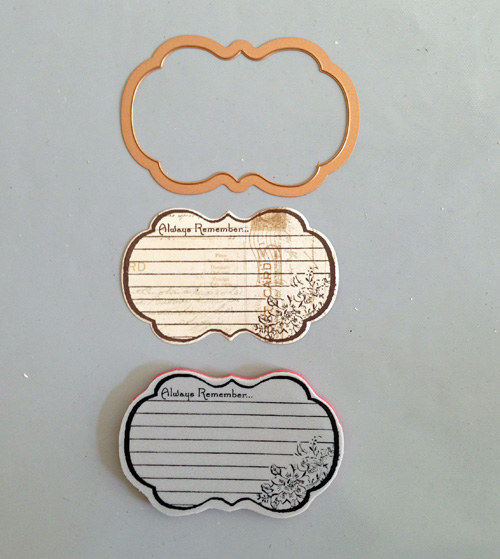
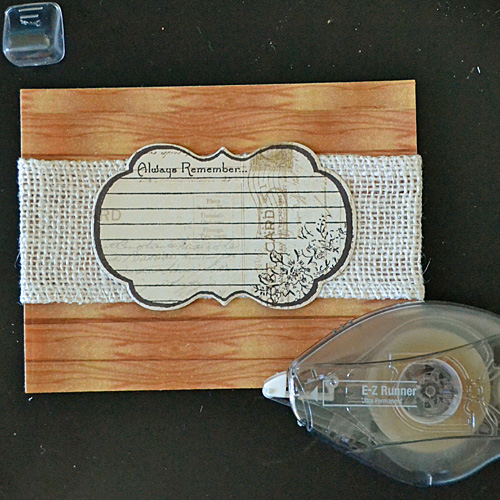
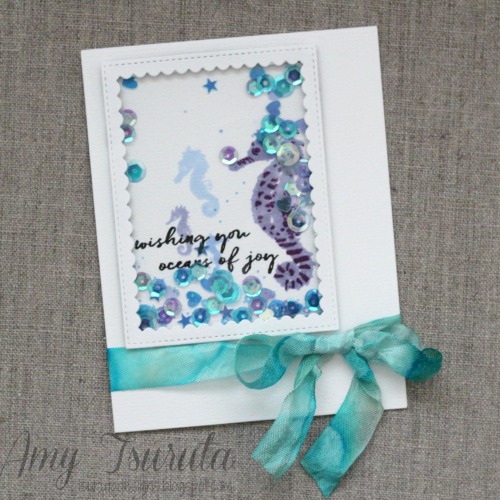
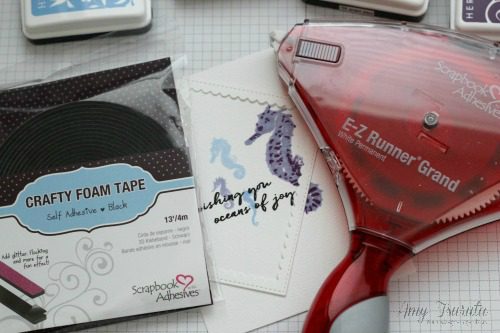
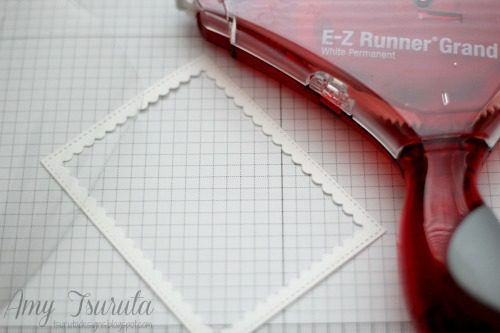
 To get started, you will need your favorite die cuts, card stock, and our


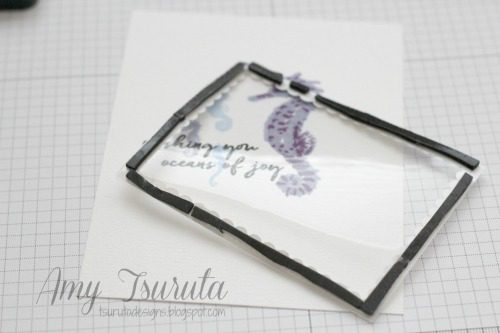
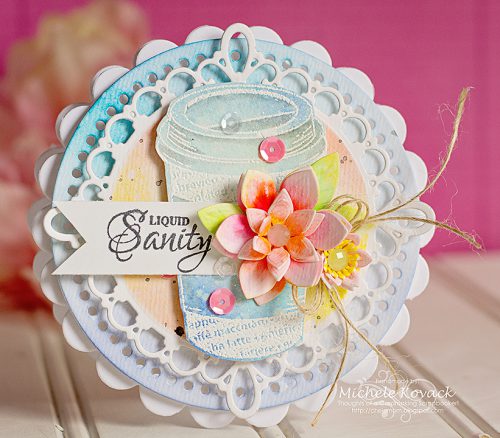
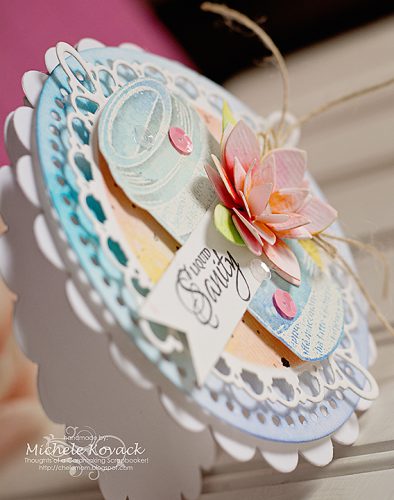
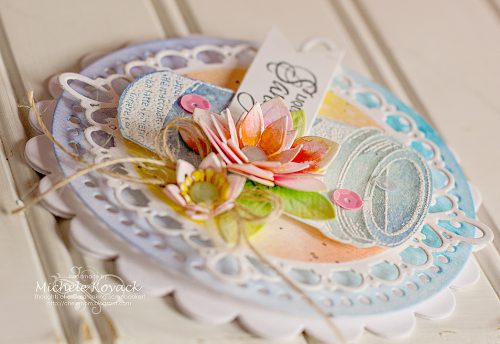
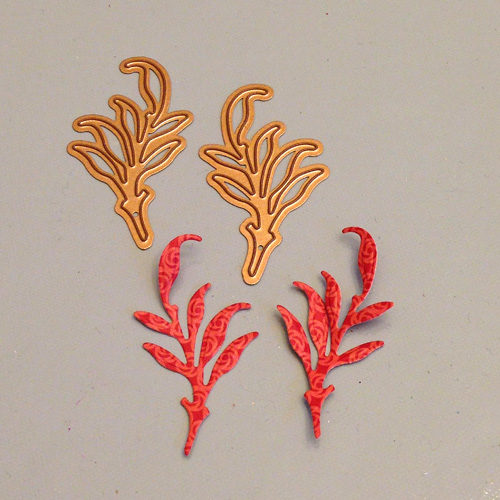
 Lastly, adhere a few fun sequins using our perfectly sized