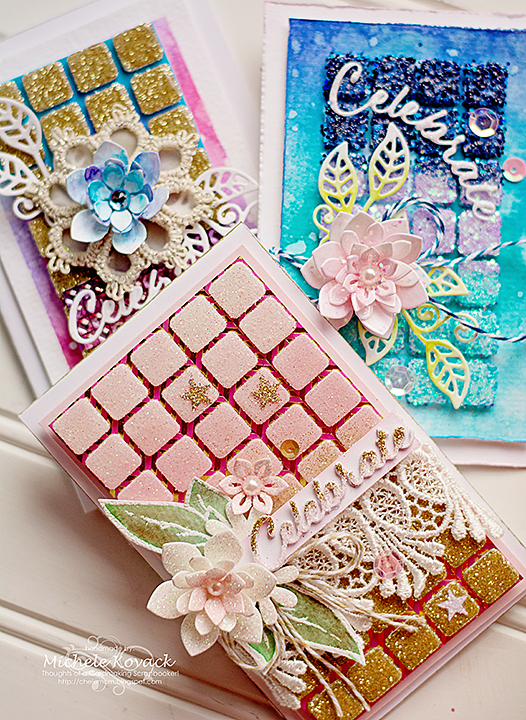
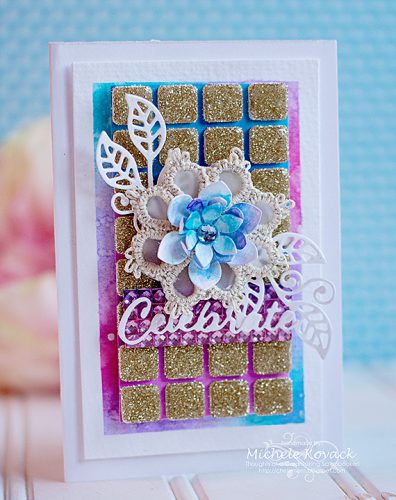
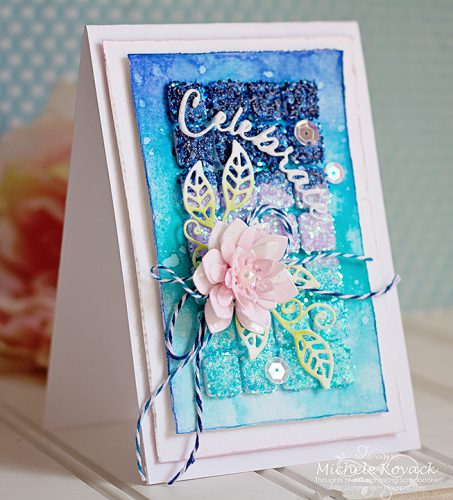
Hello! Today I am sharing an all occasion card with a little bit of mixed media This is something easy to do – all you need is modeling paste. I will show you two different techniques for an easy and fast background!
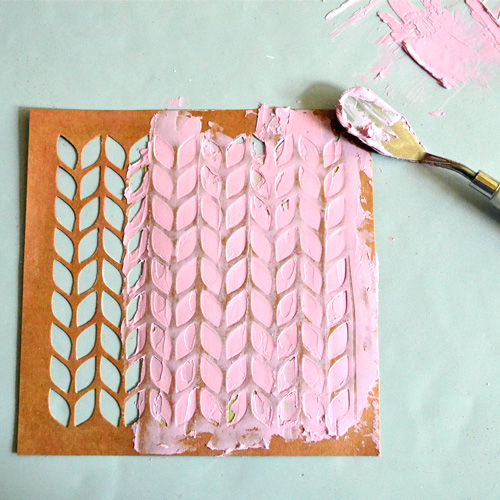
With a palette knife (or even a plastic toothless knife/spoon would do), scoop out about 1/2 Tablespoon of modeling paste. Add color, I used about 1/4 teaspoon of Pigment Powder – Pink on top of the paste. Fold in until you get the desired color (you can add more powder if you wish).
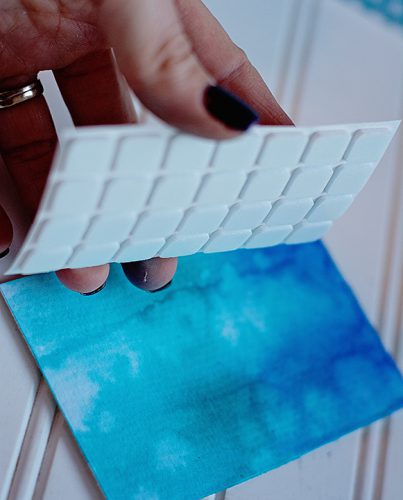
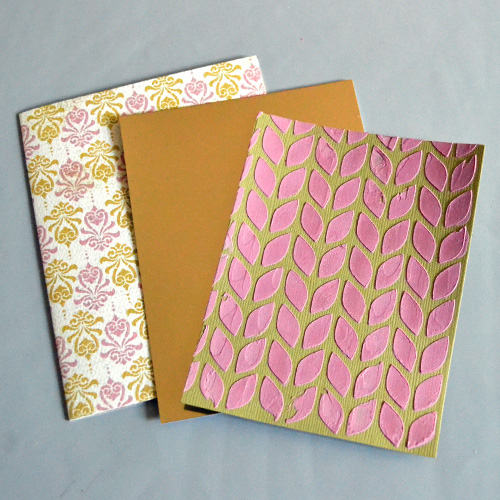
Grab a piece of 3.875 x 5.0″ green cardstock cut from Matting Basics B die set and a favorite stencil. Let the fun begin! Start spreading the tinted paste with the back of your palette knife and cover the entire surface.
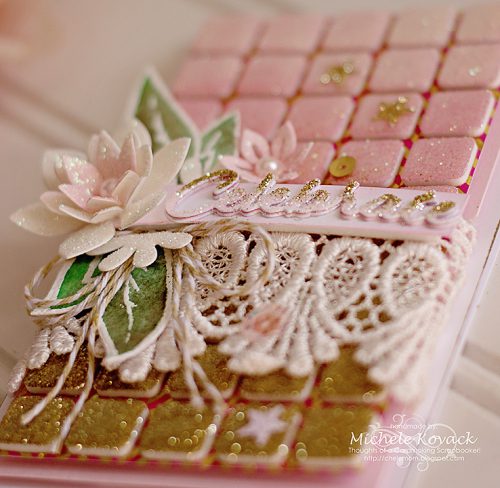
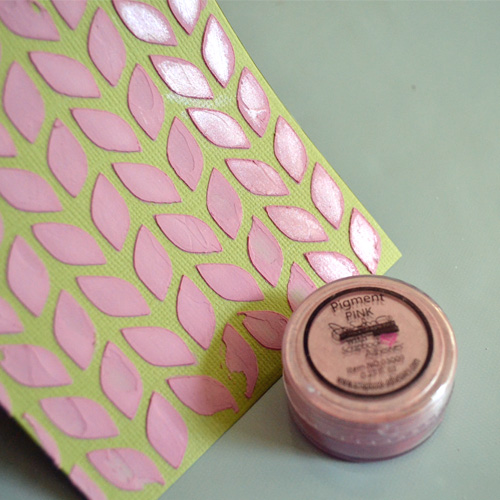
Let dry – I used sunlight by the window but you can use a heating tool. Be careful not to bubble the paste. Once dried – a second background technique. I lightly rub more Pigment Powder on top of the stenciled design for a subtle shimmery effect (see the first two rows of leaves).
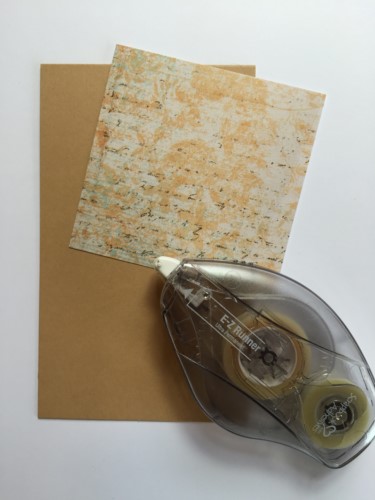
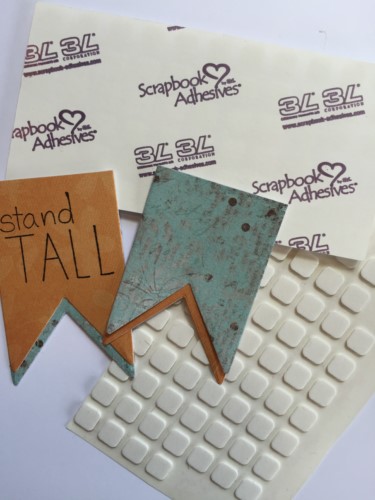
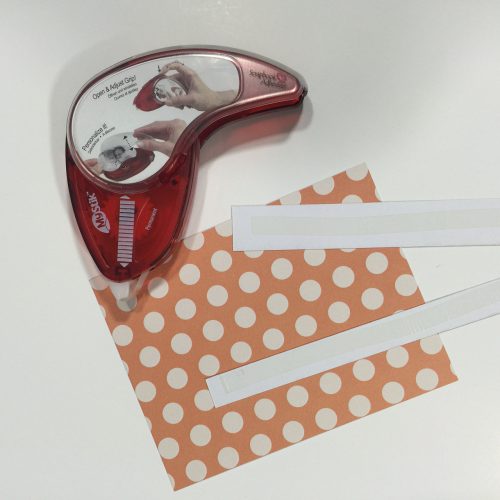
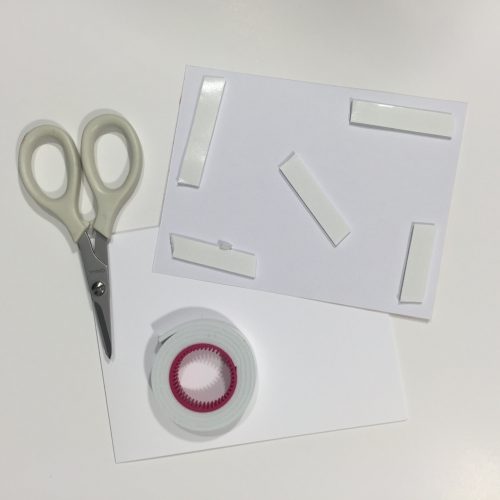
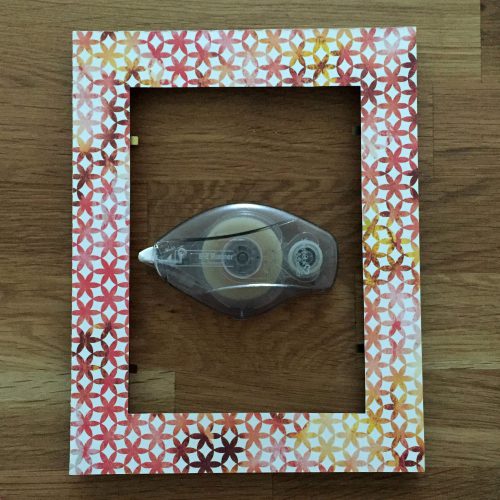
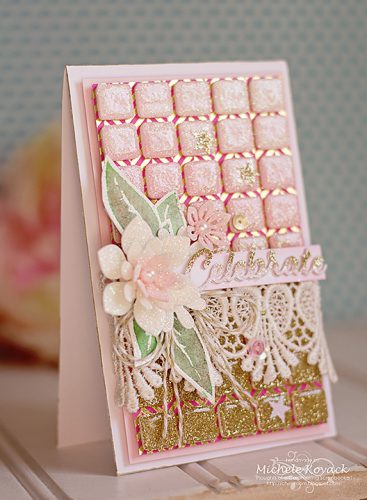
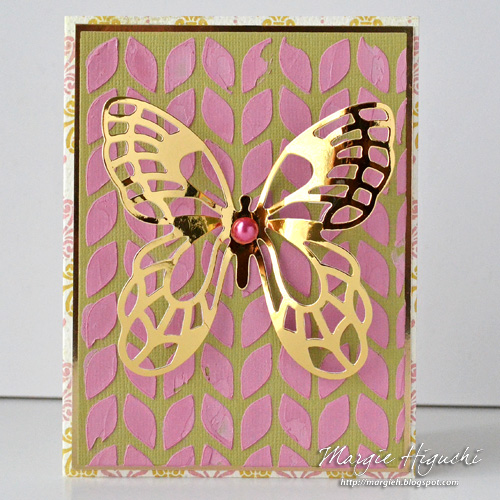
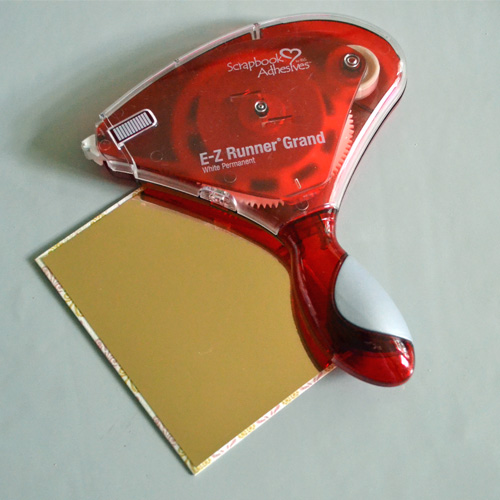
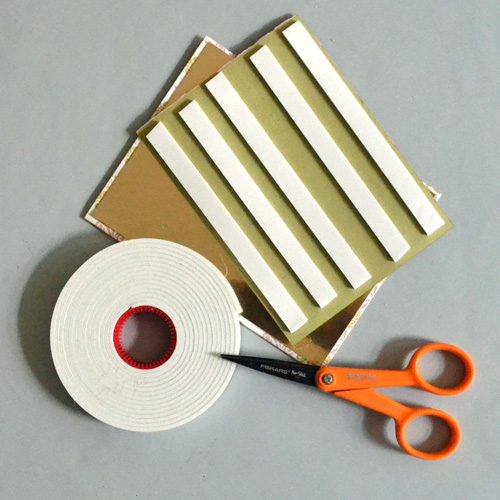
I folded in half a piece of 8.5 x 5.5″ patterned paper for a card base and cut a 4.0 x 5.25″ piece of gold mirror cardstock as a mat. Adhered the mat with E-Z Runner® Grand Refillable Dispenser and for the stenciled panel, Crafty Foam Tape – White for more dimension.
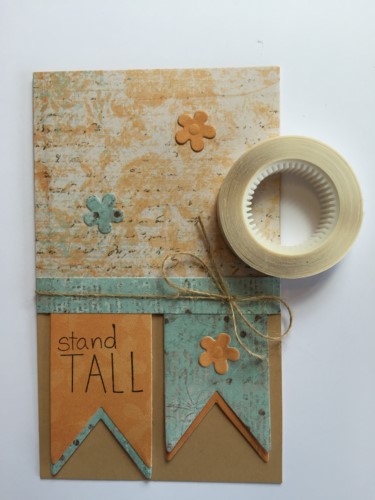
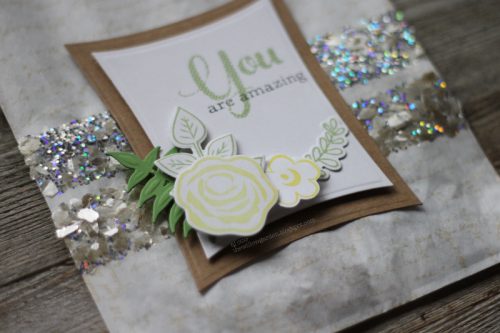
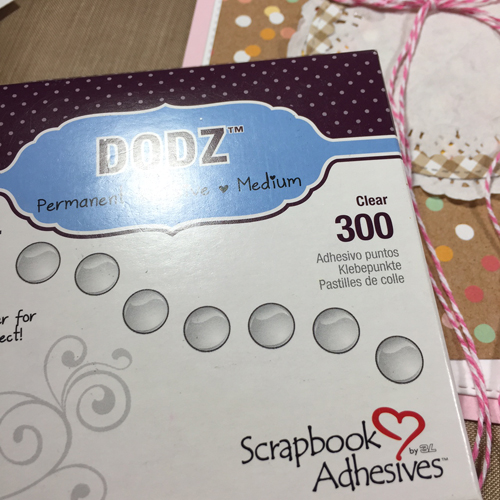
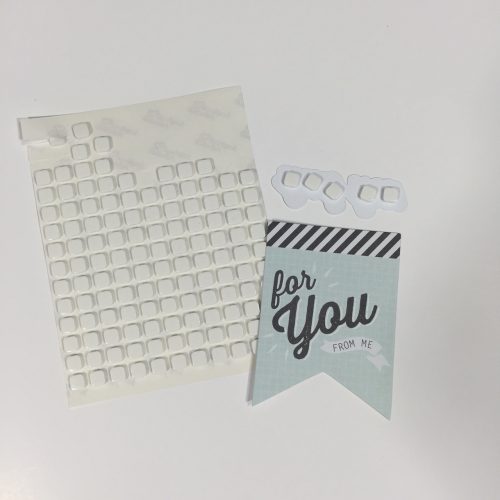
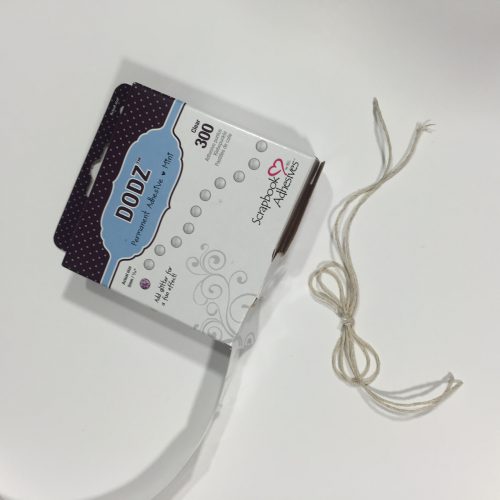
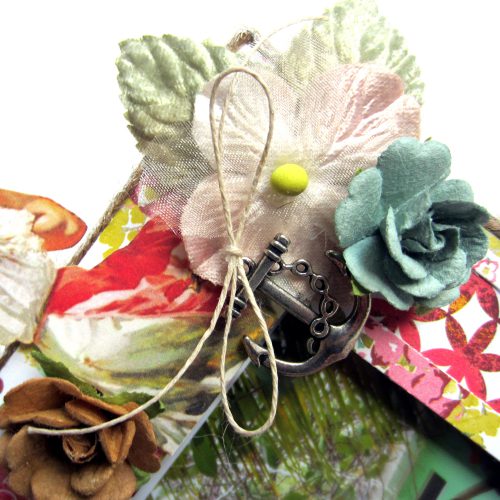
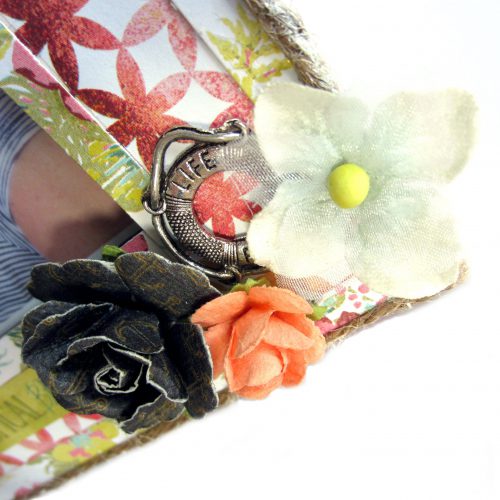
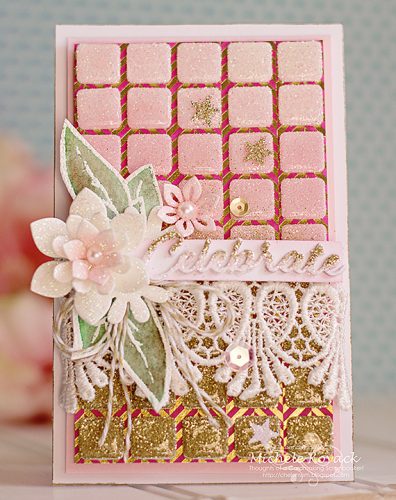
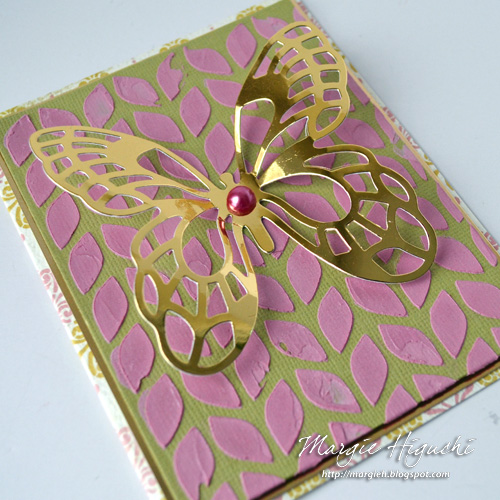
For the finishing touch add the butterfly die cut (in gold mirror cardstock) with a Dodz Adhesive Dots Medium and place a pink pearl in its center. Here is another look at the card…it’s hard to capture the shimmer on camera but it’s there!
Hope you enjoyed this tutorial! Don’t be afraid to add a little mixed media in your next project 🙂
Thanks for stopping by!
Margie Higuchi
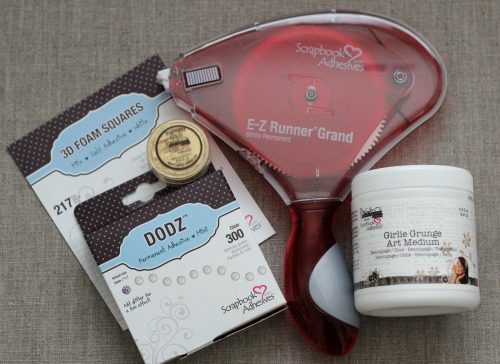
Supplies:
Scrapbook Adhesives by 3L®: E-Z Runner® Grand Refillable Dispenser, Crafty Foam Tape – White, and Dodz™ Medium
Pigment Powder
Patterned Paper: Carta Bella
Green Cardstock Cardstock: Core’dinations ColorCore Cardstock®
Gold Mirror Cardstock: WorldWin Papers
Stencil, Palette Knife and Modeling Paste/Whipped Spackle: Faber-Castell® Design Memory Craft®
Dies and Machine: Spellbinders® Paper Arts (Fanciful Flight – Butterfly and Matting Basics B) and Spellbinders® Platinum™ Die Cutting and Embossing Machine
Pink Pearl: Want2Scrap©
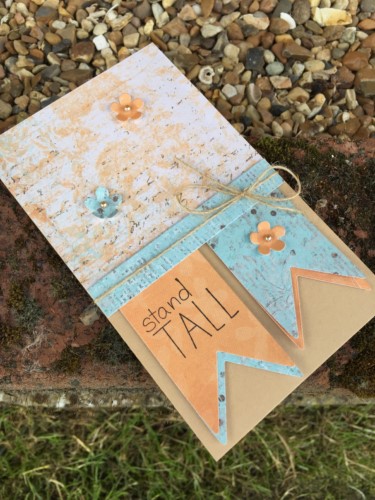
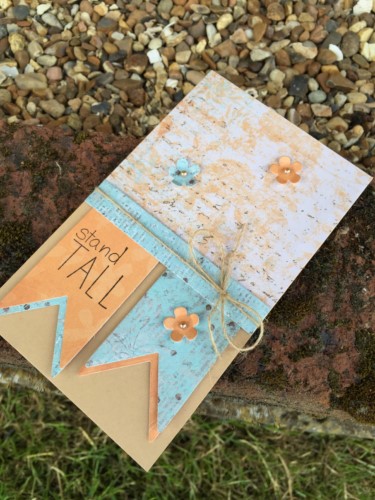
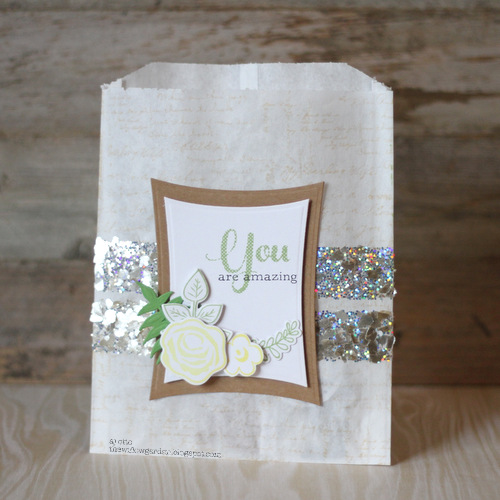
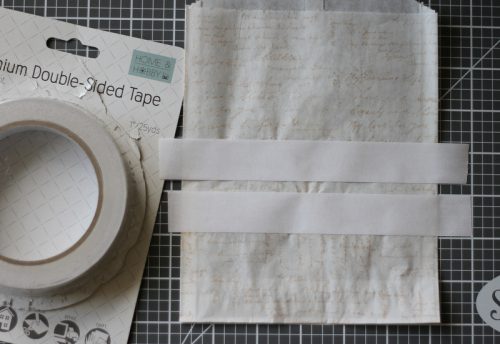
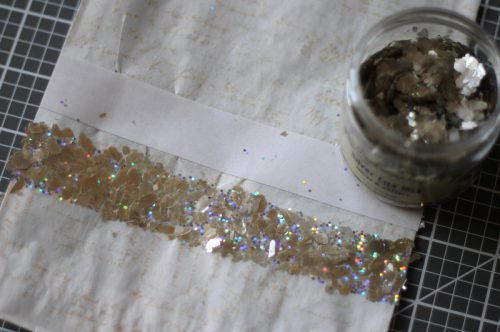
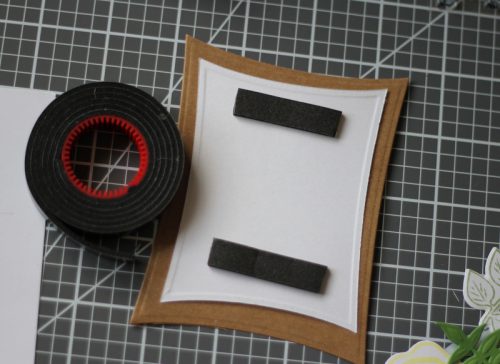
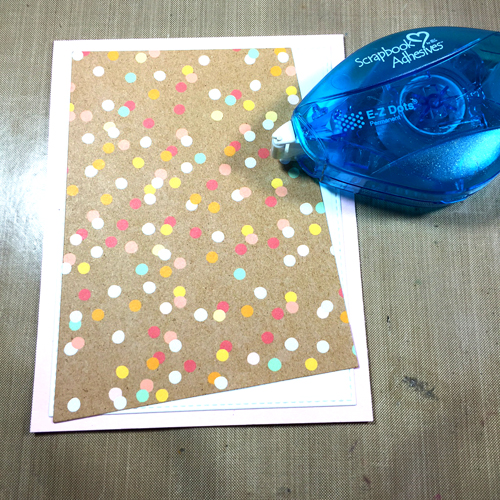
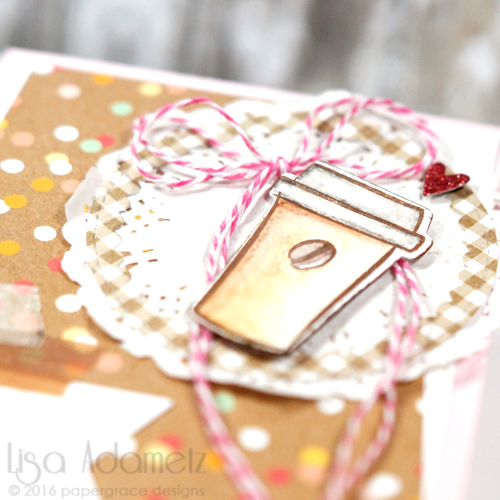
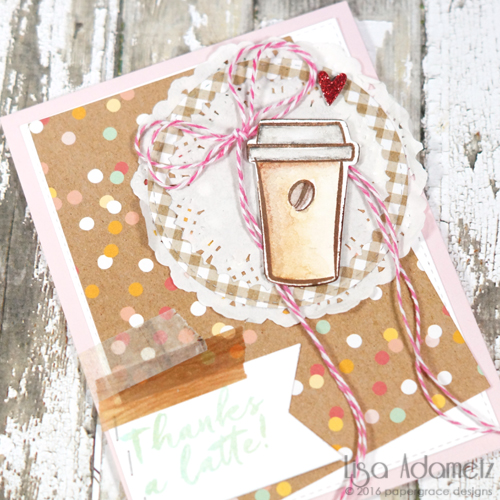
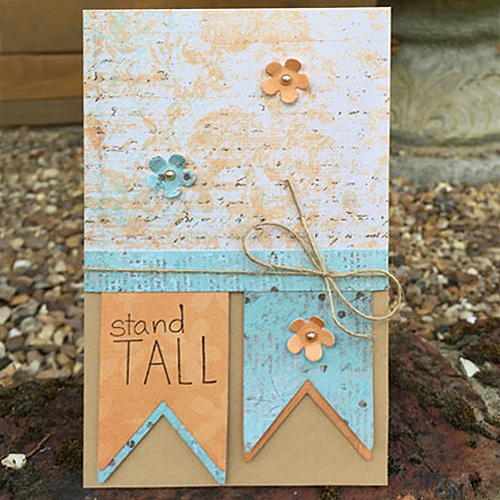 I affixed patterned paper to a kraft card base using