Hi there,
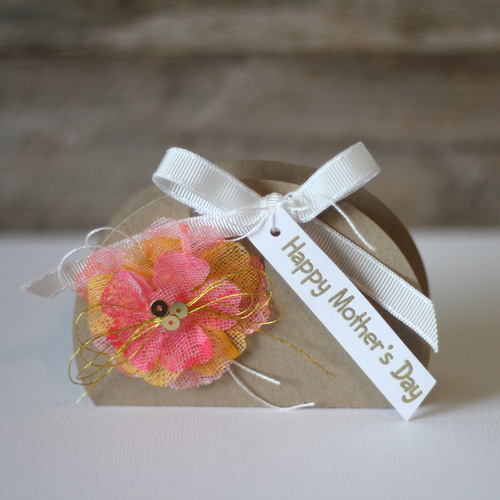
it’s Stephanie here today and I want to show you a decorated Notebook for Mother’s Day with Sizzix dies and the fabulous E-Z Dots® Permanent – Refillable and 3D Foam Squares Mix – white.
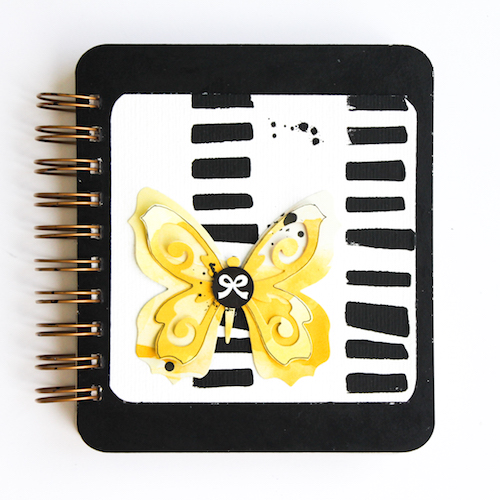
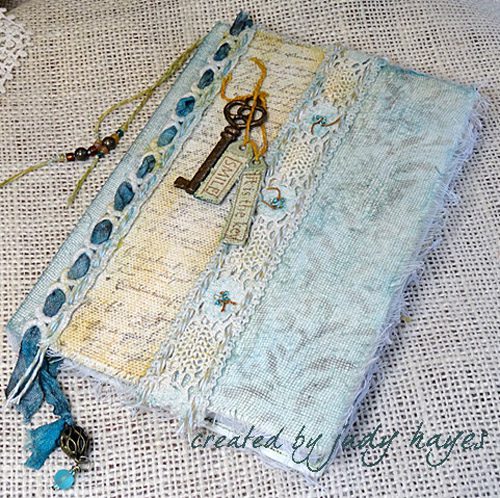
This year I wanted create not only a card for Mother’s Day, but a album or a notebook. I used a Chipboard Album with deviders and papers from Wycinanka and decorated it.
Here is my little tutorial for you.
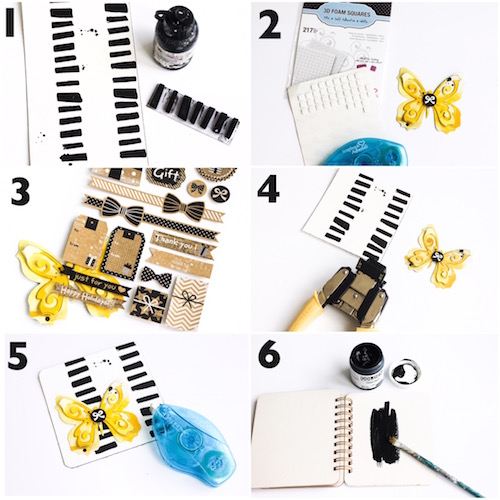
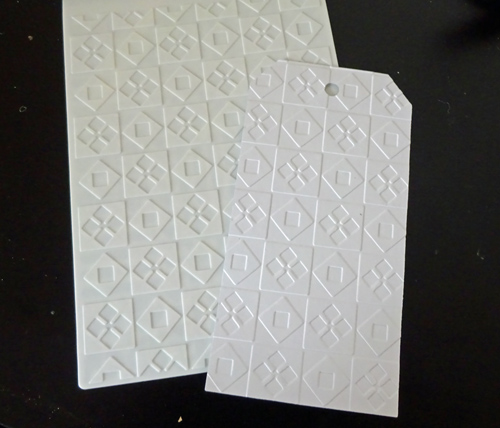
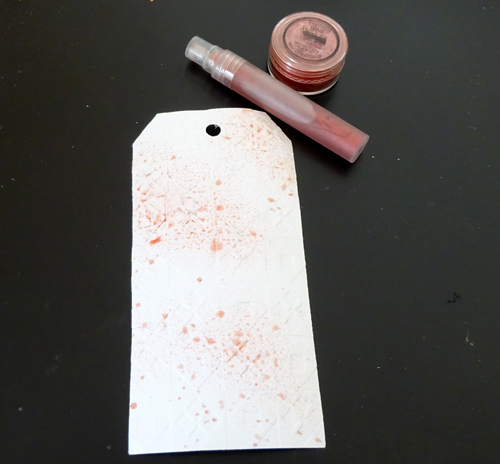
1 – I used a piece of watercolor paper and stamped with black acrylic paint and a stamp on it to create my background. I also splashed a bit with black paint.
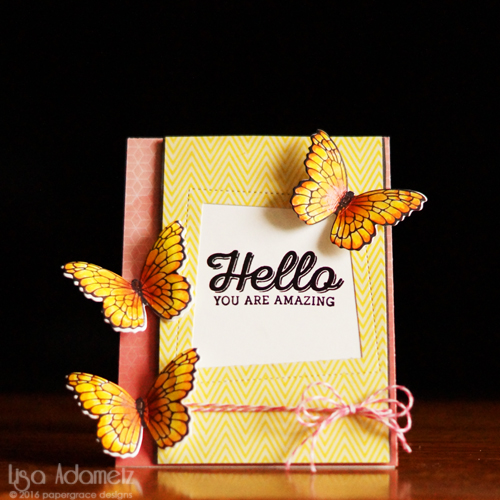
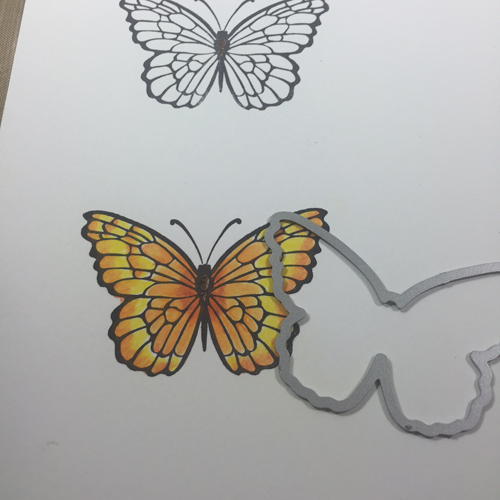
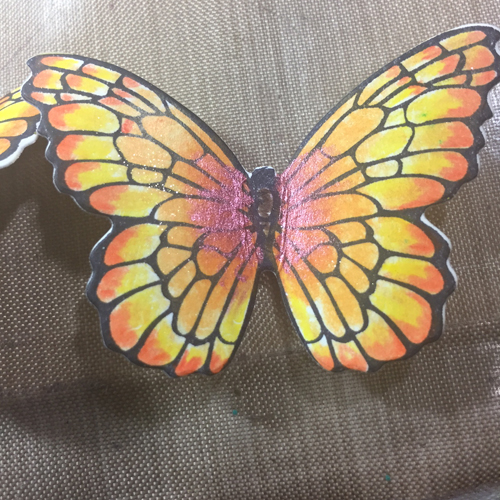
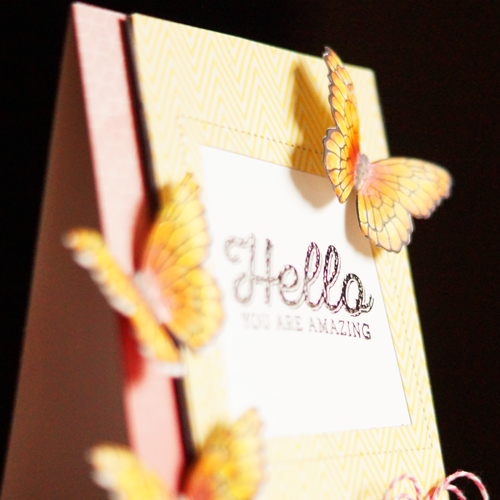
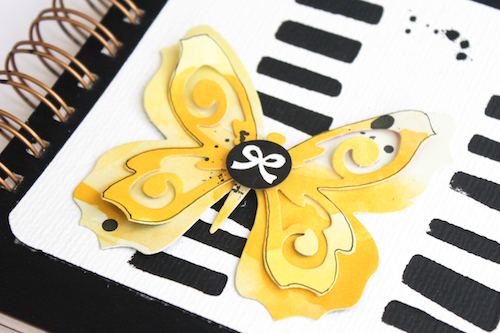
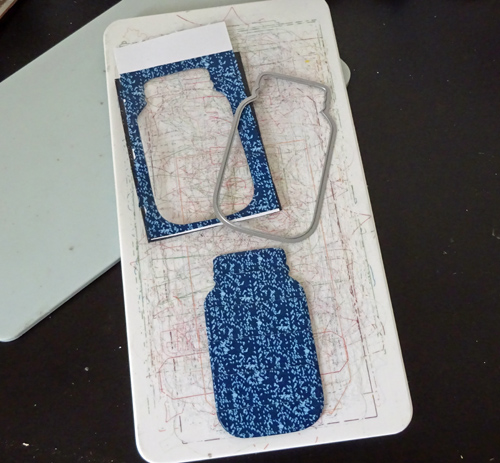
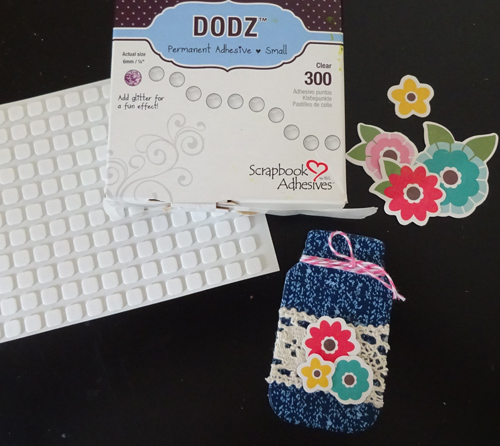
2 – Then I prepared my motive, a butterfly. This is a Sizzix die with three pieces you can put together and I adhered them with a little 3D Foam Square (from the 3D Foam Squares Mix – white) under the corpuscles and with the E-Z Dots® Permanent – Refillable to put together the wings.
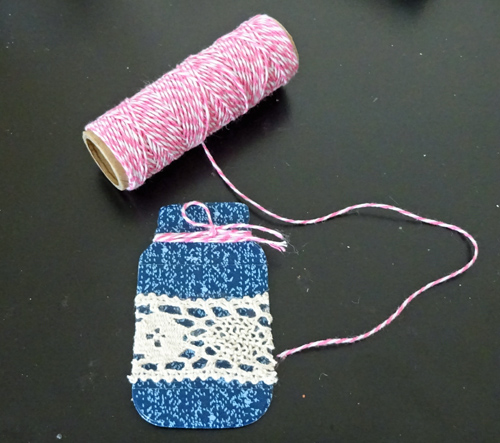
3 – Then I added a sticker with a bow in the middle.
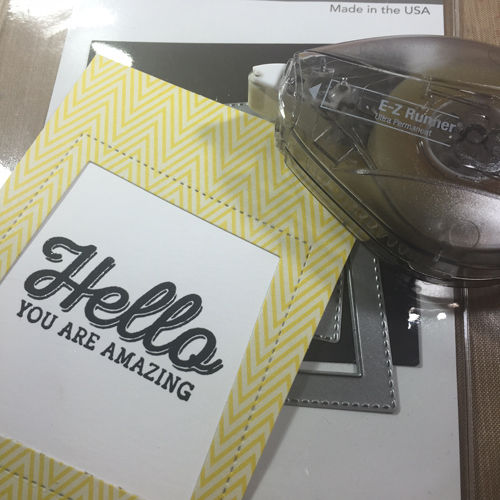
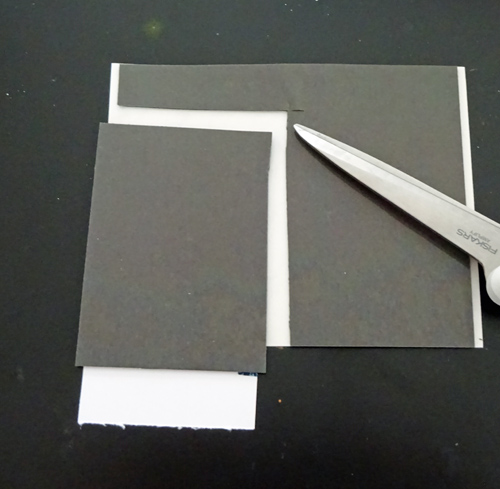
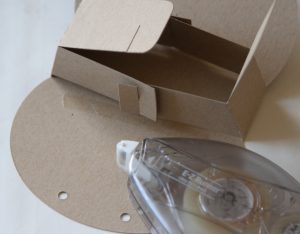
4 – I cuted my paper and cuted the edges with a Crop a Dile.
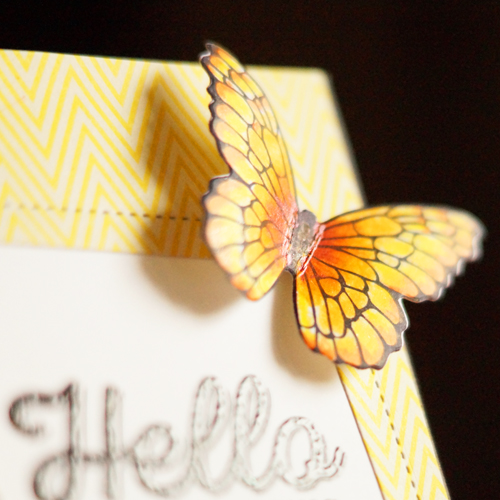
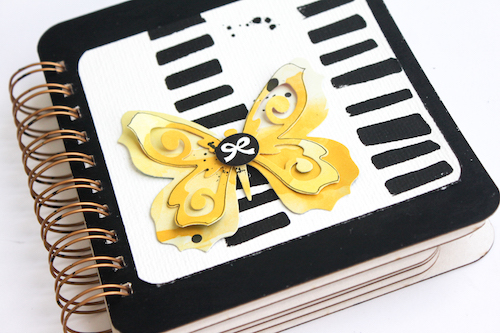
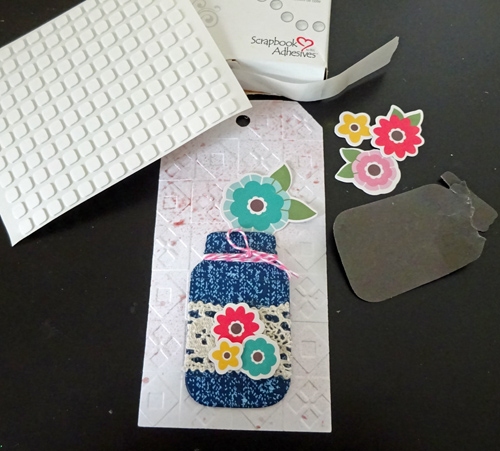
5 – Then I adhered the butterfly onto the background.
6 – I prepared the album with a black background by using black acrylic paint and adhered the little card with the E-Z Dots® Permanent – Refillable.
And that’s it.
To all mothers a great Mother’s Day, enjoy the special attention and love!
Thanks for visiting me today!
I wish you a nice creative day!
Stephanie 🙂
Supplies from Scrapbook Adhesives by 3L®


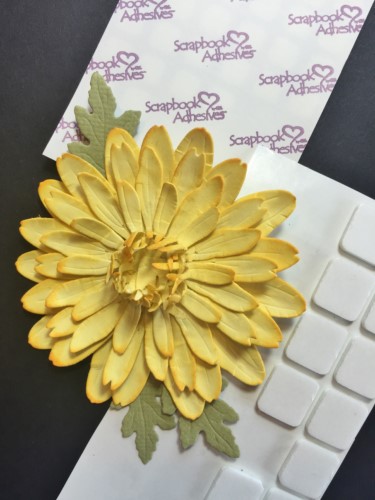

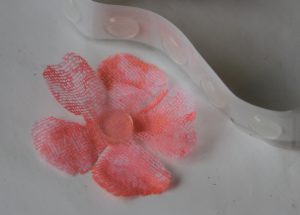 I make flowers from cheese cloth and layered my blooms together using