You are in our US store • Switch to Europe store

Happy Easter to You Card Using 3D Foam Easter Shapes

Morning- Easter is quickly approaching so I thought I would make a few cards to have on hand!
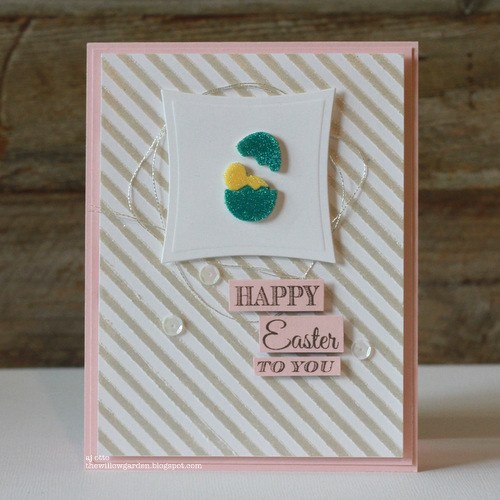
AJOtto-EasterChick-1For this one, I used our fun 3D Foam Easter Shapes, love that little chick inside the egg. 😉
AJOtto-EasterChick-2

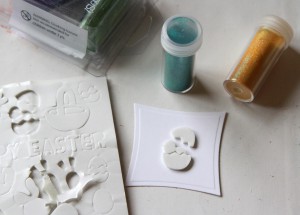
To start, just adhere the foam shapes where you like on your project. I decided to use this springy blue and yellow colors to work with.
AJOtto-EasterChick-3

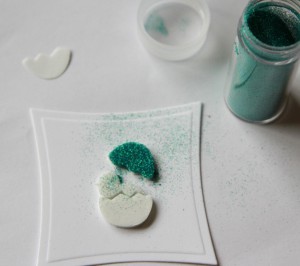
First, peel off the backing of the shape you want covered in glitter, and gently sprinkle glitter over it.  While the other shape are still covered, I really try not to get it everywhere. Continue to the egg bottom and also cover with glitter.
AJOtto-EasterChick-4

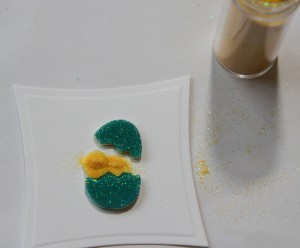
Next, the middle piece in yellow.  There isn’t a right order here, just how I did it. 🙂  Once covered in glitter I added a few 3D Foam Squares the back of my die cut and adhered to my card.
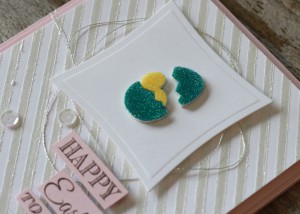
AJOtto-EasterChick-5

I also adhered the words with 3D Foam Squares and used the amazing new Dodz™ Mini for my sequins.  I LOVE that they are perfectly sized for sequins!
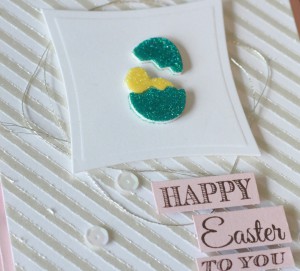
AJOtto-EasterChick-6And another close up angle, love the size of the glitter, perfect for these little shapes!

have a great week! 🙂 AJ

Scrapbook Adhesives by 3L® Products used: Crafty Foam Tape3D Foam Easter Shapes; E-Z Runner® Grand DispenserDodz™ Mini3D Foam Squares

Stamps- Avery Elle; Glitter- Stampendous; Dies- Spellbinders; Embossing paste/stencil/thread/sequins/cardstock/ink
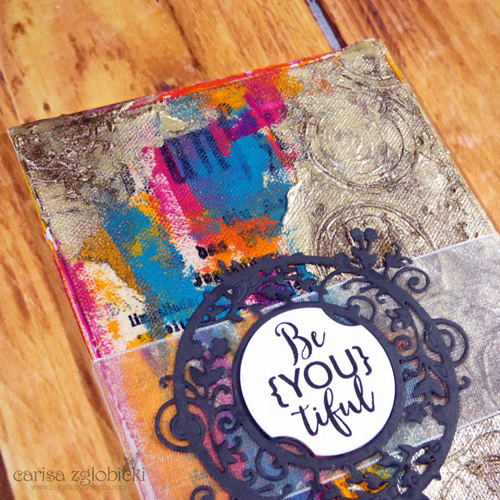
BeYOUtiful Mixed Media Canvas using Art Medium and Pigment Powder

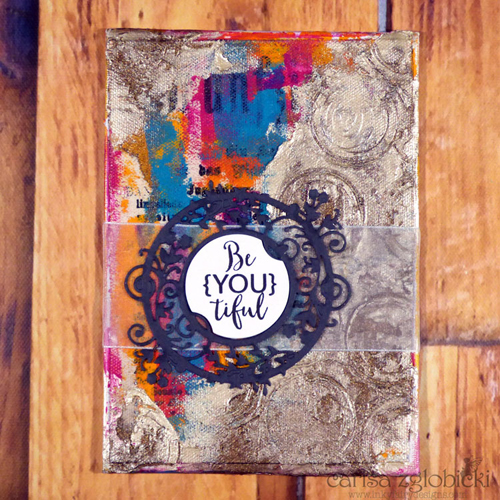
Hi Everyone! Carisa Zglobicki here and I’m so excited to be joining you again on the Scrapbook Adhesives by 3L®. Today, I wanted to create a mixed media piece for you.

BeYOUtiful MixedMedia Canvas by Carisa Zglobicki

To start my canvas I adhere some canvas paper with Art Medium. Then I added some paint on top. Once that was dry, I added some texture paste and created texture with an empty tape roll.  I sprinkled a bit of pigment powder around and sprayed it with water. It moved beautifully and settled in all of the grooves just like I had hoped grunging up my piece.

CarisaZglobicki GDT BeYOUtifulMixedMediaCanvas CloseUp1 Mar1416

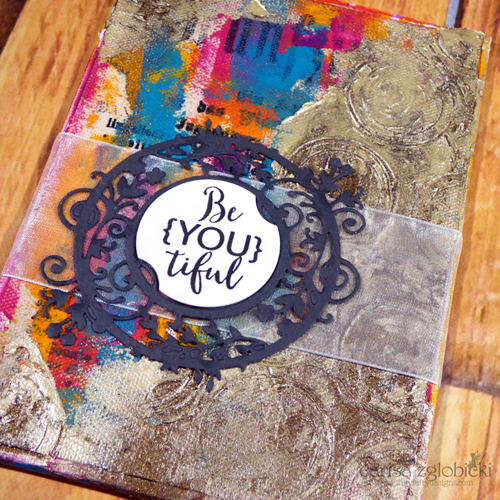
To adhere the organza I used the Extreme Double Sided Tape 1/4″. For the intricate die, I used Art Medium – perfect as it dries clear and I wanted a bit of dimension for my focal title of this piece so I used the DODZ™ 3D.

CarisaZglobicki GDT BeYOUtifulMixedMediaCanvas CloseUp2 Mar1416

Supply List:

Other: Nuvo Embellishment Mousse (Mother of Pearl); JustRite Papercraft Stamps and Dies; Pebeo High Viscosity Studio Acrylics

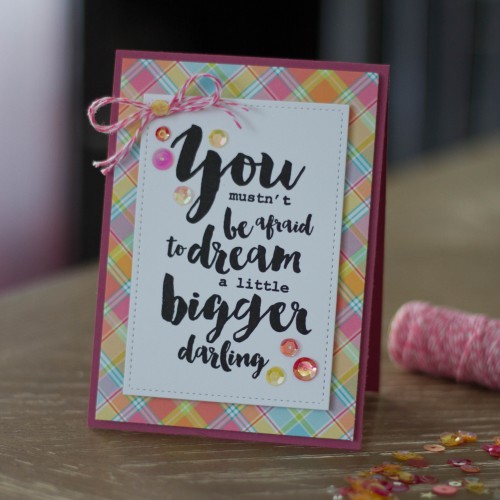
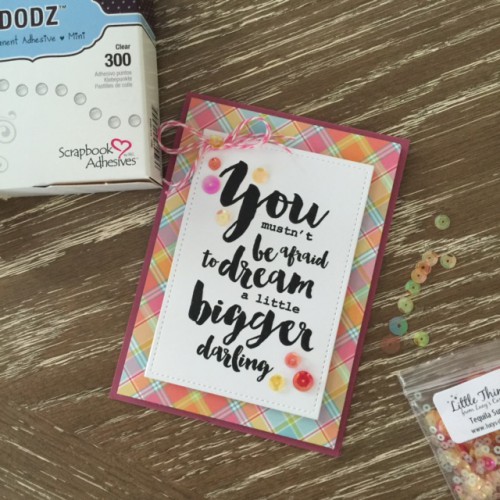
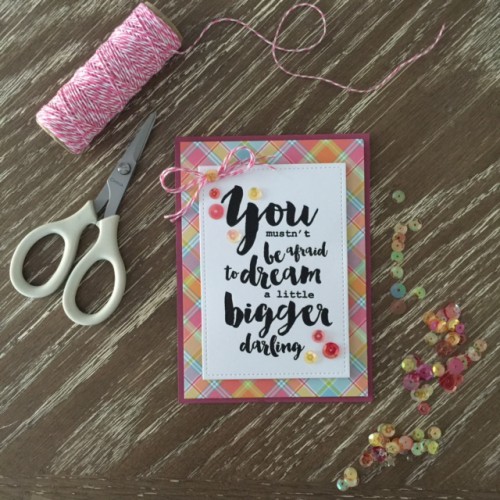
Dream Bigger Card

0315LYcard


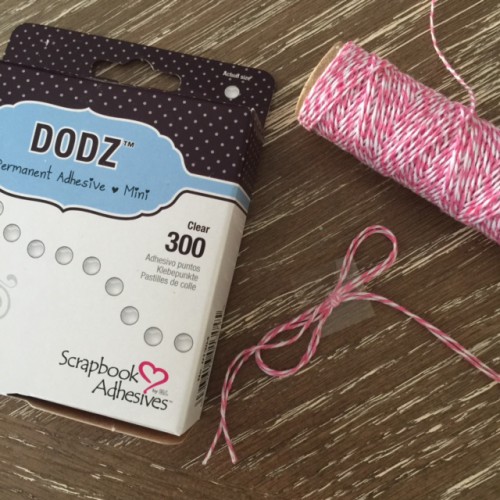
Hello there! Can you believe we are in the month of March?  Easter is early this year and I am getting so inspired from spring weather and all of the bright colors.  The focus of my card is using the the Scrapbook Adhesives by 3L Dodz mini.  They are the perfect size to add things like sequins and twine to project.


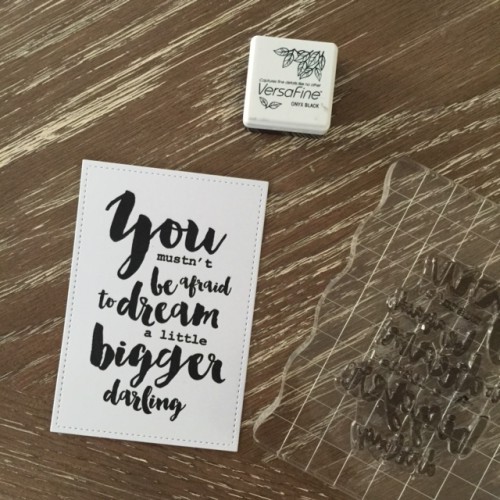
  1.  Stamp sentiment onto white die cut card stock using black ink. IMG_1931
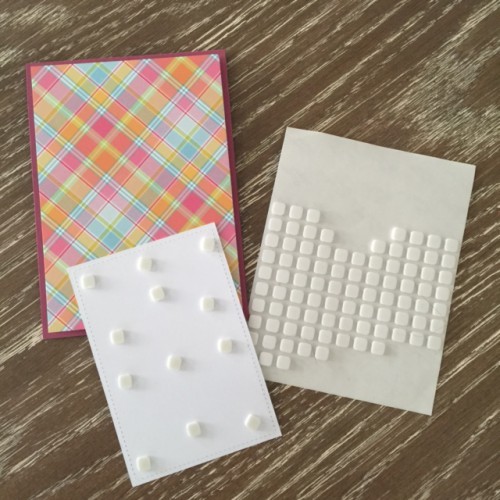
  2. Adhere pattern paper & stamped panel to the card base using Scrapbook Adhesives by 3L 3D Foam Squares (white, small).  IMG_1932
  3. Tie a bow using Twine. FullSizeRender_2
  4. Adhere the twine and sequins to the card panel using Scrapbook Adhesive by 3L Dodz Mini. FullSizeRender_1

The Dodz Mini’s really make it so easy to embellish any project!

FullSizeRender

Materials Used:

Spring!

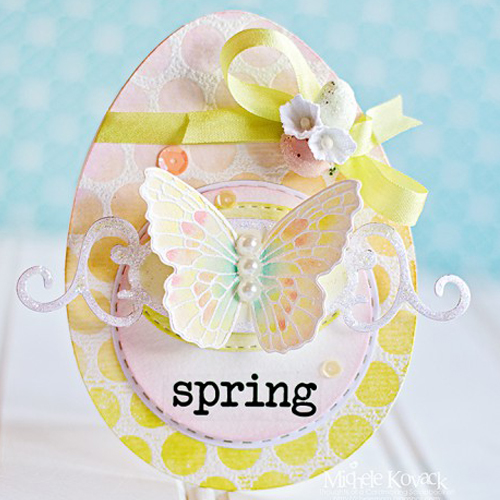
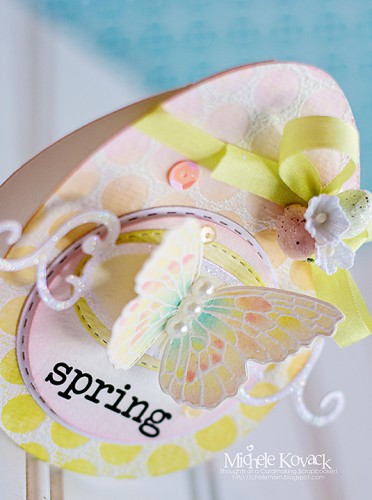
Good morning to you! Michele here with a card all ready for spring!  Easter is around the corner, we change our clocks forward this weekend, and the temps in Chicago have been in the balmy 60’s!  I die cut the egg shape, stamped, embossed, and inked it.  I cut the larger circle and adhered it to the egg with E-Z Squares®.

Spring! Egg Shaped Card by Michele Kovack

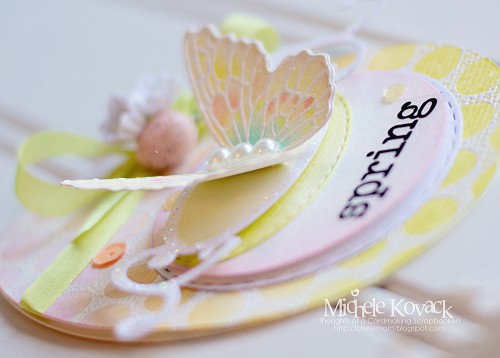
The smaller circle was cut, inked, and attached using Crafty Foam Tape in white.  I alternated the smaller ovals using either E-Z Squares® or Crafty Foam Tape.  I tied the bow around the top of the egg and secured everything in place using Dodz™-small.  

spring egg two

I used Dodz™-small for the butterfly and sequins too!  For a final touch I added a sentiment sticker.

spring egg three

Thank you for popping by today!


Supplies: Dodz™-small, Crafty Foam Tape, E-Z Squares®Sticker, die cuts, ink, pearls, posies, plastic eggs, glitter, die cut machine

Scrapbooking Layout “Swan” with the E-Z Runner® Permanent Fine Adhesive Dispenser

Hi there,

it’s Stephanie here today and I want to show you a simple Scrapbooking Layout “Swan” with my new favorite adhesive from Scrapbook Adhesives by 3l. I used the fabulous E-Z Runner® Permanent Fine Adhesive Dispenser.

Stephanie_LayoutSwan_1

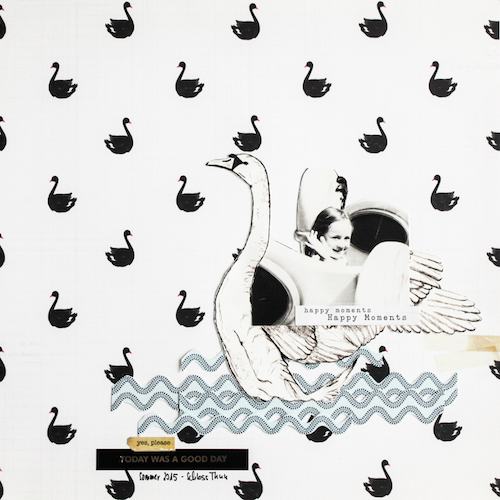
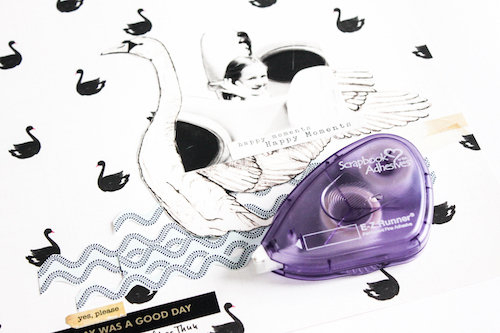
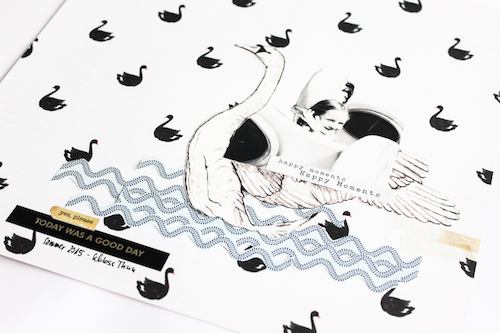
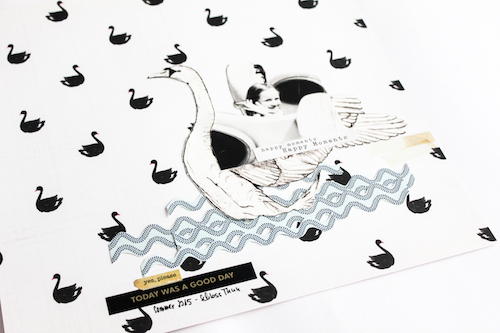
As you can see it’s a very simple Scrapbooking Page with not much layering or different papers. But I have some complex cut outs I needed to adhere. For my sketched swan and the paper waves I used the E-Z Runner® Permanent Fine Adhesive Dispenser. This dispenser it’s a permanent, very sticky, double-sided adhesive that goes on slightly opaque and will dry clearer over time. And the important thing is, that the adhesives can be well applied, precisely at the points that are needed, even if your cut outs are round, wavy or with many corners.

Stephanie_LayoutSwan_2

Maybe you are wondering why there are so many swans on this layout. 😉 The page tells a beautiful day in a children’s area where there were many rides. Among other things, there was a swan carousel and my little girl couldn’t stop and wanted to go there again and again. She sat ultimately a few laps alone in the carousel because we had already dizzy. Definitely a memorable day.

Stephanie_LayoutSwan_3 Stephanie_LayoutSwan_4

Thanks for visiting us today!

I wish you a nice creative day!

Stephanie 🙂

Supplies from Scrapbook Adhesives by 3L®

E-Z Runner® Permanent Fine Adhesive Dispenser.

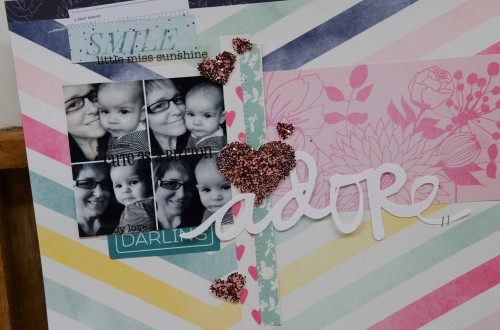
Adore Scrapbook Page Using 3D Foam Hearts

Hi everyone, Laurel here and I have a layout to share.

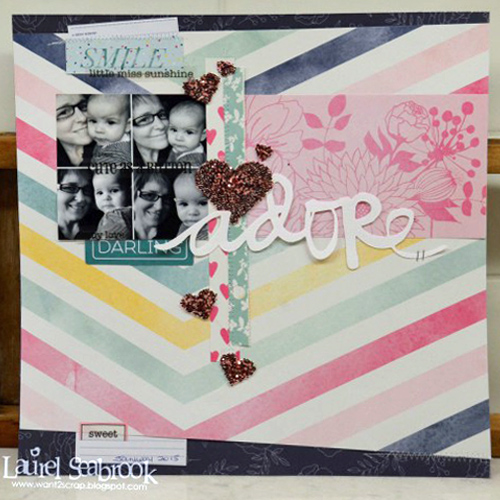
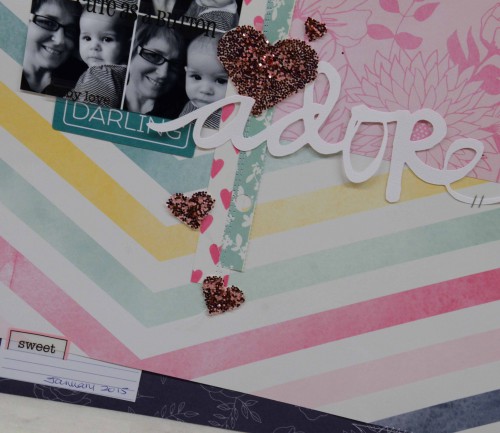
3D Foam Hearts Adore Scrapbook Page by Laurel Seabrook

I don’t scrapbook nearly as much as I used to, nor as much as I want to…just hard to find the time.

IMG_9695

This photo collage is from January of last year… where does the time go? I am normally the family photographer so I am not often in the pictures. I took these selfies of my granddaughter and I so of course I had to scrap them 🙂 Adhering all of my papers and photo is very easy using the E-Z Runner® Grand Permanent Strips (150′) Home & Hobby.

2016 03 05_2568

I then wanted to add some heart accents and the 3D Foam Hearts were the perfect accent as they have a bit of dimension for added interest. I adhered some glitter to the hearts then adhered them to the page, easy peesy! Finally, to be sure the title would stay in place I used some Dodz™ Small.

2016 03 05_2569

Products Used:

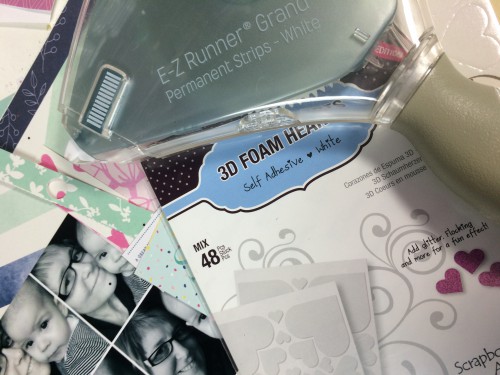
E-Z Runner® Grand Permanent Strips (150′) Home & Hobby
3D Foam Hearts
Dodz™

Other products:

Paper: American Crafts
Stickers: SRM Stickers
Glitter: Heidi Swapp
Die Cut: Silhouette


Easter Treat Boxes

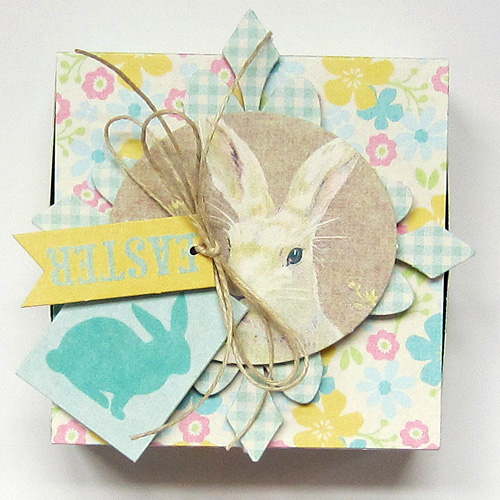
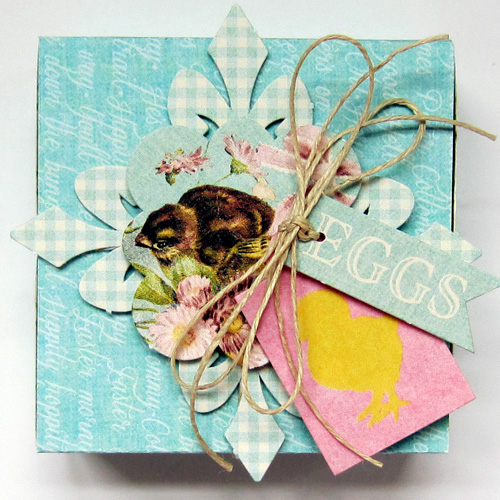
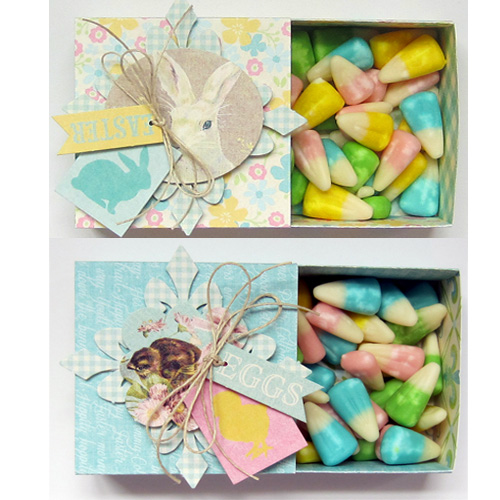
Who needs an Easter basket when you can make cute Easter boxes that are perfect for holding sweet treats. It’s Erica and today I’m sharing Easter treat boxes.

Easter Treat Box One by Erica Houghton

Easter Treat Box Two by Erica Houghton

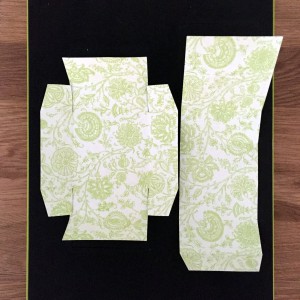
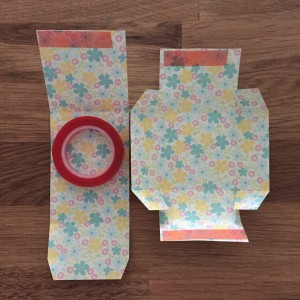
I started with a match box die and then scored the fold lines placing pieces of Extreme Double-Sided Tape 1/2″ along the top and bottom lines. I folded the match box and then tied a piece of  Twine around the match box lid.

Easter Treat Box by Erica Houghton Easter Treat Box by Erica Houghton

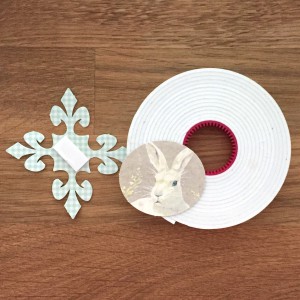
Using a DODZ I adhered the piece of twine in place. Finally, using Crafty Foam Tape White I added dimension to my embellishment and then centered and adhered it to the top of my box.

 Easter Treat Box by Erica Houghton

I then filled each box with yummy pastel candy corn!

Easter Treat Box by Erica Houghton

Scrapbook Adhesives by 3L®

Paper & Embellishments

  • Authentique Paper, Springtime

Products

  • Ranger Ink – Tim Holtz – Distress Ink
  • Fun Stampers Journey – floss

Thanks for joining me today!

Erica Houghton

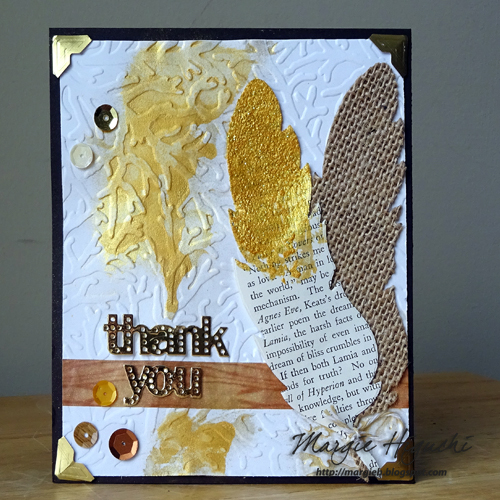
Gold Feathered Thank You Card

Excited to share with you another component of my Gold Feather ensemble that was displayed at the CHA (Craft & Hobby Assoc.) Mega Trade Show. You may remember my altered tin  in January.

Pigment Powder Gold Feathered Thank You Card by Margie Higuchi

Instructions:

  1. Emboss 4 x 5.25″ white cardstock with embossing folder to create a card panel.
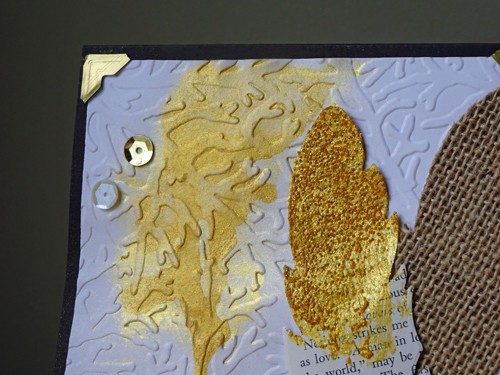
  2. Mix a pinch of Pigment Powder Gold into a water mister and shake well.
  3. Mist on top enough to cause to drip and blot dry with paper towel. Mist at the bottom for color and blot dry. Set aside to dry.
  4. Die-cut thank you sentiment with gold mirror cardstock. Die-cut two feathers: one in old text paper & other in burlap paper.
  5. Mix Pigment Powder Gold with Glass Bead Glitter Gel to tint gel.
  6. With foam brush, paint the top half of old text feather die cut. Set aside to dry.
  7. Add Tissue Tape in Oak across the bottom of misted card panel.
  8. Add Feather die cuts and “thank you” sentiment with Adhesives Sheets 4×6″.
  9. Tie Twine at Feather stems. Add sequins with Dodz™ Mini. Adhere the card panel with E-Z Runner® Permanent Strips Refillable Dispenser.
  10. Add Creative Photo Corners Gold as accents and it’s ready to send!

MargieHiguchi 500 FeatheredThankYouCd Mar0416 Step2

Pigment Powder Gold Feathered Thank You Card by Margie Higuchi

Thanks for visiting and have a wonderful weekend,
Margie Higuchi

Supplies:
Scrapbook Adhesives by 3L®: E-Z Runner® Permanent Strips Refillable Dispenser, Dodz™ Mini, Adhesive Sheets 4×6″ and Creative Photo Corners Gold
• Dies: Spellbinders® Creative Arts (Bird of a Feather Contour™ Steel Rule Die and Celebrations Dies)
• Card Base and White Cardstock: Core’dinations ColorCore Cardstock®
• Gold Mirror Cardstock: WorldWin Papers
• Gel Medium: Faber-Castell® Design Memory Craft® (Glass Bead Glitter Gel)
• Old Text Page; Burlap Paper; Sequins

See my Altered Tin Tutorial

Girlie Grunge Tissue Tape Tin by Margie Higuchi

Best Wishes with Crafty Foam Tape Card Tutorial

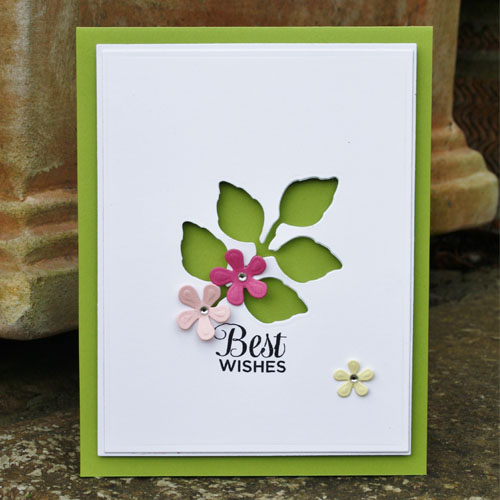
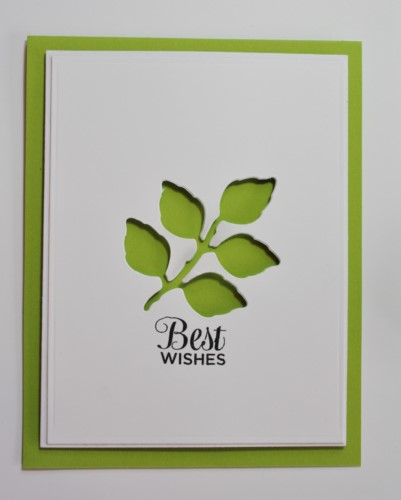
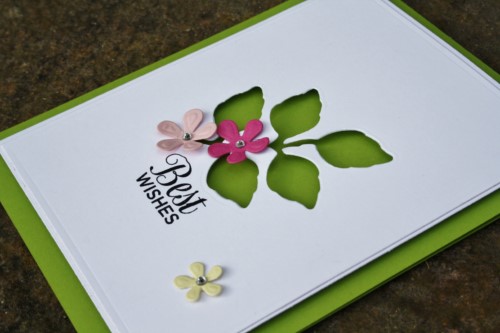
Hi everyone, Christine here today with a simple cut out card made effective with Crafty Foam Tape.  Can you tell I’m craving Spring here in the UK, it feels like a long Winter!


CEmberson - Best Wishes 1

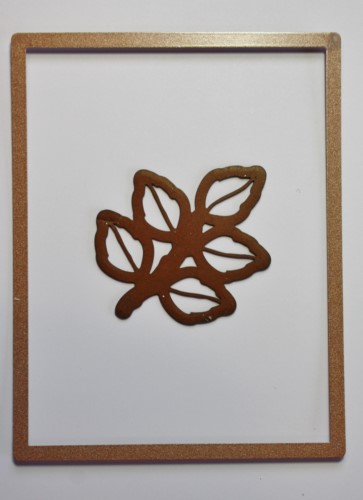
I created a card base from green cardstock and put to one side.  Using a rectangle and foliage die I created my white cardstock cut out front panel.


CEmberson - Best Wishes 2

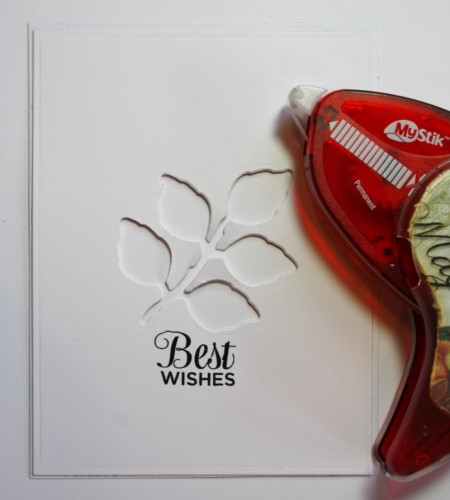
I cut another white cardstock mat frame and affixed them together with MyStik® Permanent Strips. Stamped a ‘Best Wishes’ sentiment.

CEmberson - Best Wishes 3

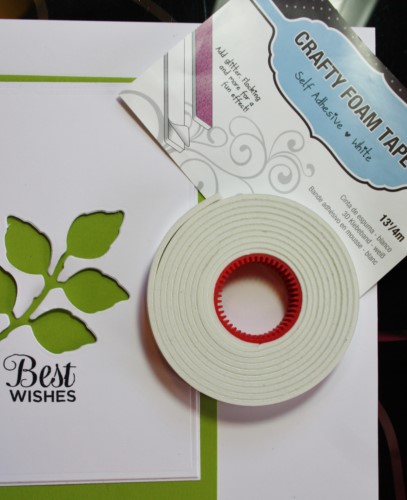
To make the cut out dimensional I turned to my trusty Crafty Foam Tape.

CEmberson - Best Wishes 4

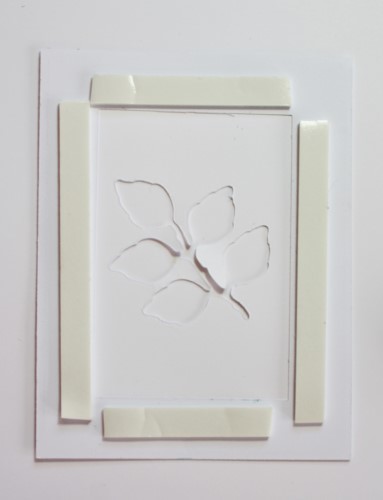
Apply in strips to the reverse.  The backing tape is really easy to remove.

CEmberson - Best Wishes 5

Mounted onto green card base.

CEmberson - Best Wishes 6


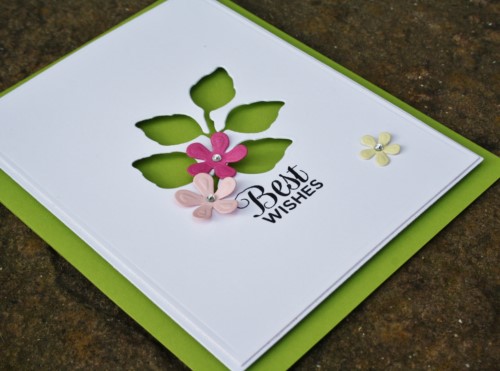
Added a few die cut flowers and gemstones to middle to finish.  Some close up pics.

CEmberson - Best Wishes 8

CEmberson - Best Wishes 7


Thanks for stopping by today and don’t forget to check out all the great products on the website.

Christine

Products used:

Crafty Foam TapeMyStik® Permanent Strips

  • Spellbinders dies: Foliage, Marisa’s Bouquet, 5 x 7 Matting Basics
  • Stamp – Paula Pascual
  • White, green, cerise, pink and yellow cardstock.  Gemstones.
You Are Amazing Gift Pouch

Hello! It’s AJ sharing a sweet gift giving pouch idea.

You are Amazing Gift Pouch tutorial by AJ Otto for Scrapbook Adhesives by 3L
One of my newest faves is any cute new box/pouch/bag you can dress up and fill with treats, it’s sure to be a hit!

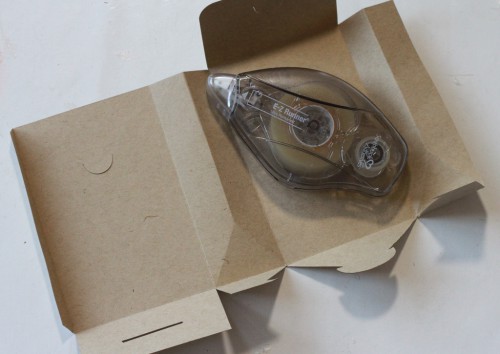
You are Amazing Gift Pouch tutorial by AJ Otto for Scrapbook Adhesives by 3LAnd, to assemble boxes, you need really great strong adhesive!  We recently released this fabby new one, E-Z Runner® Ultra Refillable Dispenser.  This new adhesives is immediately tacky and strong enough to assemble your boxes, bags, etc.
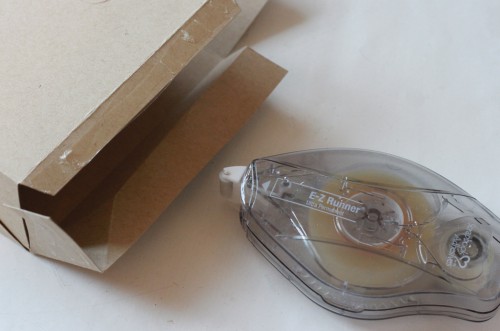
You are Amazing Gift Pouch tutorial by AJ Otto for Scrapbook Adhesives by 3LAnd, my favorite part- it’s clear!  Here I added a strip to the tab that holds the sides together.
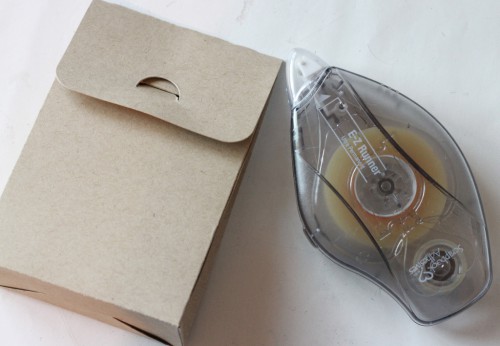
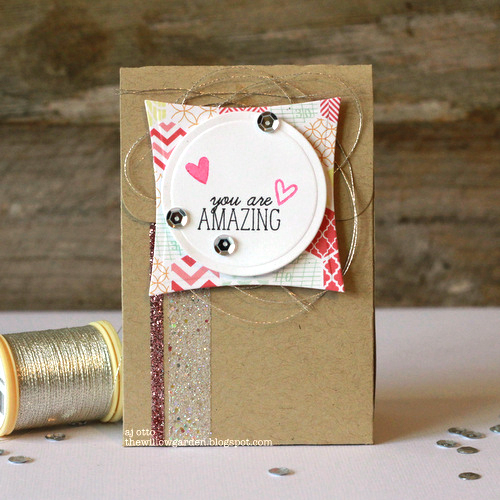
You are Amazing Gift Pouch tutorial by AJ Otto for Scrapbook Adhesives by 3LHere’s my adorable much all assembled and just waiting to be dressed up. 🙂  I decided a few stripes of glitter down the front would be in order, so I used the Premium Double-Sided Tape in the 1/8″ and the 1/4″ sizes and covered each with a different color.
You are Amazing Gift Pouch tutorial by AJ Otto for Scrapbook Adhesives by 3L

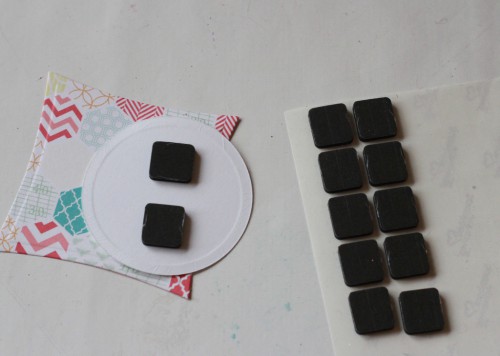
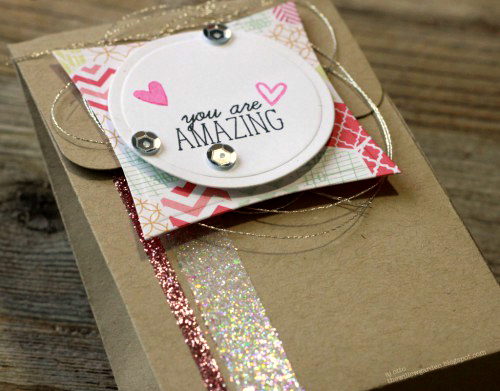
I die cut some fun patterned paper that will contrast against the kraft color, and stamped a sentiment on to a circle.  Popped the circle up with some 3D Foam Squares in black to add a little dimension. I adhered the die cuts to the front flap of the pouch with a little bit of thread peeking out from behind and am need to finish it off with a few sequins.

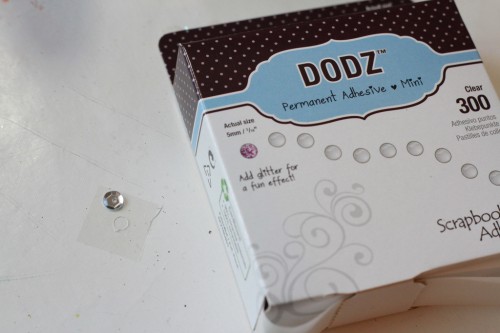
You are Amazing Gift Pouch tutorial by AJ Otto for Scrapbook Adhesives by 3LThis is HANDS down the MOST exciting thing ever!!! Adhesive Dots MINI!!!!!!!!!!!! Yes, I am totally shouting here, but these are the.perfect.size for sequins!  Just a hair smaller in circumference from the average sequin size as you can see.
You are Amazing Gift Pouch tutorial by AJ Otto for Scrapbook Adhesives by 3L

Here’s a  close up of my finished pouch.  I just love how that premium tape holds glitter, not only is it great for hold on cards/boxes etc, it is an awesome embellishment as well! I am constantly adding a strip of glitter here and there to projects now.

Who wouldn’t love a much filled with something a little sweet dressed up like this? 😉

enjoy! AJ

Scrapbook Adhesives by 3L® Products used:  Adhesive Dots MINIPremium Double-Sided Tape 1/4″; Premium Double-Sided Tape 1/8″; 3D Foam Squares; & E-Z Runner® Ultra Refillable Dispenser

Dies- Spellbinders dies; stamps, silver thread, inks, sequins, glitter