You are in our US store • Switch to Europe store

Celebrate Card using Adhesive Sheets and Foil


Hello! AJ here with another Adhesive Sheet foil card!  I hope foil is still in, I have quite a bit to use up still.  😉

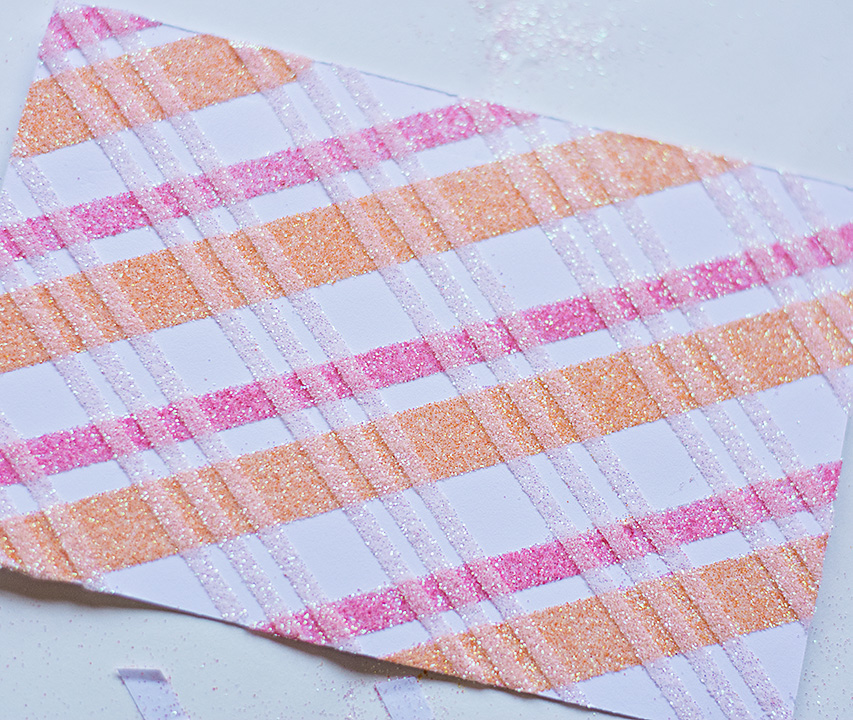
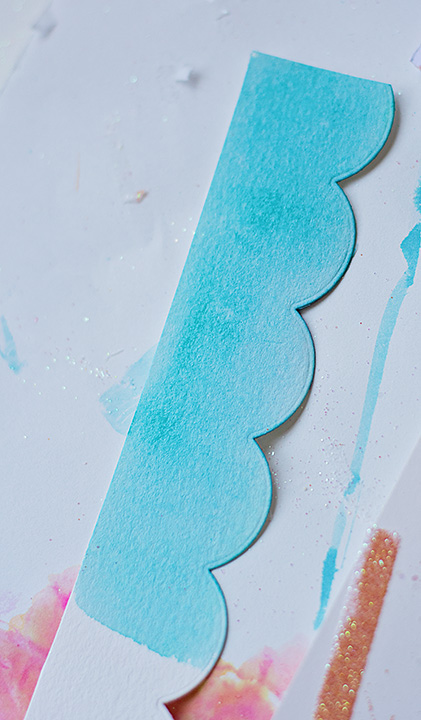
AJOtto-Celebrate-1I thought basic colors would be really fun with the balloon dies, this go either way for a guy or a lady, and or any type of celebration.  I’m a fan of versatility. 😉AJOtto-Celebrate-2I keep several sheets of white card stock already adhered to the Adhesive Sheets so that I can pull them out and use them at any given time for die cutting.

AJOtto-Celebrate-3Place your die face down onto your card stock, run through your machine, and remove from the die.  Peel the backing off, and place onto the backside of your foil.

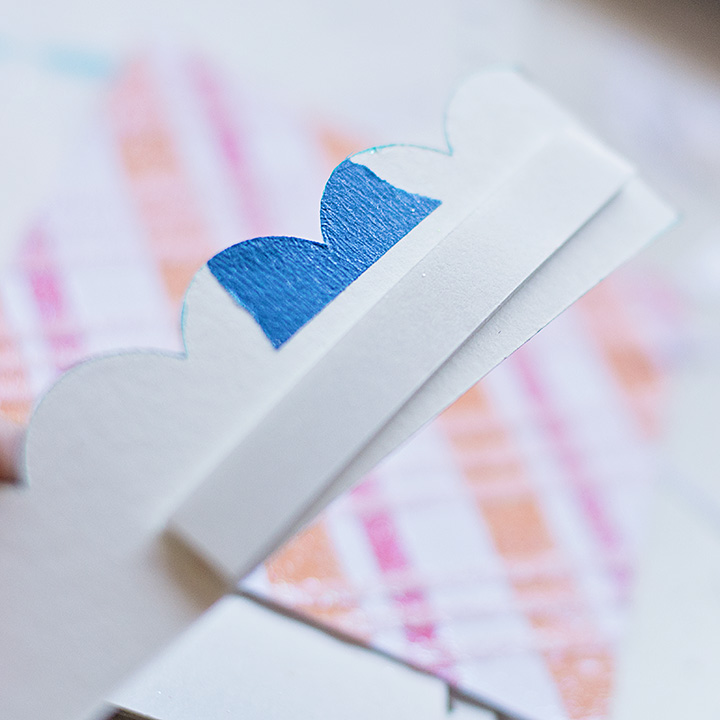
AJOtto-Celebrate-4Burnish the foil into the die a bit, and gently peel it back from the foil. You can always place it again if you missed any spots.AJOtto-Celebrate-5I wanted my balloons to be popped up at various levels, so I added a few 3D Foam Squares to the backside.

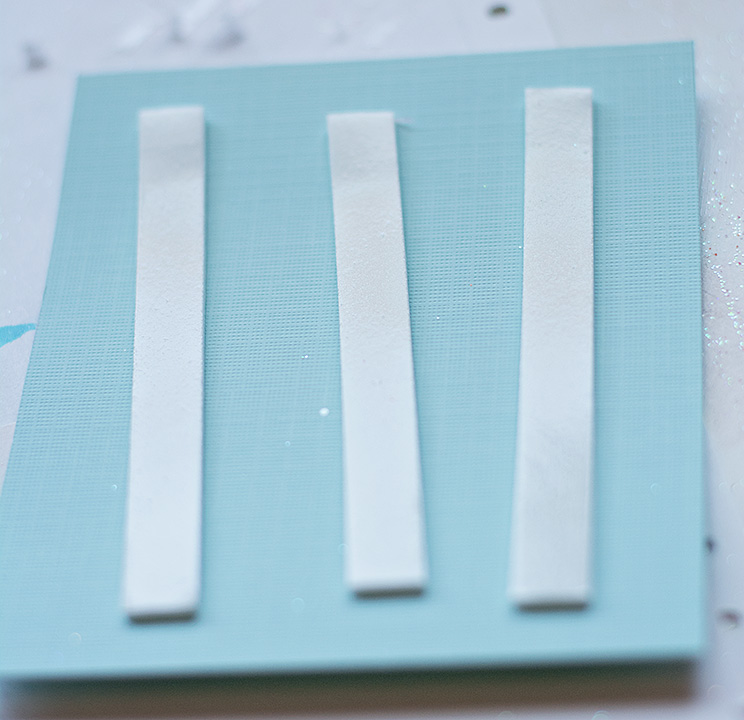
AJOtto-Celebrate-6Last, I popped up the whole panel with my trusty Crafty Foam Tape.  Everything should be popped up with Crafty Foam Tape.  😉

enjoy!

AJ

Scrapbook Adhesives by 3L® Products used: Adhesive SheetCrafty Foam Tape3D Foam Squares

Other supplies- Spellbinders dies, sequins, card stock, Deco Arts Media Mister in Carbon Black, Sheer Shimmer Spritz in sparkle, ClearSnap Red Foil

Patriotic Card Tutorial

Hi everyone! It’s Lisa here and I have a neat little Independence Day card (or any other patriotic occasion) for you today. I’m using some exciting new products that you’ll be sure to LOVE!

Patriotic Card Tutorial by Lisa Adametz for Scrapbook Adhesives by 3L

Making the Patriotic Card

1. I started by creating my card front ¼” smaller than my A2 sized card base (that way I knew I could add a little bit of color between the card base and card front.) On the front panel I used an embossing folder with a diffuser and ran it through my embossing/die-cutting machine to get an open area.

2. Next, using three different sheets of patterned paper I die-cut my stars. This all goes very quickly since the stars were still attached. Then I just mixed and matched the papers.

3. Using the Extreme Double-Sided Tape 1/4in for the backs of the stars to keep them all secured together.Two pieces does the trick and they stay in place.

LisaAdametz-USAStars-2

I stamped the letters “USA” in a watermark ink and then heat set them with an embossing powder in glittery red. After that was complete, I filled the letters in using watercolor pencils.

4.  I used the Double Sided Tape Dispenser Grand (also part of the HomeHobby by 3L line) to secure the ribbon to my card front. I also tied a small piece of baker’s twine around one side, which I secured with an Adhesive Dots 3D.

Tip: Adding a Dodz Adhesive Dot under your ribbons and bows is a great way to keep them from shifting and sliding.

5. Using an assortment from the 3D Foam Squares Black Mix, I applied a variety all over the backs of the stars. In areas that would just overlap other stars, I used my E-Z Dots® Permanent Refillable Adhesive.

LisaAdametz-USAStars-4

This was so much fun to create and I always love to make and share ANYTHING patriotic!

Happy 4th of July!

Patritotic cards, scrapbook pages, banners & projects

Click to see more patriotic projects!

Supplies:
From Scrapbook Adhesives by 3L®:
E-Z Dots® Permanent Refillable
Adhesive Dots 3D
3D Foam Squares Black Mix

HomeHobby by 3L®
Double-Sided Tape Dispenser Grand
Extreme Double-Sided Tape 1/4″

Other Supplies:
Cardstock – My Favorite Things
Dies & Alpha stamps – Technique Tuesday
Accessories –Baker’s Twine
Pencils –  Watercolor Pencils
Embossing Powder – WOW!
Embossing Folder – Lifestyle Crafts/We-R-Memory Keepers

LisaAdametz-sig


Save

Save

Save

Visit our Website and Blog!
Sign up for our Newsletter so you never miss a contest or giveaway!

instagram purple icon facebook icon purple pinterest purple icon twitter purple icon YouTube icon blog subscription purple icon

Foiled Star Card

Latisha here with you today, showing you a fun way to showcase your designer foam shapes on a project.

0626LYAmericaCard


1.  Watercolor using ink pads onto watercolor paper.

2. Using the same ink, stamp sentiment.

3. Diecut the sentiment using an oval die.

4. Adhere the oval to the card base using Scrapbook Adhesives by 3l 3D Foam Squares (white, small)

IMG_9192


5.  Adhere strip of pattern paper to the card front using Scrapbook Adhesives by 3L E-Z Dots Permanent Refillable runner.

FullSizeRender_3

6.  Apply Scrapbook Adhesives by 3L 3D Foam Stars to the card.

FullSizeRender_2

7.  Apply foil to the stars.

FullSizeRender_1

8.  Adhere twine to the card using Scrapbook Adhesives by 3L Dodz Small.

0626LYAmericaCard2


Materials Used:

Scrapbook Adhesives by 3L 3D Foam Squares (white, small)

Scrapbook Adhesives by 3L EZ Dots Permanent Refillable runner

Scrapbook Adhesives by 3L 3D Foam Stars

Scrapbook Adhesives Dodz Small

Clearsnap red foil

Lawn Fawn stamps & dies

Lawn Fawn pattern paper

Lawn Fawn ink and twine

Watercolor paper


***TIP***
When using foils with your adhesives, you want the foil color to be facing you, and the silver backing to be facing the adhesive.

Be You Tag with Crafty Foam Tape

It’s Erica and today I’m sharing a tag I created using Crafty Foam Tape White.

Be You Tag with Crafty Foam Tape by Erica Houghton

First, I traced, cut and adhered pattern paper to the base of my tag using an  E-Z Dots®Permanent dispenser. Next, I adhered two more layers of pattern paper using Crafty Foam Tape  White to give my tag dimension.

Be You Tag with Crafty Foam Tape by Erica Houghton Be You Tag with Crafty Foam Tape by Erica Houghton

I finished my tag with flowers, chipboard pieces and a sentiment using Crafty Foam Tape  White to hold these larger embellishments in place.

Scrapbook Adhesives by 3L

Paper

  • 13 Arts, Starlight
  • BoBunny, Garden Journal

Embellishments

  • BoBunny, Garden Journal – chipboard
  • Manor House Creations, Petaloo & Prima Marketing – flowers
  • Celebrate It – ribbon

Products

  • Ranger Ink – Tim Holtz – Distress Ink

Thanks for joining me today!

Erica Houghton

Life is Good – Inspired by Myself!

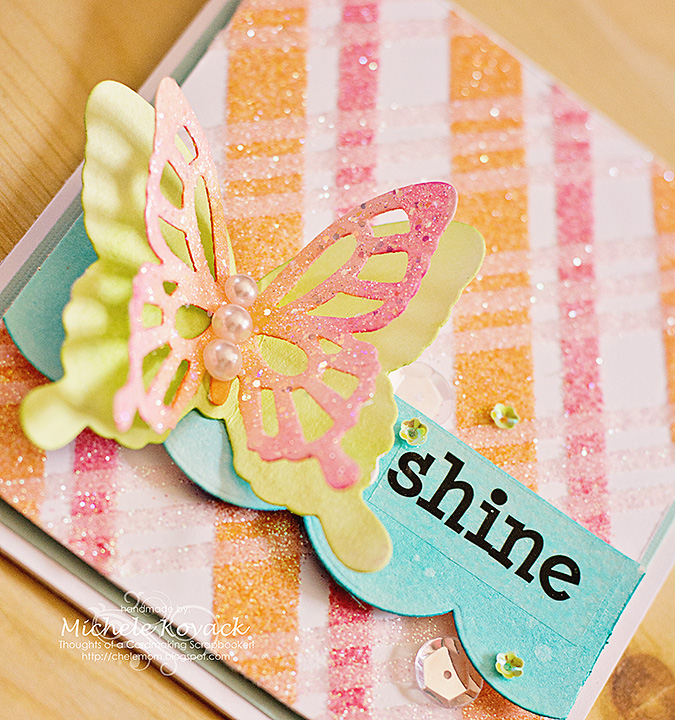
Hey there! Michele here with a fun way to use your adhesives! Last year I had created a Fourth of July card using the 3D Foam Squares to create the flag. So I wanted to do a take on that.  I wanted to create a background using the Thin 3D Foam Squares and the Crafty Foam Tape in White.  It served as a fun, textural base for my flowers and sentiment.

Life is Good card by Michele Kovack

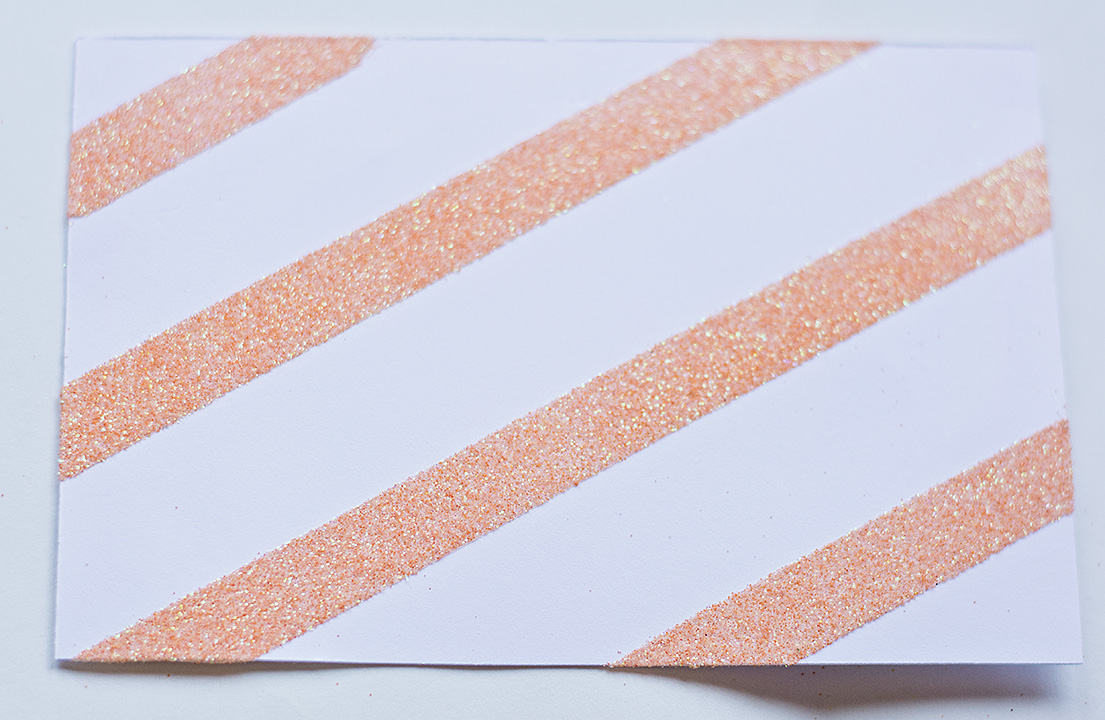
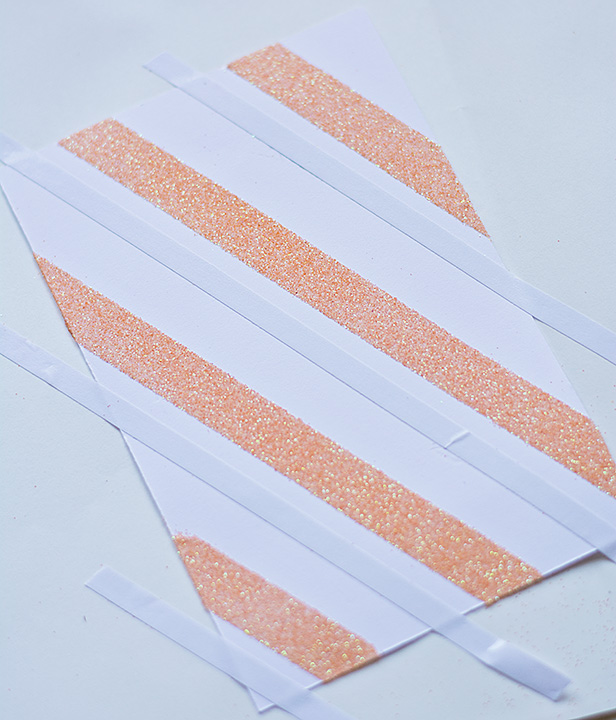
And the best part?  It has double sided adhesive! So one side sticks to the card, while the other side can be sprinkled with all sorts of fun stuff! Like glitter! Flock! Micro Beads!  I of course chose glitter because a person can never have enough sparkle in their life! 😉

tilebackgroundcard2Want a quick tutorial on how I created my card?

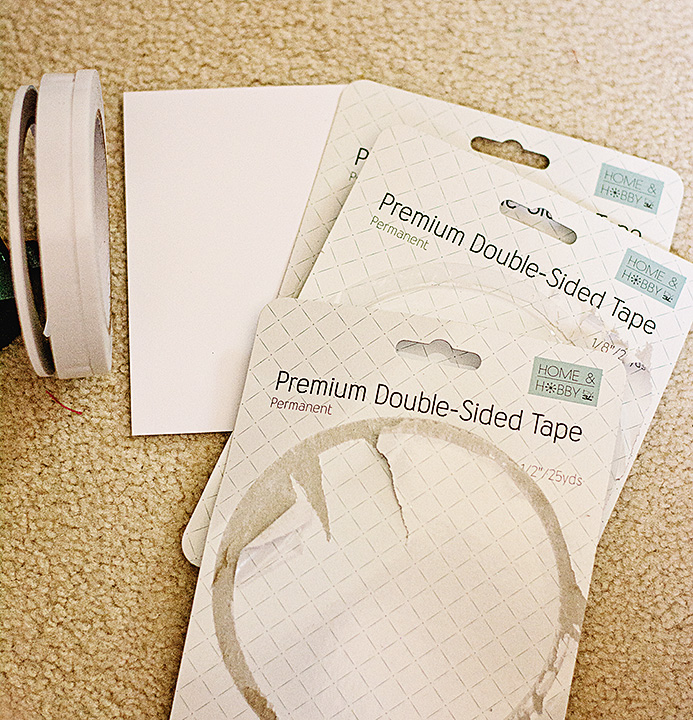
First, you need to grab some Thin 3D Foam Squares and your Crafty Foam Tape!

tile background1

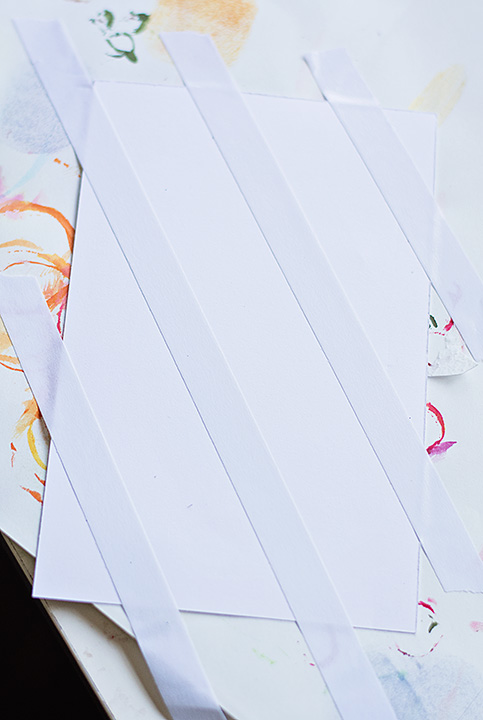
Then decide on a pattern.  I liked the idea of stripes of some sort.

tile background 2tile background 3

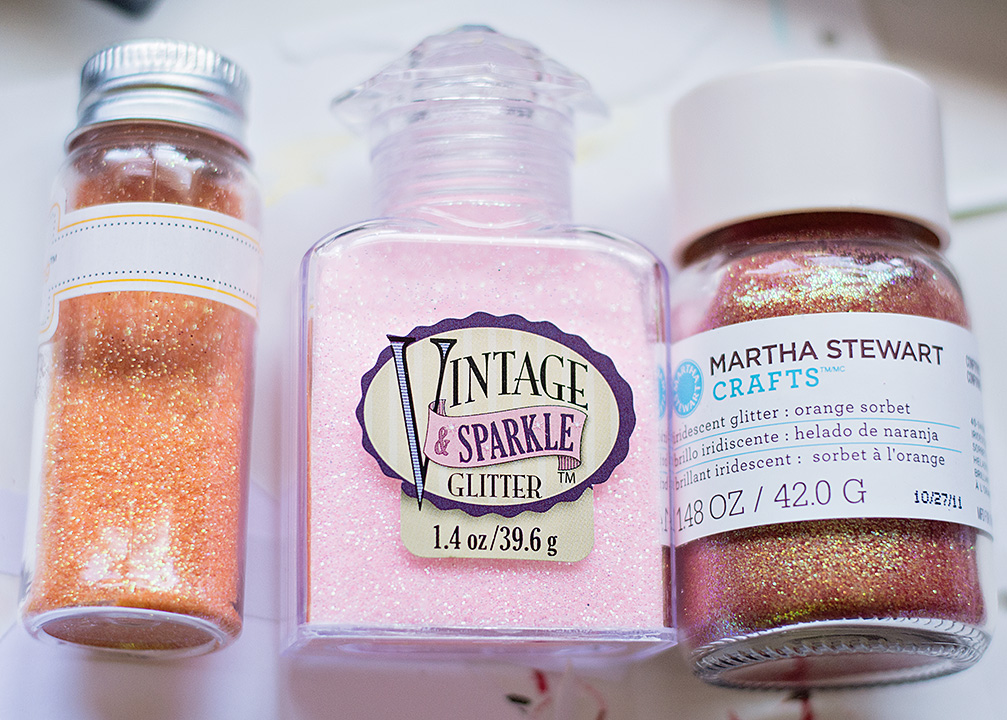
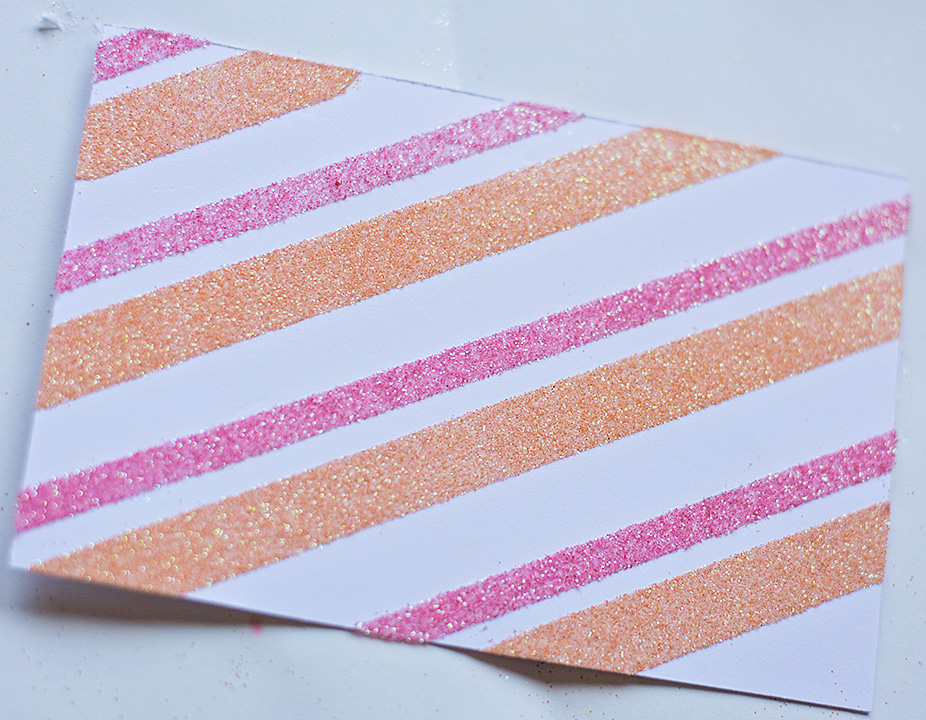
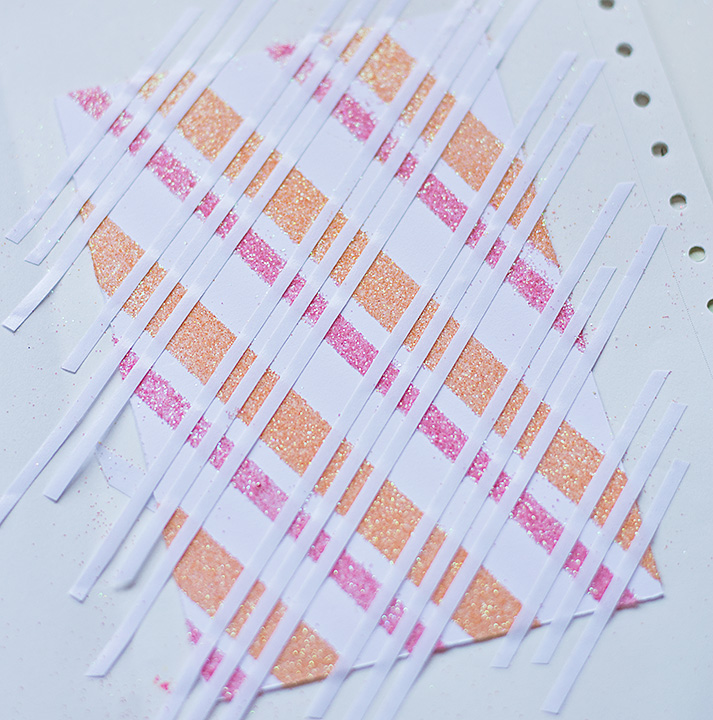
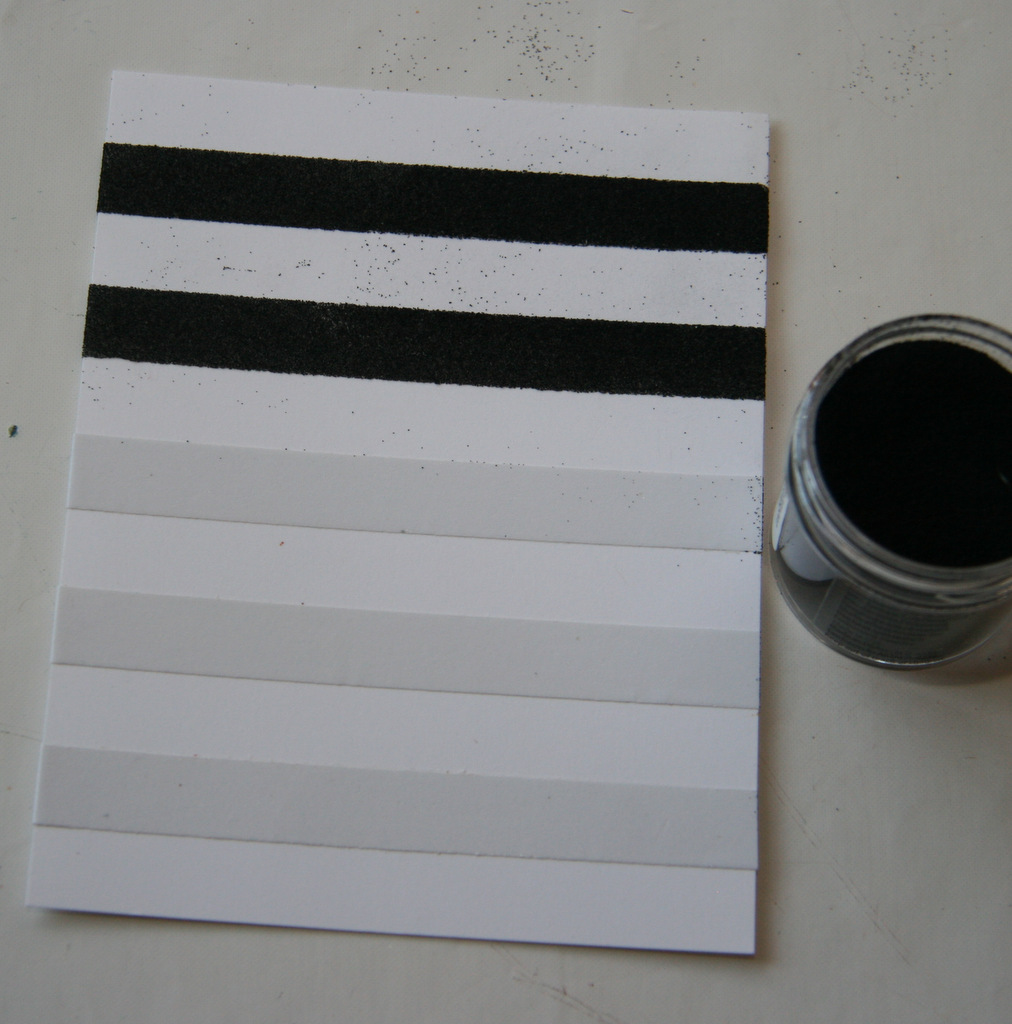
I wanted to have a sort of rainbow look for the background, so I thought of the acronym, ROYGBIV, and pulled out my coordinating glitter colors.  I started with my darkest colors first.  I peeled off just the squares I was adding glitter to.

tile background4

For the long strips, I wanted a clear glitter….

tile background5

I love all of the sparkle….but maybe it was a bit too much?  NAH!

tile background6

After water coloring my flowers I pulled out my Dodz™ Small to stick to the back of each flower and leaf, as well as my sentiment!
Dodz Small

tile background8

I also used my Crafty Foam Tape to adhere my rainbow colored/flower panel to the card itself. I love dimension and this tape is perfect for that!
tile background9

Here is one more peek at my card!  I hope I inspired you to think of adhesive as a way to create some pretty cool backgrounds!

tilebackgroundcardSupplies:

Father’s Day Card – You’re the Best!

Hello blog readers!

It’s Angela today sharing a tutorial for this clean and simple Father’s Day Card:


angela ploegman fathers day card final_edited-1

I’ve been playing with negative space a lot lately and this card is another example…here’s how I made it:

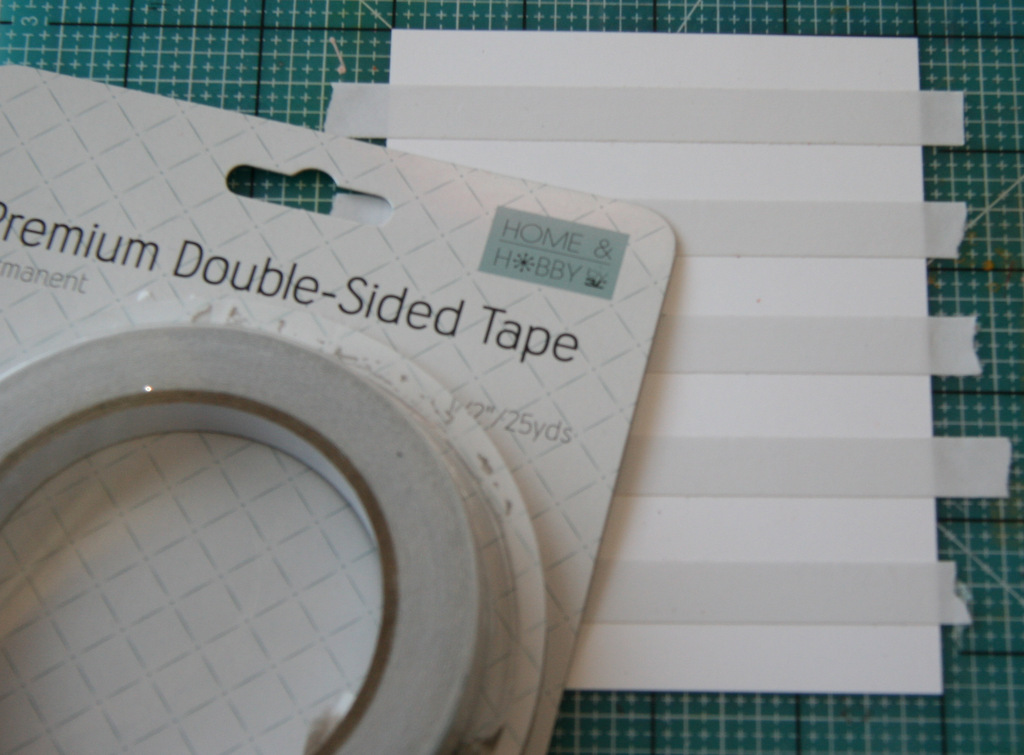
1. Gather your supplies – you’ll need Scrapbook Adhesives by 3L® Adhesive Sheets 4 x 6″, Crafty Foam Tape White and 3D Foam Squares White Mix. In addition to the sticky goodness listed above, you’ll also need a patterned paper, solid card stock, alphabet dies, sentiment stamp and some ink.

angela ploegman fathers day card supplies

2. Make an A2 top fold card base (4.25 x 5.5 inches) from the patterned paper. Cut a 4.0 x 5.25 rectangle from the solid card stock. Round two corners on a narrow side of the rectangle.

angela ploegman fathers day card 1

3. Apply the Adhesive Sheet 4 x 6″ to the back side of the solid card stock. You’ll have to peel up the yellow protective layer, insert the card stock and then allow the yellow layer to fall back into place.

angela ploegman fathers day card 3

4. Remove the yellow protective layer completely. Remove the excess exposed adhesive by rubbing gently with your finger. Arrange the alphabet dies onto card stock.

angela ploegman fathers day card 4

5. Tape in place and die cut. I like using adhesive backed card stock for this step as the die cut letters come out self adhesive this way, ready to use on another project!

angela ploegman fathers day card 5

6. Stamp the sentiment onto the card front.

angela ploegman fathers day card 5b

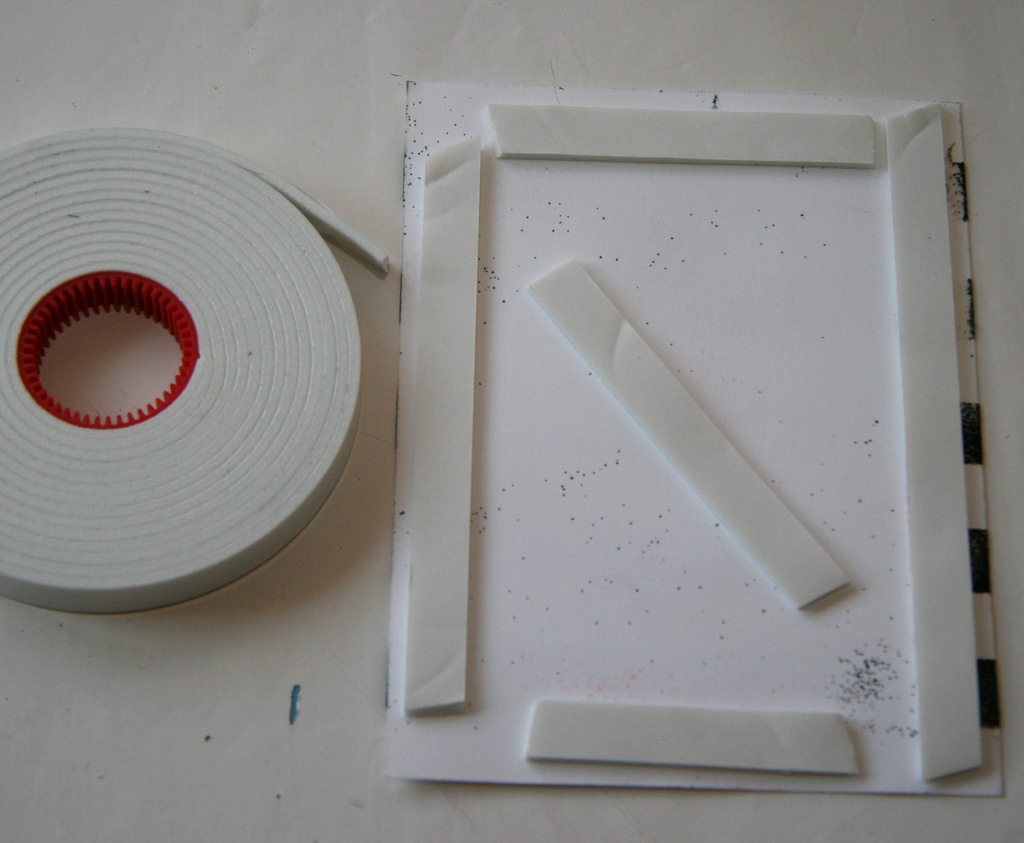
7. Flip over the card front and apply the Crafty Foam Tape White. I like to reinforce along the top, bottom and die cut edges for a good amount of support.

angela ploegman fathers day card 5c

8. Adhere to the card base flush with the top fold. Use the 3D Foam Squares White Mix to adhere the negative spaces in the die cut letters.

angela ploegman fathers day card 6

And you’re all done! Super quick and easy….just in time for Dad’s big day!

Angela

Scrapbook Adhesives by 3L® supplies used: Adhesive Sheets 4 x 6″, Crafty Foam Tape White, 3D Foam Squares White Mix

Other Supplies Used: Simple Stories patterned paper, Memory Box alphabet dies, Lawn Fawn sentiment stamps, Ranger Archival Ink, Bazzill Basics Paper card stock, We R Memory Keepers corner rounder

Save

Be Happy Card featuring my favorite Scrapbook Adhesives by 3L® Products

Hi everyone, Christine here today with a Be Happy card.  I also want to share with you my absolute favorite Scrapbook Adhesives by 3L® products.

CEmberson - Be Happy 1


First off E-Z Runner® Permanent Strips Refillable.  This has to be my most used adhesive in my craft kit.  The dispenser is comfortable to hold and because the adhesive is in strips it can be applied exactly where you want it.  Makes matting super quick, I’ve used My Mind’s Eye – On Trend paper affixed to kraft cardstock.

CEmberson - Be Happy 2


To affix die cuts I always turn to 3D Foam Squares, here I’ve used 3D Foam Squares – White, Regular.  These add just right the amount of dimension and are so easy to remove from the paper, no fiddling about for ages!CEmberson - Be Happy 3Next for smaller embellishments, Dodz™ are the answer. Again easy to apply and you have such a good supply in each box.  Remember you can sprinkle these with glitter too!

CEmberson - Be Happy 4

My finished card.

CEmberson - Be Happy 5

Don’t forget to check out all the other products too, all equally brilliant!

Christine 

Supplies:

Scrapbook Adhesives by 3L:  E-Z Runner® Permanent Strips Refillable3D Foam Squares – White, Regular and  Dodz

Spellbinders dies: Marisa’s Bouquet, Curved Squares

Papers: My Mind’s Eye – On Trend

Other supplies: Kraft card, pearl gem.


Father’s Day Card – I Heart Dad

Hi it’s Beth! Can you believe it’s almost Father’s Day? While making this card I had a few classic Dad-isms in my head, so I’ll share them here too.

Beth Pingry Father's Day Card

My dad is a pretty classic guy, likes cars and boats and while he grumbles about it, he enjoys tinkering with them…most of the time. With that in mind, I went with a car themed card. I had to dig pretty deep, but I knew I had paper with cars. Money doesn’t grow on trees, so we don’t just go out and buy another stack of paper, right?

BethPingry-FathersDay-2

Dad’s a little rough around the edges, so the burlap made a nice border that doubles as a road. I had to add the keys, those are Dad’s most prized possessions. You know you had to do the dishes and finish your homework before heading out in Dad’s car. Be home before midnight, and don’t go wasting gas. He’s watching the odometer, you know.

BethPingry-FathersDay-4

These are the Keys, and I rubbed the Brown Pigment Powder onto both sides of the black keys. This set comes with one white and one black sheet of keys. They dangle on bakers twine.

BethPingry-FathersDay-3

The little flower is actually Canvas Ribbon, which is twisted and rolled, and secured with a Dodz. I added a 3D Foam Heart embellished with Pink Pigment Powder, and then the letters DAD from a sticker set.

Thanks for visiting! Do you have any classic Dad-isms? Share them in the comments, I’d love to hear about your Dad!

Beth Pingry

Scrapbook Adhesives by 3L®: Classic Photo Corners Kraft, E-Z Runner® Permanent Strips Refillable, 3D Foam Hearts, Crafty Power Tape

Graphic 45: patterned papers

Sticker Letters, Cardstock

Welcome Little One card using Adhesive Sheets

Hello! AJ here with a fun trick to share.  I have been currently using glittered card stock as embellishments lately, and thought it might be easy to create my own.
AJ Otto Little One Card

My daughters teacher just had a baby, and I have been itching to use this set for a baby card!  I decided since the focal panel is cleaner, I would add a pop of glittered card stock to the edge to jazz it up a bit.
AJOtto-baby-2To make your own glittered card stock, start with Adhesive Sheets.  Here, I am showing the 6 X 12 size. I have already adhered a piece of white card stock to the Adhesive Sheet, I just need to pull away the backing and cover with glitter.  You can do this with any color card stock and any color glitter.

AJOtto-baby-3Here I have my glittered piece of card stock- You could also do a full sheet and trim off pieces to size as you need, I was using up a scrap size left over. 😉AJOtto-baby-4 And here’s a piece of glittered card stock Ive been hoarding for while for comparison. I’m more than happy with mine, and depending on what glitter you have on hand, it will all vary.  AJOtto-baby-5 To adhere your glittered card stock piece, I used Crafty Power tapeAJOtto-baby-6I then popped the whole panel up with Crafty Foam Tape.

enjoy!!
🙂 AJ

Scrapbook Adhesives by 3L® products used:  Adhesive Sheets;  Crafty Foam TapeCrafty Power tape.

Stamps- Avery Elle, Zig Clean Color Real Brush markers, Zig Wink of Stella pen in Clear, Black ink, card stock, glitter.

Home Journal Page With 3D Foam Designer Shapes

Hello Friends! Asia King here and today I would like to show you how easy it is to use your favourite adhesives in a mixed media project. I wanted to have a little play with paints so I created this happy journal page.

Home Journal Page_Asia King 1

F0r my background I added layers and layers of paint, adding depth and detail with washi tapes, stencils, bottle caps and sequin waste. Next I created a banner at the top of my page with 3D Foam Pennants and Creative Photo Corners – White and also threw in a couple of 3D Foam Butterflies. To blend them in I added more paint and lashings of ink sprays as well as my DIY Blue and Gold Pigment Powder sprays.

TIP: To create your own mica spray simply fill a small spray bottle with water, put a couple of beads in and add the Pigment Powder in. Vary the amount of powder depending on how intense you would like your mist to be. After a while the powders naturally settle on the bottom of the bottles so the beads will help you stir the powders before each use. The mists work best over sticky surfaces so use it on your foam shapes etc or over wet paint.

Home Journal Page_Asia King 2

After stenciling through the blooms I added the flower centres with DODZ 3D  which I also covered in paint. Finally I added some cute little stars and I covered them with Blue Pigment Powder.

Home Journal Page_Asia King 3

My houses and quotes were stamped onto white card, coloured in and adhered to the page using Adhesive Sheets 4×6″. I added some shading using a chalk pencil. To finish the page I added some rub-ons and some doodling using a black fine liner pen.

Home Journal Page_Asia King 4

Supplies:

3D Foam Pennants, 3D Foam Butterflies, Creative Photo Corners – White, Adhesive Sheets 4×6″DODZ 3D,

Other supplies:

Stampendous Family Home Perfectly Clear stamps

Bloom stencil – PaperArtsy

Media: Inktense pencils; DecoArt Americana Acrylics, Prima Marketing Color Bloom sprays; Black Archival ink (Ranger)

Thank you for stopping by today! See you next time!

Bug crafty hugs

Asia King Blog signature

Save