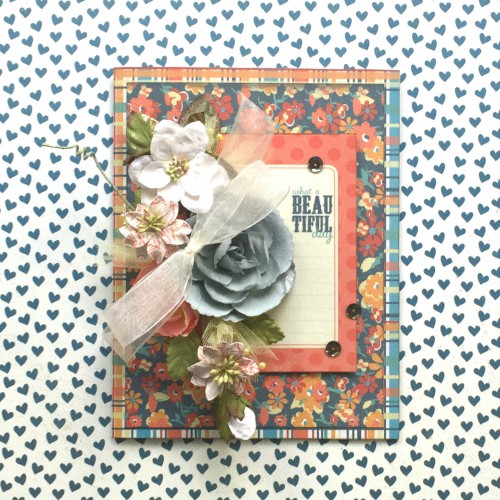
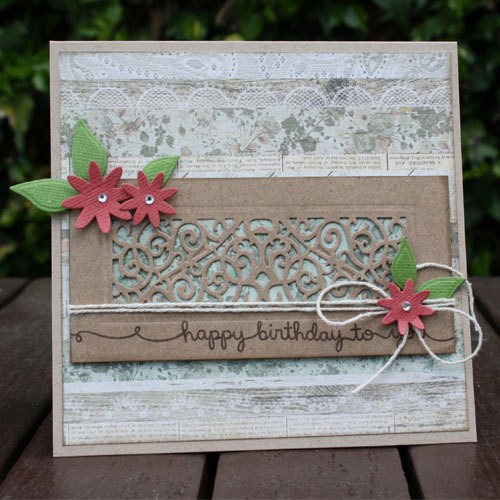
With Mother’s Day just around the corner, I thought I’d share a card to celebrate her using 3D Foam Pennants as an accent and how I embossed them with a folder and embellished them with pigment powder!

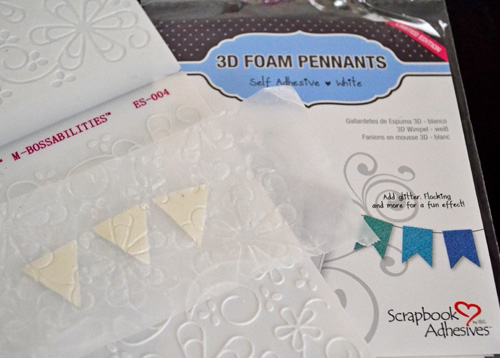
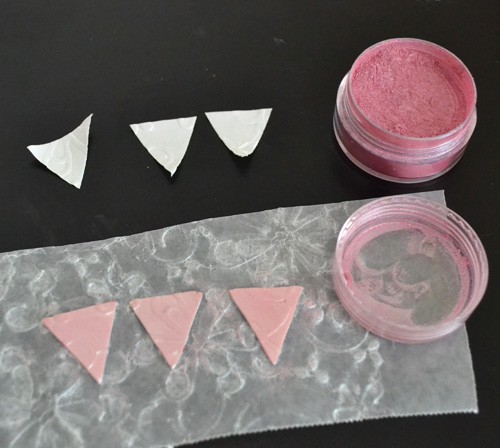
First I embellished the 3D Foam Pennants with an embossing folder for design and dimension. I used waxed paper to place them (with the top liner on) in the folder embossing in my manual die cutting machine.

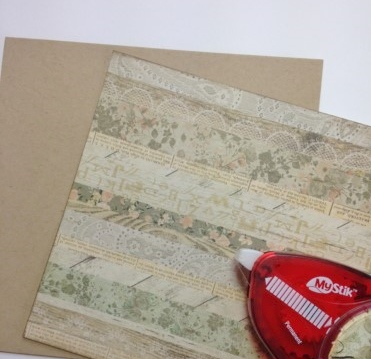
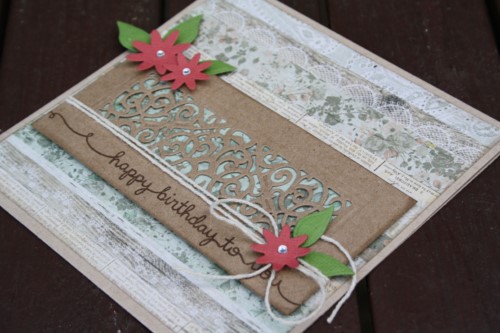
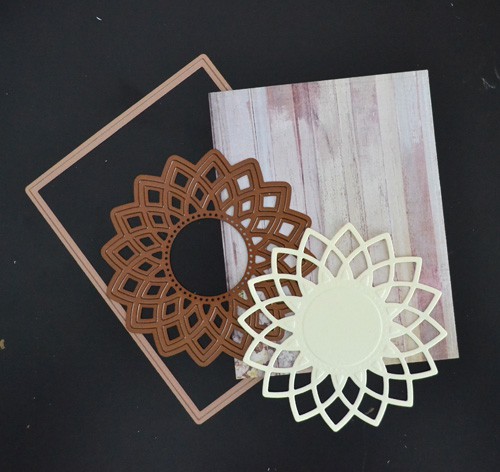
Then I cut/embossed die templates to create my card panel and a die cut to create a center focal point.
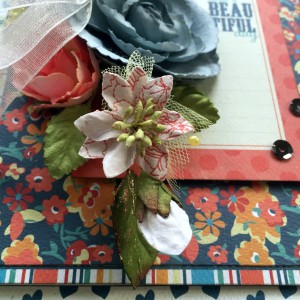
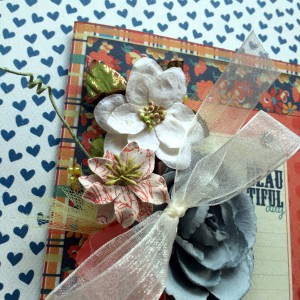
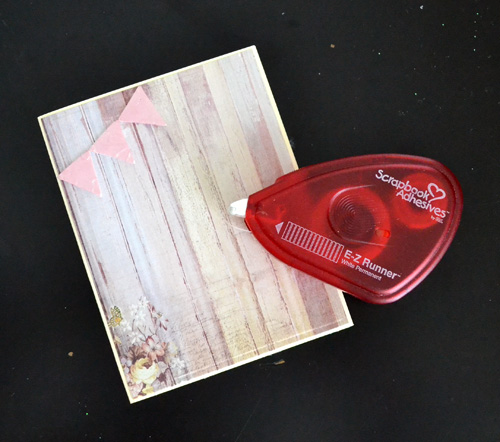
Going back to the 3D Foam Pennants, I used pink pigment powder to color each pennant. You only need a little bit of the powder (I used the powder that was stuck in the lid). I love how it shimmers – not sure if you can see it through the image but it is beautiful!
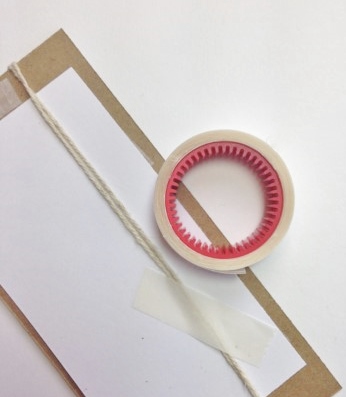
I adhered the pennant on the upper left corner after I adhered the card panel with E-Z Runner® Permanent Strips. Lastly, I adhered the circular die cut in the center.

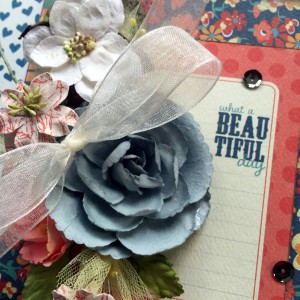
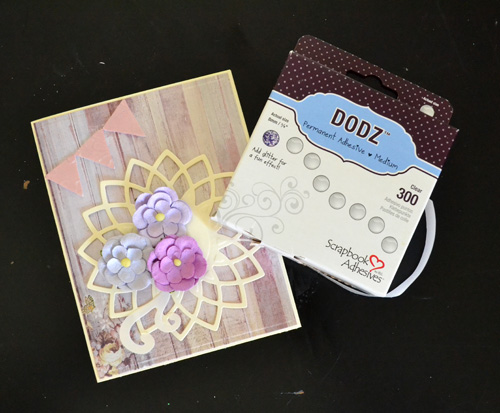
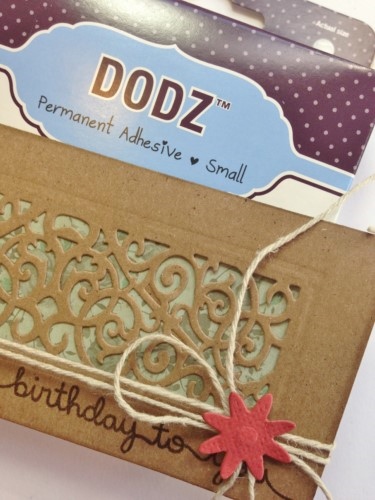
Using the Adhesive Dots Medium, the flowers were secured on top of the die cut in a cluster.

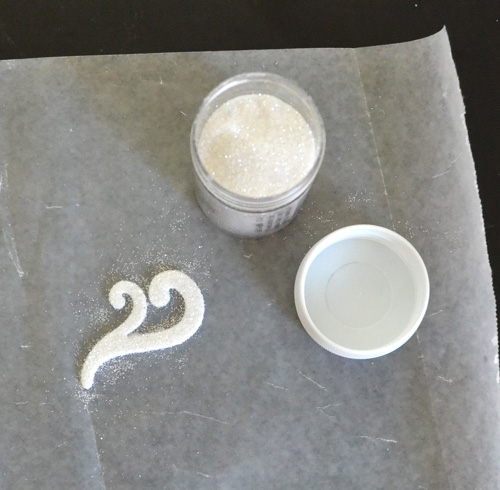
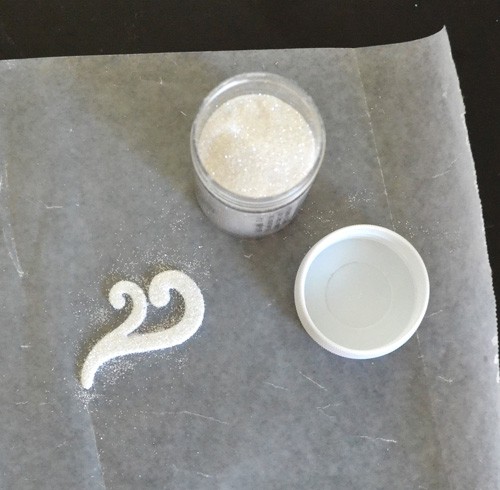
To accent the flower cluster, I sprinkled white glitter on top of two swirls (you can die cut from 3D Foam Creative Sheets) and tucked them underneath the flowers 🙂
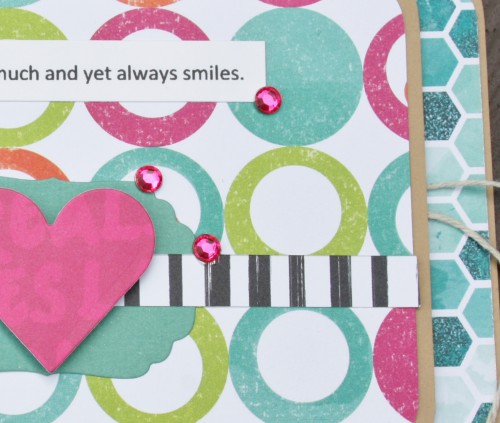
Next I stamped a sentiment onto patterned paper, handcut a ribbon trail banner and secured it with 3D Foam Squares Black, Regular for dimension. For a finishing touch, four small pearls were added on the 3D Foam Pennants.
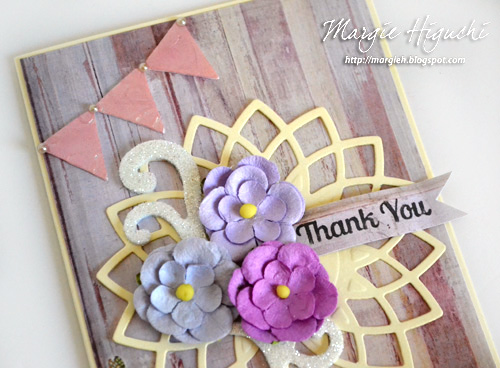
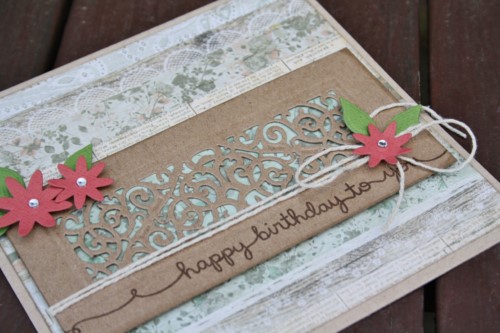
Here’s another look at the card.
Supplies:
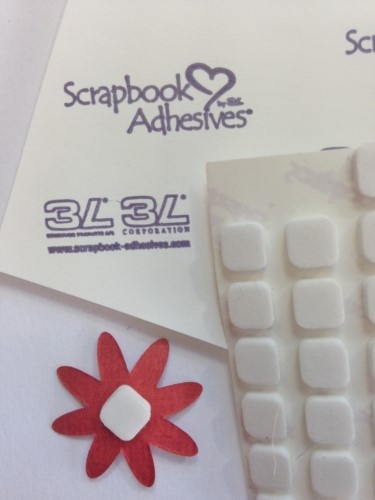
Scrapbook Adhesives by 3L®:
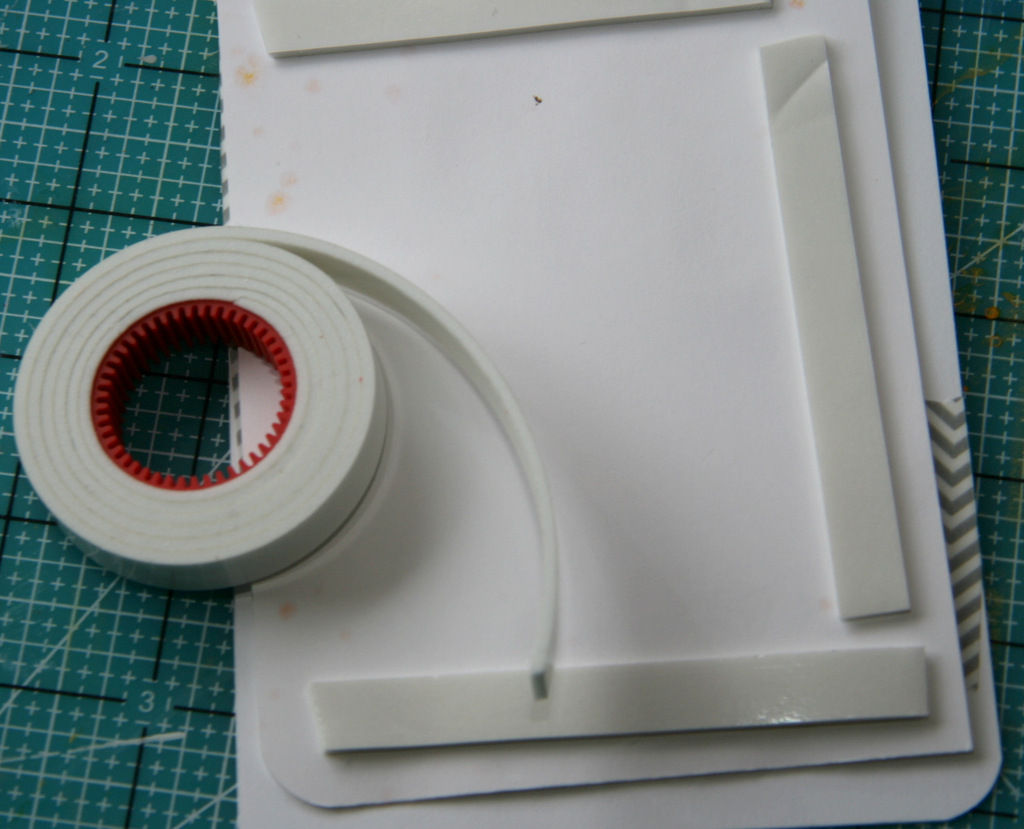
E-Z Runner® Permanent Strips
Adhesive Dots Medium
3D Foam Pennants
3D Foam Squares Black, Regular
Die: Spellbinders® Creative Arts (S5-131 A2 Matting Basic A Die #6, S4-269 Lotus Pendant (ret.) and ES-004 Whimsy (ret.))
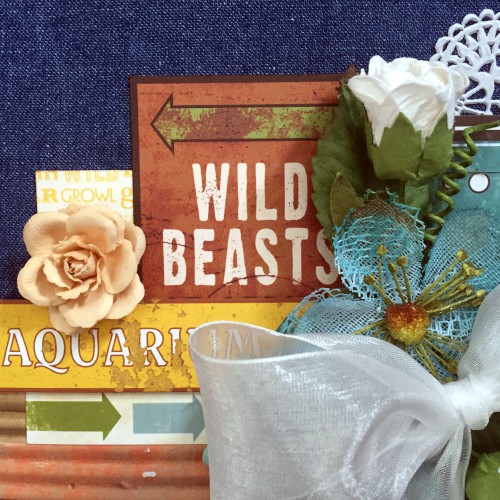
Patterned Paper and Flowers: Prima Marketing Inc. (Butterfly Collection/Wood Hollow)
Cardstock: Darice®/Core’dinations ColorCore Cardstock® (Cream)
Stamp: JustRite® Papercraft (Christmas Vintage Labels Seven Clear Stamps)
Marker: Faber-Castell® Design Memory Craft® (Stamper’s Big Brush Pen – Black)
Glitter: American Crafts (WOW! Extra Fine Glitter – White)
Pearls: Want2Scrap©
Other: Waxed Paper
I hope this gives you ideas for your next card 🙂
If you like what you see, go LIKE our Scrapbook Adhesives by 3L FaceBook Page!
Thanks for stopping by!
MargieH
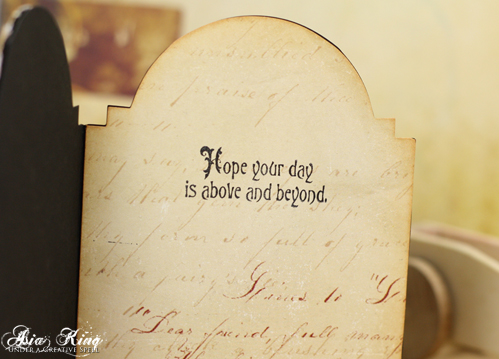
 Now how is that for easy peesy?! The whole thing took about 10 minutes and is a nice decorative piece on my computer desk.
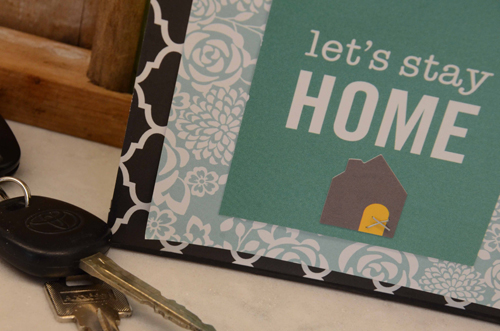 Products Used: E-Z Runner® Permanent Strips Refillable, Crafty Power Tape