You are in our US store • Switch to Europe store

Blog Hopping with Bo Bunny Day 4!
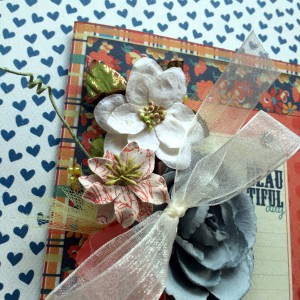
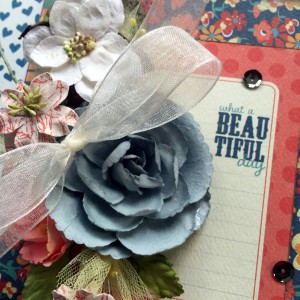
It’s the 4th post with Bo Bunny in our Blog Hop Week!
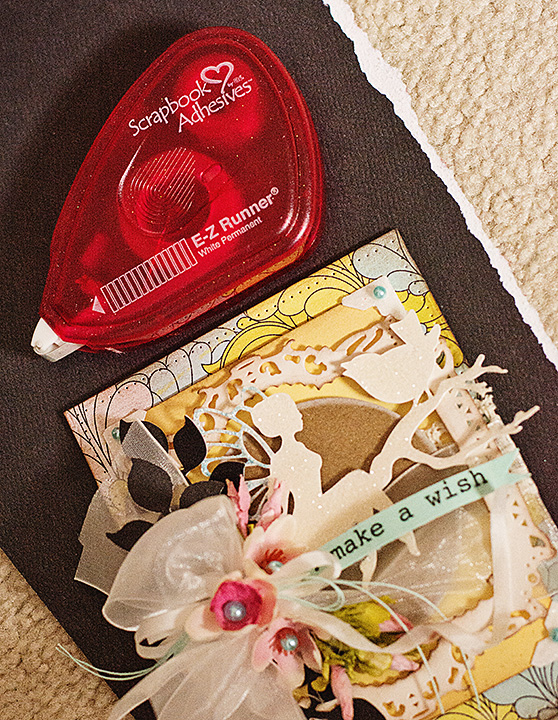
Through Saturday we’re featuring one or more designers on their own blogs, and an opportunity to win from us and from Bo Bunny! Lots of prizes are available this week!

Each day enter to win here, and then again on the Designer’s blog with a comment though the Rafflecopter system. Additional entries are available too!
a Rafflecopter giveaway

Stephanie Schütze has this sneak peek –

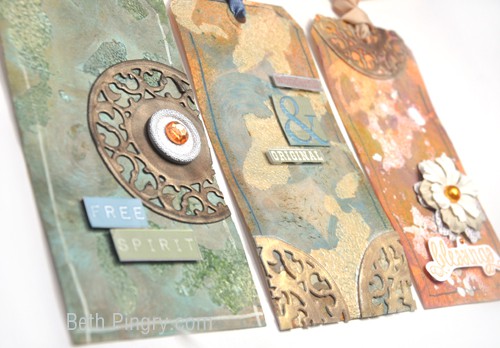
Stephanie Schutze 3L -Bo Bunny Sneak PeekBeth Pingry shares this peek:
Beth Pingry 3L-BoBunny Sneak peek
Be sure to visit Bo Bunny’s Blog and their designer Lynn!

Don’t miss the previous posts this week:

Day 1 with Christine Emberson!
Day 2 with AJ Otto!
Day 3 with Angela Ploegman!

BoBunny - Scrapbook Adhesives by 3L Blog Hop

Save

Save

Blog Hopping with Bo Bunny Day 3!

Welcome to the third day of Bo Bunny week!

Through Saturday we’re featuring one or more designers on their own blogs, and an opportunity to win from us and from Bo Bunny! Lots of prizes are available this week!

Each day enter to win here, and then again on the Designer’s blog with a comment though the Rafflecopter system. Additional entries are available too!

a Rafflecopter giveaway

Today Angela Ploegman has a tutorial for customizing Creative Photo Corners!  Comment here, then visit her and comment there too! Here’s a sneak peek!

Angela Ploegman- 3L - Bo Bunny blog hop

Be sure to visit all of today’s Designers on BoBunny’s Blog!

Don’t miss the other days too!

Day 1 with Christine Emberson!

Day 2 with AJ Otto!
BoBunny - Scrapbook Adhesives by 3L Blog Hop

Save

Save

Blog Hopping with Bo Bunny Day 2!

It’s day 2 of our week of fun with Bo Bunny!

Through Saturday we’re featuring one or more designers on their own blogs, and an opportunity to win from us and from Bo Bunny! Lots of prizes are available this week!

Today AJ Otto  is our host on her blog The Willow Garden. Comment here, then visit her and comment there too!
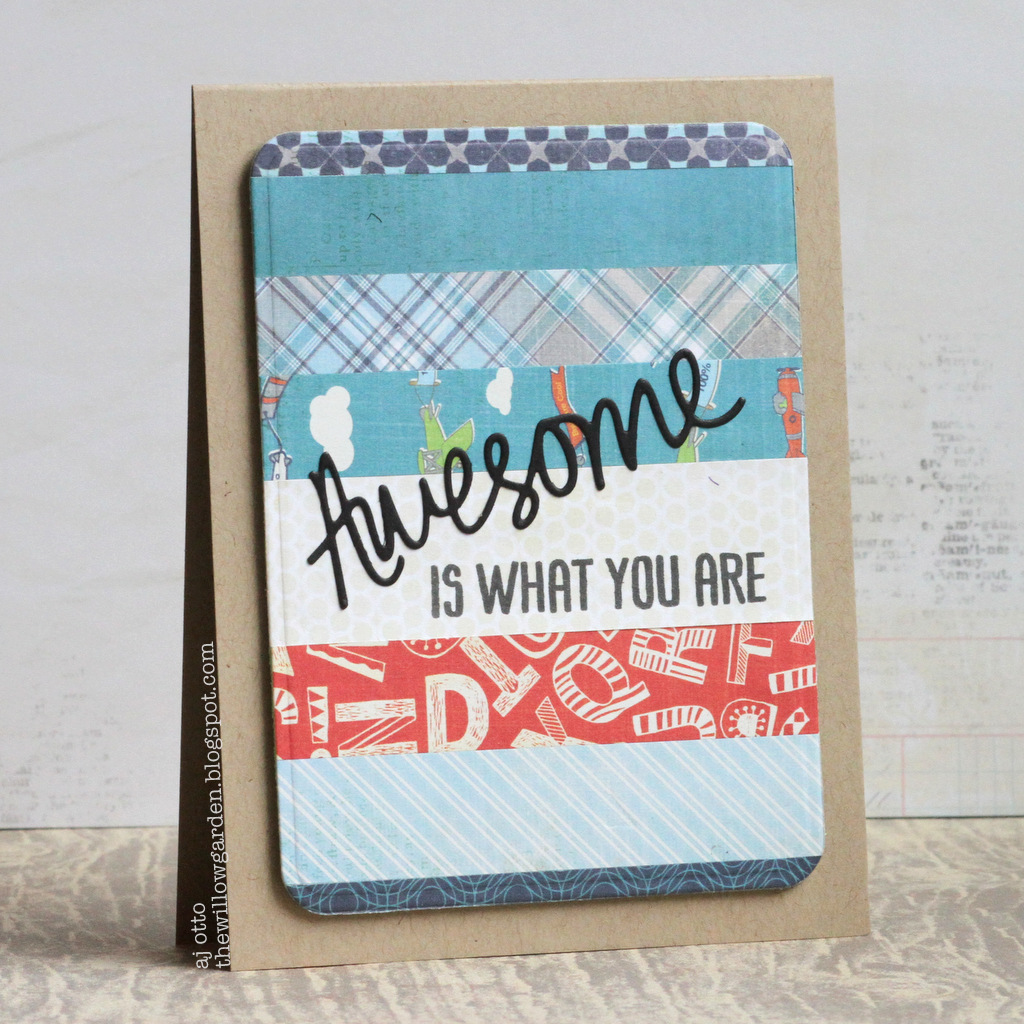
AJ Otto Gift Bag and card

a Rafflecopter giveaway

Be sure to visit all of today’s Designers on BoBunny’s Blog!

Updated: Be sure to visit Lisa G’s blog today!

Don’t miss yesterday’s post by Christine Emberson!

Blog Hopping with Bo Bunny Day 1!

Hello friends! Welcome to Day 1 of our week of fun with Bo Bunny!

Today though Saturday we’re featuring one or more designers on their own blogs, and an opportunity to win from us and from Bo Bunny! Lots of prizes are available this week!

Each day enter to win here, and then again on the Designer’s blog with a comment though the Rafflecopter system. Additional entries are available too!

a Rafflecopter giveaway

Now, go visit Christine Emberson’s Blog, and be sure to comment there too! Here’s a sneak peek of her fabulous project today!

Christine Emberson Bo Bunny - 3L blog hopBe sure to visit all of today’s Designers:

Christine Emberson

Solange

Agnieszka

BoBunny

And then check out Day 2 with AJ Otto!
BoBunny - Scrapbook Adhesives by 3L Blog Hop

Visit our Website and Blog!
Sign up for our Newsletter so you never miss a contest or giveaway!

instagram purple icon facebook icon purple pinterest purple icon twitter purple icon YouTube icon blog subscription purple icon

Love Laugh Smile Shaker Card

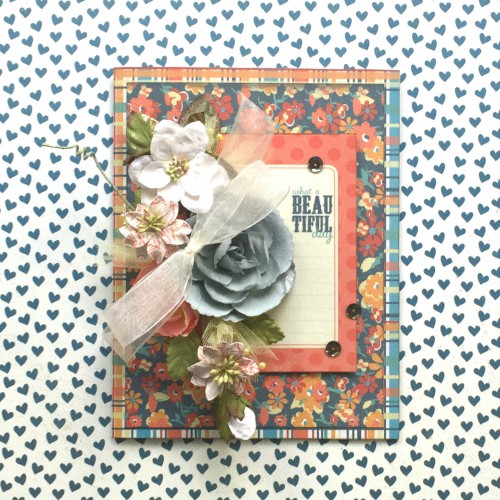
Hello, it’s Beth and I’m shaking it up this week with an easy shaker card. It seems like they’re all the rage again!

Beth Pingry - Love, Laugh, Smile Shaker Card

And they are really not hard to make!

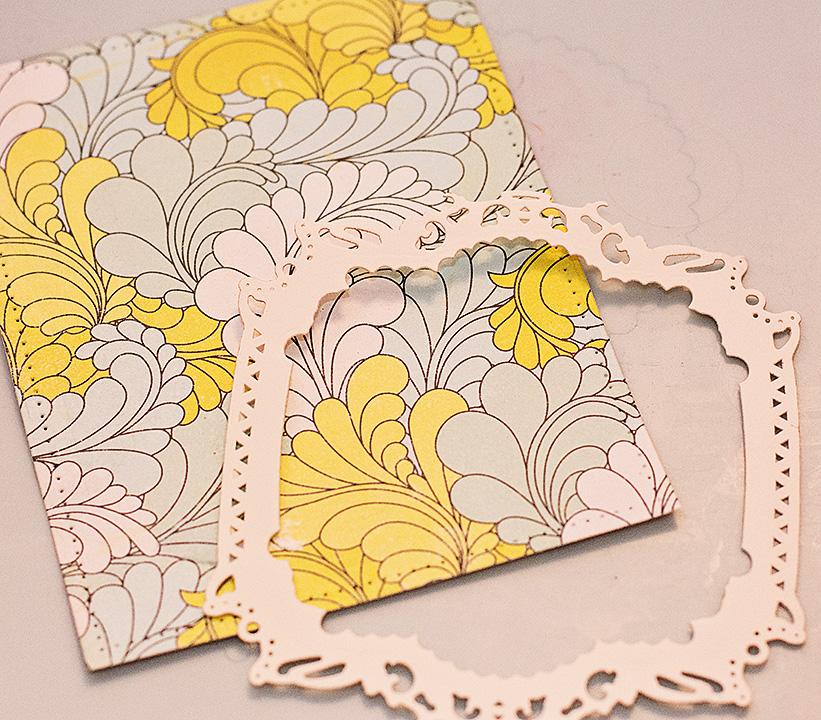
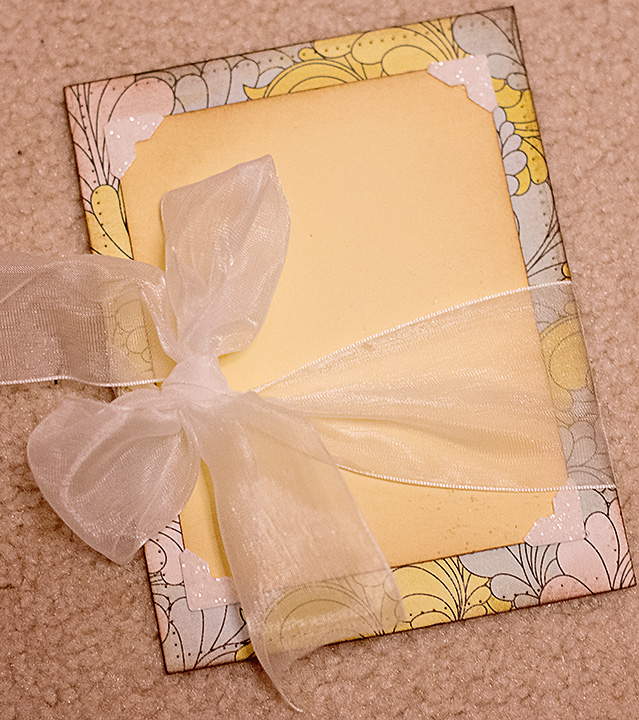
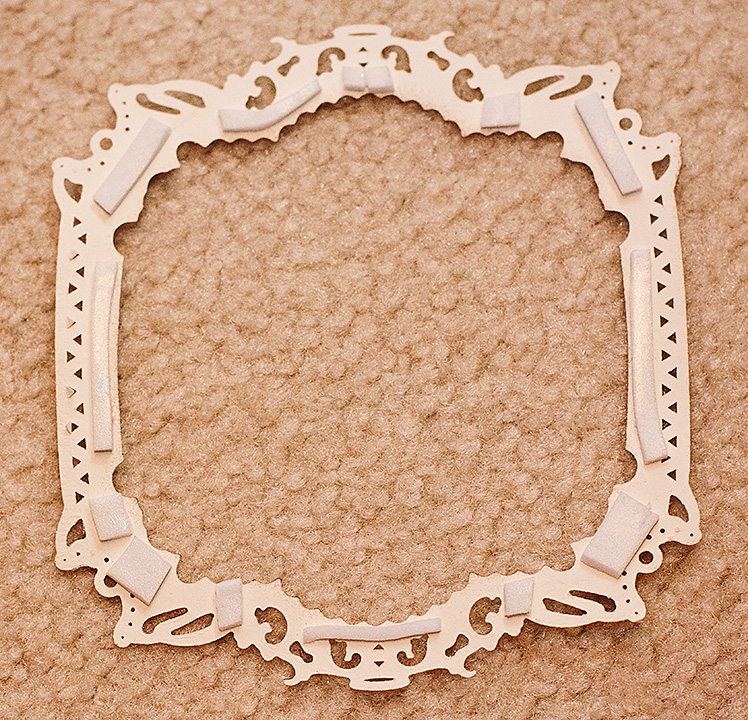
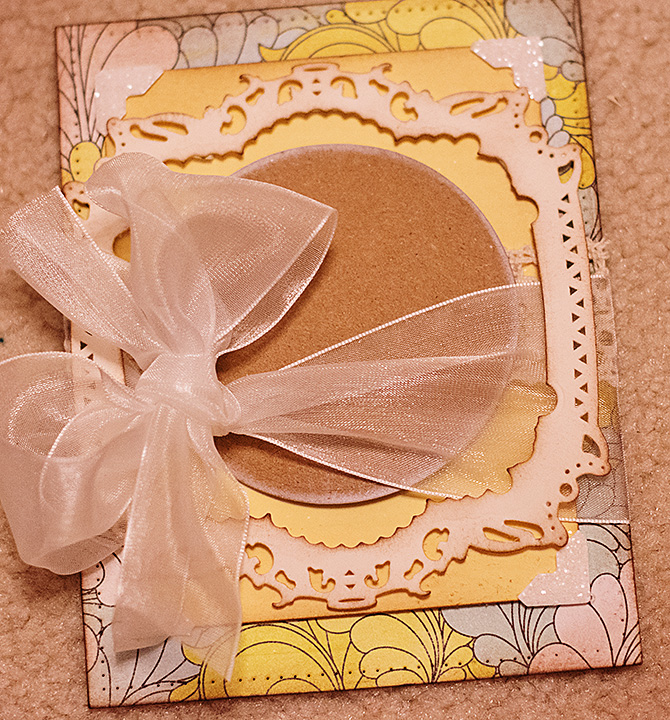
On this card I die cut a frame from 3D Foam Creative Sheets, adhered it onto patterned paper. I added sequins and micro-beads, then added a piece if plastic page protector cut just larger than the opening. Next I topped it with a die cut piece of paper. The shaker was inked and added to another layer of paper.

BethPingry-LoveShaker-2


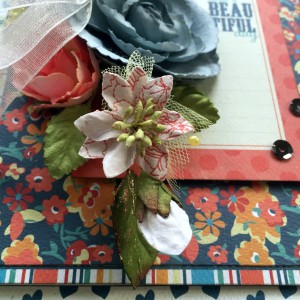
Next I added a bow with lace ribbon organza. I stuck it down with Dodz™ Medium dots. A few of the stickers in the paper pack and voila!

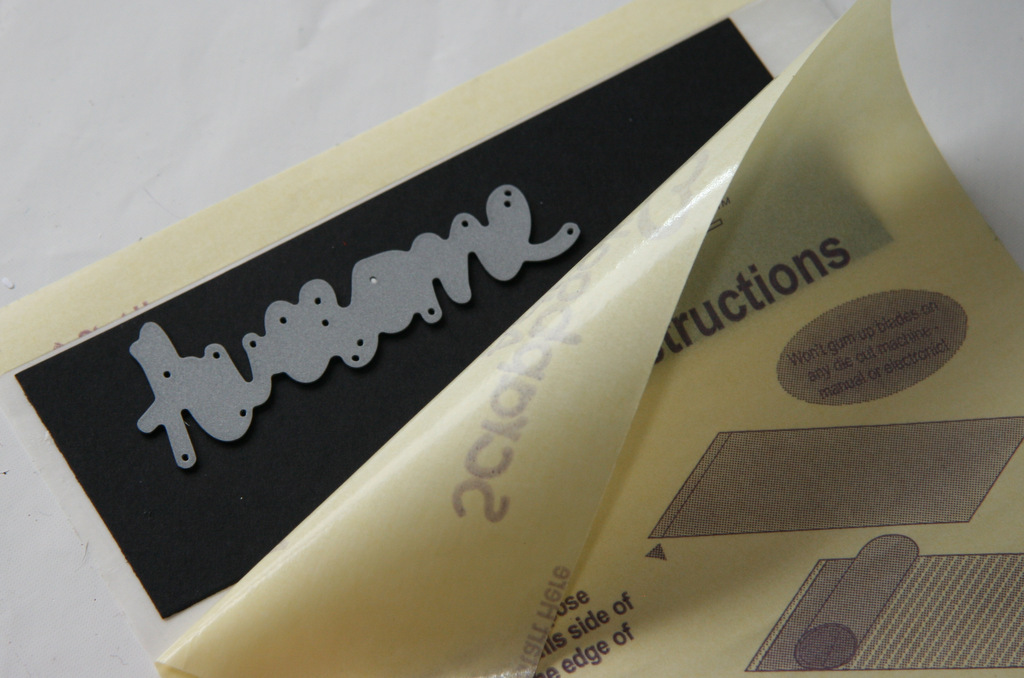
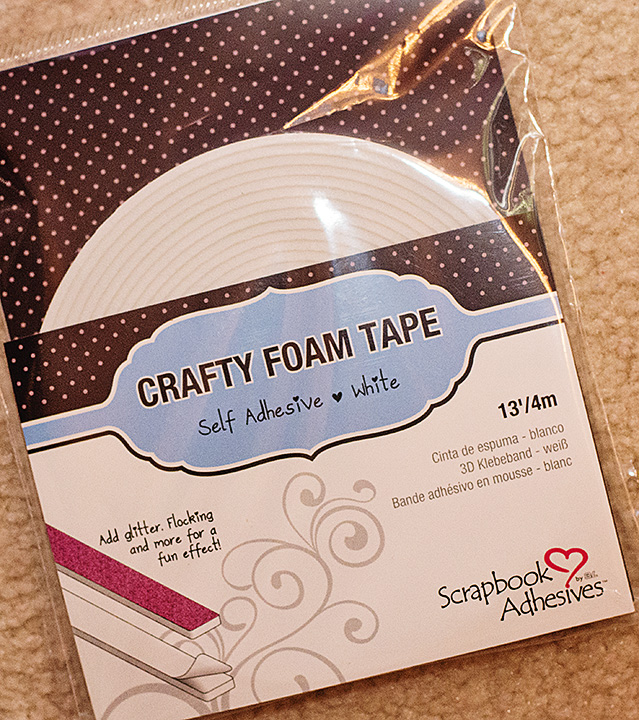
TIP: The 3D Foam Creative Sheets can be die cut, and don’t leave any sticky residue on the dies or machines! They make a double sided foam die cut!

Have you jumped on the shaker card bandwagon?

Thanks for visiting today!

Beth Pingry

Supplies Used:

  • Scrapbook Adhesives by 3L®: Dodz Adhesive Dots Medium, 3D Foam Creative Sheets,
  • Lace and Organza Ribbons
  • BoBunny: Garden Journal papers, stickers
  • My Favorite Things: Rectangular Frames die
  • Clearsnap: Mix’d Media Inx – Chiffon
  • Micro-beads, sequins, page protector, cardstock

Happy Birthday Shaker Card using Keepsake Envelopes

Hello- AJ here with a shaker card tutorial using our Keepsake Envelopes.

AJOtto-Birthday-1

I have been seeing shaker cards everywhere lately, and figured I have more than enough sequins to whip up a few. I also remember about 10 years ago they seemed to be really popular, and I remember making a few…but I cant find any acetate in my house….so Keepsake Envelopes to the rescue.

AJOtto-Birthday-2Here I have placed a few sequins into my envelope, and already die cut my frame to cover it.  Adhere the flap down on the envelope, (you can also add a few strips across the top as well to help hold them in.)

AJOtto-Birthday-3

Using the E-Z Runner® Permanent Strips Refillable, go ahead and lay some adhesive onto the backside of your frame.
AJOtto-Birthday-4Remove the white liner, and gently place your smaller die cut words on the adhesive backing(BONUS!) *Make sure you have them right sight up! 😉  I have decided to pop my frame up with a bit of Crafty Foam Tape.  Mostly because I can. No other reason-I pop up everything if I can.  AJOtto-Birthday-5

I’m sure once my daughter sees this card I will have to create a few more… It actually came together quite quickly, and if I ever decide I want to quit being addicted to sequins, I can dump them all into my Keepsake Envelopes and make a few hundred cards!

enjoy! 🙂 AJ

Mr & Mrs Wedding Card With 3D Foam Creative Sheets

Hello everybody! Asia King here and today I would like to officially open my 2015 wedding projects season! 🙂 First up is this sparkly wedding card.


Mr&Mrs card_Asia King 1

I have quite a few layers in this card – first tier is the background papers which I layered with MyStik® Permanent Strips and embellished with Creative Photo Corners White. The center of the background was die cut with an intricate design die so to ensure all my frilly parts were securely adhered I used E-Z Dots® Permanent.


Mr&Mrs card_Asia King 2b

The focal point of my card is a lovely wedding couple which I die cut from 3D Foam Creative Sheets. The couple is set behind a flower spray which I embellished with glittered 3D Foam Leaves. I secured my florals in place with Dodz Adhesive Dots 3D.

Mr&Mrs card_Asia King 4

The bride and the groom were covered with glitter and flocks and then ‘framed’ with layers of die-cut ornate ovals popped over Thin 3D Foam Squares Mix White and 3D Foam Squares White Mix. I used Thin and regular 3D Foam Squares to vary the heights and to allow for even distribution over the piece of lace I tucked in underneath.

Mr&Mrs card_Asia King 3

Before I go, I also wanted to share a little crafty tip. When I work on a design and a layout of my project, I tend to move the items around multiple times until I’m happy with the final arrangement. However I can never ‘visualize’ things properly unless the layers are even and secure. So I always use my trusty E-Z Dots® Repositionable during the design stage – it helps me keep all the pieces in order but still allows me to easily remove them, before I’m ready to adhere them permanently :).

Find more wedding inspiration on Top Wedding Ideas!

Supplies I used:

3D Foam Creative Sheets, 3D Foam LeavesThin 3D Foam Squares – Mix White3D Foam Squares – White MixCreative Photo Corners WhiteMyStik® Permanent StripsE-Z Dots® Repositionable, E-Z Dots® PermanentDodz Adhesive Dots 3D

Other supplies used:

Stampendous: Stack Art Angel Wings stamp set (script), Cling Married Monograms, Crystal Micro Glitter, Indigo Blue Flock, Cotton Ball Flock

Dies: Spellbinders Gold Majesty Circles, Marianne Designs Lord and Lady

Inks: Midnight Blue StazOn Mini, Faded Jeans and Tea Dye Distress Inks

Paper: K&Company Blue Awning collection


Big crafty hugs

Asia King Blog signature

Save

Save

How to Use 3D Foam Squares on a Birthday Card

Today I wanted to wish my sweet friend a wonderful Happy Birthday~!! Using Lawn Fawn papers, stamp set with matching dies and of course, Scrapbook Adhesives by 3L® products, I created this CAS (Clean And Simple) card for HER…


You Mean The World to Me Birthday Card by MargieHiguchi

Instructions:

  1. With E-Z Runner® Permanent Strips, layer 5⅜ x 3¾” blue dots patterned paper on top of 5⅜ x 3¼” white stripes patterned paper and finish with 5⅜ x 2⅞” red stars patterned paper to create the card panel.
  2. Place the globe die on the right side (approx. ¾” from the edge) and cut with a manual die cutting machine.
  3. Stamp globe image on white cardstock, color and cut with globe die.
  4. Place adhesive on globe die cut with E-Z Runner® Permanent Strips. Using the card panel as a guide, adhere the die cut into the opening.
    MargieHiguchi World2Me Step1
  5. Place 3D Foam Squares – Black, Regular onto the back of card panel and adhere to A2 (5½ x 4¼”) card base.
    MargieHiguchi World2Me Step2
  6. Stamp sentiment onto white dots patterned paper and hand cut banner with ribbon tails on both sides. Adhere with 3D Foam Squares – Black, Regular.
MargieHiguchi 500WM World2MeSide Apr132015


You Mean The World to Me Birthday Card by MargieHiguchi


Supplies:

Scrapbook Adhesives by 3L®: E-Z Runner® Permanent Strips and 3D Foam Squares – Black, Regular; Stamp, Patterned Papers and Die: Lawn Fawn (Pintsized Patterns: Beachside Collection, Wish You Were Here Stamp Set and Wish You Were Here Die Set); Cardstock: Darice/Core’dinations; Markers: Chameleon™ Art Products Ltd. (Color Tones Pens 22 Pen Deluxe Set)

MargieH

Save

Decorated Photo Package

Latisha with you today, sharing a fun and different way to package photos when giving them away.  I am usually the “designated-mom-picture-taker-photographer” for events like Prom or other special occasions.  I will get the photos printed, and then I like to package them in glassine bags or kraft bags.  They lay flat, perfect for photos and they are easy to decorate.


0415LY_photobagholder2


0415LY_photobagholder1

First gather the supplies you will need.

IMG_8537

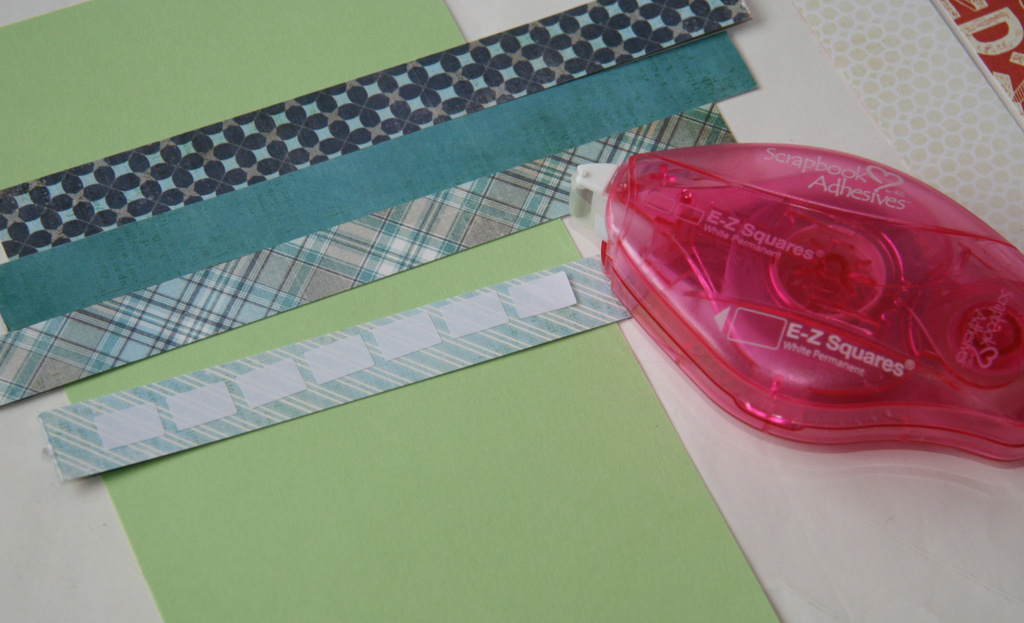
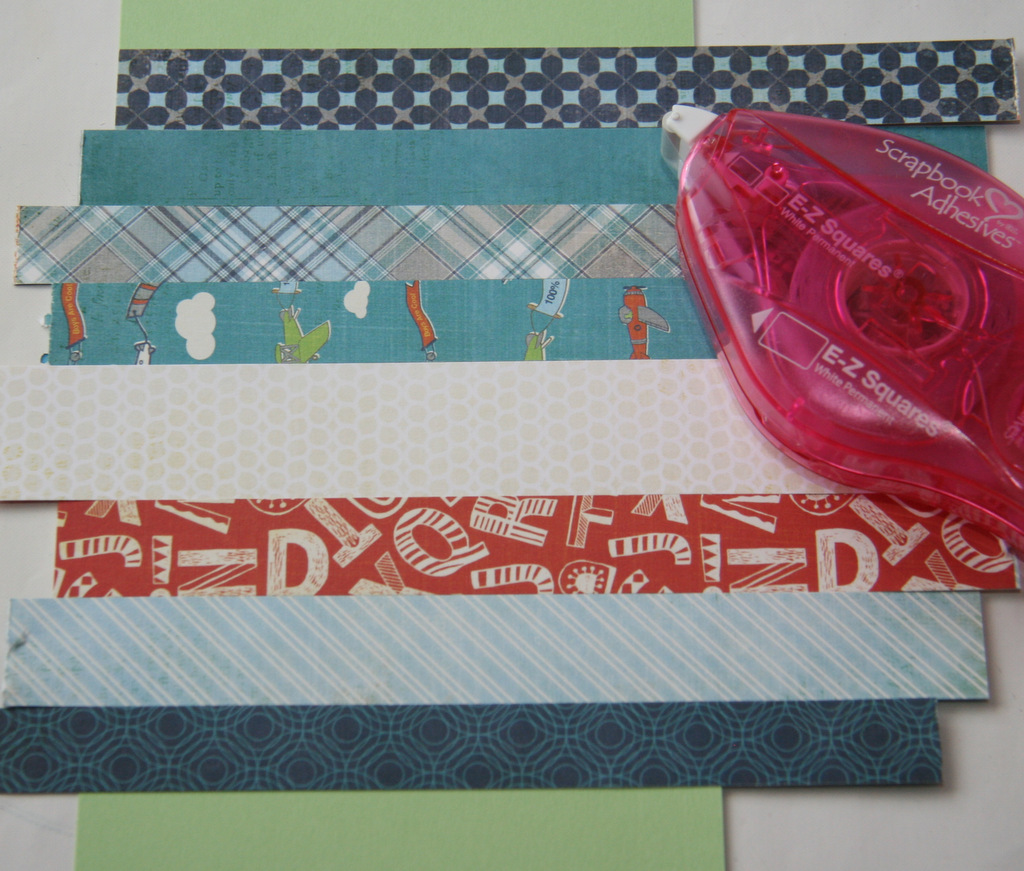
1.  Adhere the trimmed down pieces of pattern paper together.

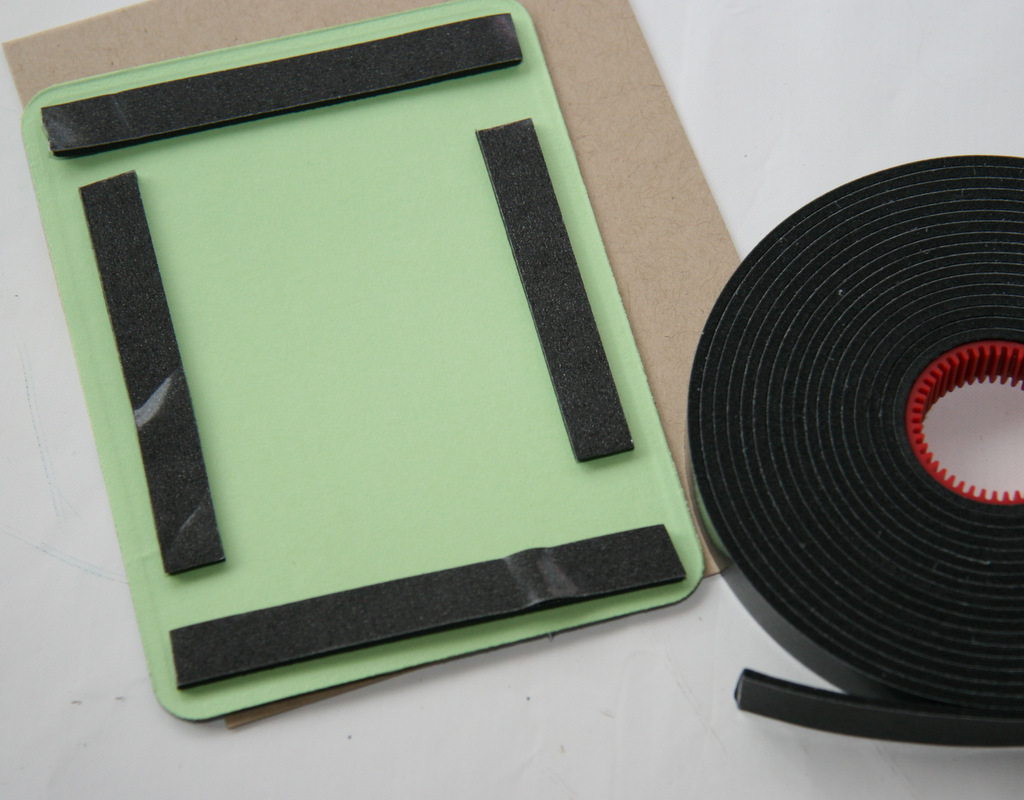
2.  Start adhering the diecuts to the panel by using Scrapbook Adhesives by 3L 3D Foam Squares (white, small)

IMG_8538


3.  Tie twine through the button then attach buttons to the clothespin and the bag by using Scrapbook Adhesives by 3L Dodz small.


IMG_8539


Materials Used:

Scrapbook Adhesives by 3L 3D Foam Squares (white, small)

Scrapbook Adhesives by 3L Dodz small

Fancy Pants Designs Everyday Circus pattern paper and ephemera

May Arts Twine

kraft bag


0415LY_photobagholder3

Oh Happy Day – Mixed Media Tag

Happy Saturday everyone! It’s Lisa here with you and I’m thrilled to be sharing a little mixed media tag I worked on this week using some of my very favorite Scrapbook Adhesives by 3L® products.

LisaAdametz-HappyDayTag-1

I created the background first using a variety of mediums.  Once I had that the way I liked it, then I adhered the patterned paper to the side using the MyStik® Permanent Strips. After that I watercolored some paper, stamped the floral images, and die-cut them. I also die-cut a single leaf, as well.  I placed 3D Foam Squares – White, Regular under one flower and Thin 3D Foam Squares – Mix White under the other.  I stamped the stems where I wanted them, removed the backing paper from the foam squares and put the flowers in place. I then adhered the leaf with the MyStik® Permanent Strips.

Placing the flowers like this gives it additional dimension since the flowers are now mounted at two different heights or thicknesses.

Here’s a close-up:

LisaAdametz-HappyDayTag-2

I always love rolling up Dodz™ Small to ensure that my bows don’t shift, so I did that with my twine bow. The Dodz™ really keep things nice and secure.

I hope that you enjoyed my tag today and enjoy your weekend!

Supplies:

From Scrapbook Adhesives by 3L®:

3D Foam Squares White, Regular

Thin 3D Foam Squares – Mix, White

Dodz™ Small

MyStik® Permanent Strips

Other Supplies:

Tag

Watercolors

Flower/leaf die

Stamps

Gelatos®

Patterned Paper

Enamel Dots

Twine

Cardstock Weight Vellum

Stencil

Mica

Sticky Back Canvas

LisaAdametz-sig