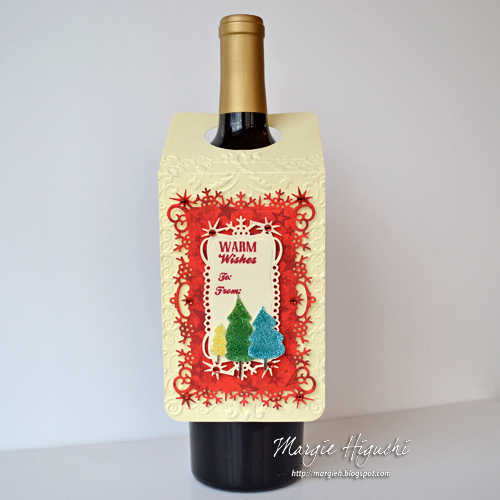
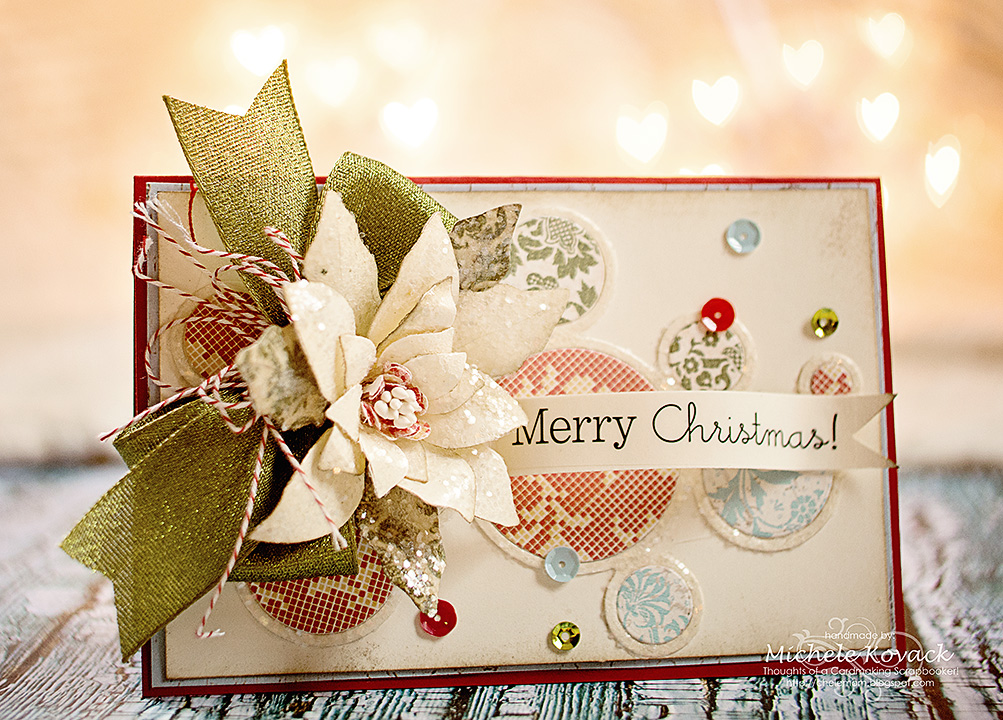
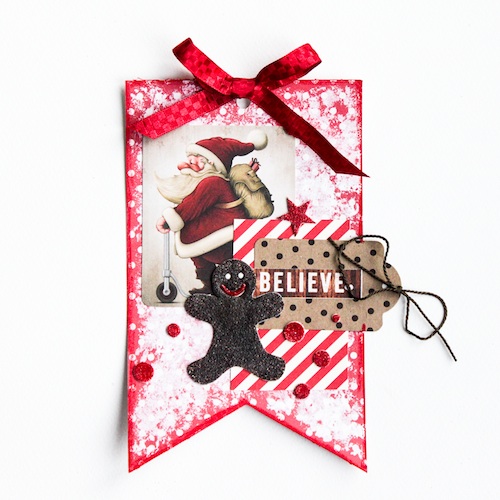
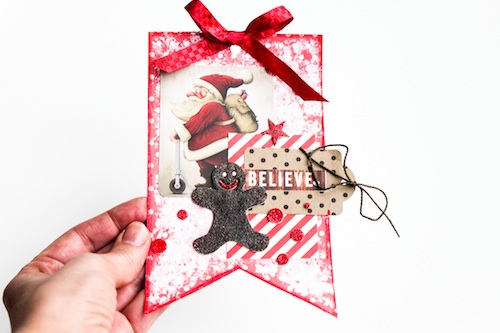
Hello crafty Friends! Asia King here. Christmas 2014 is over – can you believe it? I always feel a bit sad when Christmas days are over so quickly, especially after months of preparations. So I like to hang onto them for as long as I can :). That’s why today I am going to share another Christmas card.
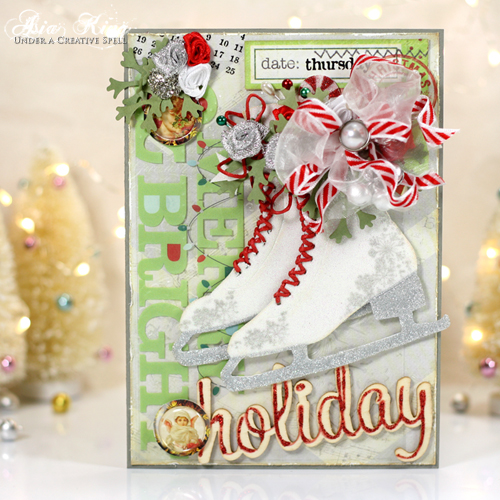
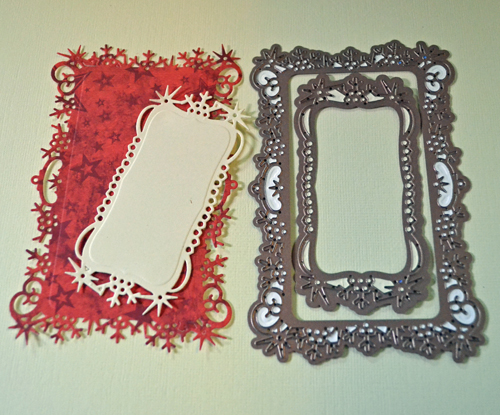
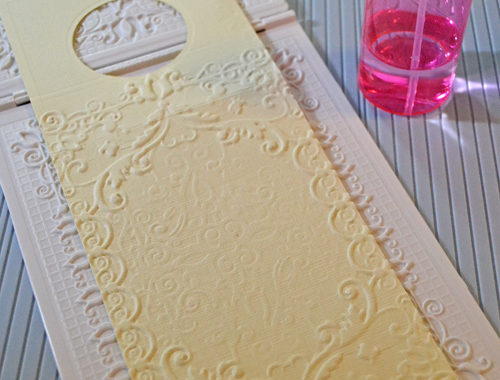
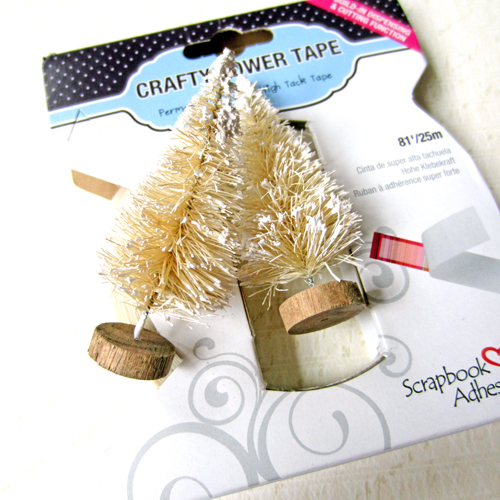
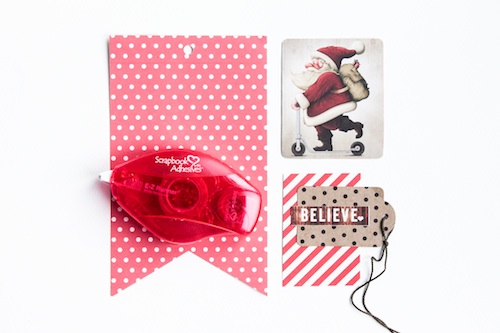
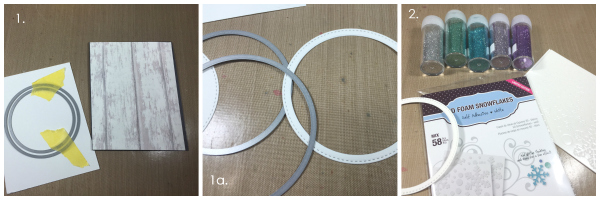
For my card I used papers and transparencies from the Simple Stories – December Documented collection. To fix my cardstock and papers I used E-Z Runner® Permanent Strips – Refillable My transparency was first embossed with Baubles and Baubles folder and to adhere it I used Photo Corners – Polypropylene, Clear. The clear photo corners are perfect for preserving the overall look of transparencies, as you can hardly see them.
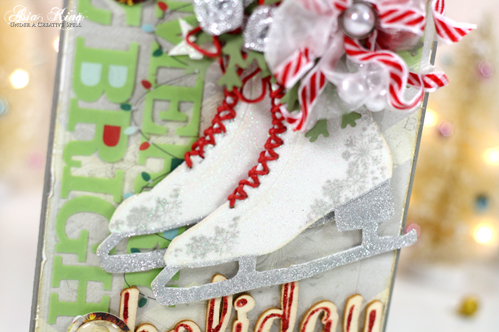
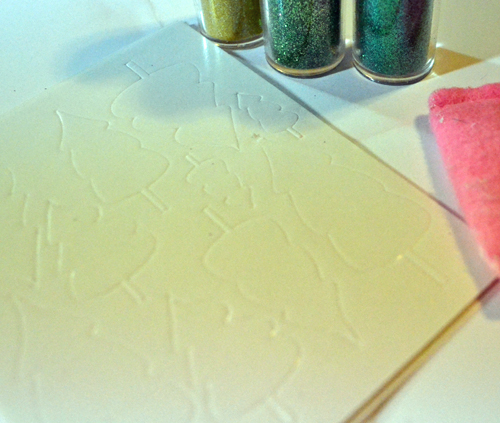
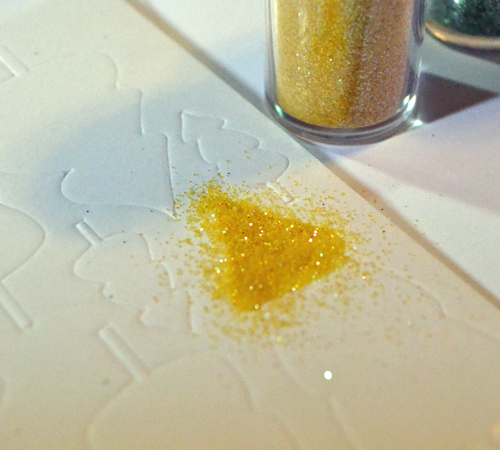
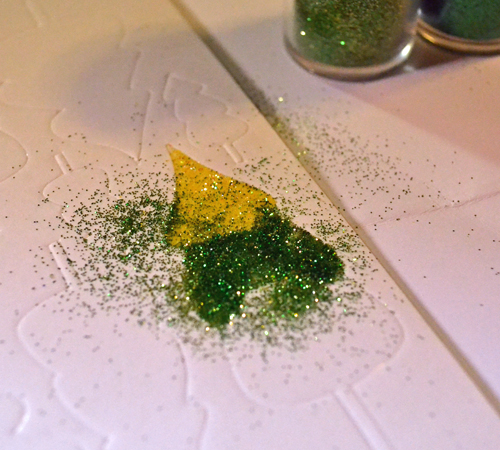
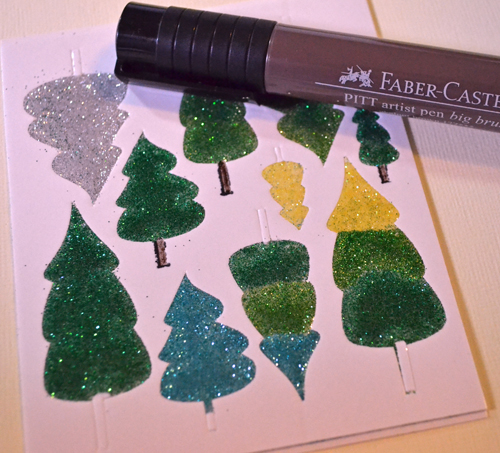
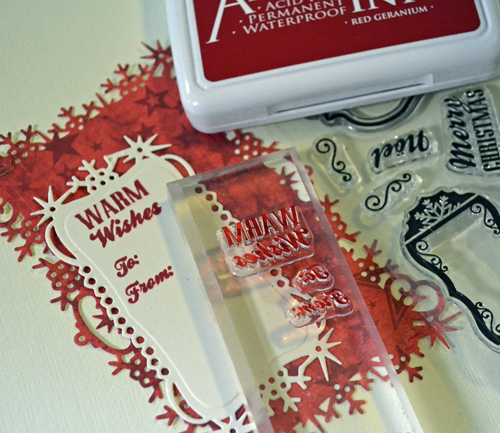
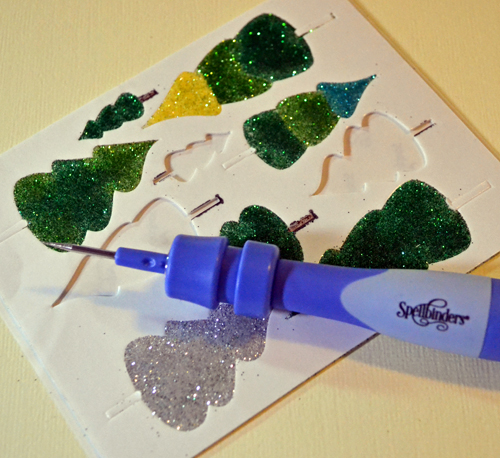
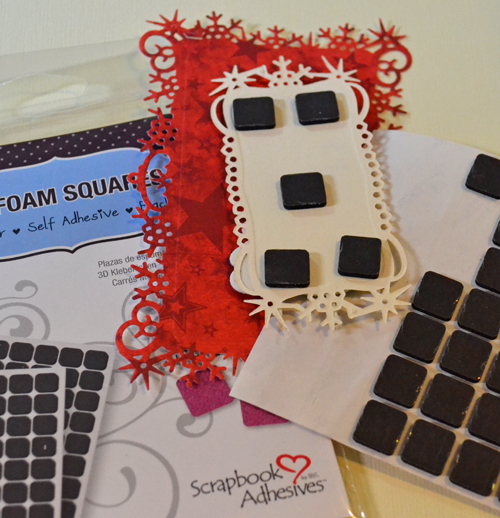
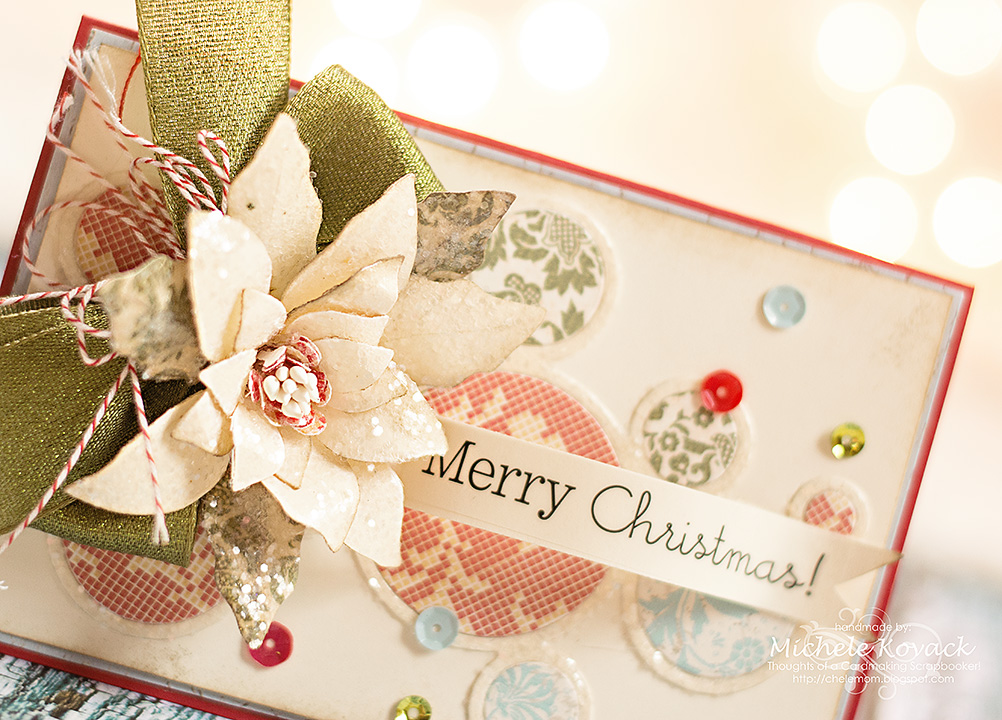
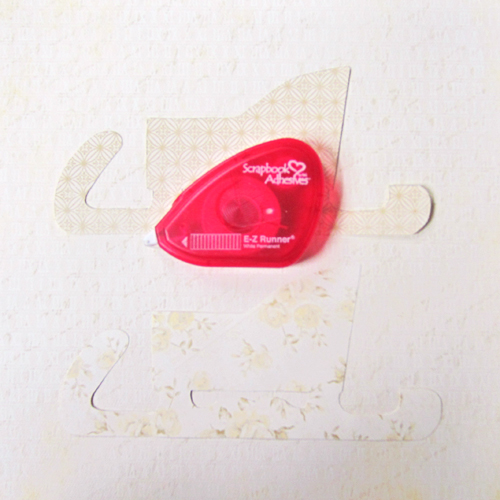
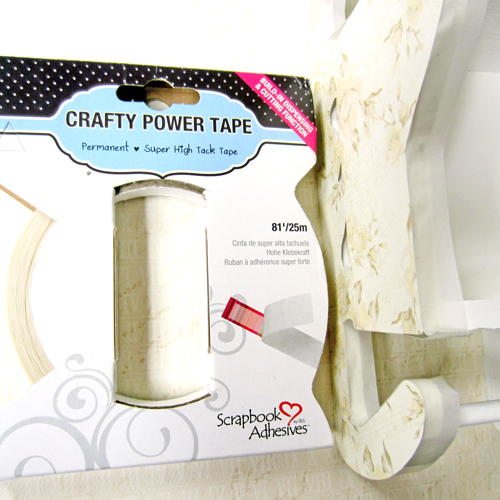
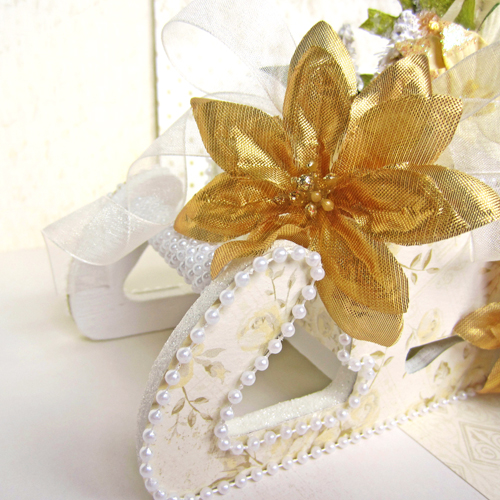
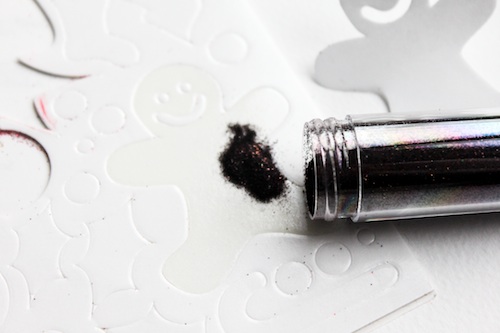
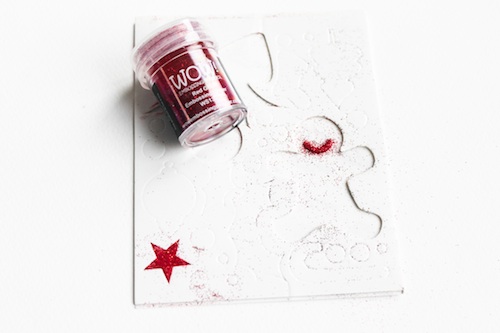
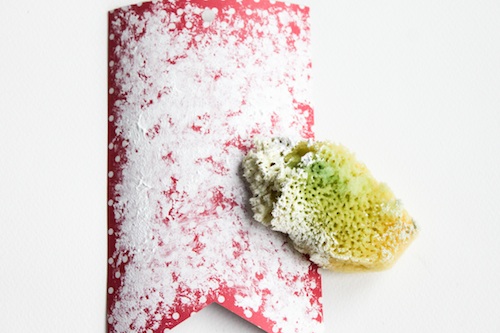
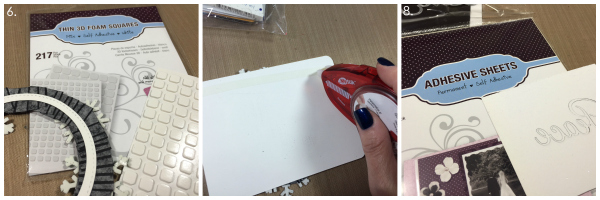
The ice skates were die cut from white 3D Foam Creative Sheets. I peeled the protective sheets off in stages which allowed me to cover the ice skates with different glitters without any problems. Next I stamped the snowflakes with silver ink directly onto the glittered surface and threaded the ‘shoe laces’. I layered the ice skates onto the card, raising the top shoe with Foam Squares – White Mix and Thin 3D Foam Squares – Mix White.
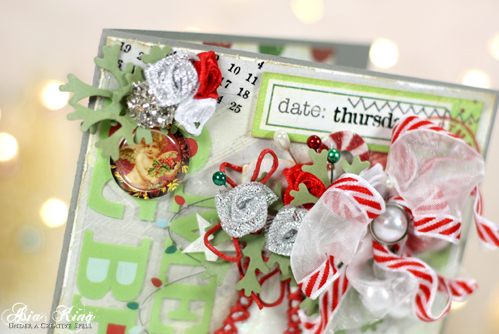
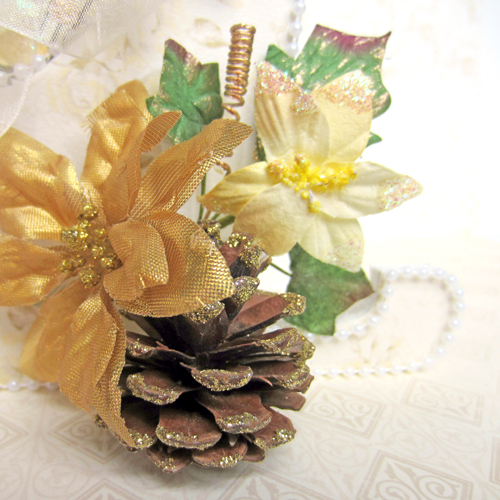
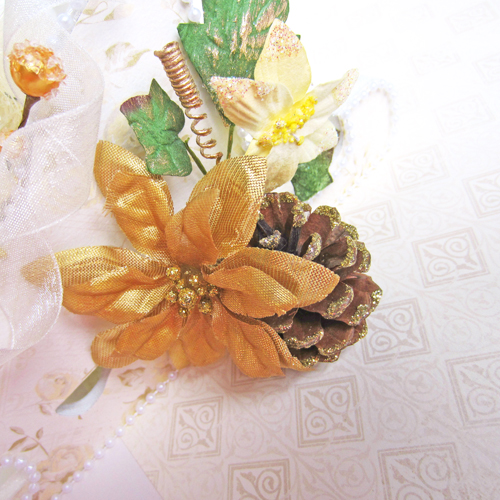
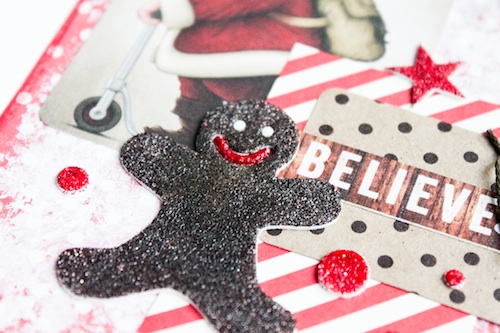
Next I embellished the top of the card with stickers, die cut pine branches, flowers, ribbons and glittered 3D Foam Christmas Shapes and DODZ3D. All adhered with DODZ Small and DODZ 3D.

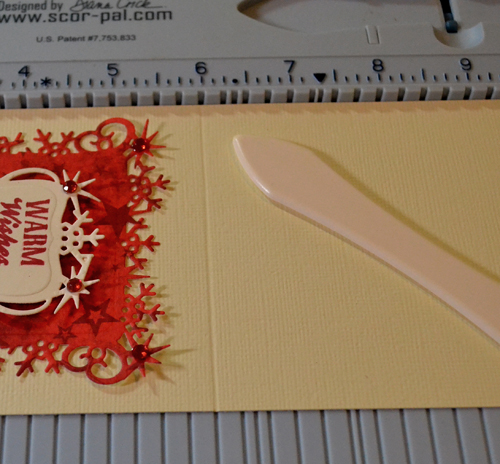
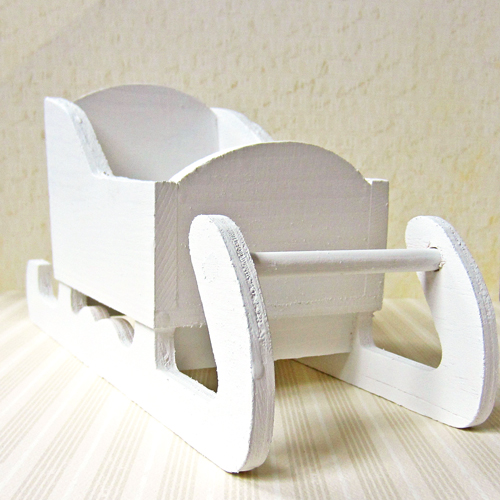
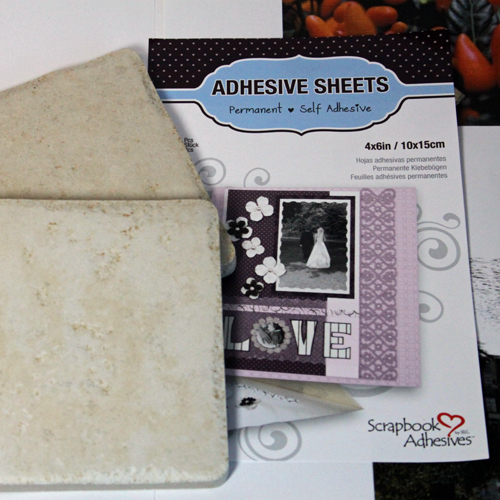
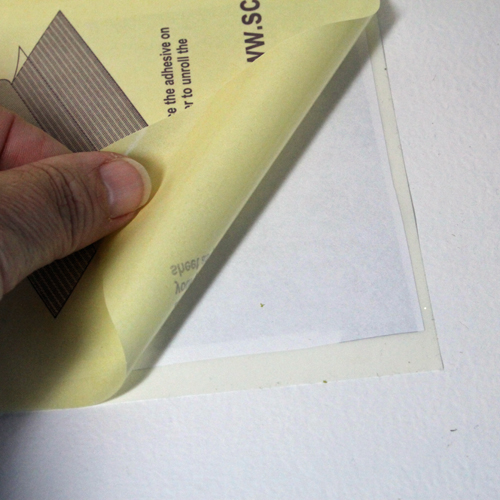
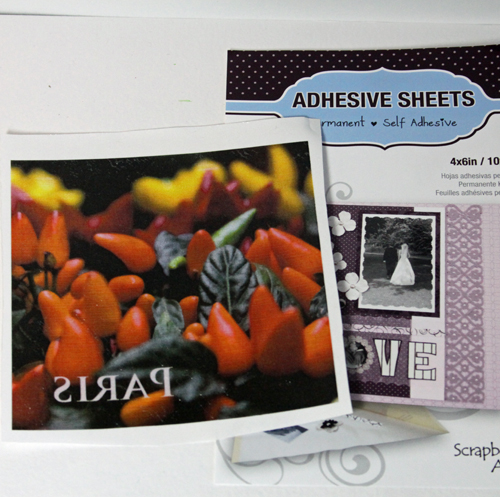
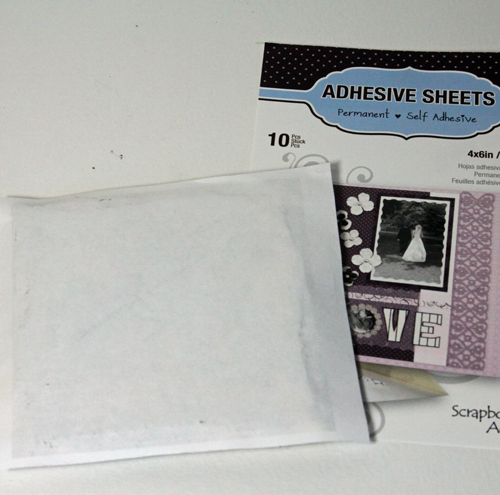
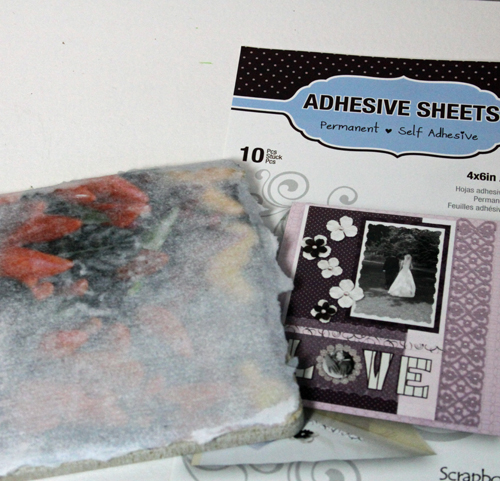
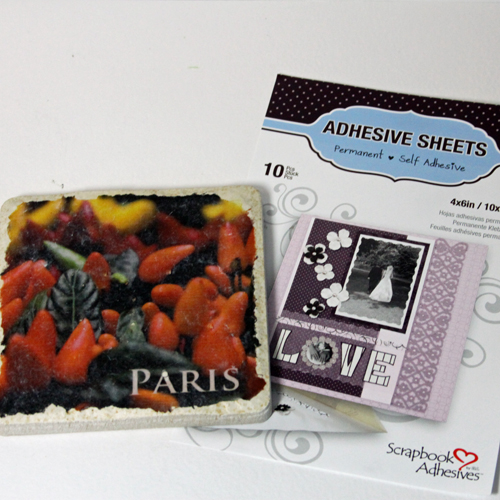
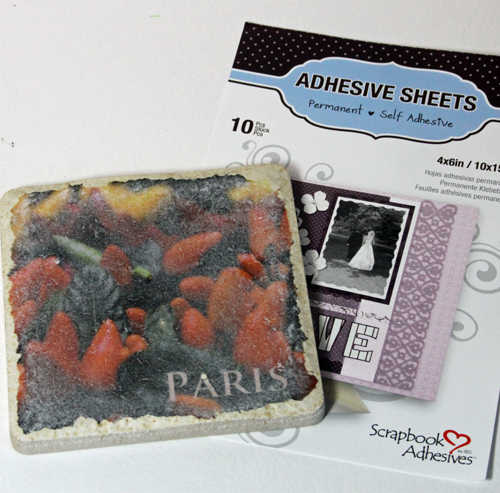
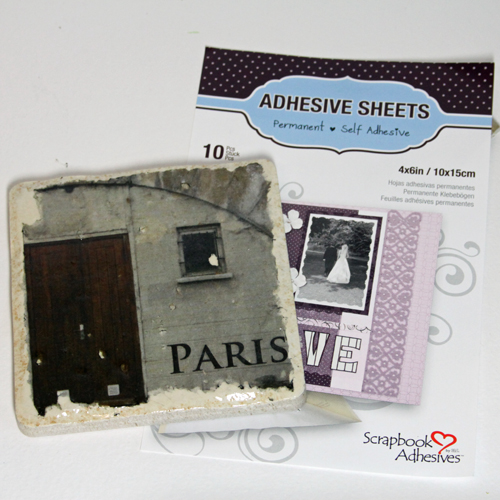
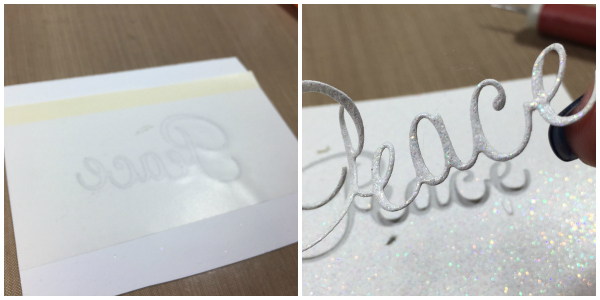
I also added a wooden ‘holiday’ shape adhered with Adhesive Sheets – 4×6” which I decorated with red glitter glue.
Supplies:
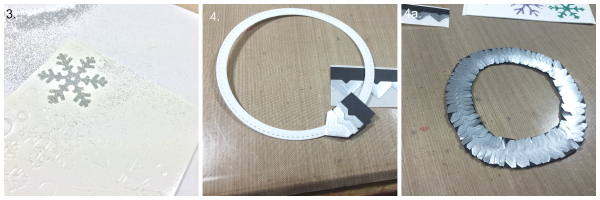
3D Foam Christmas Shapes, 3D Foam Creative Sheets, DODZ 3D, DODZ Small, 3D Foam Squares – White Mix, Thin 3D Foam Squares – Mix White, Adhesive Sheets – 4×6”, E-Z Runner® Permanent Strips – Refillable, Photo Corners – Polypropylene, Clear
Other supplies:
Stampendous Christmas Diamonds clear stamps, Stampendous Crystal, Red and Silver Micro Glitters, Stampendous Silver Crushed Glass Glitter, Tsukineko Delicata Silvery Shimmer ink, Spellbinders Foliage die, Sizzix Biigz Tim Holtz Ice Skates die, Couture Creations Baubles and baubles embossing folder, Simple Stories – December Documented collection, May Arts ribbons and suede twine
Thank you for stopping by today and… happy New Year everyone!
Big crafty hugs


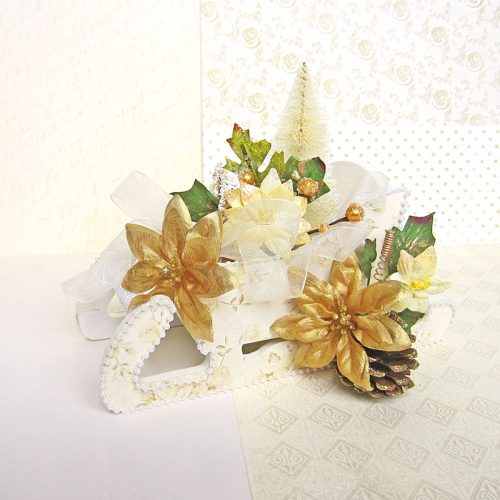
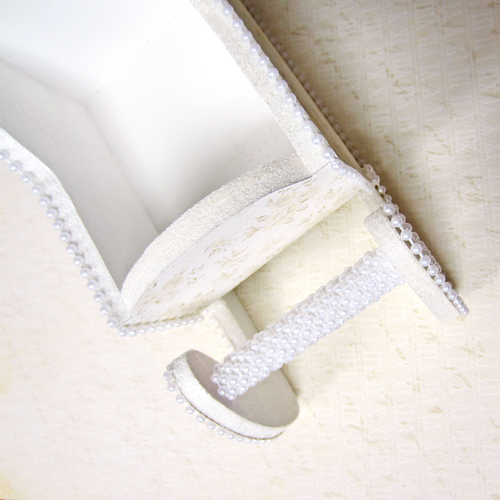
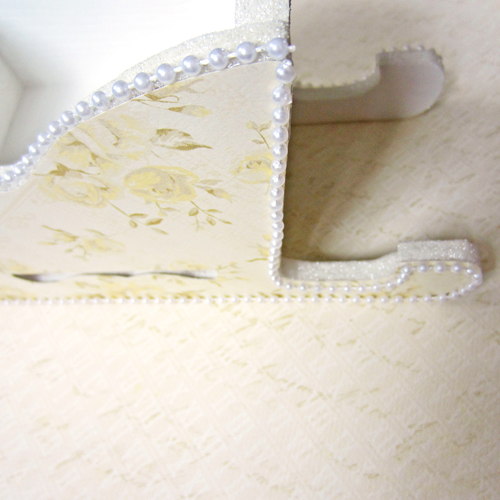

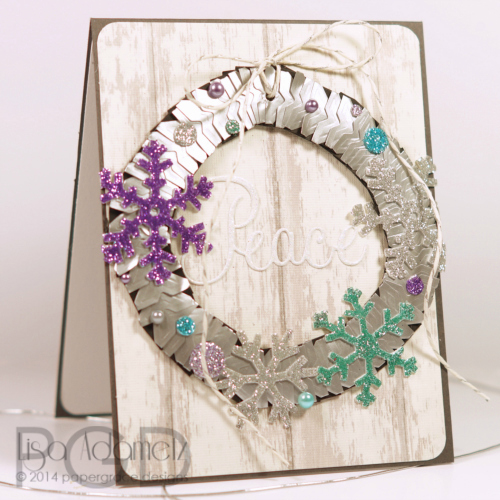
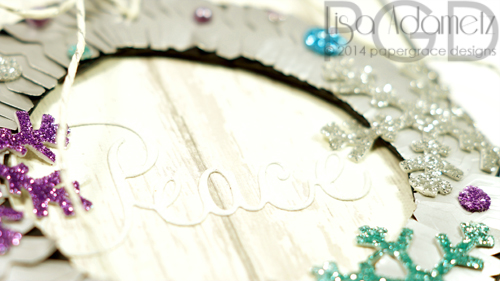
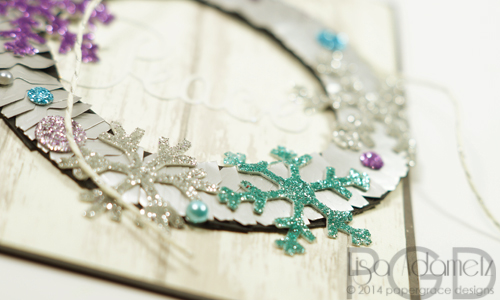
 9. Embellish the wreath as desired. I added a little sparkly twine and a few extra fun colored pearls. Here are a few close-ups!