Blog Hop is Closed! Congratulations to the Winners! Thanks for participating!!
Join us as we blog hop with Wow! Embossing Powder this week! Enter below on the Rafflecopter app, and be sure to visit Wow! Embossing Powder’s blog and enter their giveaway too! The contest runs 10-20-14 through 10-25-14.
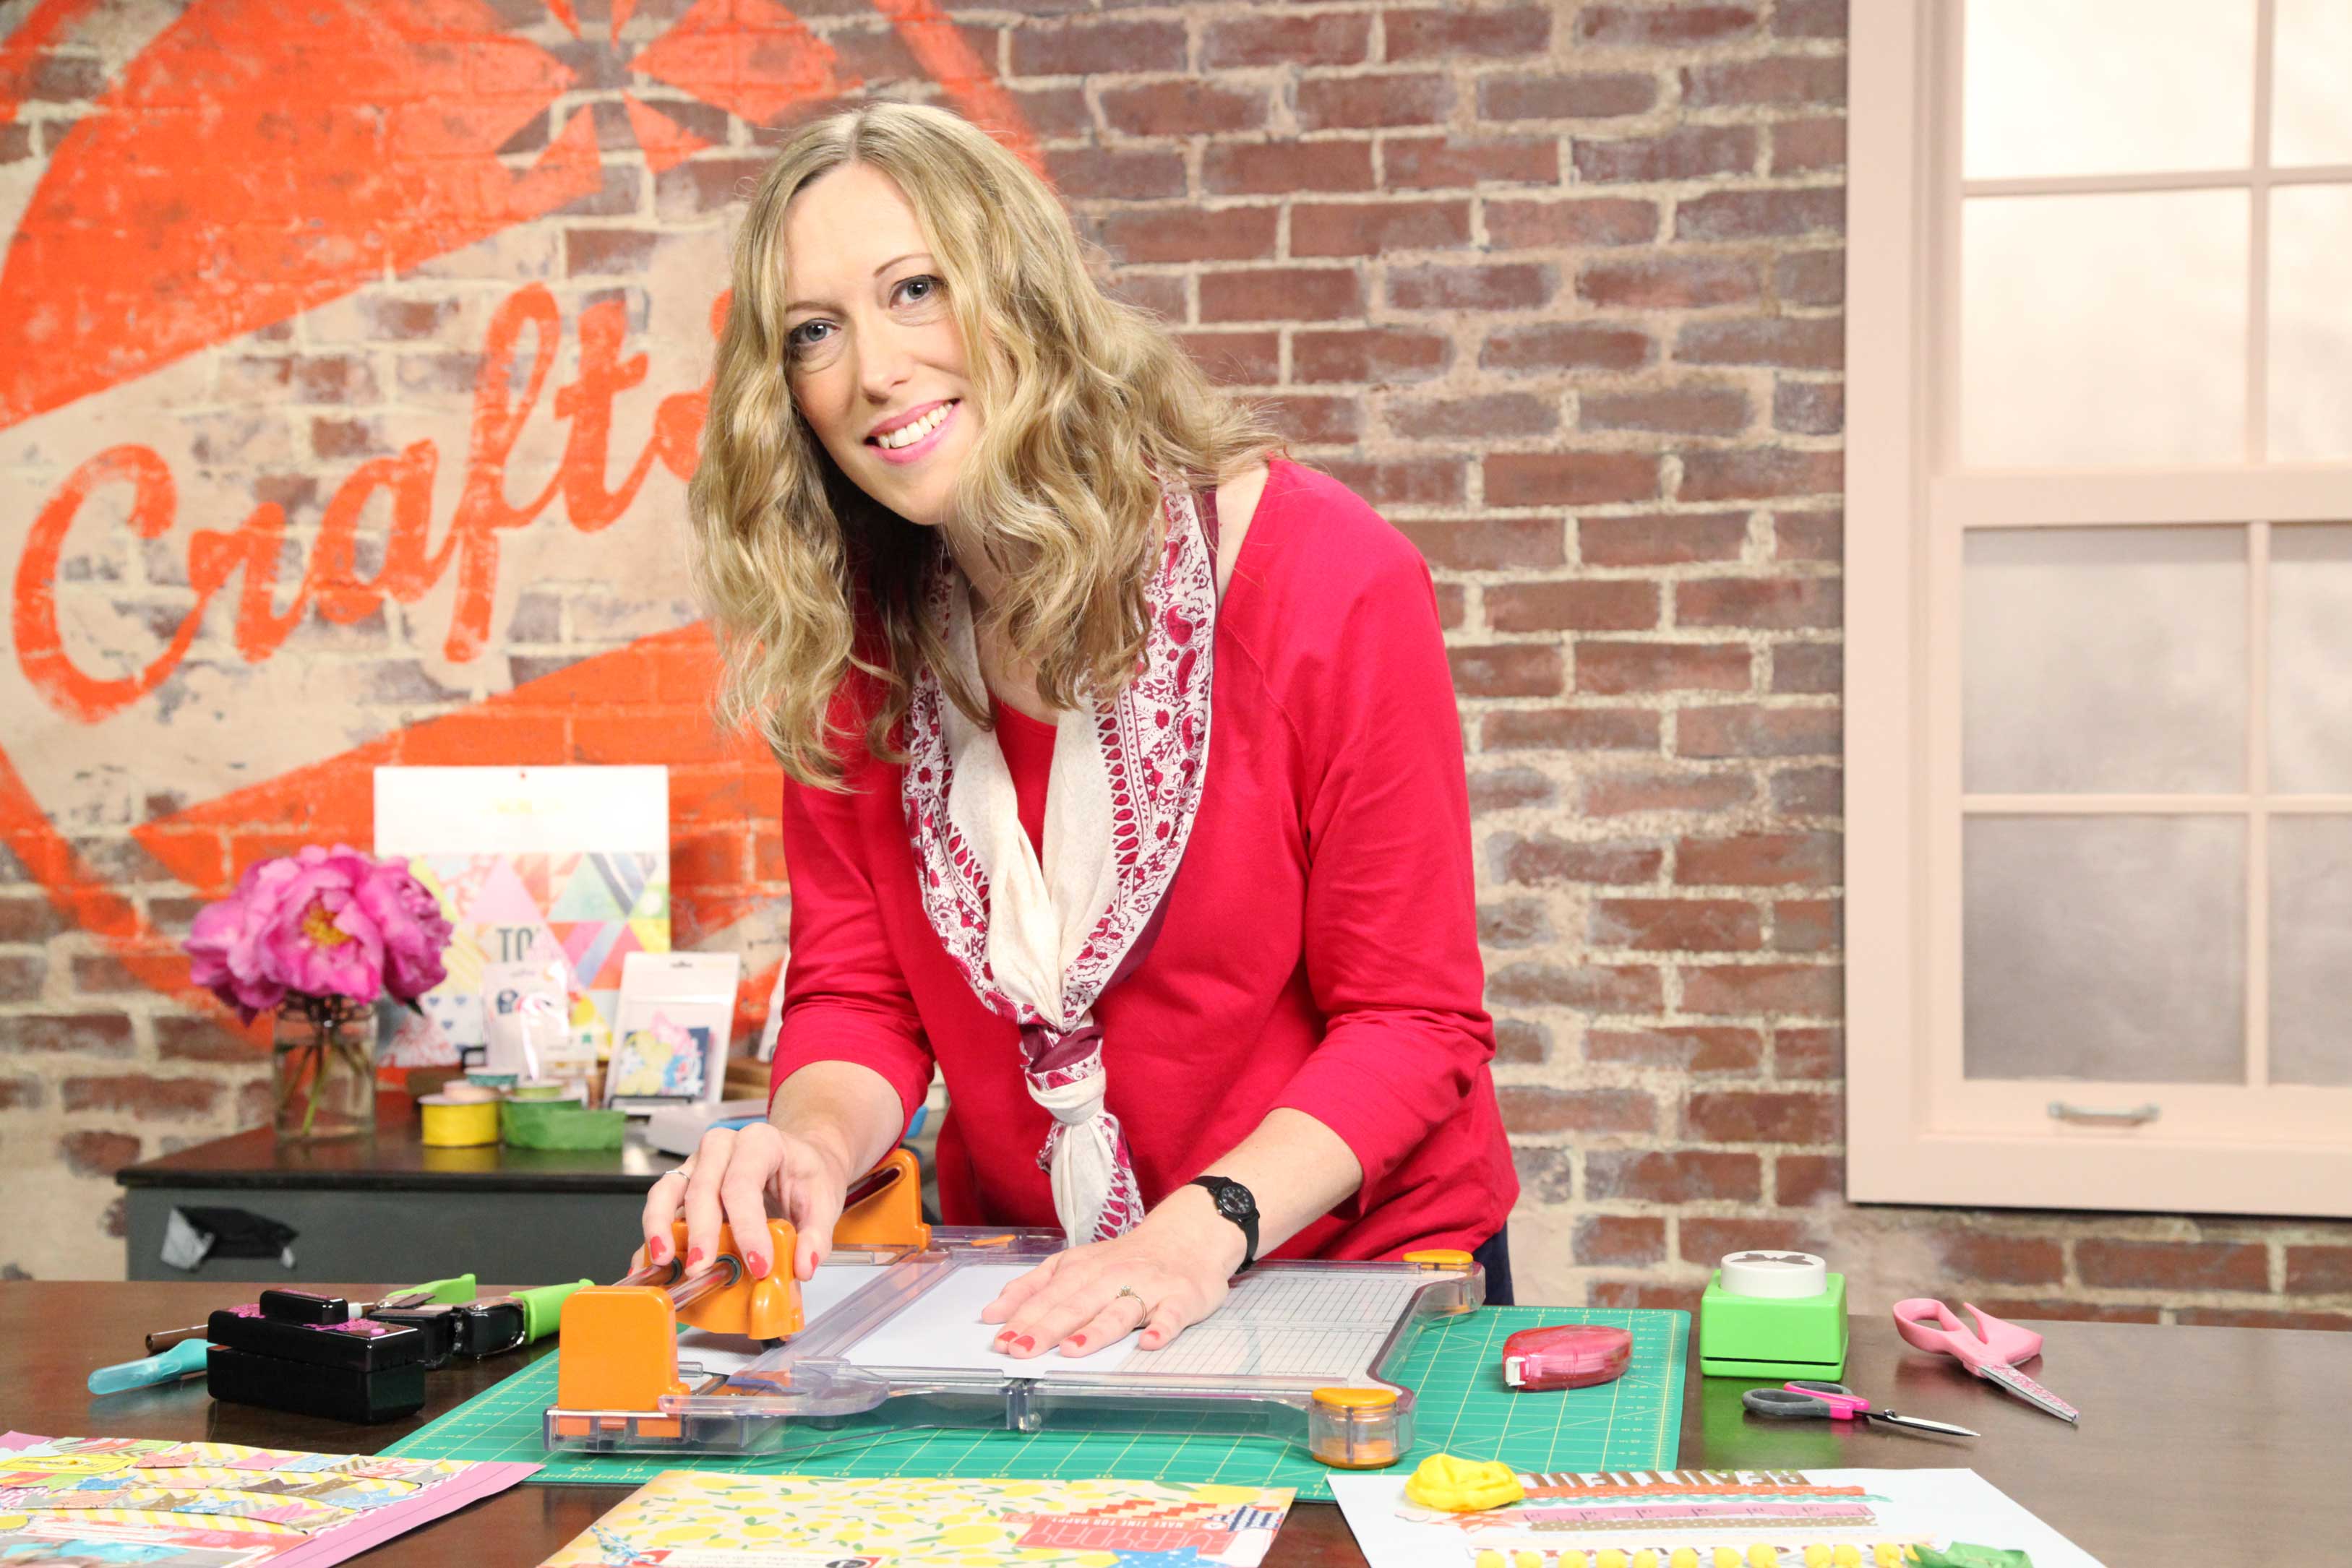
Hi everyone! It’s Lisa here with you today and welcome to day ONE of our blog hop with WOW! Embossing Powders. This is such a fun day for me as I’ve been a fan of WOW!’s for quite some time. Getting to play with all of their powders, gorgeous stamps and some foils (that I already had)…what could be better? You’re in for a real treat this week.
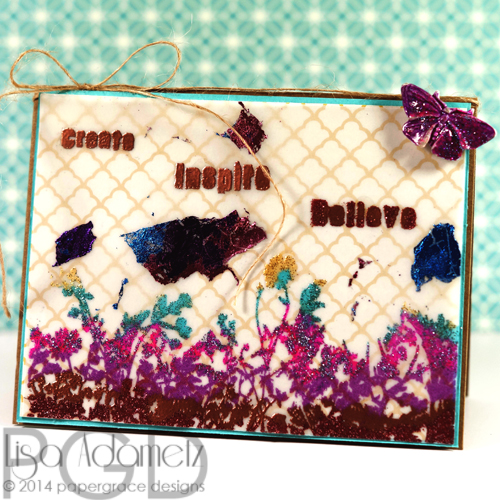
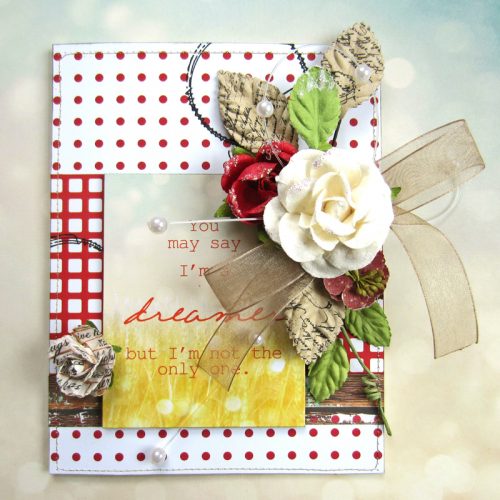
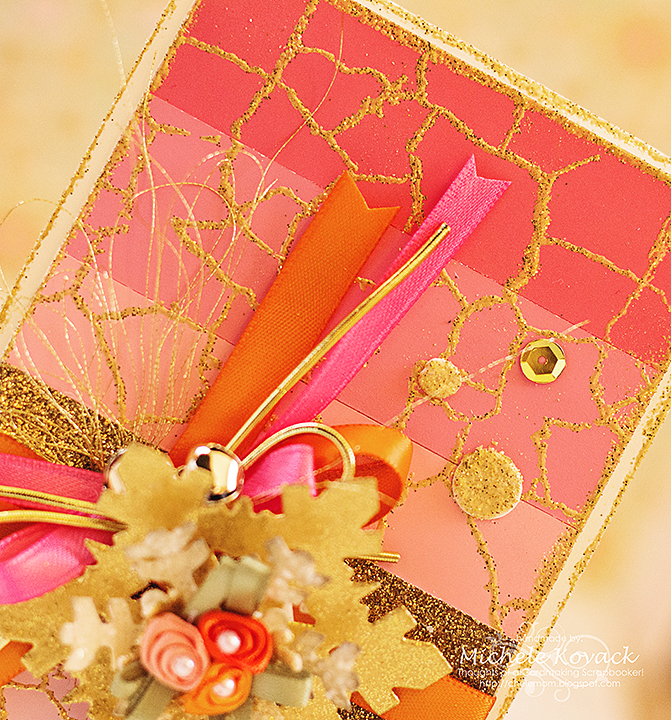
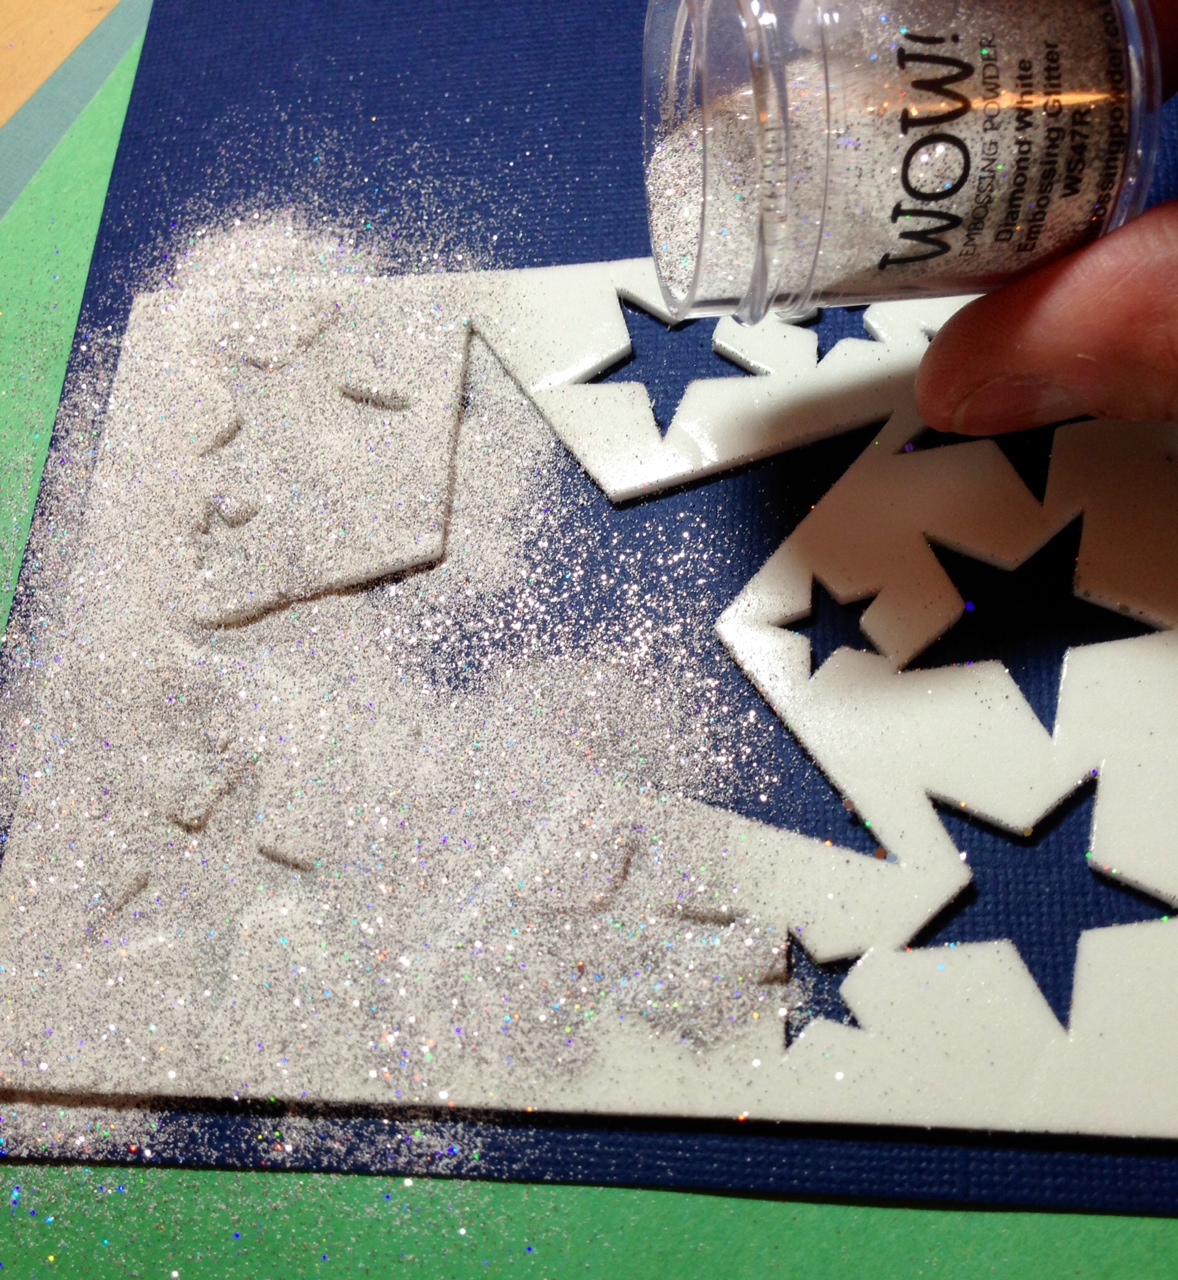
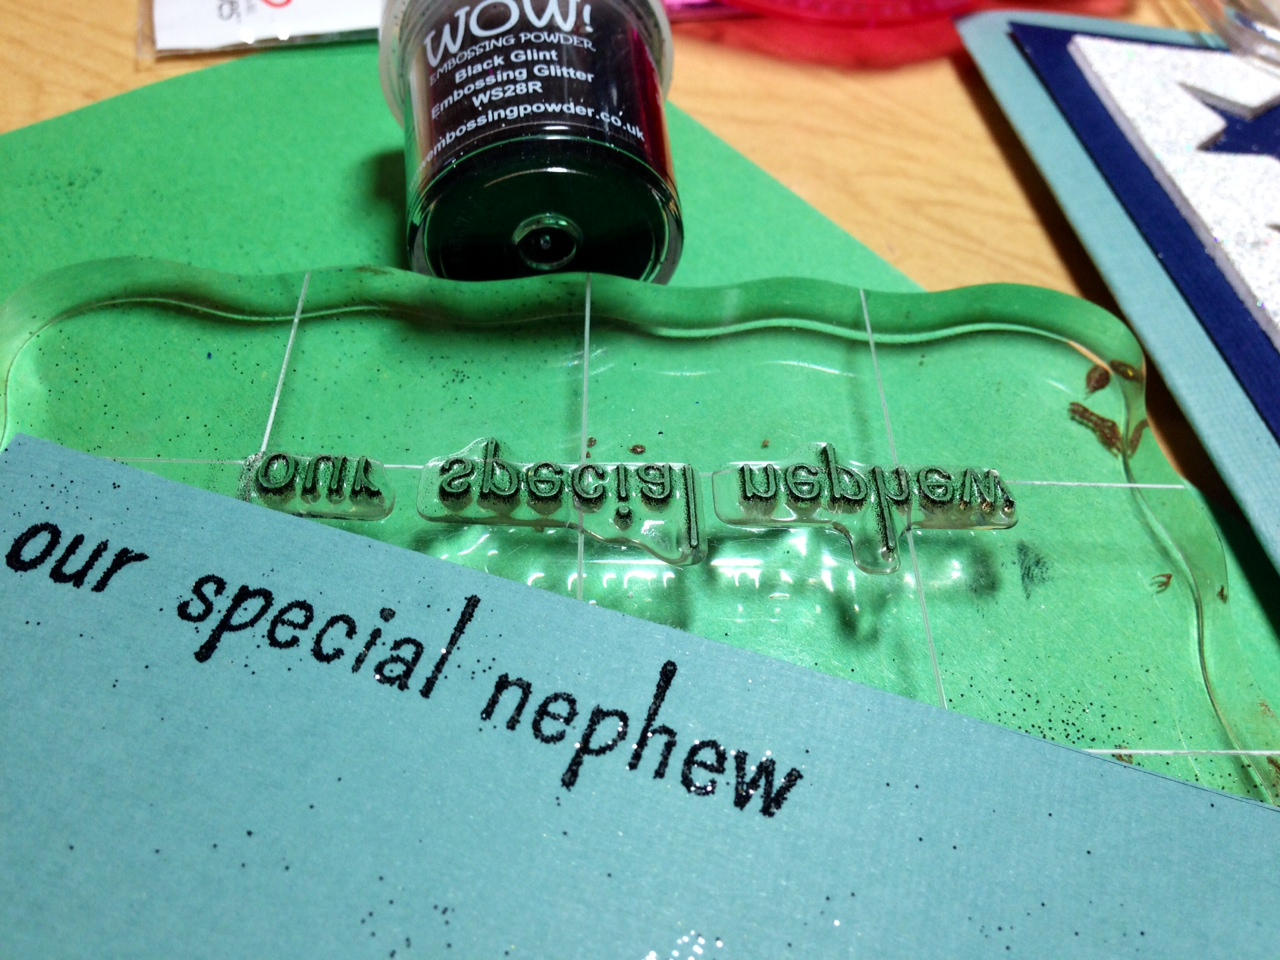
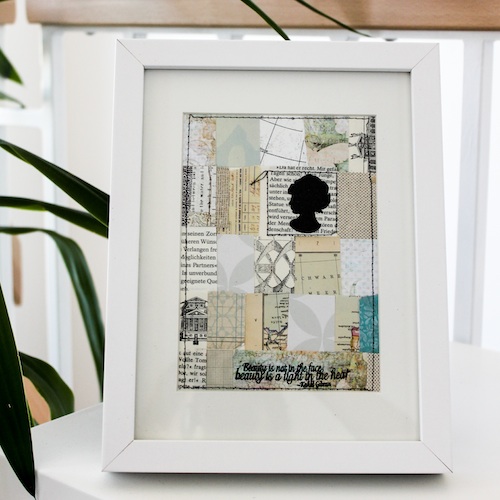
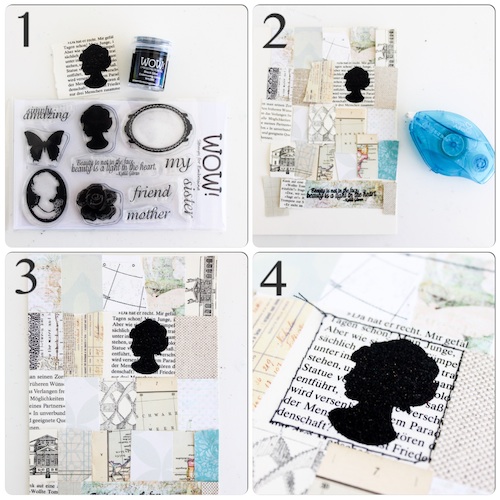
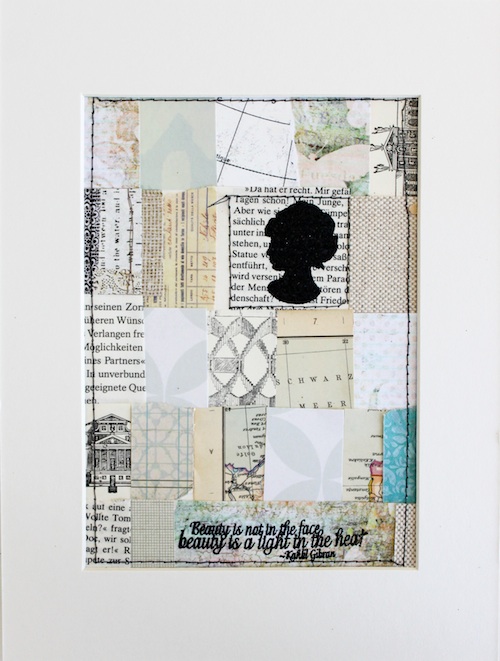
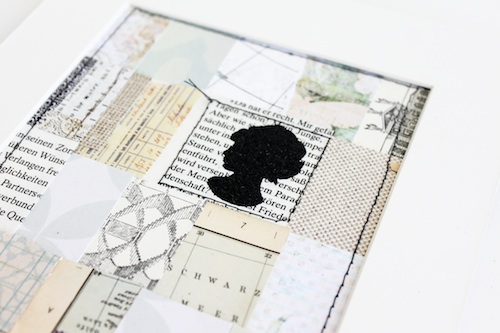
I had so much fun with this project. I cut pieces of straw to make little bitty “scoops” so I could easily add the different colors of embossing powder exactly where I wanted it to my inked image (inked with embossing ink on cardstock weight vellum). Super easy!
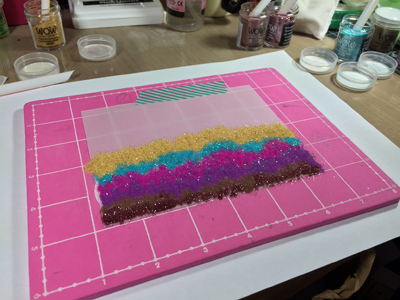
Once all the powder was where I wanted it I just tapped off the excess. Just like doing any other embossing. This way allows you to be a little more precise with color distribution. Then you heat set it, just like normal.
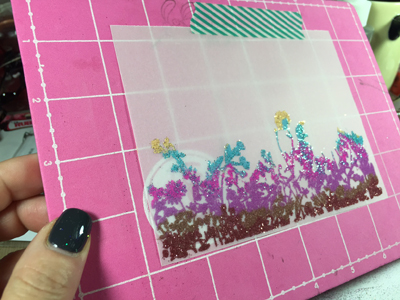
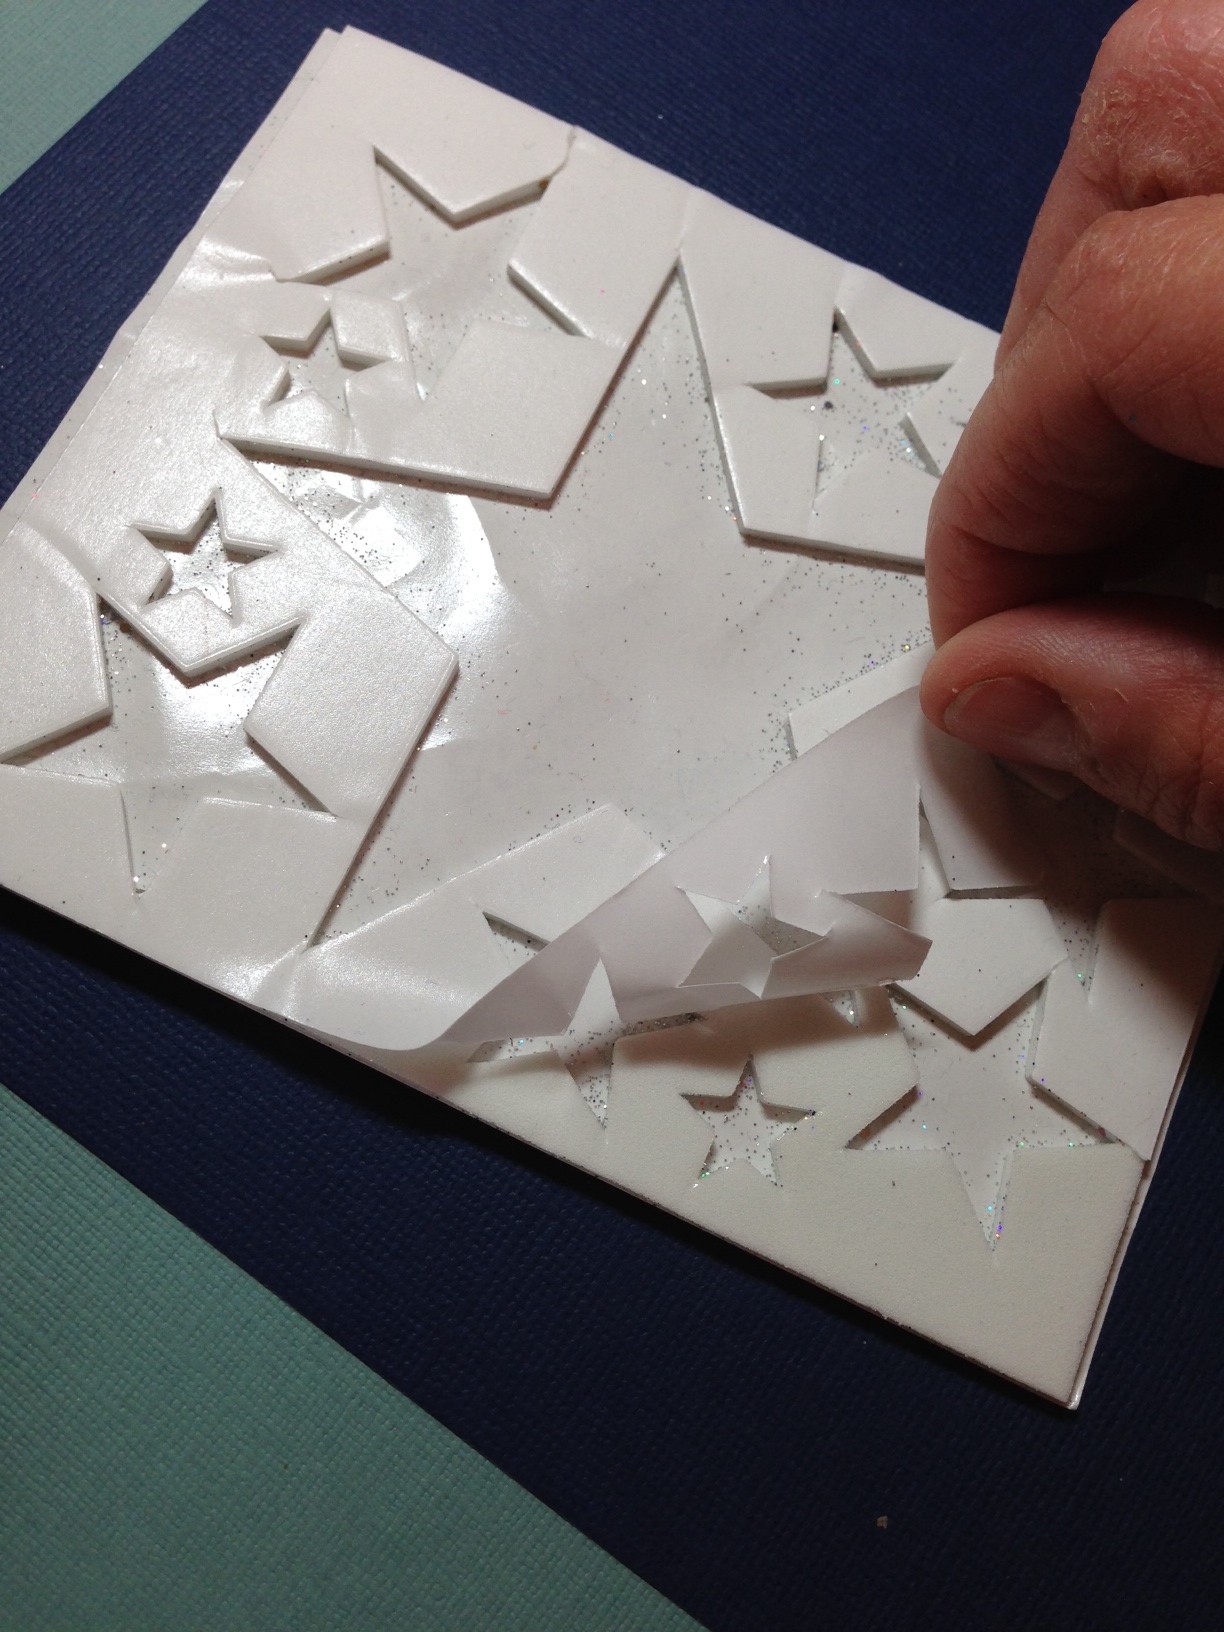
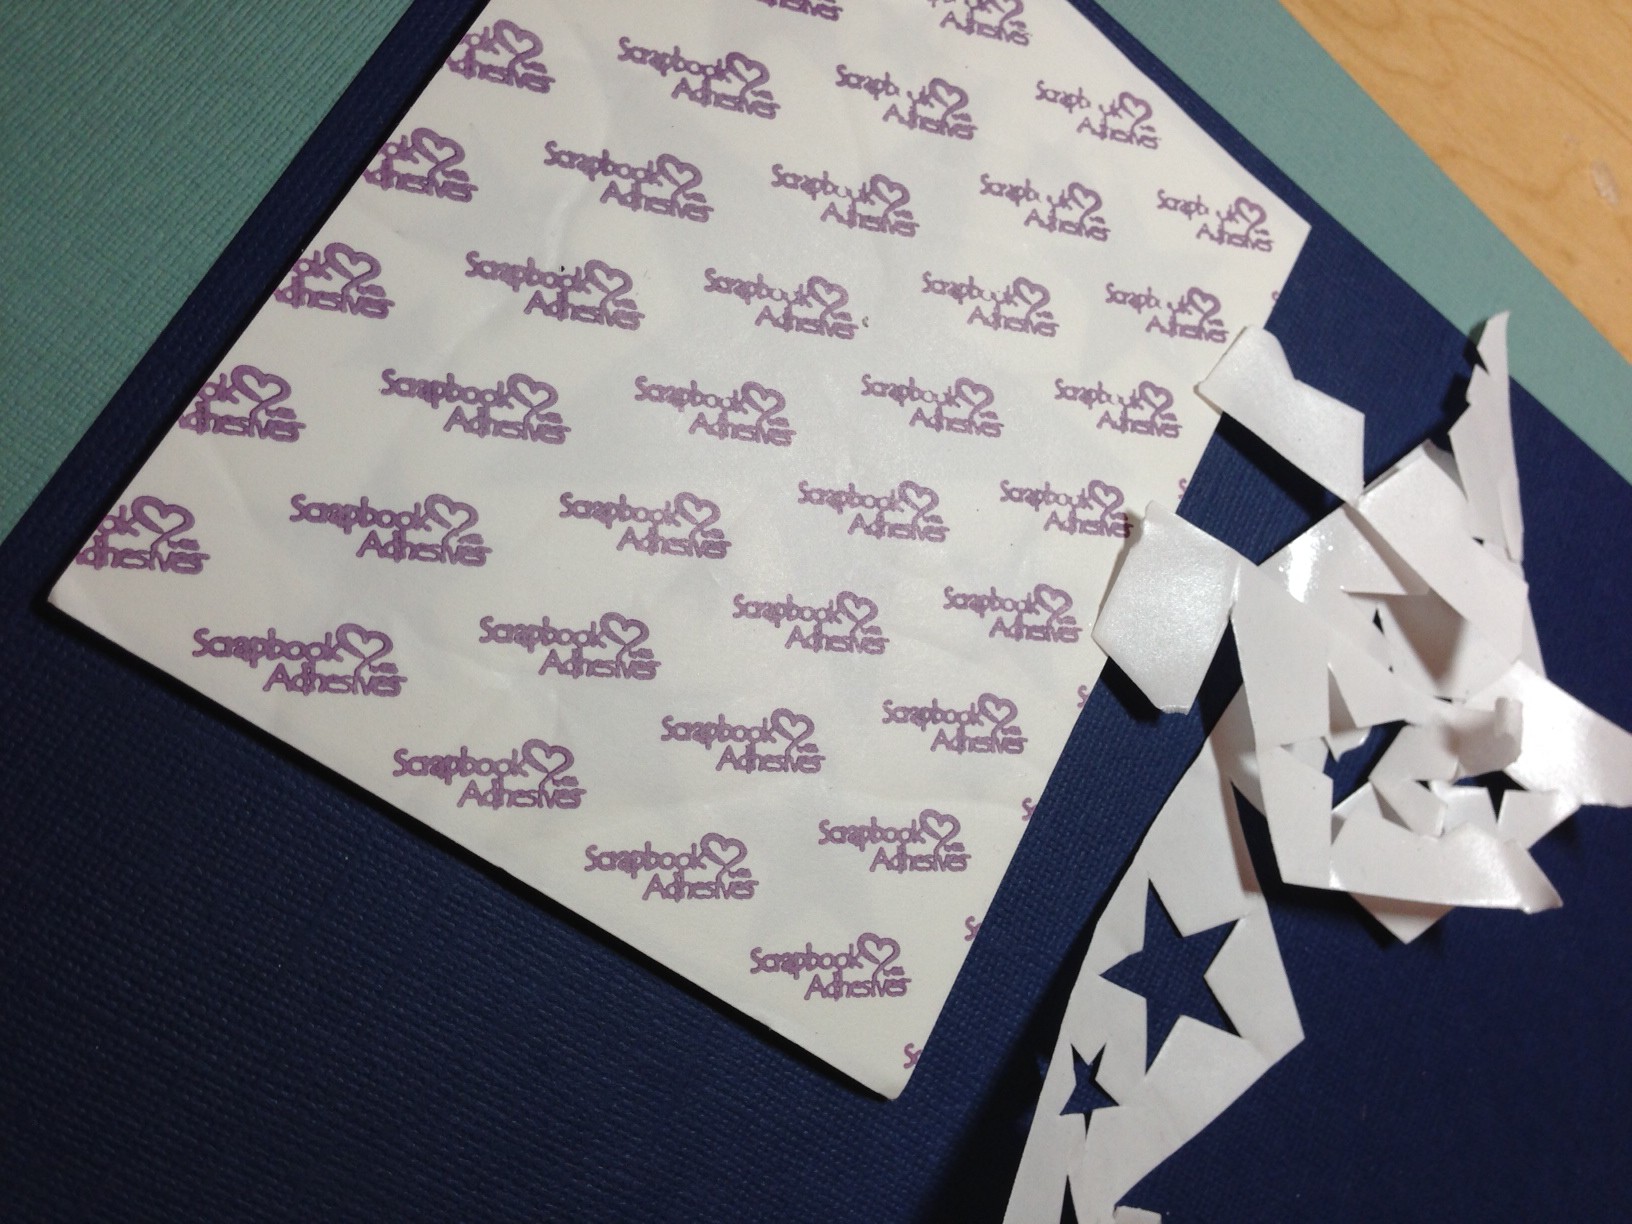
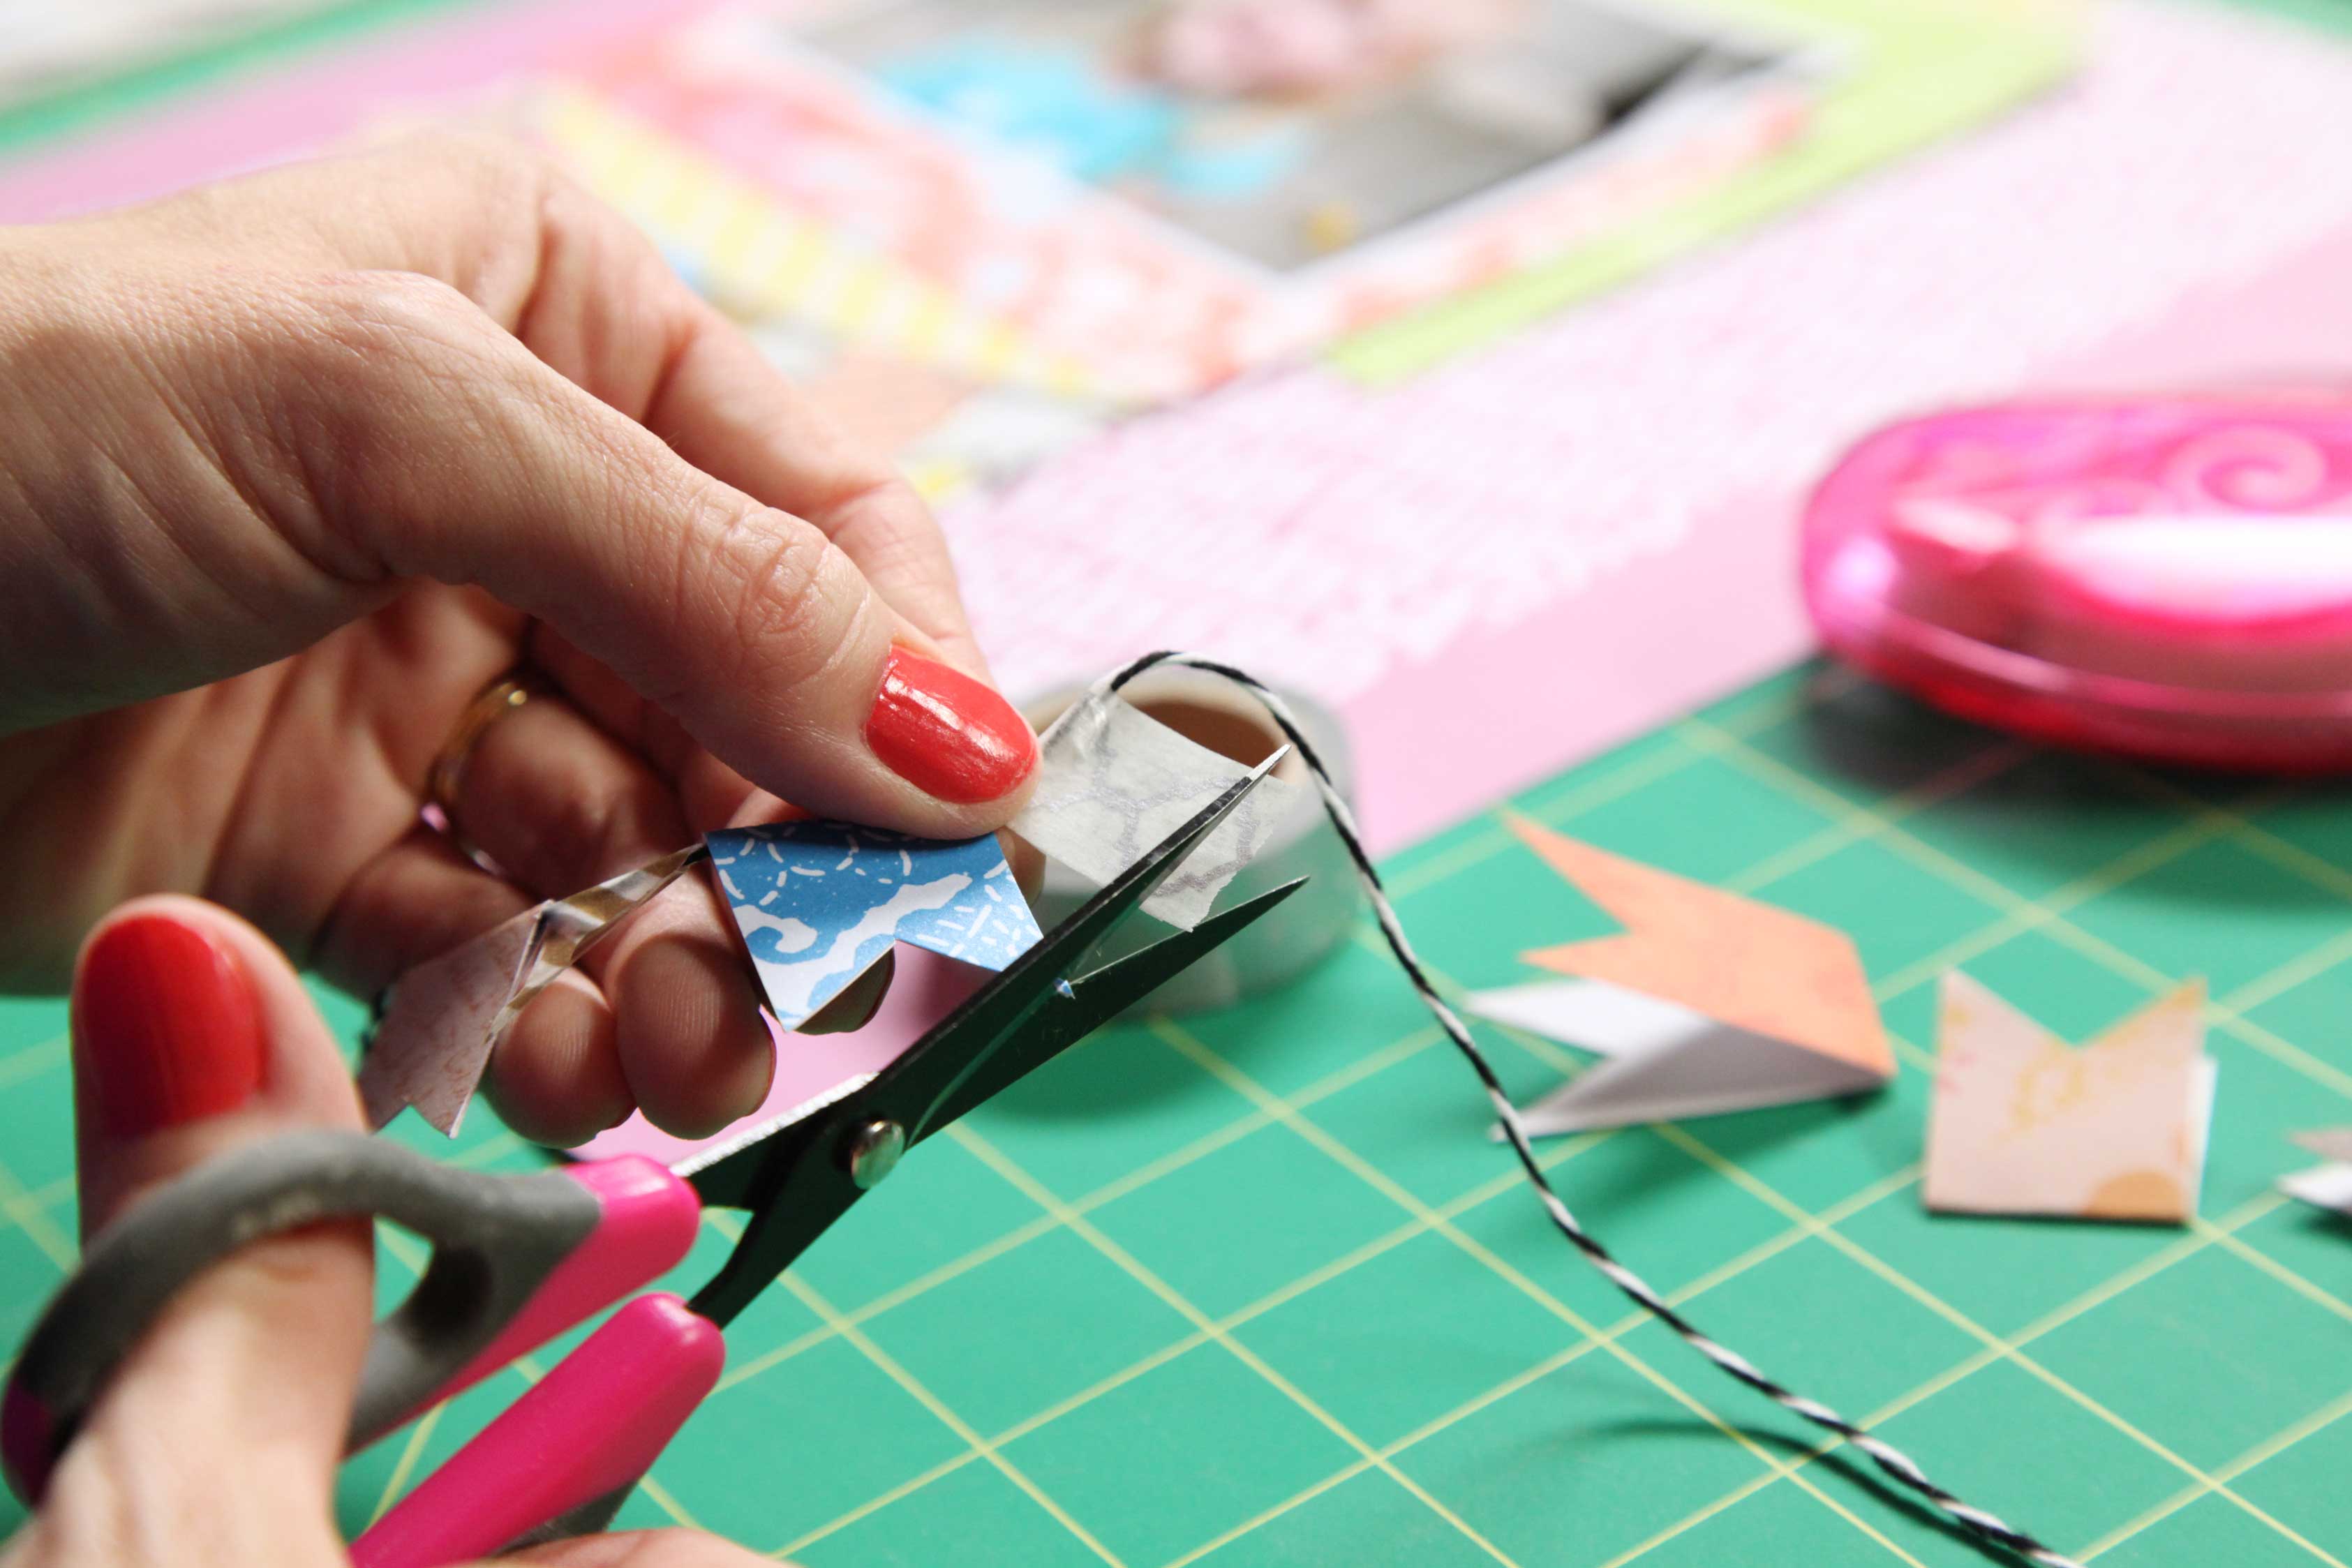
I cut off a small section of our 4″ x 6″ Adhesive Sheets and pressed that into random areas. This adhesive is STRONG! But by doing this it allowed me to use the WOW! Fab Foils. I pressed the Foils (shiny side up) right over the adhesive and it gives this beautiful, almost painted look. Very random and artistic.
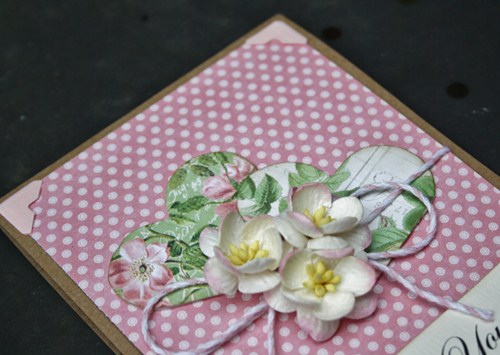
I also used the embossing powder on my resin butterfly. I just pressed it into the embossing ink and sprinkled my powders over the butterfly and heat set. So pretty!
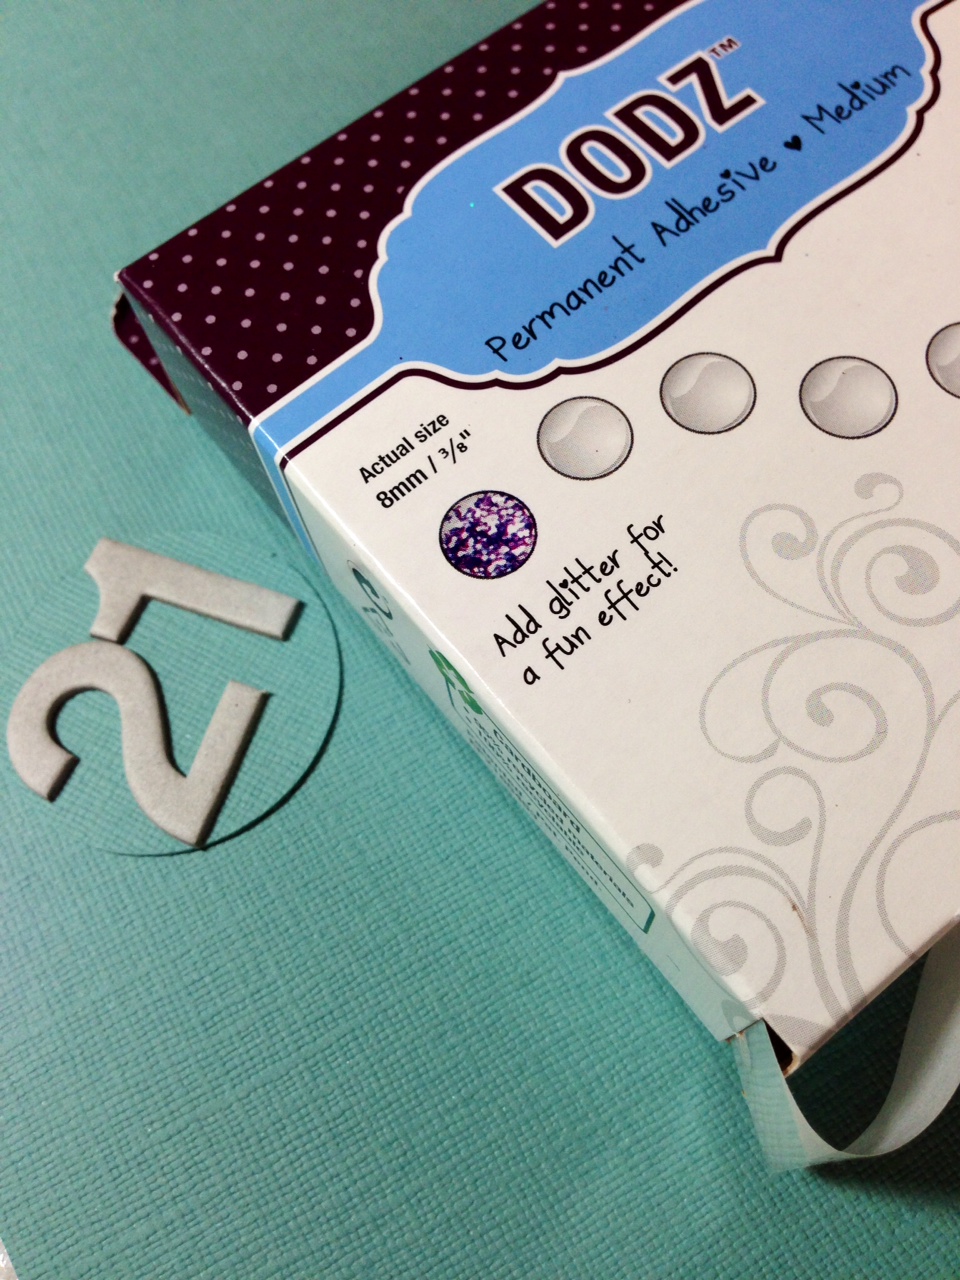
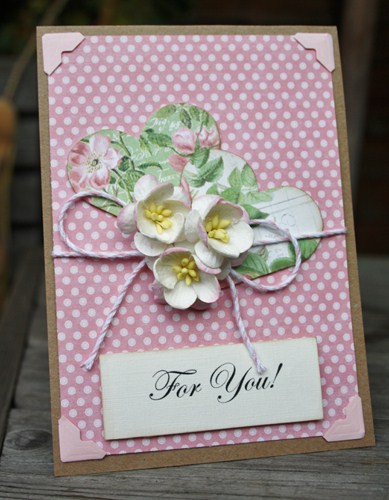
I used the Dodz™ in small to adhere the vellum to the piece of patterned paper. The Dodz™ are easy to hide when you have all that lovely embossing on the front. 😉 Once these two were adhered together I then used my E-Z Dots® Permanent Refillable to adhere it to another panel. THEN, that was all adhered using 3D Foam Squares White, Regular to give the front vellum piece some added dimension. I used Dodz™ in Medium to attach the butterfly. And wrapped a piece of twine, tied in a bow, and secured in with another Dodz™ in small.
Not hard at all. I hope you all enjoyed my card today and that it gave you some inspiration and maybe got you inspired to try a few new things!
Supplies:
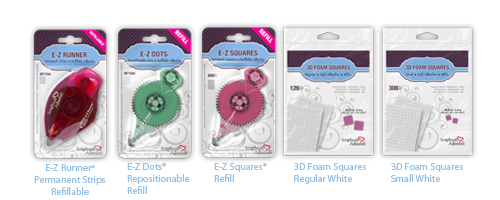
From Scrapbook Adhesives by 3L®:
Dodz™ – Small
Dodz™ – Medium
E-Z Dots Permanent Refillable
3D Foam Squares White, Regular
Adhesive Sheets, 4” x 6”
Other Supplies:
Kraft Cardstock, Teal Cardstock, Cardstock Weight Vellum (Bazzill), My Mind’s Eye Patterned Paper, Wow! Embossing Powder & Embossing Glitter (Primary Purple Orchid, Passion Fruit, Metallic Copper, Raspberry Coulis, Calypso, Pearl Gold Sparkle), WOW! Fab Foils (Pink, Purple, Turquoise), WOW! Stamp Set “Collage”, Prima Marketing Resin butterfly, Twine.
a Rafflecopter giveaway