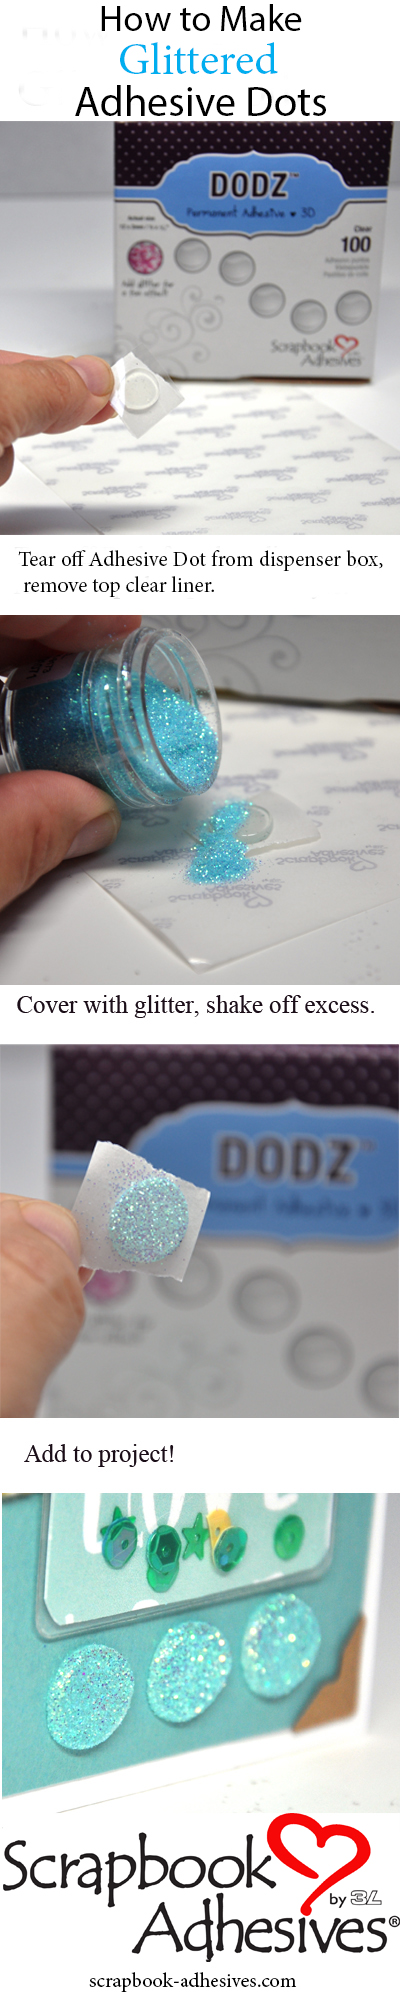
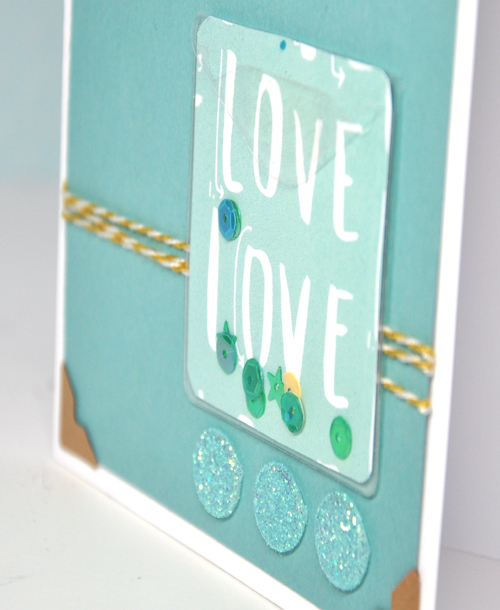
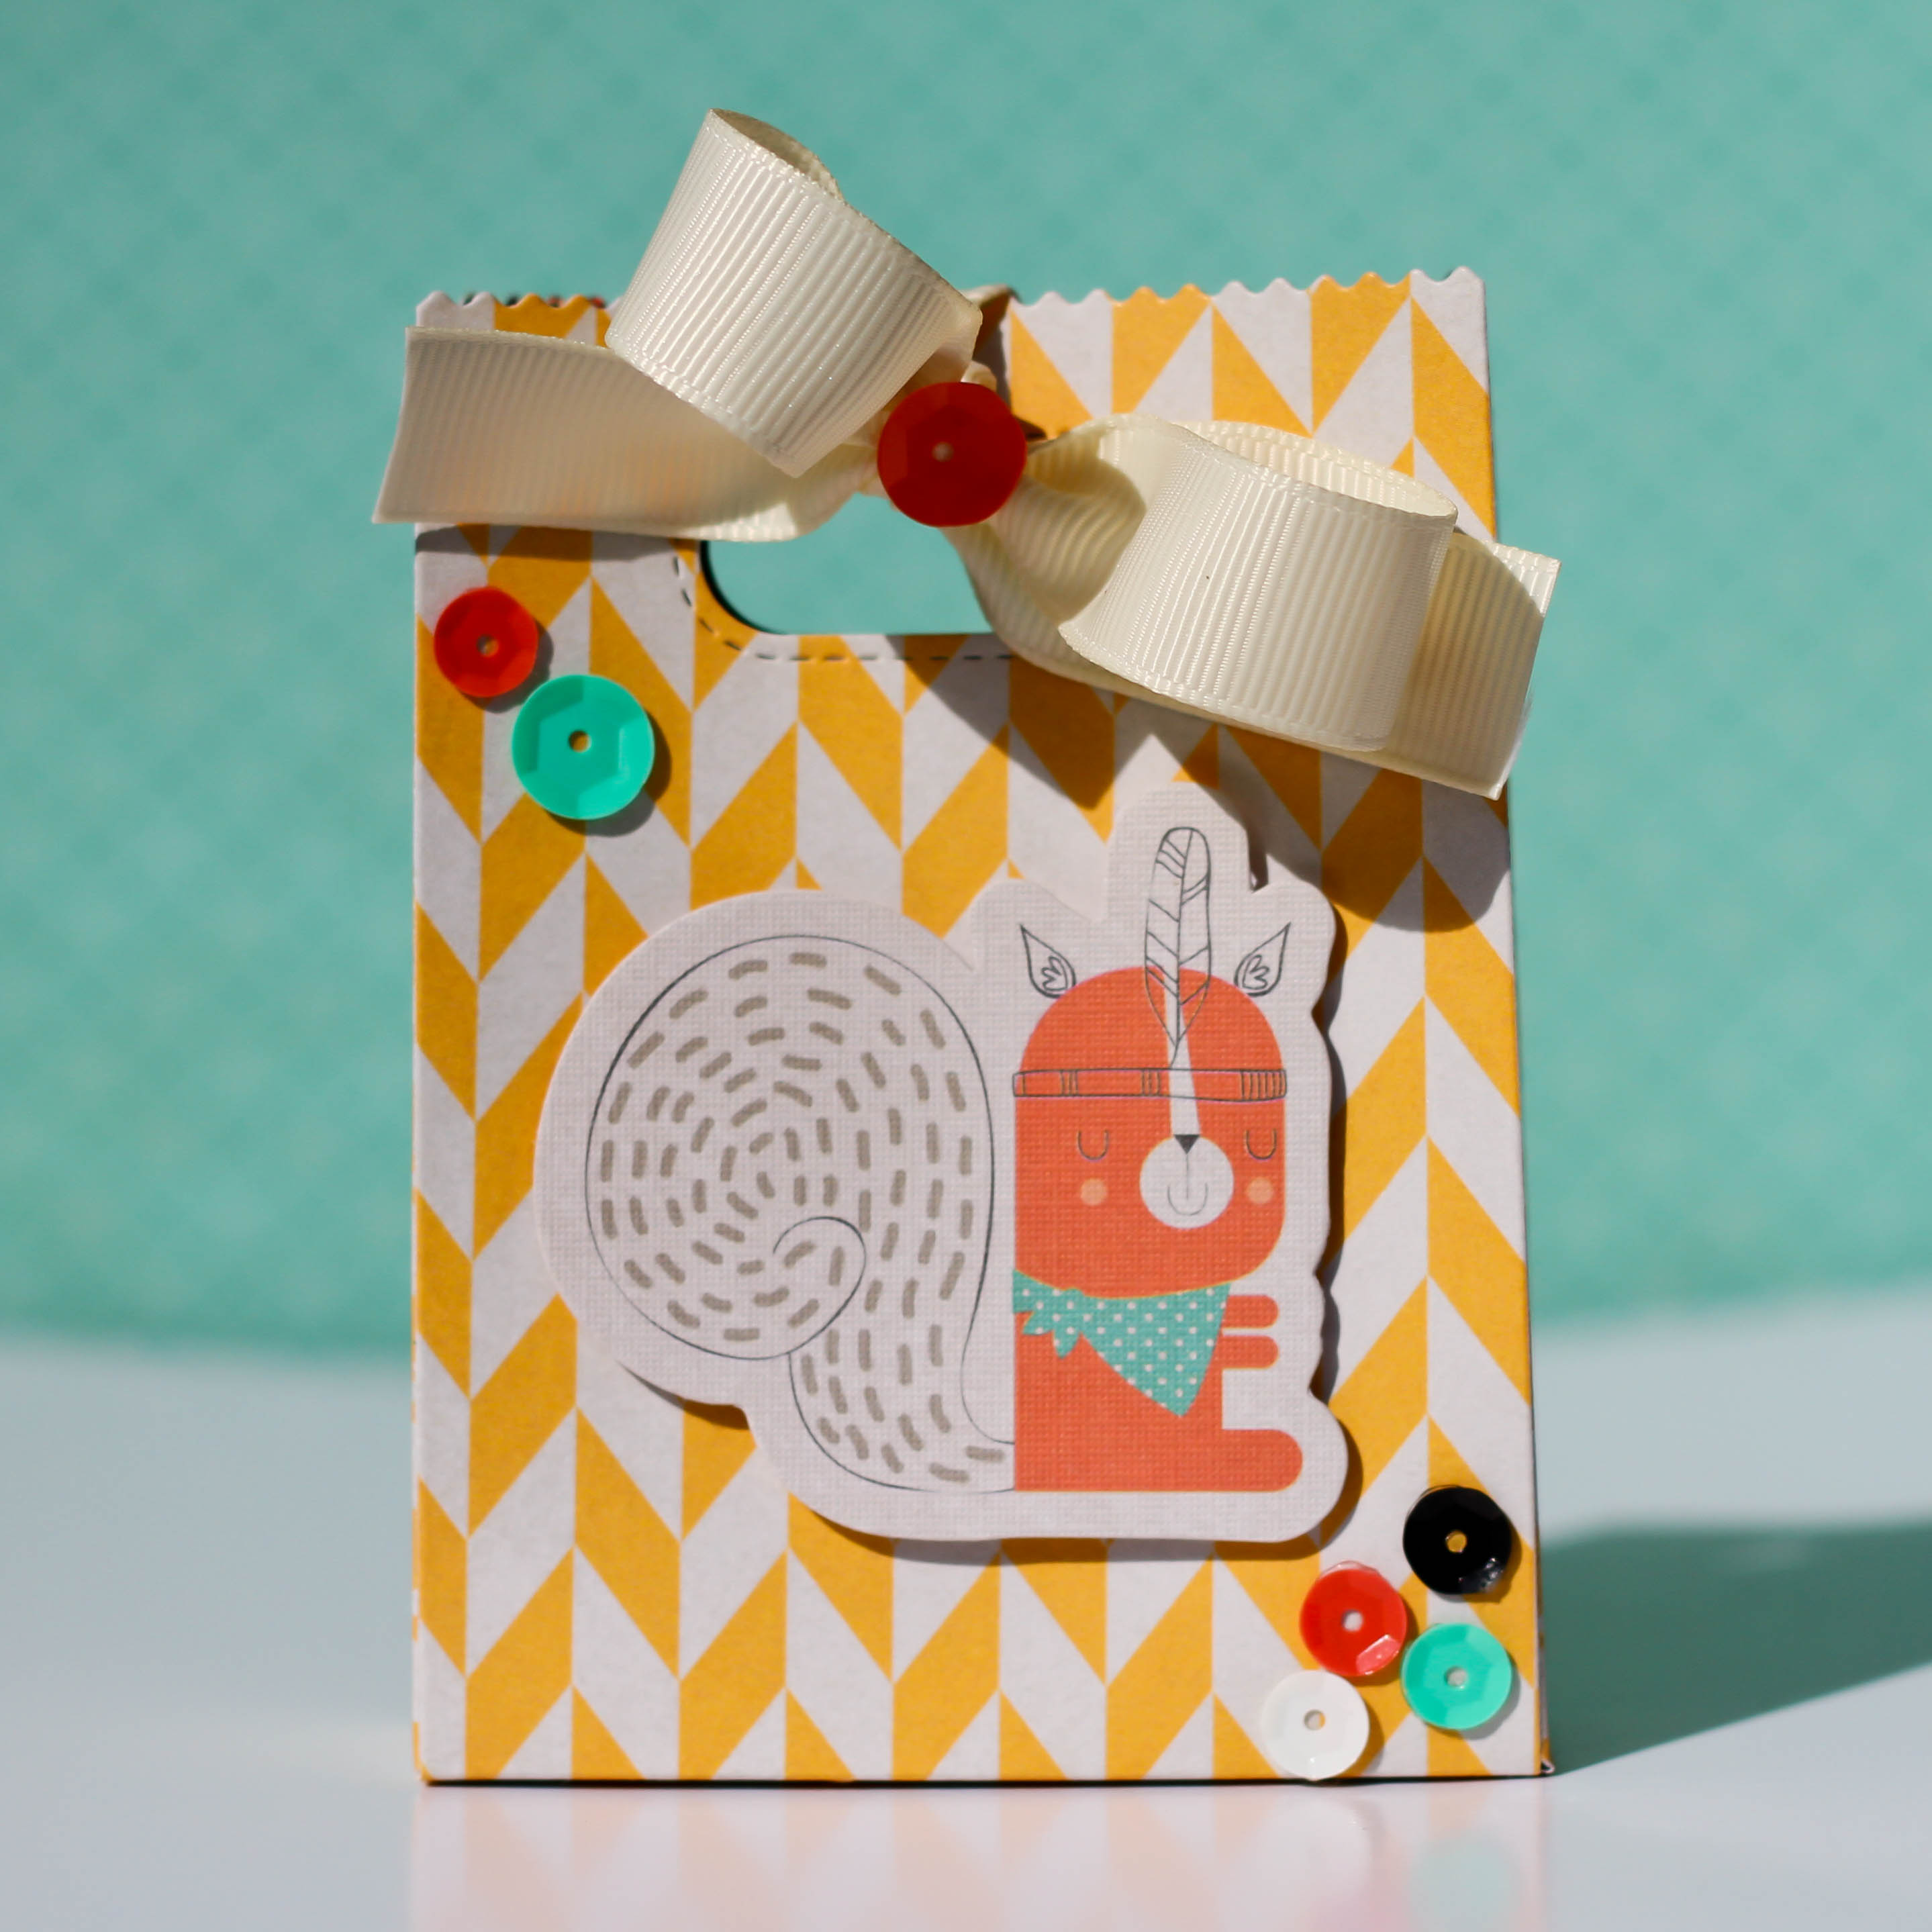
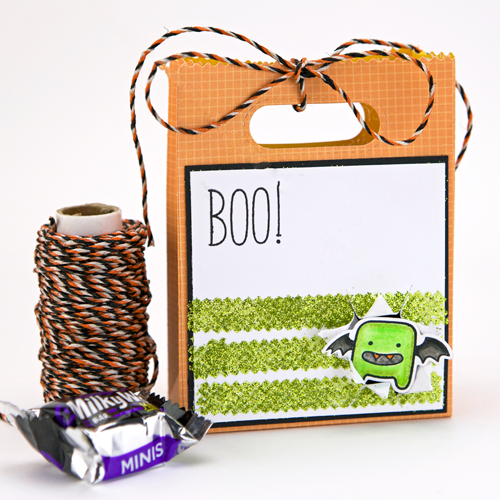
Hello Blogosphere! It’s Tiffany here today with a photo tutorial showing you how to create this fun Mini Boo Bag creating your own glitter stripes with the E-Z Dots® Permanent Refillable.
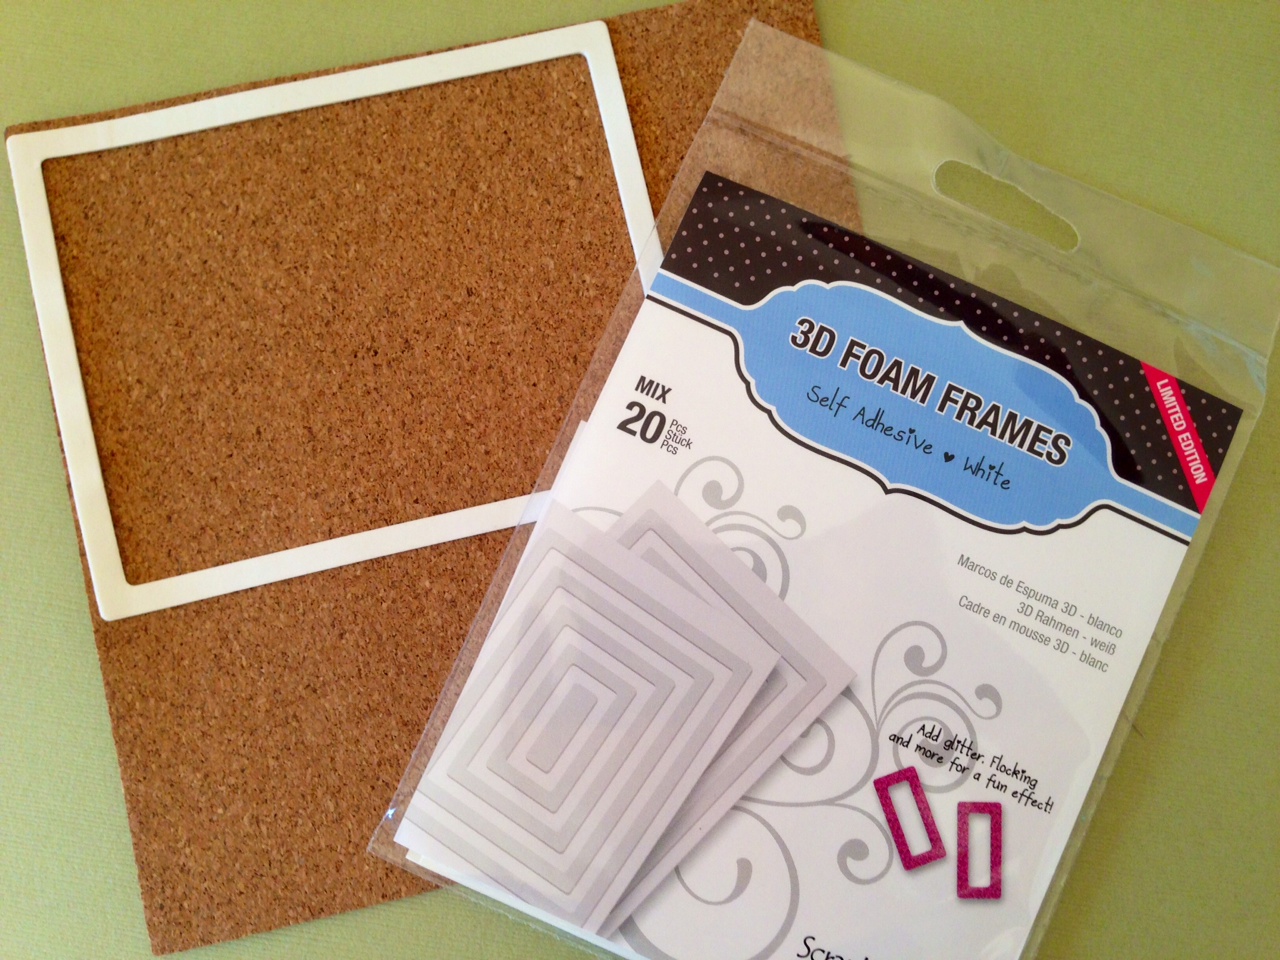
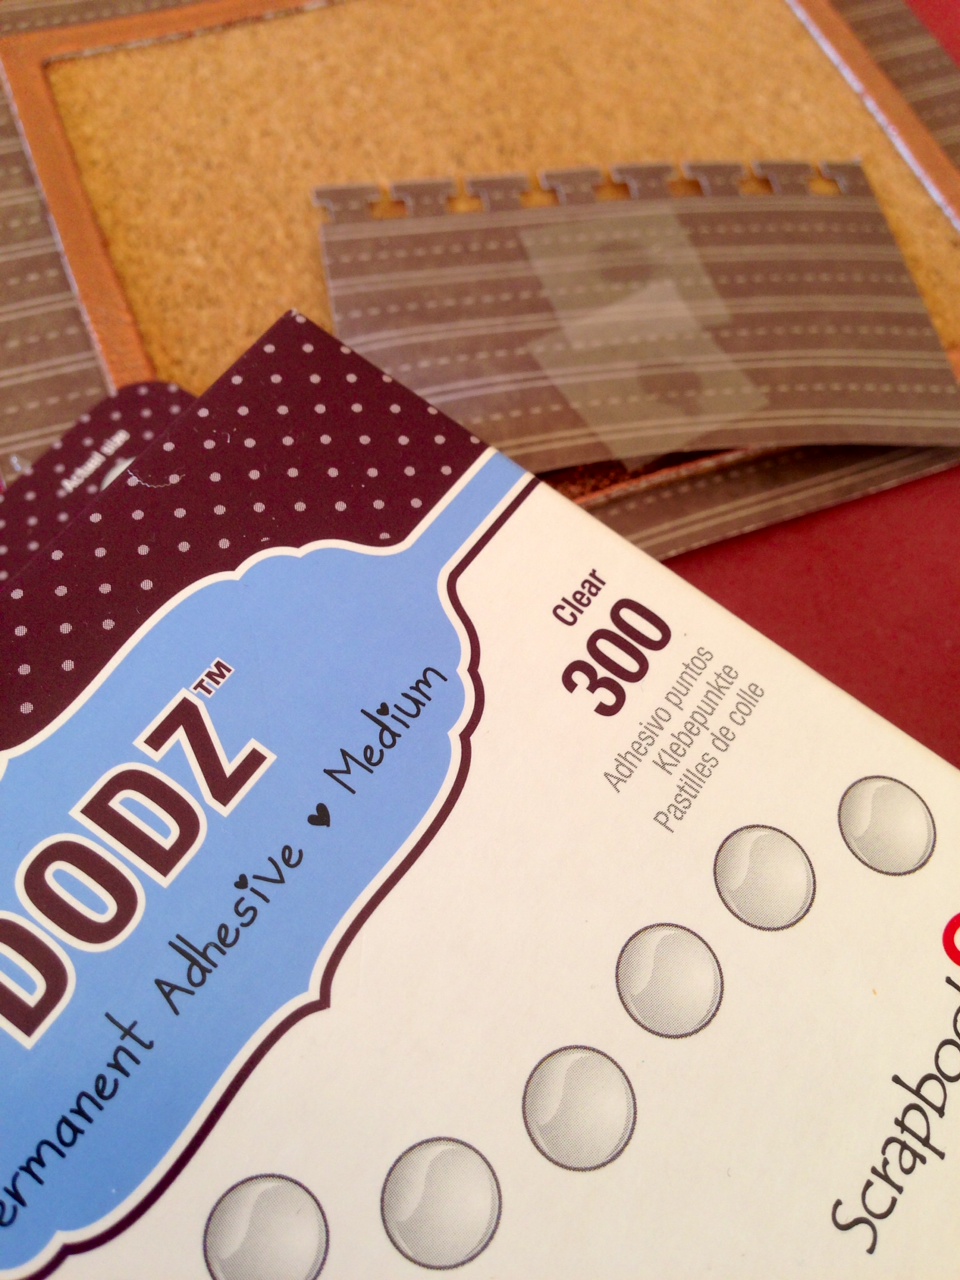
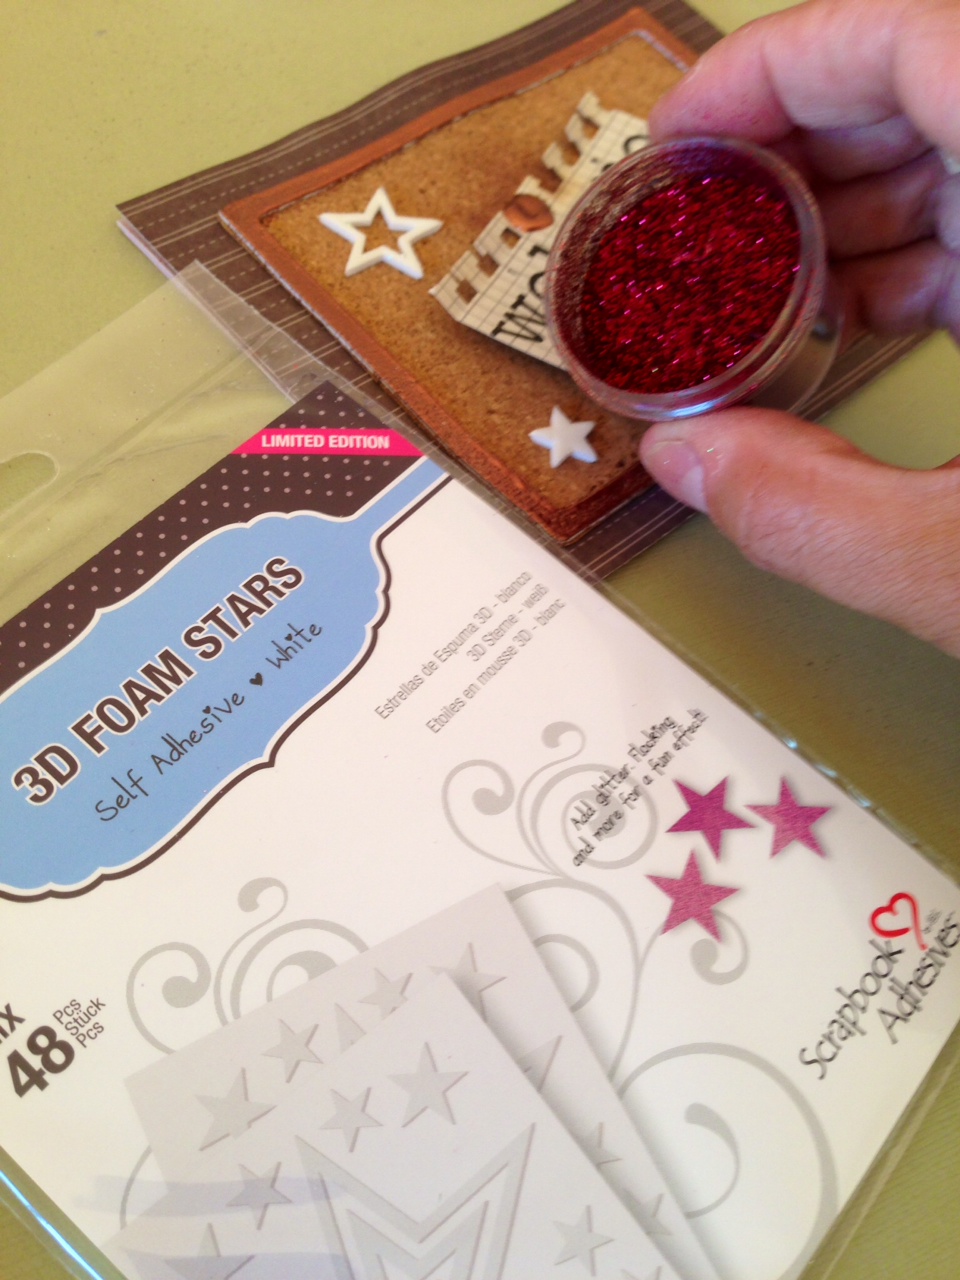
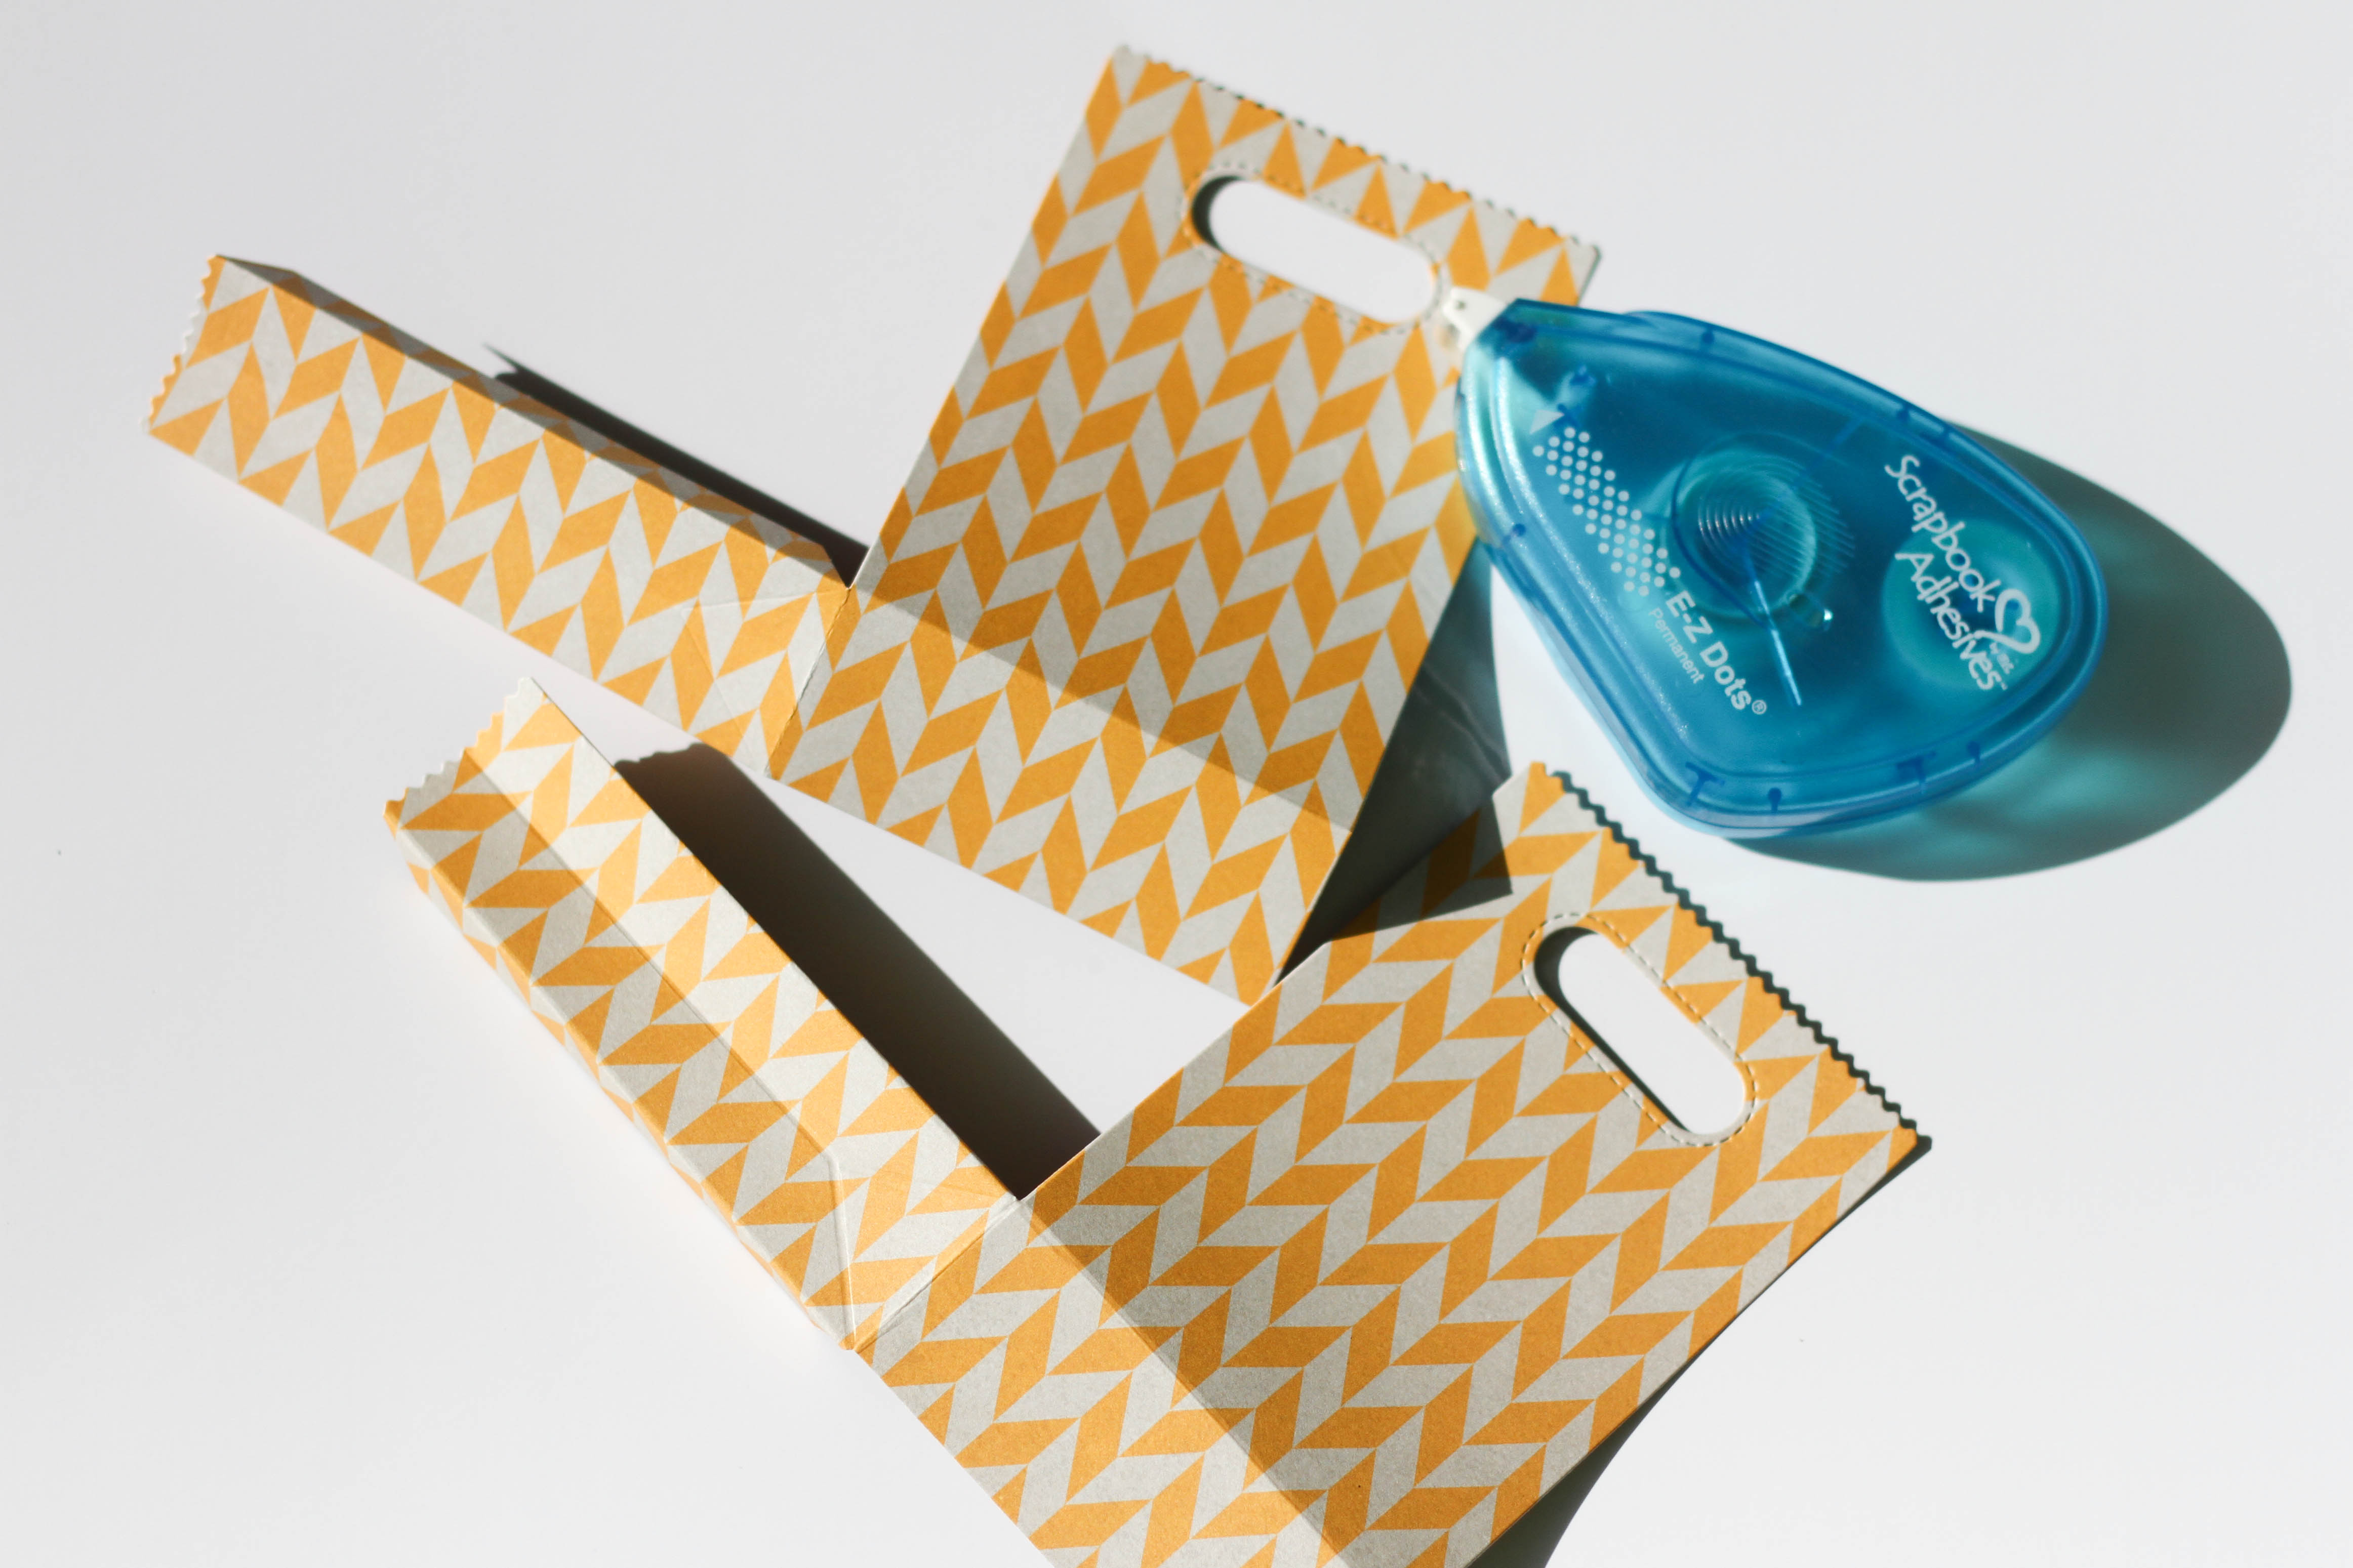
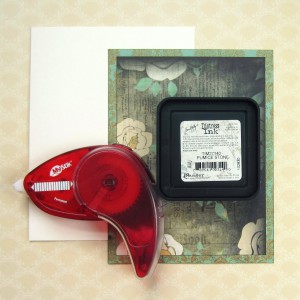
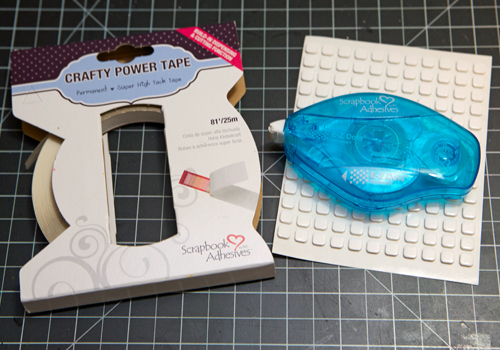
You’ll need the 3D Foam Squares White – Small, Crafty Power Tape, as well as the E-Z Dots® Permanent Refillable.
First, add Crafty Power Tape to the tabs and one base of the mini bag die-cuts.
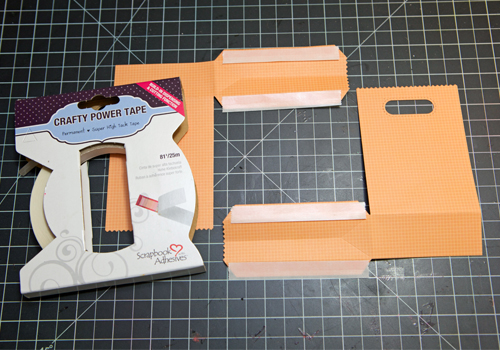
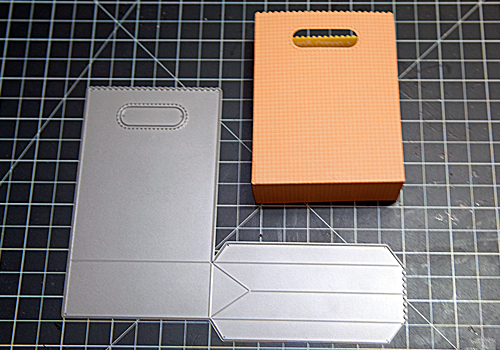
Assemble the Mini Bag & set aside.
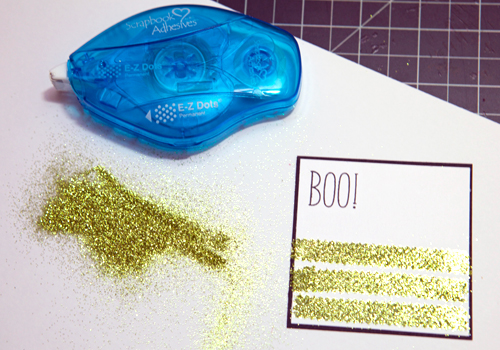
Stamp sentiment on a 2 3/4″ white square. Then stamp, color, and die-cut monster image.
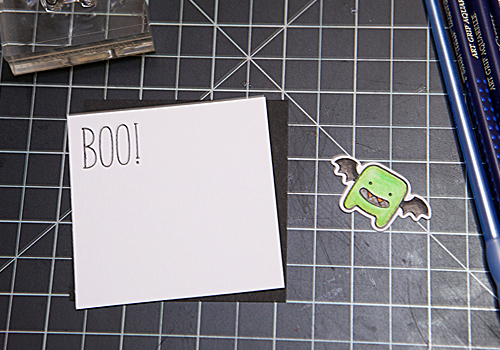
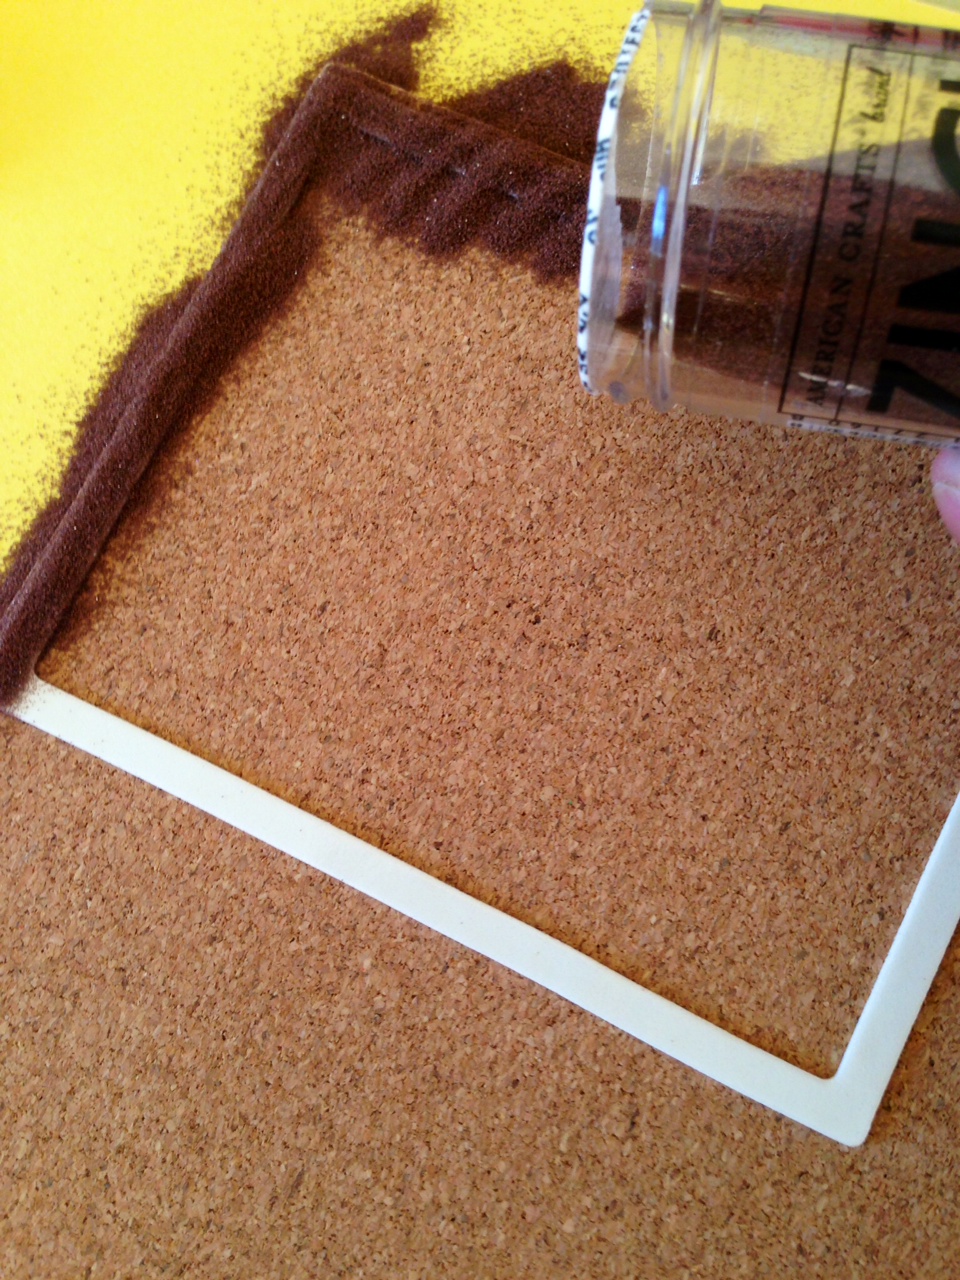
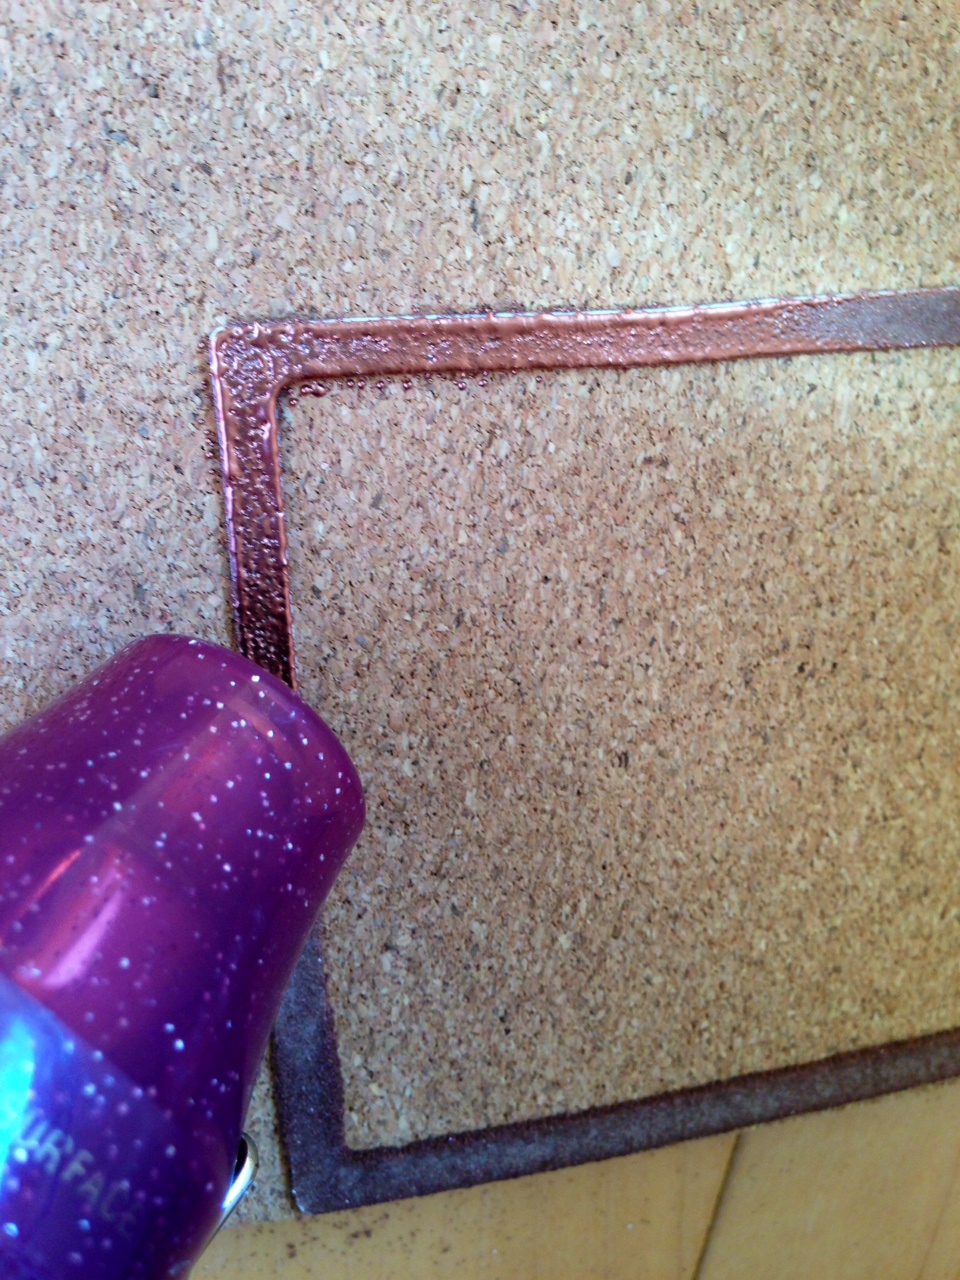
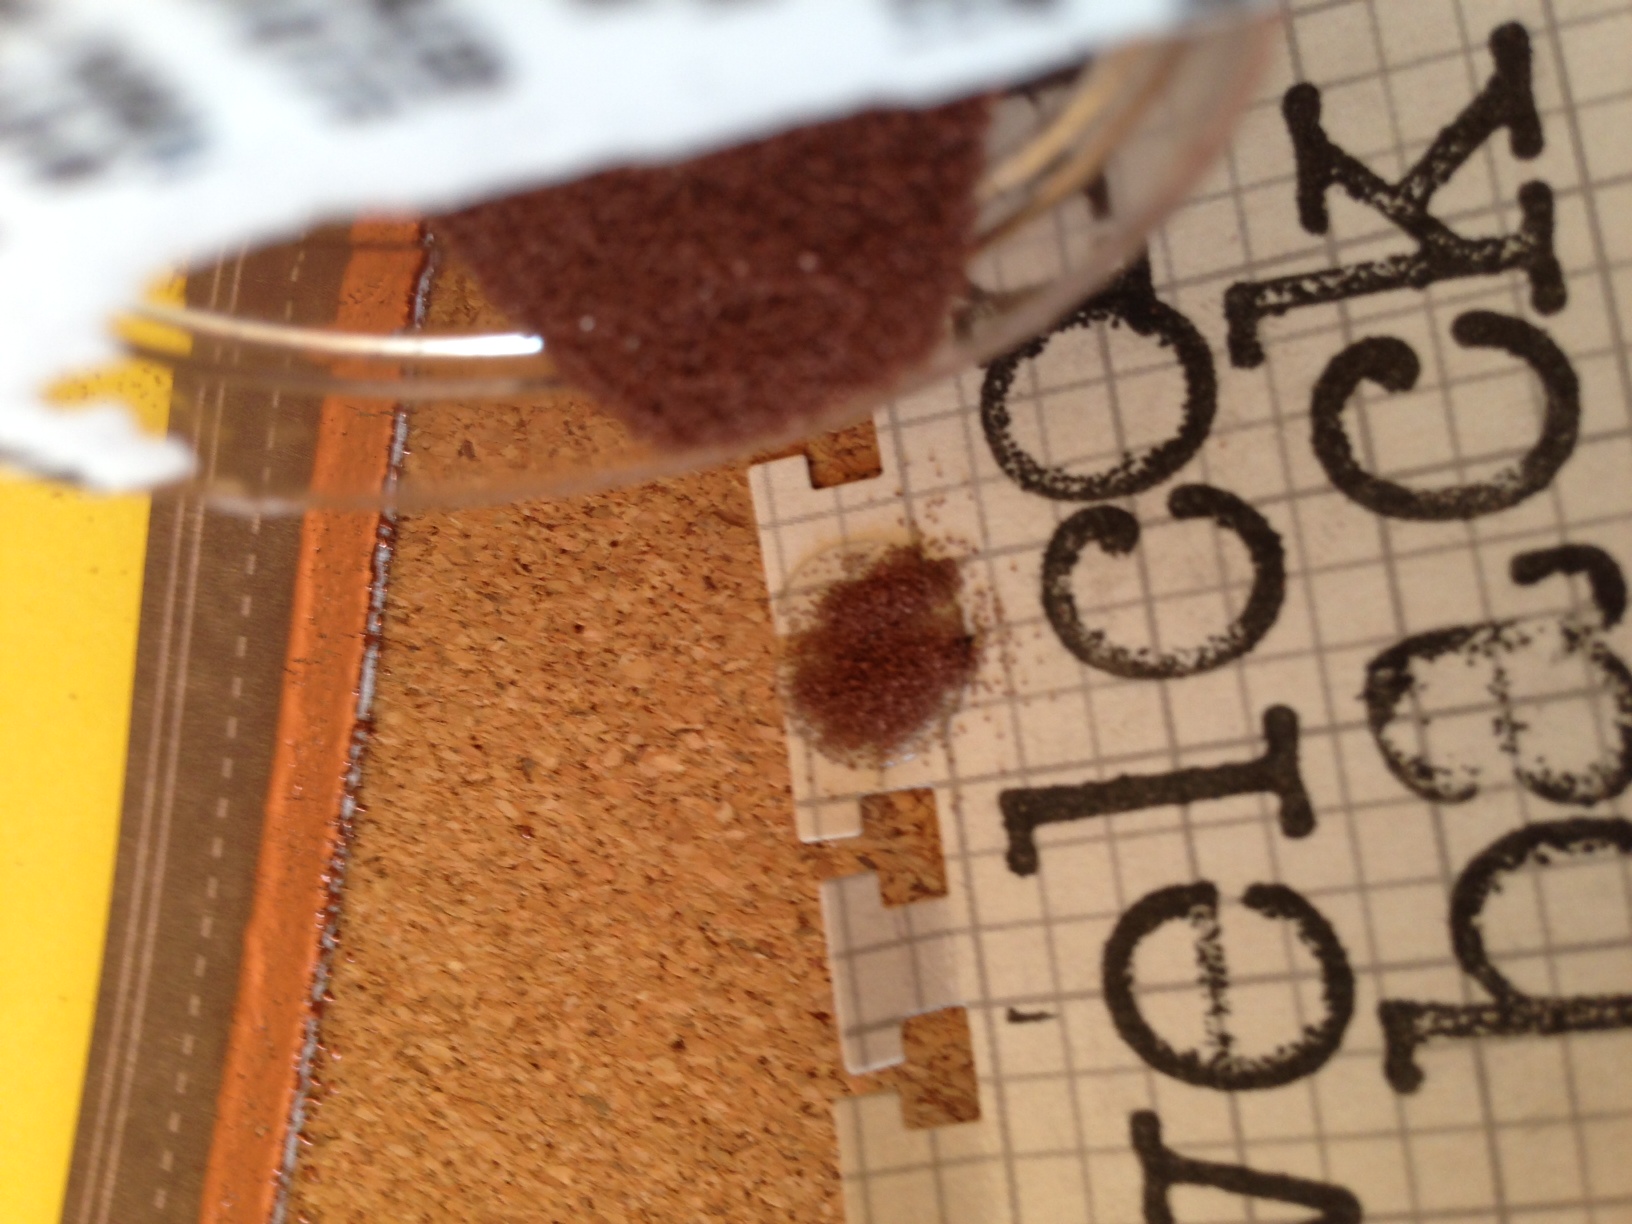
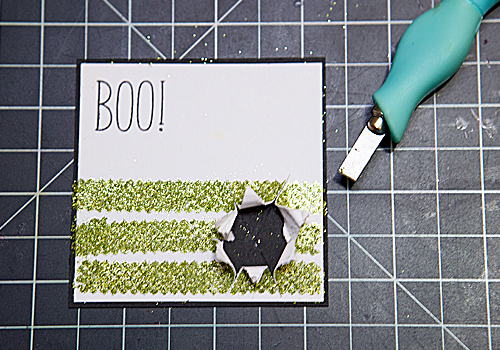
Mat the white square with a 2 7/8″ black square. Make 3 stripes with the E-Z Dots Permanent® Refillable & add glitter. Tap excess.
Next, cut an asterisk into the bottom-right corner making sure to only cut through the first layer of cardstock. Then open & rip the cut pieces.
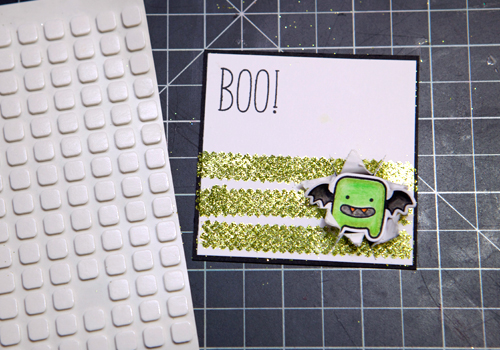
Add the little monster to the center of the ripped portion with a 3D Foam Square White – Small. Then adhere to the mini bag!
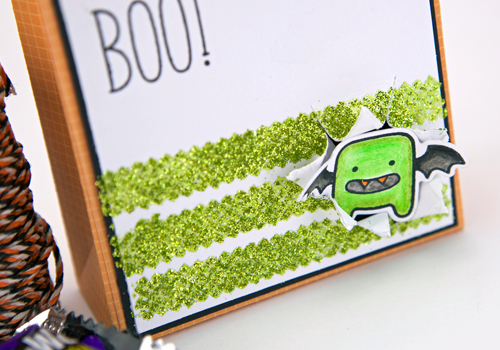
Here’s a close-up:
I hope you enjoyed the fun photo tutorial!!! Have fun Wearing Your Adhesive on the Outside on this Halloween Bag 😉

Scrapbook Adhesives by 3L® Products: 3D Foam Squares White – Small, Crafty Power Tape, E-Z Dots® Permanent Refillable.
Other Products: Lawn Fawn (Goodie Bag Die, Monster Mash, Monster Mash Dies, Violet’s ABCs)
Visit our Website and Blog!
Sign up for our Newsletter so you never miss a contest or giveaway!