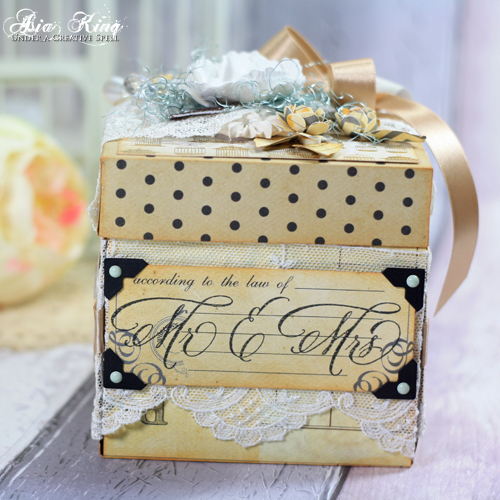
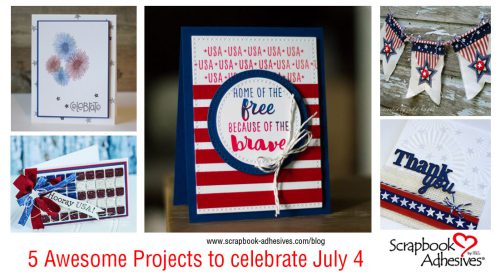
Hello Friends. Asia King here. Today I’m sharing a project that is completely new to me and I can’t believe it’s taken me such a long time to try this! I’m talking about an exploding box/card.
I frequently come across beautiful exploding boxes in blogland but somehow I’d never thought of making one myself. Perhaps I mistakenly assumed it was really difficult – but it isn’t at all! If you’ve never tried it I hope this project will inspire you to have a go.
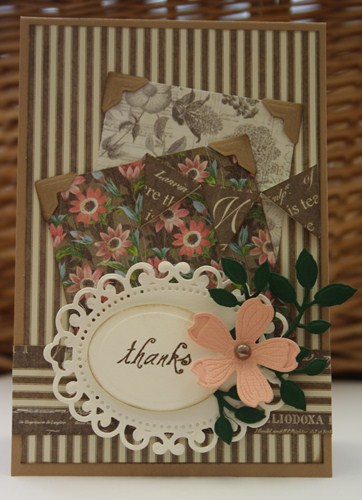
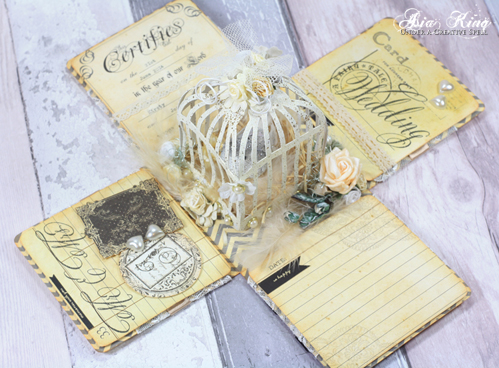
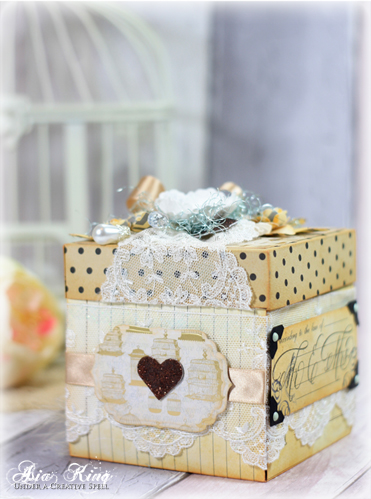
This project was a commissioned wedding gift and my instructions were that the Bride loved shabby chic, lace and hearts. Oh and that the card should have a matching box. I think I met all the requirements :).
Here are the steps for the project.
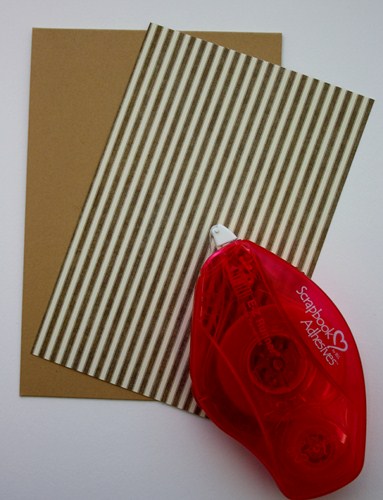
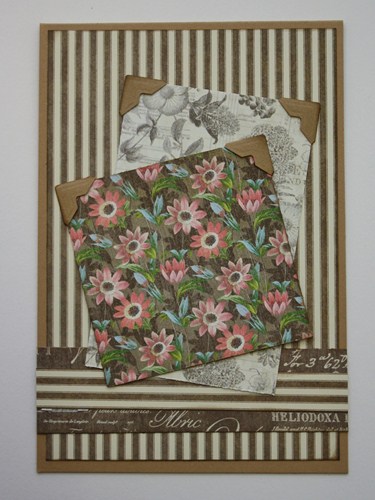
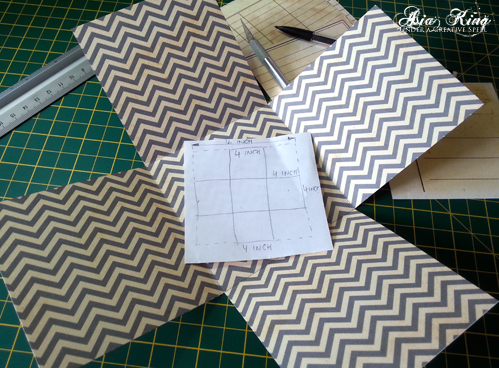
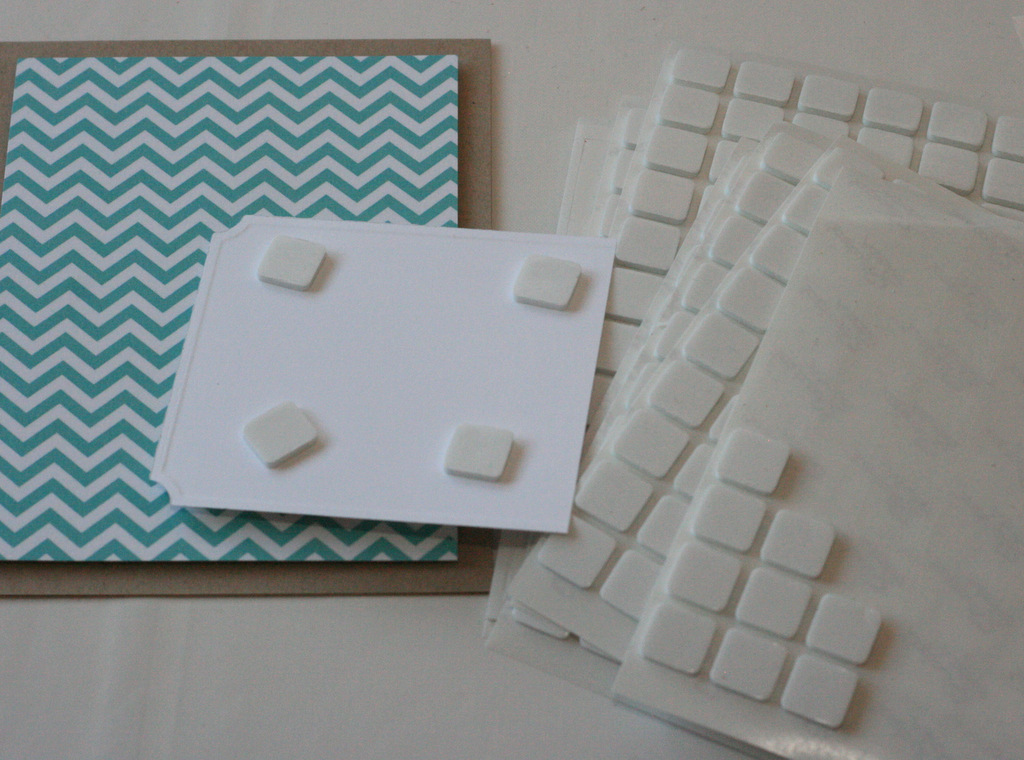
1. Prepare a base for the card using a 12″ x 12″ double-sided scrapbook paper. Score vertically and horizontally in 4″ increments. You should get 9 squares. Next cut out the corner squares as shown below and fold the pages in. The square in the middle will be the base/bottom of the box.
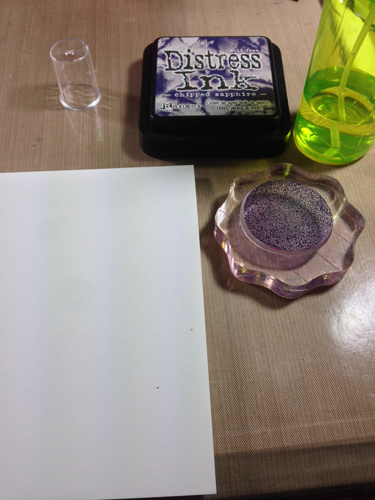
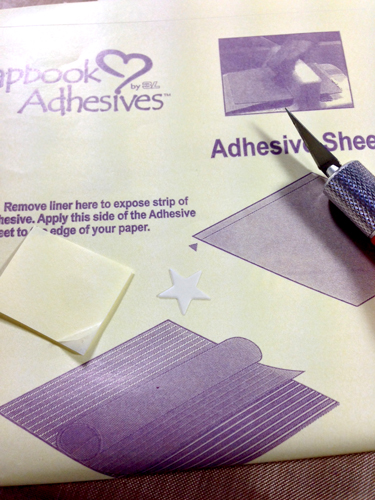
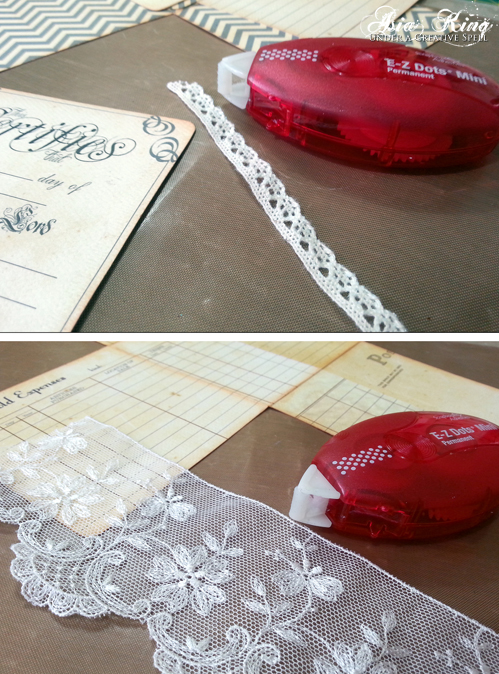
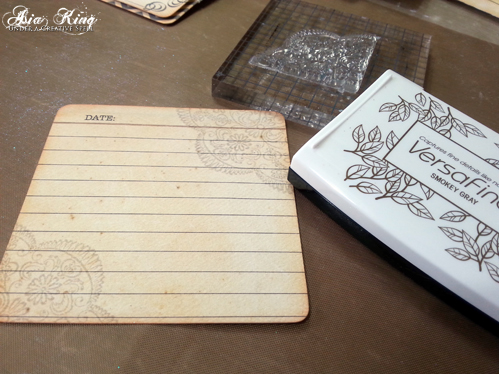
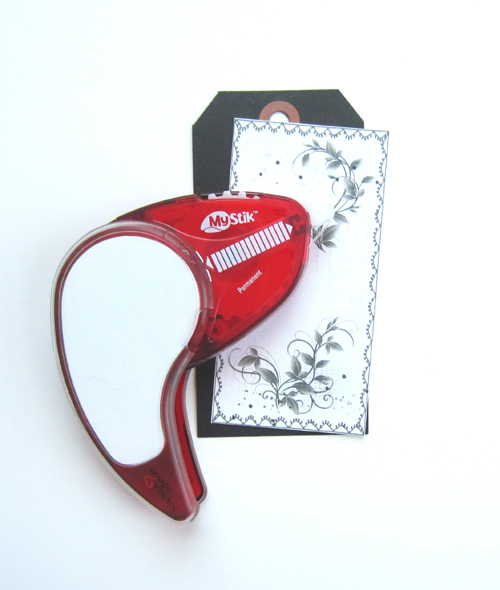
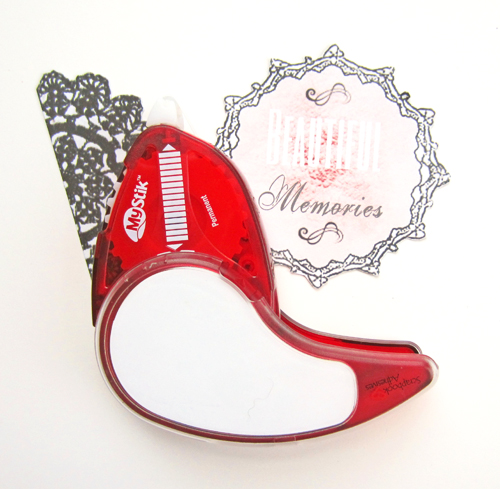
2. Decorate the outer sides with some lace and E-Z Dots® Mini Permanent (shown but now discontinued), but you can use the E-Z Dots® Permanent in Original or Refillable.
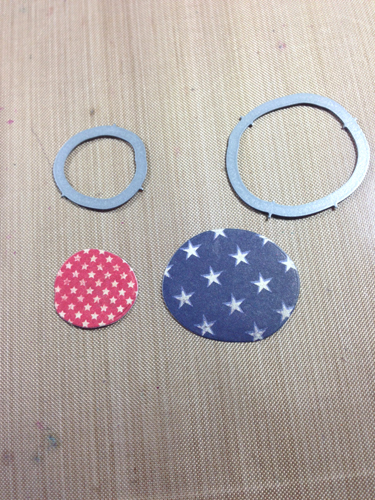
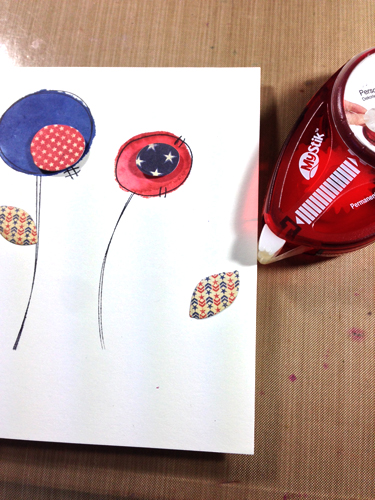
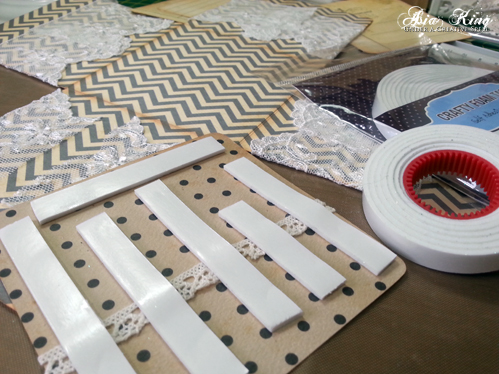
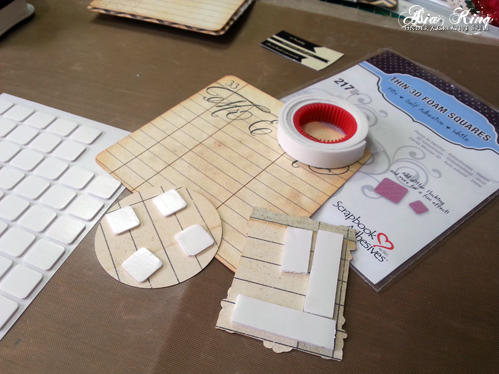
3. Cut out decorative inserts for the pages/sides from patterned papers and adhere with Crafty Foam Tape White.
You can also add some distressing and stamping as required.
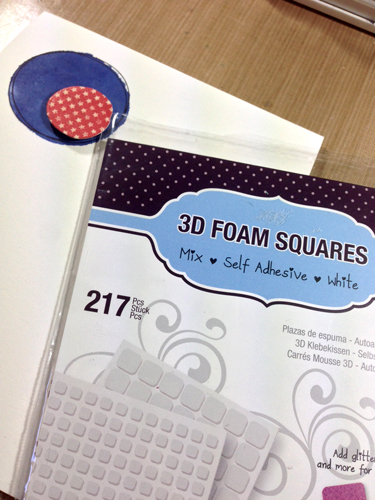
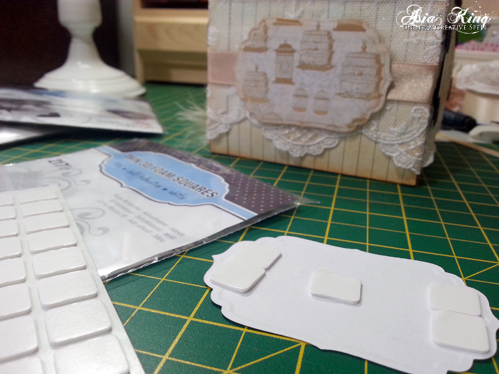
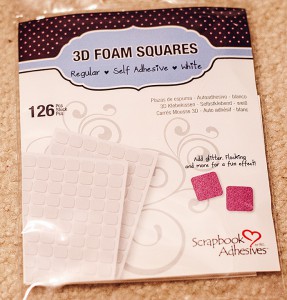
4. Fussy cut any additional graphics and elements and mount them onto the pages with Crafty Foam Tape White and Thin 3D Foam Squares Mix White.
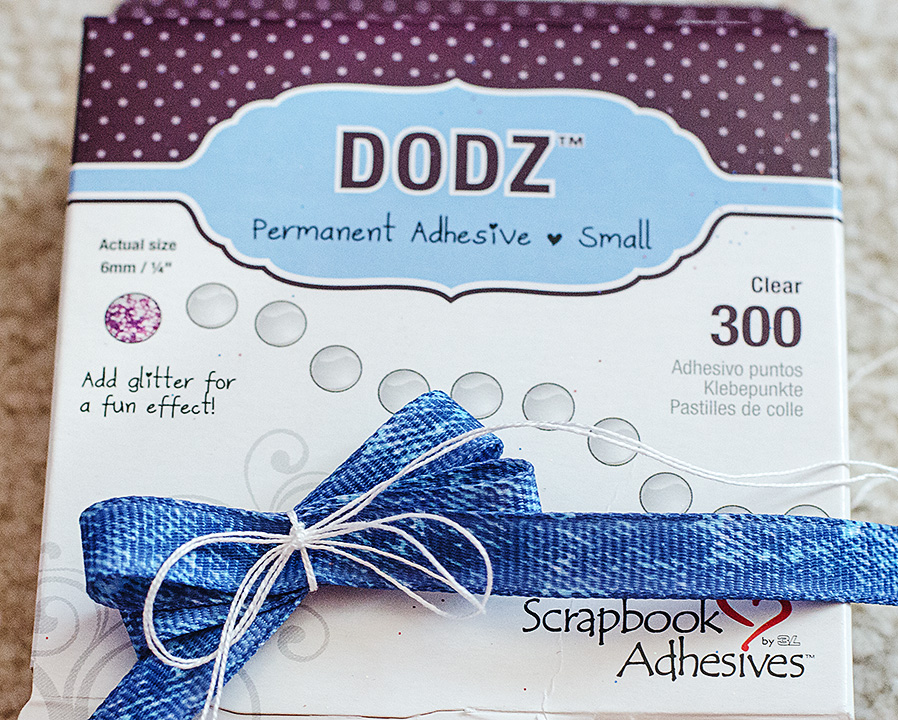
5. For the 3D birdcage cut 4 birdcage fronts from Grunge Paper and heat emboss with White Shabby Chic Enamel. Prepare a small box insert for the bottom of the birdcage (with each side equal to the width of the birdcage die-cut) and adhere the sides with E-Z Dots® Permanent. Align the die cuts to the box sides, mark and punch the holes and attach the birdcage fronts with decorative brads. Then adhere the birdcage to the card base with Mounting Squares White keeping it open for now. Fill the bottom of the cage with Dodz Adhesive Dots 3D and sprinkle over with some raffia.
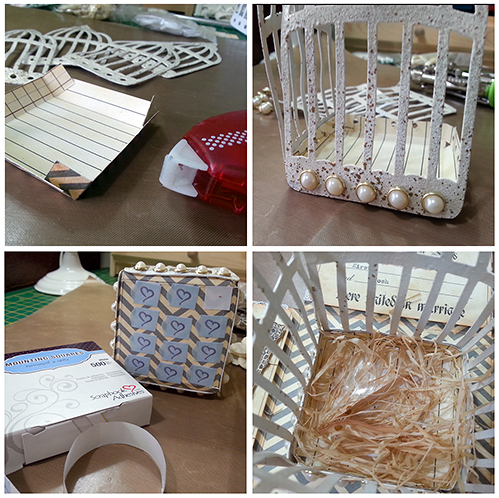
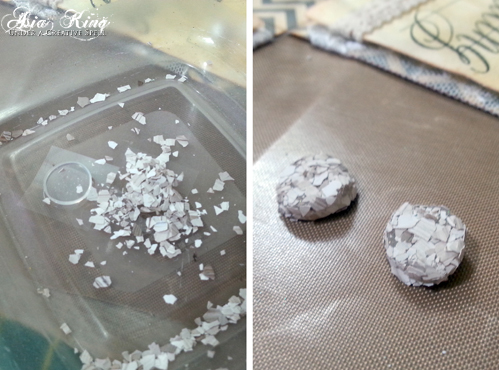
6. Place a small decorative bird inside the birdcage. Add some DIY eggs made from Dodz Adhesive Dots 3D and crushed Color Fragments.
7. Add additional embellishments around the birdcage with Dodz Adhesive Dots 3D.
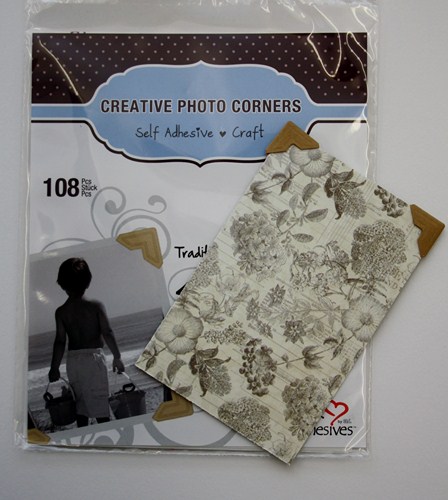
8. Add some finishing elements to the box fronts with cut out stamped panels decorated with Creative Photo Corners Black and adhered with 3D Foam Squares Black.
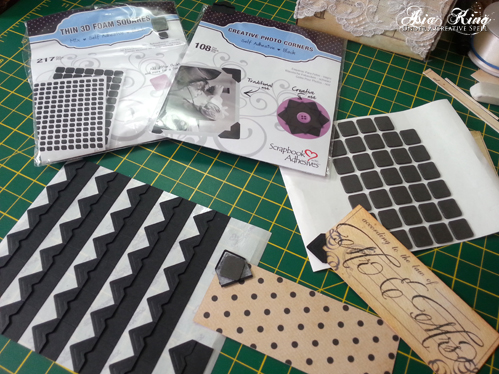
9. Also add some die-cut labels adhered with Thin 3D Foam Squares Mix White.
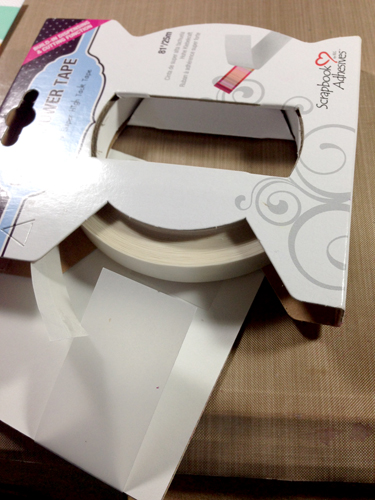
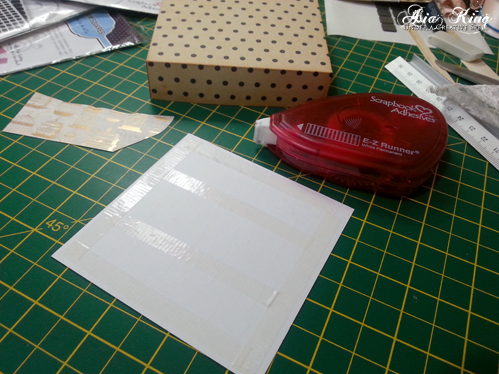
10. For the lid cut a square with dimensions 6 and 1/8 inch on each side. Score all sides 1″ from the left and cut a small slit to form the lid. Adhere the sides with E-Z Runner® Permanent Strips.
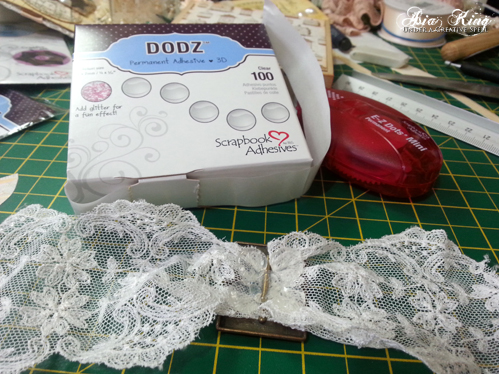
11. Add more lace decorations with E-Z Dots Permanent and Dodz Adhesive Dots 3D.
12. I also created a bunch of small roses from matching papers using small – 5 petal flowers punch and Dodz Adhesive Dots Small. Then I added some more flowers with Dodz Adhesive Dots 3D.
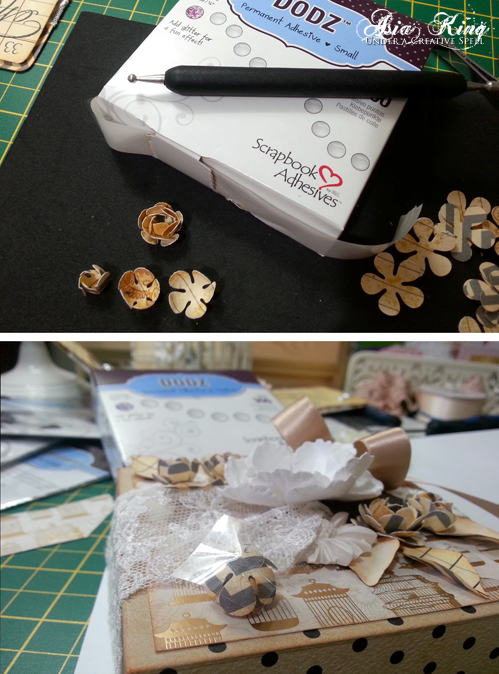
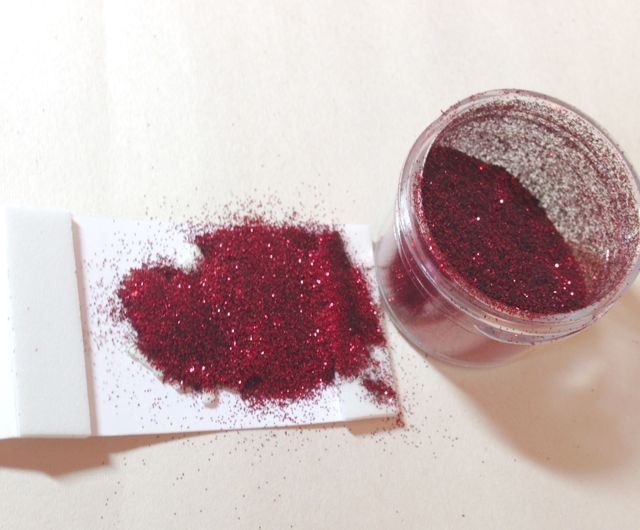
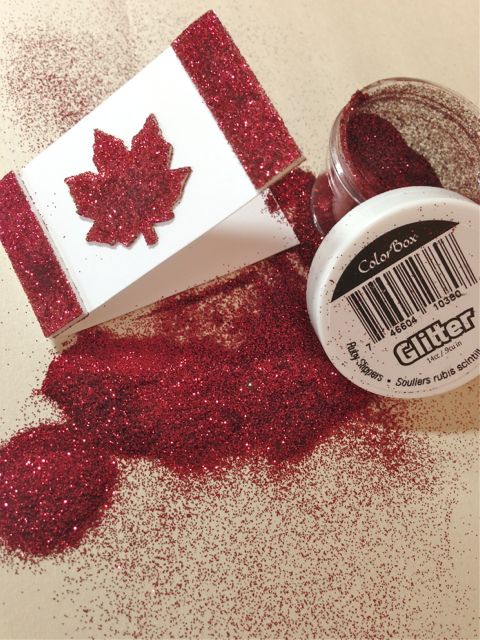
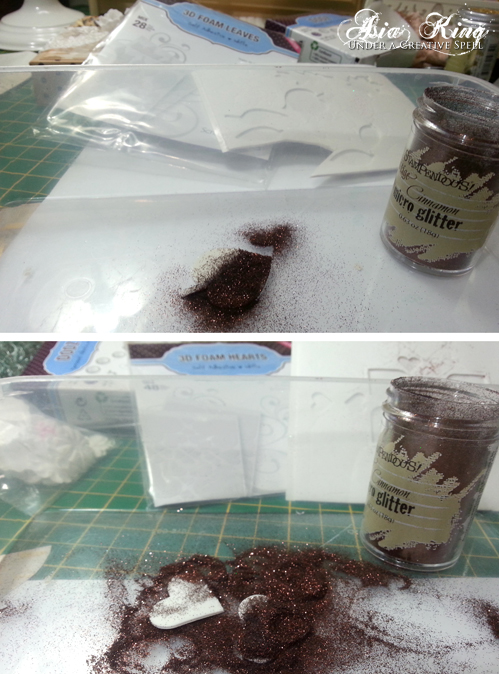
13. If required, add some more touches with 3D Foam Hearts and 3D Foam Leaves dipped in Micro Glitter.
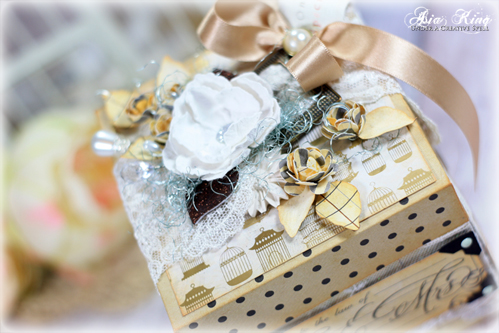
And here are some additional views of the box.
For further close ups, please also visit my blog :).
I hope you enjoyed this tutorial! Thanks for stopping by and for your lovely comments!
Supplies:
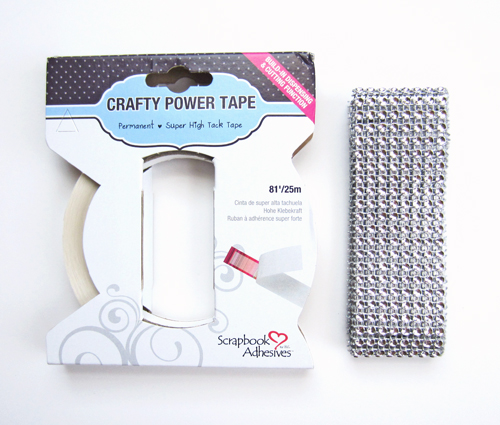
E-Z Dots® Mini Permanent, Crafty Foam Tape White, Thin 3D Foam Squares Mix White, Mounting Squares – White, Dodz Adhesive Dots 3D, Creative Photo Corners Black, 3D Foam Squares Black, Dodz Adhesive Dots Small, E-Z Runner® Permanent Strips, 3D Foam Hearts, 3D Foam Leaves, E-Z Dots Permanent Refillable, E-Z Dots Permanent Original
Other supplies:
Stamps – Married Monograms & Fairy Tale Wedding (Stampendous); Creative Stamping magazine – The Celebrations Collection
Papers – DCVW Mariposa collection; Bazzill Basics Paper Heritage collection
Embellishments: Taupe Color Fragments and Cinnamon Micro Glitter (Stampendous); lace, flowers, Bird Cage die; Spellbinders Foliage die, brads, decorative flower mist

Save
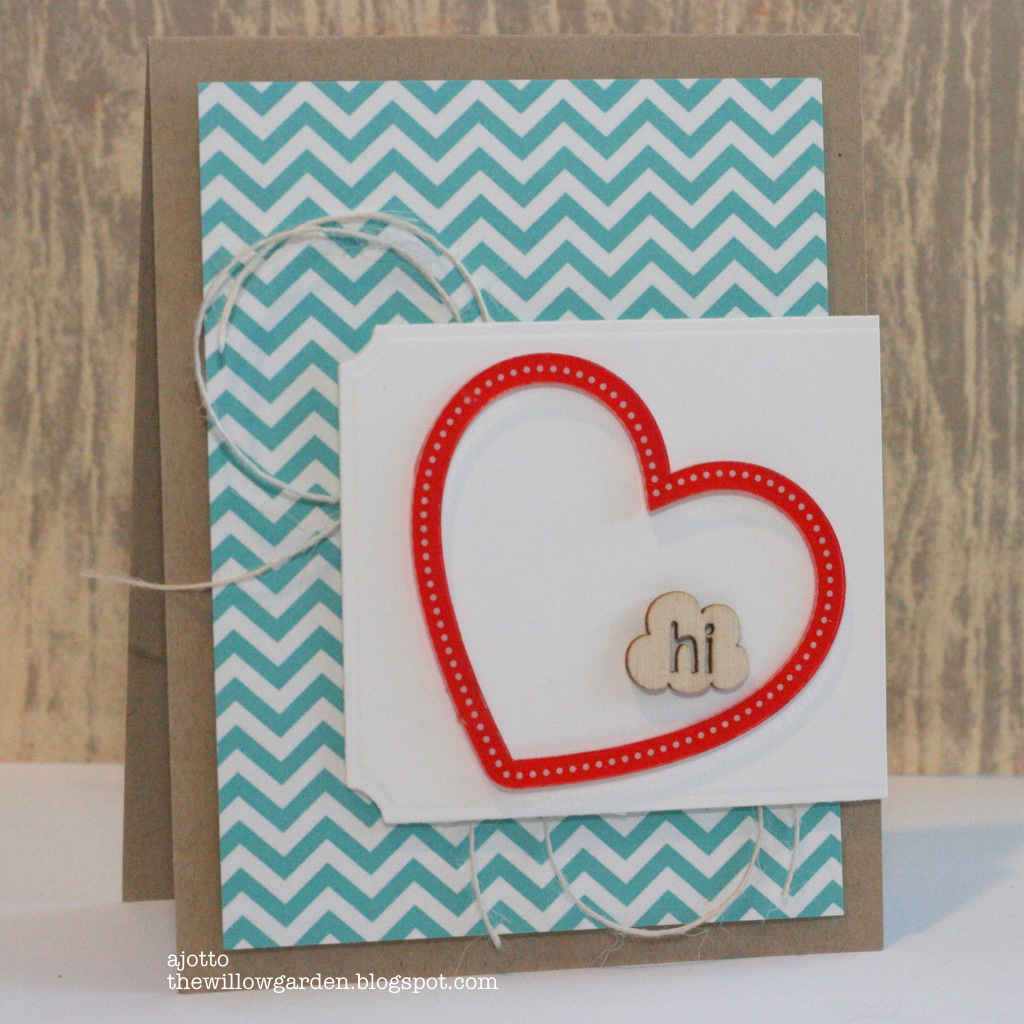 I have adored Freckled Fawn for quite a while now, I just love all of their fun embellishments! My card today uses a fun plastic heart and their ever popular Cloud Wood Chips and a red acrylic heart frame from a OhDeerMe Kit
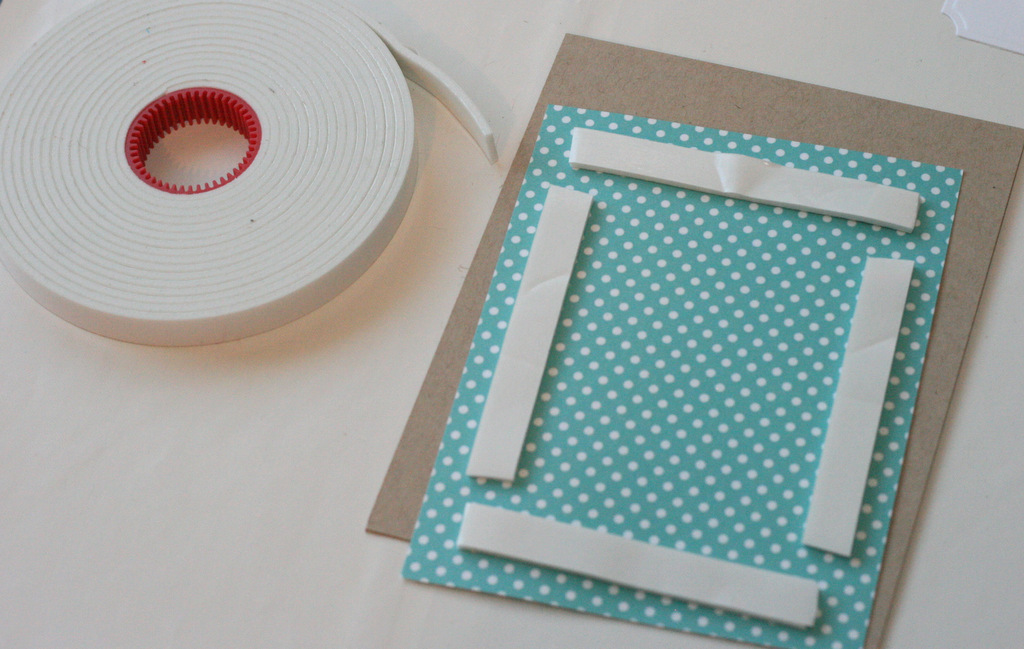 To start, I adhere my patterned paper to my card using Crafty Foam Tape.
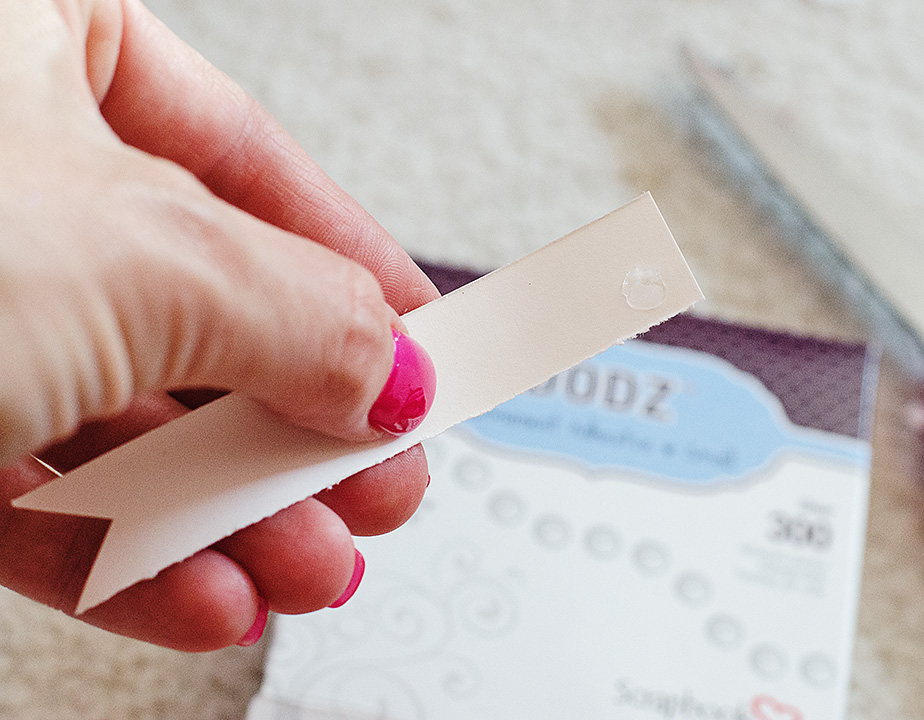
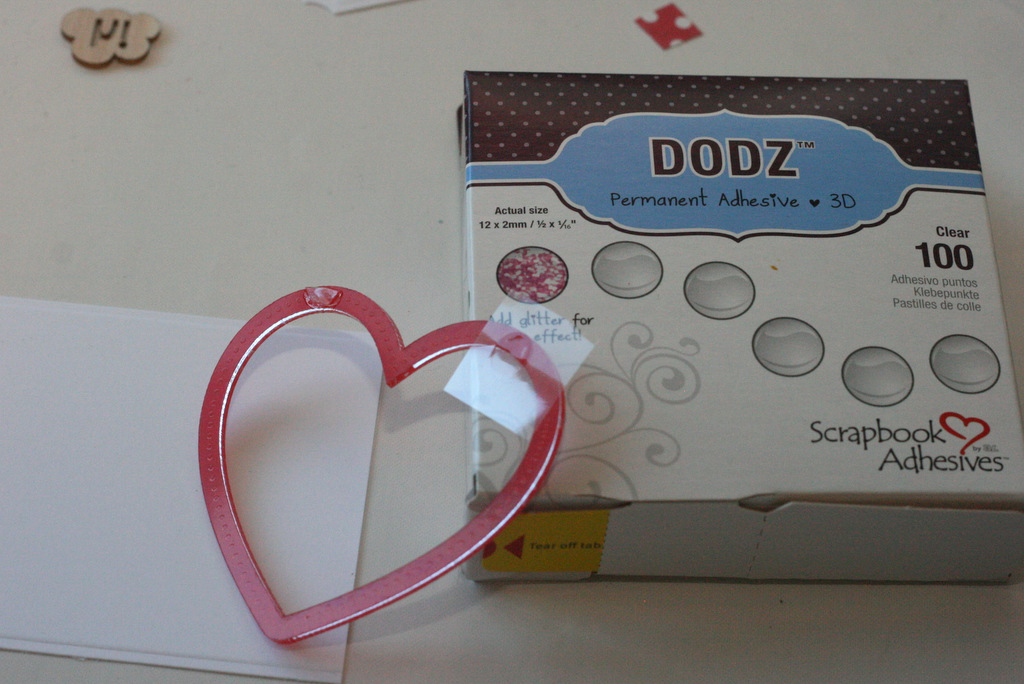 Next, I die cut a white shape to adhere my heart to using the Adhesive Dots Small. I just adhered it to the edge of the heart, and folded over the other part back on it itself. I adhered the little cloud shape the same way.
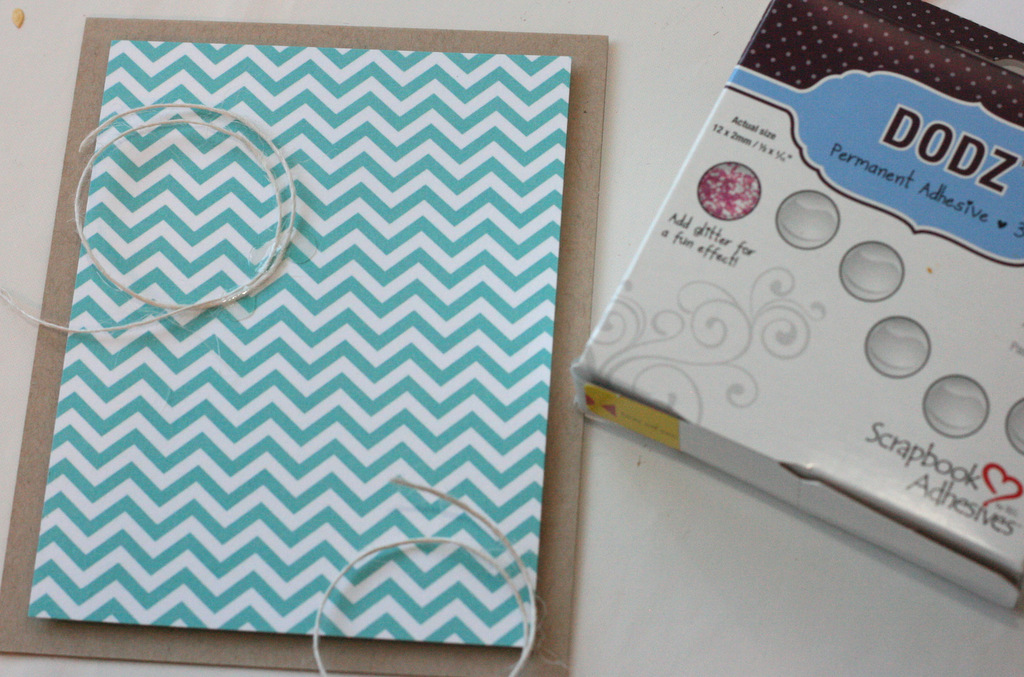
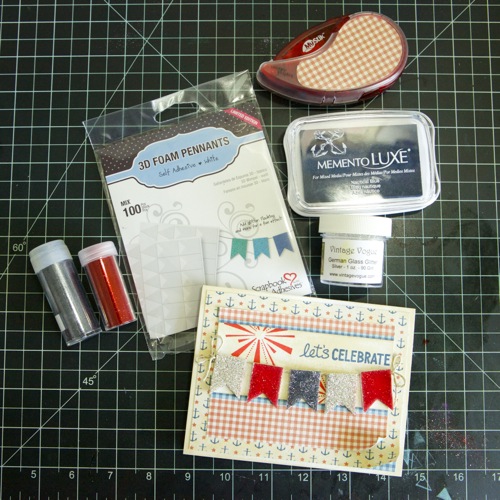
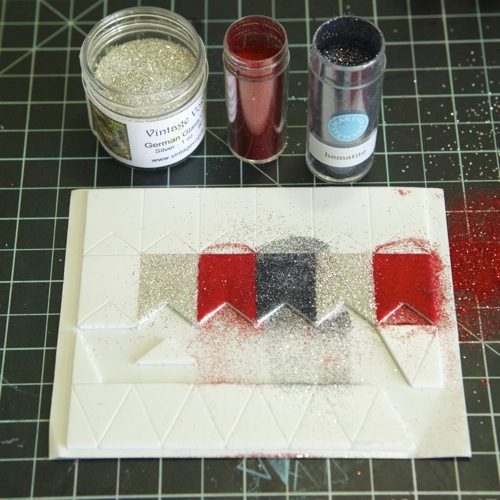

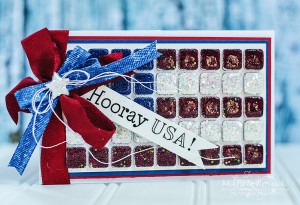
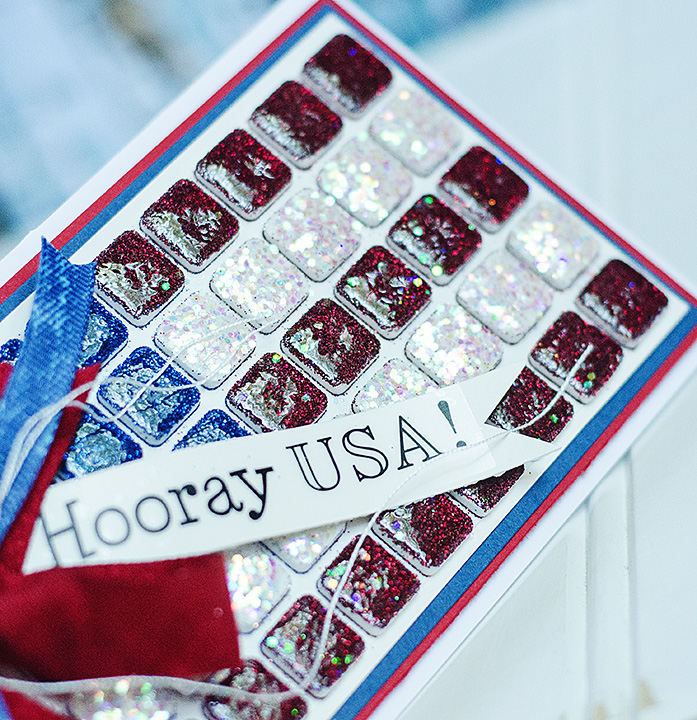
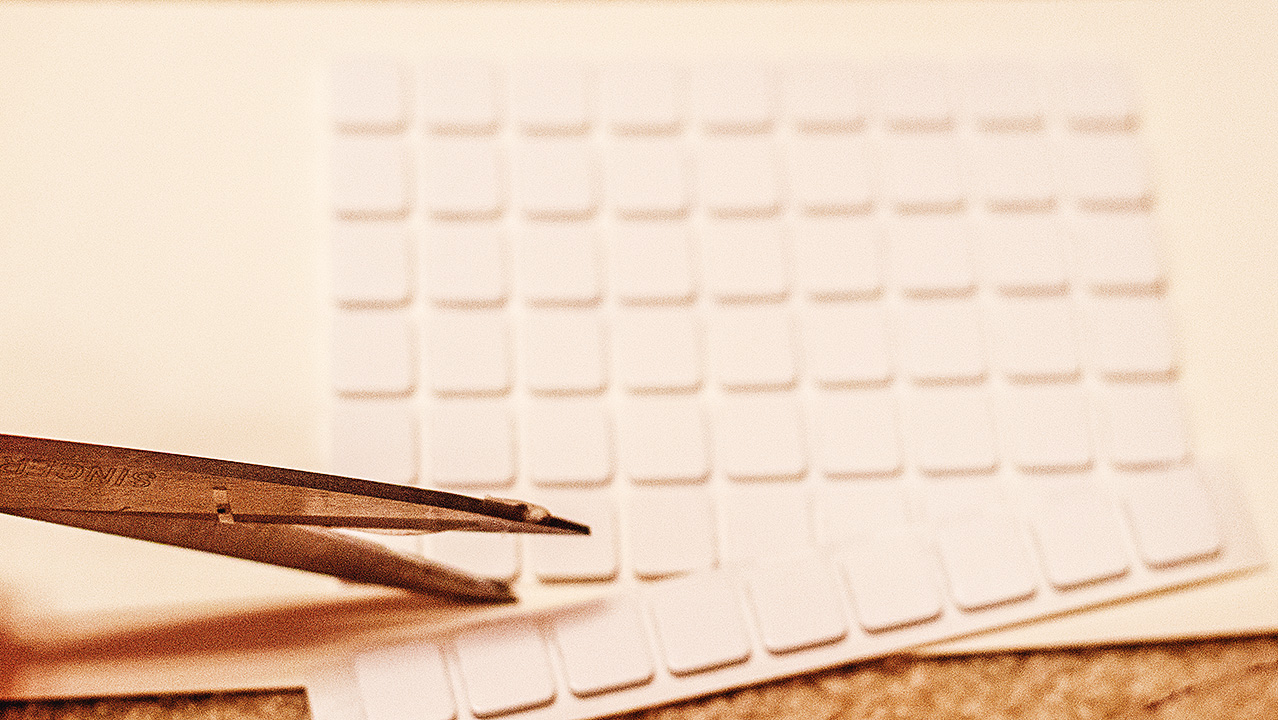
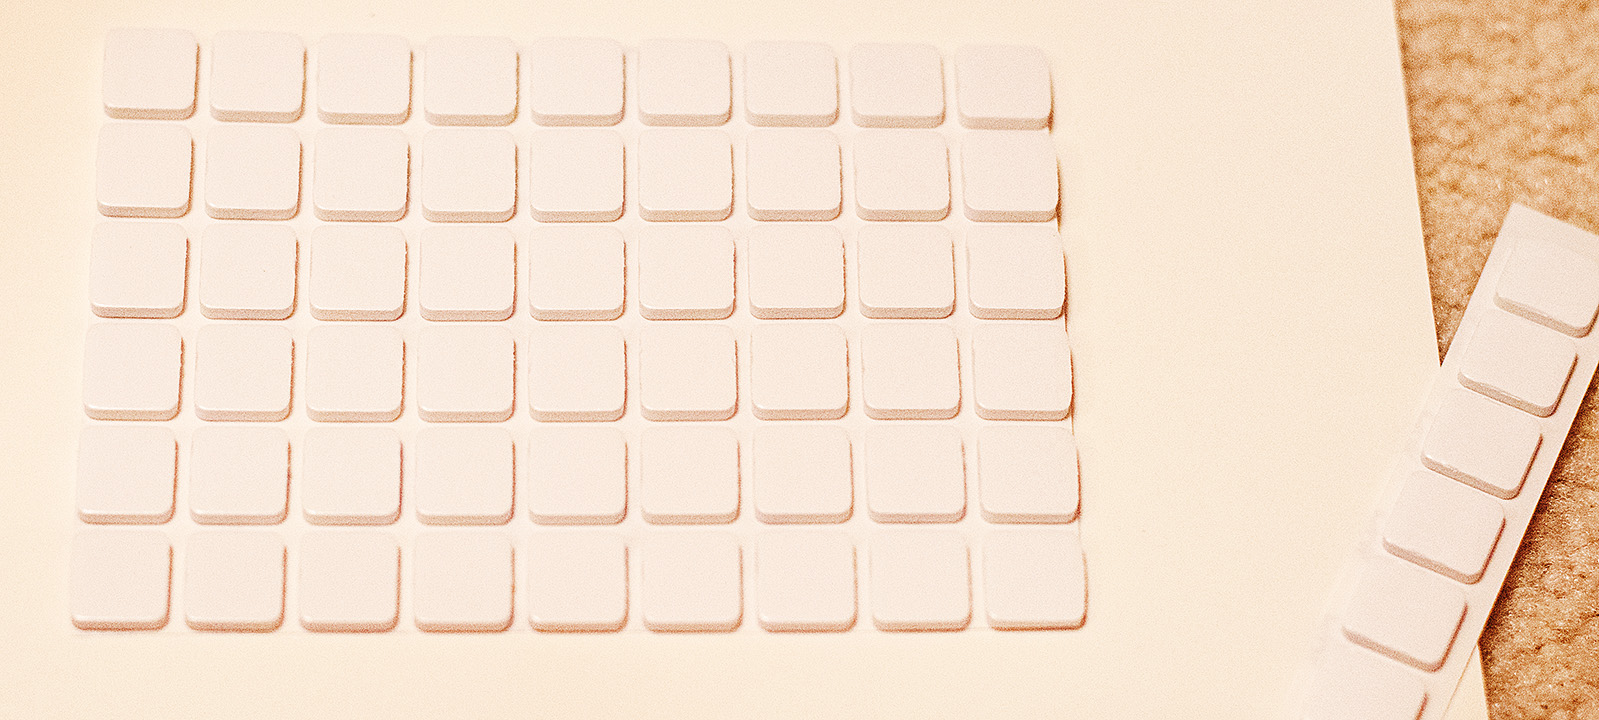
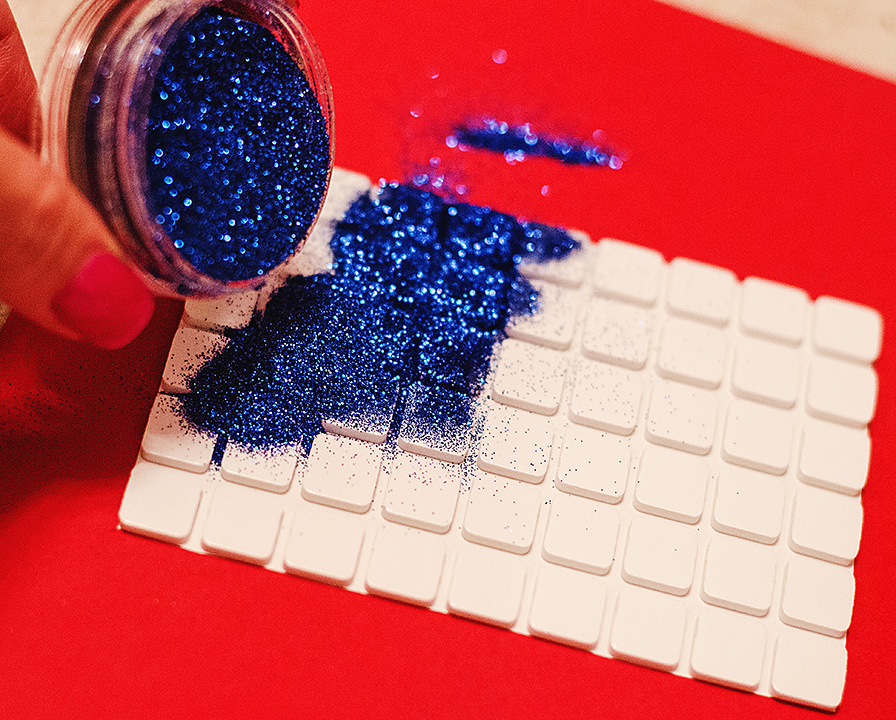
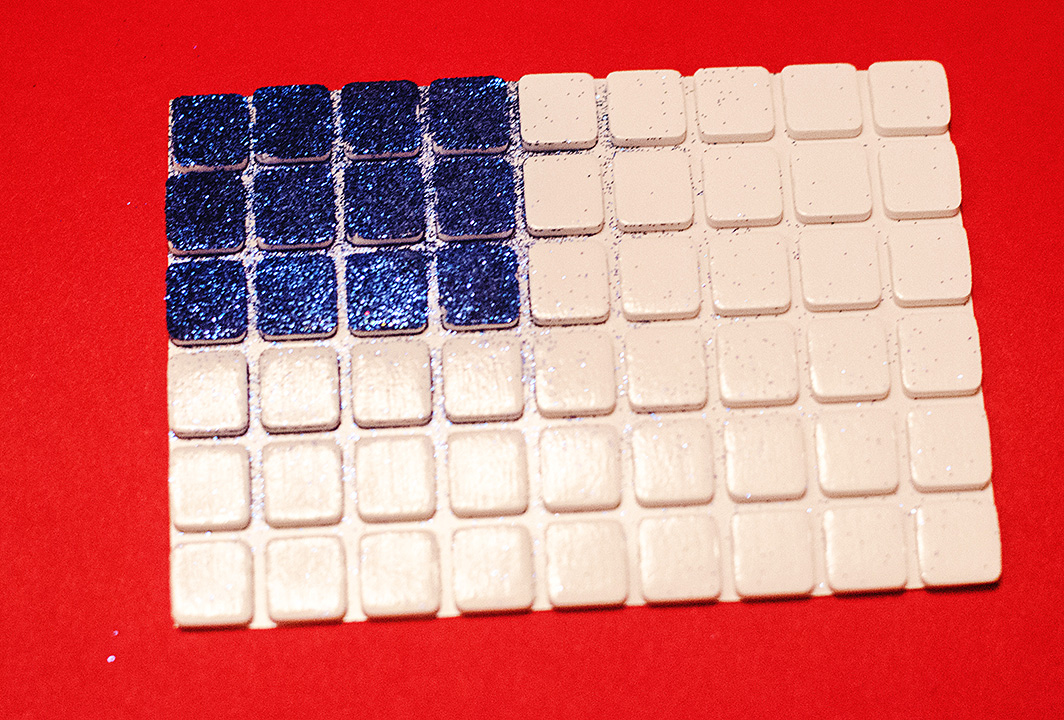
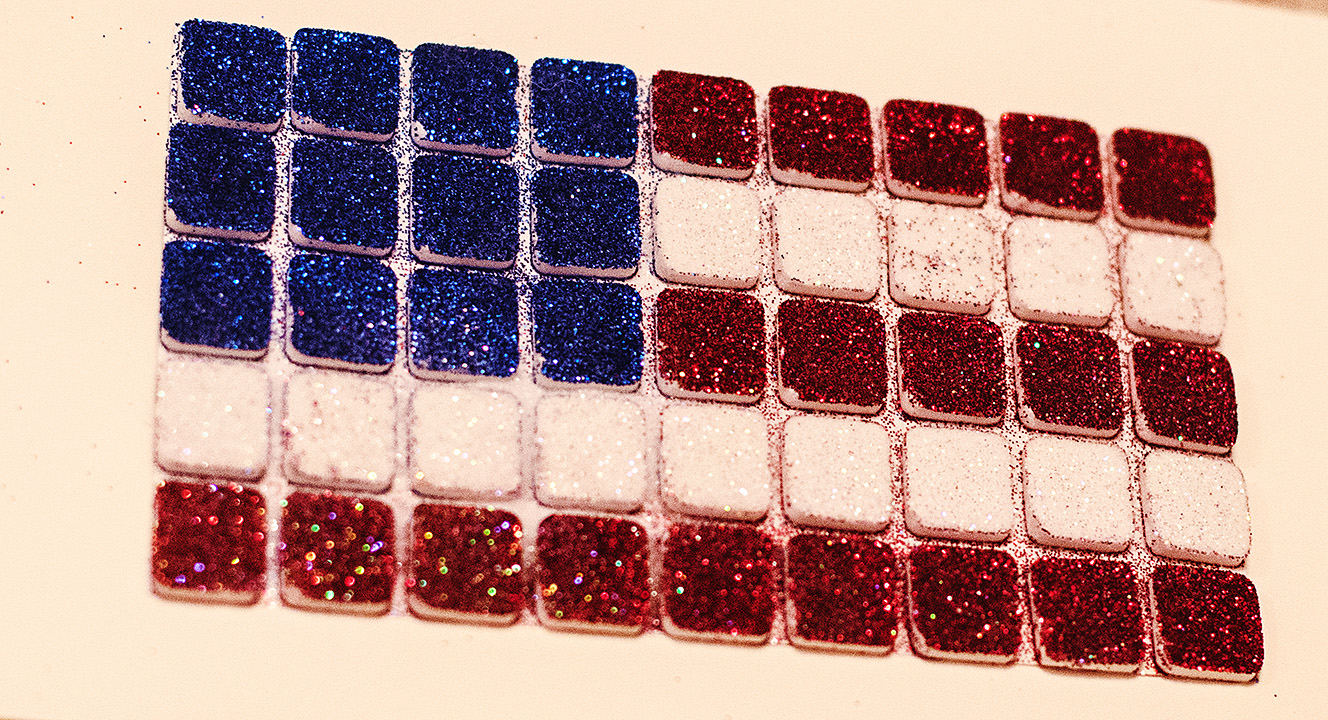
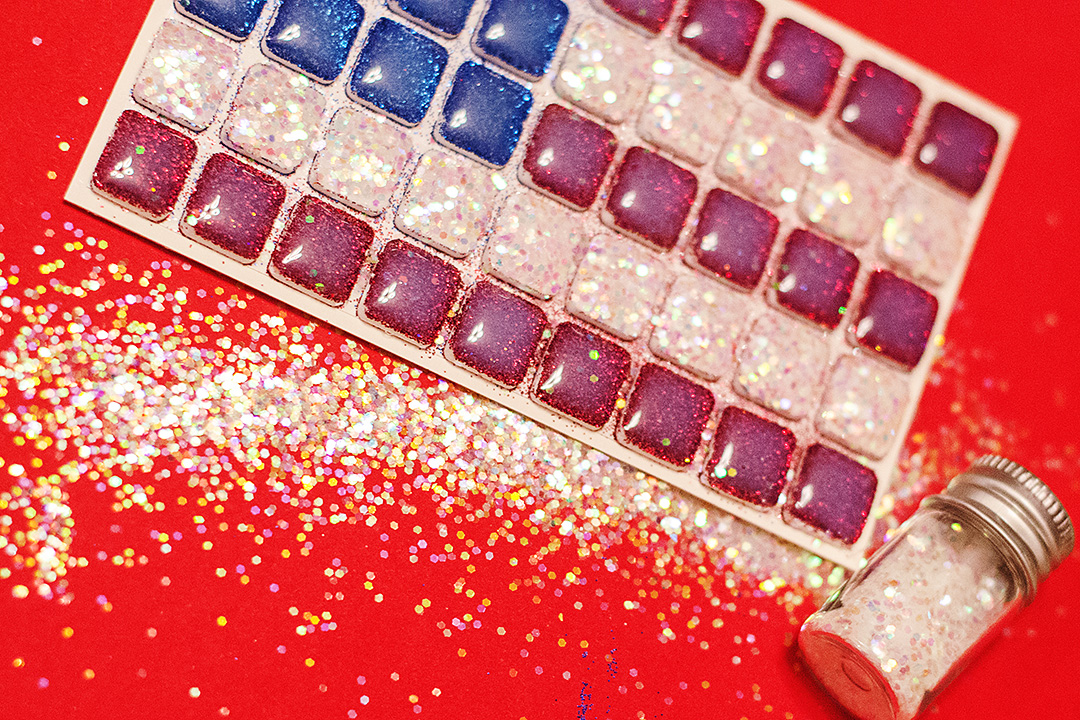
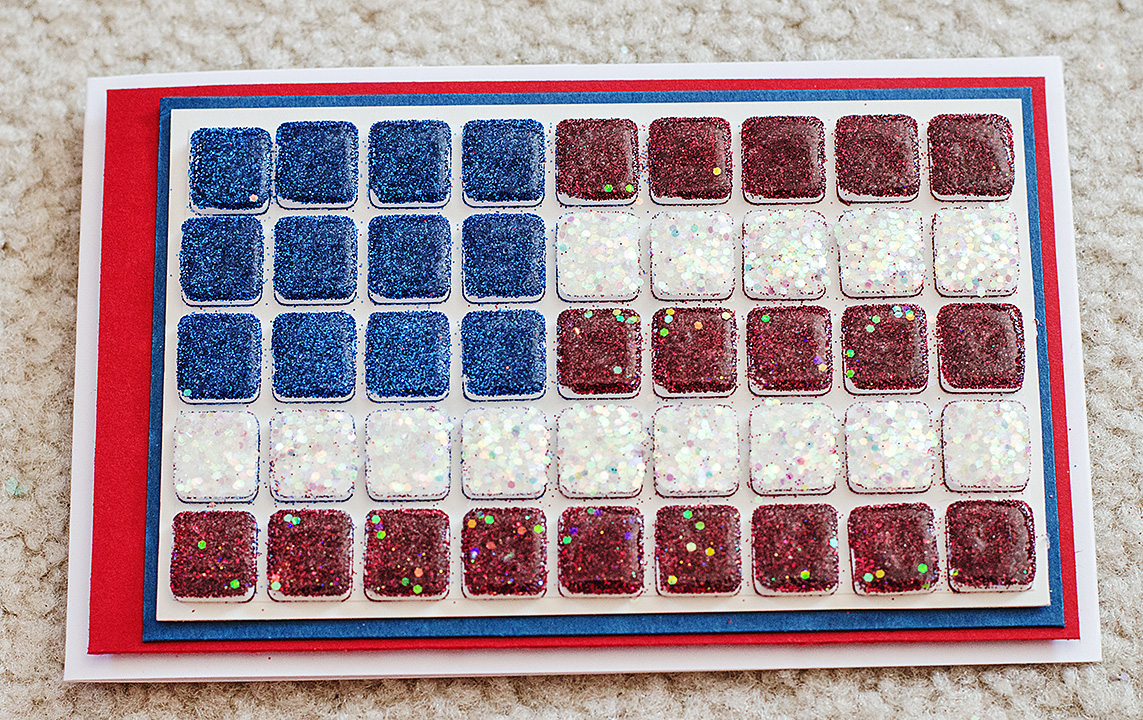
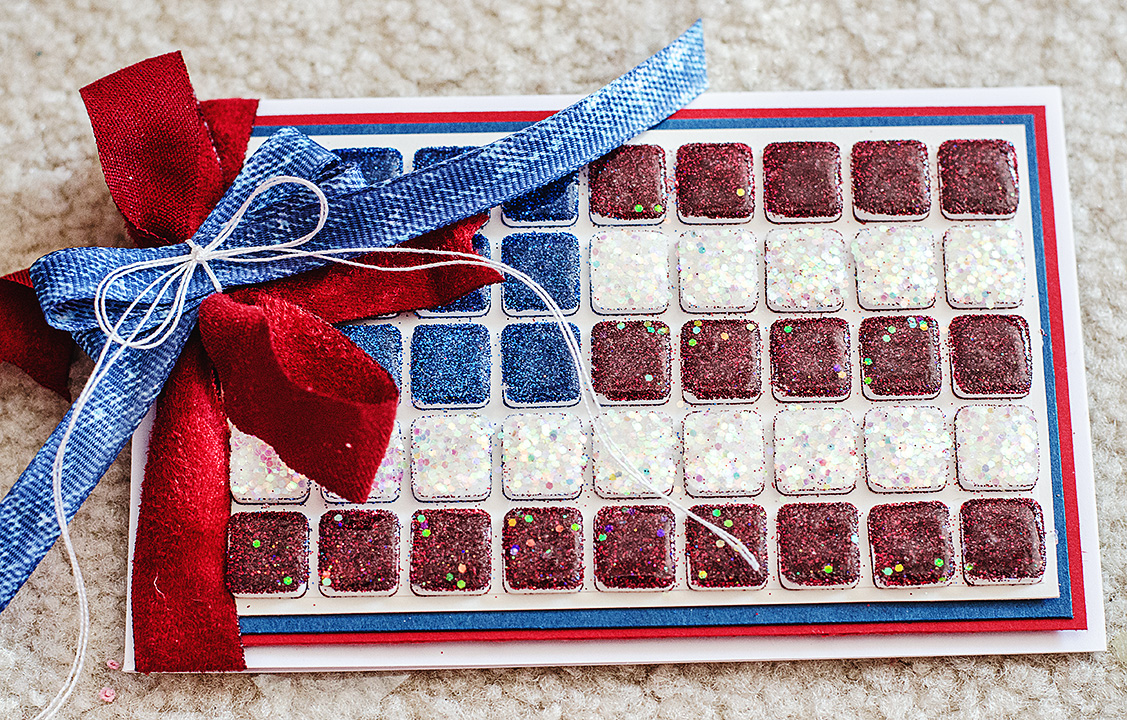
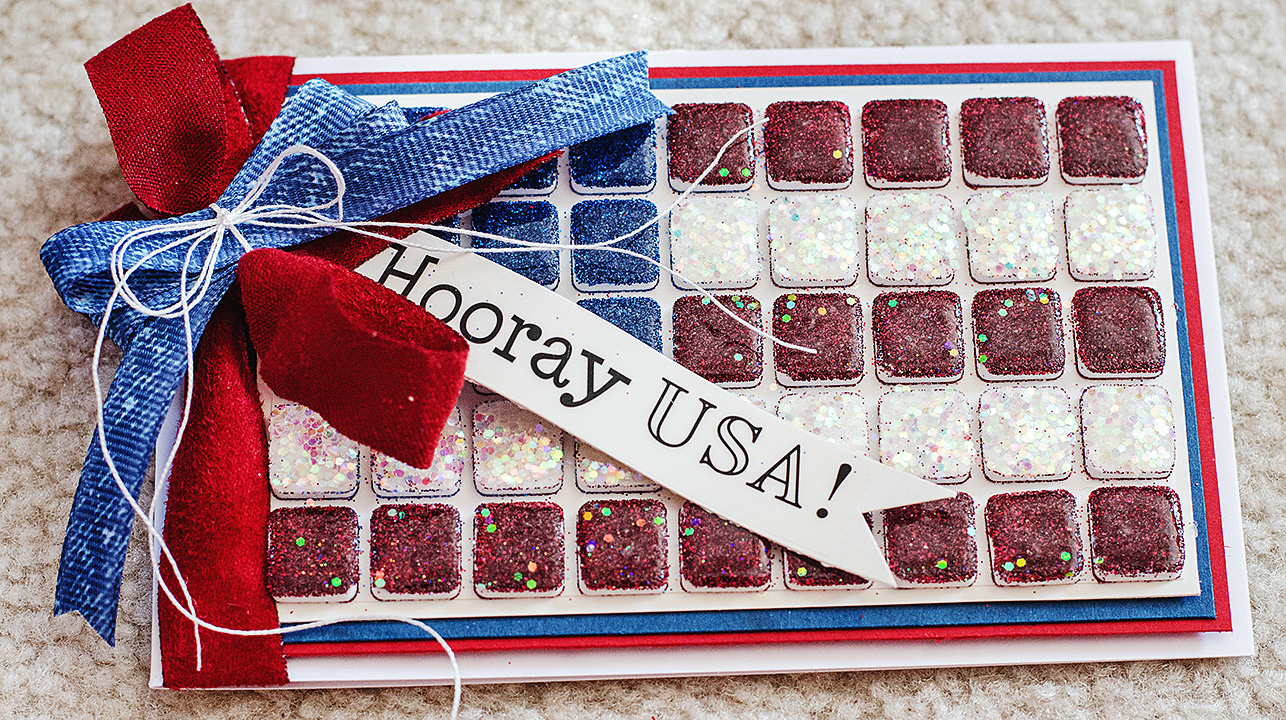
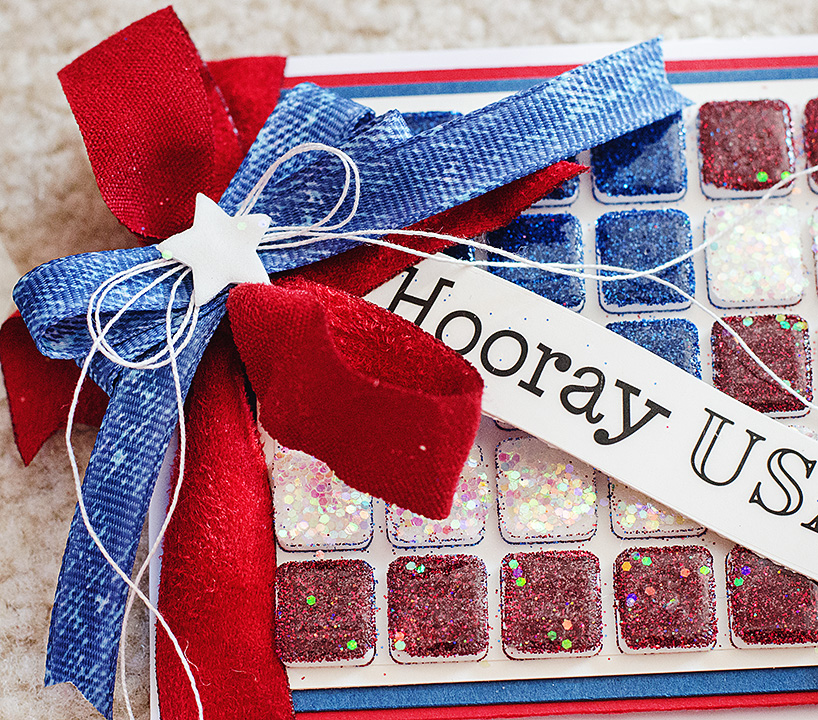
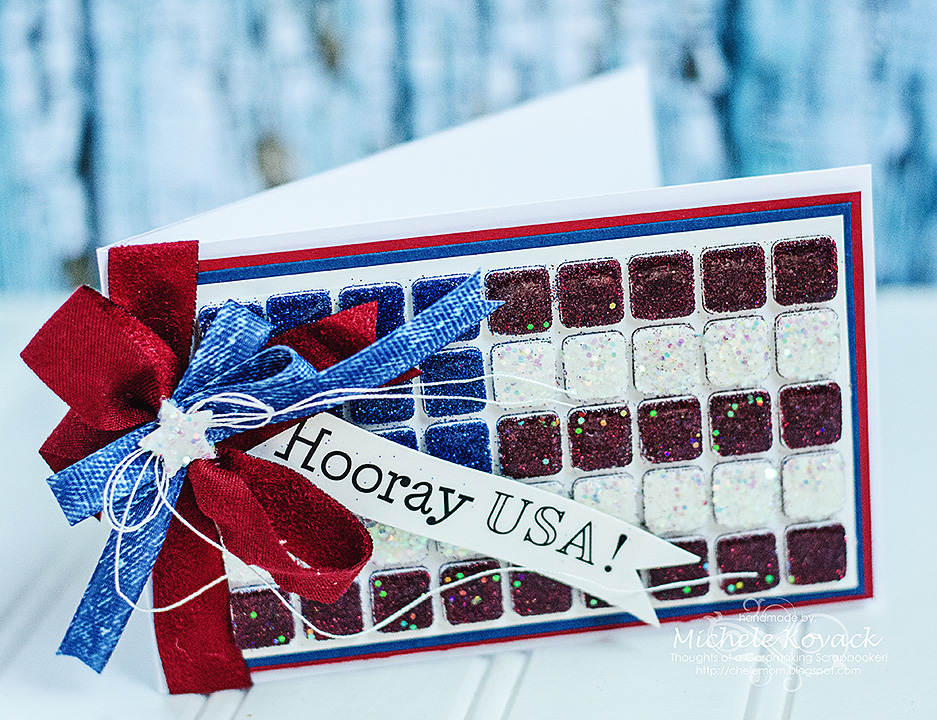
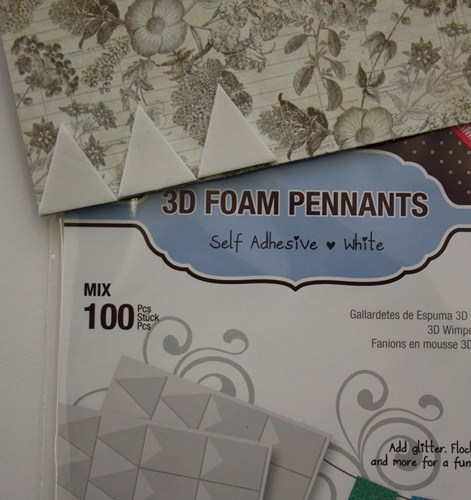
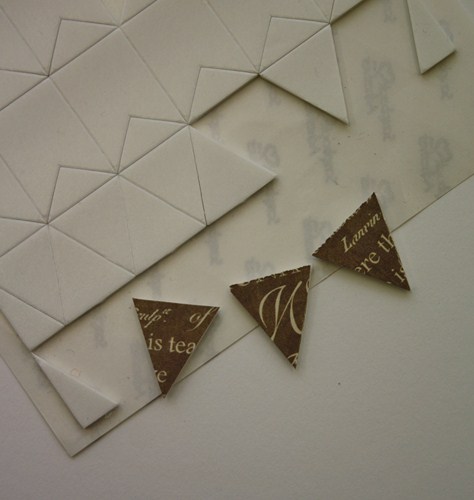
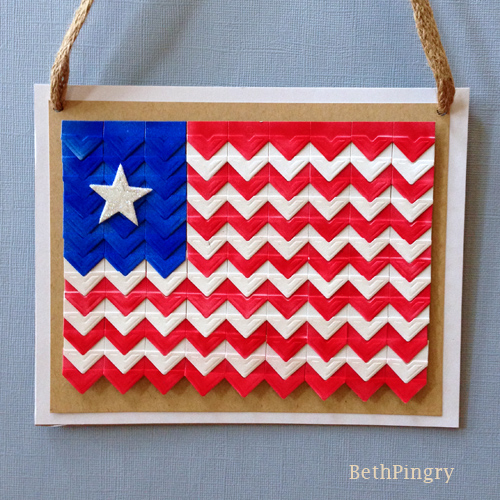
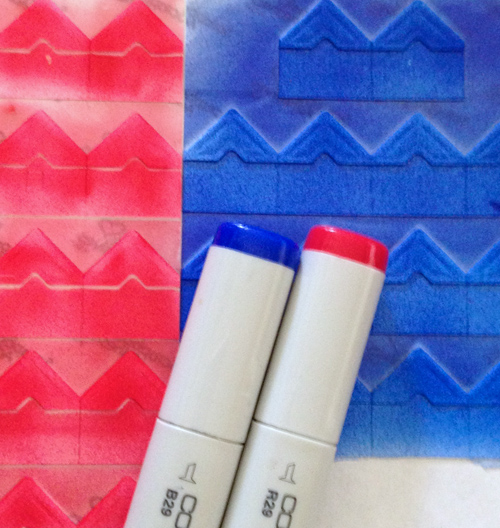
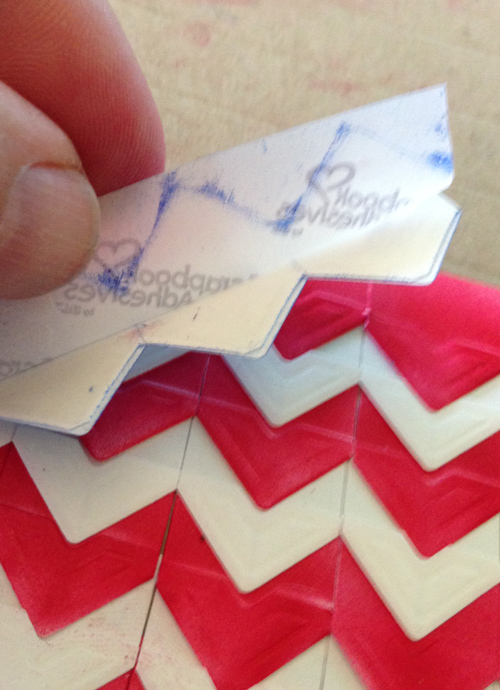
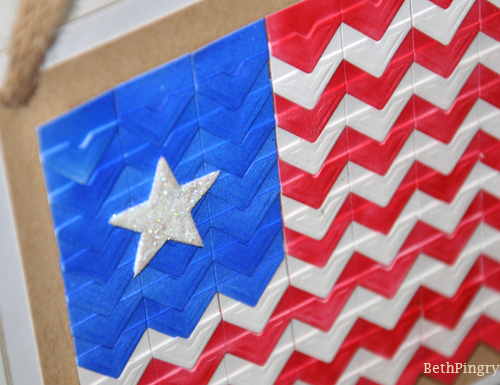
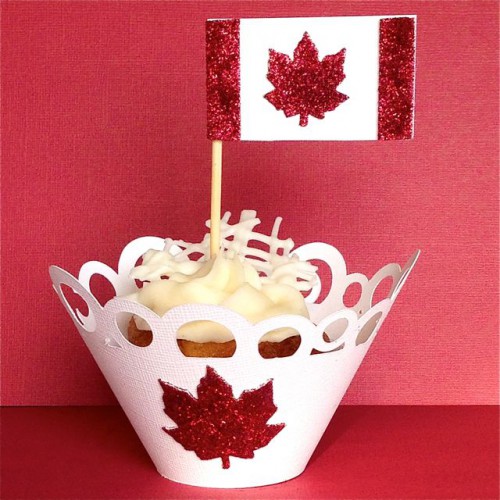
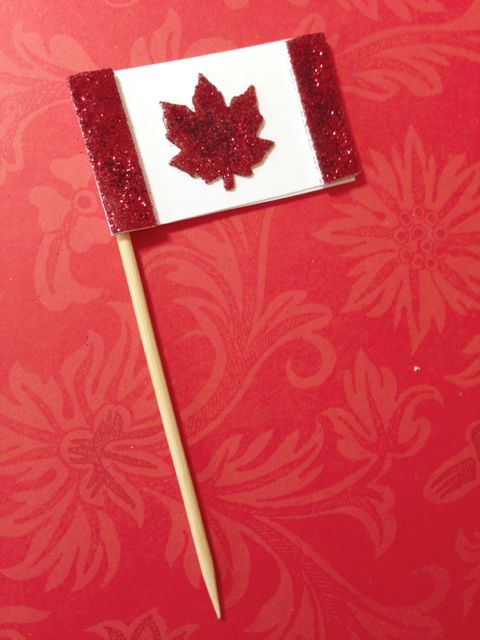
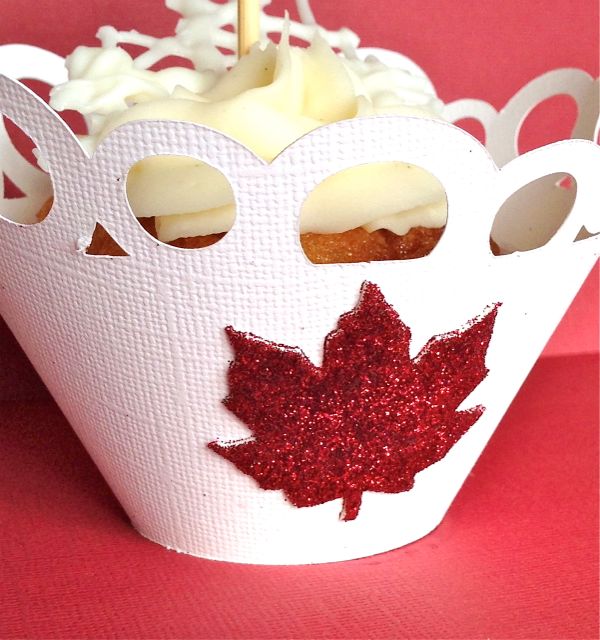
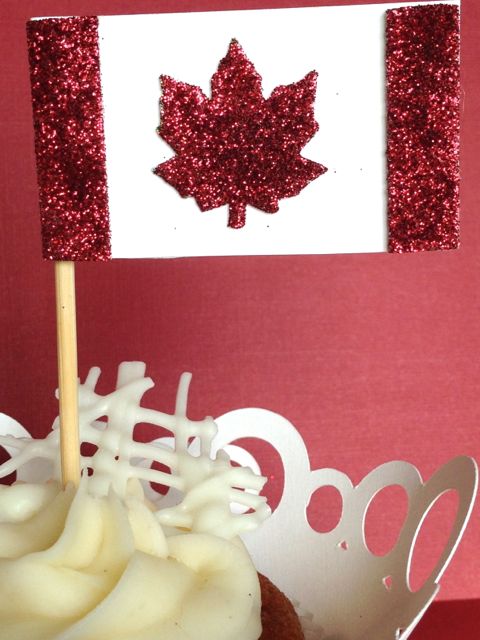
 If you want your “flag” to be a bit more narrow, cut the bottom row off.