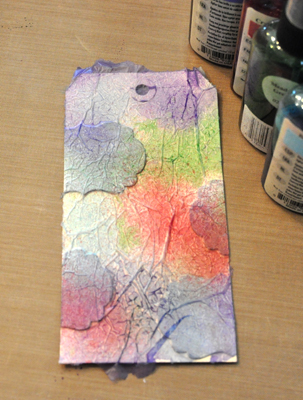
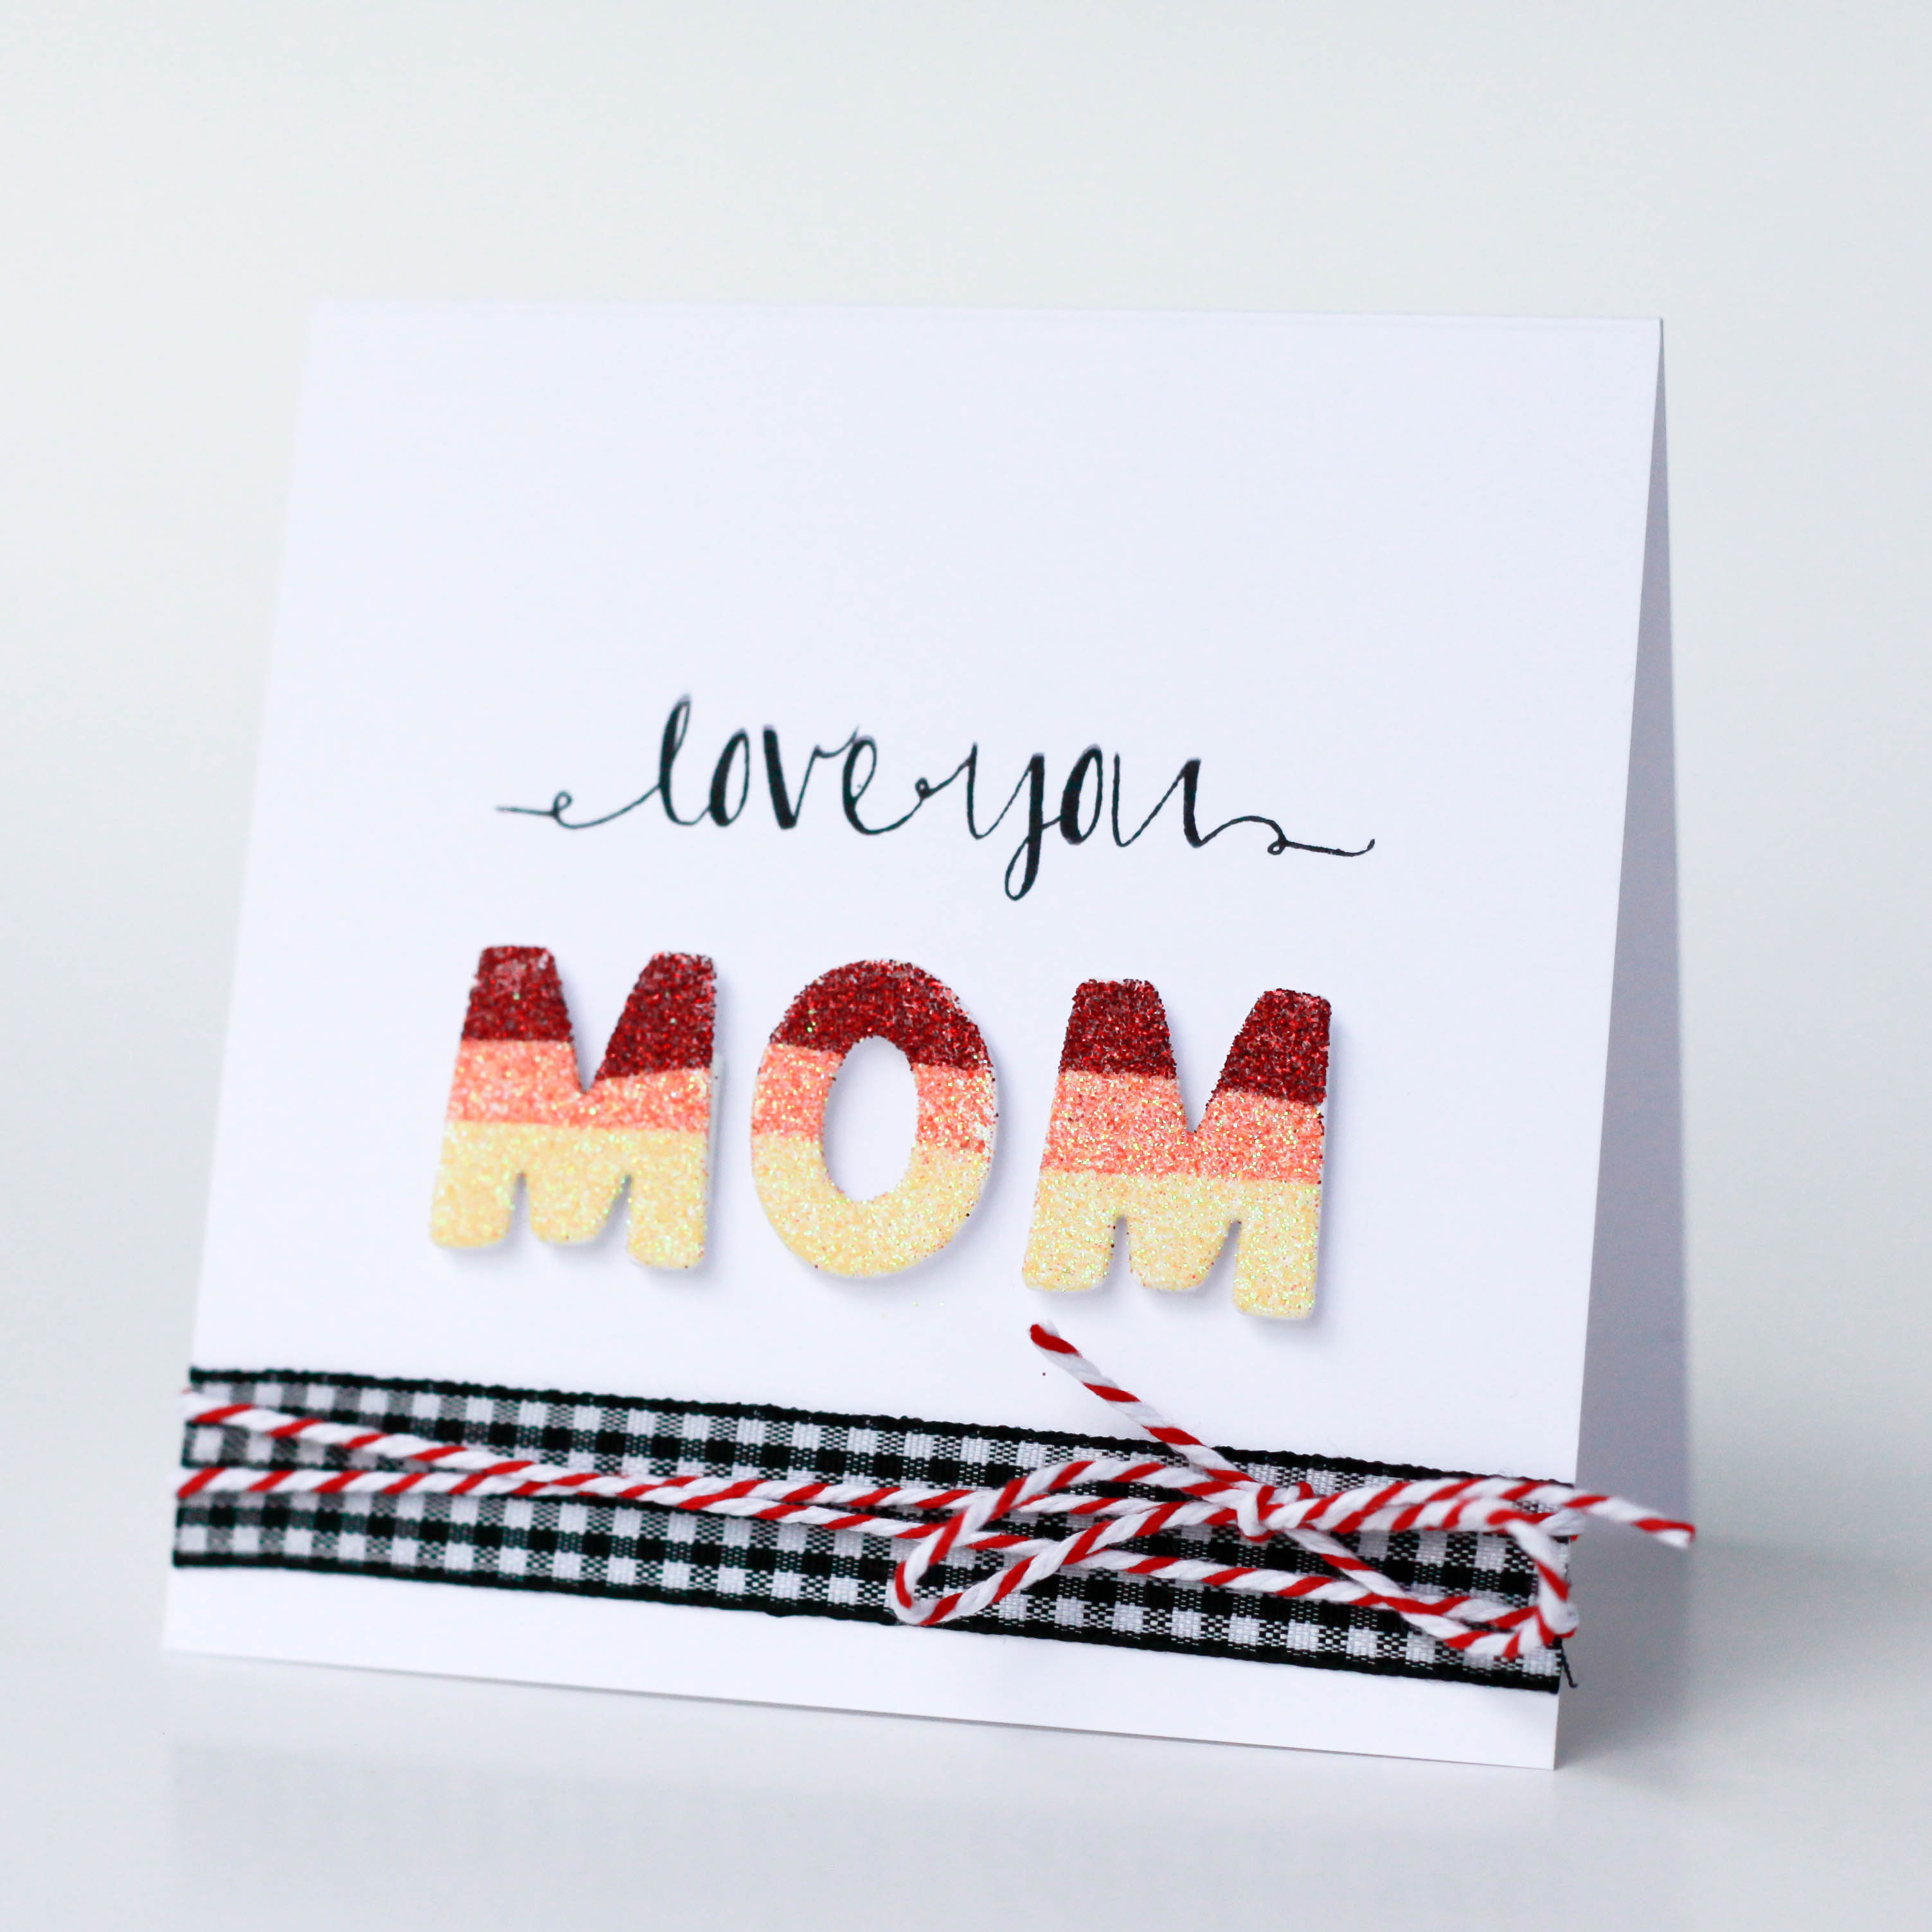
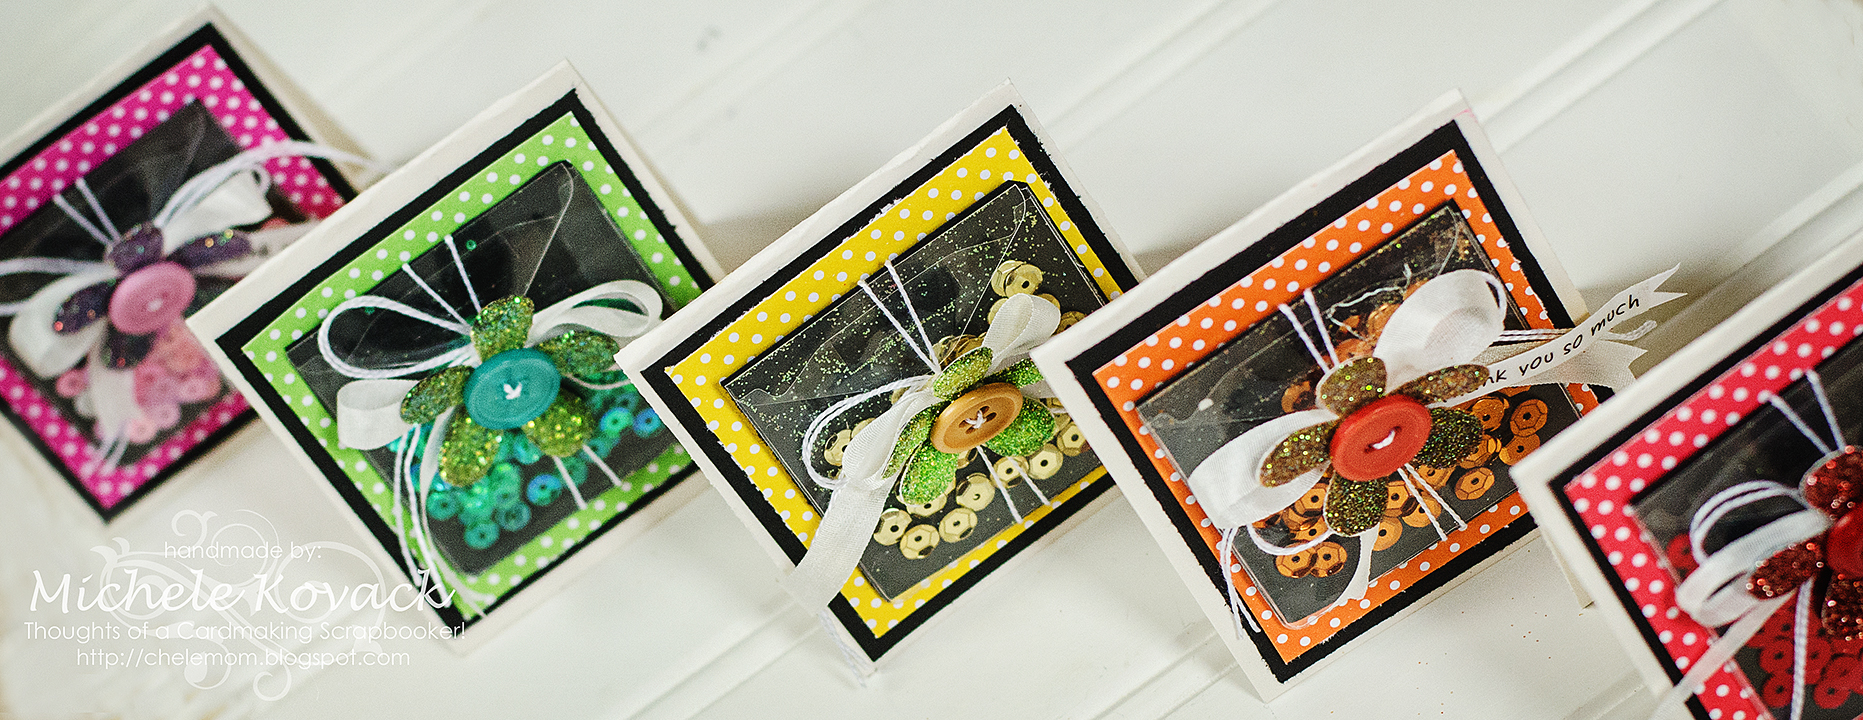
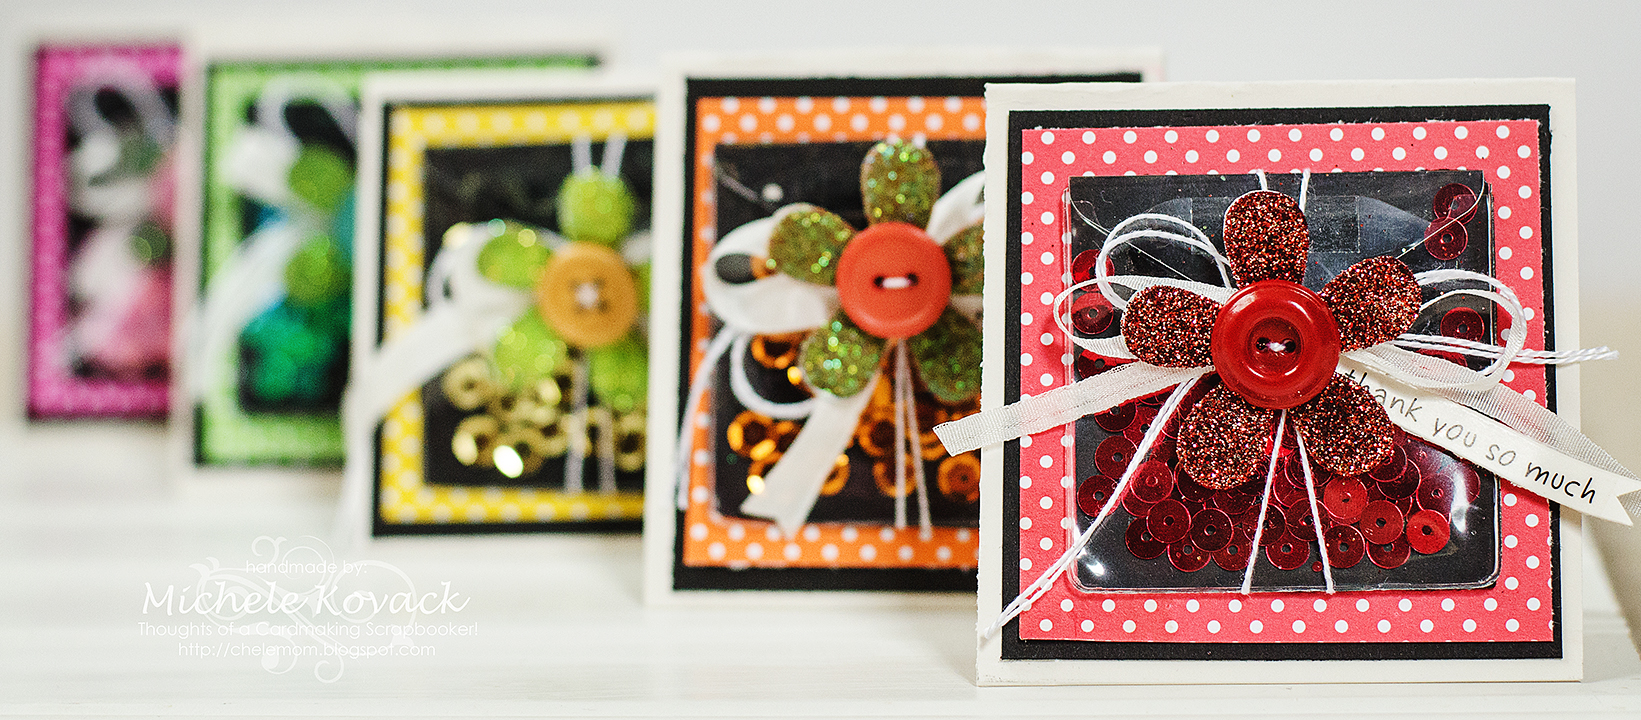
Hi I’m I am Michele Kovack and I’m thrilled to be joining the Design Team! I have some fun shaker cards to share with you today! They were so fun in fact, that I made 5 of them! The end of the school year is fast approaching and I like to have cards on hand! I created them in a rainbow of colors, because who doesn’t like anything rainbow?

Create The Shaker Cards
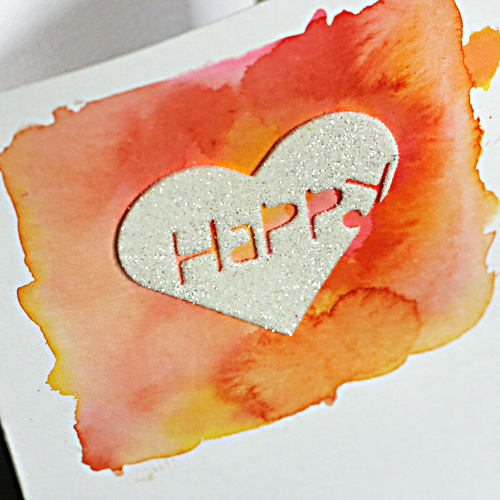
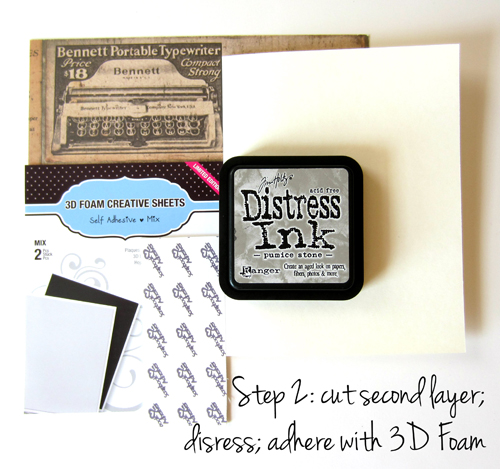
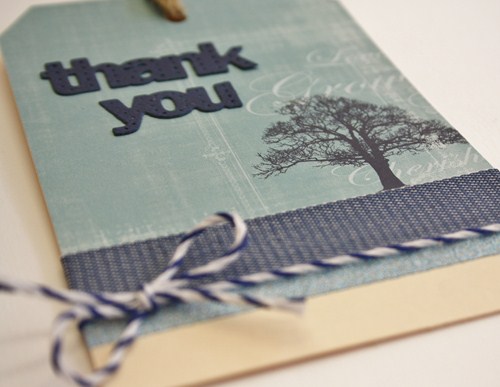
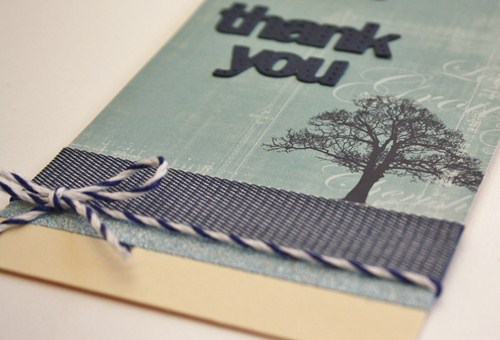
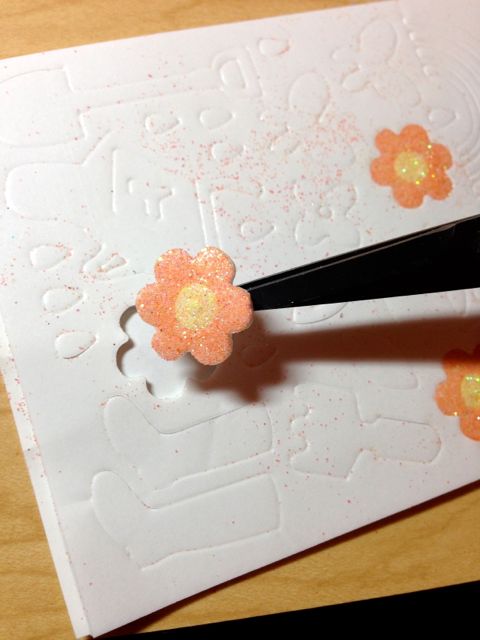
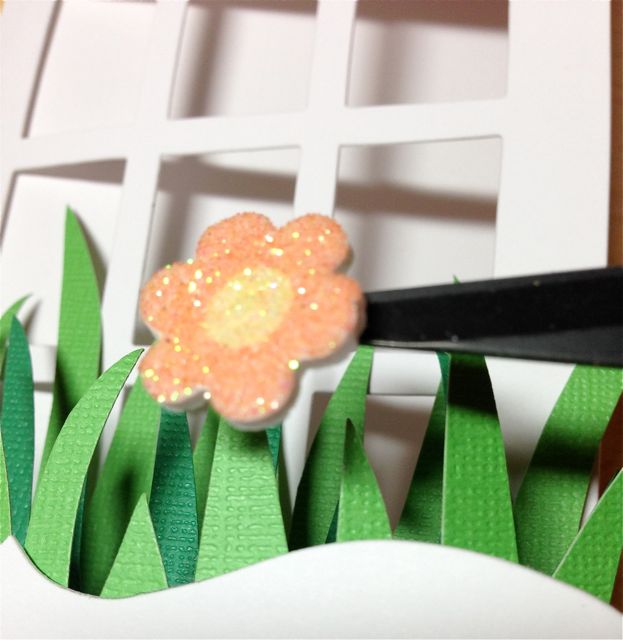
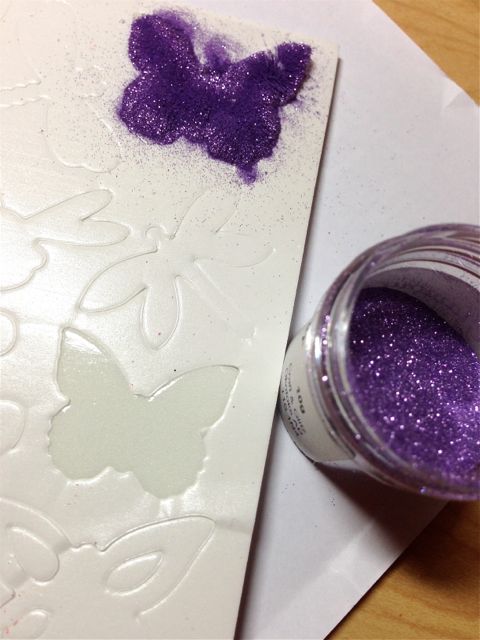
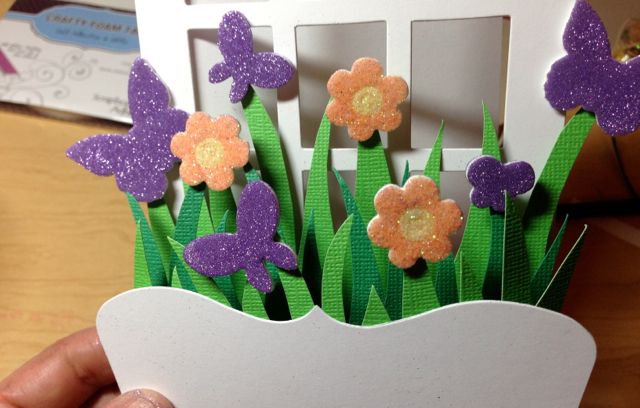
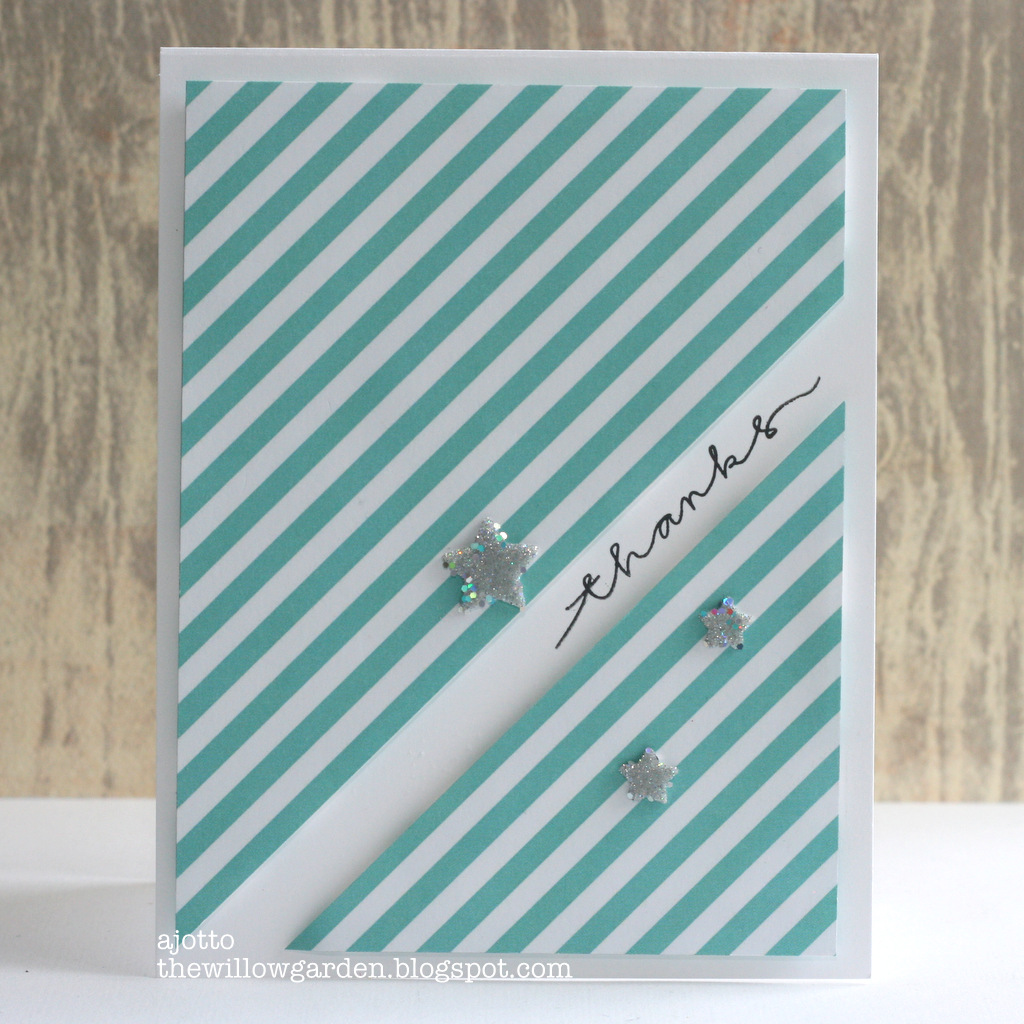
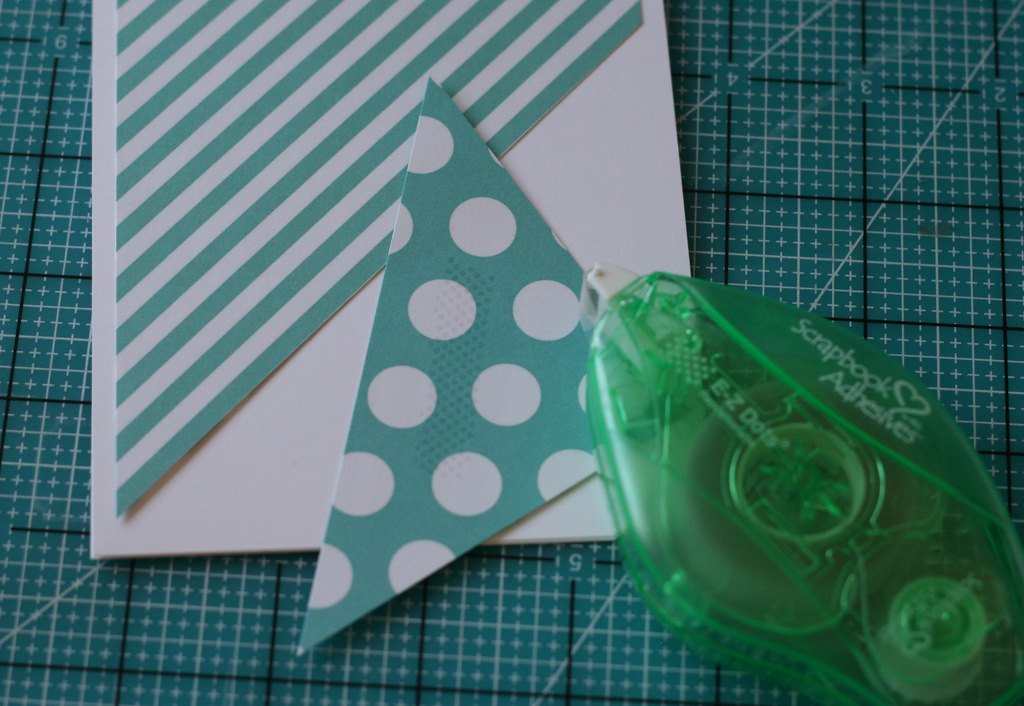
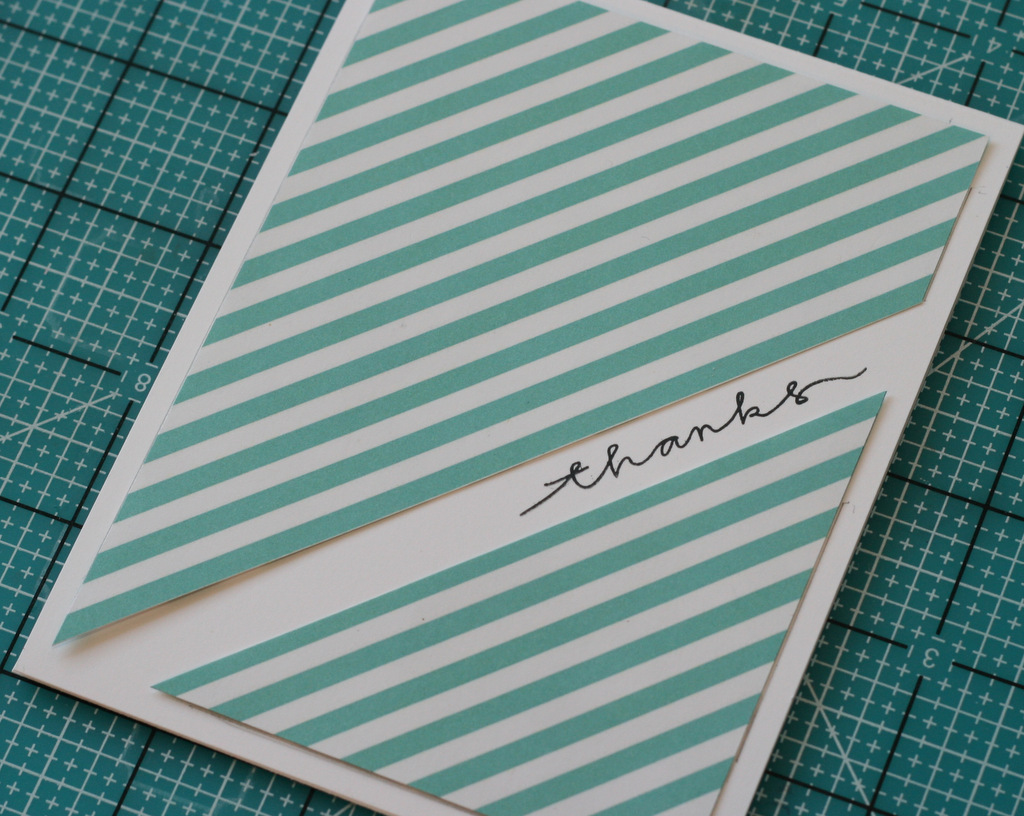
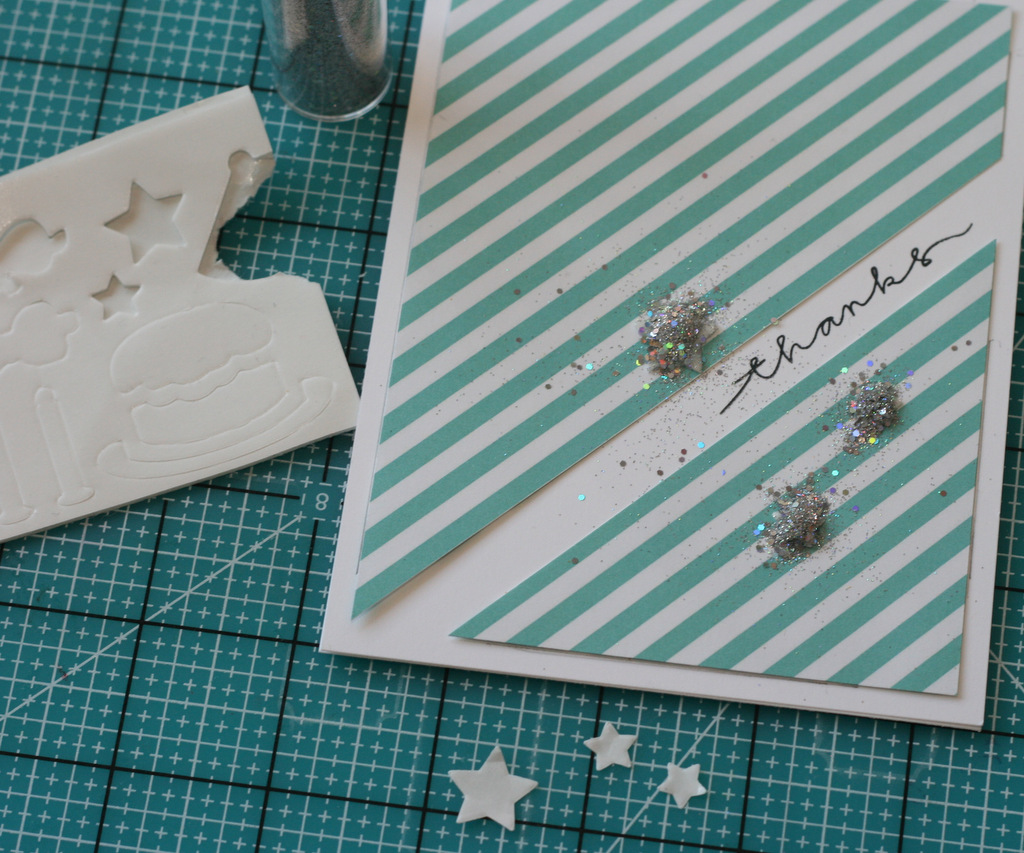
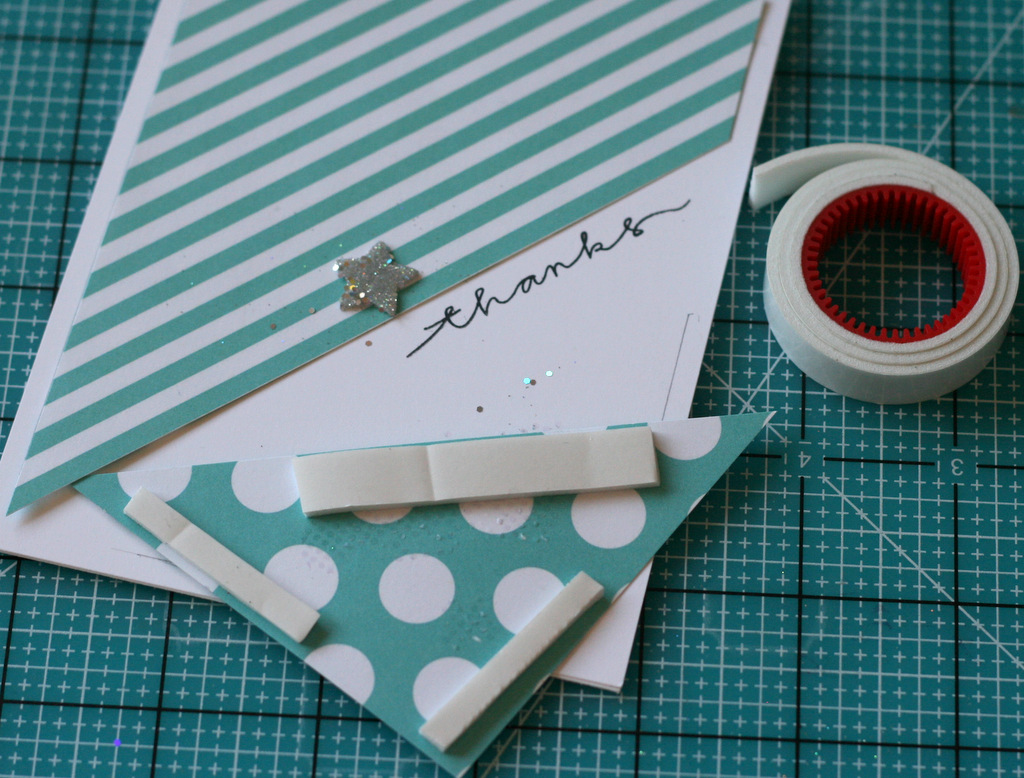
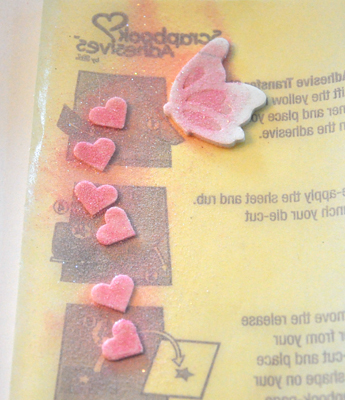
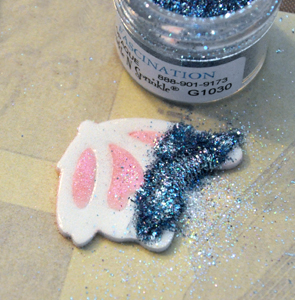
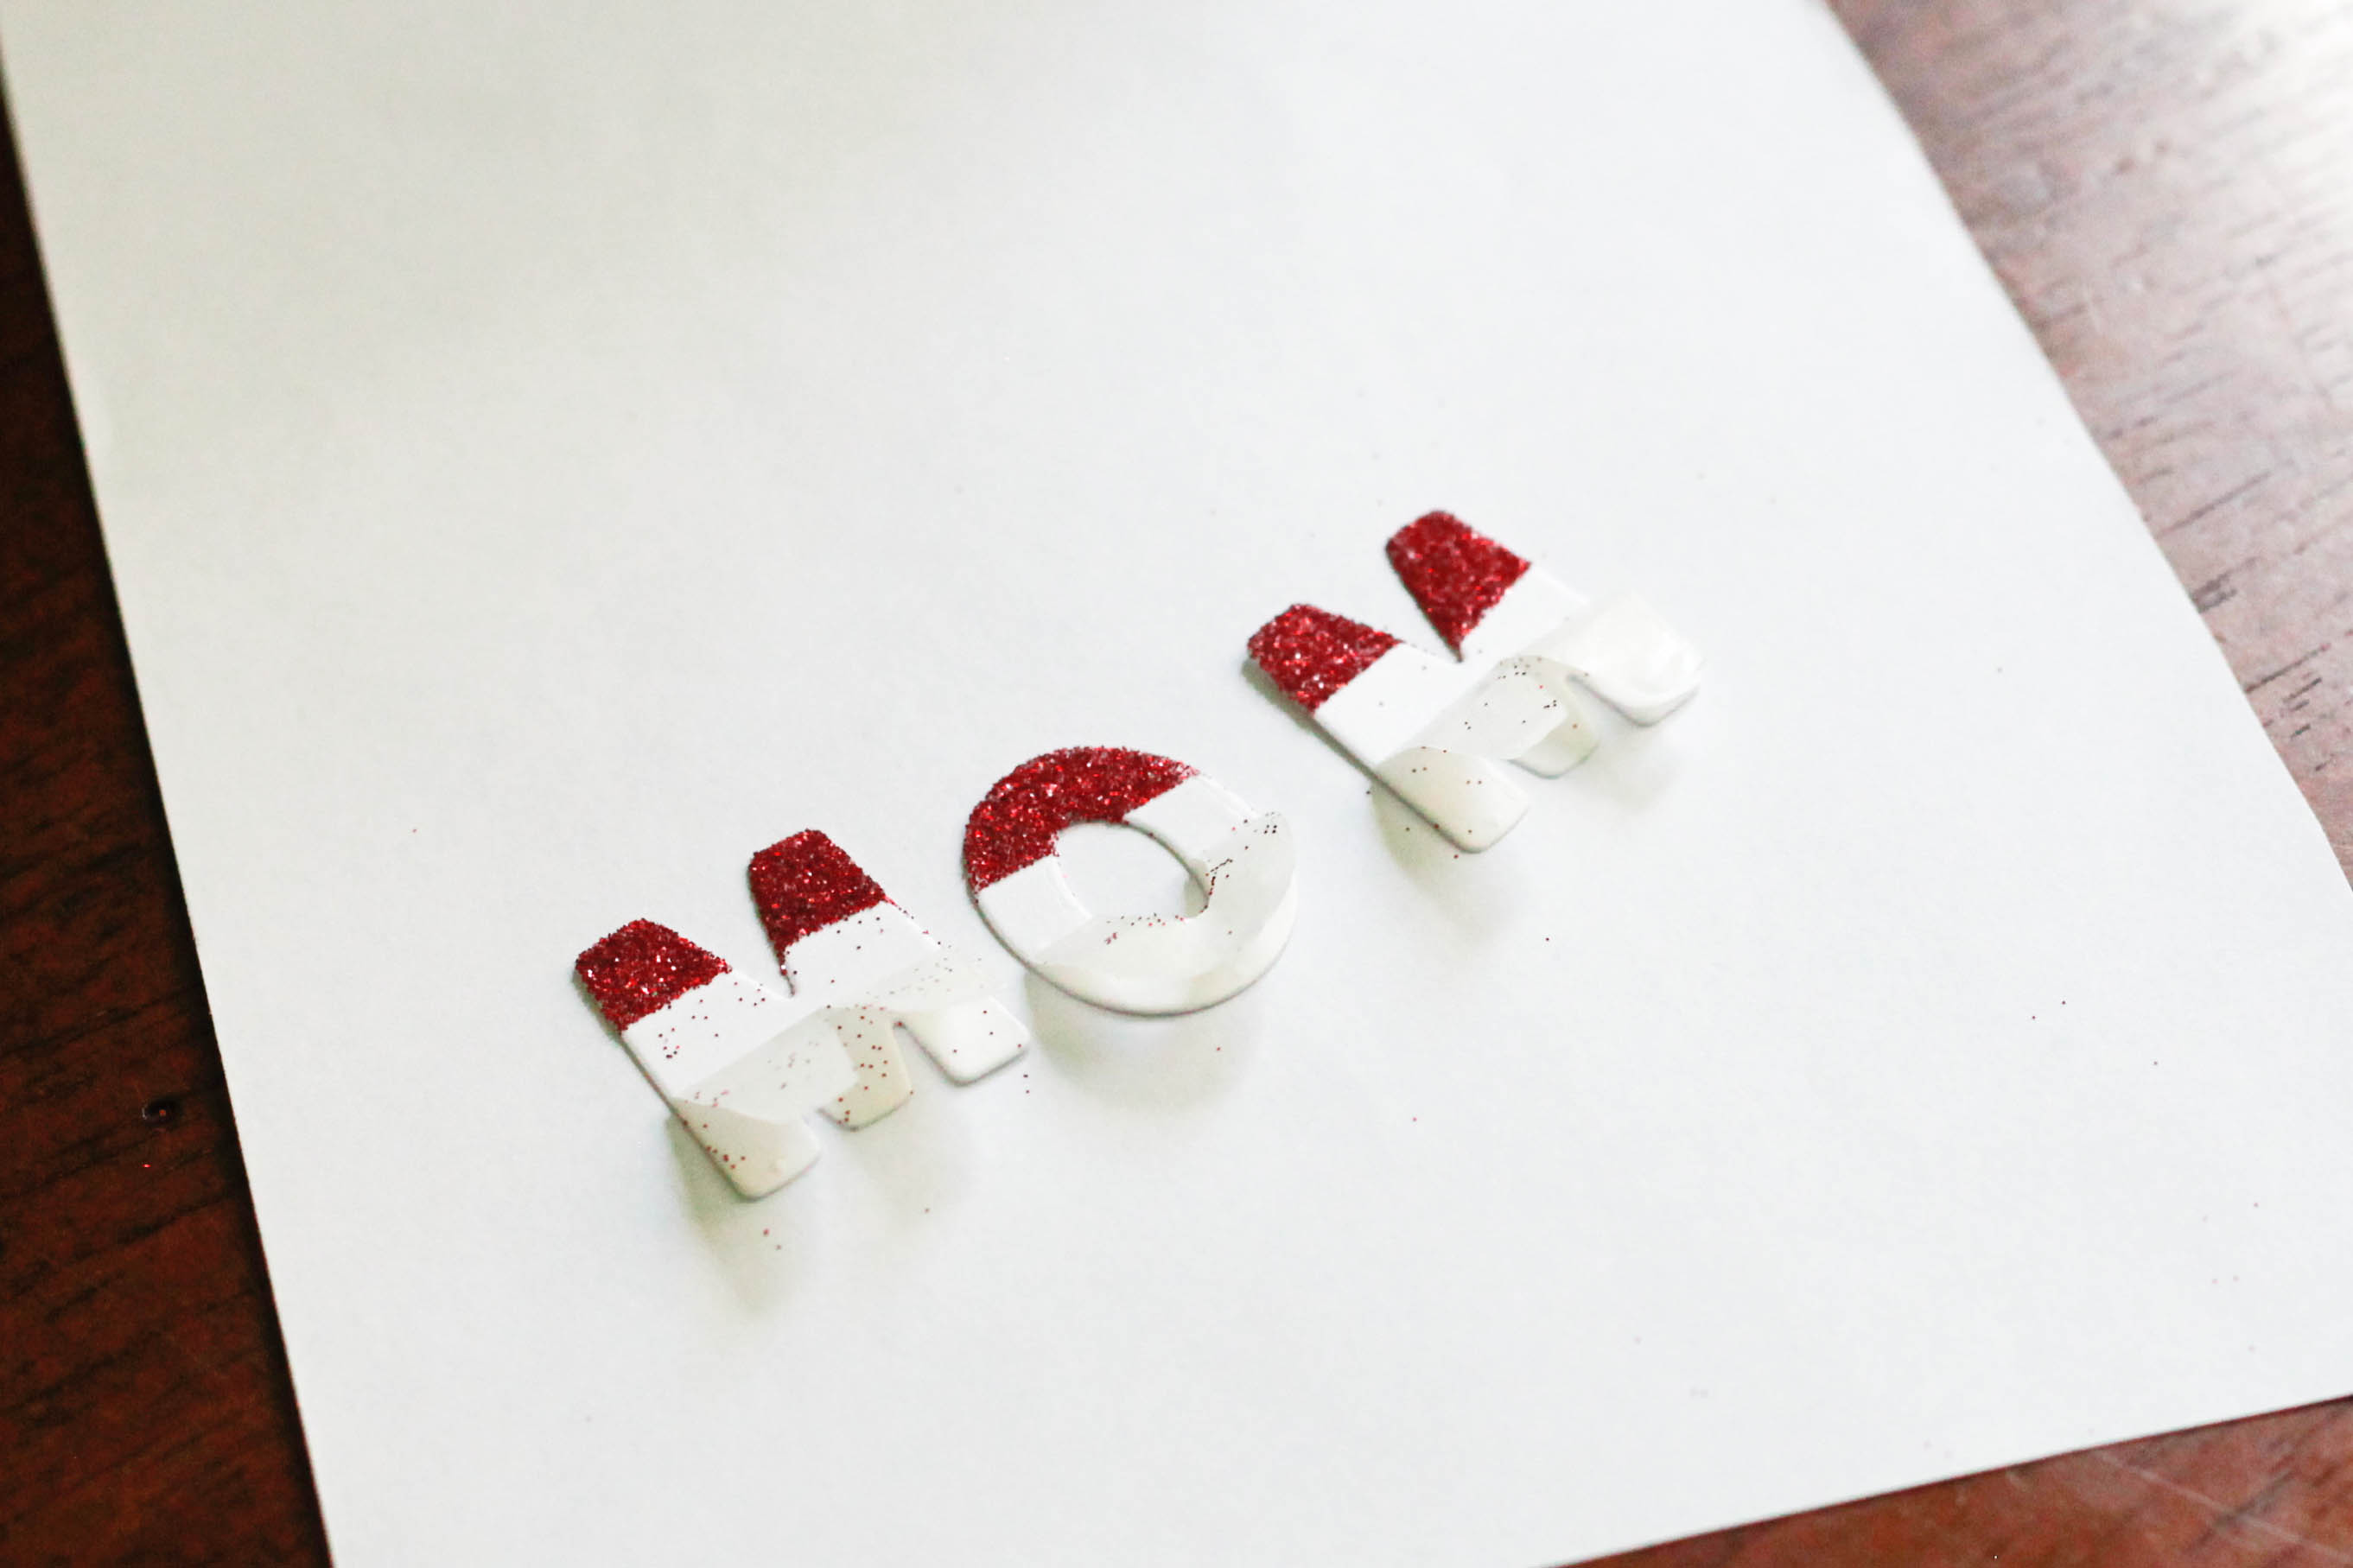
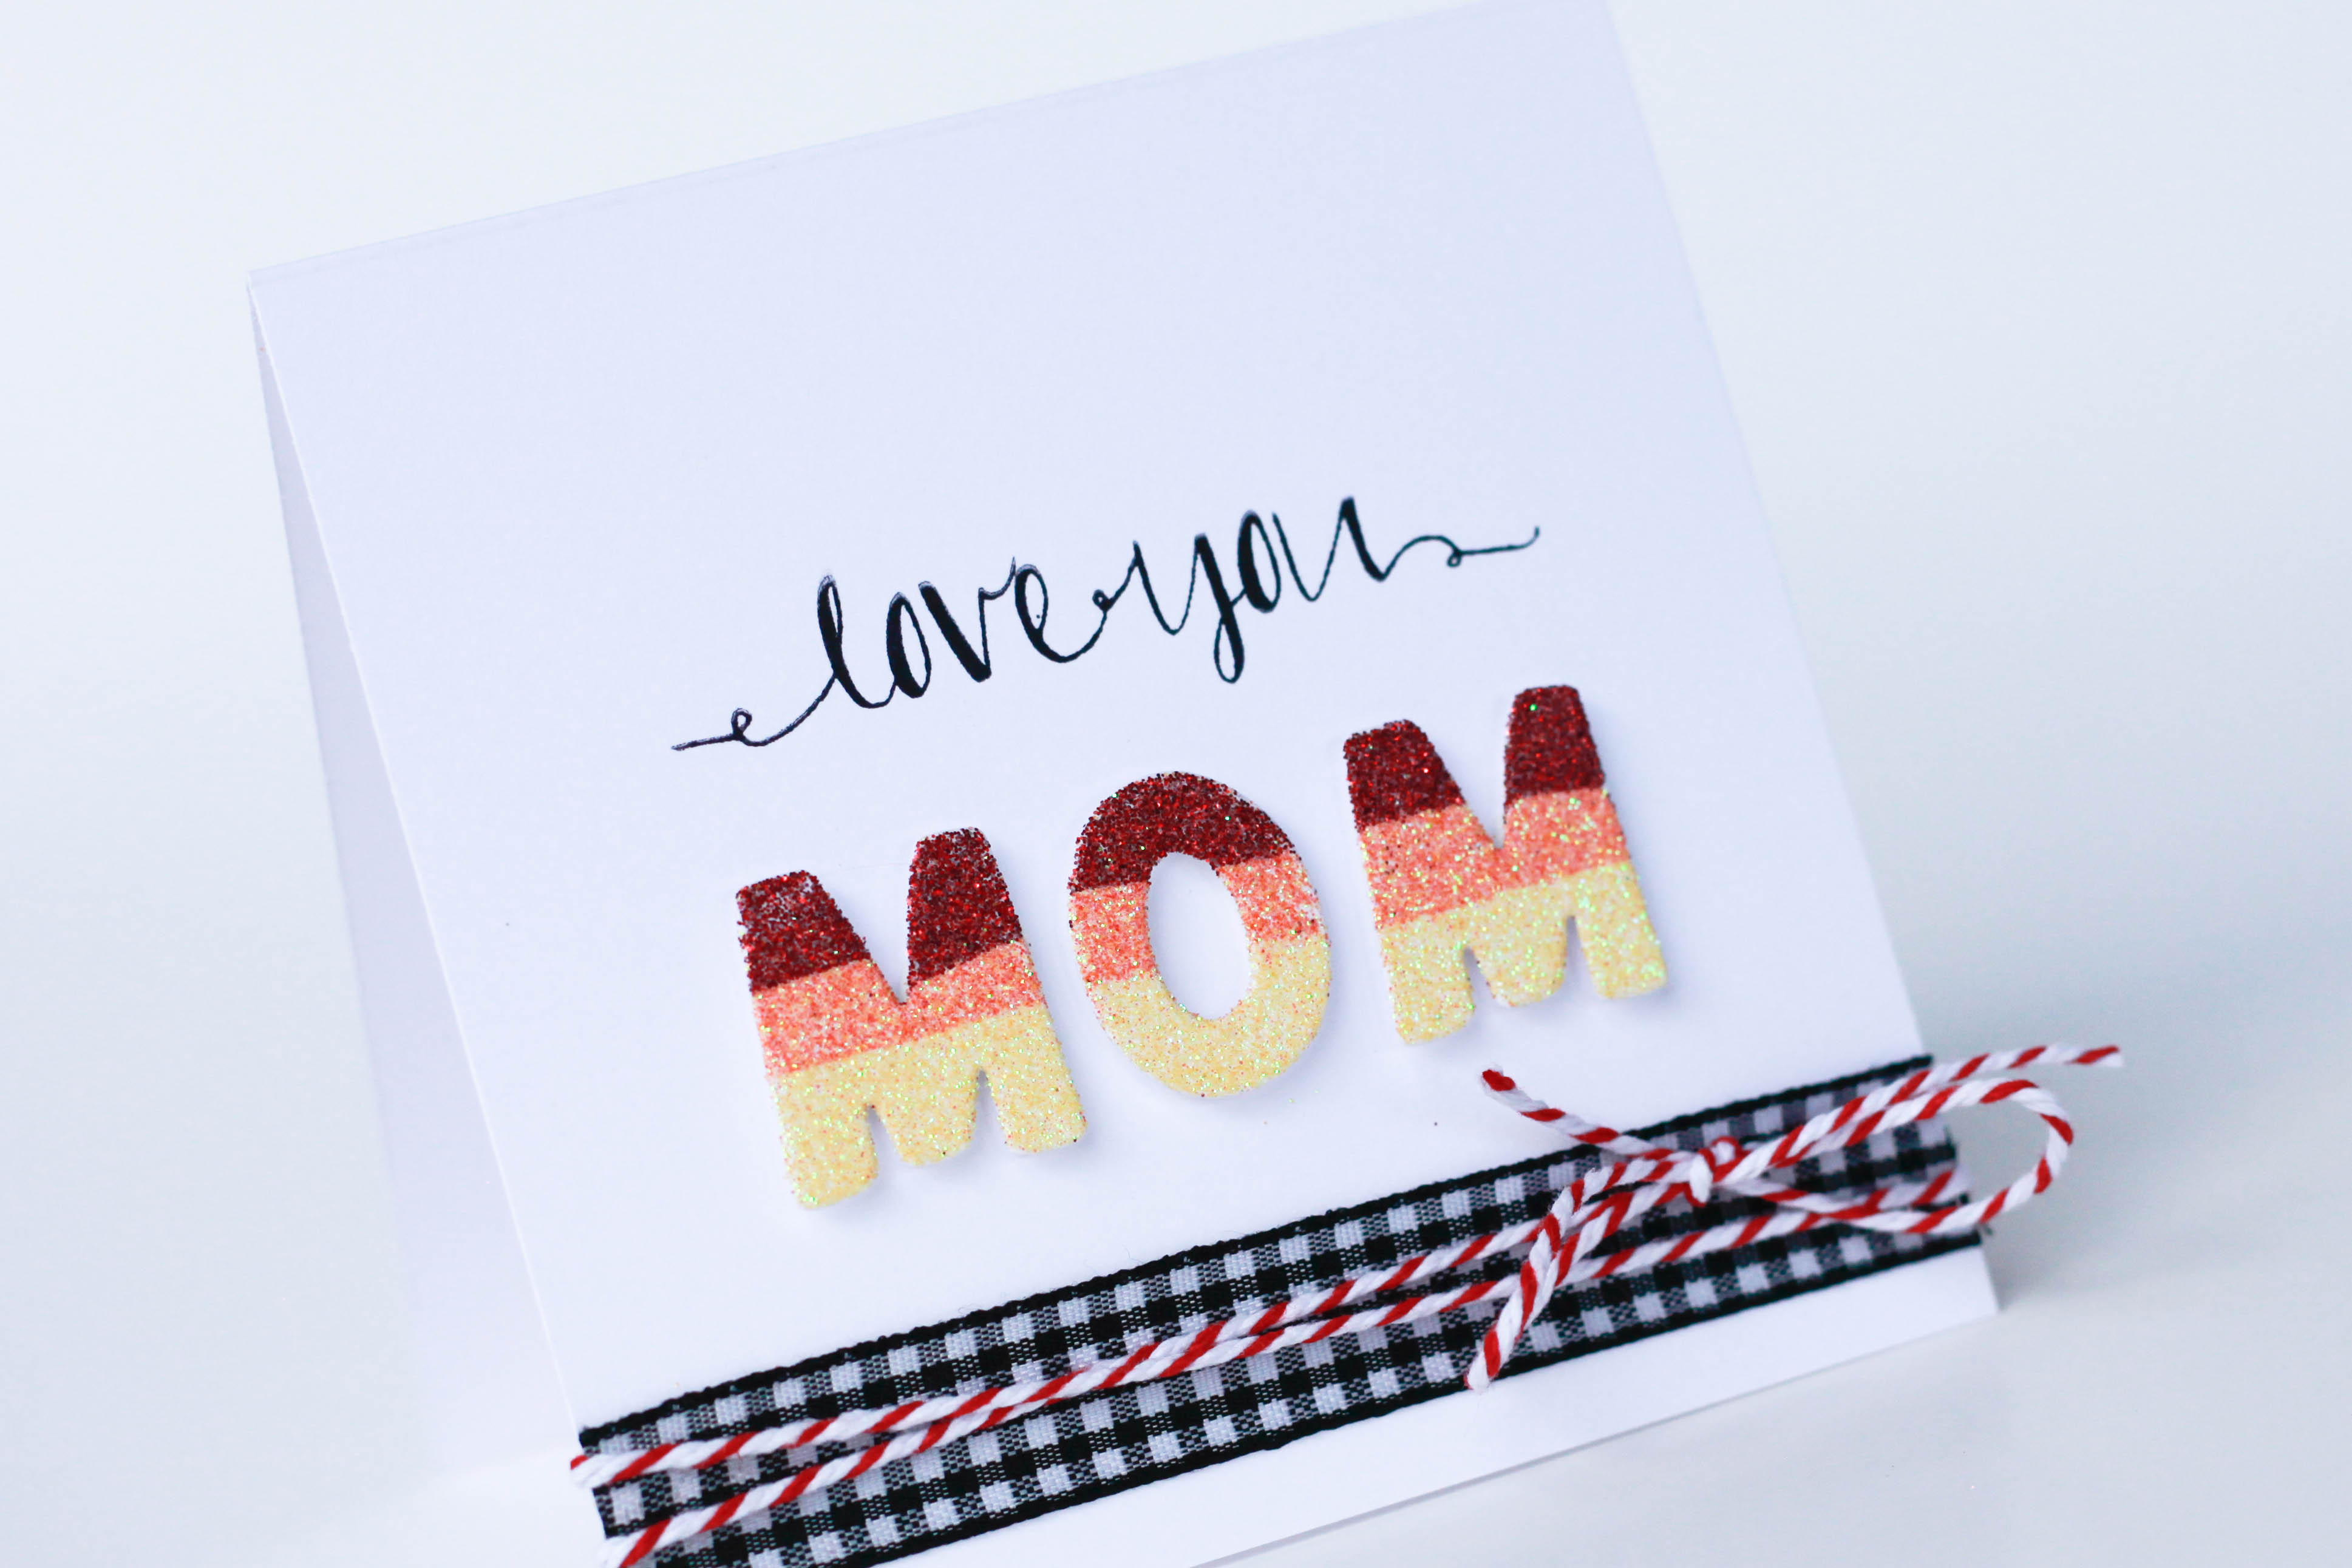
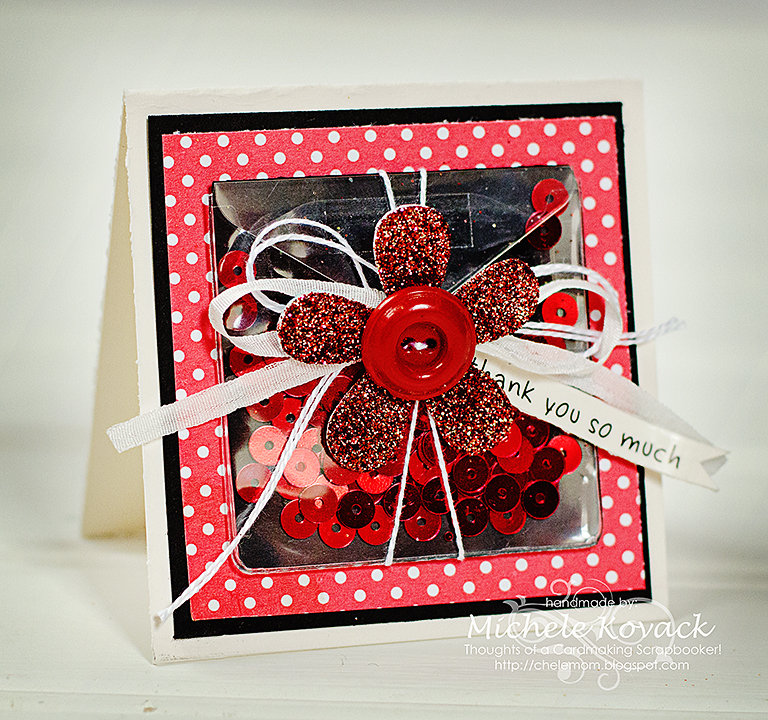
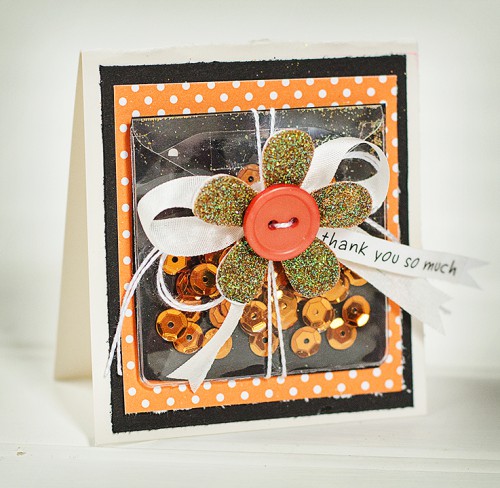
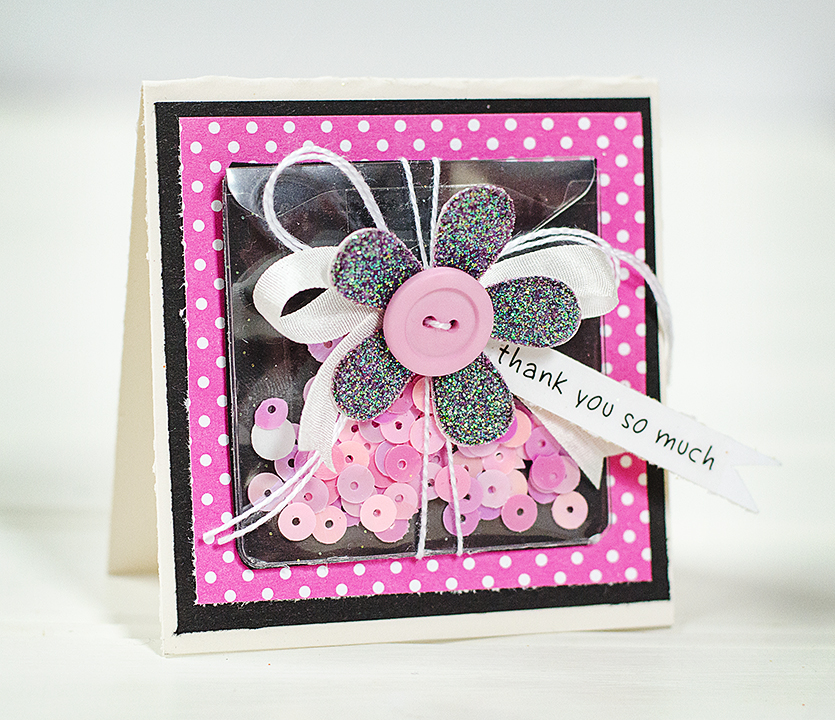
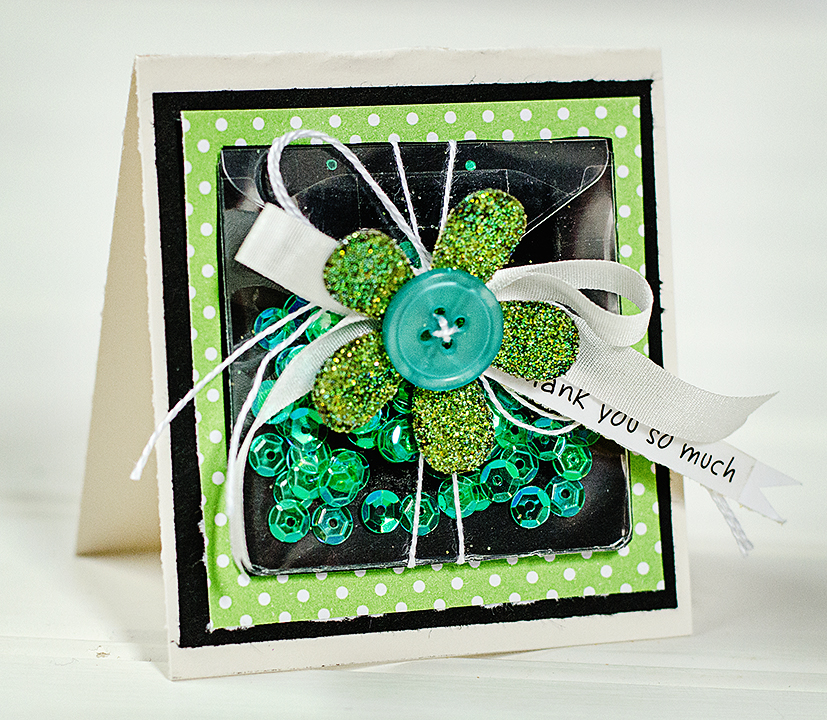
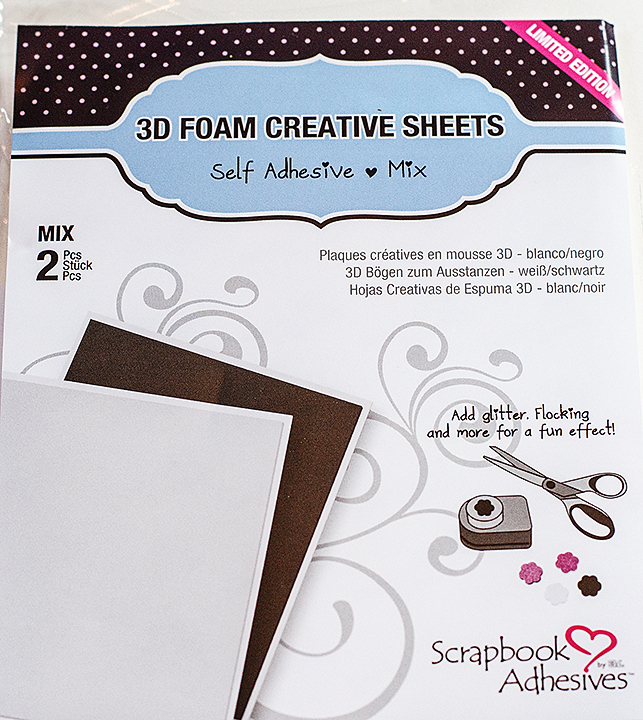
Here is a how I created my little thank you cards. I used the 3D Foam Creative Sheets and pulled out the black ones.
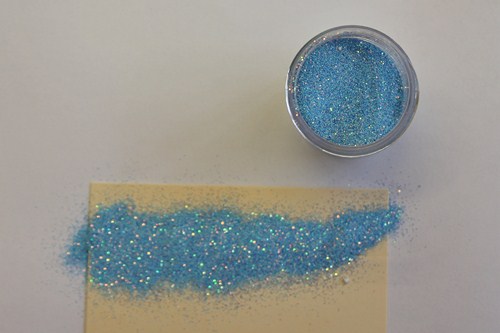
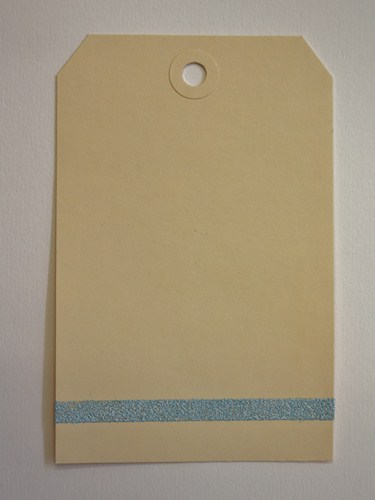
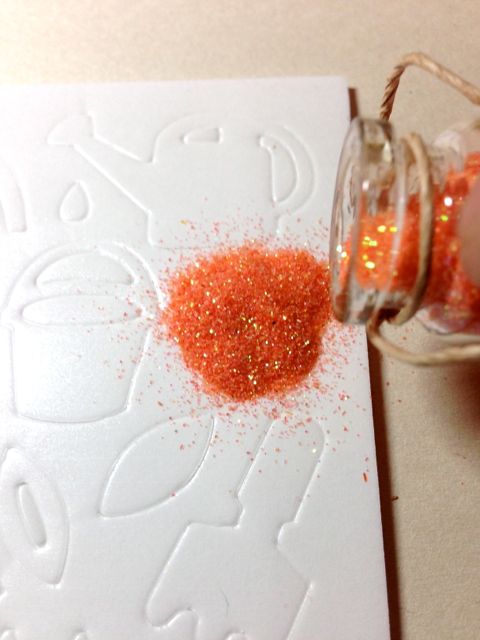
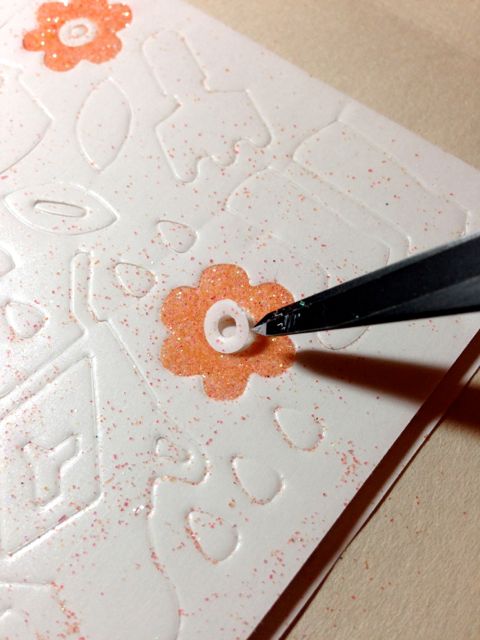
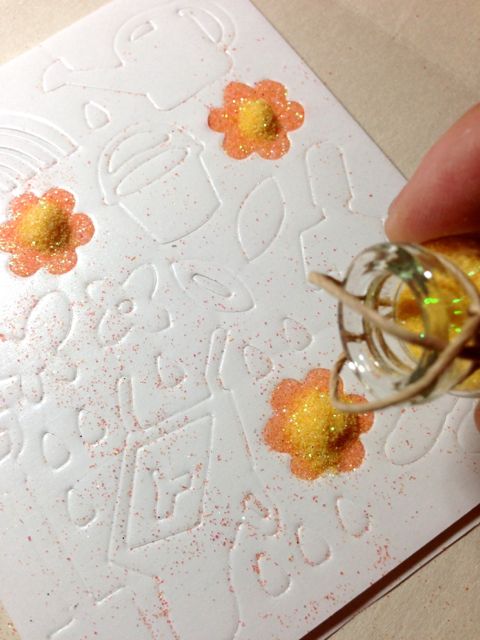
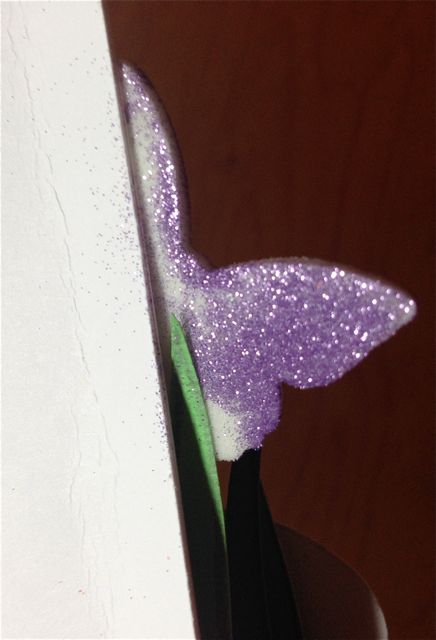
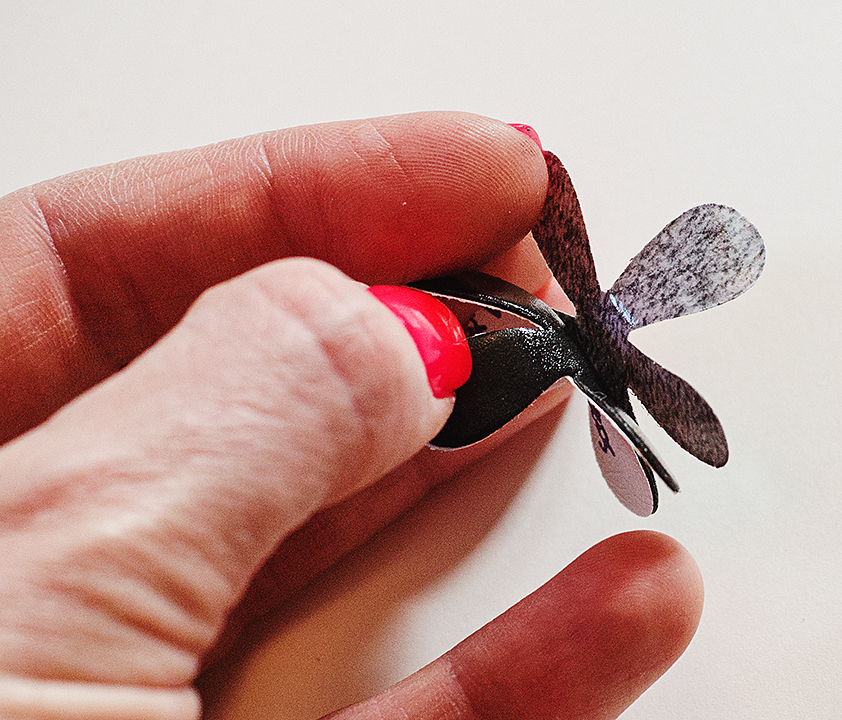
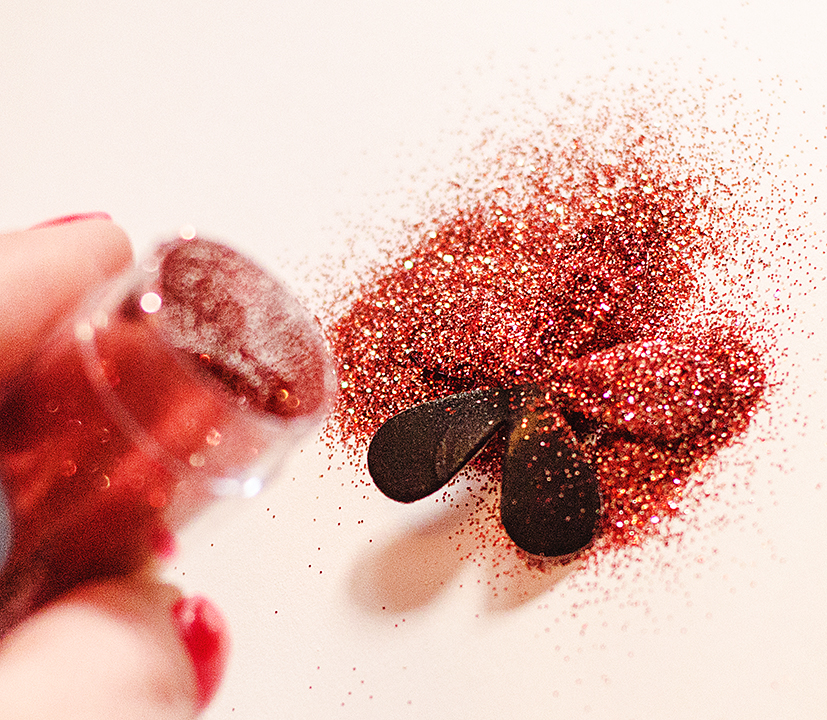
I used a metal die and ran it through my embossing machine. The foam has adhesive already on it. A I needed to do was pour the glitter directly on it!
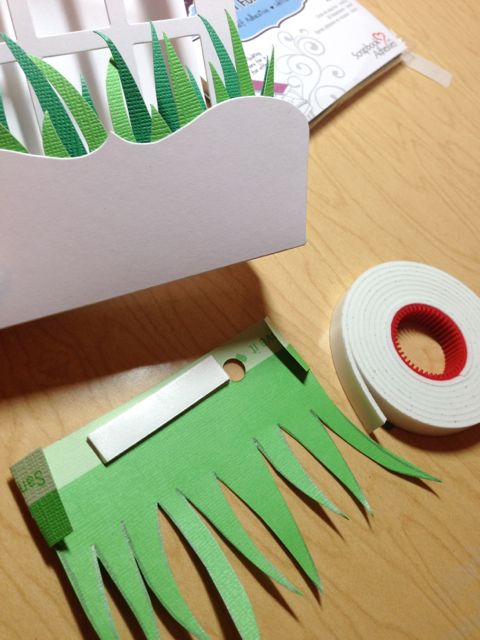
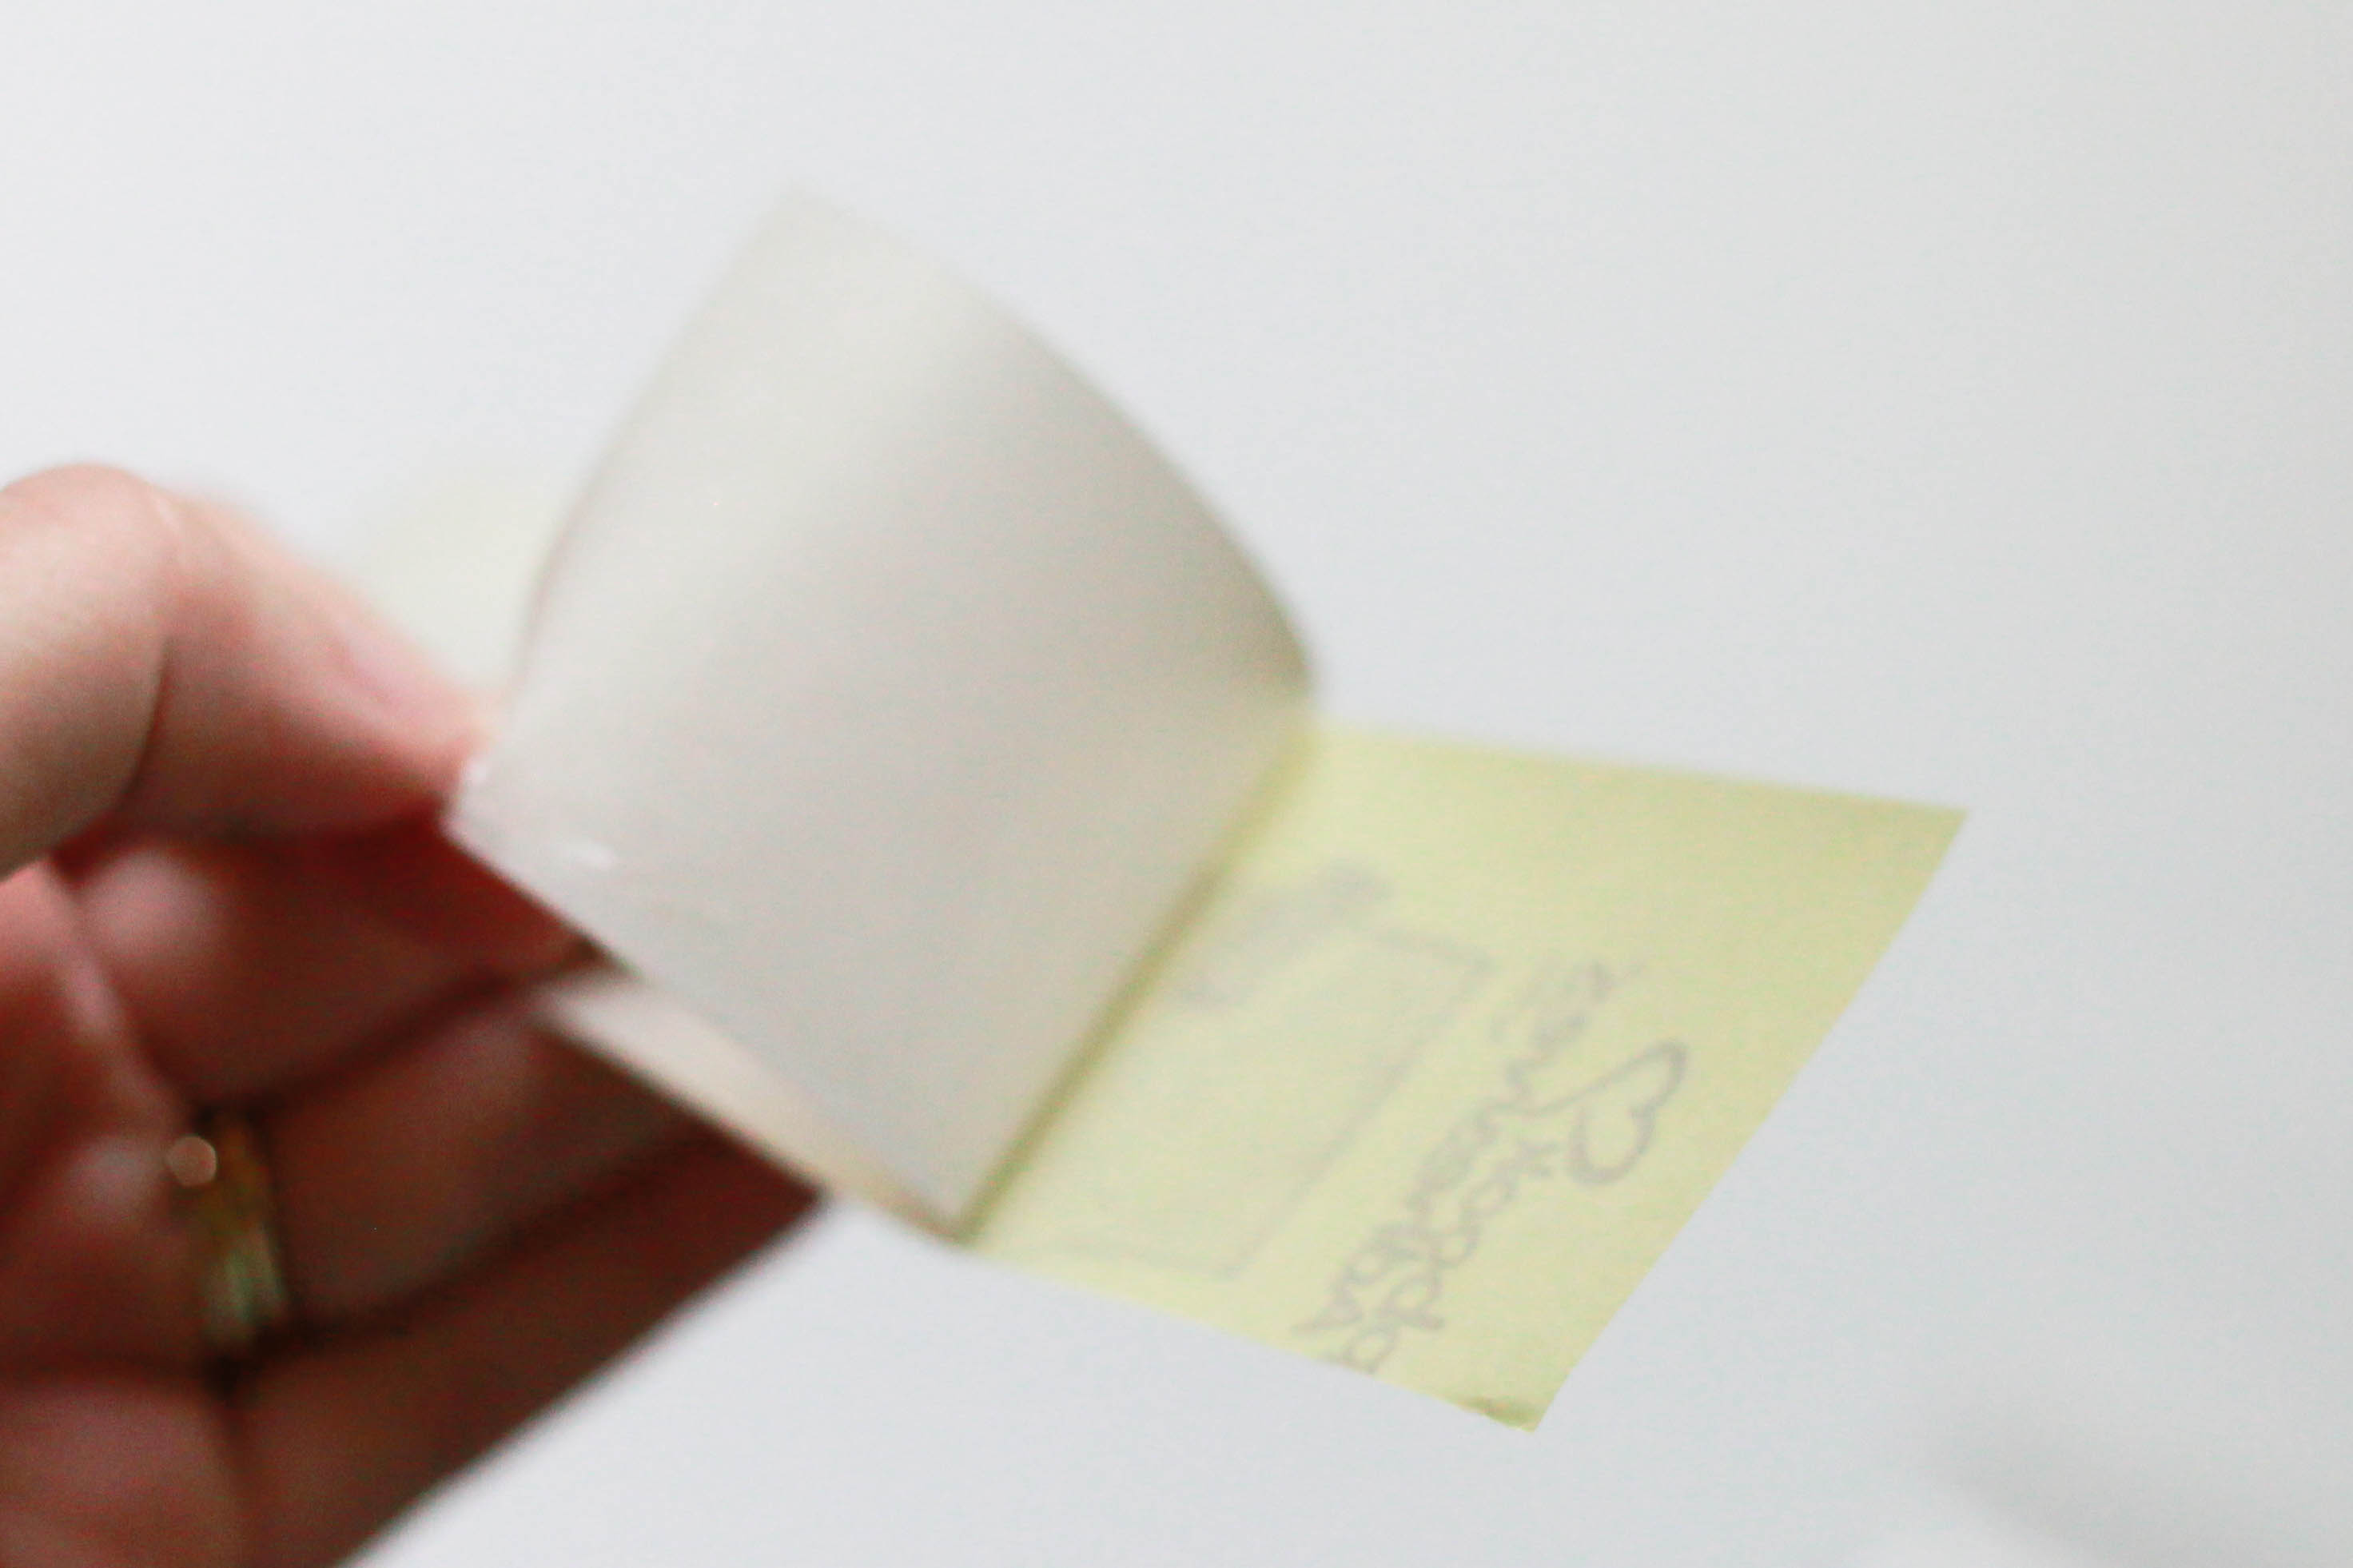
Keepsake Envelopes were perfect for creating shaker cards! They are adhered them directly to black card stock.
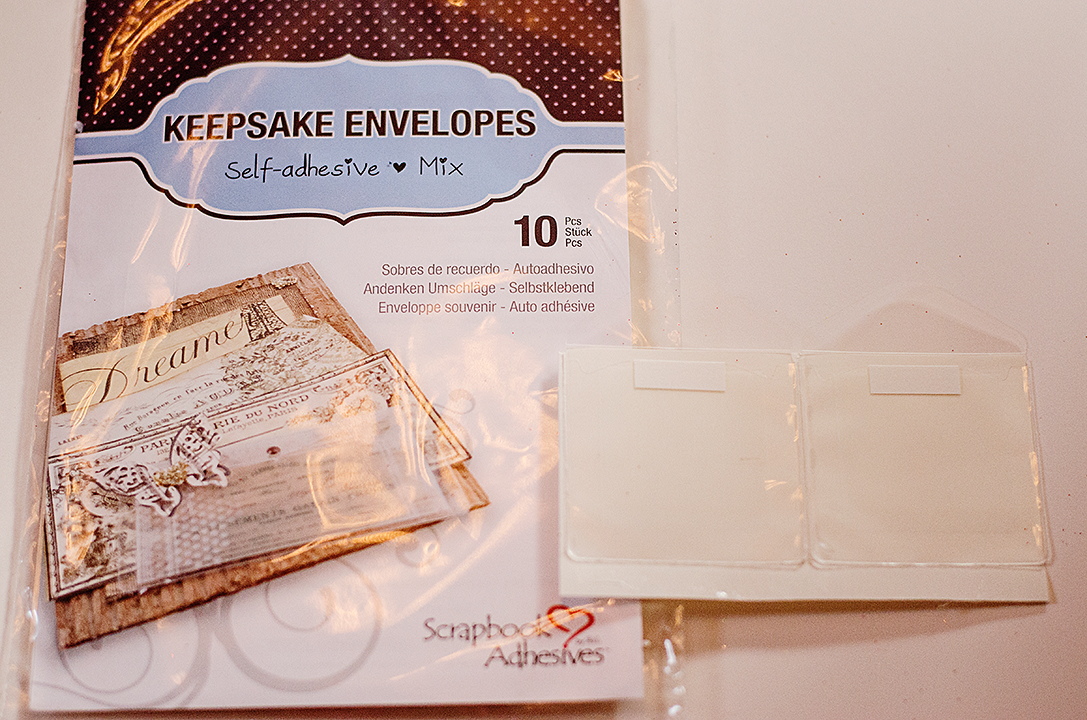
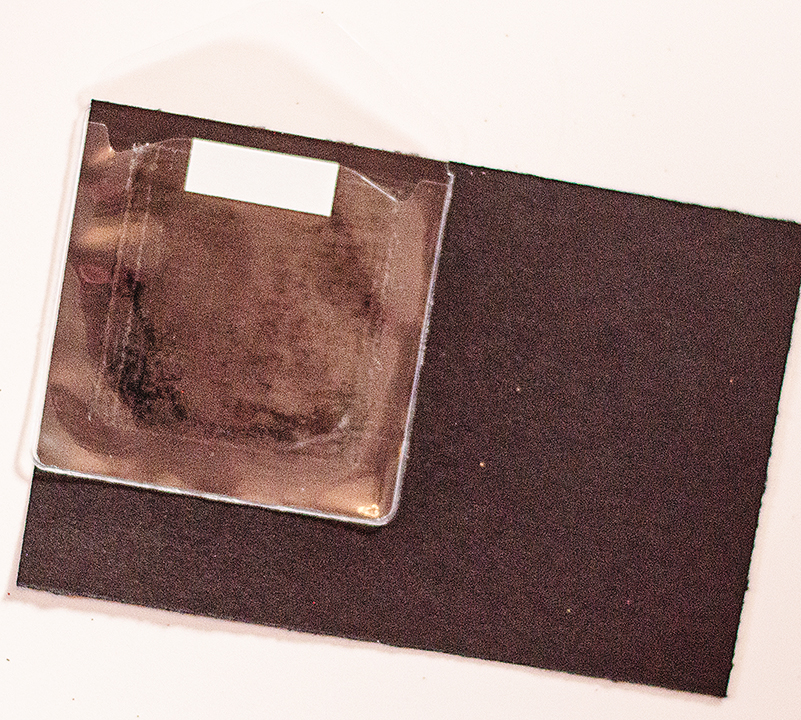
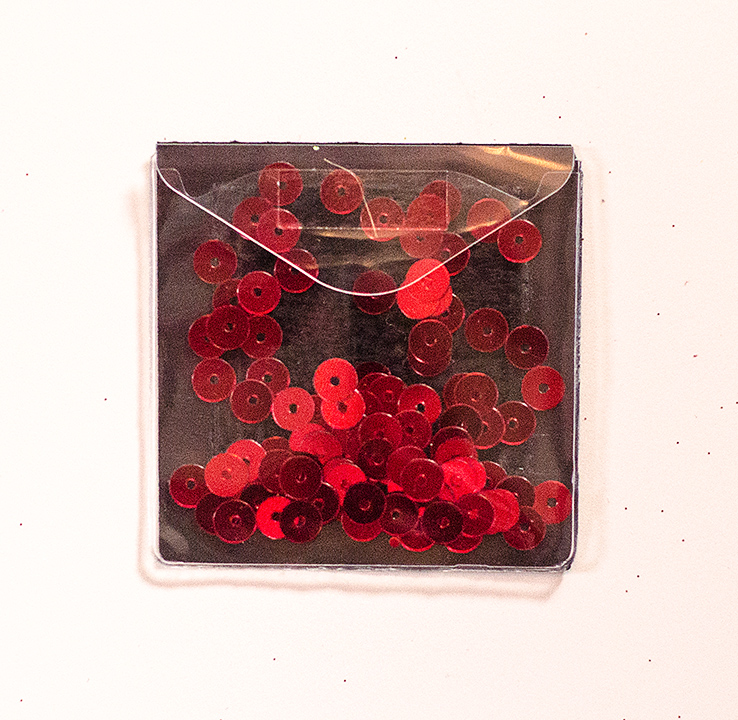
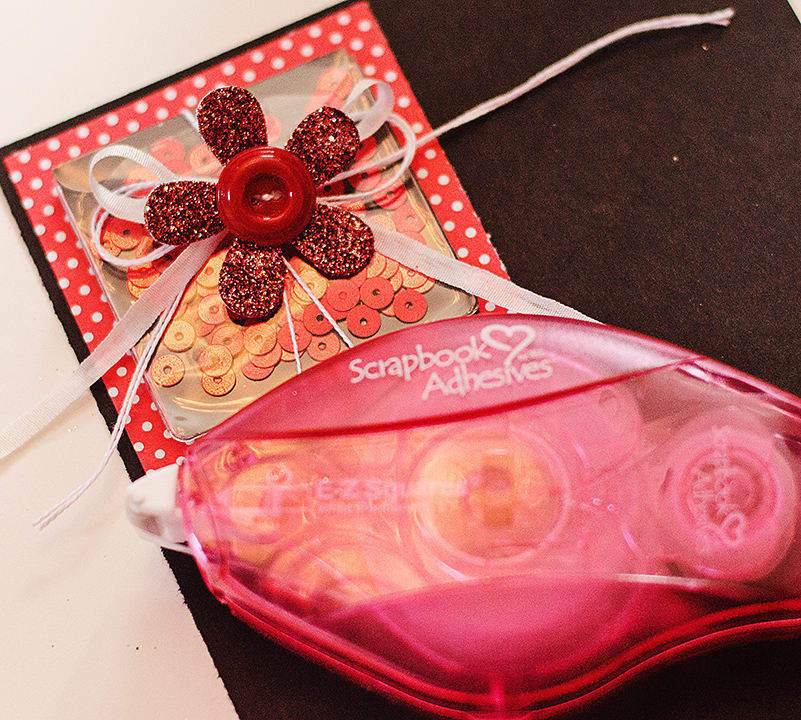
I trimmed the excess card stock off and then filled them up with sequins! So fun!

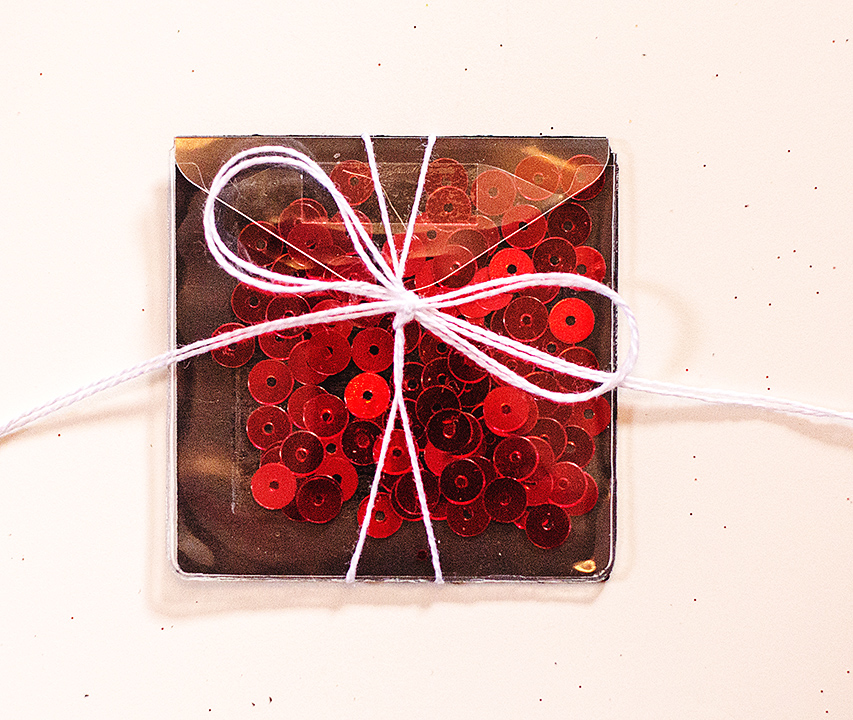
Tie string around the envelope and used the Adhesive Dots Small to adhere the flower to the center of the bow.
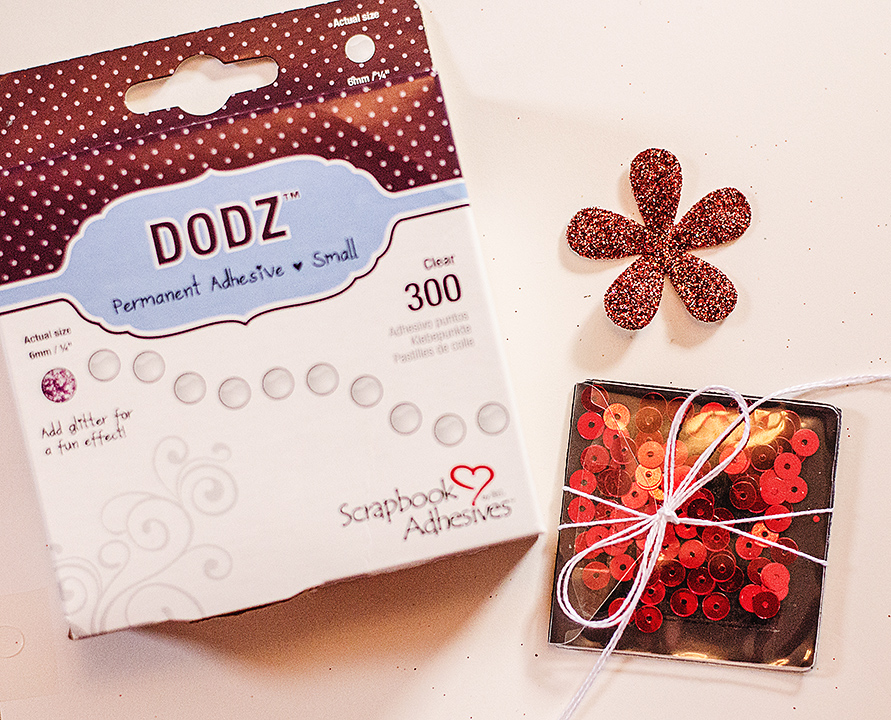
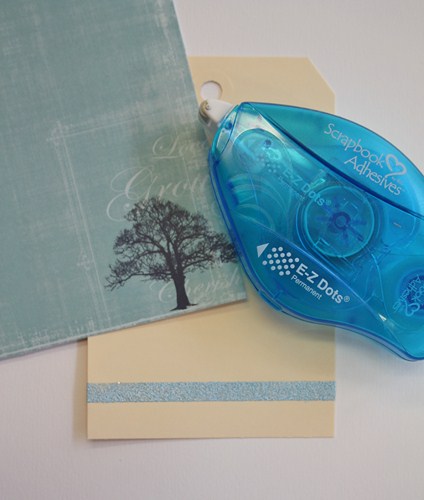
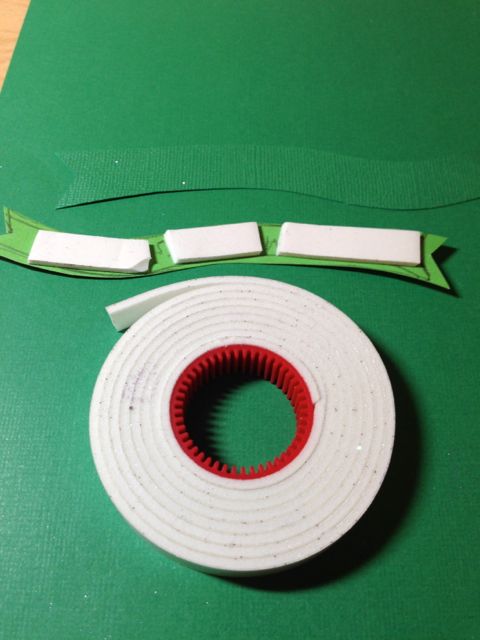
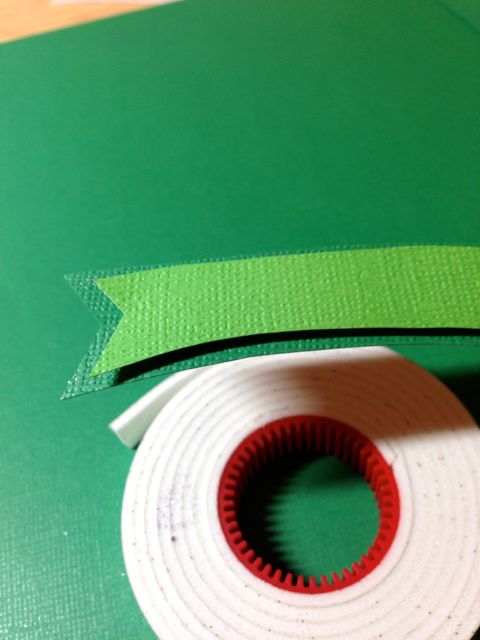
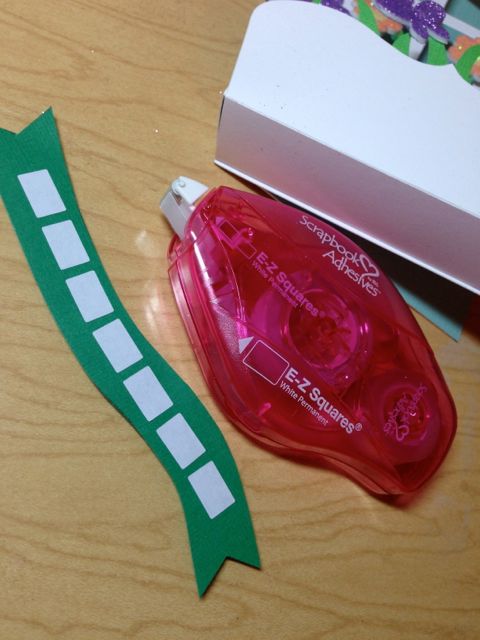
I used the E-Z Squares® Refillable to adhere my shaker envelope to my designer paper.

You will now have a rainbow of mini thank you cards!
Scrapbook Adhesives by 3L supplies:
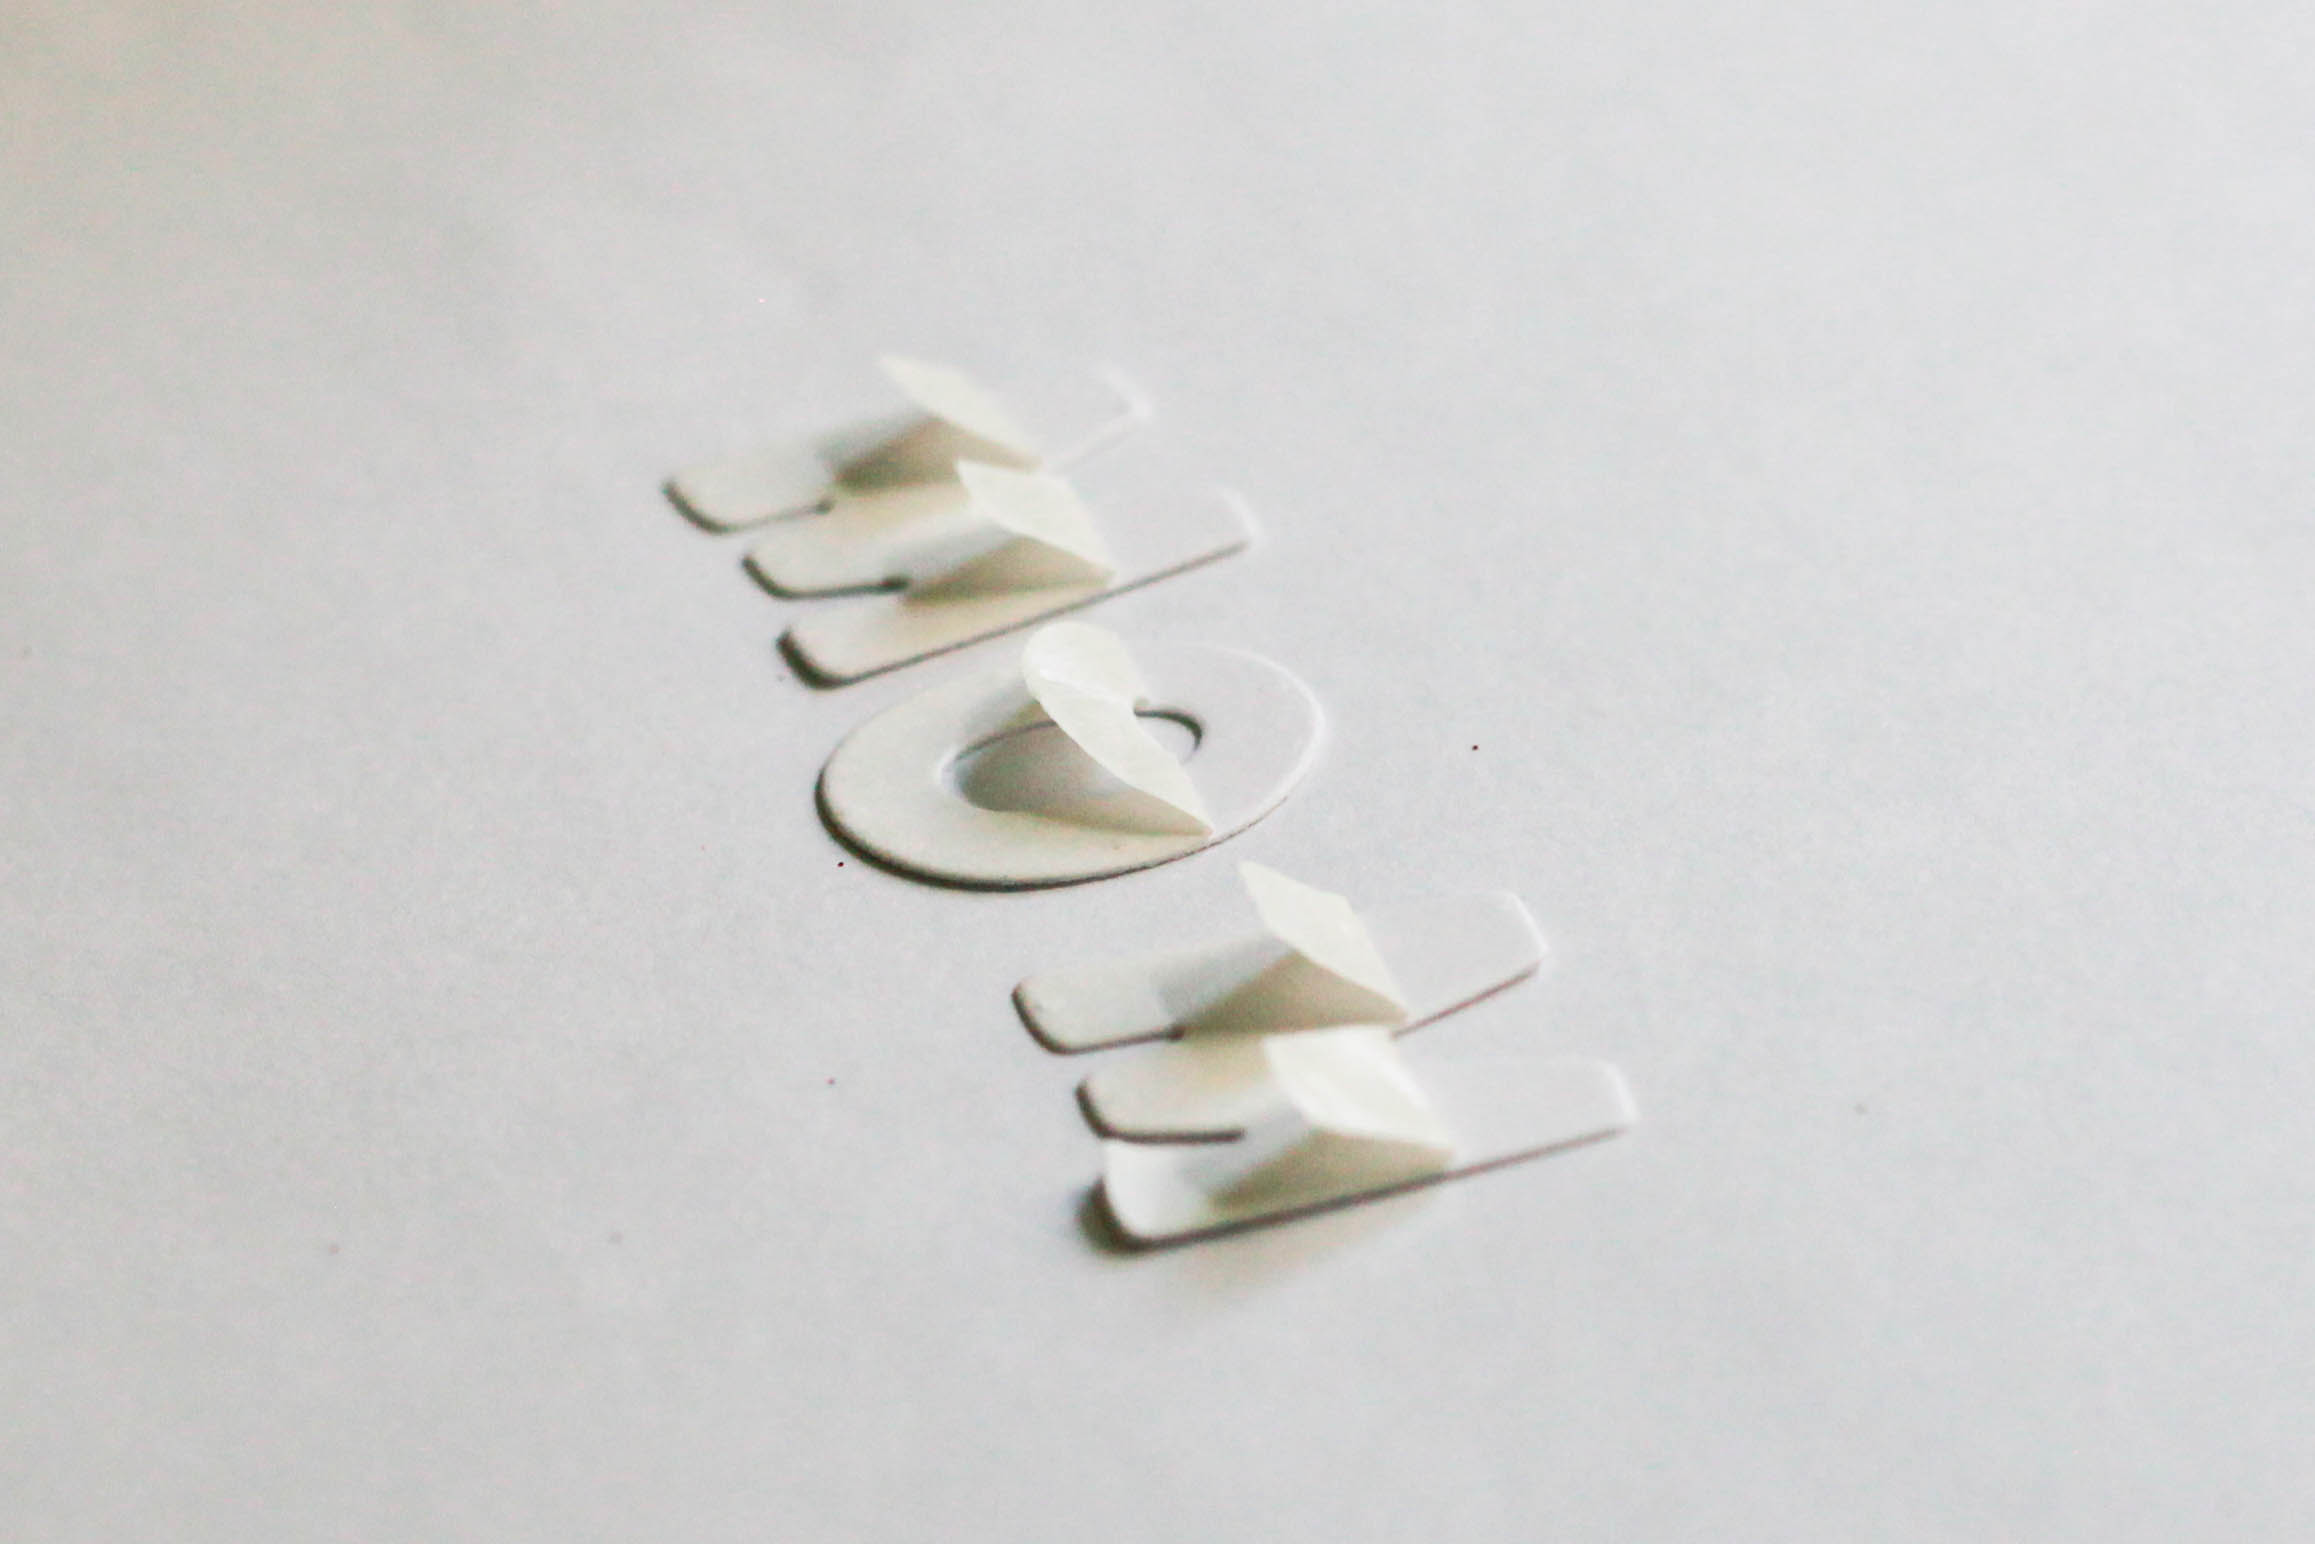
Adhesive Dots Small
E-Z Squares® Refillable
Keepsake Envelopes
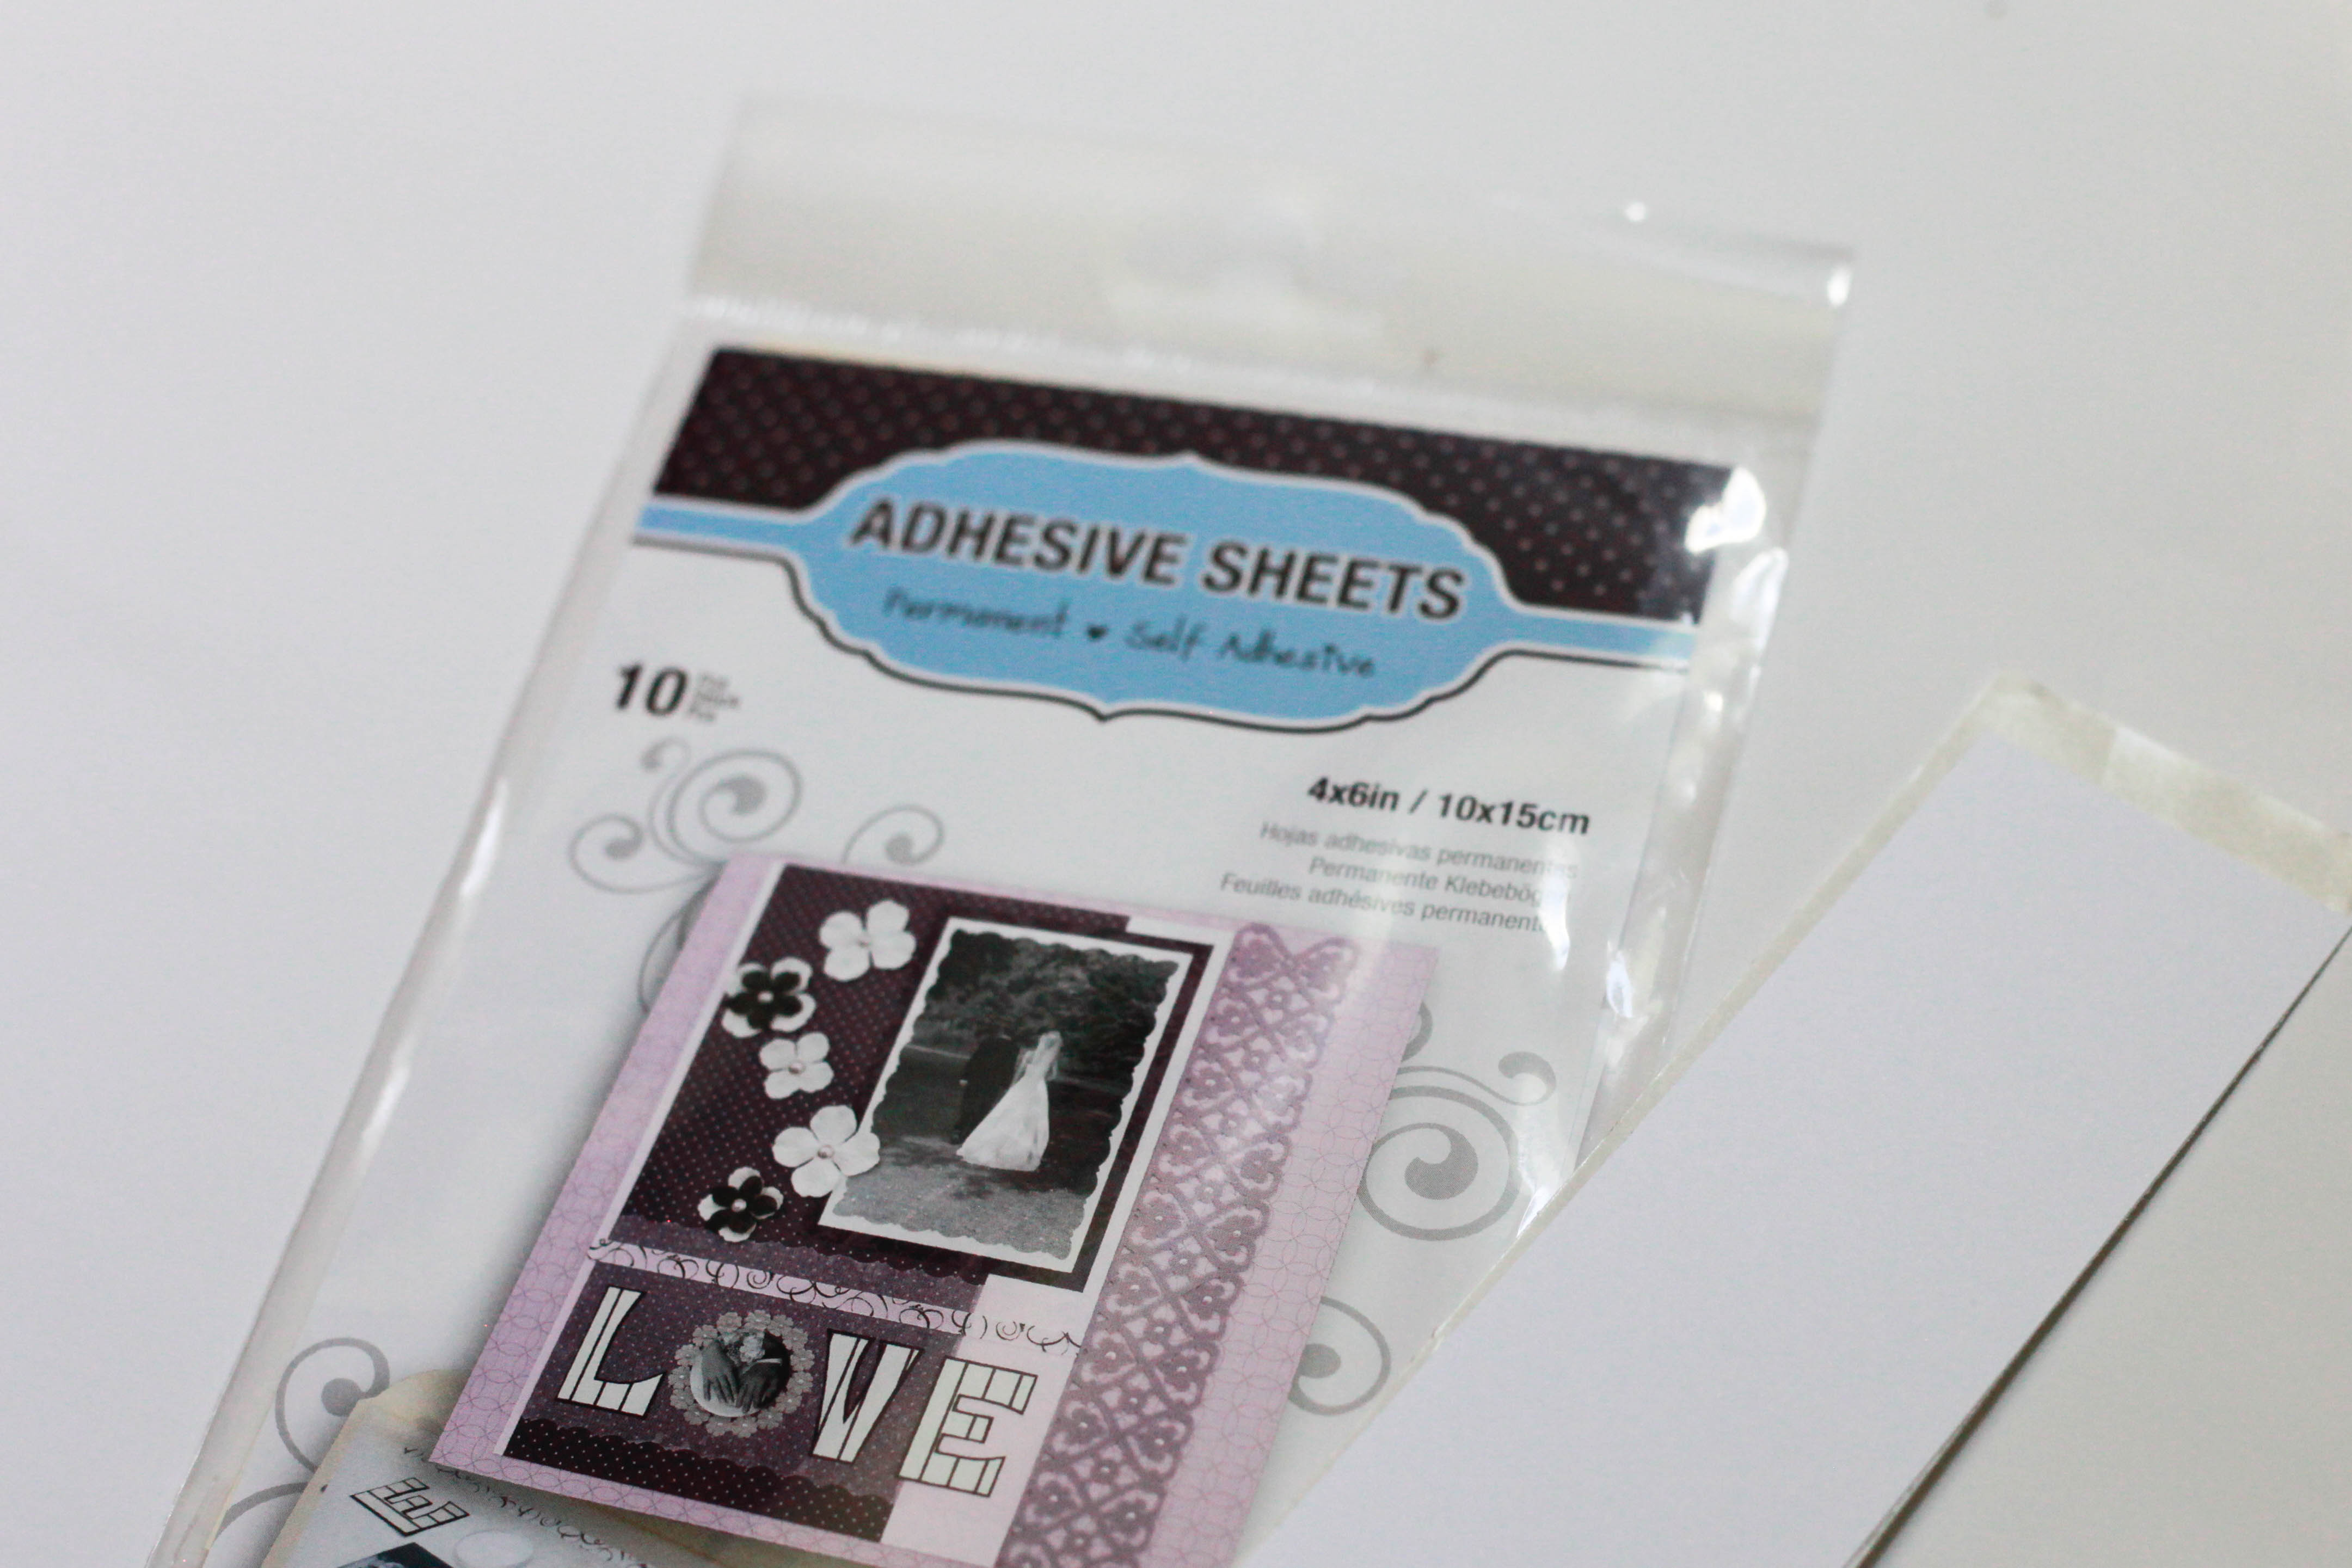
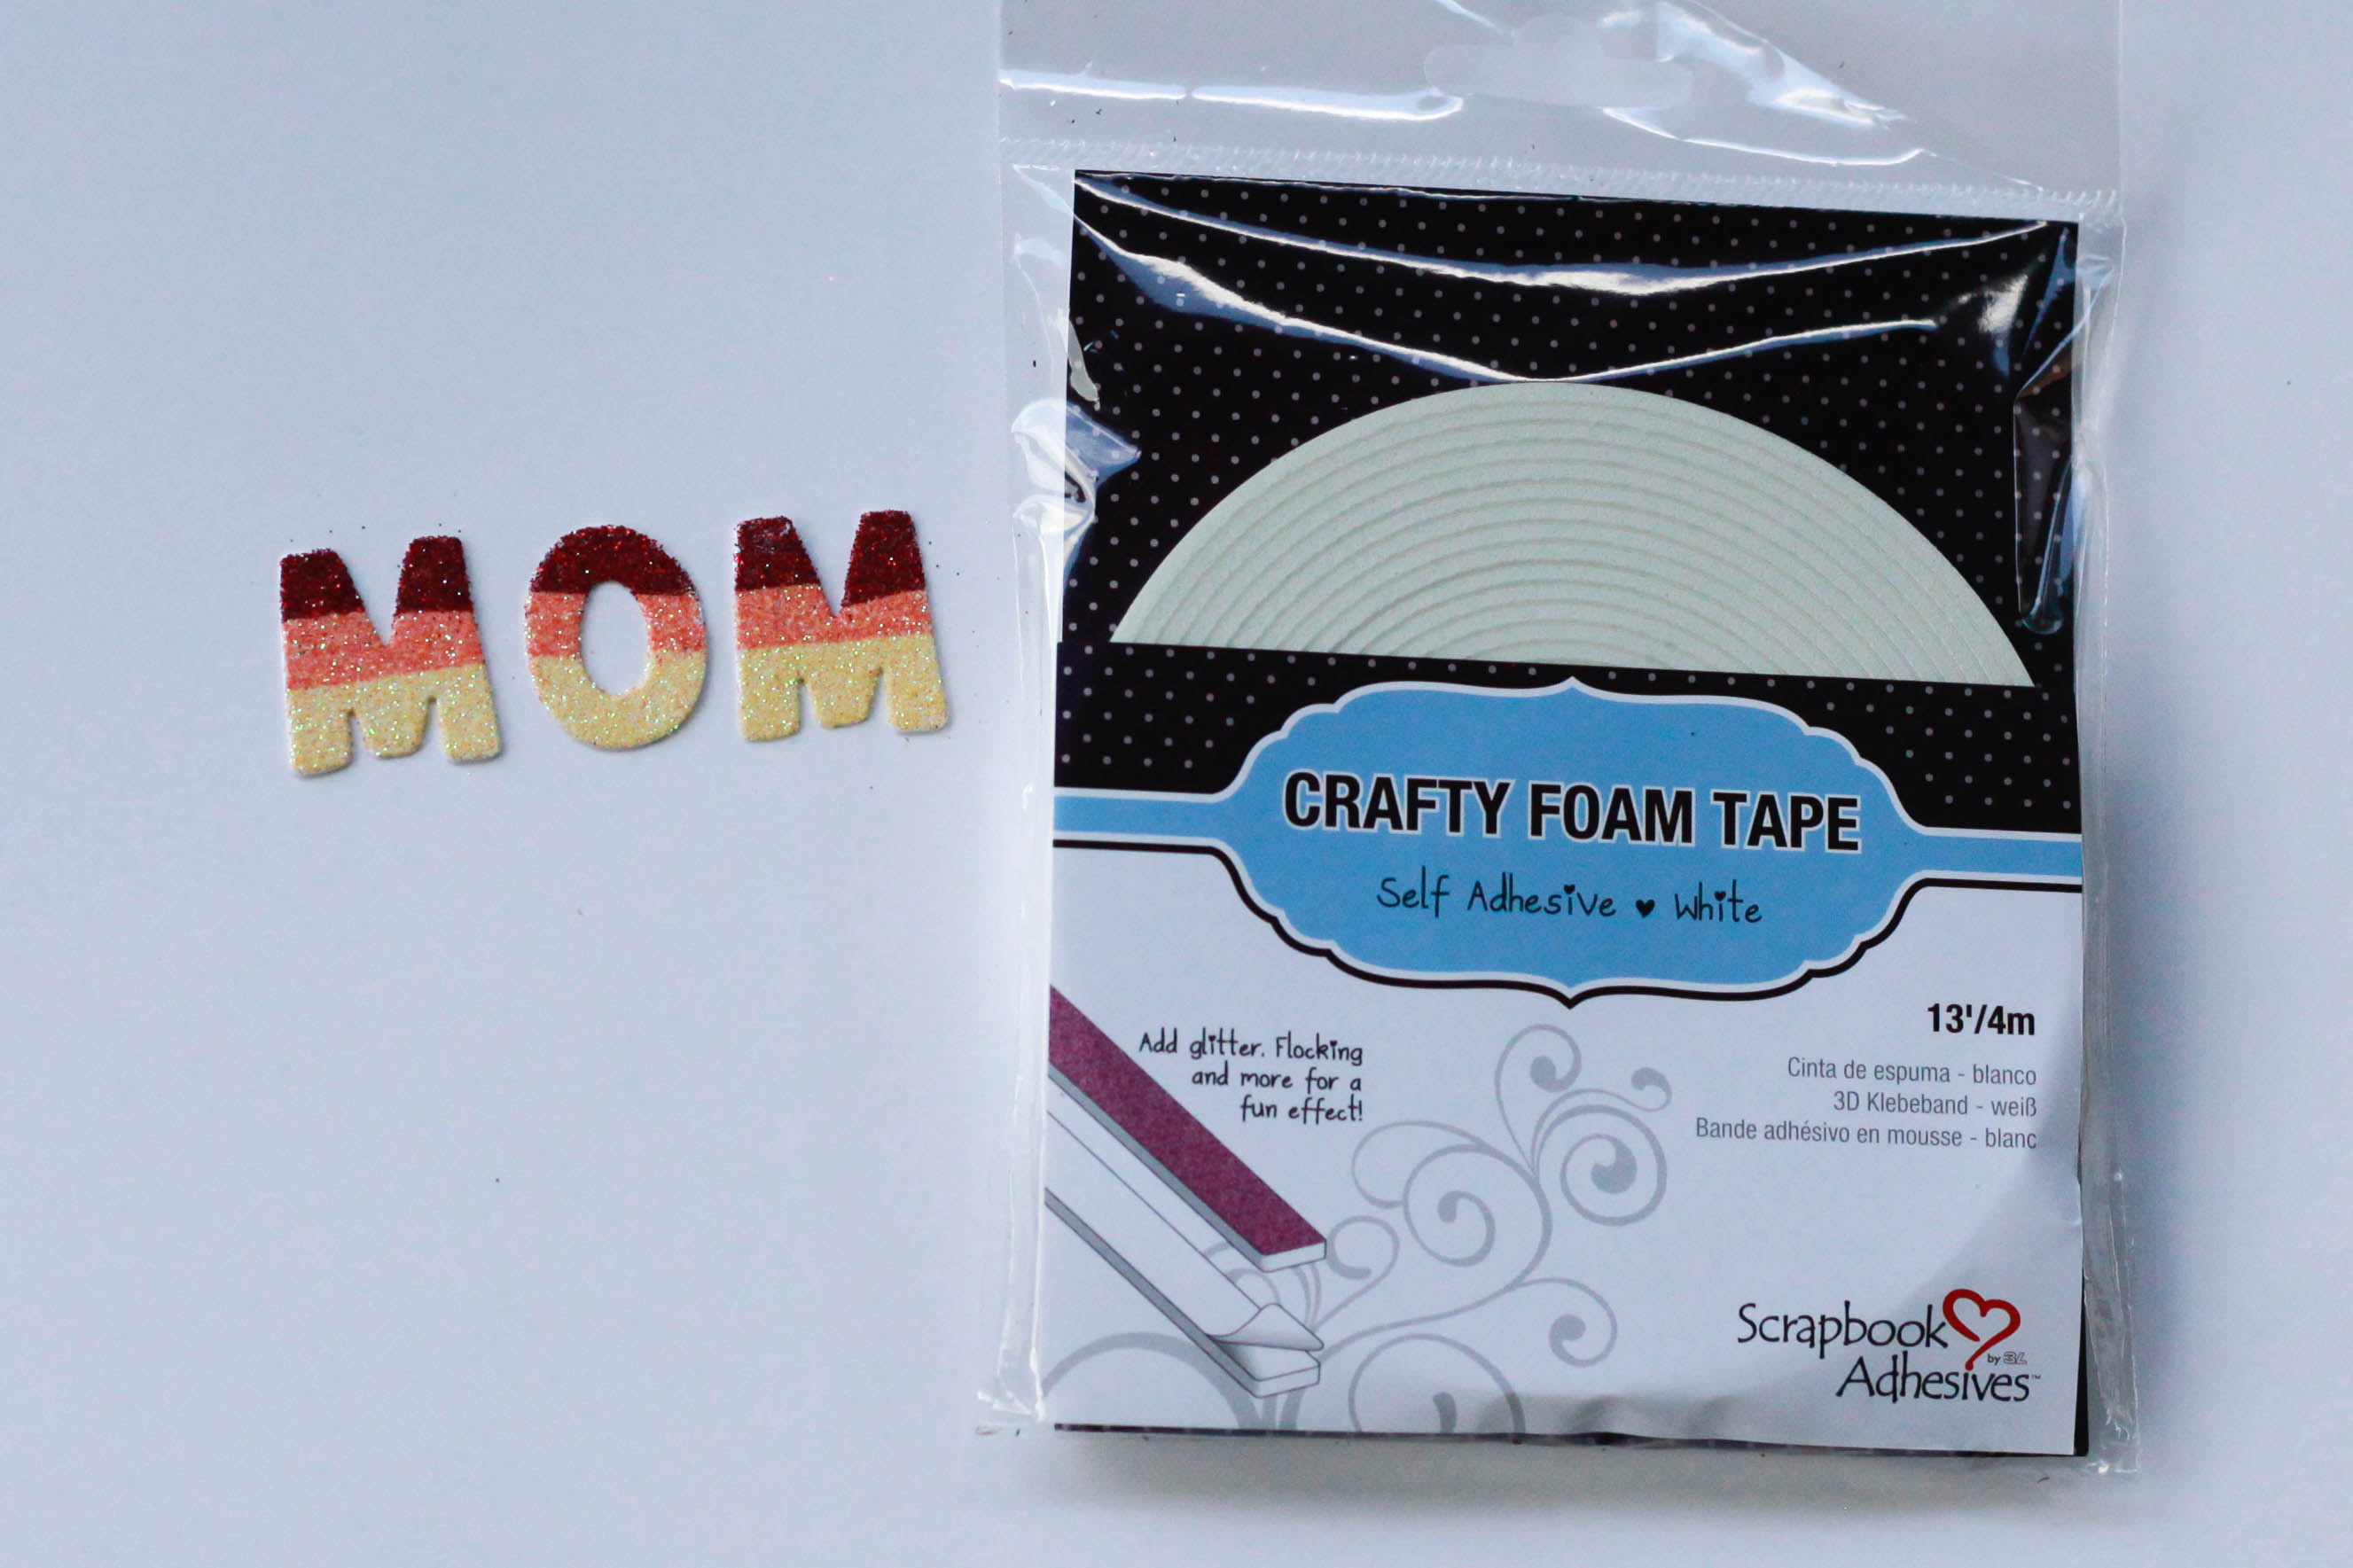
3D Foam Creative Sheets
Papertrey Ink: Black Paper
Polka Dot Paper: Target
Die: Papertrey Ink
Glitter: Martha Stewart
Ribbon: Papertrey Ink
String: Michaels
Thanks so much for joining me today!
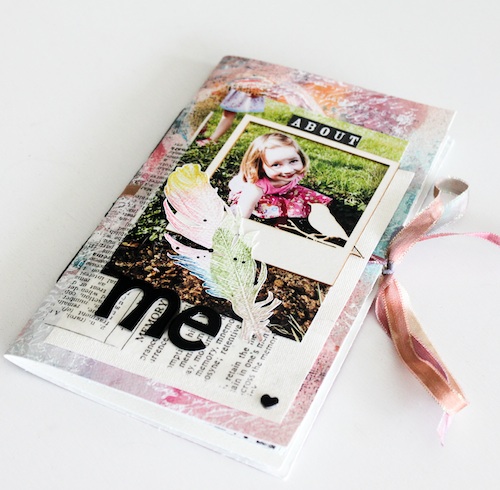
A Little About Michele
I am so excited to share be a part of the Scrapbook Adhesives by 3L® Design Team! Let me tell you a bit about myself. I am a 5th grade teacher by day and crafting nut at night! I am married to my high school sweetheart. We have two children who are now both teens. (Very fun! 😉 We live in a suburb just outside of Chicago. To add to our busy household we have two rescue pups.
When asked to describe my style, I tend to be more shabby and vintage. I do like to experiment though and mix things up a bit from time to time! The one supply I could NOT live without is glitter! I add it to practically everything! I have a philosophy that everything, and I mean everything looks better with glitter!
I am blessed to have worked, and currently work, for some wonderful companies! I hope you have a chance to pop on over to my blog, Thoughts of a Cardmaking Scrapbooker, to see all of my crafty creations. (Mixed in occasionally with family and dogs!)