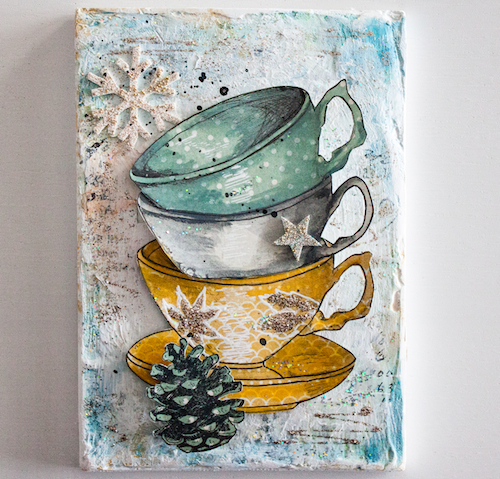
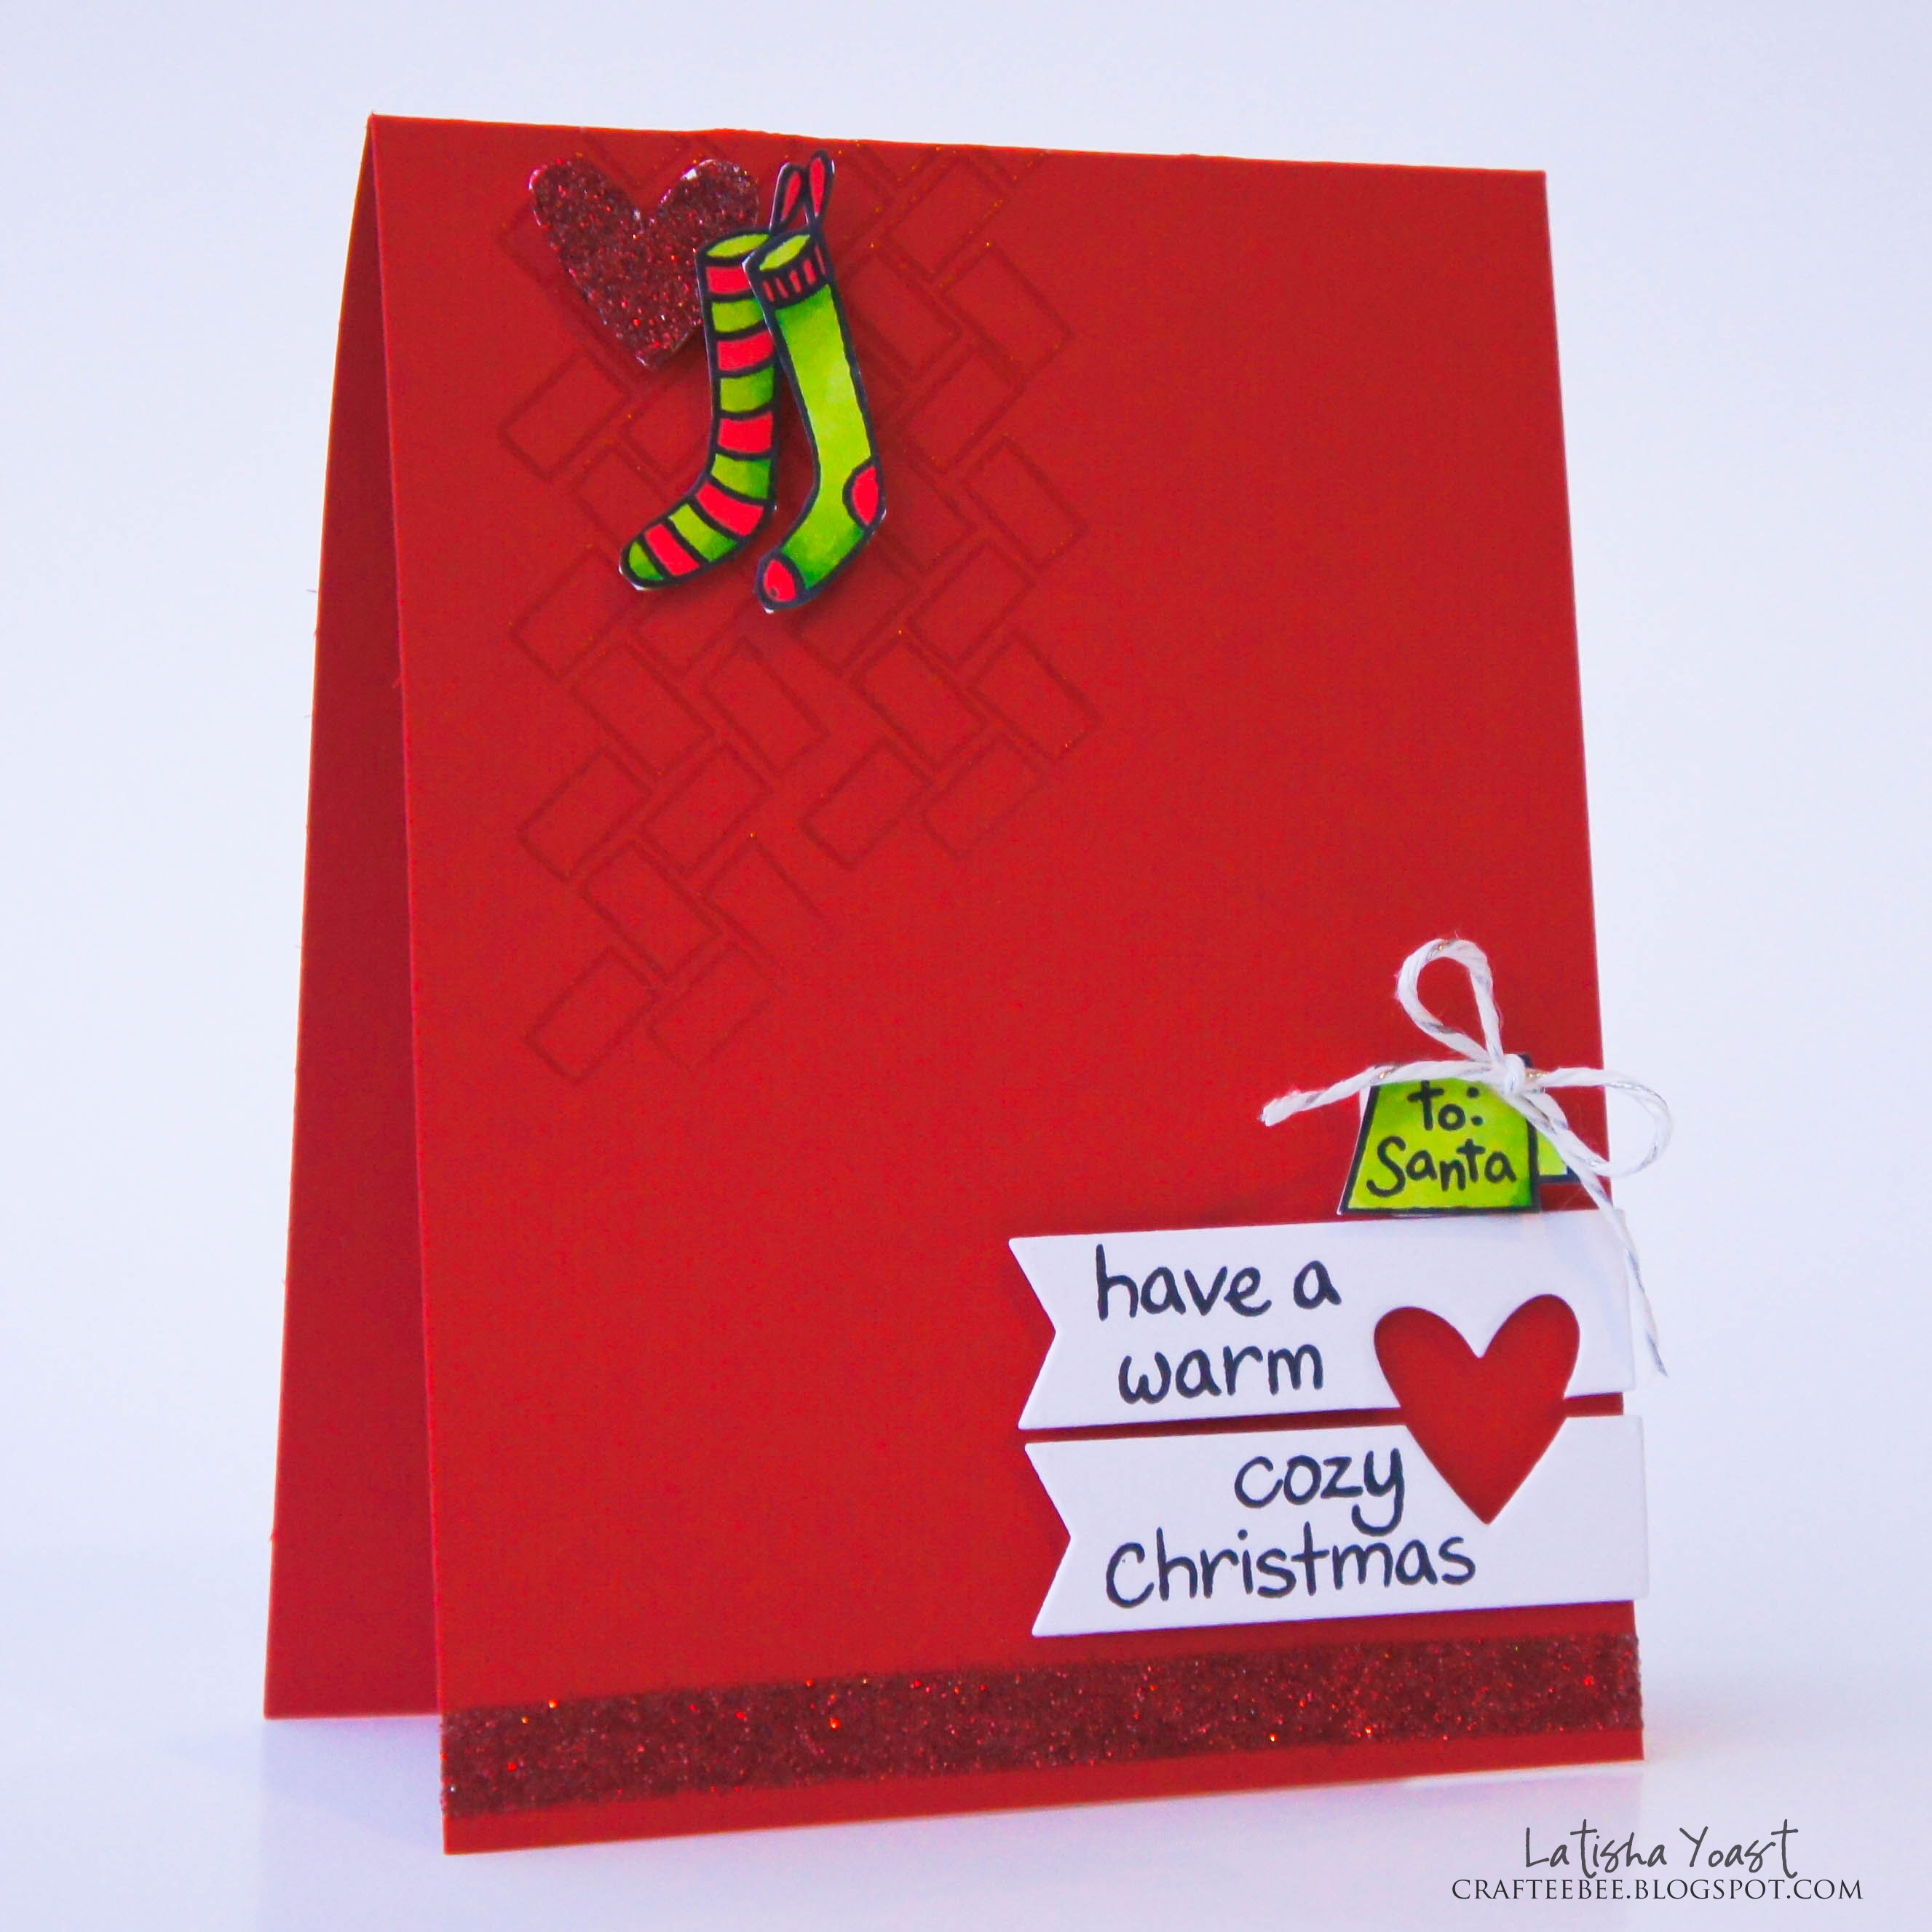
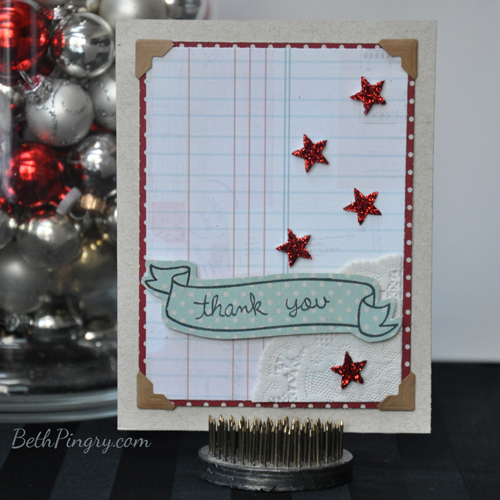
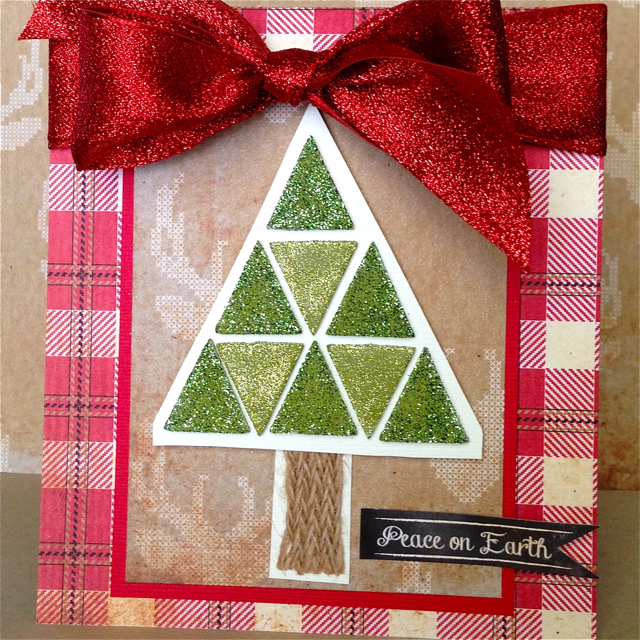
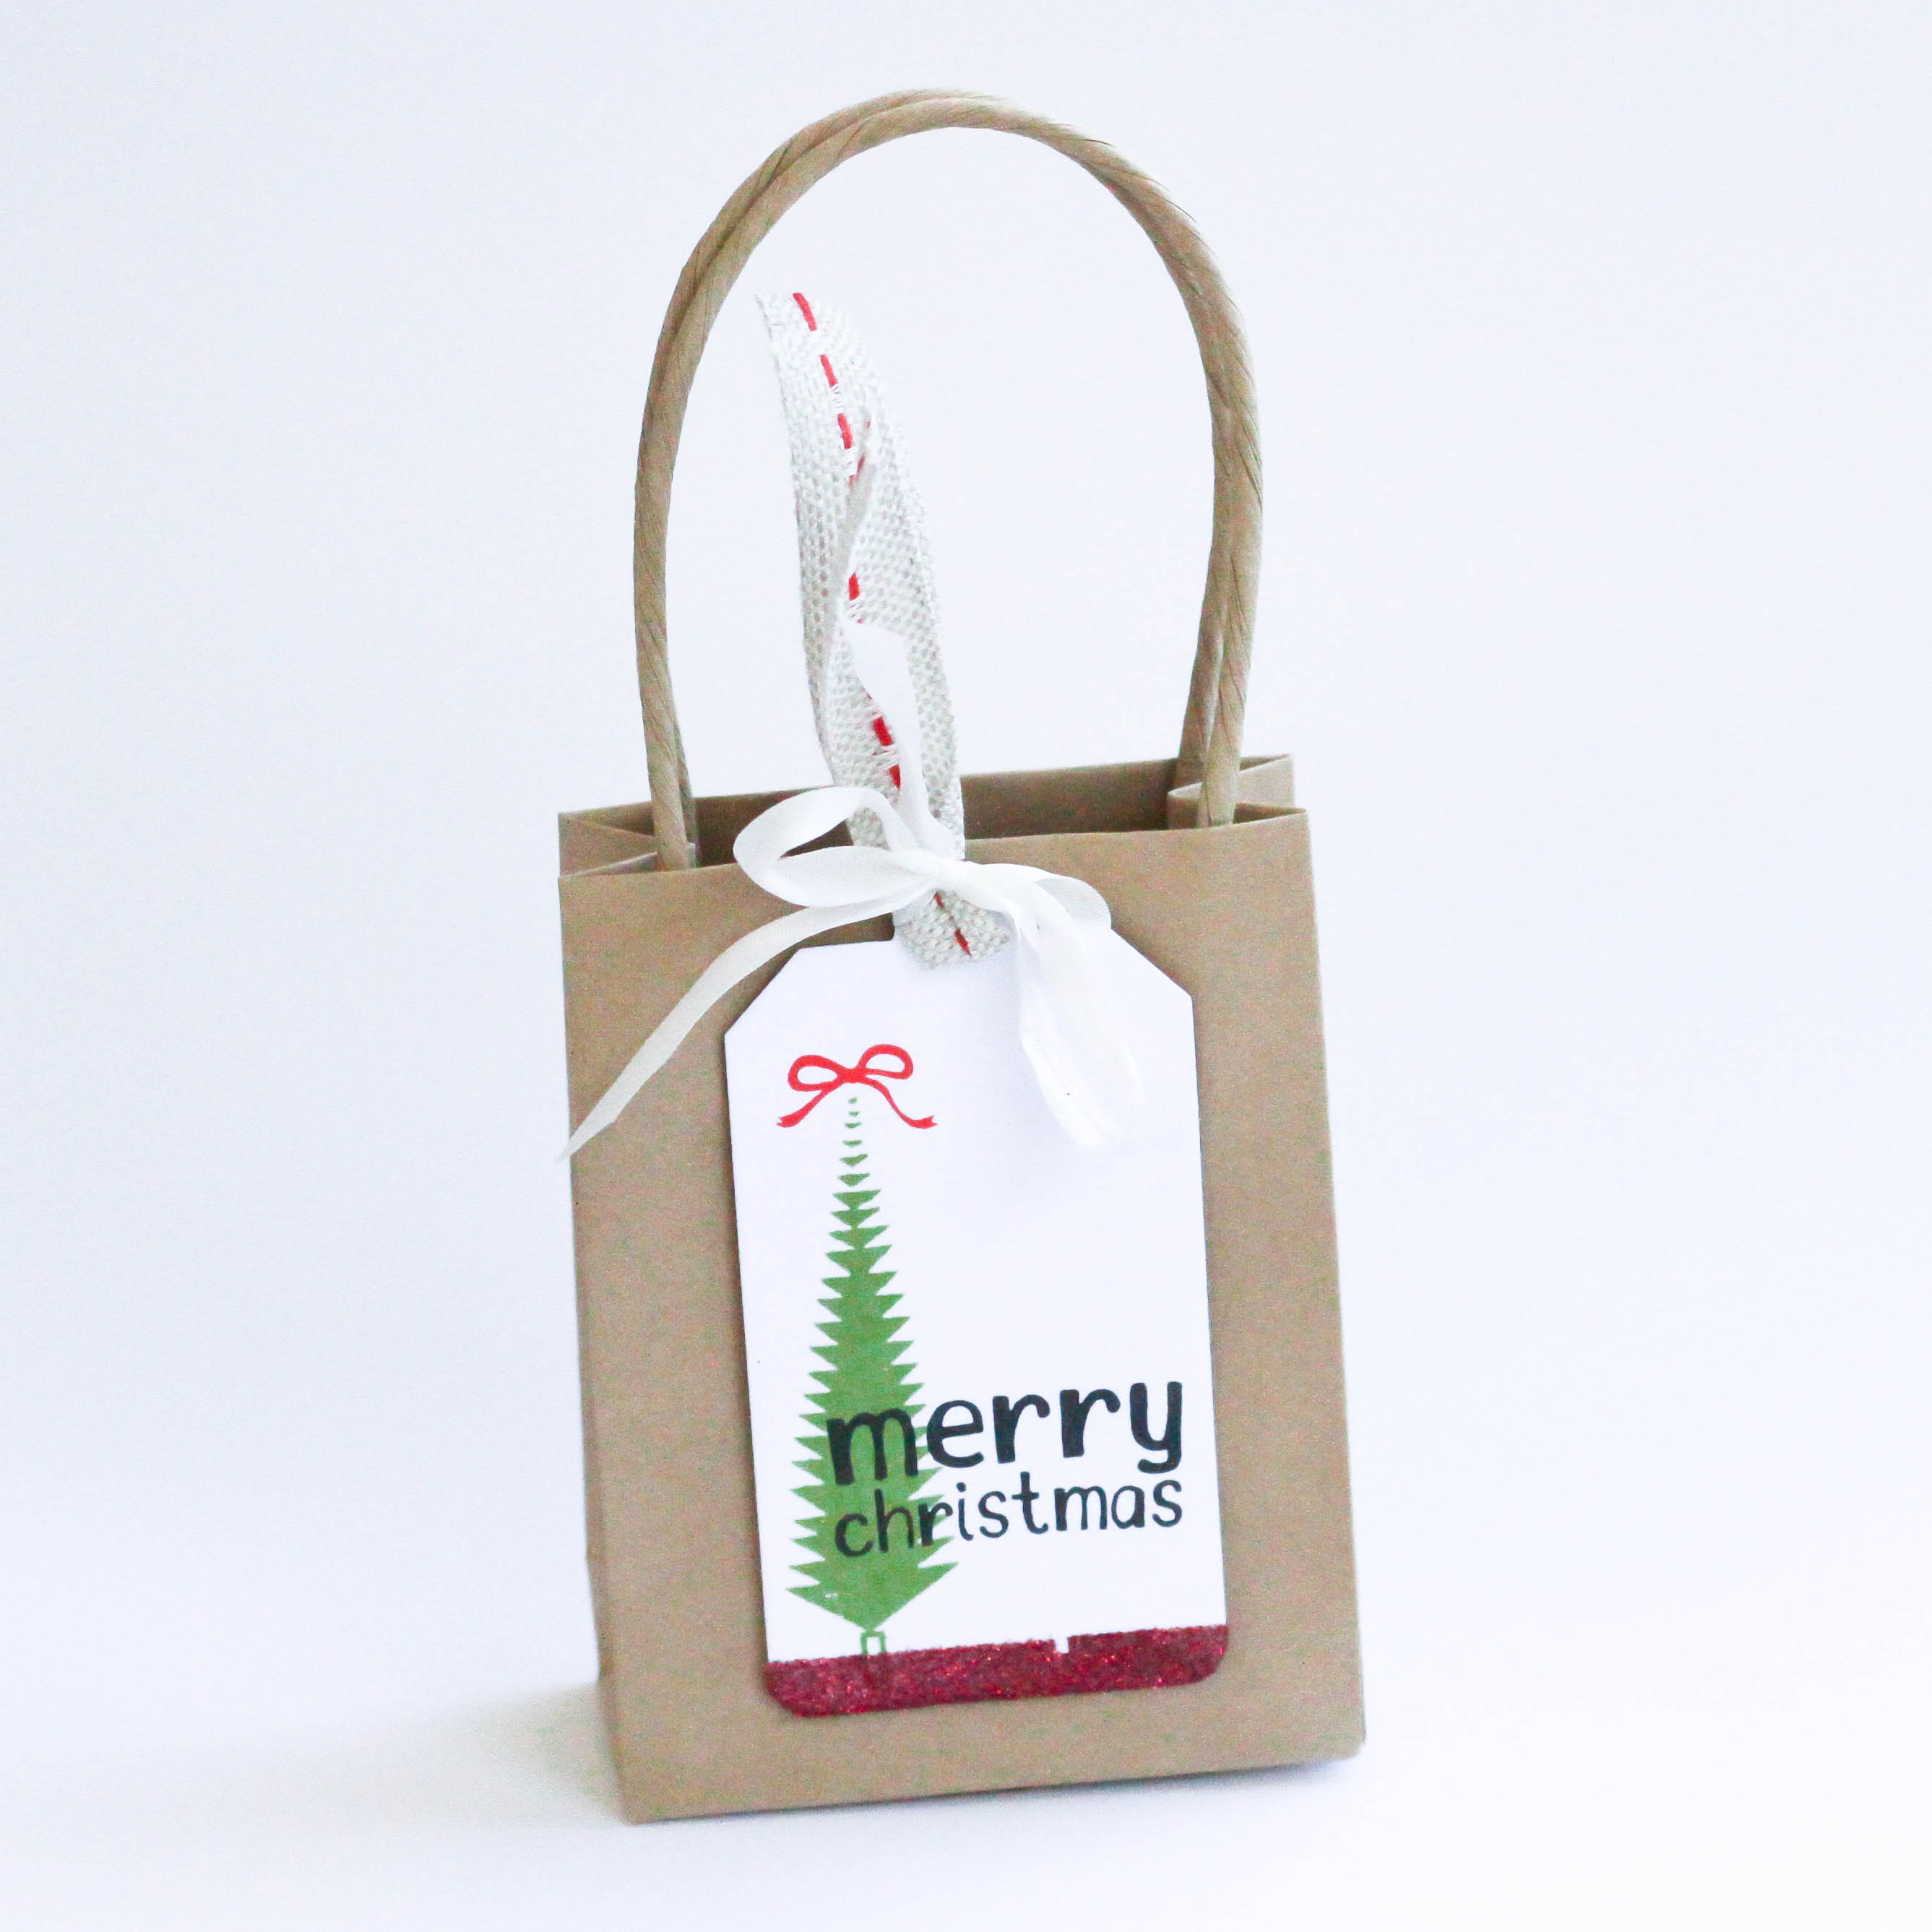
Hello Saturday crafters! It’s Angela today, sharing a technique that I use a lot, particularly with clean and simple cards to create some visual interest-a textured background from Scrapbook Adhesives by 3L Adhesive Sheet and tissue paper! You can see the technique used on this card:

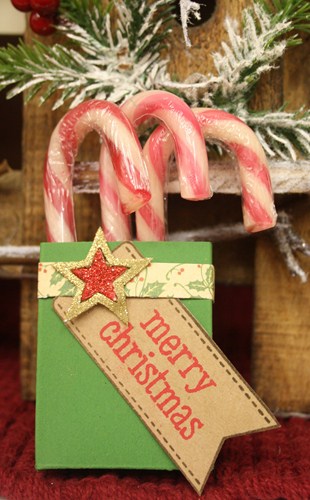
To recreate this unique winter card, here are the steps:
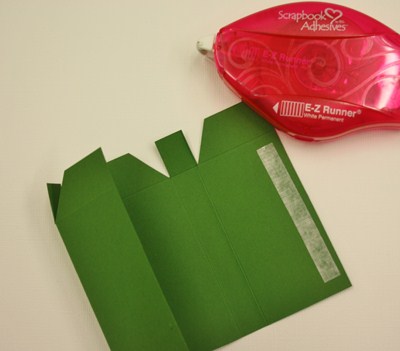
1. Cut a 4 x 5.25 inch rectangle from white card stock.
2. Apply the Adhesive Sheet to the smooth side of the card stock (if textured).
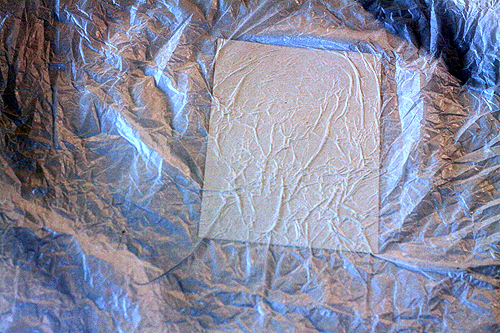
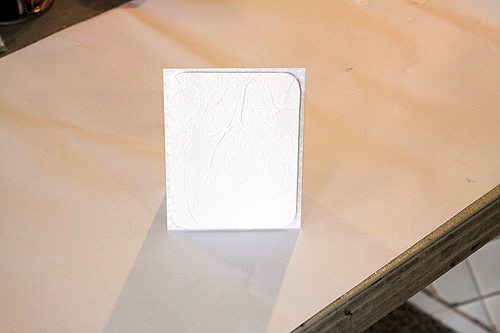
3. Crumple the tissue paper and then spread flat on your work surface. Remove the card stock rectangle from the Adhesive Sheet and place adhesive side down on the tissue paper. Flip over.
4. Tear the excess tissue paper down and away from the edges of the card stock. Sand any uneven pieces off the edge with sandpaper or a nail file. Round the corners.
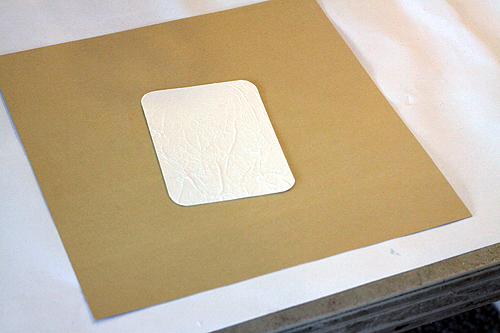
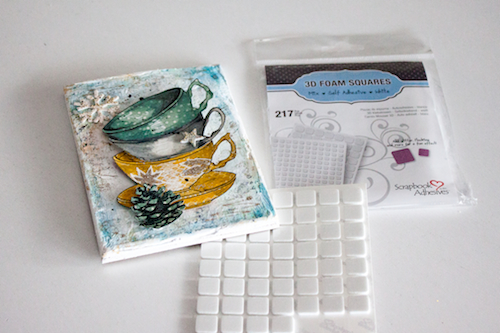
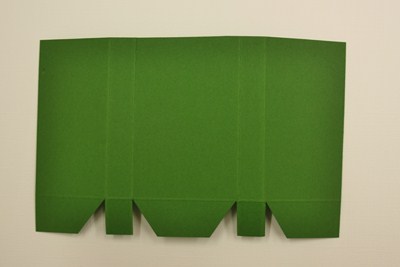
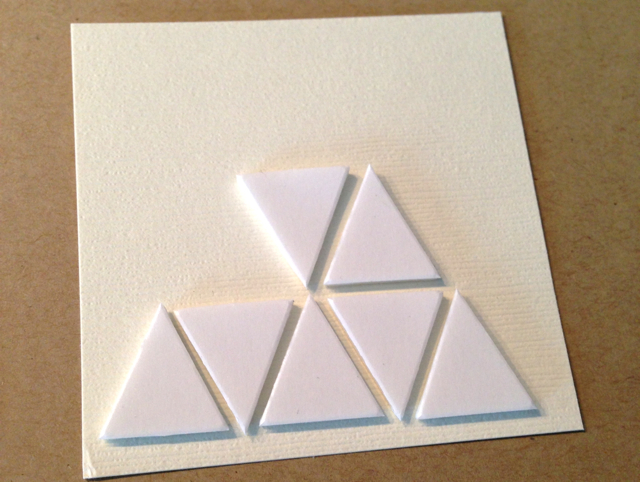
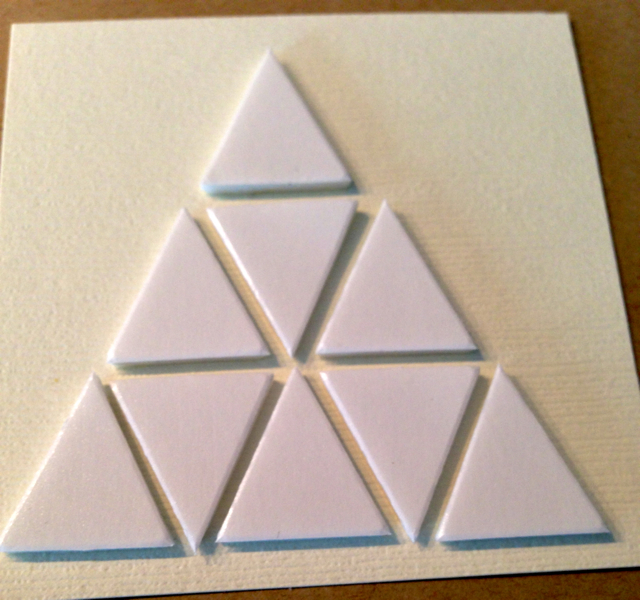
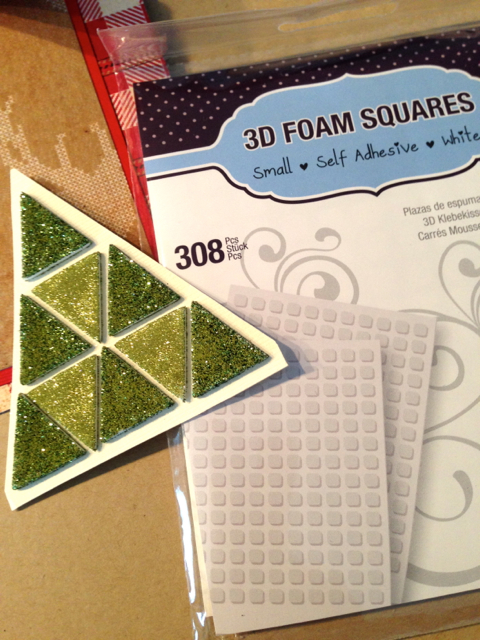
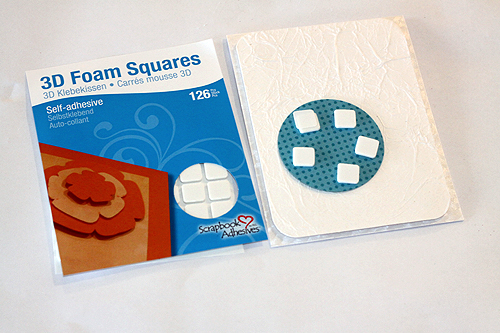
5. Using 3D Foam Squares, mount the textured piece to a 4.25 x 5.5 inch top folding card base.
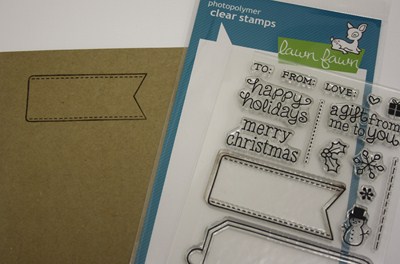
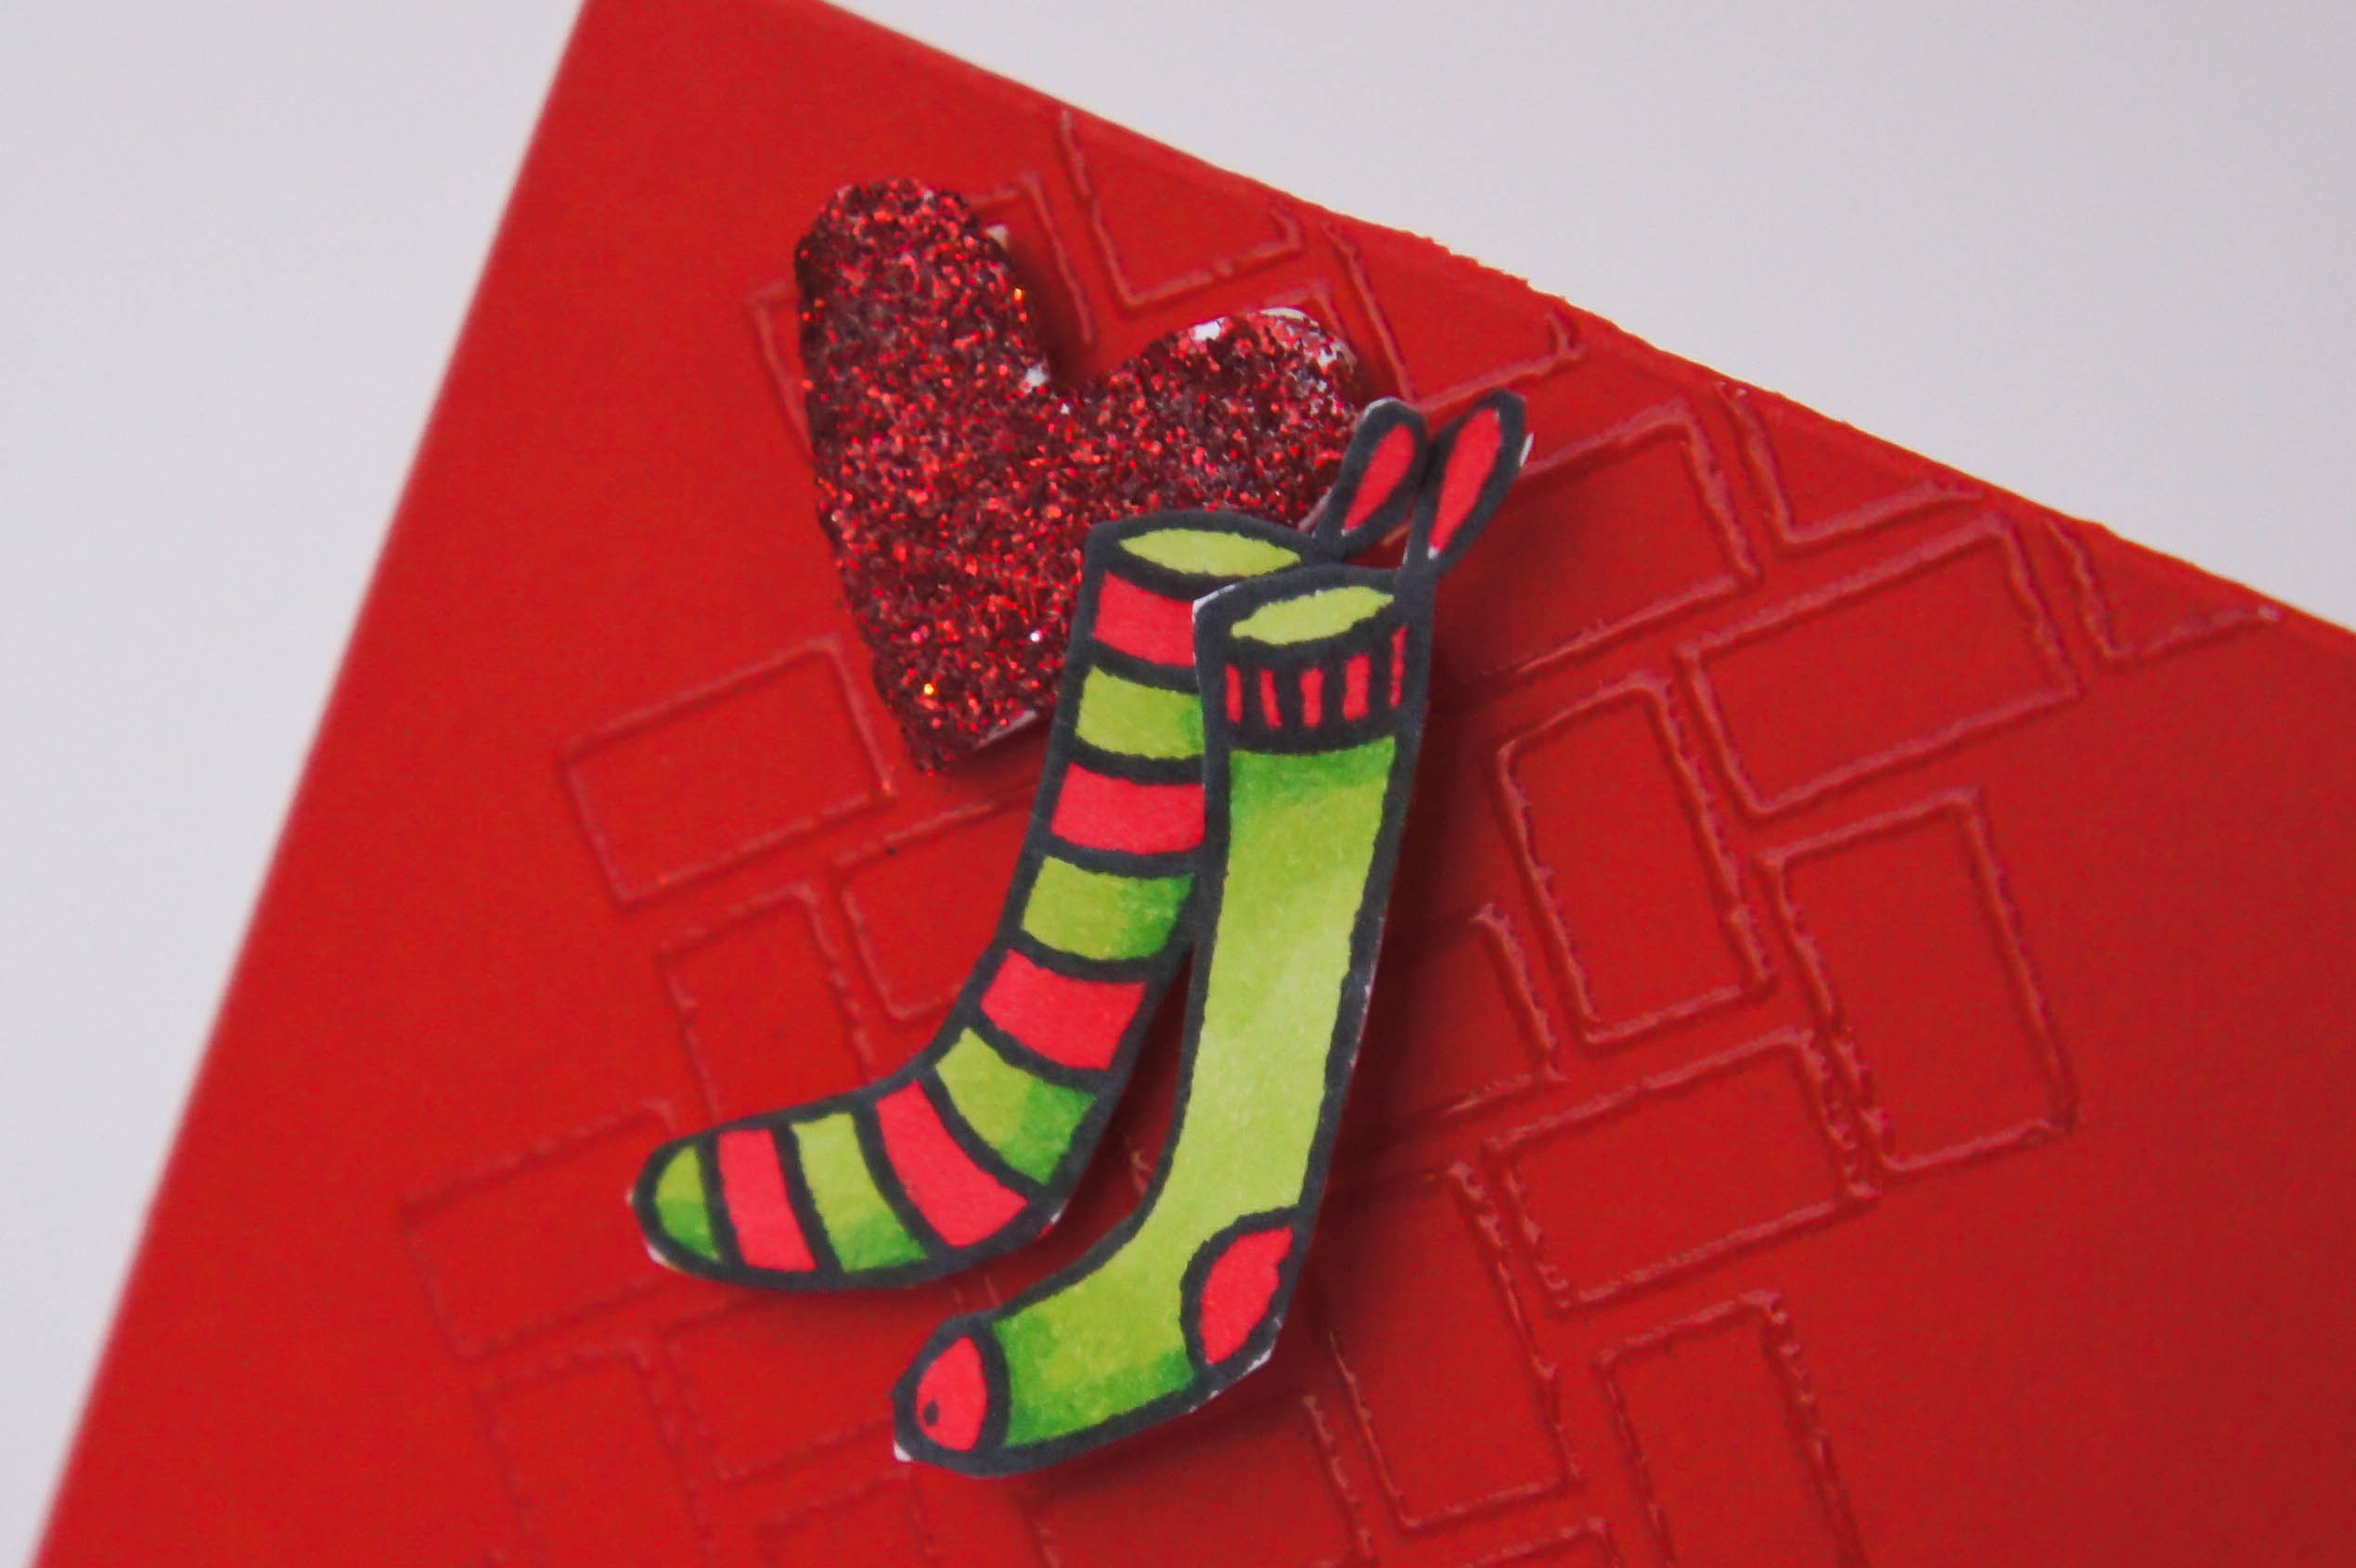
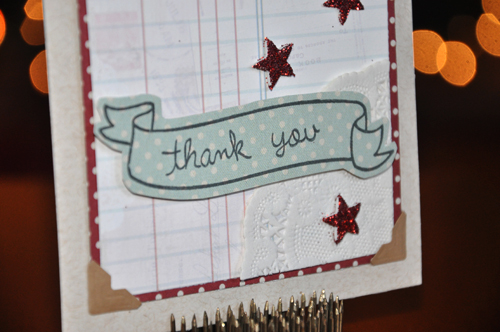
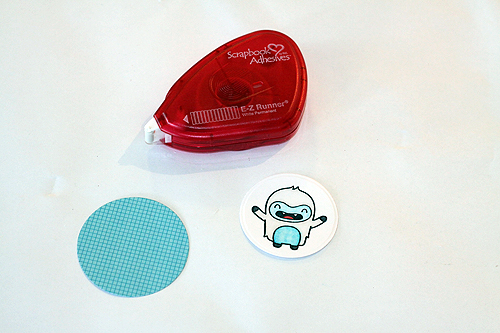
6. Stamp and emboss the image and sentiment stamp. Color the image. Use the smaller of 2 nesting circle dies to cut out the image.
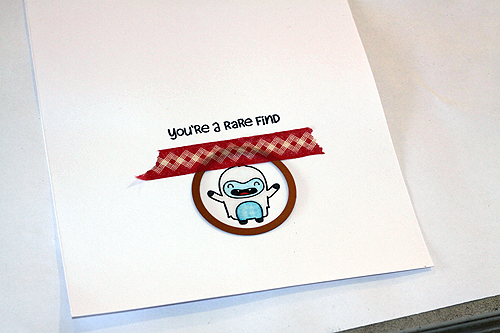
7. Cut the larger circle die from coordinating patterned paper. Adhere the image to the patterned paper with E-Z Runner® Permanent Strips adhesive.
8. Use 3D Foam Squares to attach the matted image to the card base.
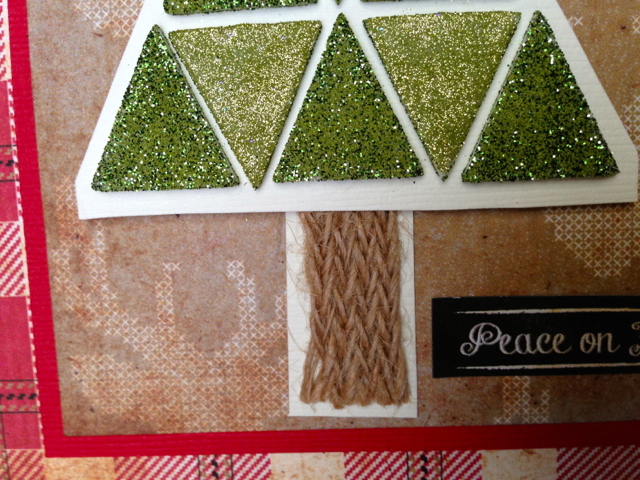
9. Crease the end of the sentiment strip 2x and fold on itself to form a banner. Cut a triangle from each end. Use 3D Foam Squares on the center sections and permanent adhesive from an E-Z Runner Permanent Strips on the end sections. Adhere to card base as per the photo.

Easy, peasy, fast and fancy textured backgrounds….a great technique for taking your craft projects to the next level!
Angela
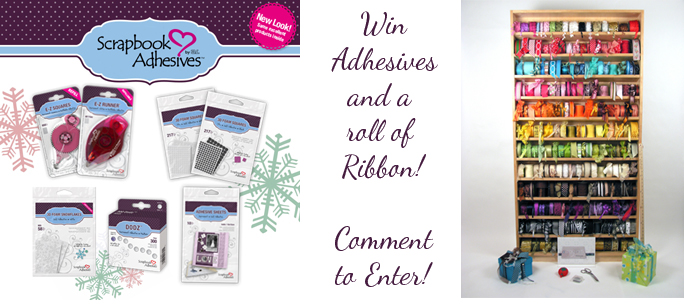
Supplies Used: Scrapbook Adhesives by 3L: E-Z Runner Permanent Strips, 3D Foam Squares, Adhesive Sheets
Lawn Fawn Stamps, Spellbinders dies, Doodlebug Design Paper, Bazzill Basics Paper, Copic Markers, Ranger Ink, IMAGINE CRAFTS/Tsukineko ink
Save
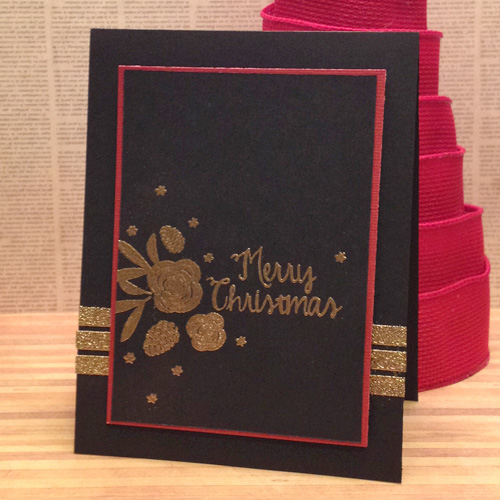
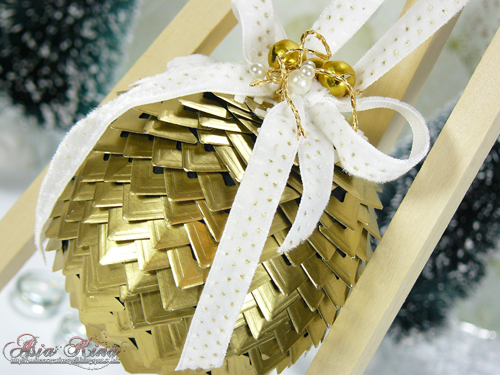
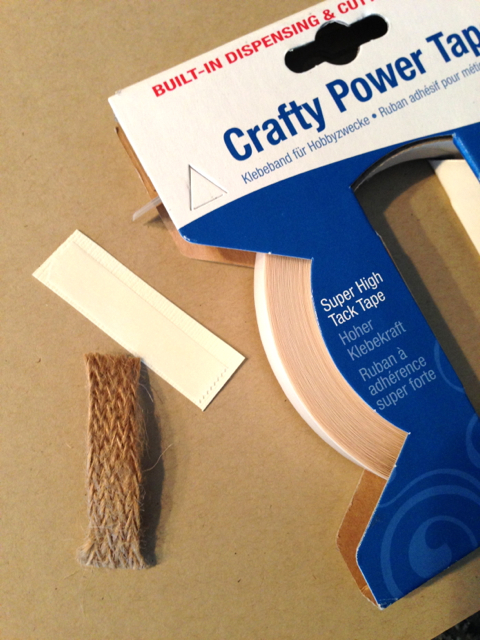
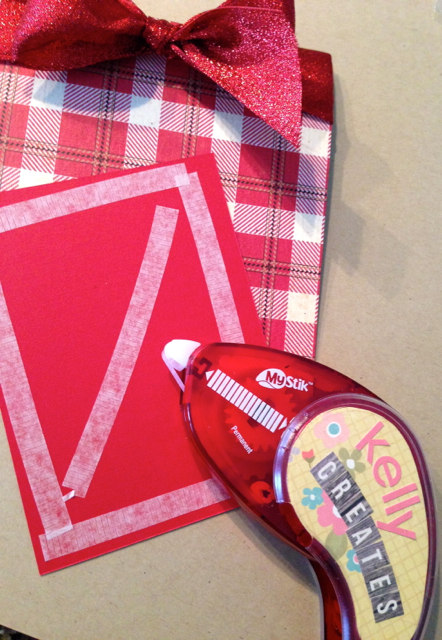
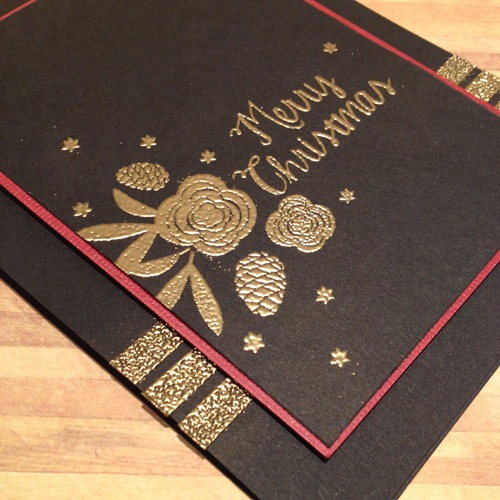 One last Christmas card today, which seems fitting because I think I kicked the season off! I used my Crafty Power Tape to create stripes. Once I removed the backing, gold embossing powder was poured over. Then it was gently burnished into the adhesive and heat set. The stamped and embossed panel was mounted to the card base with 3D Foam Squares White Regular.
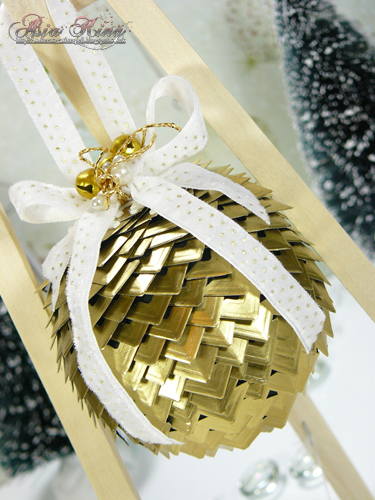