You are in our US store • Switch to Europe store

Video Tutorial: Colorful Rainbow Cards

Hi there! It’s Tiffany here today with 2 SUPER colorful, rainbow-licious cards for you in a Video Tutorial! I’m featuring the E-Z Runner Strips Permanent Adhesive Refillable, E-Z Runner Permanent Fine Dispenser, and the Dodz Adhesive Dots Small.

Here’s the YouTube Video Tutorial:

Here are the cards:

Adhesives Used: E-Z Runner Permanent Strips, E-Z Runner Permanent Fine, Dodz Adhesive Dots Small
Thanks for stopping by,

Products Used: Reverse Confetti Stamps (Dream in Color), Faber-Castell Design Memory Craft (Paper Crafter Crayons, Stamper’s Big Brush Pen Black, Art Grip Colored Pencils), Clover Mini Iron, Baker’s Twine, Bazzill Cardstock
Save

Save

Thinking of You Silver Hearts Card

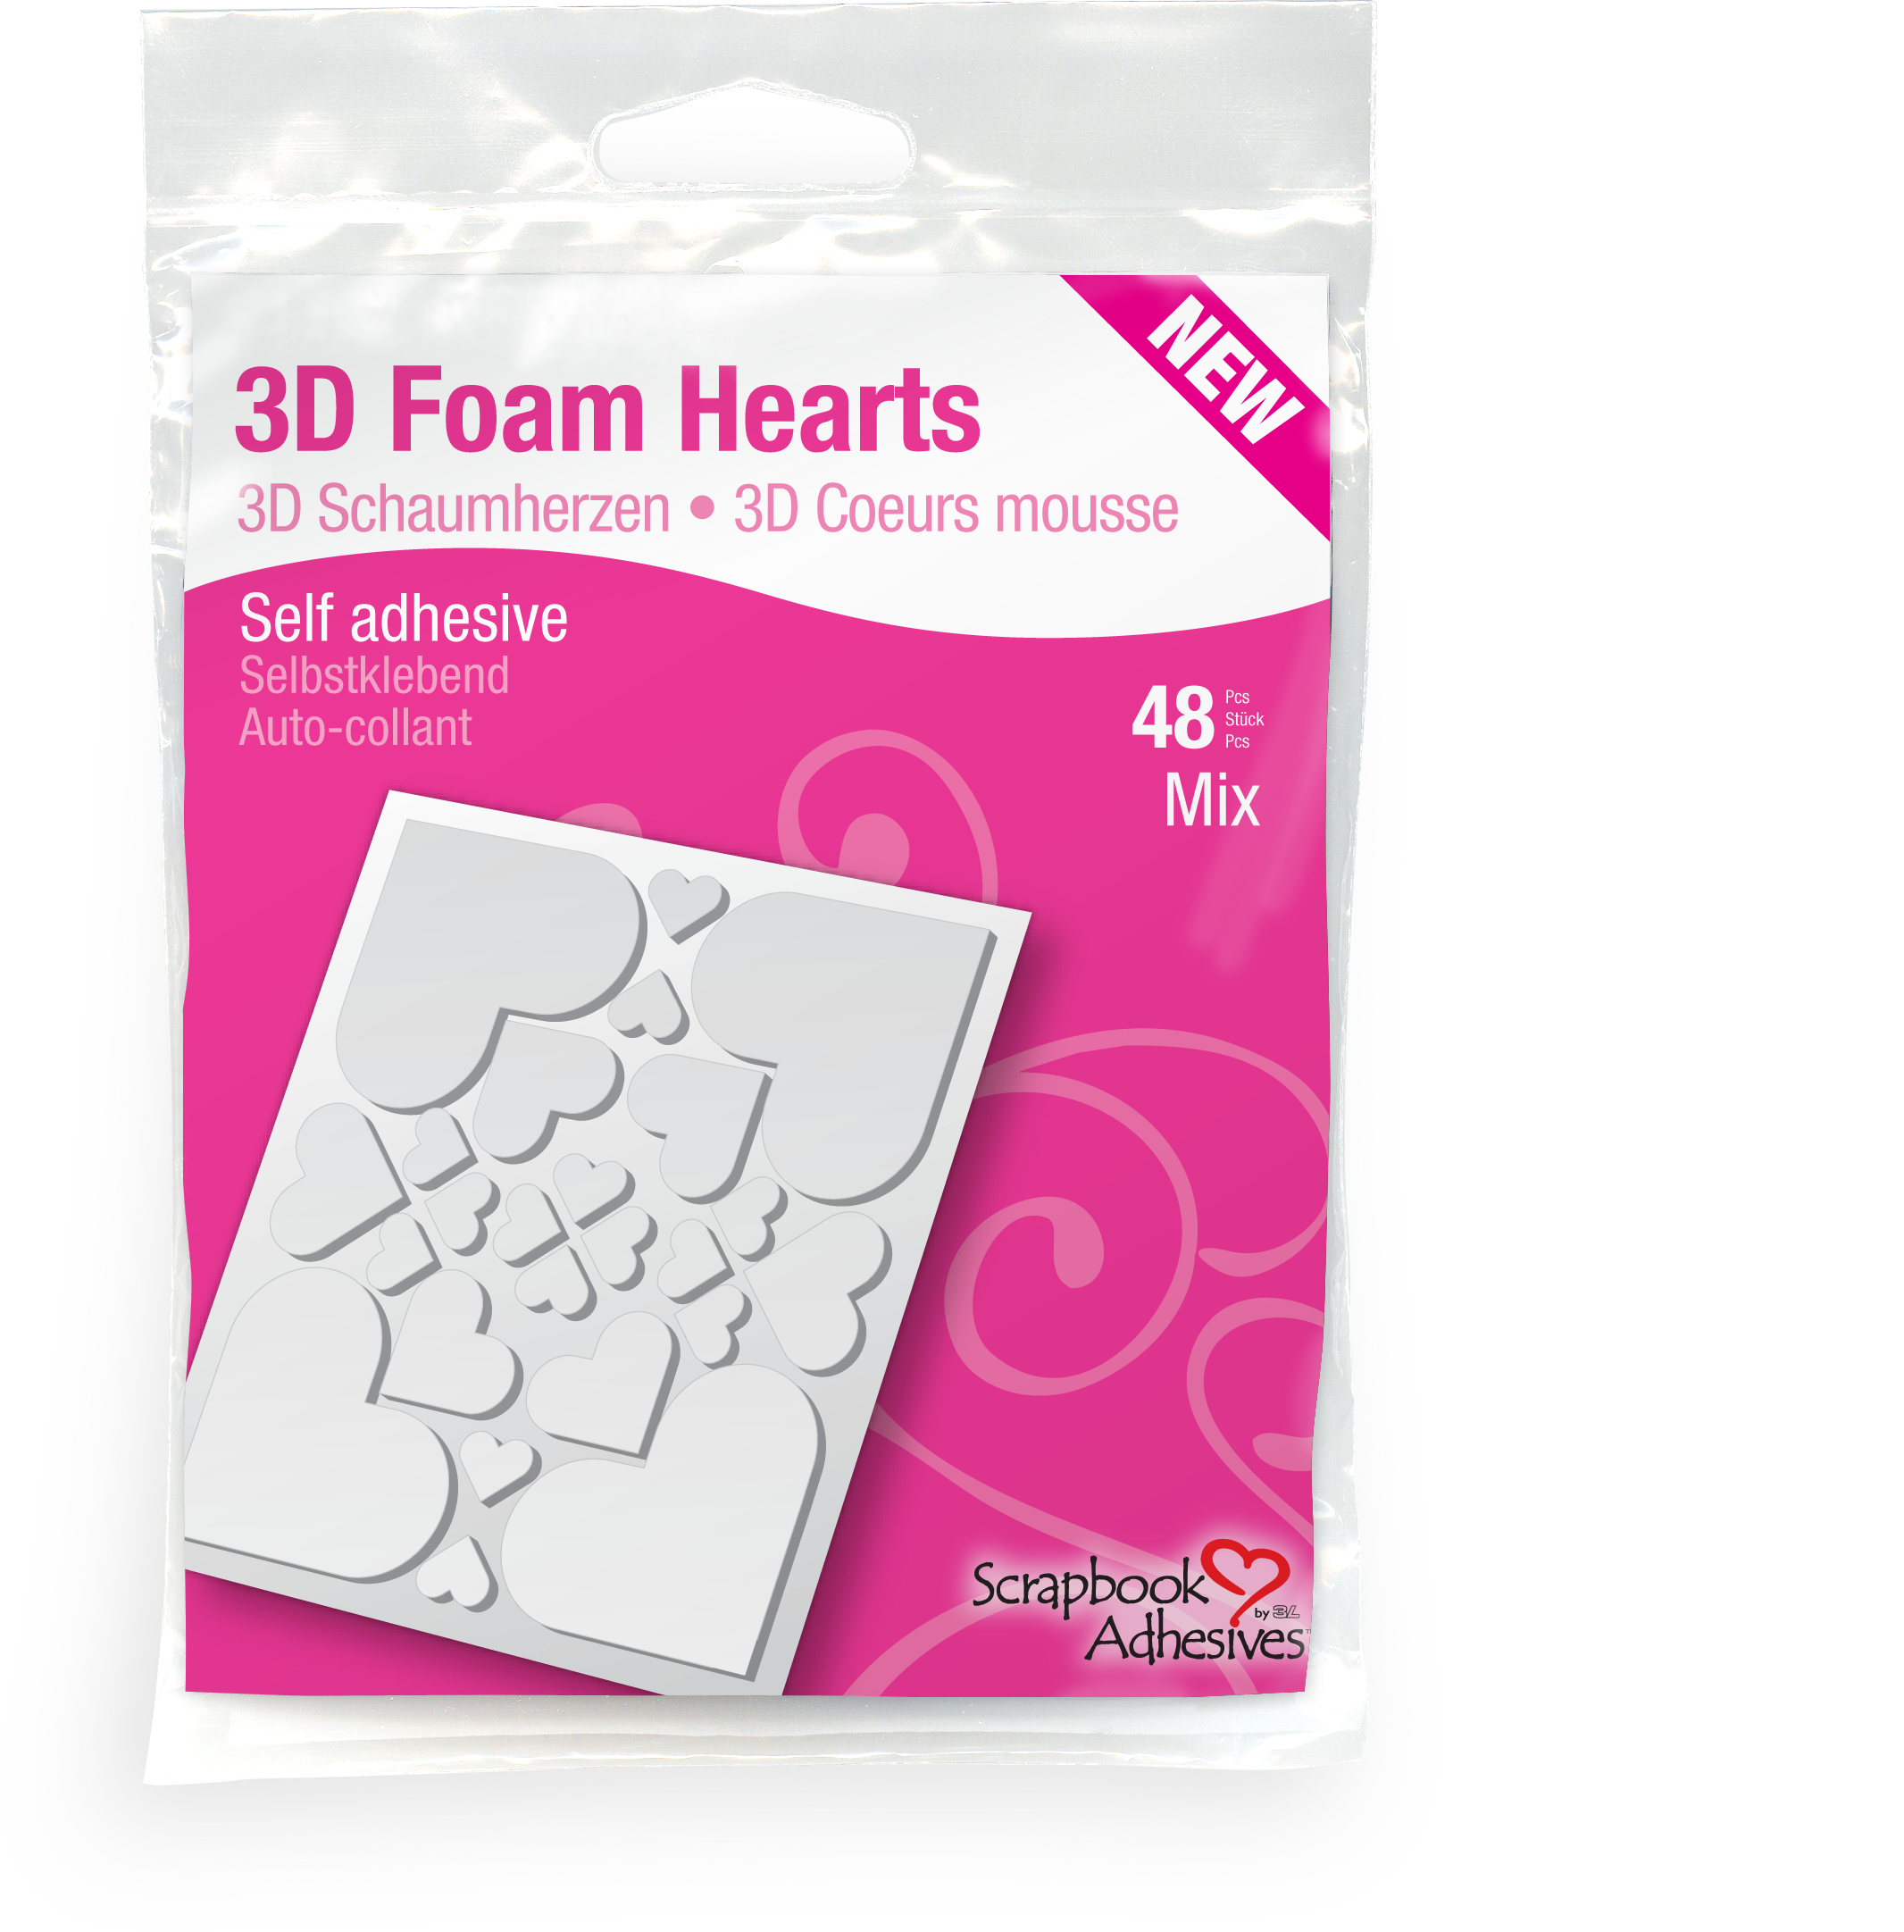
Hi it’s Beth! Today I have a card with the “Wear Your Adhesive on the Outside” technique featuring the 3D Foam Hearts.

Beth Pingry Silver Hearts Card

Each row of medium sized 3D Foam Hearts has a different embellishment. I used craft foil, Perfect Pearls (a pigment powder) and glitter.

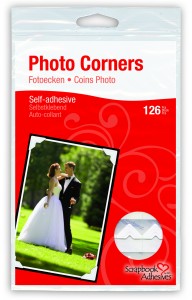
I lined them up on patterned paper, with Silver Photo Corners on 2 of the layers.

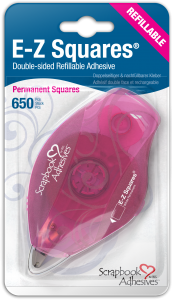
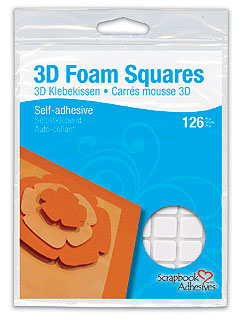
The wood embellishment was adhered with 3D Foam Squares, the papers with E-Z Squares® Refillable.

Fast, fun and blingy!

Thanks for stopping by!

Beth Pingry

I used these supplies:

Scrapbook Adhesives by 3L®: 3D Foam Hearts, 3D Foam Squares White Small, Photo Corners Silver, E-Z Squares® Refillable

  • Jillibean Soup™: Chilled Cucumber Soup papers, Wood Flags
  • WorldWin® Papers: ColorMates® Slate
  • Ranger Ink: Perfect Pearls Silver
  • WOW! Embossing Powder: Fab Foil Silver
  • Glitter

A Sparkly Sweet Sixteen

Hi Everyone….Kelly here to show you how to add sparkle and “wear your adhesive on the outside” when designing a scrapbook layout.

On her sixteenth birthday, my daughter decided to invite all her friends out for dinner. They dressed up in their party dresses and had a “Girls Night Out.”  I thought I’d design a scrapbook layout to remember this event, but also to give her some advice, which I found in the form of these Kaisercraft rub-ons that I adhered to the centre of the page.

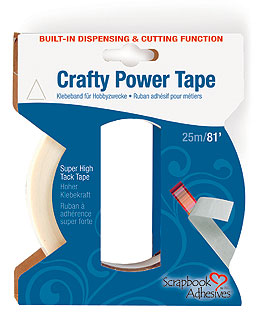
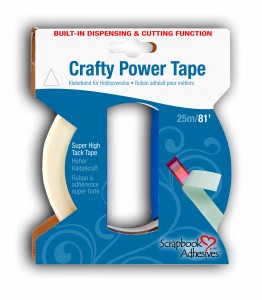
I wanted to add some “sparkle” because every girl likes glitter, right? Especially when you are 16! So I used my Crafty Power Tape™ to create the black sparkly borders along the edges of the stamped lace.

It’s a little hard to see the glittery shine, but trust me…it looks so pretty in real life!

Here is how I made these sparkly borders:

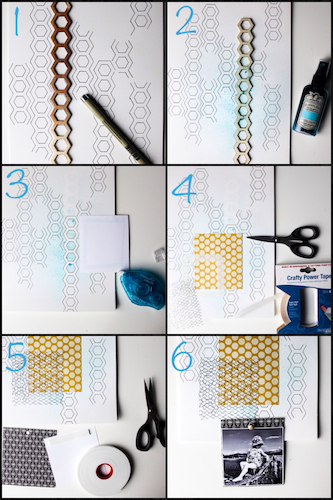
First I used a Kaisercraft lace stamp on a 12″ long piece of paper.

Then I ran my Crafty Power Tape™ along the entire length of the edge.

I pulled off the adhesive backing.

I have a scrap piece of paper under the border while I pour on the glitter, then shake off the excess. I used Craft & Glitz Glitter.

This allows you to return the remaining glitter more easily into your container.

I made two sparkly borders with this technique.

Love this glittery effect!

The rest of my layout came together with the My-Stik™ tape runner and 3D Foam Squares™.

Plus, I used my favourite Black Photo Corners™ to showcase my daughter’s portrait.

The Kaisercraft “Remember Me” collection was perfect to create a dramatic layout with the black and red colour palette, and I also used a Kaisercraft Saturday Sketch for the design.

I hope this idea helps you add a little “sparkle” to your next project!

Kelly Klapstein  aka KellyCreates

Supplies:


Kaisercraft Paper, Rub-Ons, Wood and Stamp
American Crafts Alphabet Chipboard Sticker
Maya Road Heart Pin
Technique Tuesday Stamp
Clearsnap Ink
EK Success punch

Ahoy Matey Card

Ahoy Maties! Latisha here with you today.  A few of my daughters friends are graduating from High School in just a few short weeks.  Some are going to prestigious colleges, some are staying close to home an attending the local community college, a few are going into the military, a couple are heading off to the Air Force & Naval Academies, and a few are planning on taking a year off to travel.  Oh to be young again and have the world as your oyster!

I have yet decided what to give as gifts, but I have started working on my cards.  The card I am showing today is going to a graduate, that is heading off to enlist in the US Navy.  I wanted it to be fun, but patriotic at the same time, but also be supportive of the choice in career.

Ahoy Matey Card

Ahoy Matey Card by Latisha Yoast for Scrapbook Adhesives by 3L**Tip** After I tied the twine from the anchor and button chipboard pieces, I placed a Dodz Adhesive Dots Small over the twine to secure it in place.  I left the plastic piece over the top, then placed 3D Foam Squares over the plastic, for added dimension.

Supplies:

Dodz Adhesive Dots Small, 3D Foam Squares Small White, E-Z Dots Permanent Refillable

Latisha

Save

Save

Save

When You Make Yourself Beautiful Page

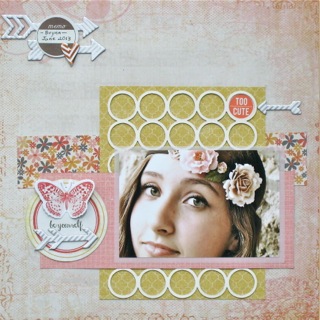
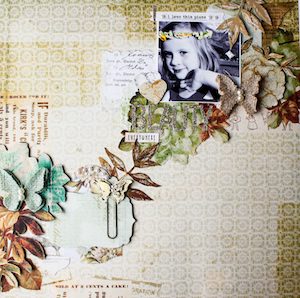
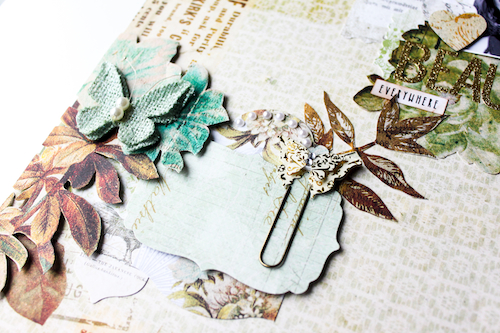
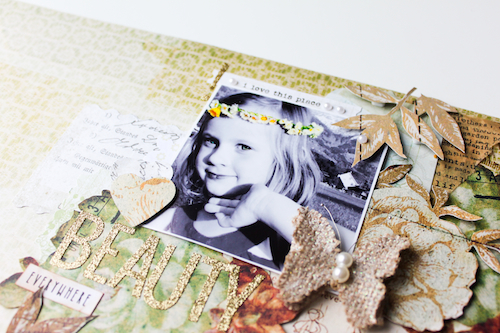
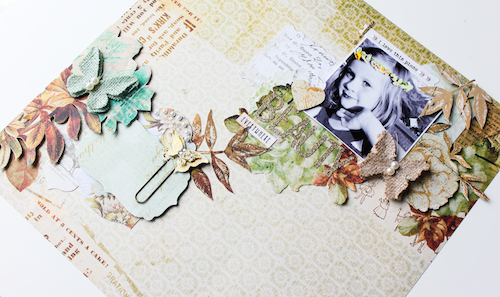
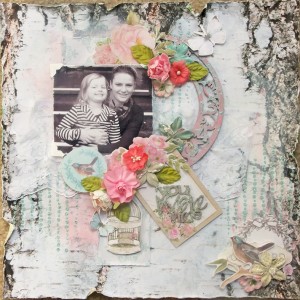
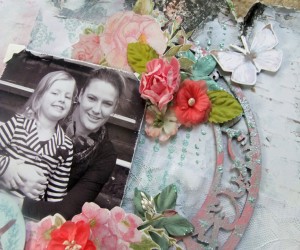
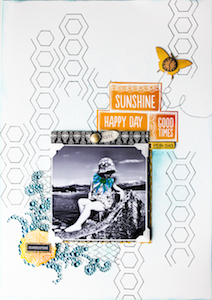
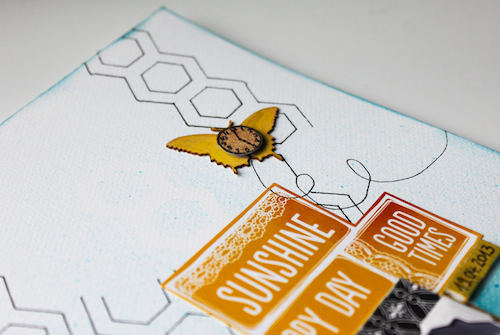
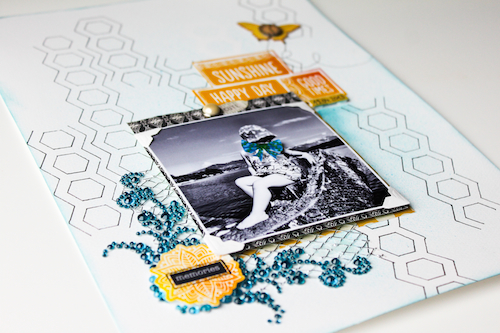
Today I present to you a page with my daughter. She loves to be beautiful in the mirror! And I love to photograph these moments! I have long wanted to do a page on this topic! Here it is!

I used several Scrapbook Adhesives by 3L products on this page.

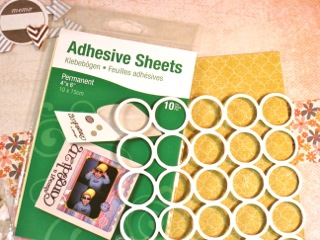
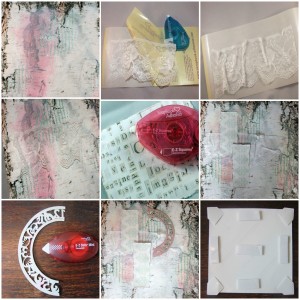
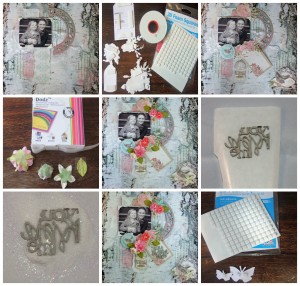
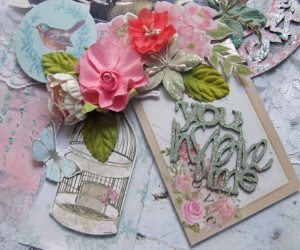
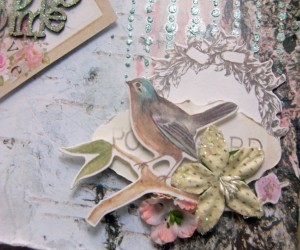
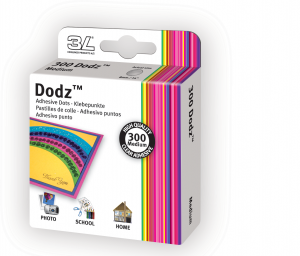
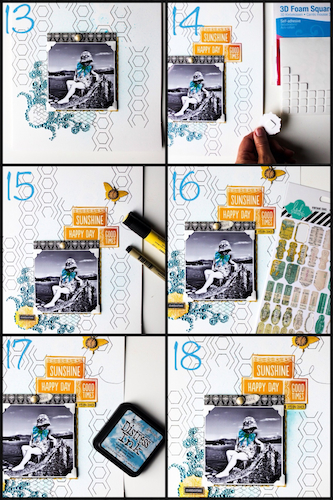
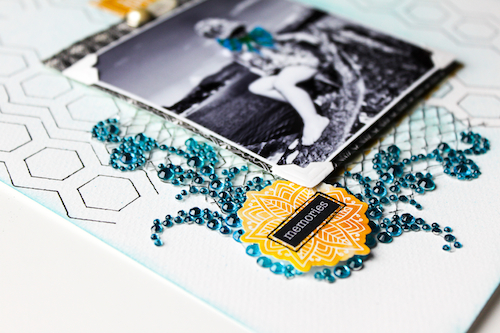
First, I used DODZ™ – 3D to give volume and permanently fix the embellishments

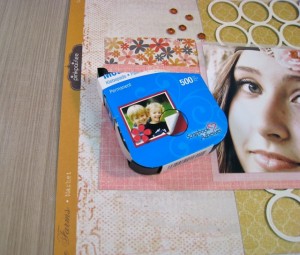
Next, i fixed the photo with 3D Foam Squares – White, Small for more volume and put the photo in value.

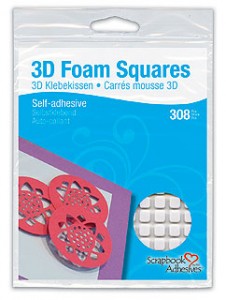
3D Foam Squares White Mix

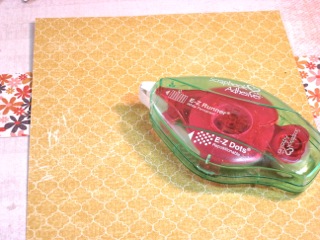
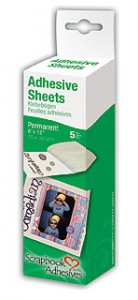
Finally, i used E-Z Runner® to attach papers.

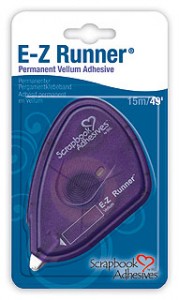
E-Z Runner Permanent Strips

Have good Sunday !

Other Supplies :

Webster’s Pages and Tilda papers

Etsy flowers

Stampin’Up butterfly die

Thank you for stopping by our blog today!

Flo ~ Floliescrap Blog

The Kindness You Share Cards

Hi, it’s Beth here, Happy May Day!

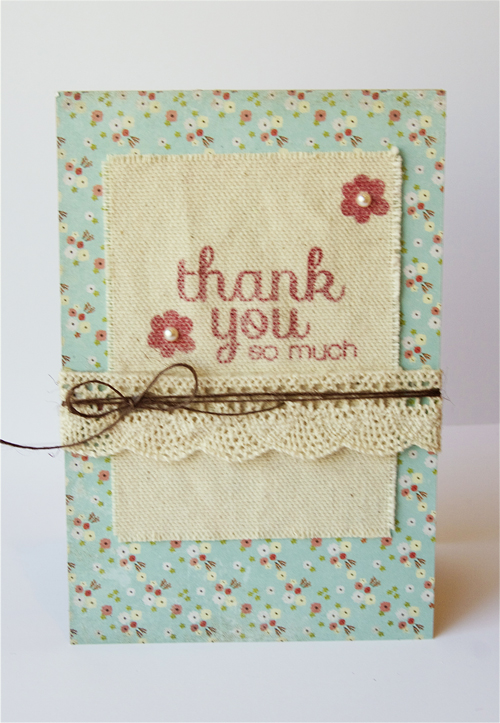
I love the sentiment on these cards, it passes as Thinking of You and/or Thank You. It’s always good to have several of these types on hand…so I made several! A few may end up as a gift set for my Mom too!

I started with a super simple concept because I just don’t have a ton of time to create. I gathered a few supplies including Scrapbook Adhesives by 3L® Classic Photo Corners, E-Z Runner® Limited Edition (an extra 10′, woo-hoo!) and 3D Foam Squares Small White.

I cut cardstock, stamped the sentiment, then layered the pieces with the E-Z Runner® Permanent Strips and Photo Corners. I used both black and white cardstock to mat with, and matched the photo corners to that. I used kraft as the card bases.

Next I trimmed pennant shapes from Pink Paislee patterned paper.

I adhered the pennant shapes with 3D Foam Squares Small White, onto the upper right side, the one without the Photo Corner.

And they’re good to go, with a sincere handwritten sentiment inside, of course!

Beth Pingry

Supplies Used:

Photo Corners Black, Photo Corners White, 3D Foam Squares Small White, E-Z Runner® Limited Edition

Classic Photo Corners Black Paper Photo Corners White 3D Foam Squares White Small E-Z Runner Permanent Strips Limited Edition

Pink Paislee– Hope Chest papers

JustRite Papercraft – Kindness Set – Cling

Tsukineko Memento Tuxedo Black Ink

Cardstock – kraft, black, white, green

Happy Mother’s Day Card

Hi all- AJ here with a Mother’s Day card using Scrapbook Adhesives by 3L®, and Pink Paislee.Mother's Day card by AJ Otto

I figured I better get started on Mother’s Day cards since it’s a few weeks out, I may get them done in time and in the mail if I start now! 😉

I love these journaling cards from Pink Paislee, pre -printed with collage like images.  Perfect for mom!   Here is the case of the right tool for each job!  One type of adhesive is rarely enough!

I am adhering the bottom layer straight to the card case, so I use the E-Z Runner® Permanent Strips on the flip side of my patterned paper.

To attach the journaling card, (I have already stamped my sentiment, and wrapped twine around it) I add a few pieces of Crafty Foam Tape Black around the edges.

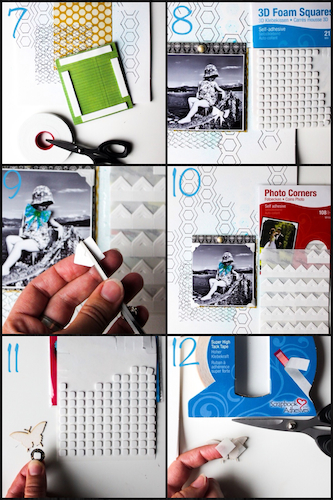
Onto the buttons- I use small Dodz Adhesive Dots Small to adhere my buttons.  I love that I can put the adhesive on them, and since they still have the clear backing, you can play with them determining where you like them best- then peel off the backing and secure.

And another tip for using the Dodz, is to roll one between your fingers into a thin line, and secure your twine bow that wont sit up straight! 😉

Pink Paislee patterned paper

Spellbinders Paper Arts

Avery Elle Stamps

IMAGINE Crafts®/Tsukineko® VersaFine™ Arichival Pigment ink in Vintage Sepia & Habenero

enjoy!!

AJ

Save

Adding a Touch of Gold

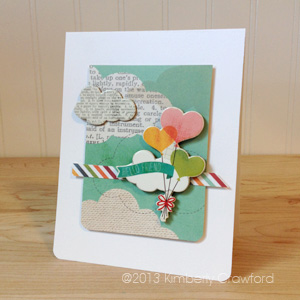
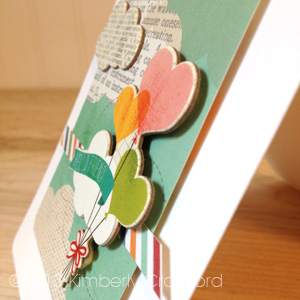
Hello! Kimberly here with a springy card with a touch of the latest trend, gold! My trusty Scrapbook Adhesives by 3L, helped me add a gorgeous touch of shine to my project.

I started by layering my patterned paper onto my card base, adhering it with E-Z Runner® Permanent Strips Refillable. The strips of gold were created by laying down two pieces of Crafty Power Tape, side by side. The backing was removed and Designer Foils were pressed into the adhesive.

I love that scrapbooking products, like the journaling card here, can be used on cards. A sentiment was stamped with black ink. Then several Dodz Small were added to the project. Again, the gold foil was pressed into the adhesive.

To add some dimension, the left wing of the butterfly was cut with a craft knife and the pre-made pennant was inserted. The entire journaling card was adhered to the card with 3D Foam Squares White Small.

Have fun adding a touch of glam to your next project using Scrapbook Adhesives by 3L.

Thanks for stopping by!

Kimberly Crawford

Supplies: Adhesives-Scrapbook Adhesives by 3L, Patterned paper, Journaling tag-Pink Paislee (Cottage Farms), Foils-Clearsnap-Designer Foils Gold, Stamps-Hero Arts, Ink-Tsukineko, Cardstock-Neenah

Mother’s Day Card

Hello!  Today I wanted to mix it up a bit and not only share a card I made, but I made a video about the card start to finish.  Here is the card itself:

Here is the video:

Thanks for watching!

Ashley Harris

Supplies:

Adhesive: E-Z Runner Permanent Strips, Crafty Power Tape 81′, 3D Foam Squares White Regular, 3D Foam Squares White Small, Thin 3D Foam Squares White

Cardstock: Bazzill Basics

Patterned Paper:  Pink Paislee Cottage Farm

Journal card and die cut:  Pink Paislee Cottage Farm

Clear Stamps:  Mama = Love by Ali Edwards for Technique Tuesday

Dye Ink: Memento, Close To My Heart

Lace: Misc

Pearls:  Martha Stewart Crafts, Doodlebug, Kaisercraft

Punch:  Martha Stewart Crafts

Adhesive: E-Z Runner Permanent Strips, Crafty Power Tape 81′, 3D Foam Squares White Regular, 3D Foam Squares White Small, Thin 3D Foam Squares White


Save

An Inspiration Carousel

Today I want to share an idea for your inspirations, minds, photos and/or thoughts.

Stephanie Schutze Carousel - Scrapbook Adhesives by 3L

inspiration carousel with wire and clothes pins where you can hang up your favorite stuff.


1) I used a wooden stick and platform from a doll-kit. I cut the wire into 3 pieces and rotated them around itself.

2) To fix the wooden stick into the platform I used one Adhesive Dot 3D.

3) In the next step I printed some favorite phrases on pattern paper and cut them out.

4) I rounded the corners of the papers an distressed them. For the bottom I used a leftover from a self-made paper.

5) In the next step I fixed the wire-carousel with a Adhesive Dot 3D.

6) After that I wrapped around a white ribbon for a better look.

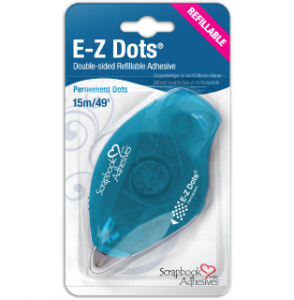
7) Back to the wooden platform I glued the piece of paper with E-Z Dots® Permanent Refillable adhesive.

8) Then I fixed on each end of the wire little clothes pins. I only bent the end of the wires.

9) I fixed two little pieces of my minds eye paper with E-Z Dots® Permanent Refillable.

10) Now I decorated the wooden platform a little bit with flowers.

11) I also decorated the upper part of the wooden stick with ribbons, flower and a self-made washi tape feather.

12) More flowers on the top.

Thank you!

Stephanie Schutze

Scrapbook Adhesives by 3L® Supplies: E-Z Dots® Permanent Refillable, Adhesive Dots 3D


Visit our Website and Blog!
Sign up for our Newsletter so you never miss a contest or giveaway!

instagram purple icon facebook icon purple pinterest purple icon twitter purple icon YouTube icon blog subscription purple icon