It’s Angela here and I am so excited to be kicking off Day 1 of the blog hop with A Jillian Vance Design! We have some great prizes! Enter to win between Sept 23-27, 2013, by commenting here, and on A Jillian Vance Design’s Blog!
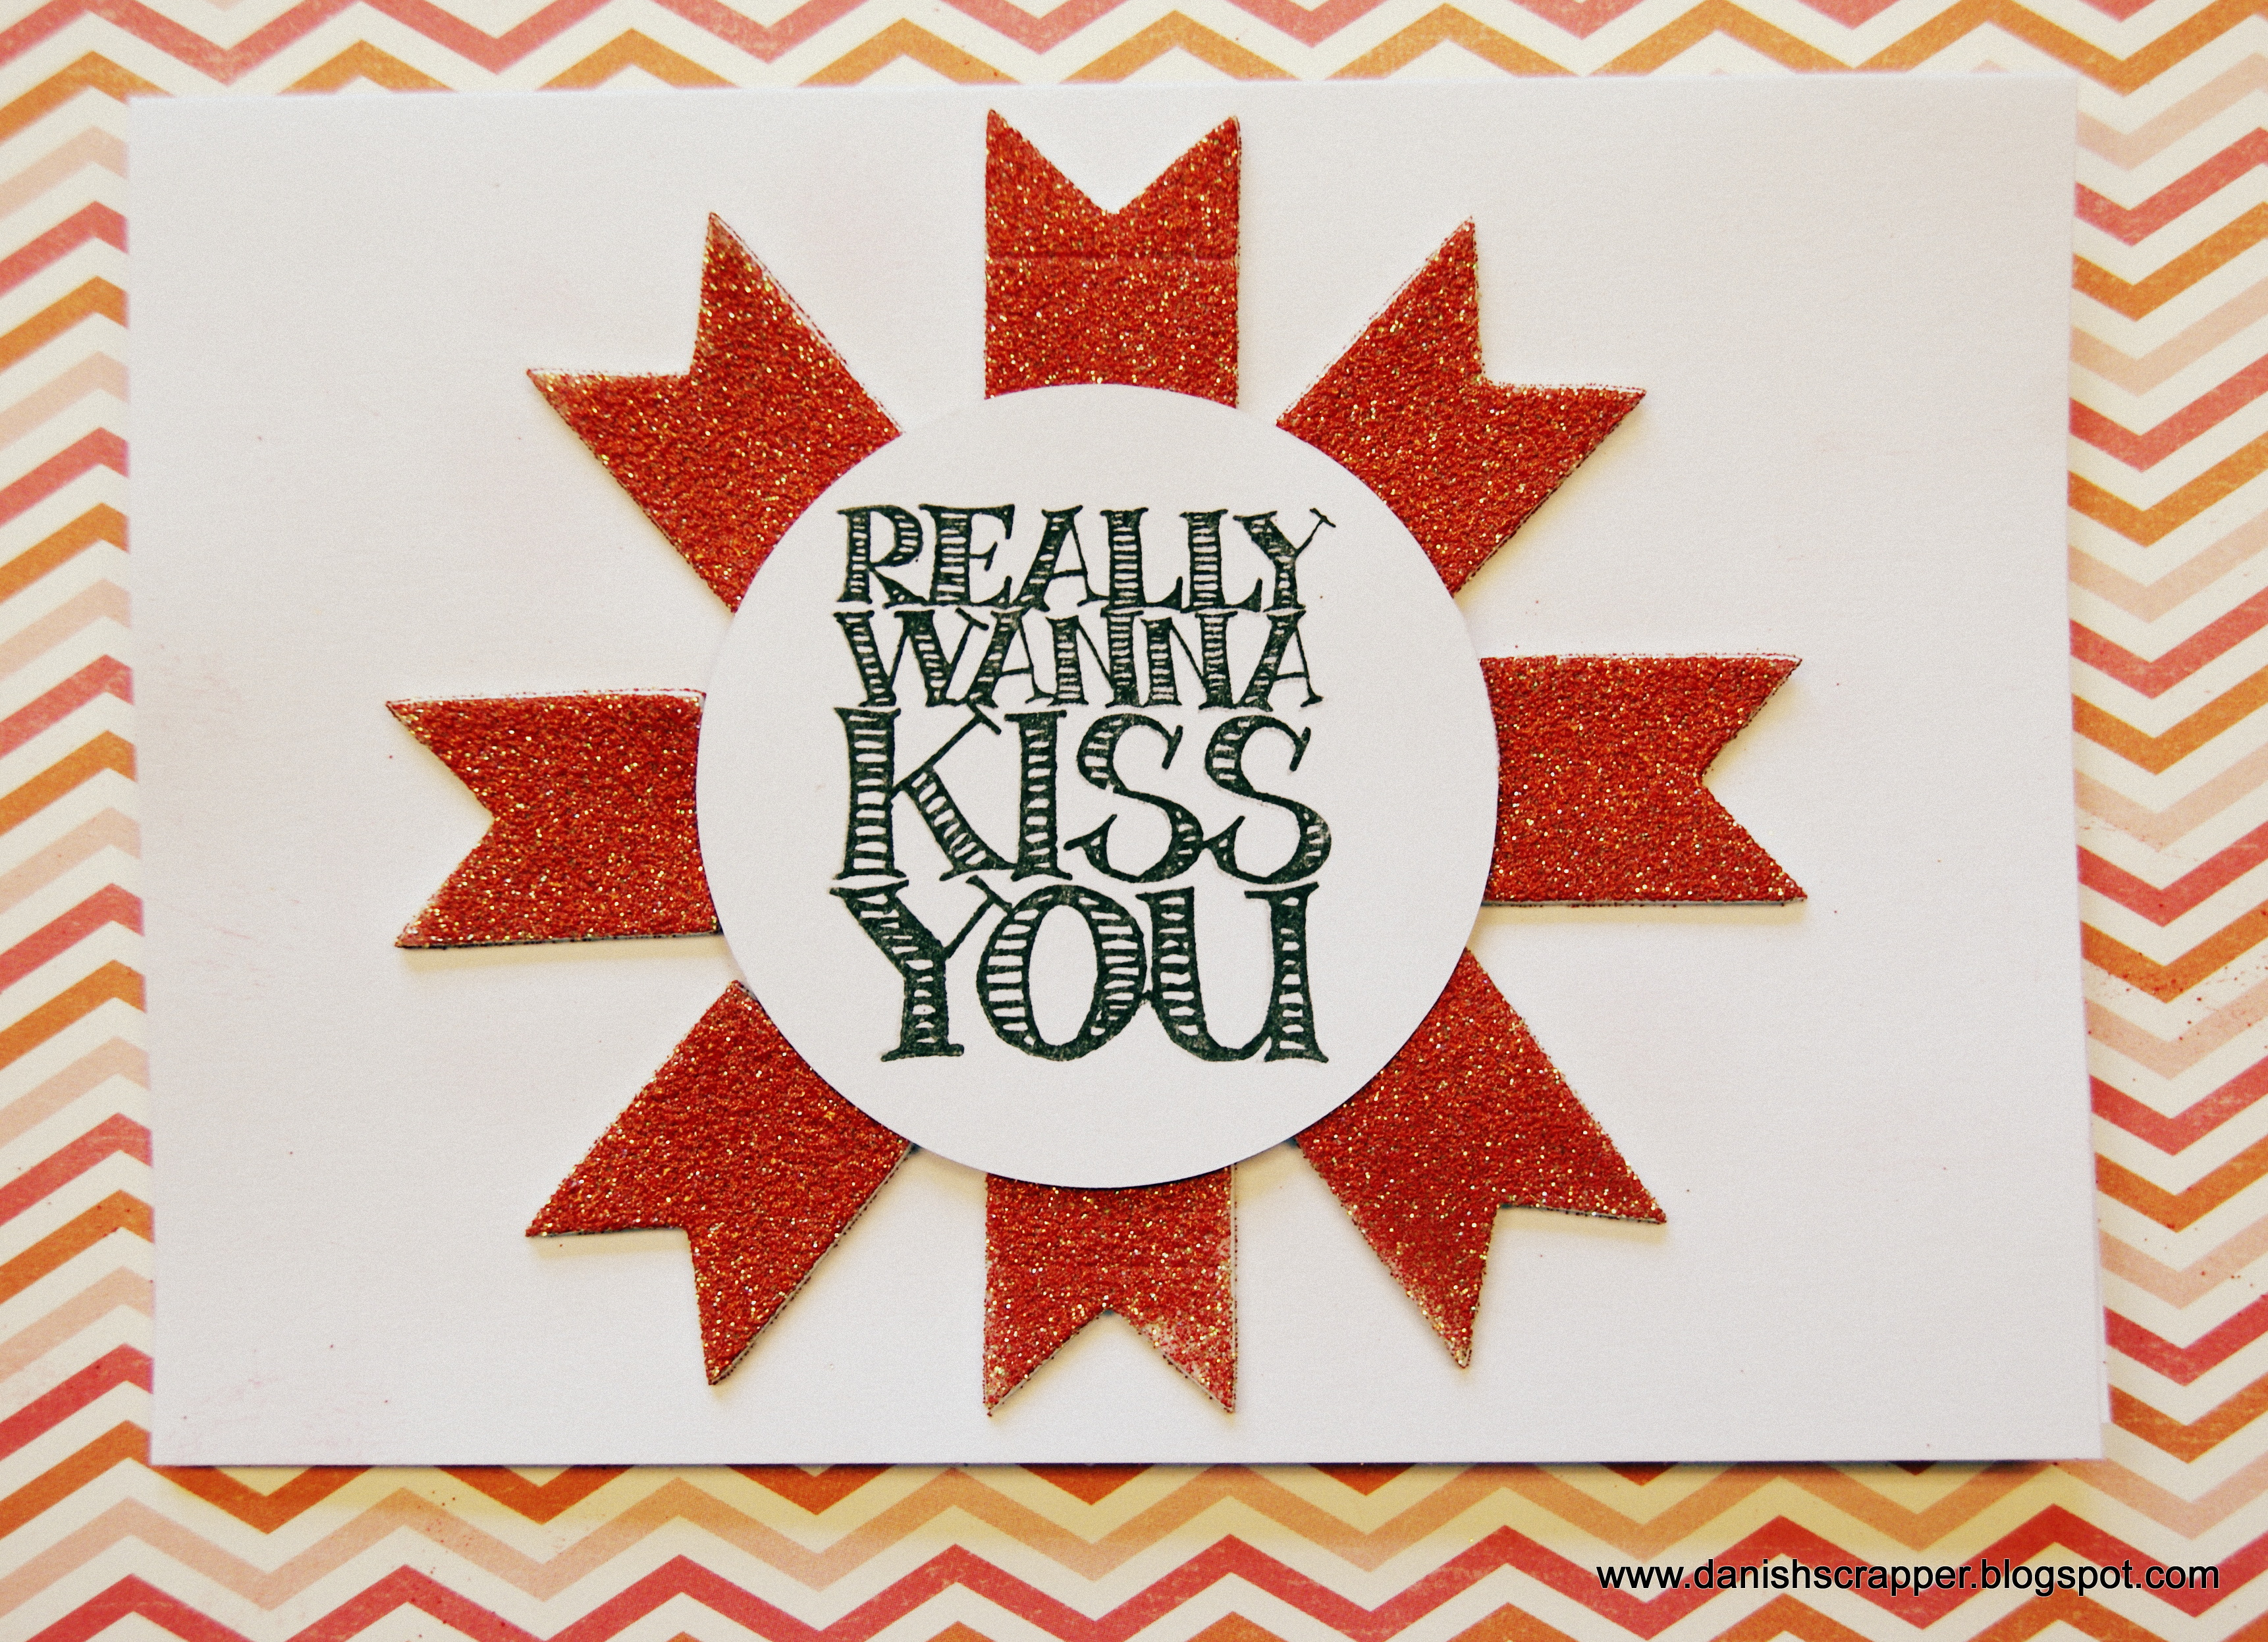
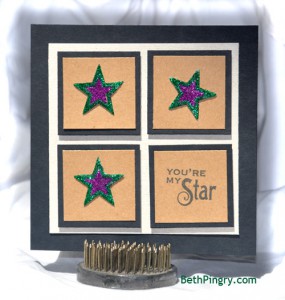
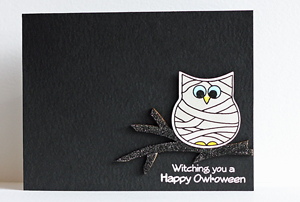
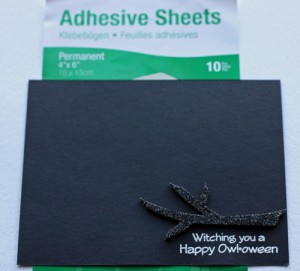
First up is a tutorial for this cute Halloween card:
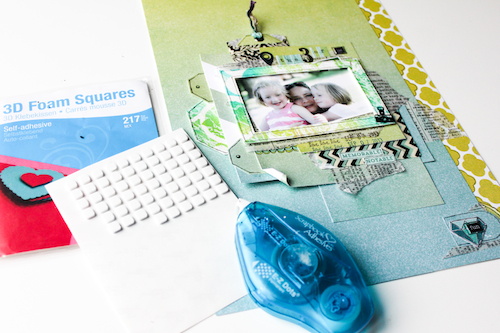
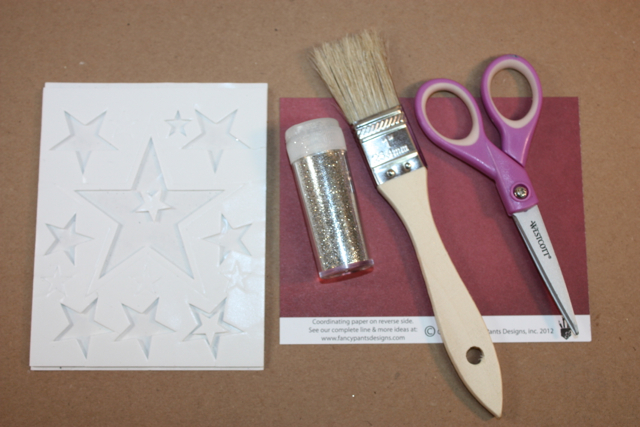
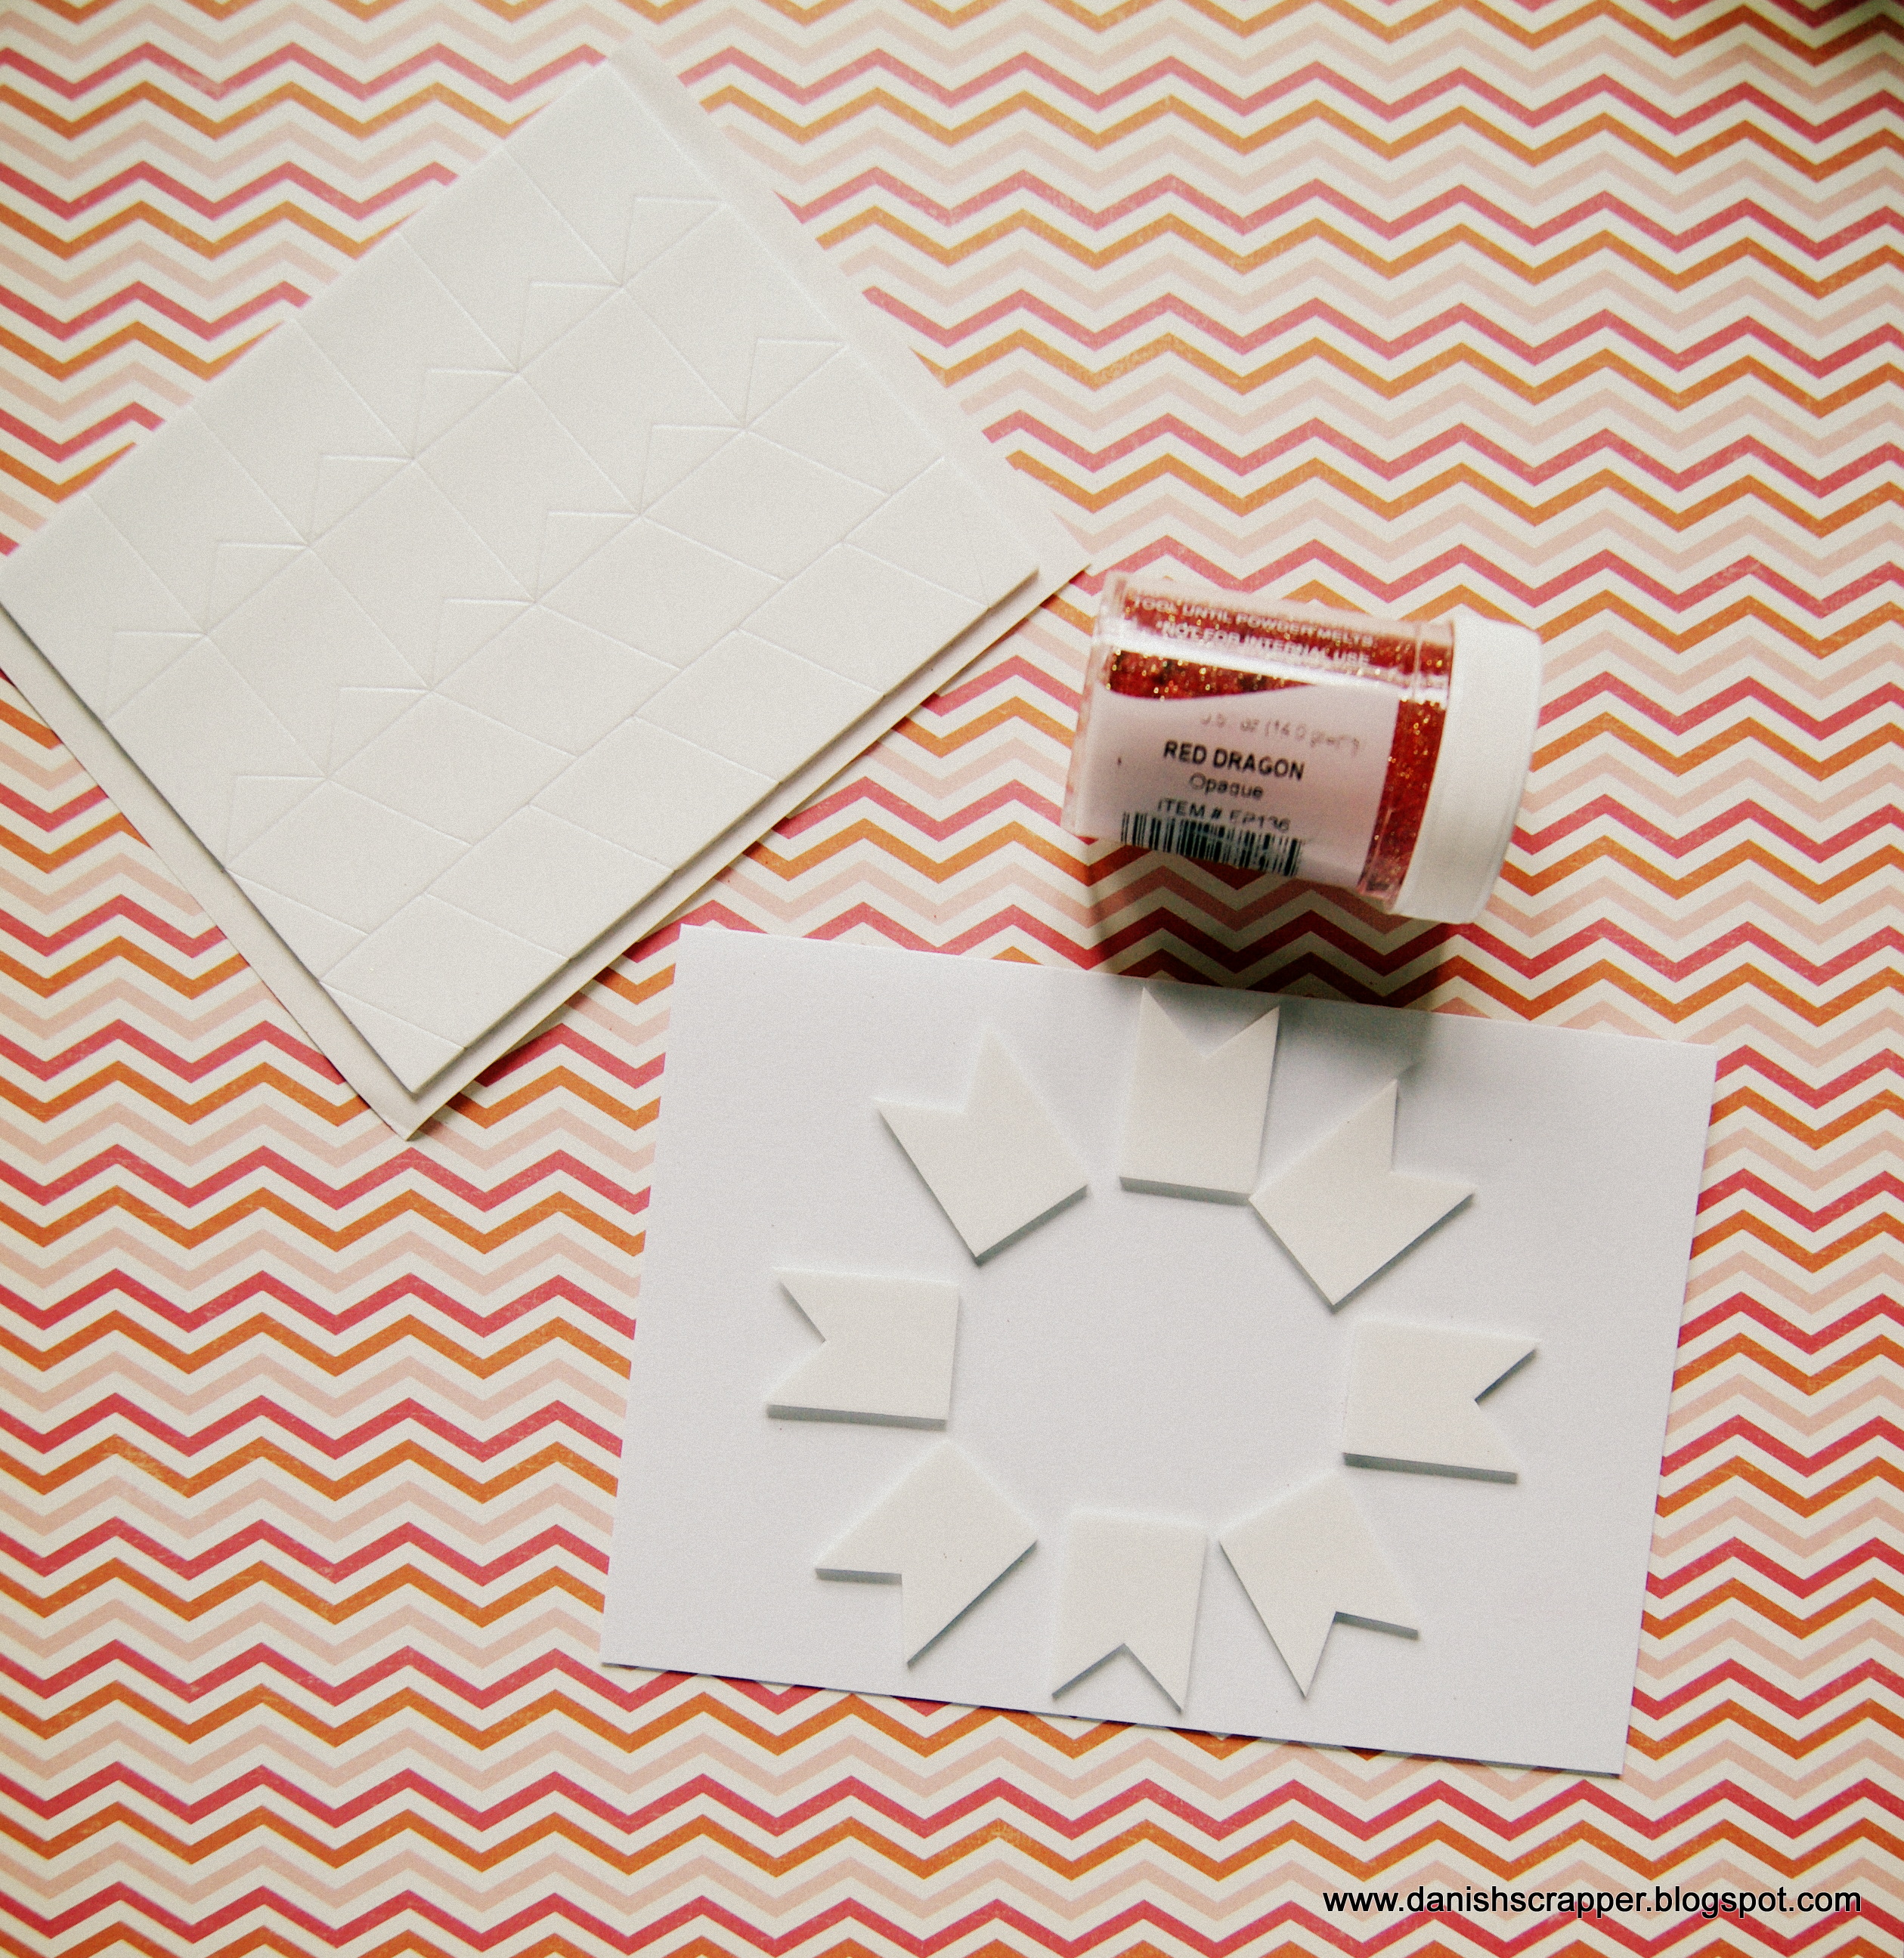
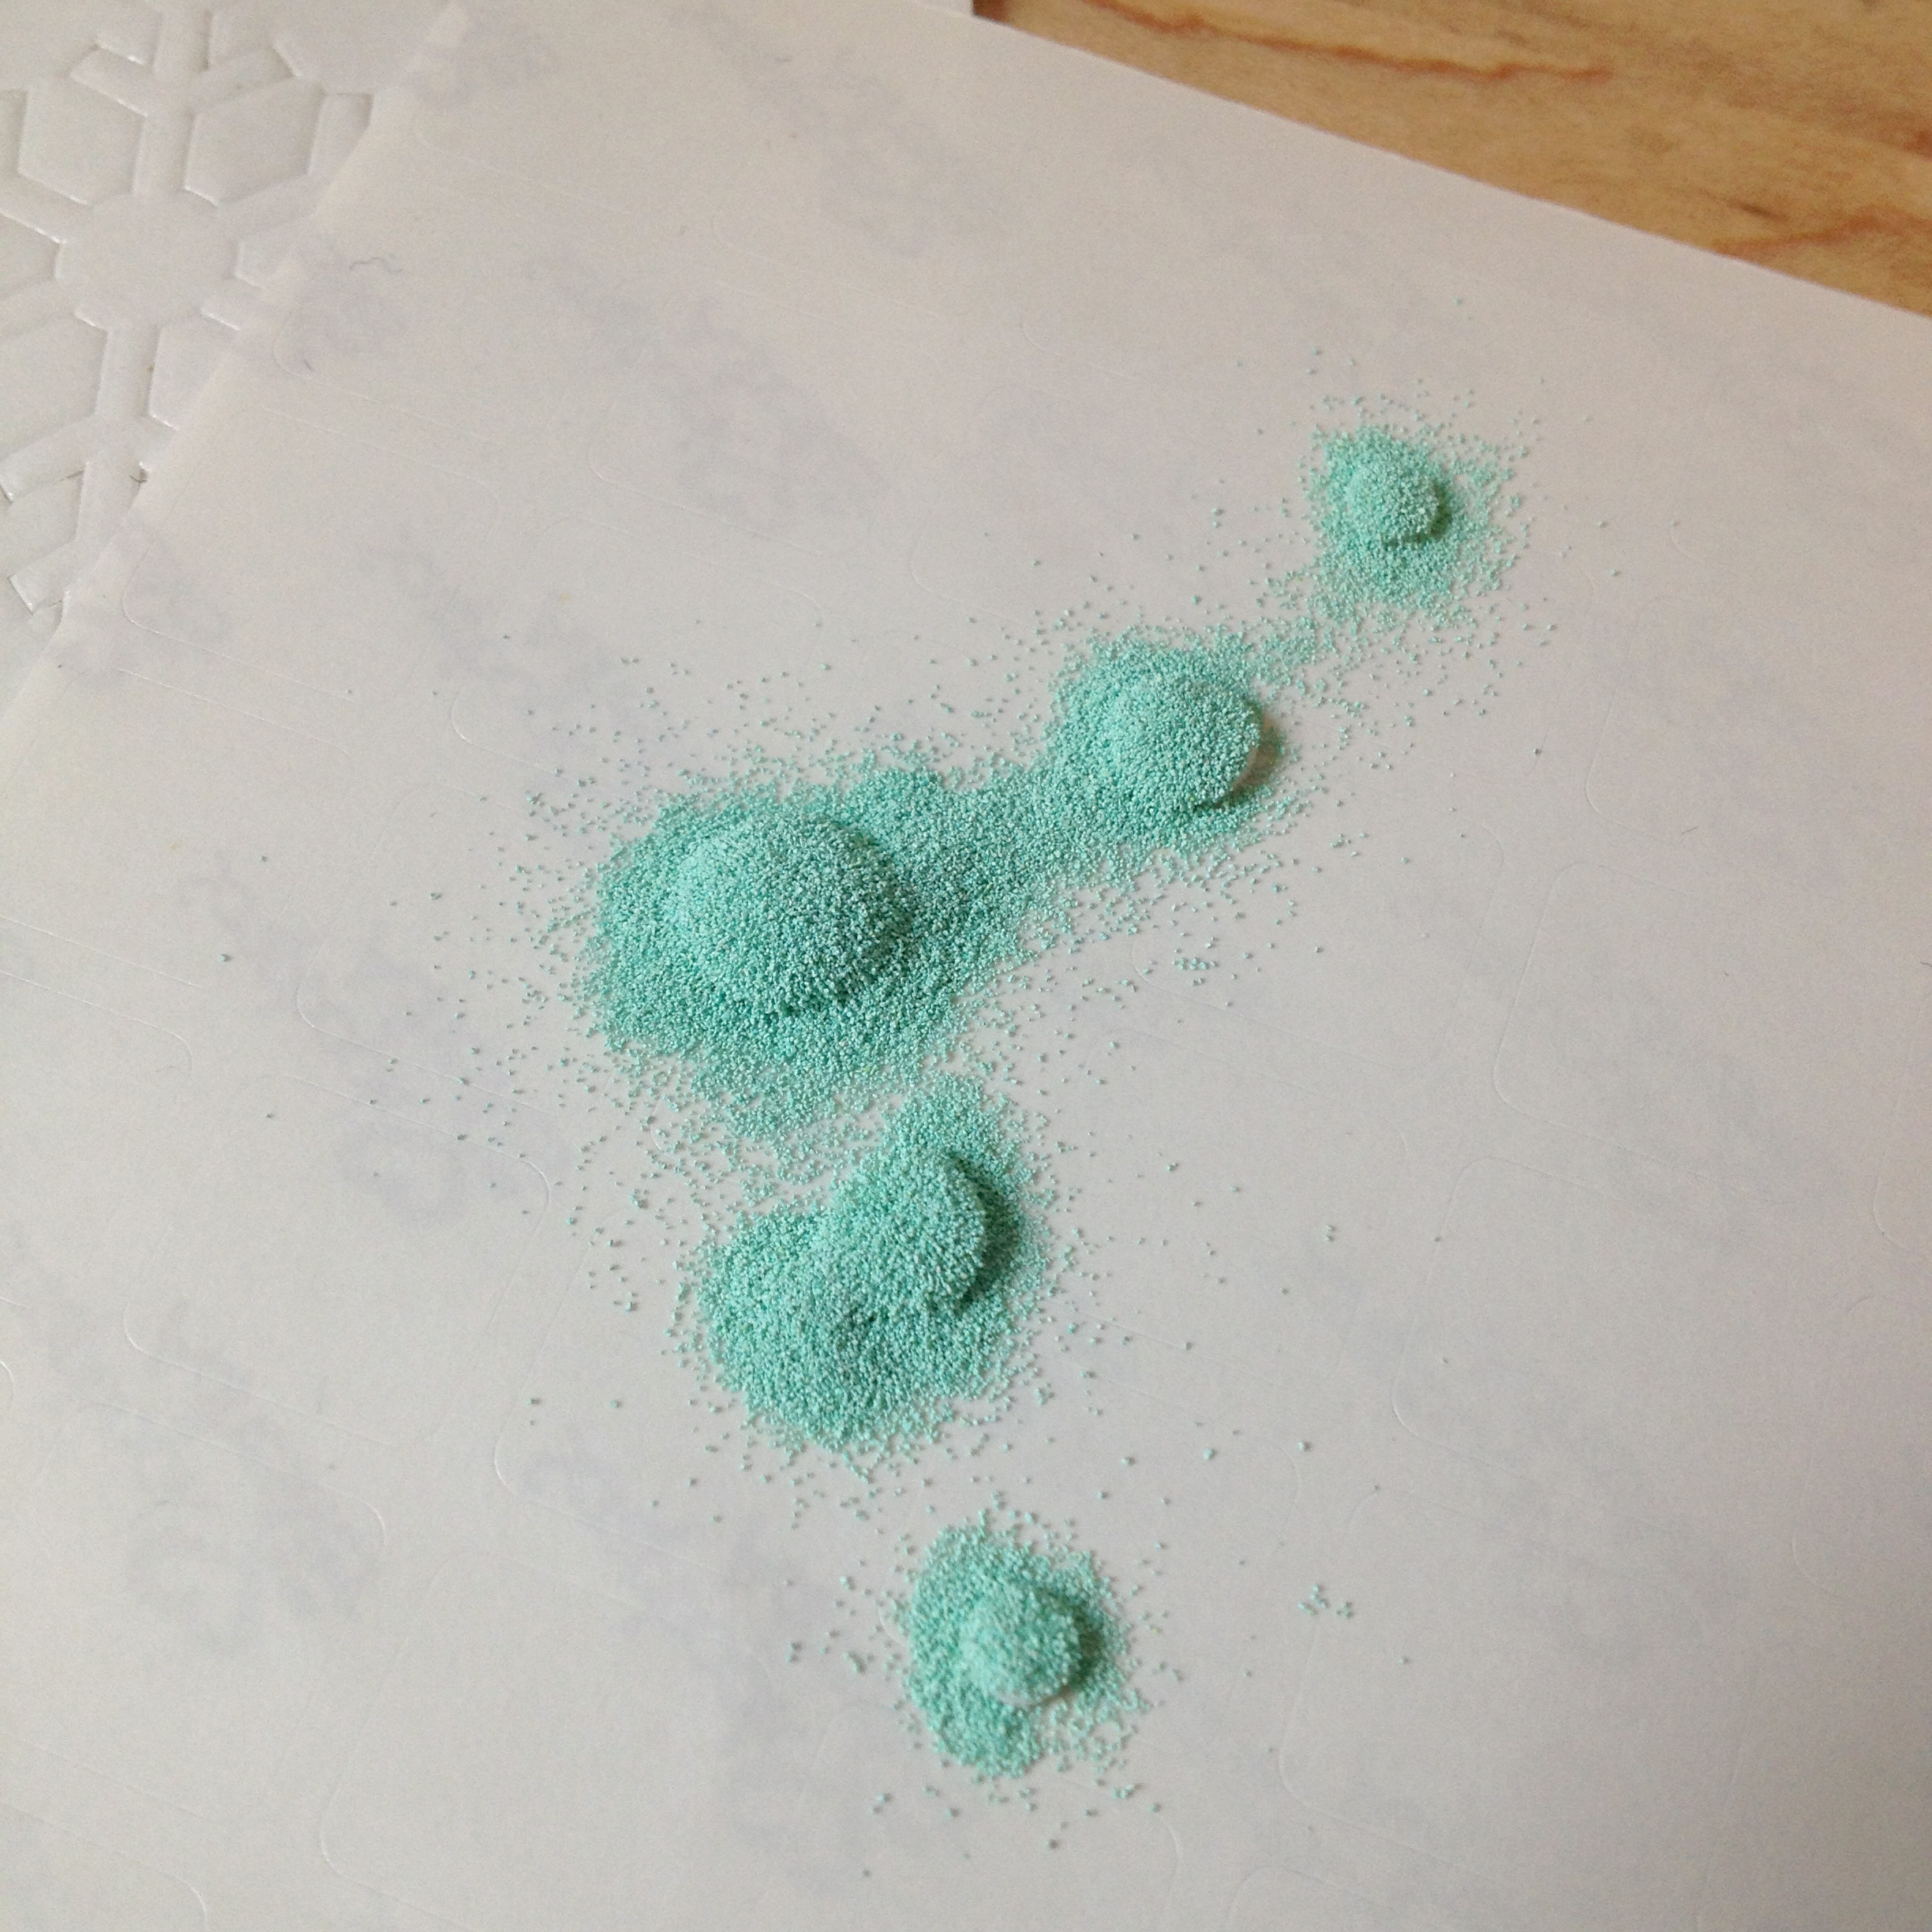
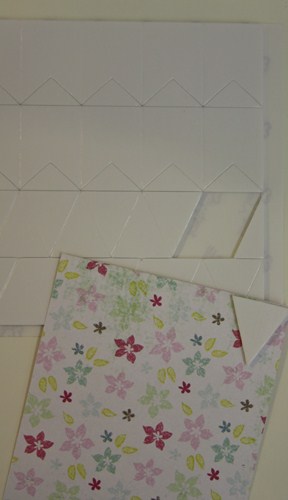
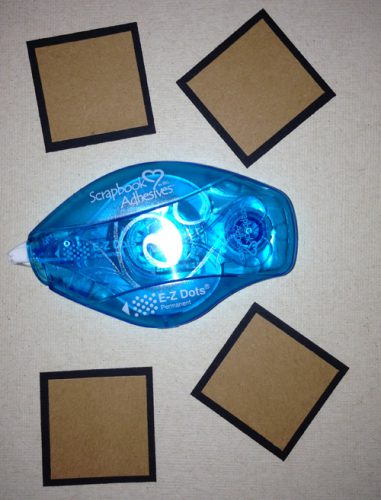
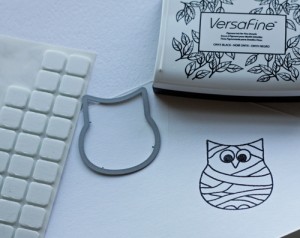
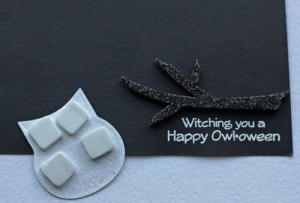
Here’s a photo showing the supplies you’ll need:

Instructions:
1. Create a 4.25 x 5.5 inch side folding card from black card stock.
2. Stamp the sentiment from the Happy {Owl}oween Stamp Set using embossing ink. Cover with white embossing powder, shake off excess and emboss.
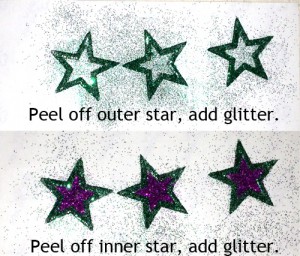
3. Peel back the backing from an Adhesive Sheet – 4 x 6″ and place the wood veneer branch face down.

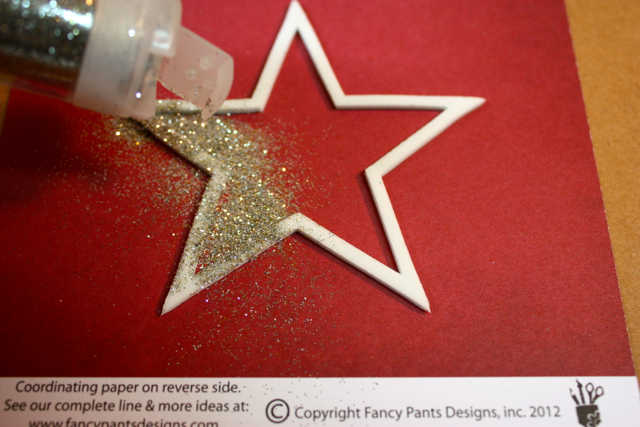
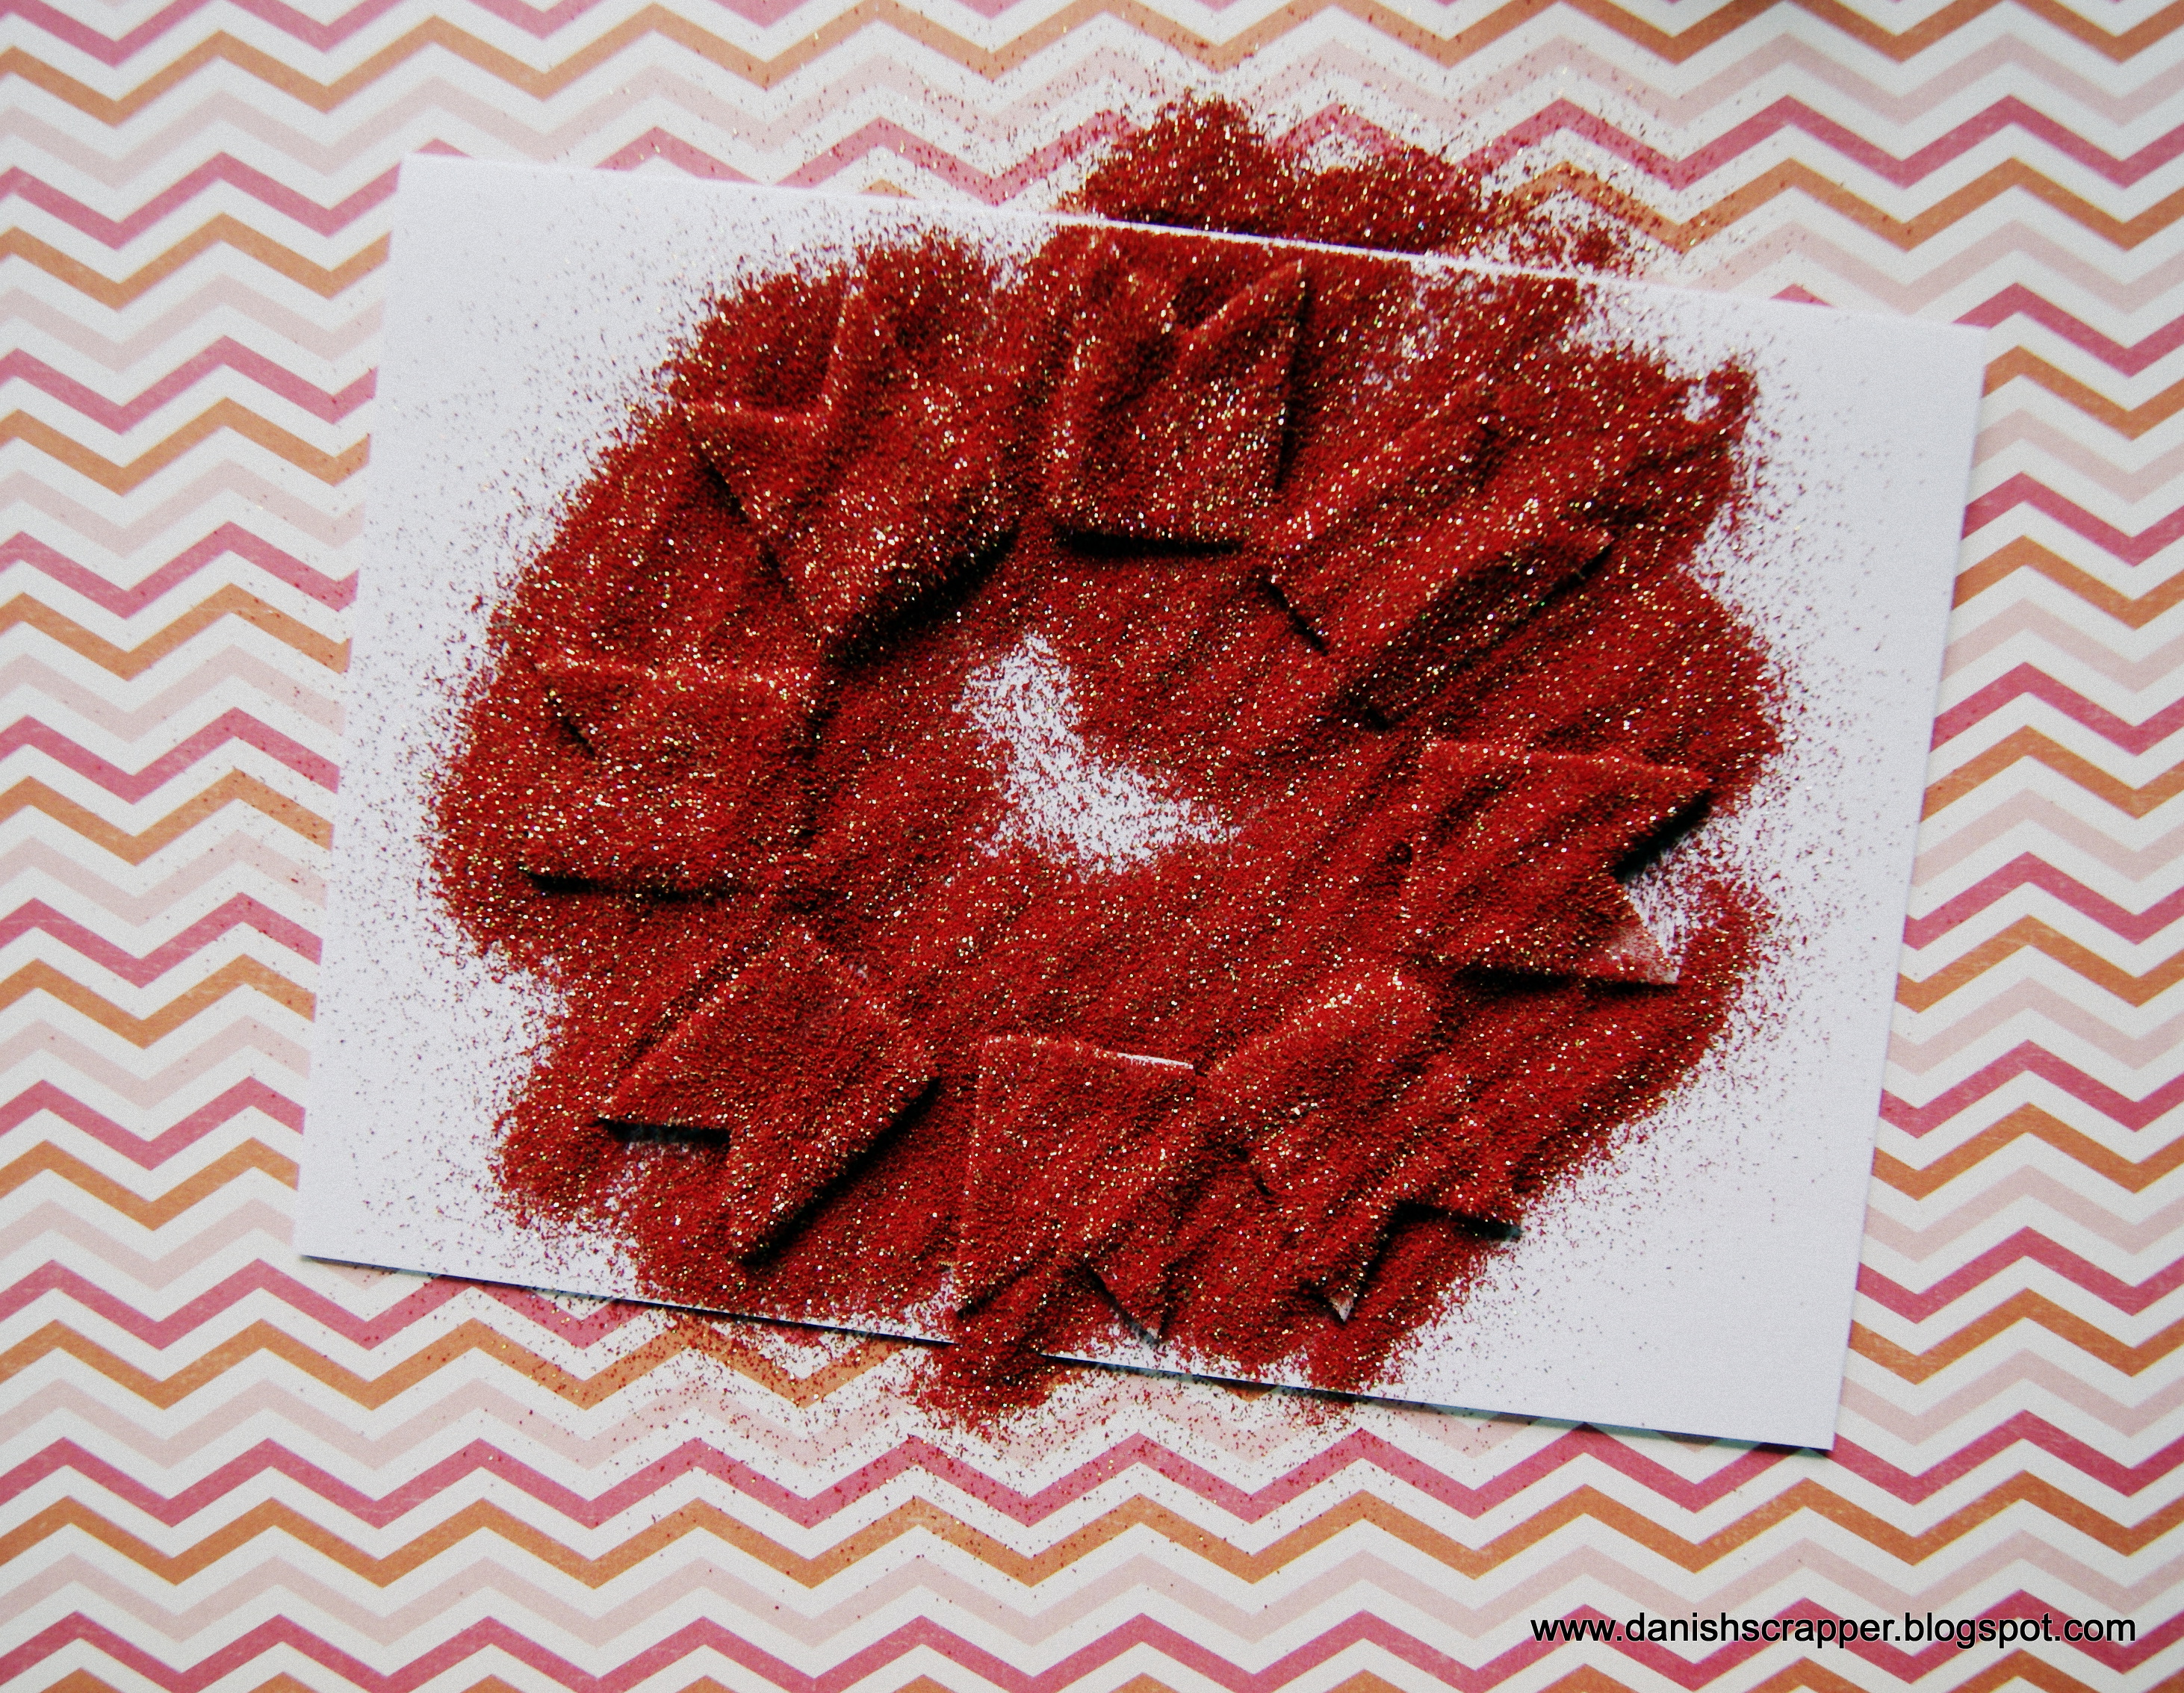
4. Replace backing sheet, flip over and burnish gently. Remove branch from adhesive sheet and apply black glitter. Shake off excess glitter and place the non glittered side of the branch onto a new section of the adhesive sheet.
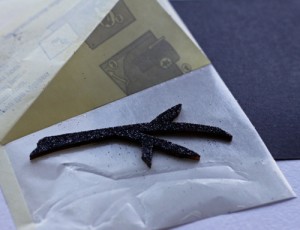
5. Replace backing, flip over and burnish gently. Remove branch from adhesive sheet and apply to card base above sentiment.
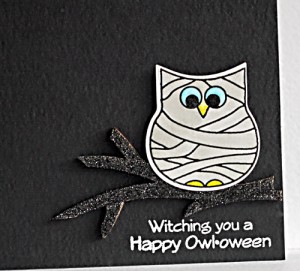
6. Stamp an Owl from the Happy {Owl}oween Stamp Set with black ink and heat emboss with clear embossing powder.
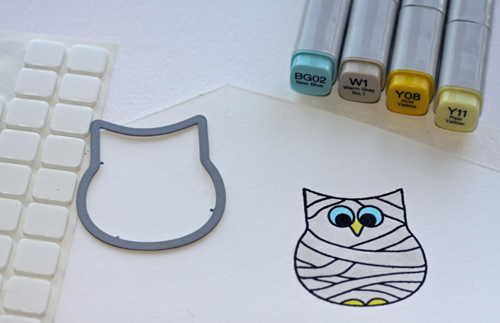
7. Now you could die cut this cutie right now, but I prefer to color the image before die cutting. So I got out my Copic markers and colored the image in.
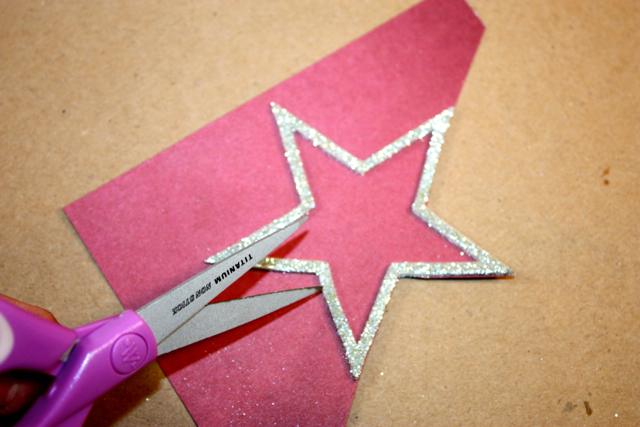
8. Position the die on the image and secure with some washi tape (or other low tack tape).
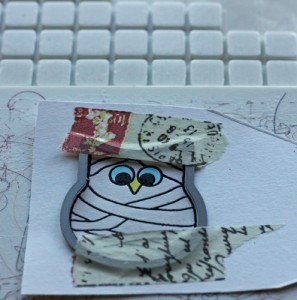
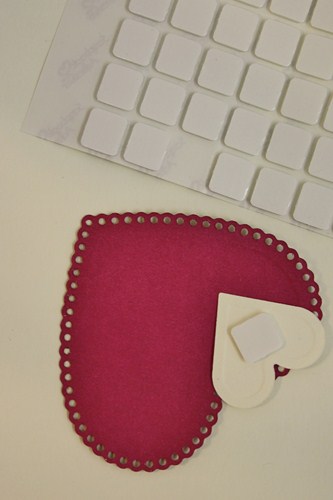
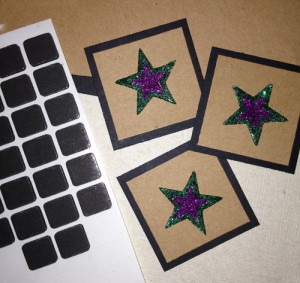
9. Cut out image and apply 3D Foam Squares – 1/2″ White to the reverse, leaving some room at the bottom without adhesive.
10. Remove the adhesive backing and perch the Owl on his/her branch to complete the card!
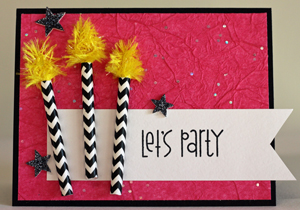
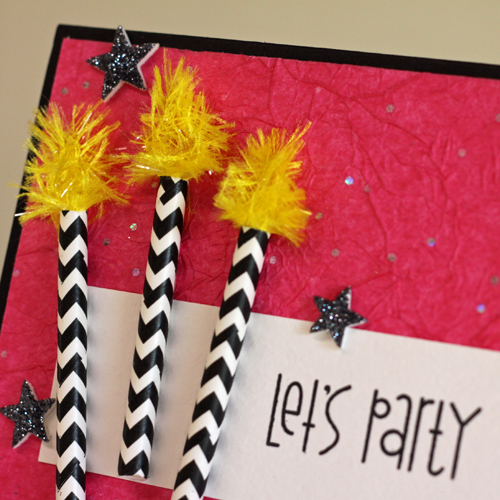
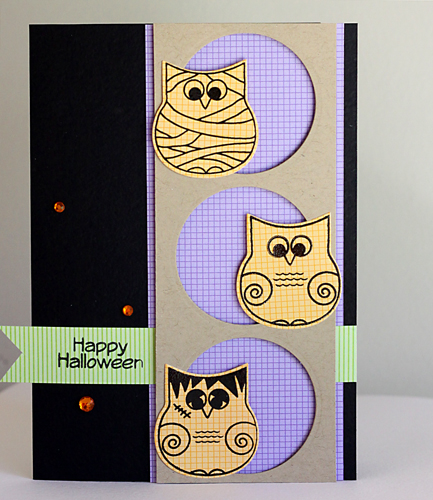
Easy peasy, right? This stamp set was so adorable; I created a second card with it as well!
Thanks for joining me for Day 1 of the blog hop with A Jillian Vance Design! Remember to comment each day on both blogs for a chance to win!

Angela
Other supplies used: A Jillian Vance Stamps and Dies, Bazzill Basics Paper Card Stock, Doodlebug Patterned Paper and Gems, Ranger Embossing Ink, Tsukineko Versafine Ink, Maya Road Wood Veneer branch, EK Success Glitter, Stampendous Embossing Powder, Copic Markers
Visit our Website and Blog!
Sign up for our Newsletter so you never miss a contest or giveaway!