You are in our US store • Switch to Europe store

Prom 2013 Scrapbook Page Tutorial

We survived Prom! And my son had a great time too!
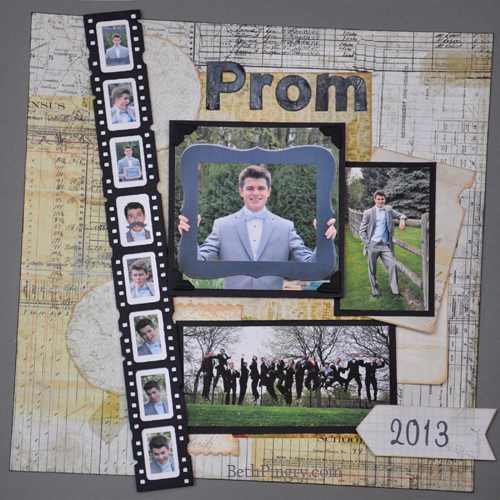
Of course, he’s used to having a camera in his face…and he did not disappoint! Of my 2 boys, this one, JJ, is my comedian, my clown, and just plain old silly to be around, can you tell?

For this layout, I used a film strip to show off several of the outtakes from the gazillion photos I took. I used the E-Z Dots® Permanent Refill to adhere the little pictures to the back side, without having to worry about adhesive showing through. E-Z Dots® Permanent are clear and perfect for intricate die cuts!
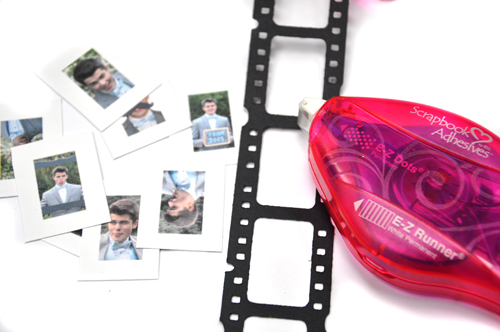
You’ll notice that I placed the refill for E-Z Dots Permanent inside the shell for the E-Z Runner® Refillable, and can switch out the refills at any time, without having to use up an entire runner! And you can see through to see exactly which refill is inside the shell!
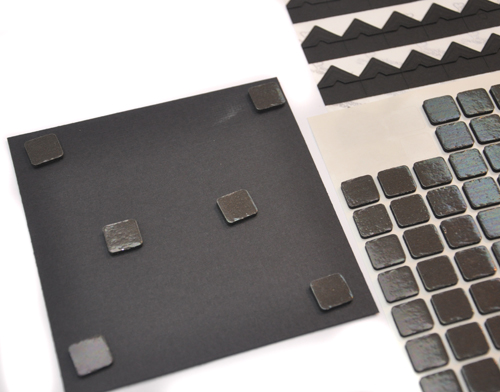
I added some dimension to the page, using the regular thickness of 3D Foam Squares on the main photo, and Thin 3DFoam Squares on the filmstrip die cut. Photo Corners added to the focal point on the main photo. (Just in case you were wondering, I bought the frame he’s holding at Hobby Lobby, and also took that to the group photo session, and have some great shots with it!)

I’m not a fan of skewed photos, but I felt like this layout could use some angles, especially with the linear paper…which is from a fairly feminine line, Pink Paislee’s Hope Chest. I used my trimmer to make line up the photos to be sure they were actually straight.

I tucked some Pink Paislee die cuts and and journaling cards around the photos to break up the lines. Those were inked along the edges with brown ink.

Thanks for coming by!

Beth Pingry

Supplies:

Scrapbook Adhesives by 3L®: E-Z Dots® Permanent Refill, 3D Foam Squares Black Regular, Thin 3D Foam Squares Black, Classic Photo Corners Black


  • Pink Paislee: Hope Chest paper, die cuts, journal cards
  • Sizzix: Tim Holtz Alterations Filmstrip Frames die
  • Clearsnap: Toffee ink
  • Tsukineko: Memento Tuxedo Black
  • WorldWin Papers: Black, Slate Grey Cardstock
  • Websters Pages: Story Tellers Game On number stickers
  • Sticker Letters: Recollections from Michaels
  • Frame in photo: Hobby Lobby
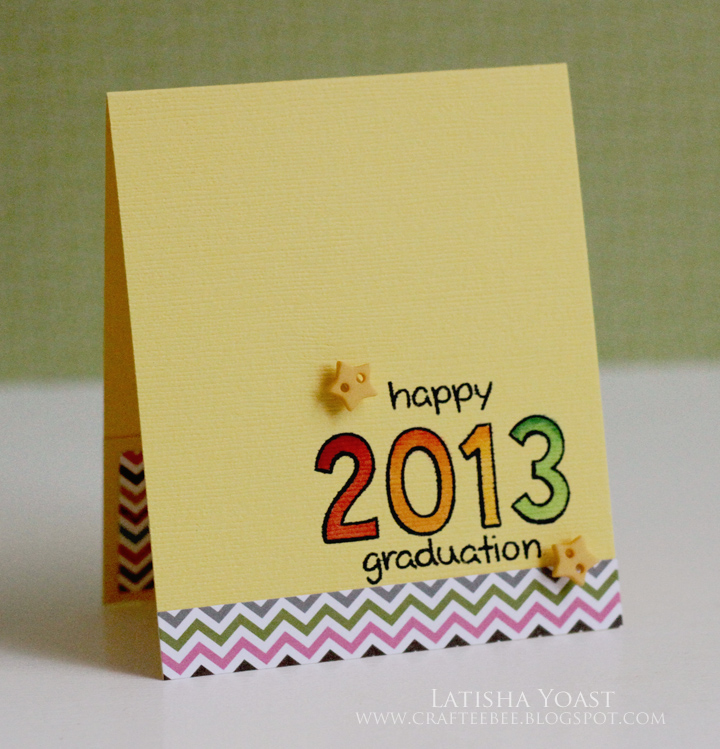
Happy Graduation Card

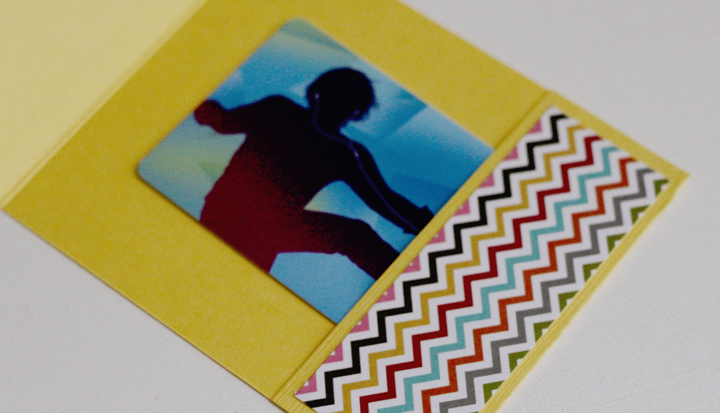
Hello there!  Latisha here with you today.  How is it the end of another school year already?  Many of you will be attending High School/College Graduations and Graduation Parties.  Getting a gift for a Graduate is always easy, cash or a gift card.  So today, I am going to share a graduation card with a little pocket on the inside to place a gift card or cash.

To create this card, you will need card stock cut down to 3 3/4 inches by 10 1/2 inches.  Using a scoring tool, score at 1 1/2 inches and 6 inches.
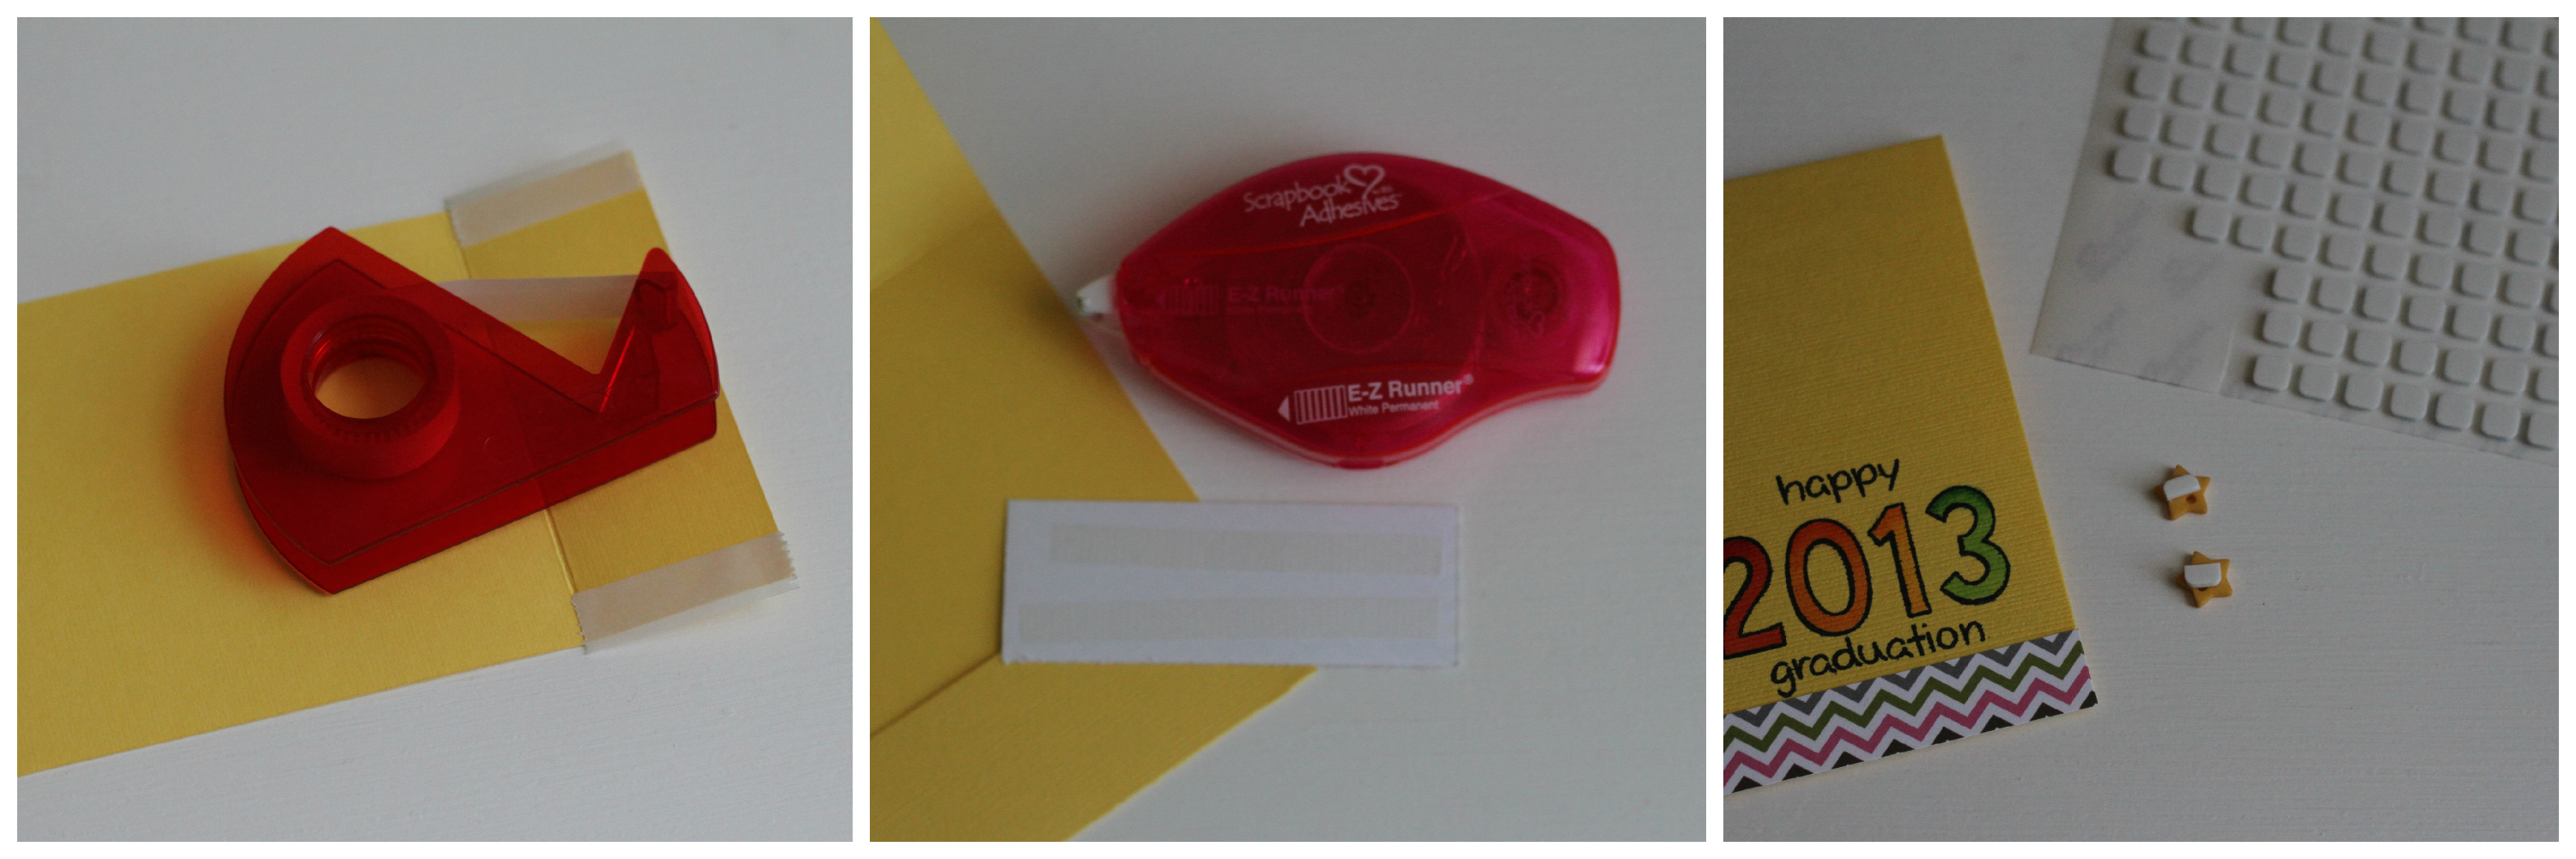
To adhere the inside flap down, I used some Crafty Power Tape, on both sides (leaving a space in the center for a gift card or cash).  The pattern paper was adhered to the inside and front of the card using the E-Z Runner Permanent Strips Refillable.  To adhere my yellow star buttons down, I cut a 3D Foam Squares Small in half and placed them on the back of the stars.
Here is an inside look at the card.  Pattern paper is from Simple Stories, stamps are from Lawn Fawn, cardstock is from American Crafts and the markers used to color in the year are Copics.


Save

the perfect adhesive to help stamp on wood veneers

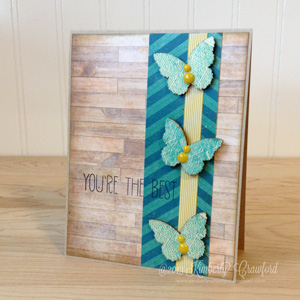
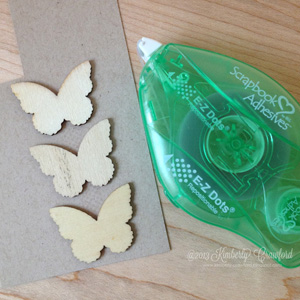
Hi its Kimberly today! On my blog I am currently doing a series of posts about all the fun and creative things you can do with wood veneers. Today was perfect timing for a post here, because the fantastic repositionable adhesive from Scrapbook Adhesives by 3L is perfect for stamping on wood veneers!

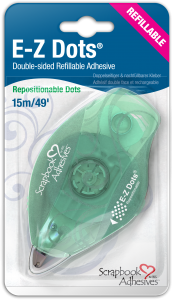
Start by laying a strip of  E-Z Dots® repositionable adhesive down on a piece of scrap cardstock or any scrap of paper. By placing your wood veneers onto the repositionable adhesive, they will stay in one spot while you stamp on their surfaces.

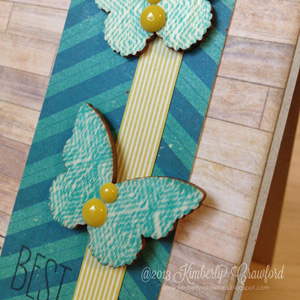
Here is a close up look at the stamped wood veneers. I did not use any specially formulated ink for this, just a basic dye ink.

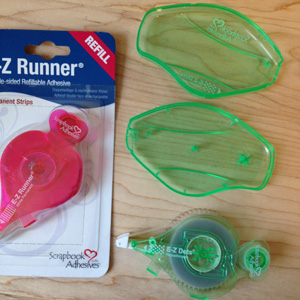
Once I finished stamping the butterflies, it was time to assemble the rest of the card. Cool thing about the new E-Z Runner® Refillable runners is, you can change the insides out, no matter what the outside is! If you look at the photo above, I was using the E-Z Dots® Repositionable Refillable adhesive runner, but needed a permanent adhesive to hold the card together.

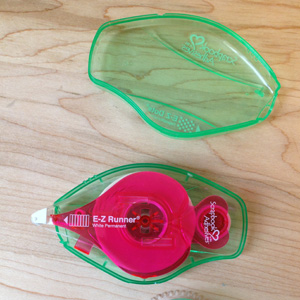
By simply popping the top off, I was able to remove the cartridge and replace it with the permanent cartridge! Very quick. No hassle. Talk about easy and frankly, brilliant!

E-Z Dots Repositionable Refillable dispenser

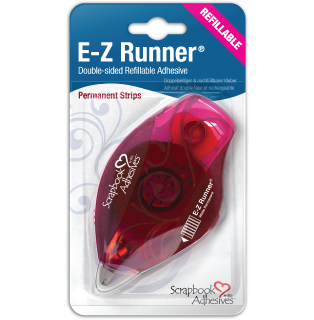
E-Z Runner Permanent Strips Refillable dispenserthanks for stopping by!

Kimberly Crawford

Supplies:Adhesives-Scrapbook Adhesives by 3L (E-Z Dots® Repositionable Refillable Dispenser, E-Z Runner® Permanent Strips Refillable Dispenser), Patterned paper-Crate Paper (Maggie Holmes Collection 6×6), Wood Veneers-Studio Calico (Butterflies), Stamps-Avery Elle (Handwritten Notes, All Squared Up), Ink-Hero Arts (MidTone Shadow Ink; Tide Pool), Tsukineko (Memento; Tuxedo Black), Enamel Dots-My Mind’s Eye (My Girl), Cardstock-Neenah (Desert Sand)

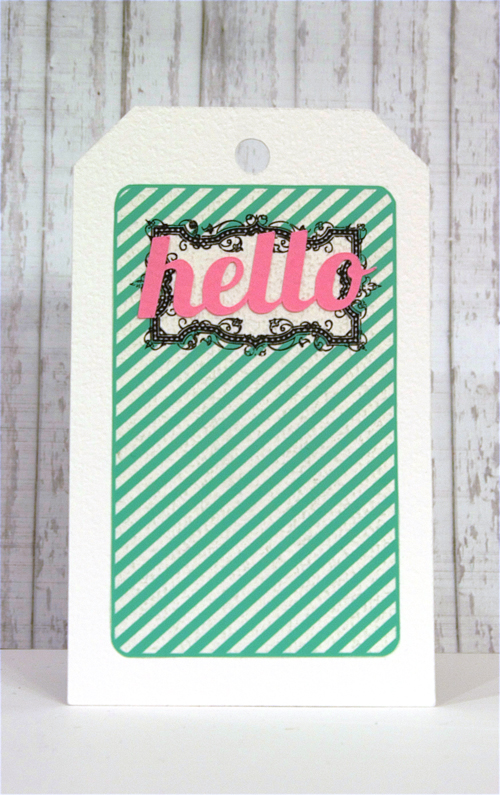
Hello Tag

Hey there!  Ashley here today to show you a super easy and quick way of adhering transparencies to your projects.

So here is the step by step.

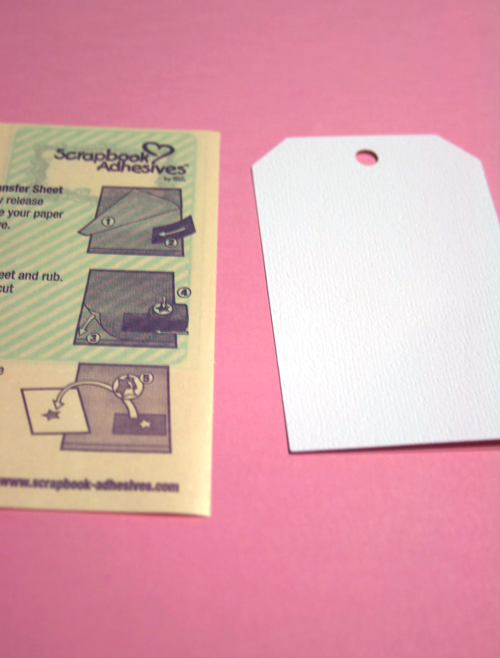
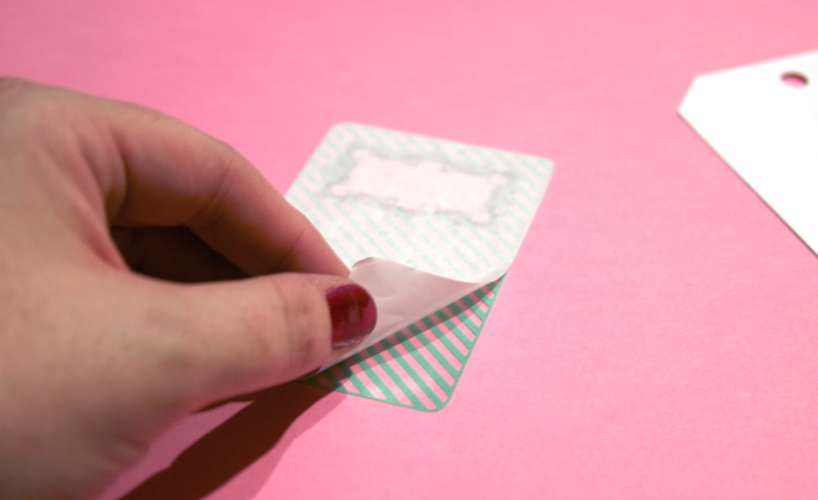
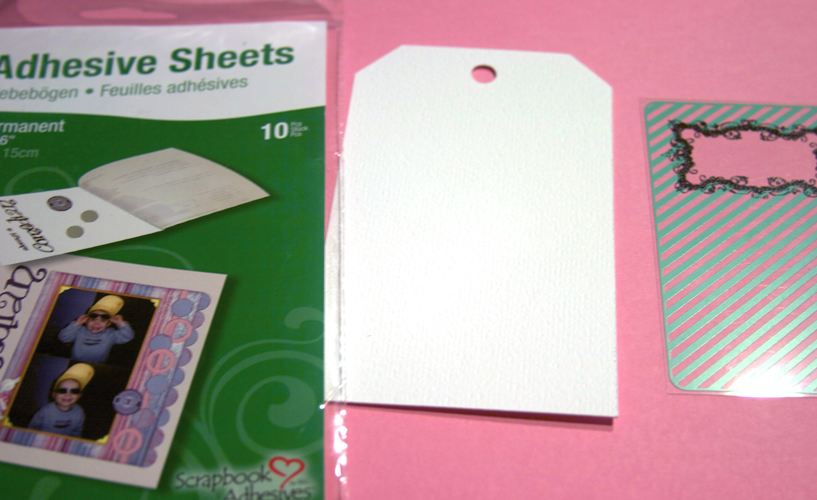
First you want to pull the top strip off the Adhesive Sheet you will be using.  Then place your transparency down as you pull the yellow liner down.

Be sure to burnish or rub really hard for an even coverage on your transparency.  I usually will place the yellow sheet back on top so I don’t get any of the adhesive that is around my transparency on my hands.

Gently pull off the back layer and your transparency is ready to be placed on your project.  This adhesive is super strong so be sure to mark exactly where you want it so you can be sure of the right placement the first time.

Hope that helps you!   Thanks for stopping by!

Ashley Harris

Supplies:

Cardstock:  Bazzill Basics

Transparency:  Hambly (no longer available)

Adhesives:

Adhesive Sheet 4 x 6"

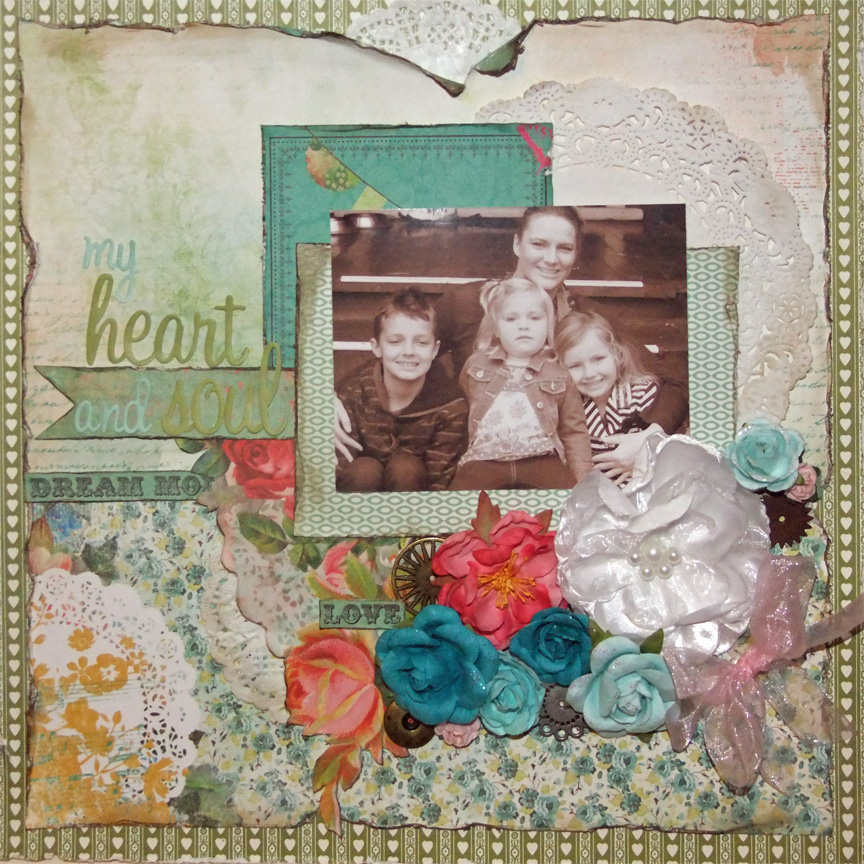
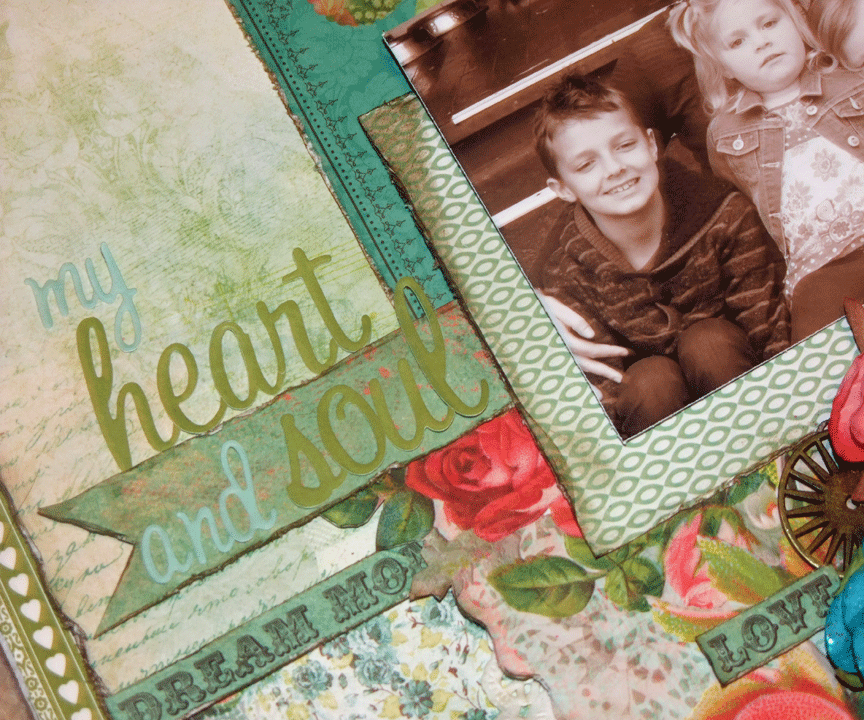
My Heart and Soul

Hi There!

Shell Carman here today with my first post for Scrapbook Adhesives by 3L®!
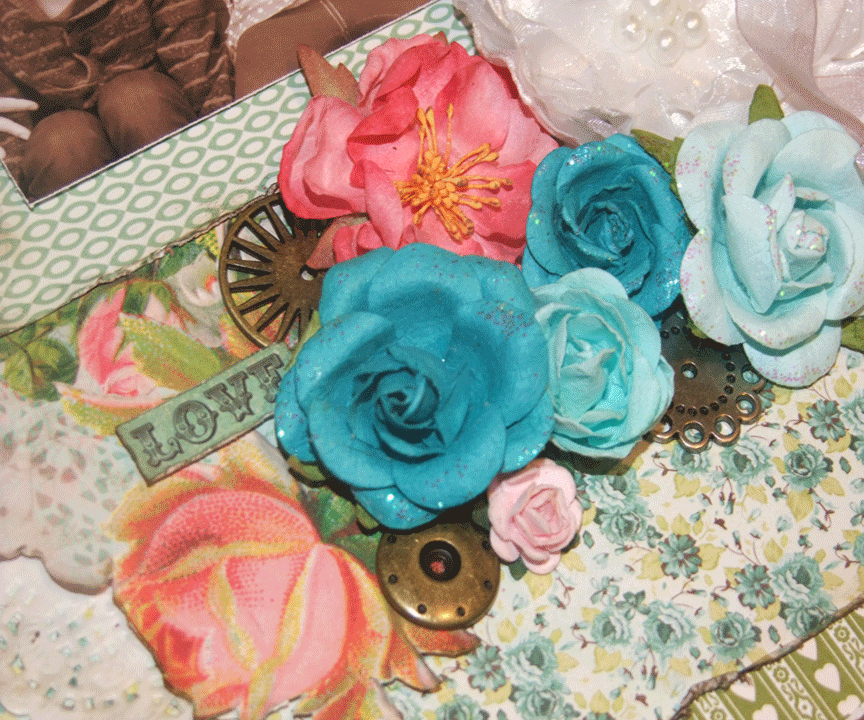
I love to use lots of embellishments on my page which are often bulky & heavy. I want my embellishments to adhere instantly without moving around the page. Dodz 3D
& Dodz Medium are perfect for this!


As you can see I have created a large cluster of flowers & Vintage trinkets. All of these have been stuck down with Dodz 3D & Dodz Medium!

I also like to create dimension by using 3D Foam Squares for the larger pieces & the 3D Foam Squares Small for the finer fussy cut pieces.


I have used the small 3D Foam Squares at the end of the pendant & the regular size throughout the body of the pendant.

To stick down all of my layers I used my E-Z Runner Permanent Strips Refillable Dispenser which made the layering process so quick & easy!

Thanks for joining me today!
Another Scrappy Day by Shell Carman


Mixed Media Layout

Hello, it’s Stephanie Schütze here with a mixed media layout on a canvas panel.

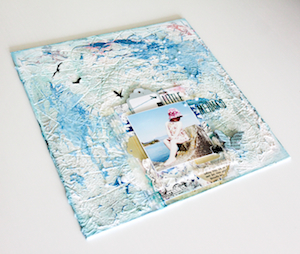
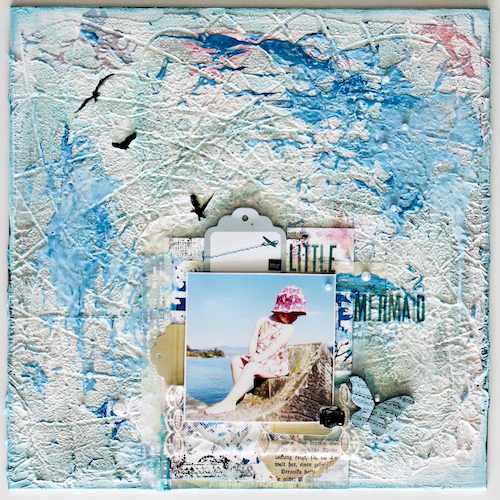
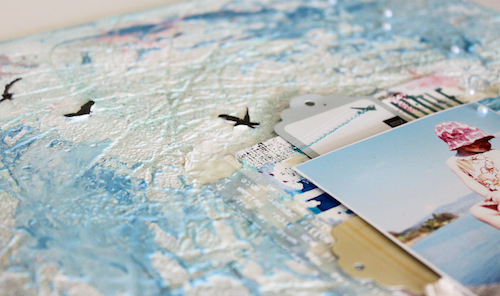
Some days ago we made a trip to the lake and suddenly I saw a little mermaid. 😉 My little girl was resting on a big stone and her pose was looking like a mermaid pose so I took quickly some photos of her to remember this cute moment.

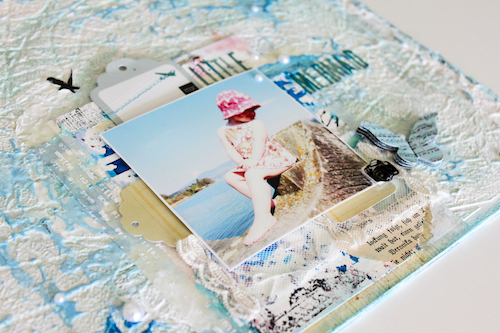
I made a mixed media layout on a canvas panel and used a lot of modelling paste, paint and encaustic wax in the background and some lovely stuff and leftovers behind and next to the photo.

To fix the different papers I used the Crafty Power Tape – 81′ Built-in dispenser. For the photo I used the Crafty Foam Tape – White 13′ and to fix the little camera on the photot I used a 3D Foam Squares 1/2″ White – 126 pc.

Supplies from Scrapbook Adhesives by 3L®:

Crafty Foam Tape

3D Foam Squares

Crafty Power Tape

Other supplies I used:
Leftovers and paper scraps
Sticker/Alphas by Amy Tangerine from American Crafts
Pearls from Melissa Frances
Butterfly from Little yellow bicycle

Thank you for stopping by, Stephanie (scrapmanufaktur)

Mini Album Tutorial

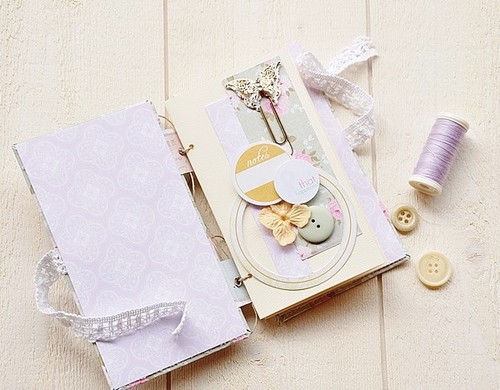
Hi readers !!! Flo here for a new tutorial today ! What a pleasure to create with Scrapbook Adhesives by 3L, adhesives are of such high quality and so practical!

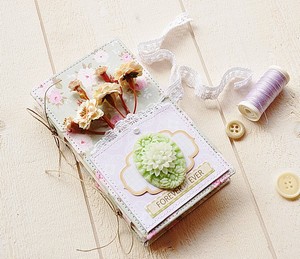
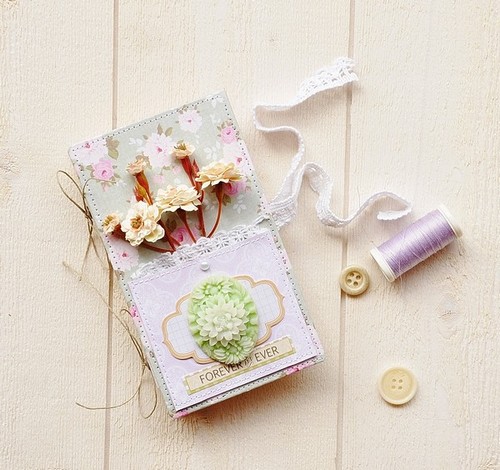
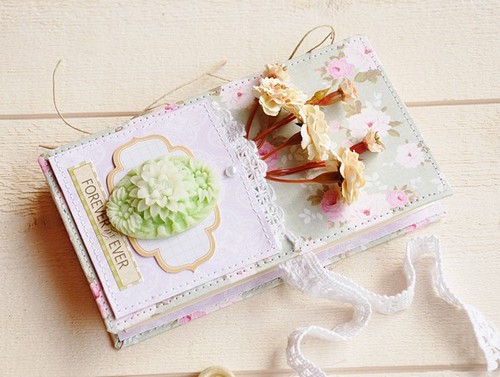
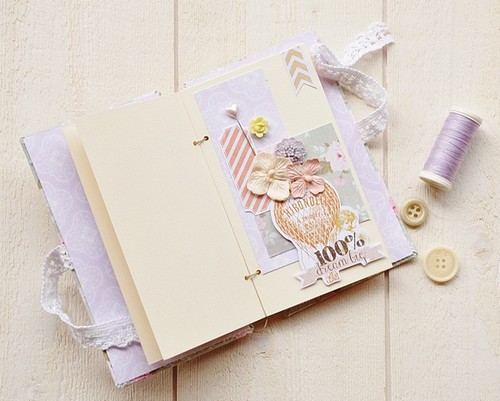
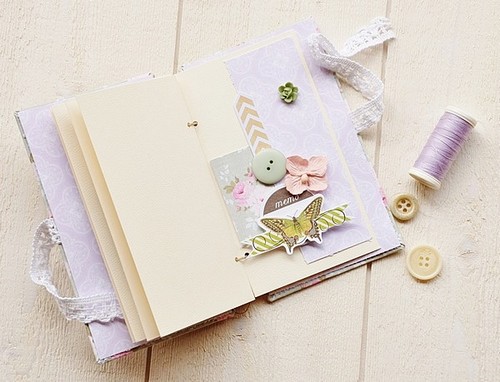
Today I show you how to create a small album, very easy! But let me first introduce you this project with some pictures.

To create this mini album :

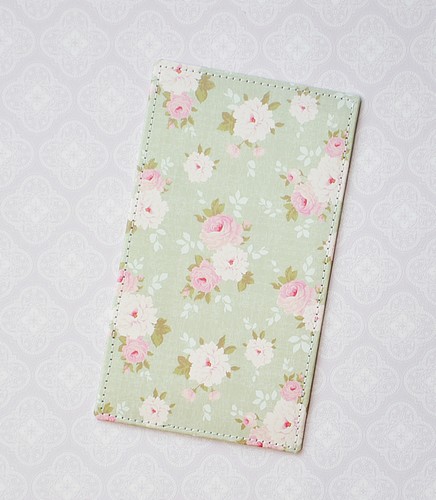
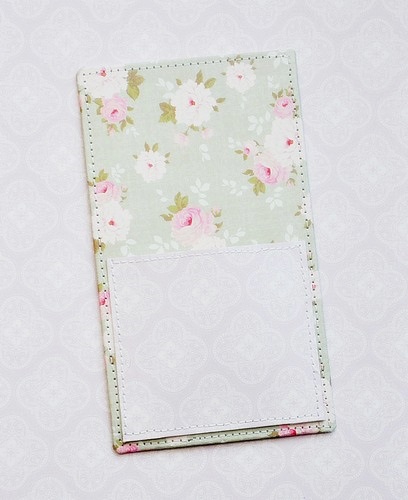
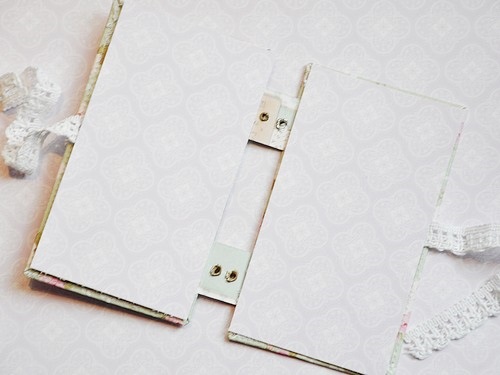
Cut two rectangles out of cardboard (3,5*6,3 inches or 9*16 cm). Attach on each cover a paper with the E-Z Dots® Permanent Refillable Dispenser.

Fold on the back side and adhere the edges. Do all this with the same adhesive.

Sew the edges to give a more beautiful finish.

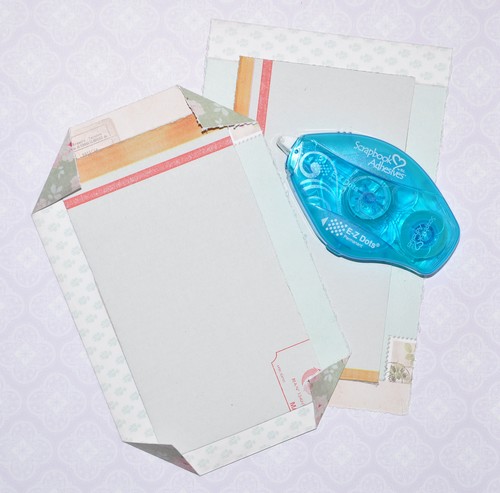
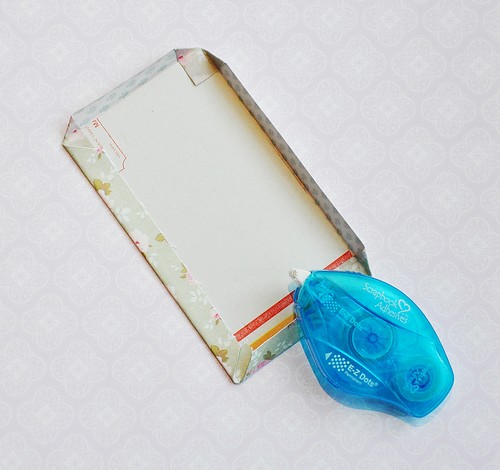
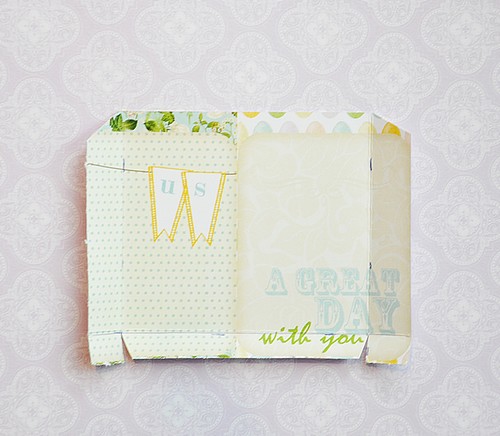
Prepare the small pocket from the album cover.
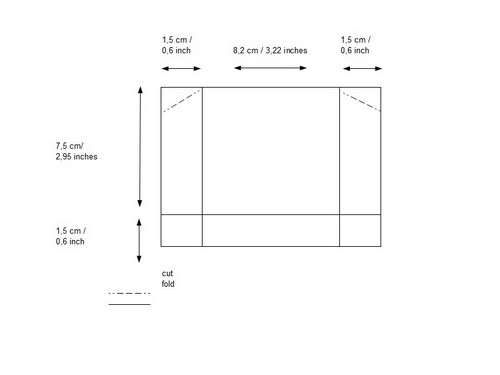
Draw and cut out paper the following template.

Fold edges and fix on the cover. You can also also sew the edges.

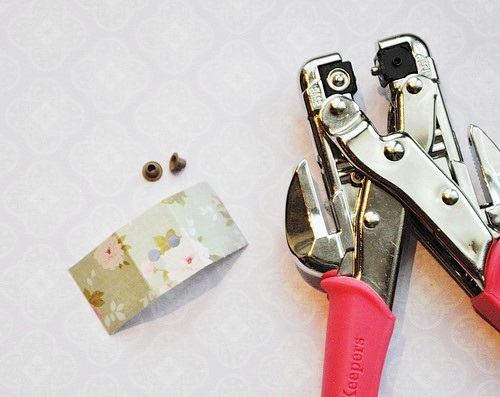
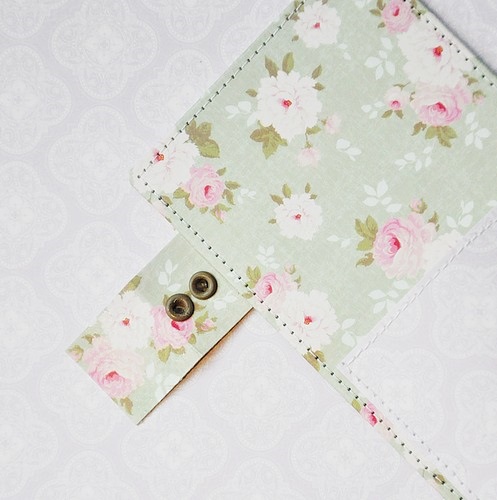
To bind your album cut two rectangles of 2,36*2,36 inches or 6 * 6 cm. Fold three times every 0,78 inch or 2 cm. Add brads as pictured in the center.

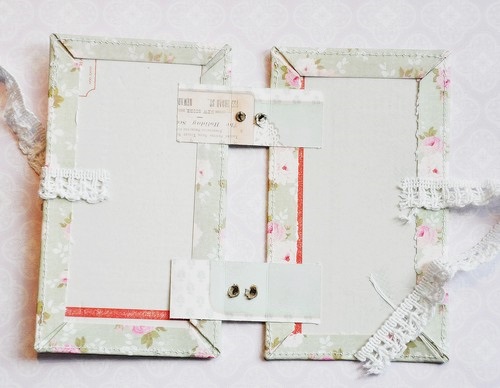
Attach the tabs on the inside of your mini album, with the E-Z Dots® Permanent Refillable Dispenser.

Add two rectangles of paper on the inner side of the covers to hide cardboard.

Your structure is ready, it remains only to add pages and decorate it .

SCRAPBOOK ADHESIVES BY 3L™: E-Z Dots® Permanent Refillable Dispenser.

Webster’s Pages and Tilda papers,
Etsy and Prima Marketing flowers
Pink Paislee die cuts and butterfly

Thank you for stopping by our blog today!

Floliescrap Blog

Save

A Man Bag!

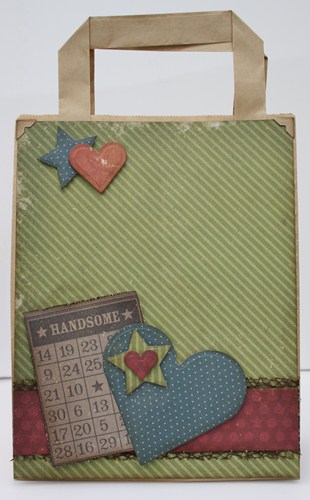
Hello everyone – Christine here today to share with you a gift bag for the man in your life.  I adore all thinks girlie and pretty but occasionally we have to put together something a little more masculine, today’s project is a quick and easy altered lunch bag.

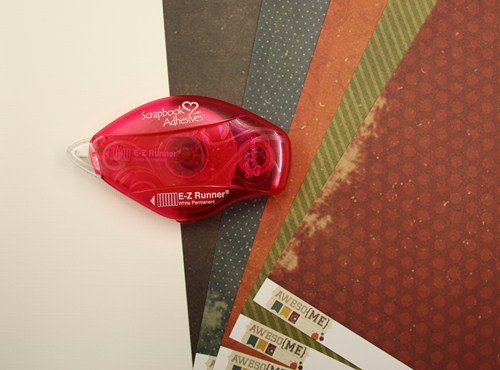
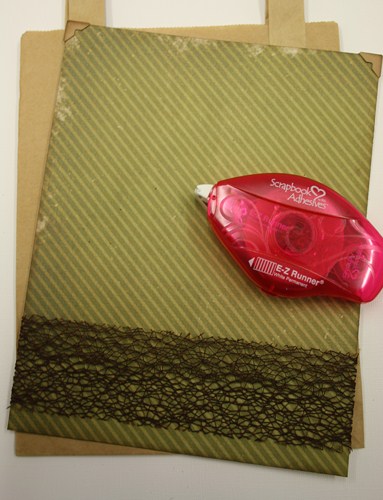
What makes this project so speedy is the new E-Z Runner® Refillable Dispensers.  I’ve chosen to use the E-Z Runner® Permanent Strips Refillable – the dispenser fits smoothly into my hand, I’m able to dispense as little or as much as I need and I know when it runs out I can just open it up and pop in a new refill.  No winding of tape, it just slots inside.

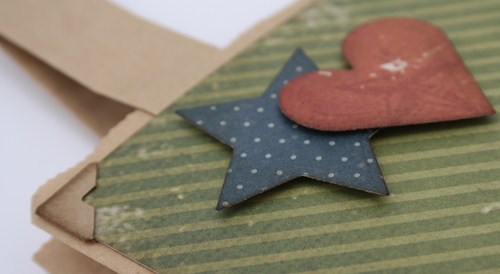
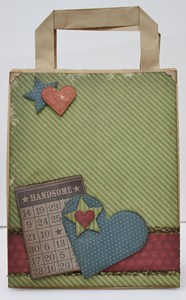
The papers I have selected are Simple Stories – Awesome, the colours are earthy and masculine, suited to my man bag!  Using the same adhesive I can attach some web-like ribbon.  I’ve also added some Photo Corners Kraft.  I attach this whole panel to the front of the lunch bag.

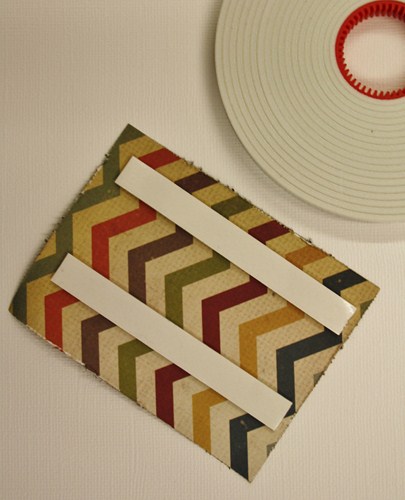
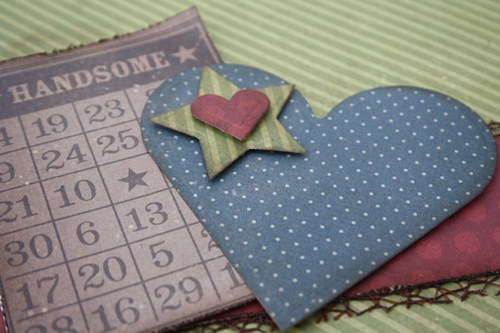
I selected a Bingo Card from the Awesome collection, distressed and inked the edges.  Placing Crafty Foam Tape strips to the reverse adds dimension.

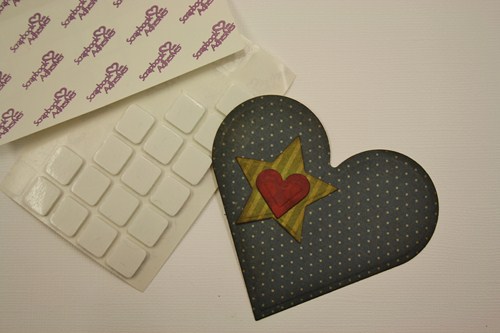
Using more of the patterned paper I cut/embossed Spellbinders Classic Heart and Stars Five to create embellishments.  Affixing 3D Foam Squares – White to the reverse.

The finished bag.

The photo corners tone so well with the overall finish.

And, in the absence of anything girlie you cannot go wrong with hearts and stars!

Thank you for stopping by today.

Video Tutorial: Colorful Rainbow Cards

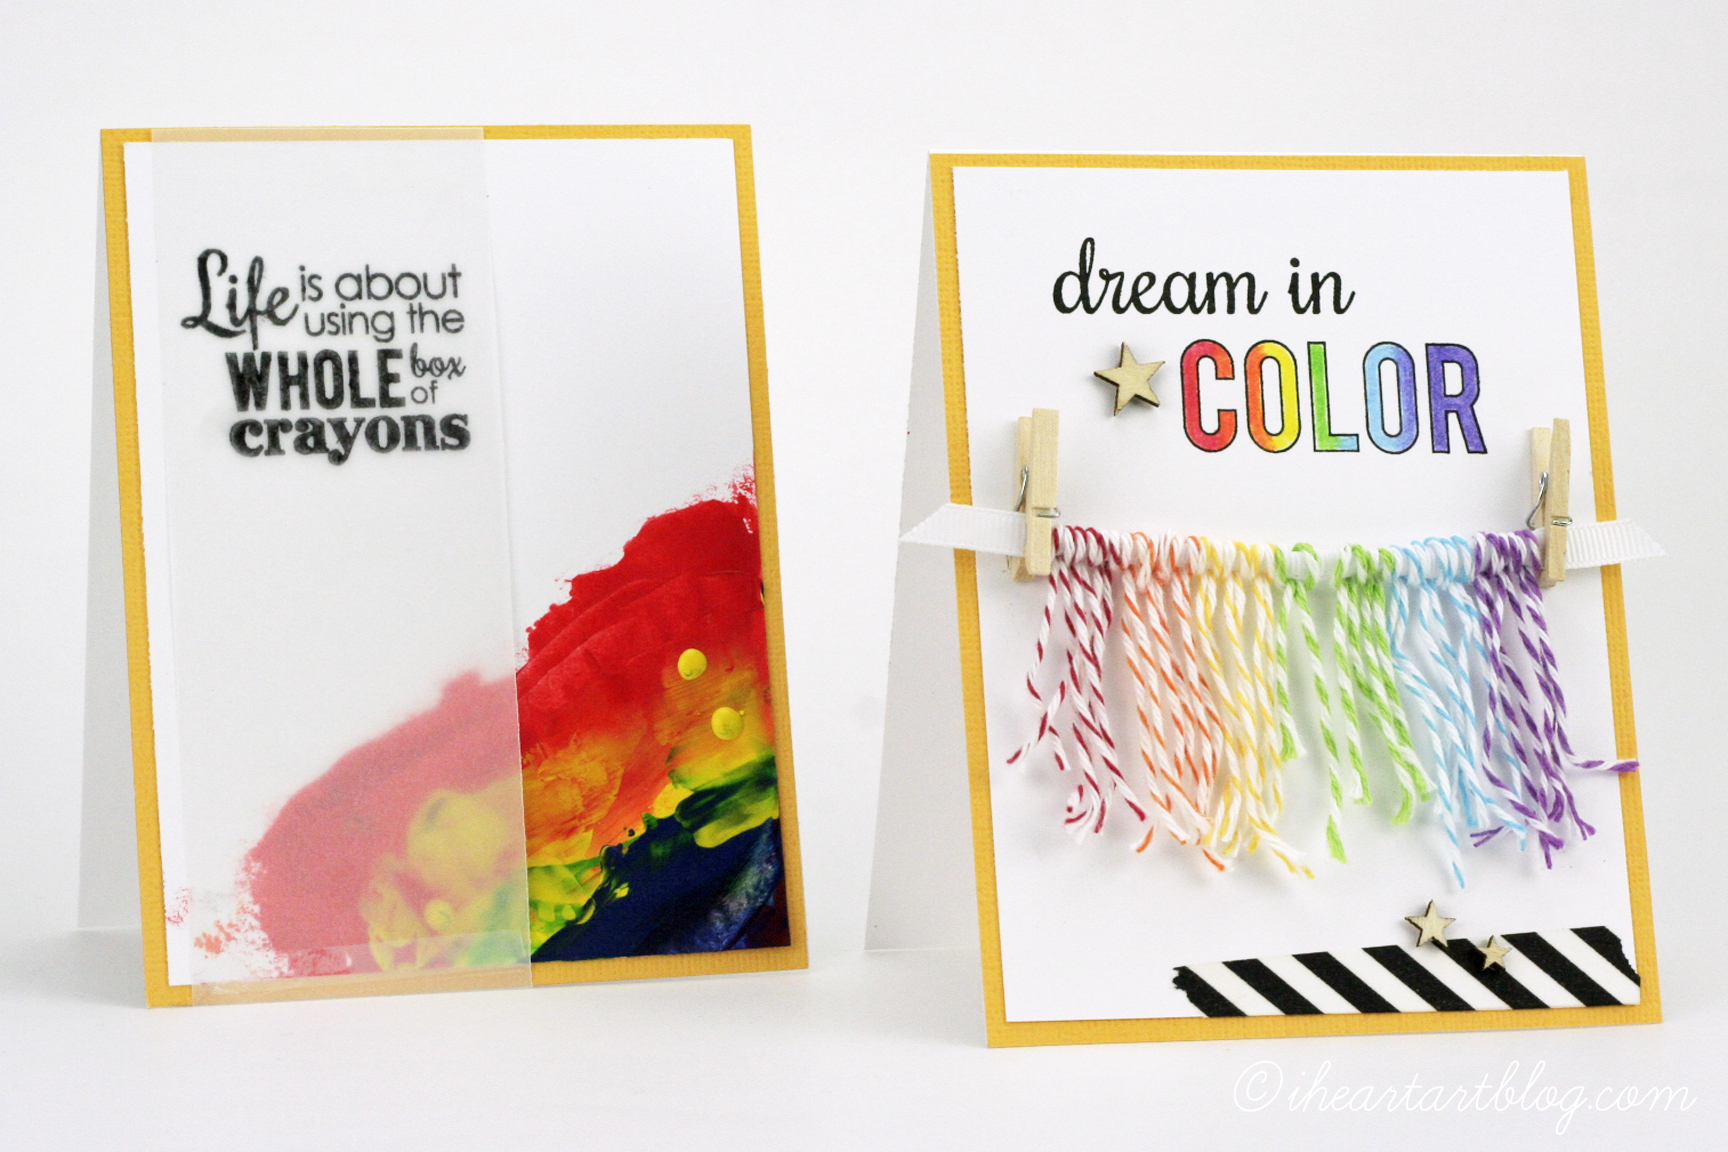
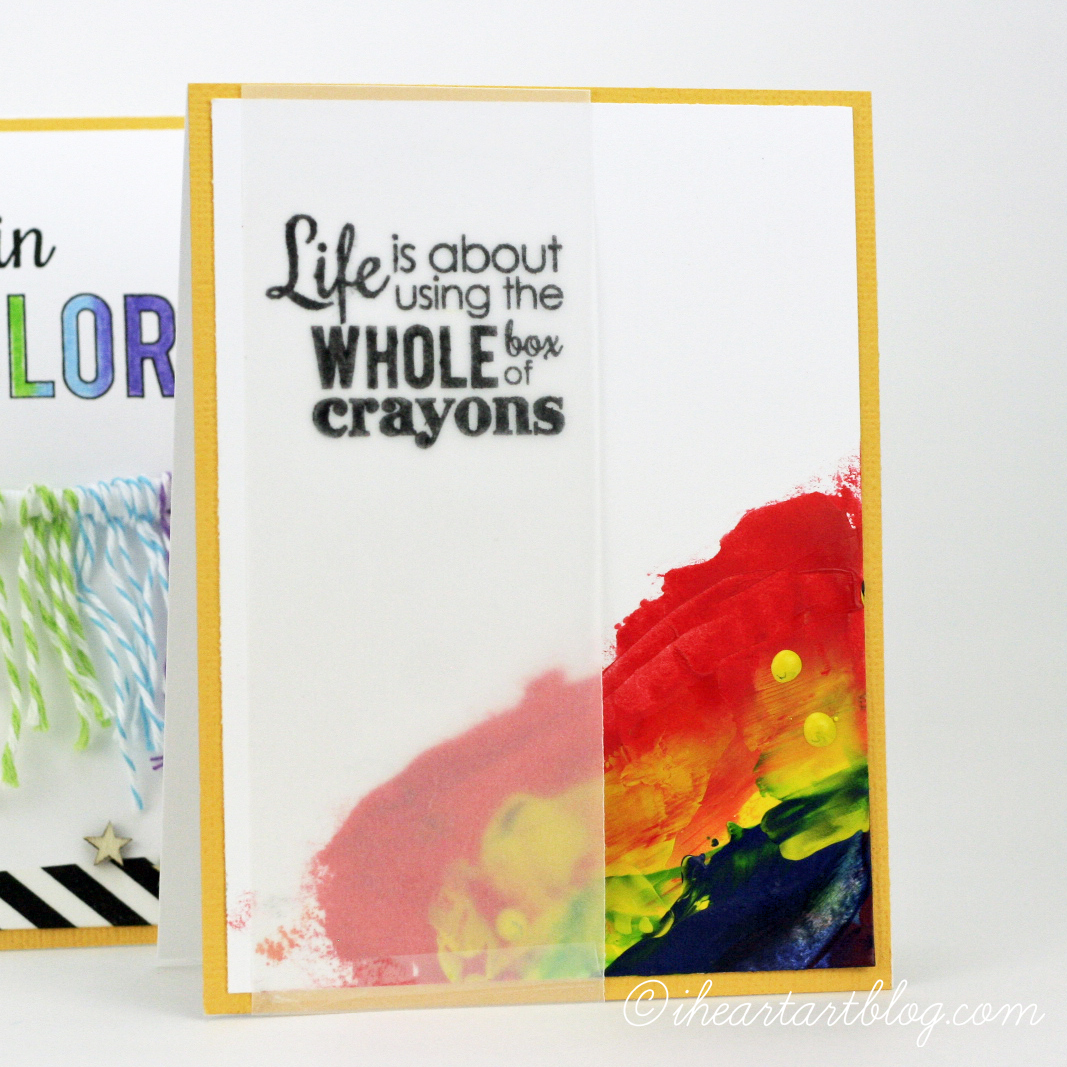
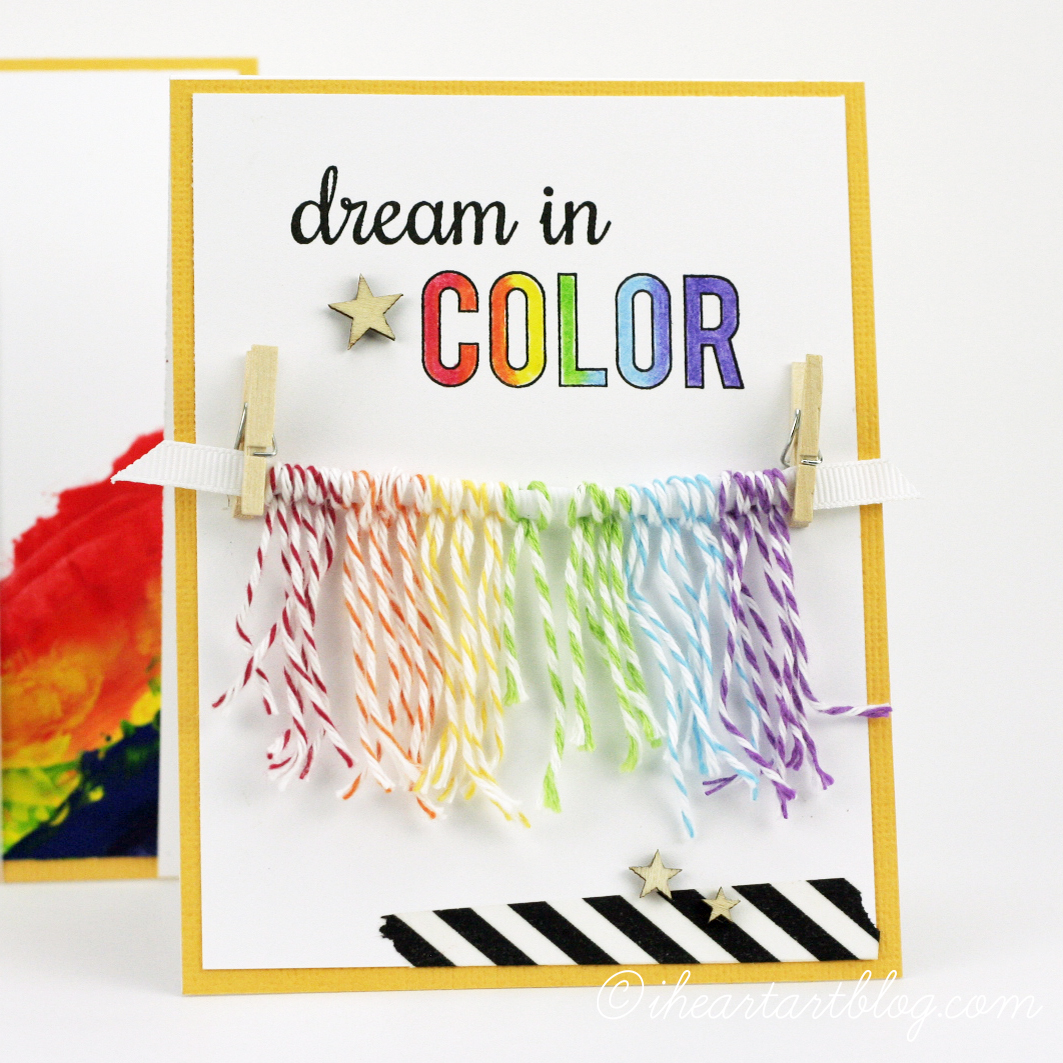
Hi there! It’s Tiffany here today with 2 SUPER colorful, rainbow-licious cards for you in a Video Tutorial! I’m featuring the E-Z Runner Strips Permanent Adhesive Refillable, E-Z Runner Permanent Fine Dispenser, and the Dodz Adhesive Dots Small.

Here’s the YouTube Video Tutorial:

Here are the cards:

Adhesives Used: E-Z Runner Permanent Strips, E-Z Runner Permanent Fine, Dodz Adhesive Dots Small

Thanks for stopping by,

Products Used: Reverse Confetti Stamps (Dream in Color), Faber-Castell Design Memory Craft (Paper Crafter Crayons, Stamper’s Big Brush Pen Black, Art Grip Colored Pencils), Clover Mini Iron, Baker’s Twine, Bazzill Cardstock

Save

Save

Thinking of You Silver Hearts Card

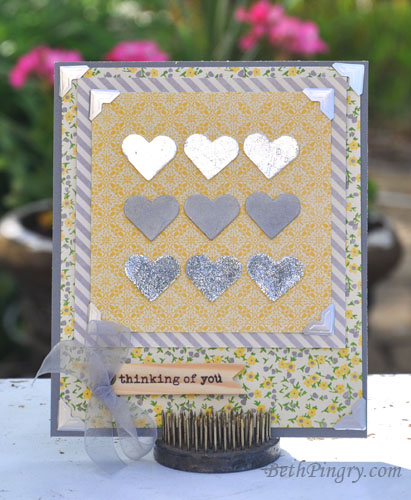
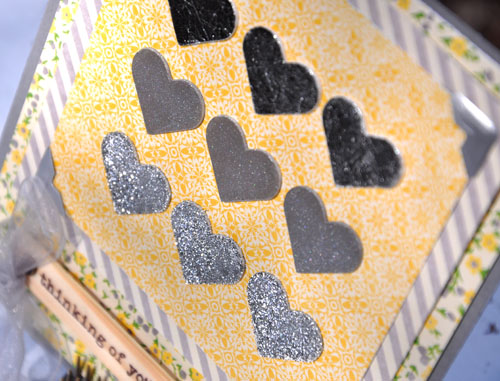
Hi it’s Beth! Today I have a card with the “Wear Your Adhesive on the Outside” technique featuring the 3D Foam Hearts.

Beth Pingry Silver Hearts Card

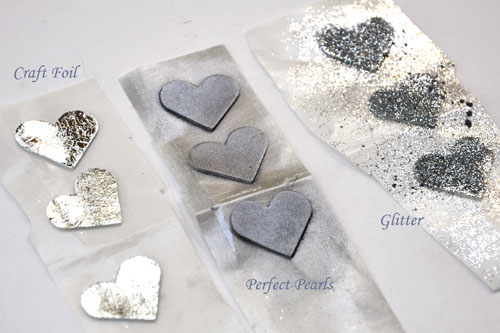
Each row of medium sized 3D Foam Hearts has a different embellishment. I used craft foil, Perfect Pearls (a pigment powder) and glitter.

I lined them up on patterned paper, with Silver Photo Corners on 2 of the layers.

The wood embellishment was adhered with 3D Foam Squares, the papers with E-Z Squares® Refillable.

Fast, fun and blingy!

Thanks for stopping by!

Beth Pingry

I used these supplies:

Scrapbook Adhesives by 3L®: 3D Foam Hearts, 3D Foam Squares White Small, Photo Corners Silver, E-Z Squares® Refillable

  • Jillibean Soup™: Chilled Cucumber Soup papers, Wood Flags
  • WorldWin® Papers: ColorMates® Slate
  • Ranger Ink: Perfect Pearls Silver
  • WOW! Embossing Powder: Fab Foil Silver
  • Glitter