You are in our US store • Switch to Europe store

Card Trio and Christmas Card Holder

Card Trio by Vicki Chrisman

Hi everyone! It’s Vicki, what a fun week with Graphic 45. I’m sharing a card trio I created with the beautiful “Bird Song” collection from Graphic 25 and Scrapbook Adhesives by 3L® adhesives.
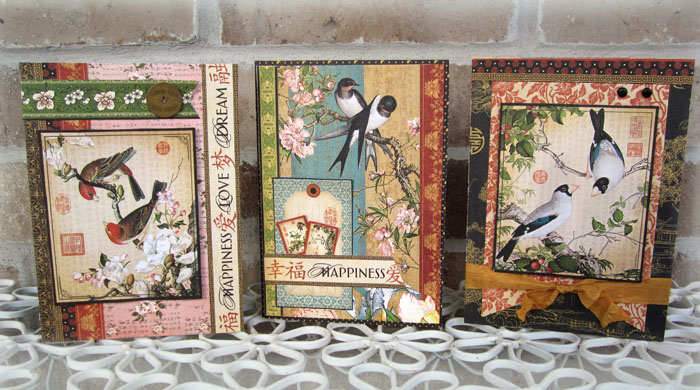
Card Trio with Bird Song by Graphic 45 from Vicki Chrisman for Scrapbook Adhesives by 3L

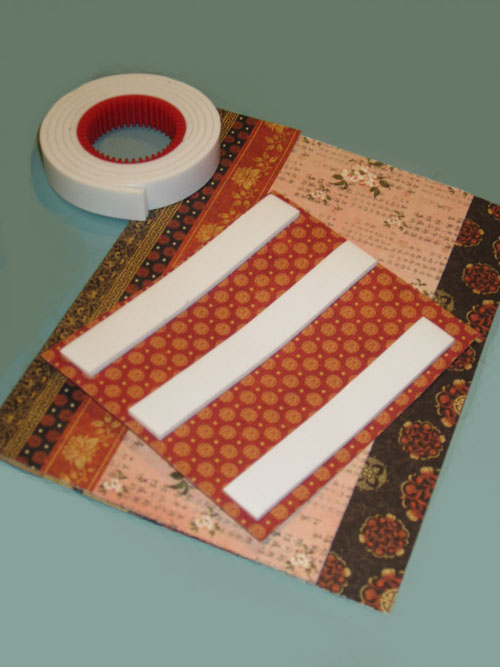
I created more dimension by using  Crafty Foam Tape to lift my images of the paper.
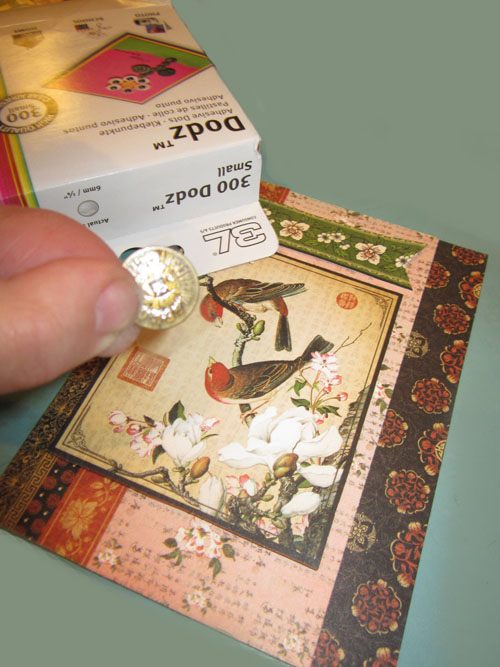
I use Adhesive Dots Medium and Small to adhere my embellishments.
I had so much fun creating with these gorgeous papers!

Vicki Chrisman blogs at This Art that Makes Me Happy

Supplies:

Scrapbook Adhesives by 3L: Crafty Foam Tape White, Adhesive Dots Medium and Small

Christmas Card Holder by Kristen Cohen
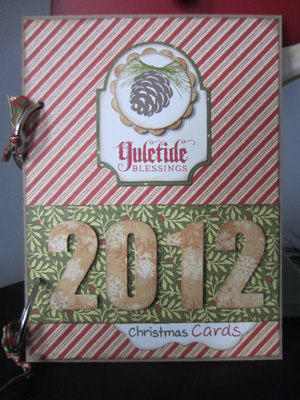
Christmas Card Holder by Kristen Cohen for Scrapbook Adhesives by 3L featuring Graphic 45.

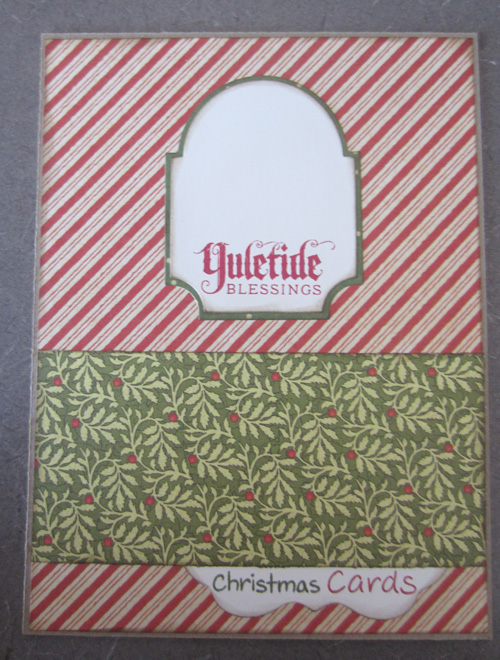
Today I am sharing with you a Christmas Card holder – perfect to give as a gift or make one to keep for yourself (like I did).  There are lots of examples of Christmas Card holders on the web, but today I am showing you my spin on them – using Scrapbook Adhesives by 3L® and Graphic 45 papers.

First, I assembled my supplies: Patterned papers, die cuts, stamped embellishments, chipboard and of course my favorite adhesives from Scrapbook Adhesives by 3L®!
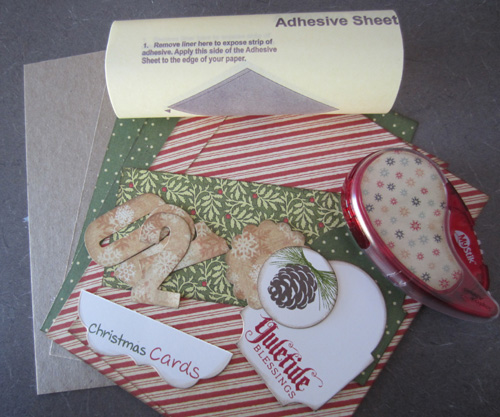
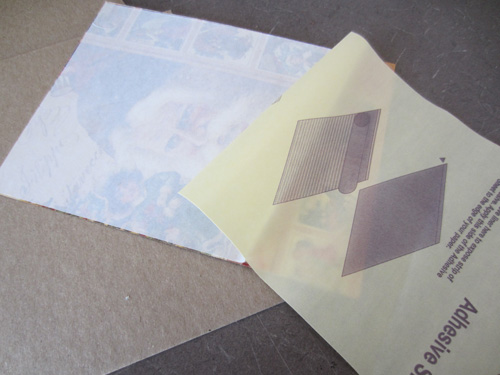
I applied Adhesive Sheets to the backs of the patterned paper.  I love Adhesive Sheets when I adhere paper to chipboard – perfect adhesion and NO wrinkles!
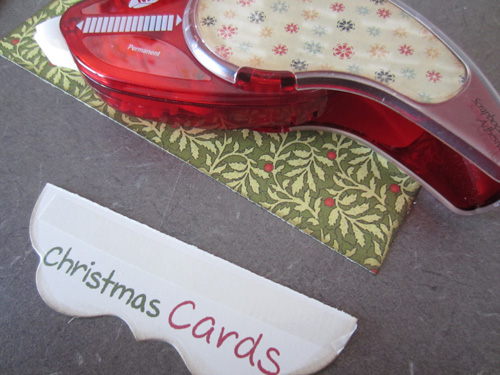
I used the MyStik® Permanent Strips Dispenser to adhere a few of the die cuts and accents.
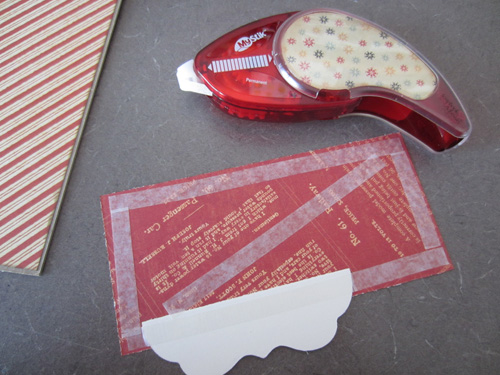
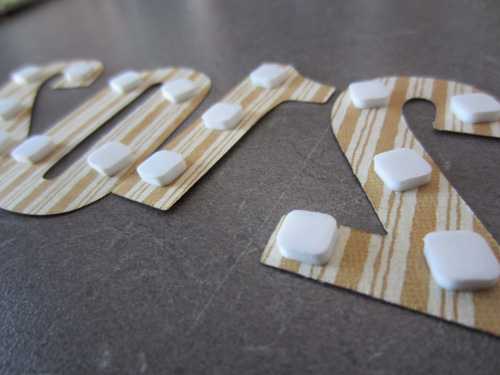
The last step was to add dimension by using several sizes of 3D Foam Squares.
Kristen Cohen

Supplies:

Scrapbook Adhesives by 3L: Adhesive Sheets, MyStik® Permanent Strips Dispenser, 3D Foam Squares

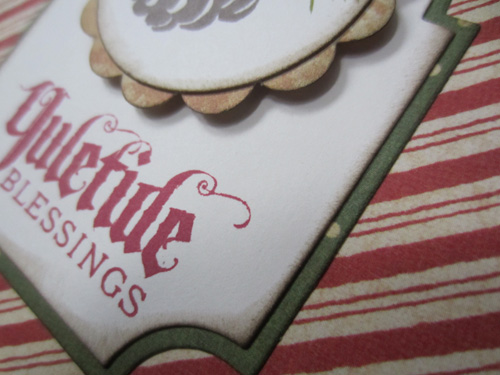
Graphic 45: Patterned Paper, Waltzingmouse Stamps: Sentiment Stamp, Pinecone Stamp, Lawn Fawn Stamps: Alphabet Stamps, Lifestyle Crafts: Number Dies, Spellbinders: Label Die, Papertrey Ink: Mat Stack Dies, EK Success: Scallop Punch, Circle Punch, Hero Arts: Inks

Be sure to visit the Graphic 45 Blog for even more inspiration and their giveaway!

Visit our Website and Blog!
Sign up for our Newsletter so you never miss a contest or giveaway!

instagram purple icon facebook icon purple pinterest purple icon twitter purple icon YouTube icon blog subscription purple icon

Save

Save

Blog Hop with Graphic 45 Day 1

Welcome to Day 1 of our Blog Hop with Graphic 45!

Our first project is from AJ Otto

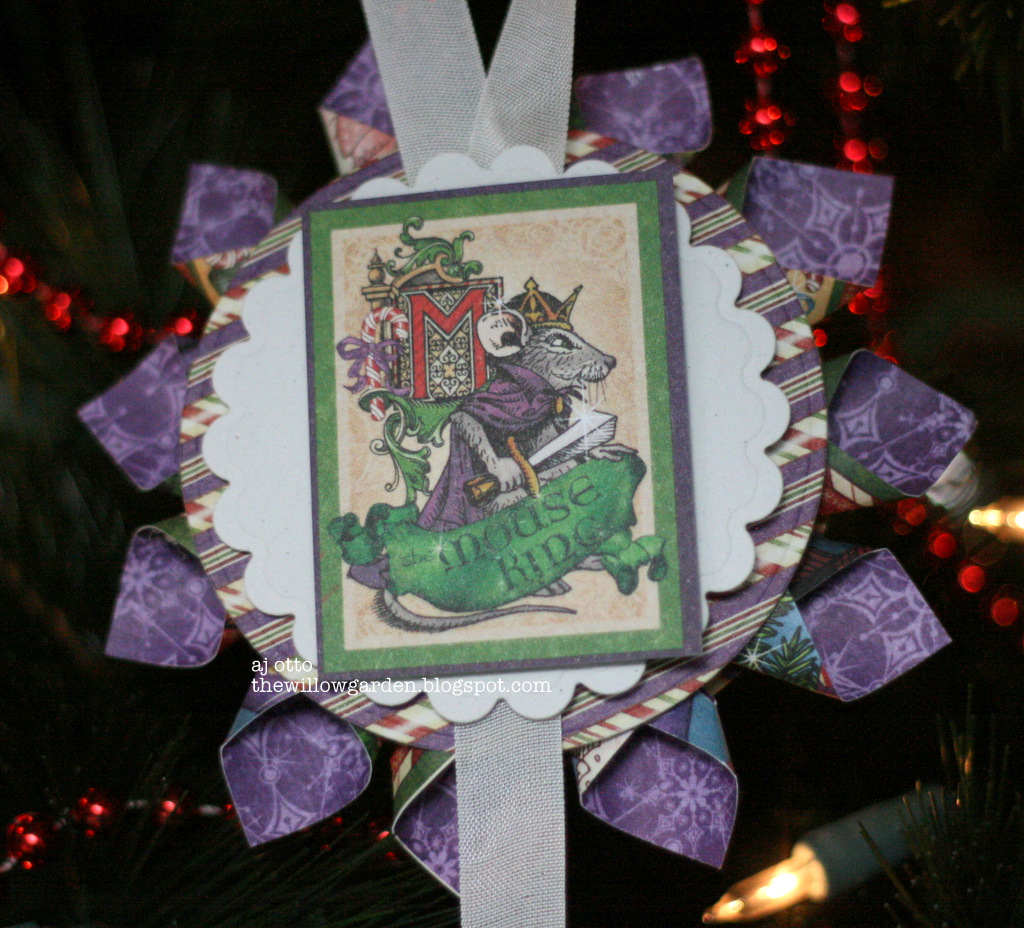
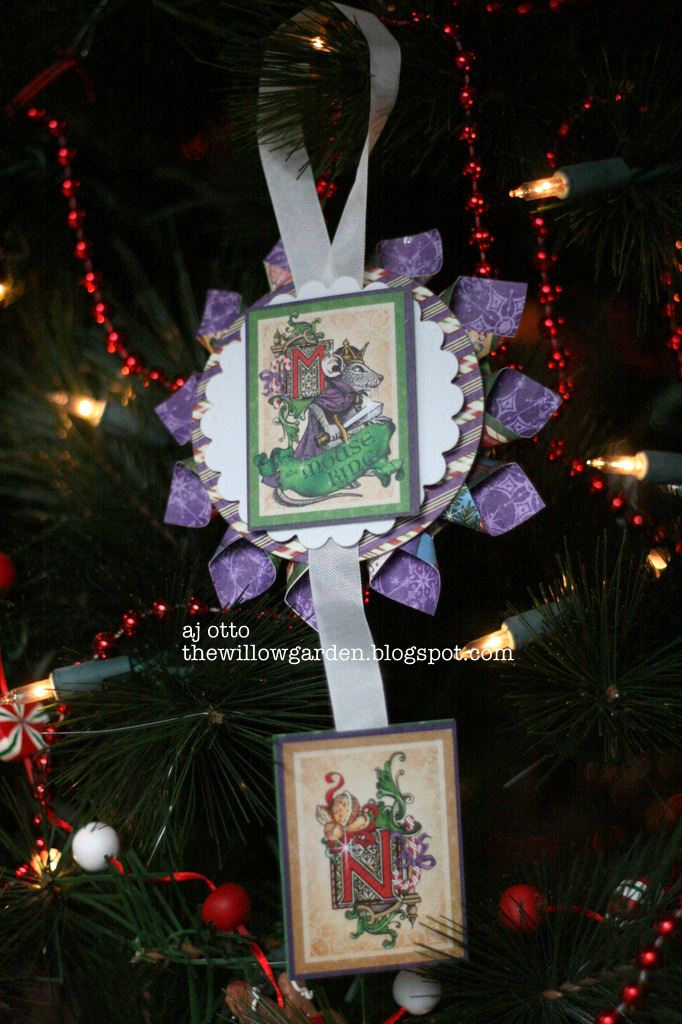
I LOVE patterned paper- there is SO much you can do with it!  I decided to create an ornament using Graphic 45’s Nutcracker Sweet line.  I made one like this several years back and thought it was time for a new one.

Cut your desired 12 X 12 paper into 4 X 4 squares.  (This is the Nutcracker Sweet paper) There are 12 of those little rolled pieces, which came from 6 squares total, not even using a whole sheet of paper.  Roll into a cone shape, tapering the ends.  Adhere ends of cones together with Crafty Power Tape.

Using Spellbinders dies, cut/emboss two of your circle shapes from a complimentary patterned paper, (Gingerbread Delights here) piece.  I cover the back just like the front so it’s pretty on both sides.  One by one, adhere your cones to the center of the circle die cut with Crafty Power Tape.  When complete, cover the flip side with the other circle.

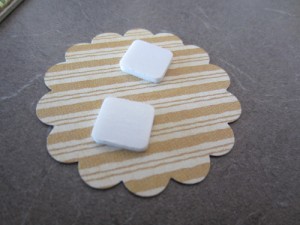
I die cut a scalloped circle from white card stock, and adhered to the striped circle with 3D Foam Squares.

I chose the cute mouse king image for the focal point from the Holiday Magic page, and adhered it to the white scalloped circle with more 3D Foam Squares.  (Can’t use enough of these when adding dimension!! 😉

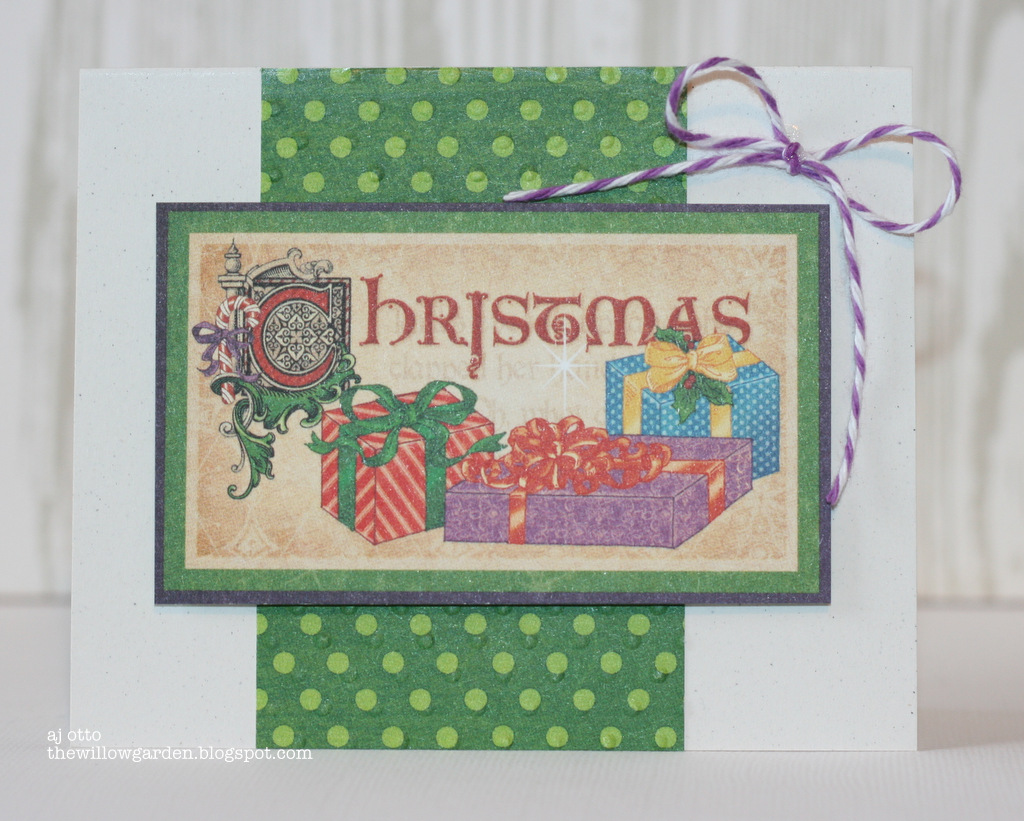
I had quite a bit of paper left over, (the green is the backside of the Holiday magic piece, and the Christmas is the front) so I whipped up a quick card to have on hand for last minute needs.  I embossed the green layer with the EG-002 Dainty Dots M-Bossabilities folder, then adhered to the card with E-Z Runner tape.  I attached the Christmas piece using 3D Foam Squares, and finished it off with a twine bow.

Our next project comes from Karin Strandby.

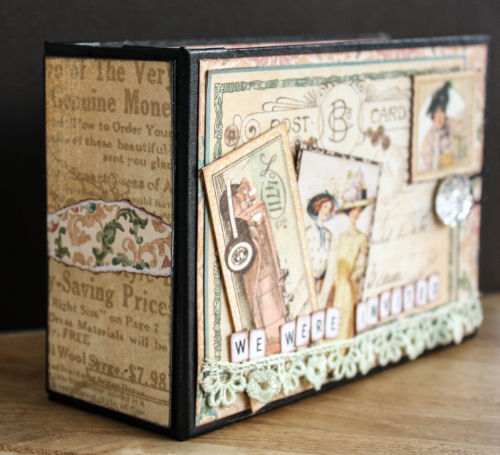
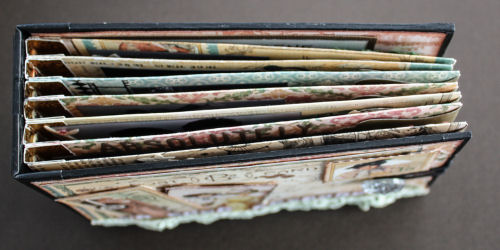
Its Karin here, and I’ve made a fat mini album with the awesome paper collection “A Ladies Diary” from Graphic 45. I have a bunch of pictures from a party with my friends  and I decided to make this mini.

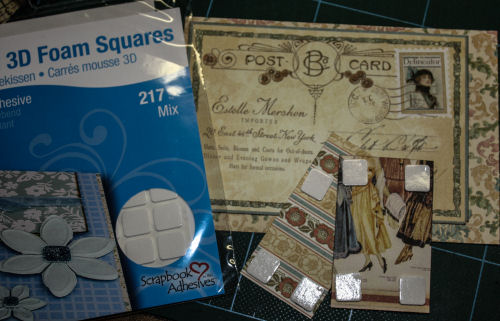
To give the dimension I always use 3D Foam Squares, which are available in different sizes and thicknesses. SO COOL!!

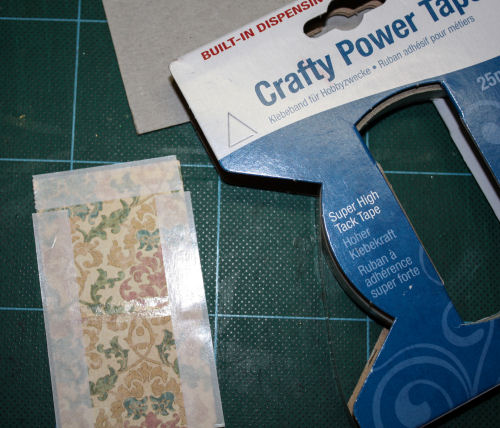
To adhere it all together, chipboard, design paper, pictures and ornaments I use Crafty Power Tape, MyStik® Permanent Strips and E-Z Runner®, all permanent adhesives.

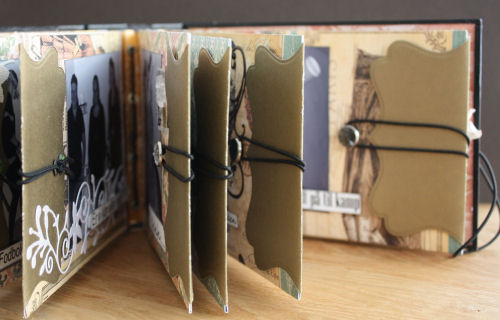
A glimpse to the inside of the Fat Mini. The pages are pockets and tags with text about the party.

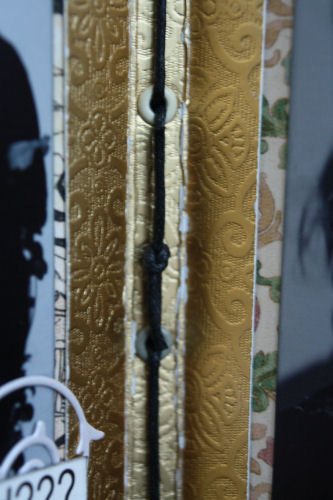
To get it more stable, I’ve sewn the pages to the back, through some eyelets.

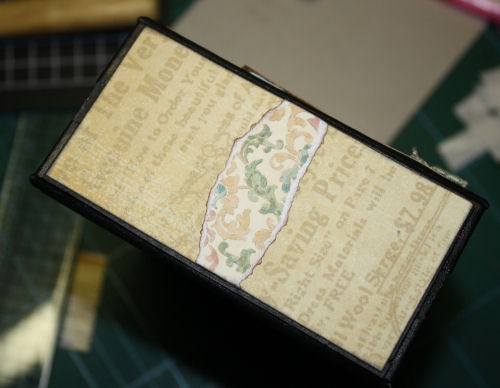
Before decorating with design paper I’ve made a frame to get a little distance, so the design paper lies nice over the cord. Maybe a little difficult to see because I’ve painted it black as all the other chipboard.

Save

Save

Save

Awesome Layers With Adhesive Sheets and Embossing Powder

Hello! Birgit here today with a wintery project.

I guess you could say it is a little canvas although it was created on cardboard.

Let me show you how this came together!

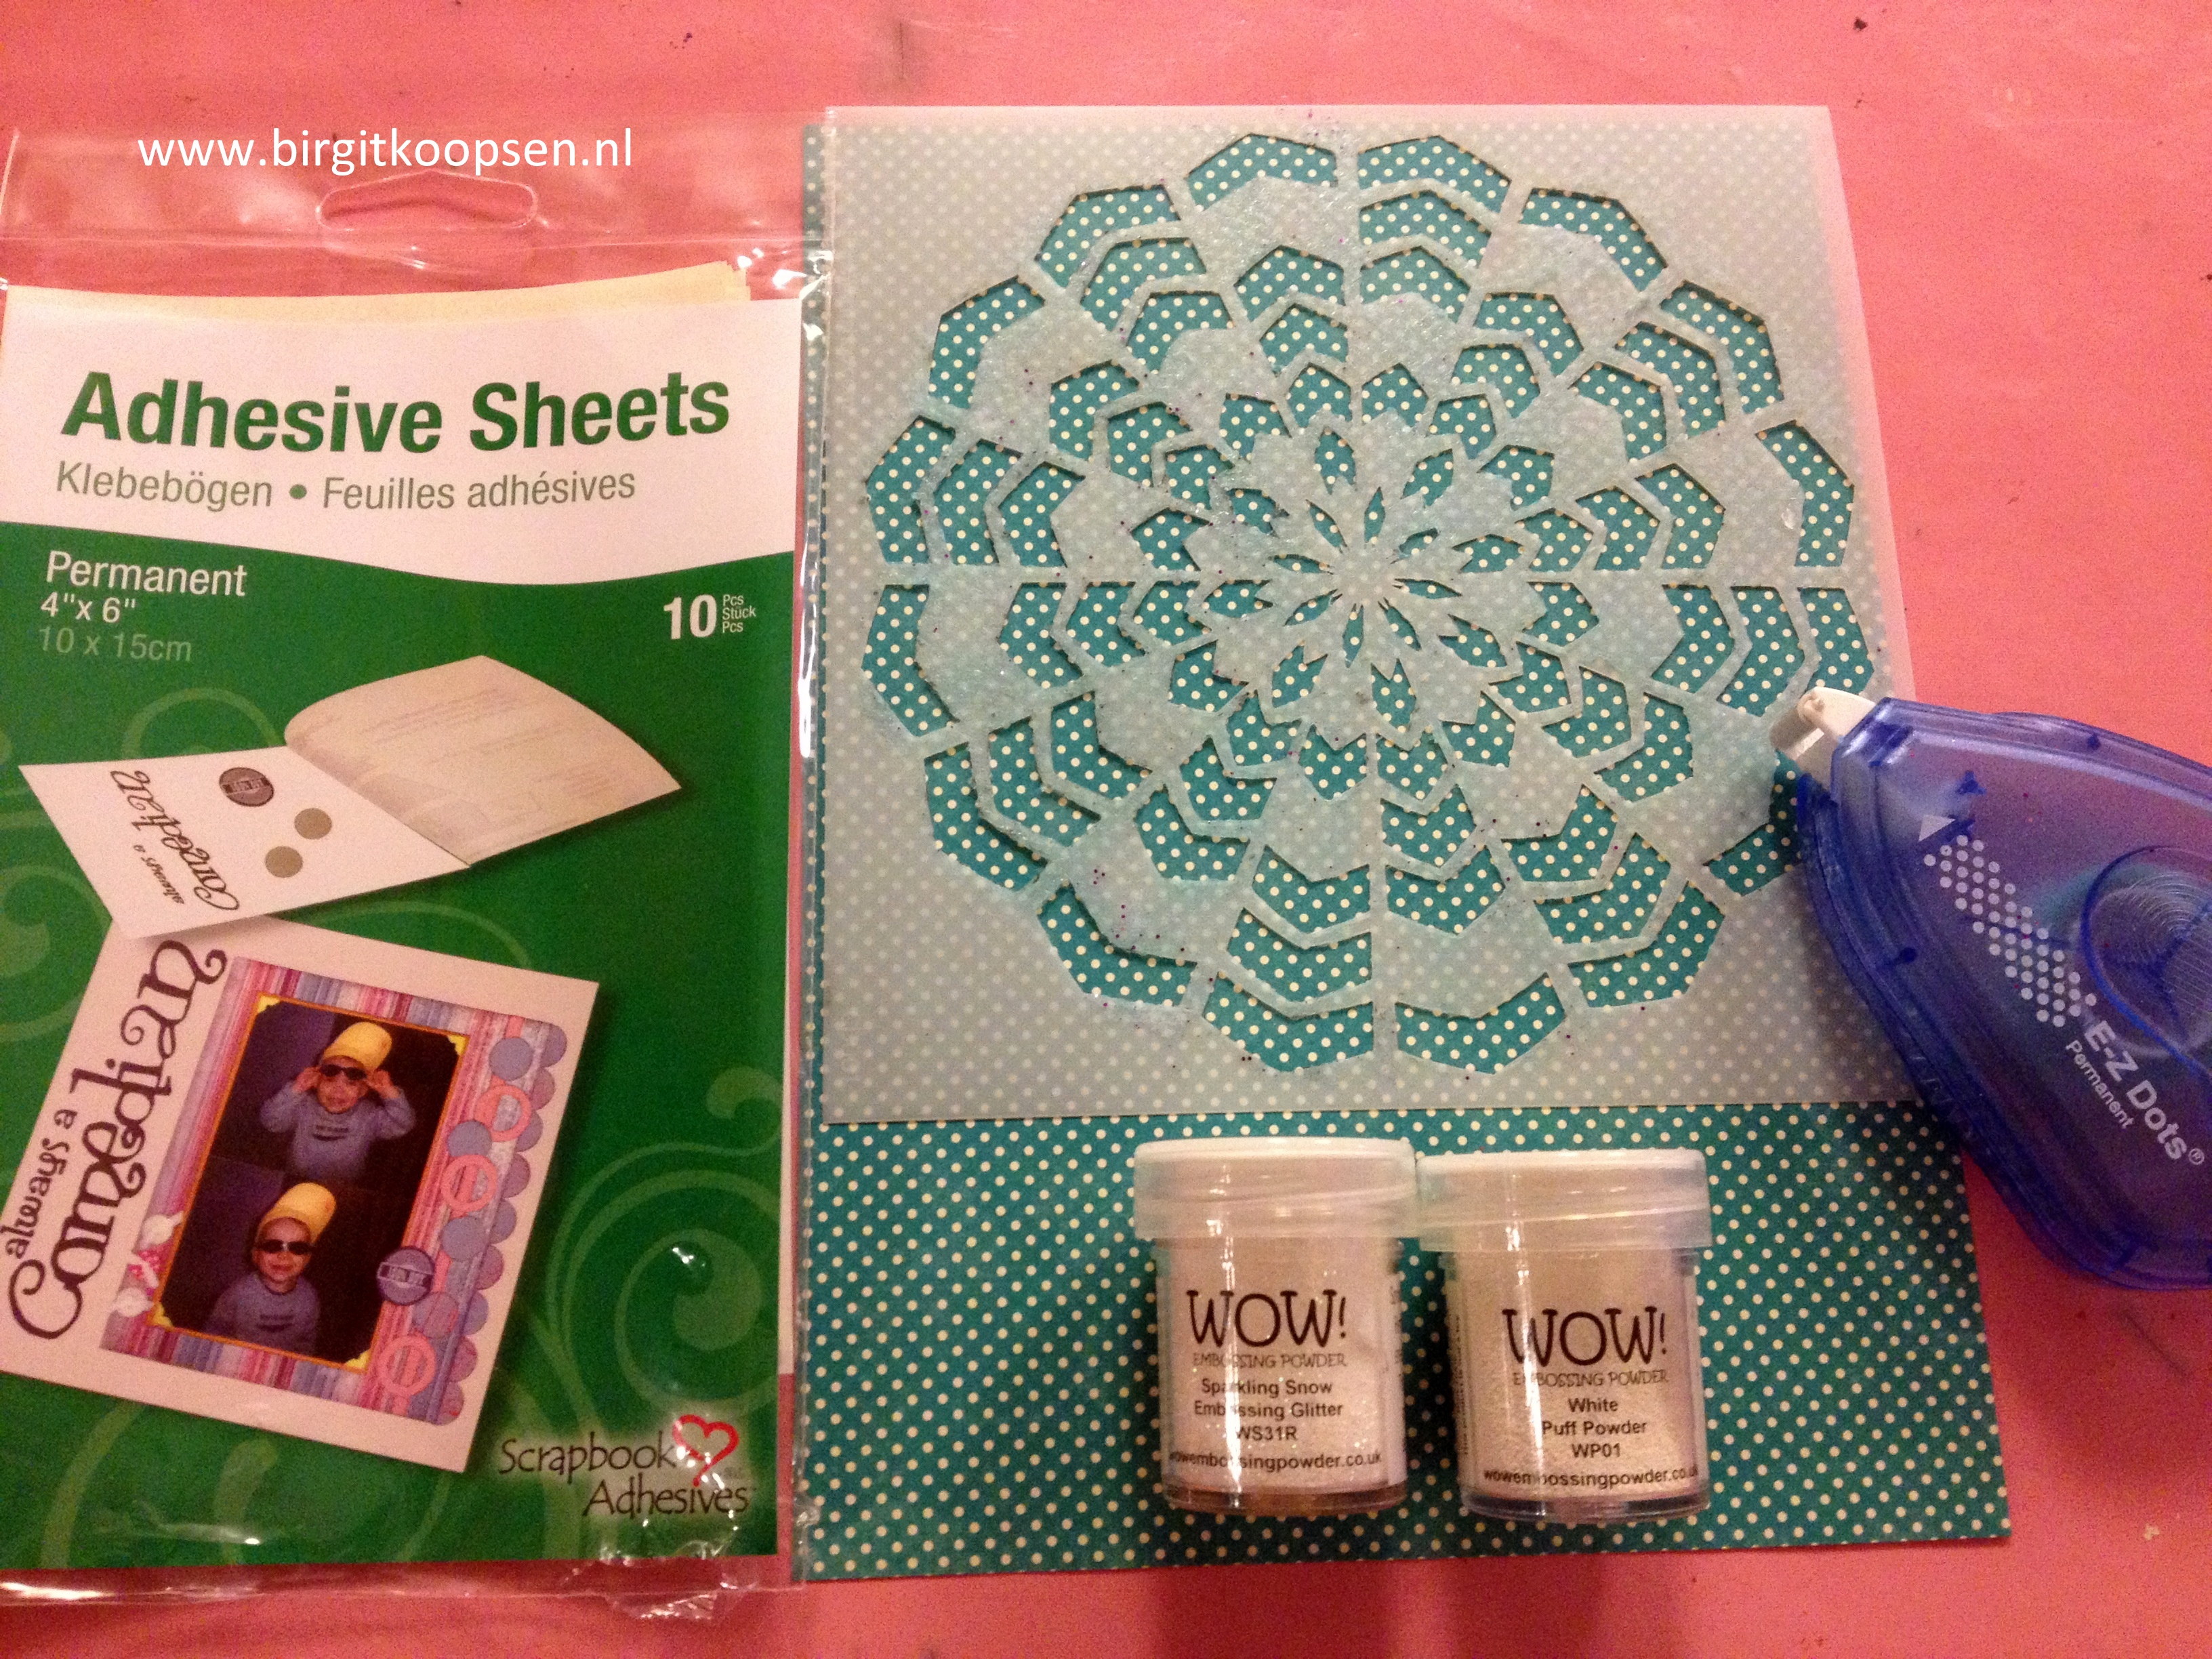
Here is what you need: patterned paper (Jillbibean), a stencil (Julie Balzer Designs), Adhesive Sheets, E-Z Dots® Permanent, Embossing Powder (WOW! Embossing Powders).

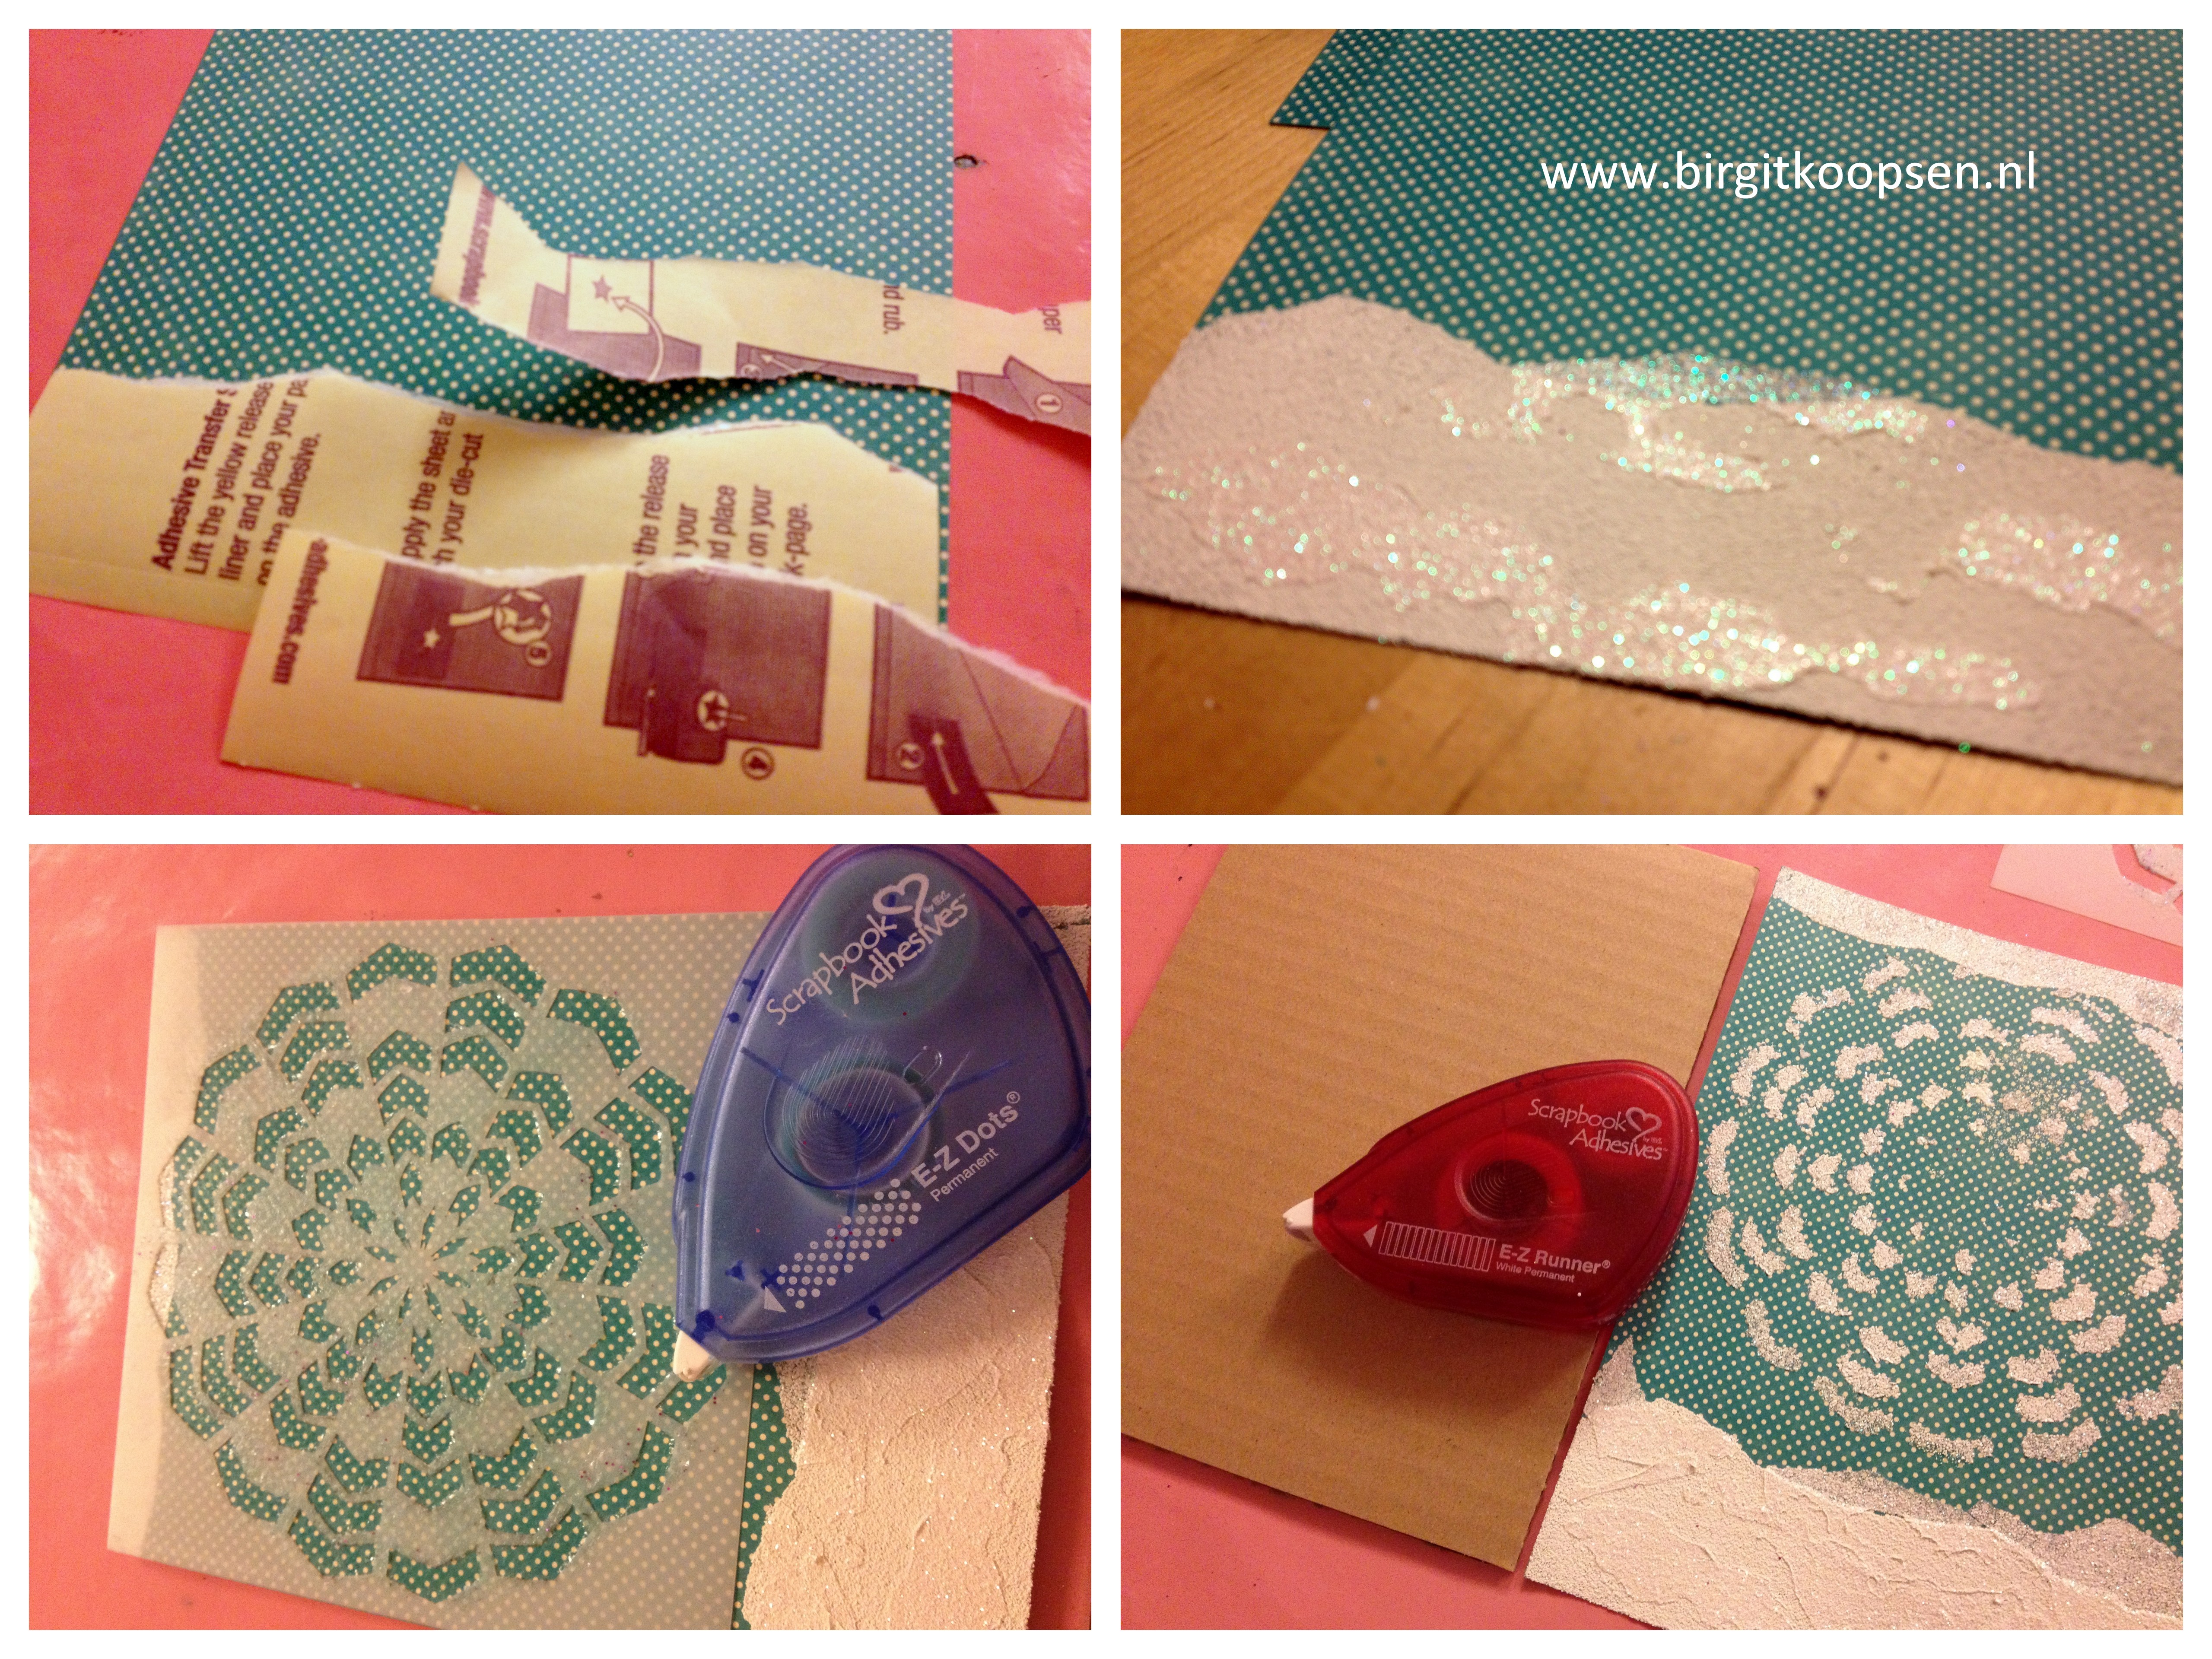
Tear the Adhesive Sheet in a couple of strips and apply them at the bottom of the paper. Emboss with WOW! White Puff Powder. Add more pieces of Adhesive Sheets on top of the embossed part and emboss again. Now use WOW! Sparkling Snow Glitter. Add as many layers as you like.

Put the stencil on the paper and fill the open spaces with E-Z Dots® Permanent. Remove the stencil, sprinkle with embossing powder and heat emboss. Now your background is ready. Apply it to a piece of cardboard using E-Z Runner®.

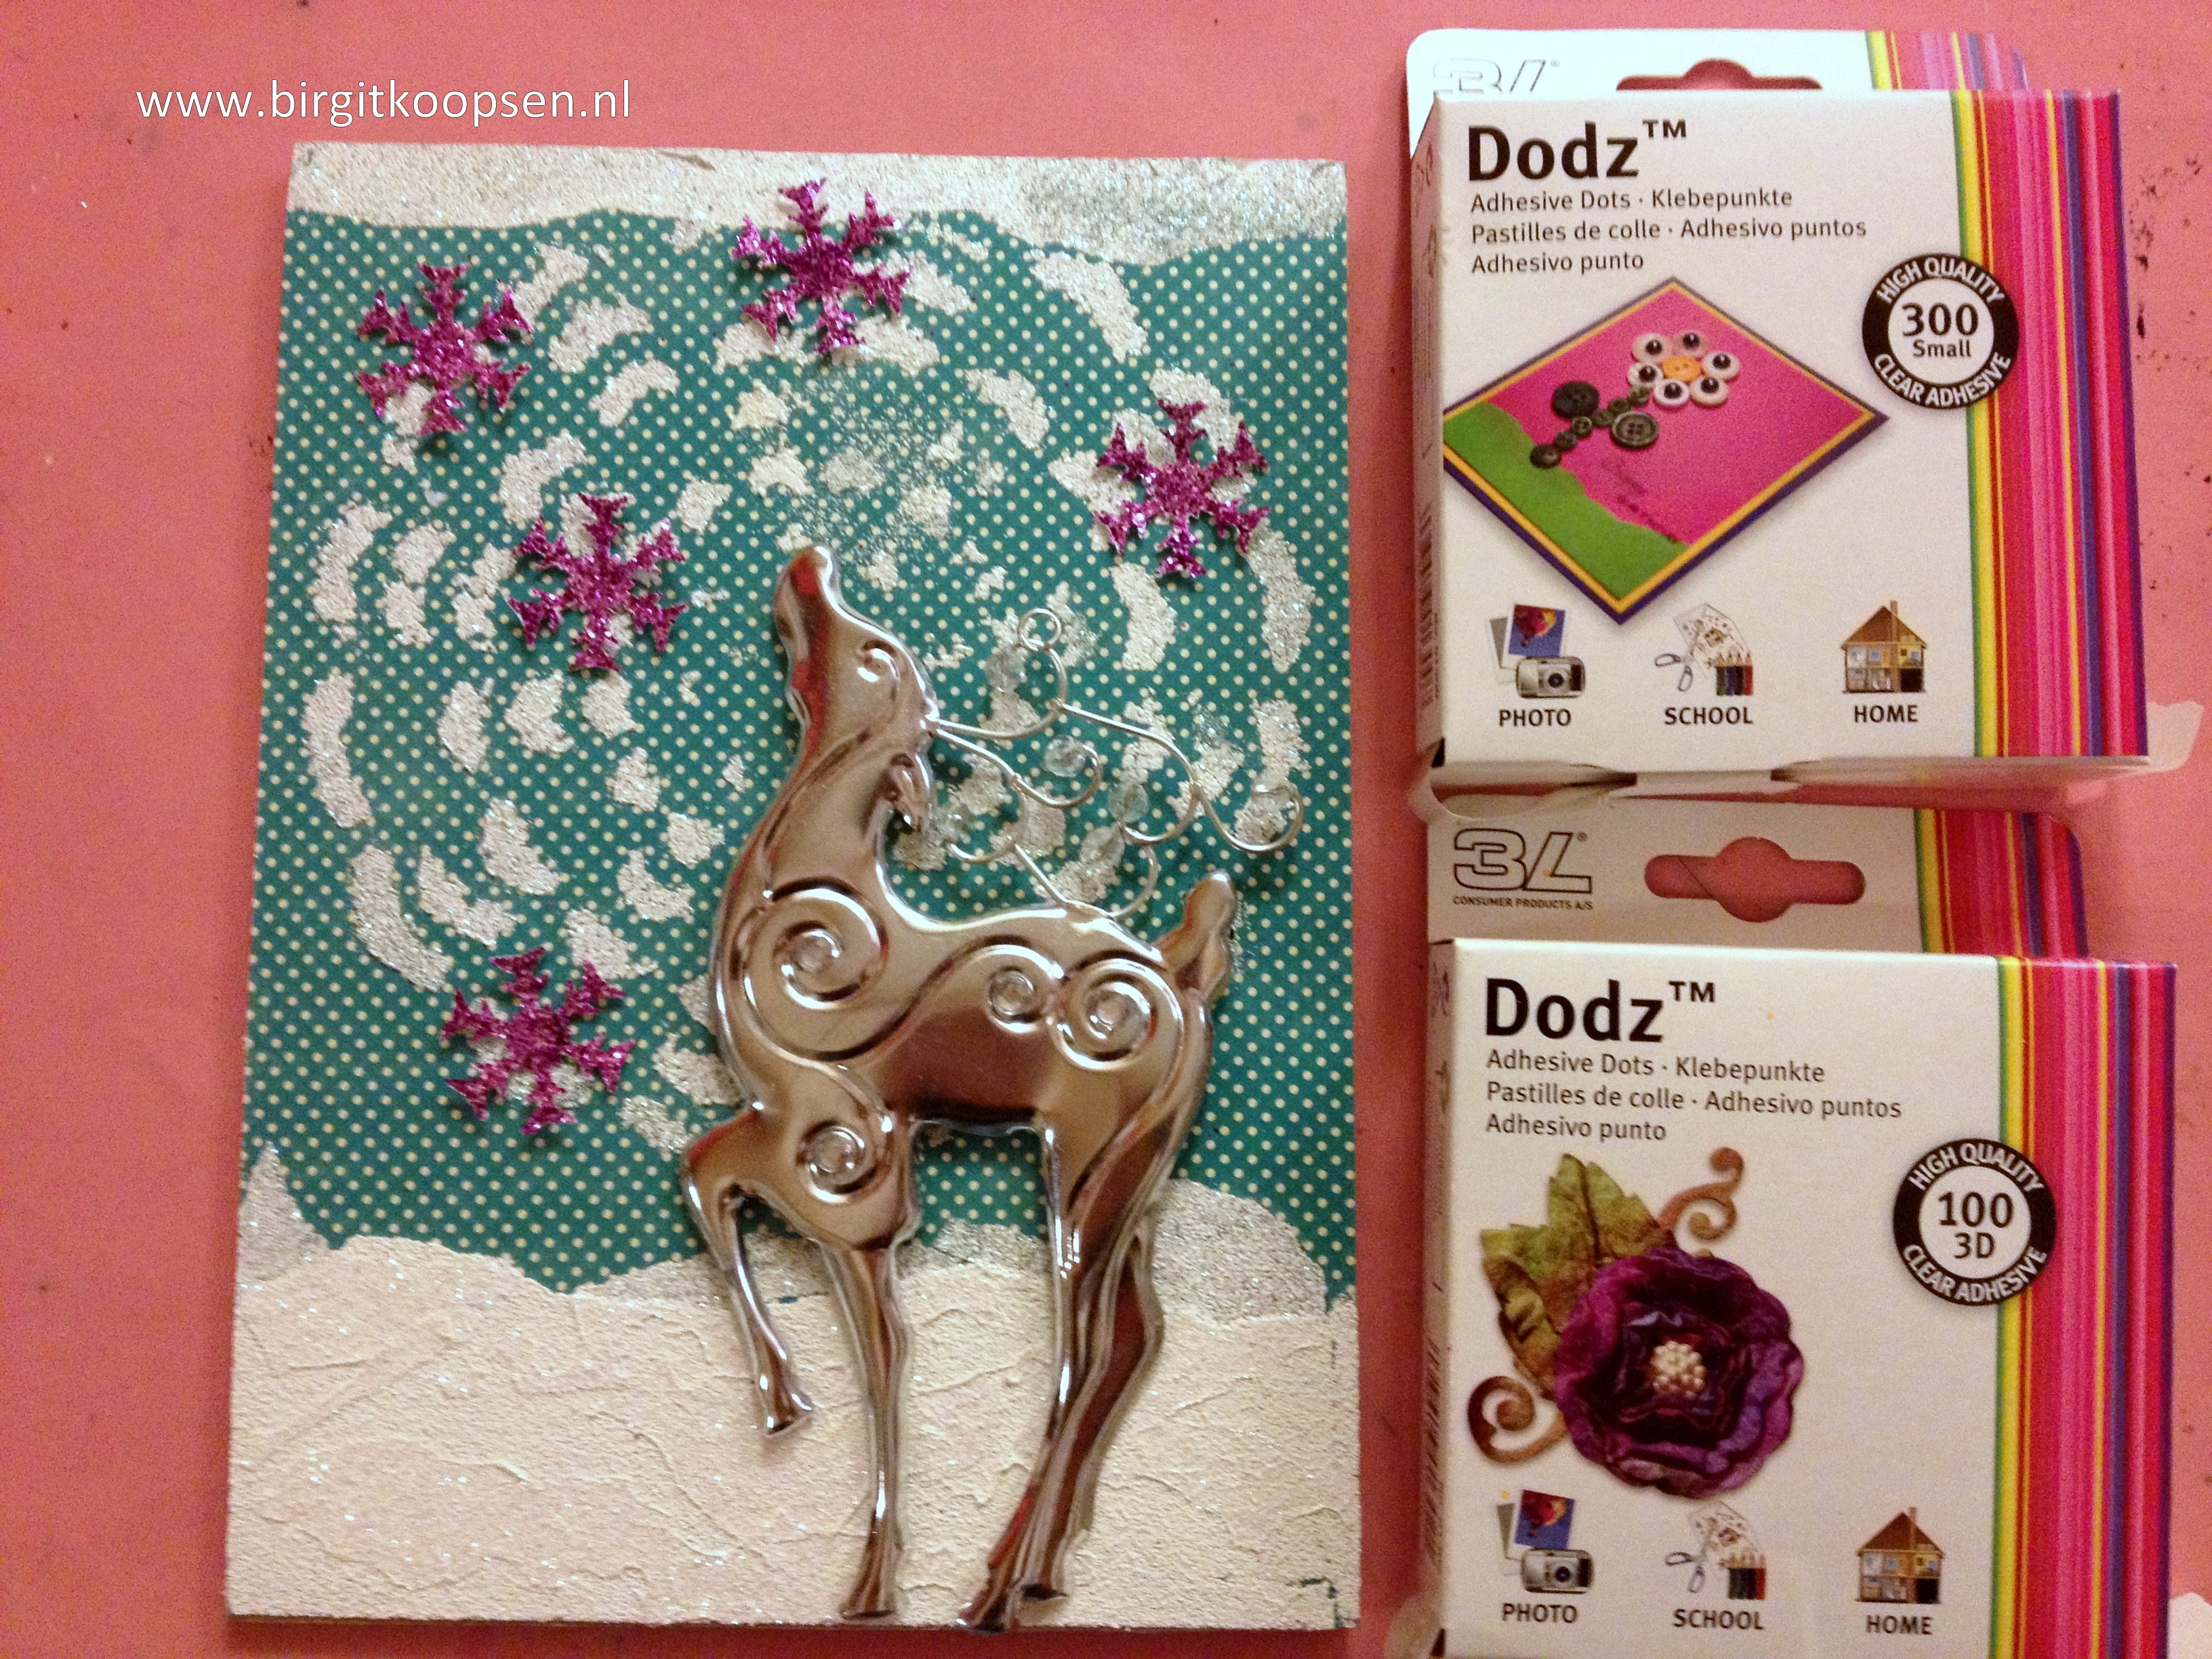
To create the snowflakes apply an Adhesive Sheet to a piece of cardstock and sprinkle it with pink glitter. Then punch out the snowflakes. Use Dodz™-Small to adhere the snowflakes and Dodz™-3D for the Christmas ornament.

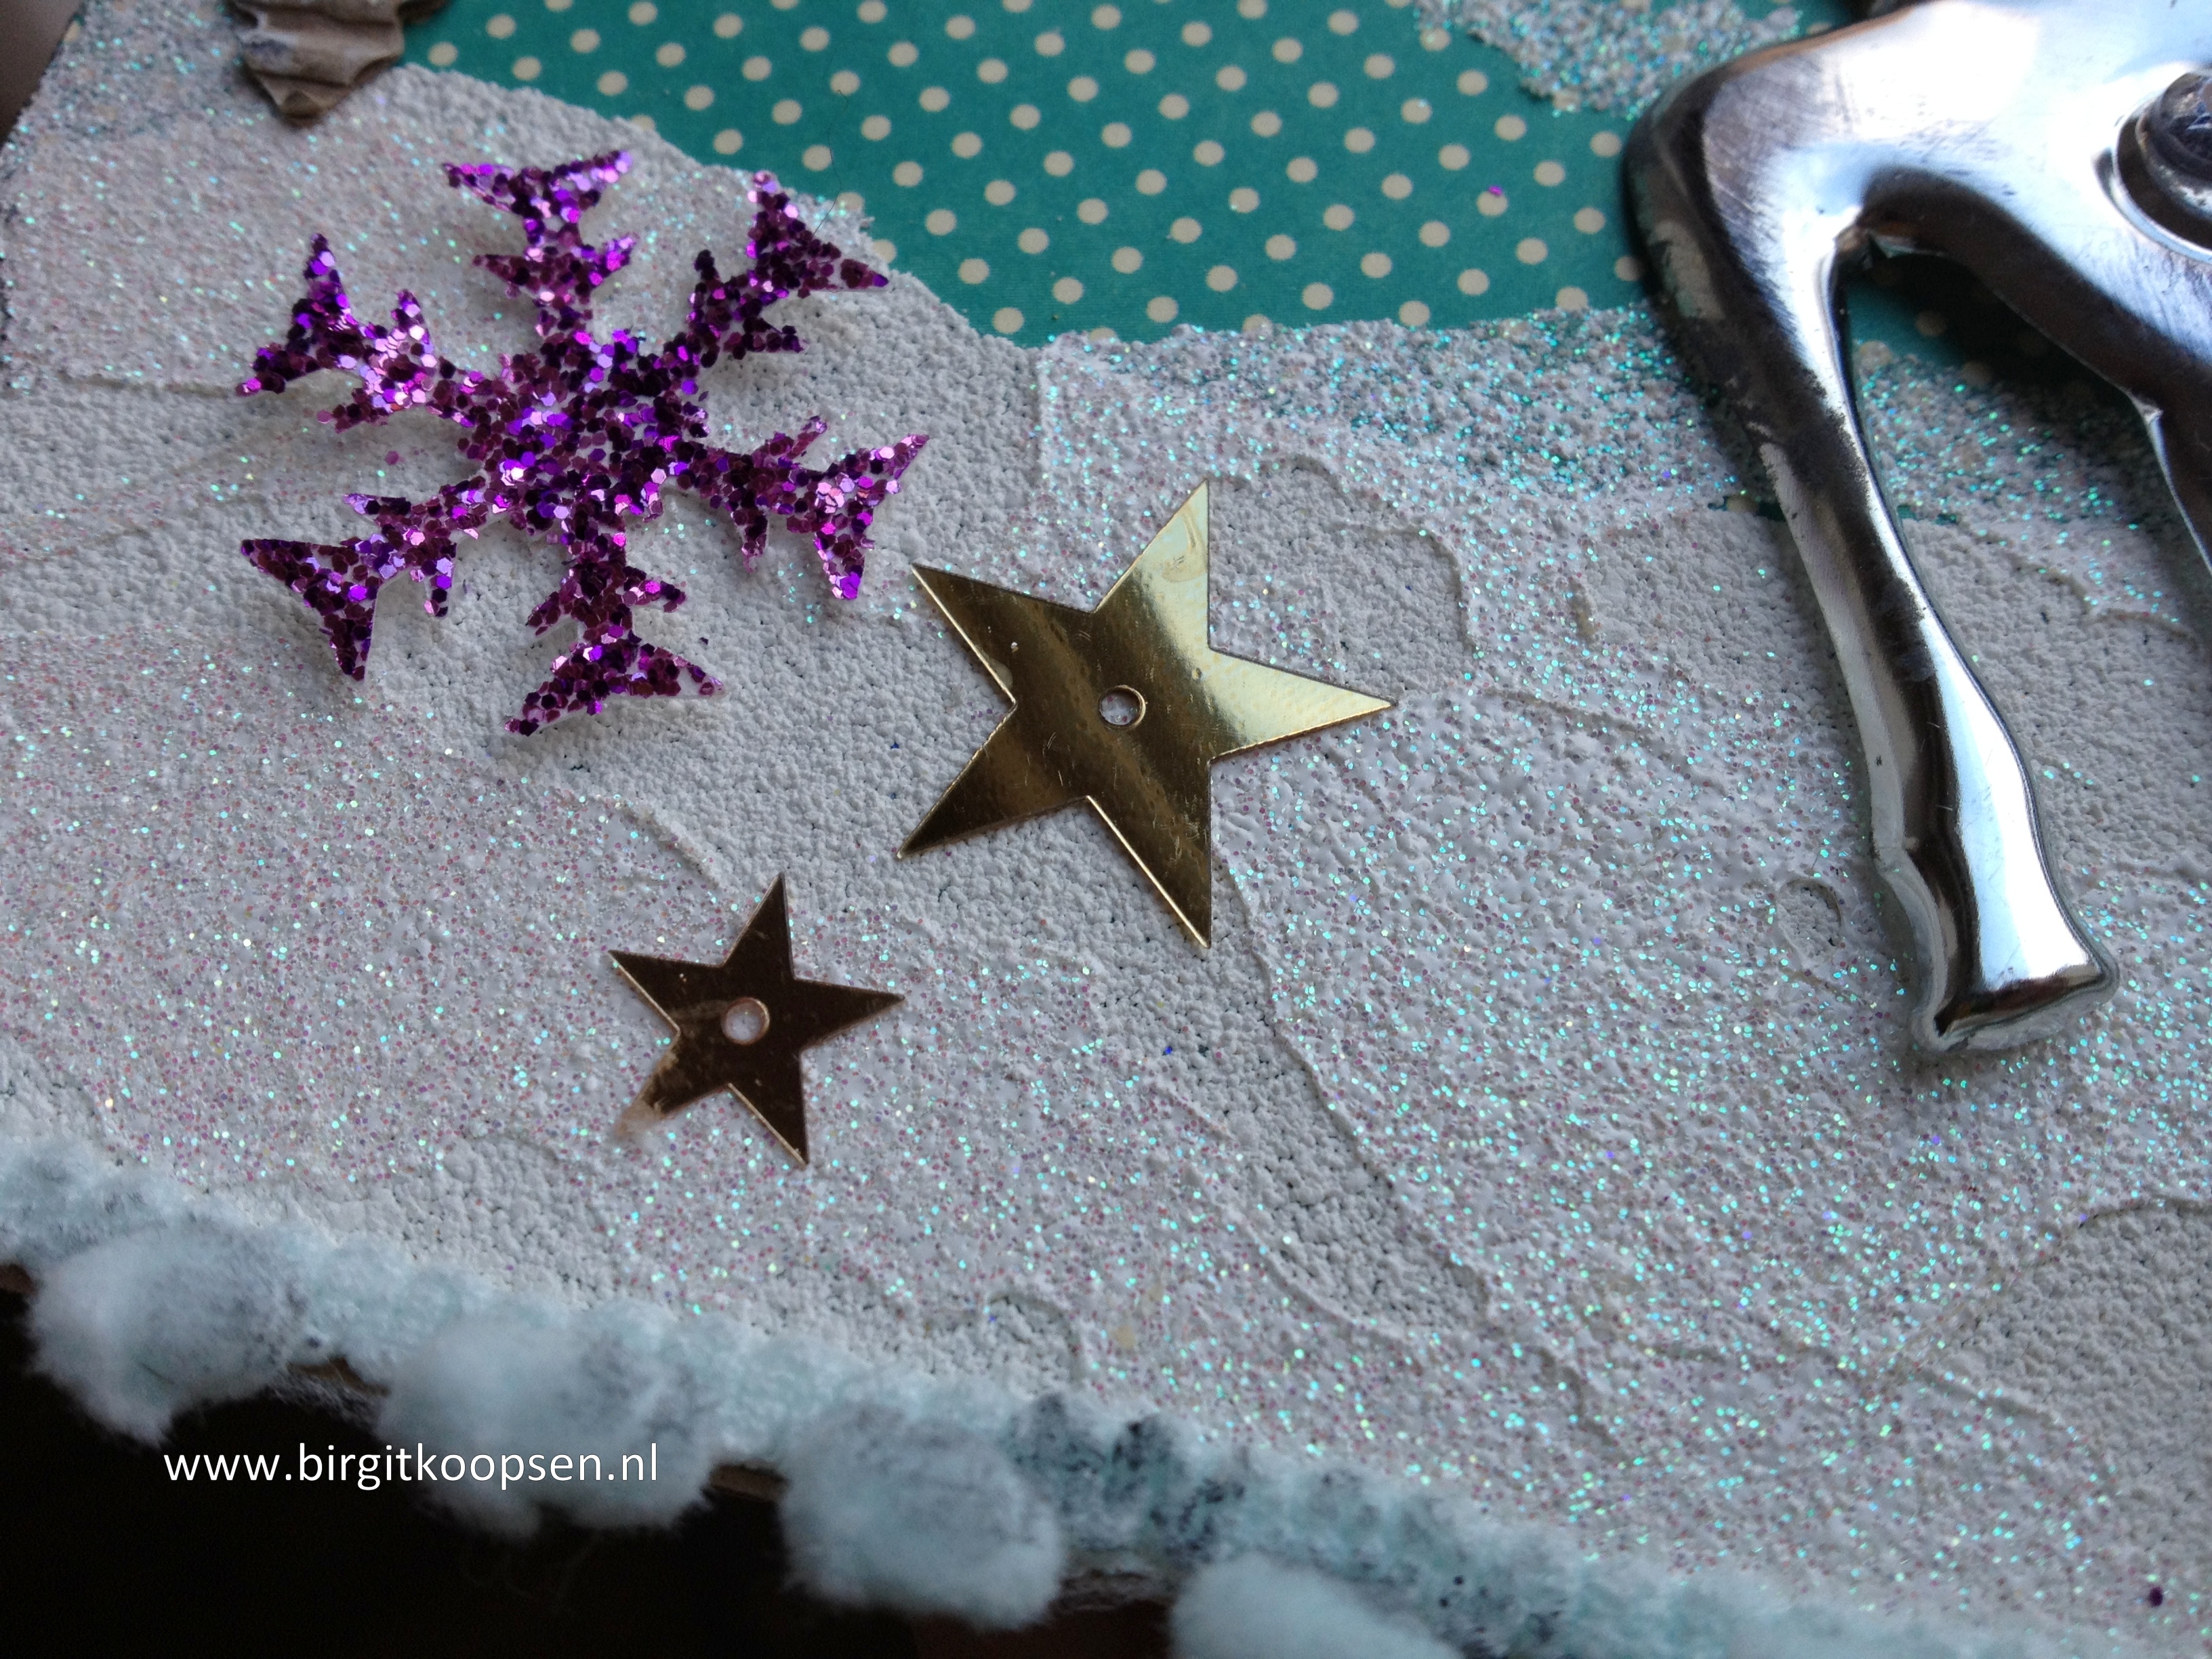
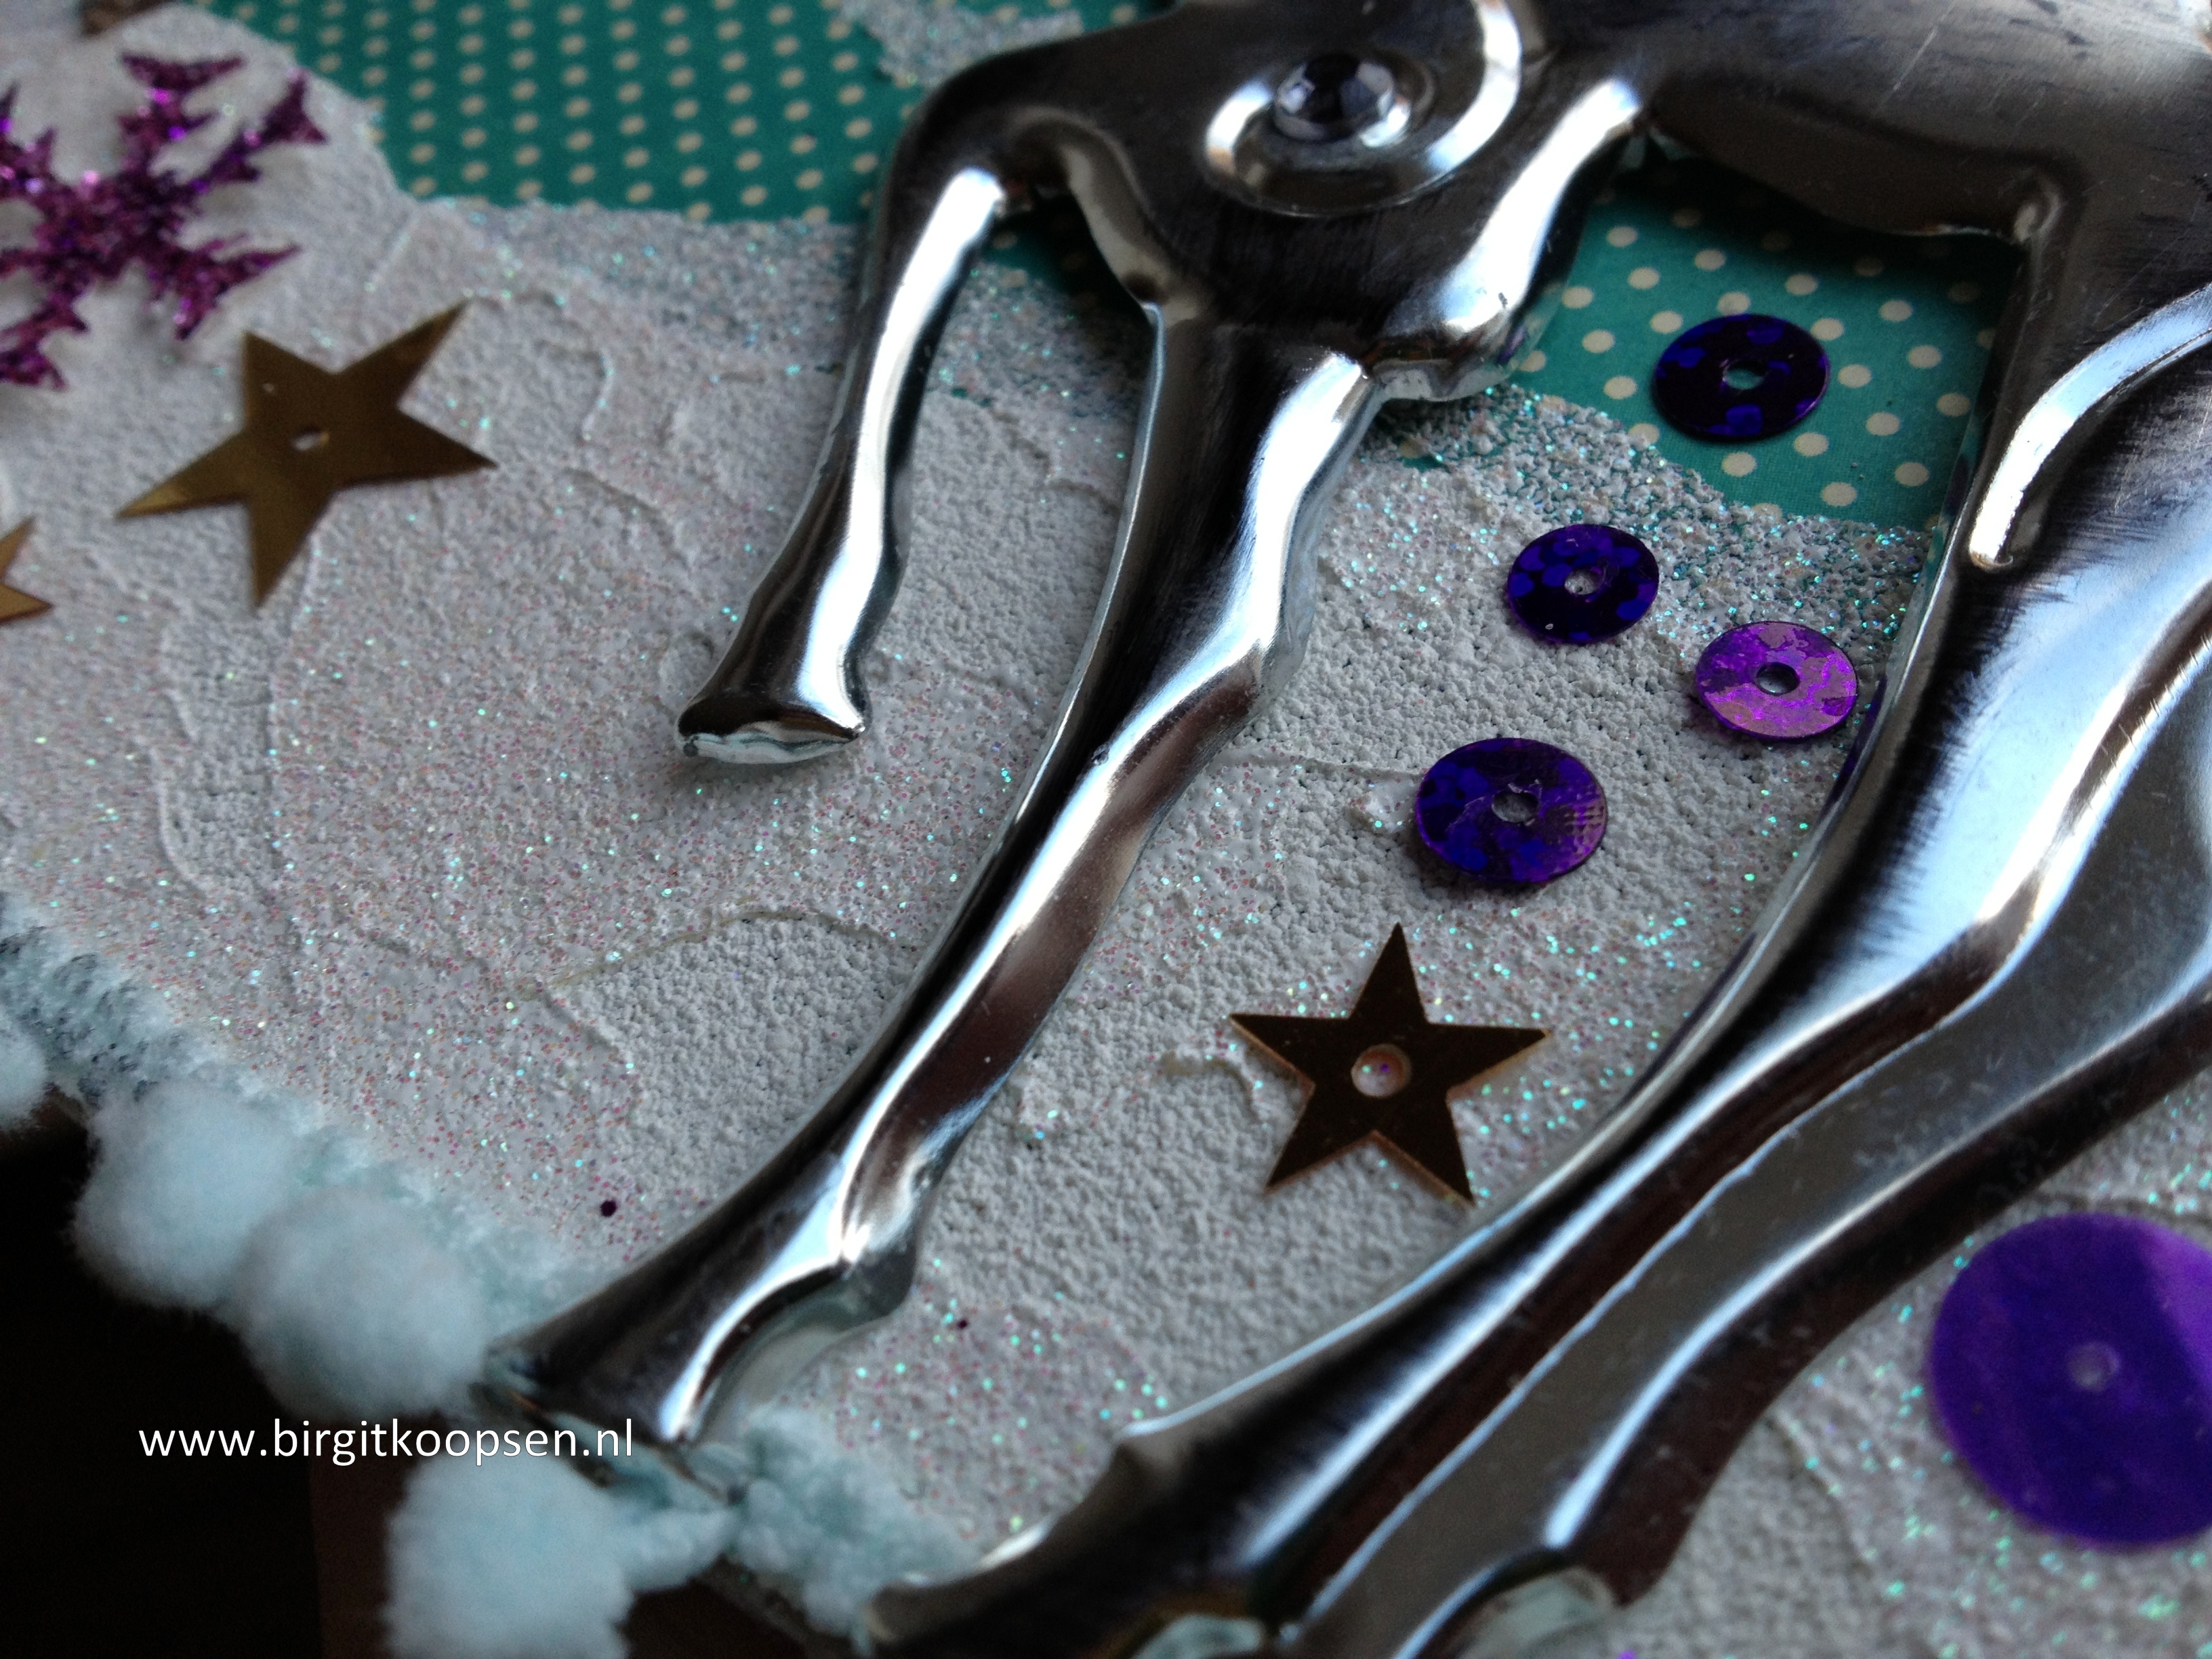
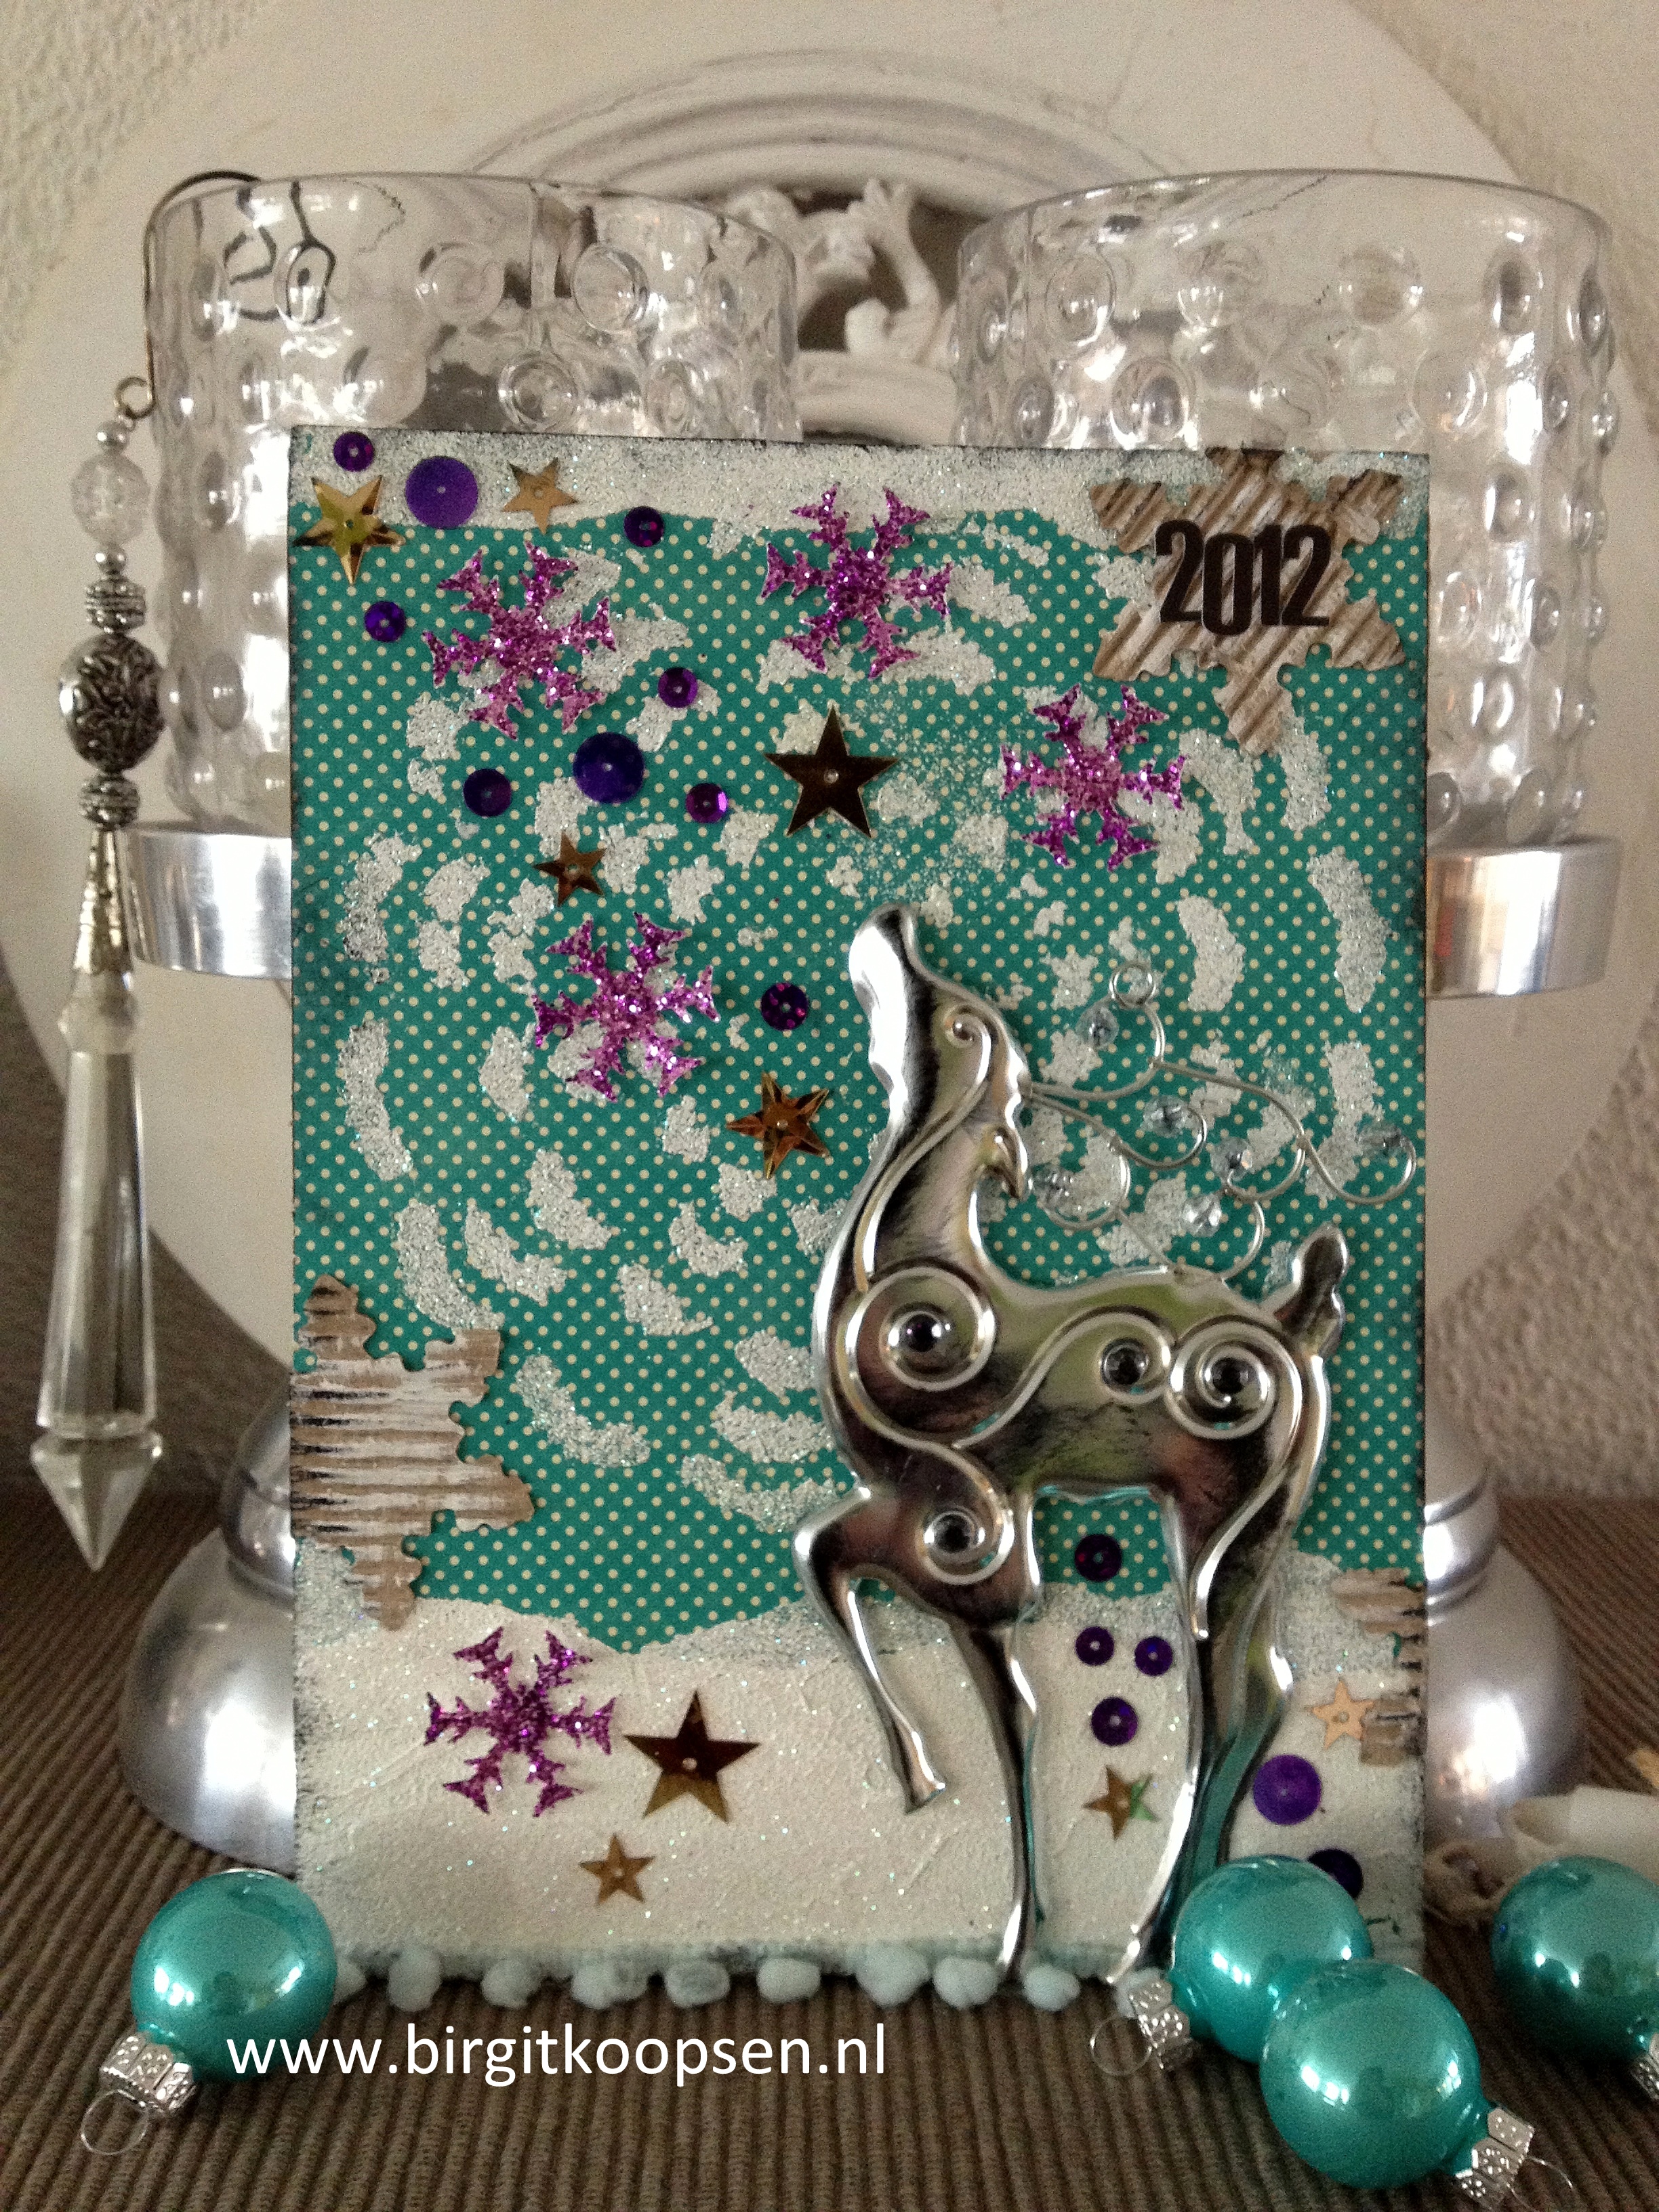
Finish off the canvas with sequins, cardboard snowflakes and some pompom ribbon.

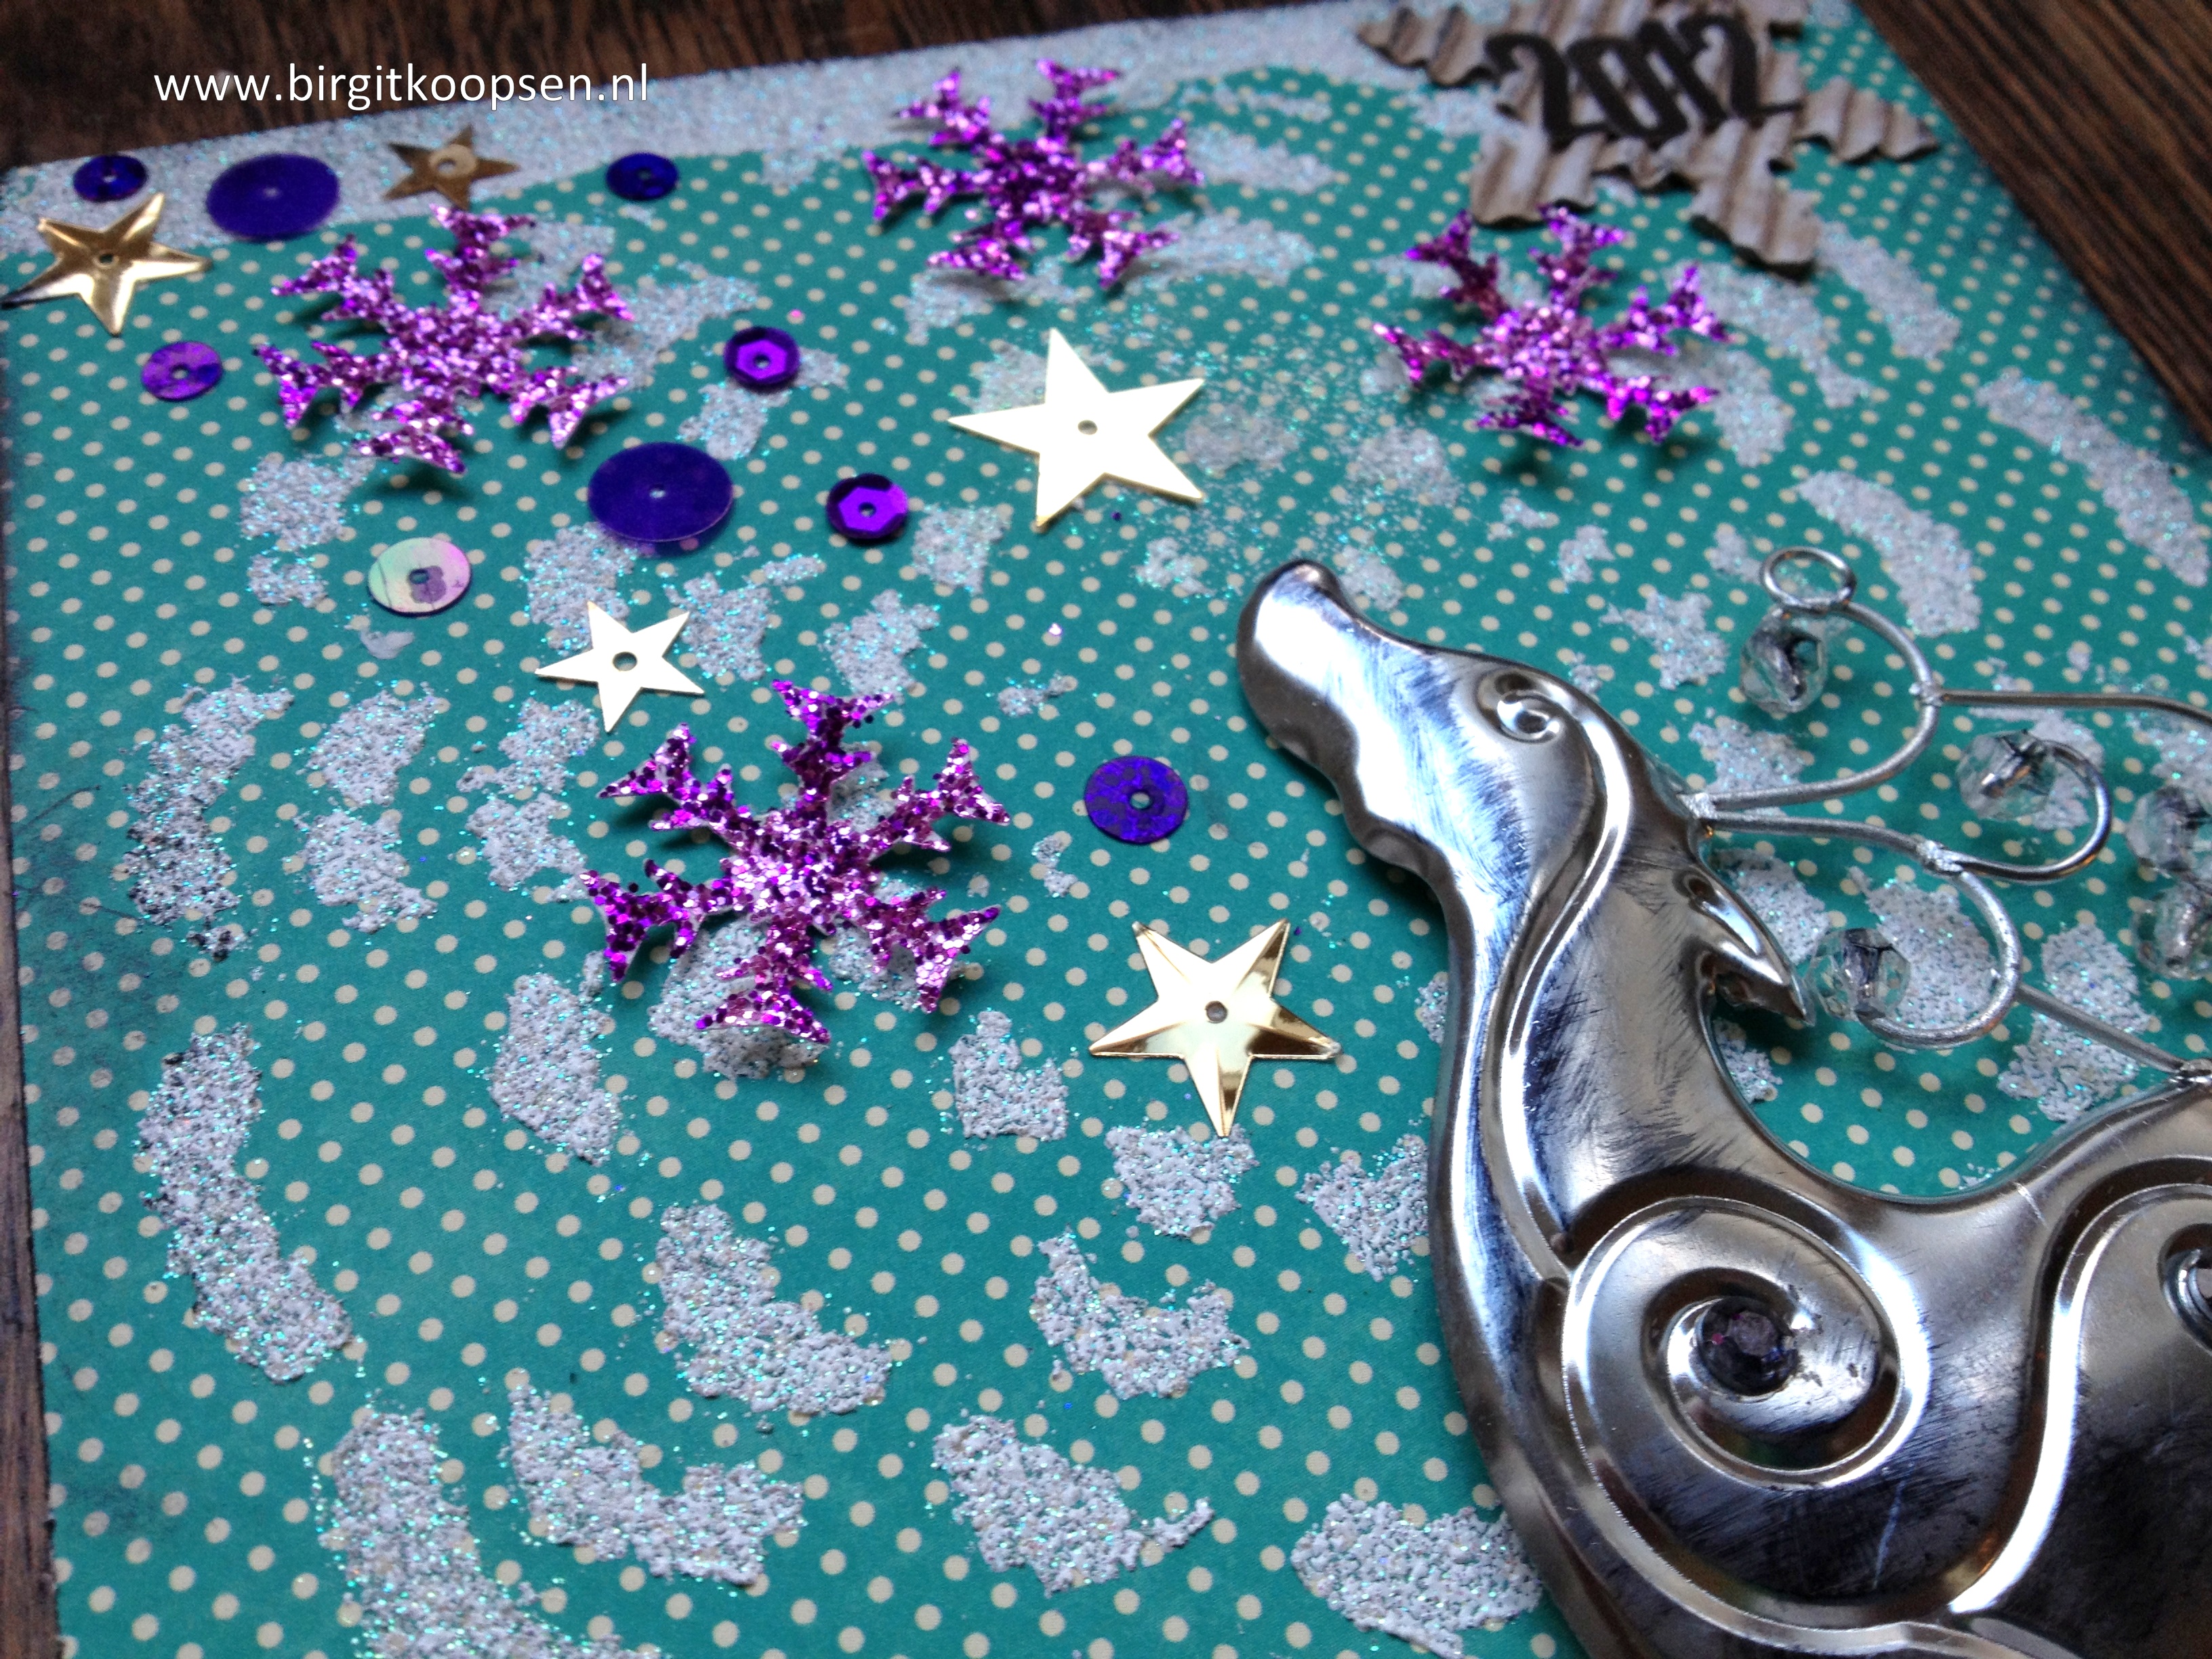
Here are some deatils:

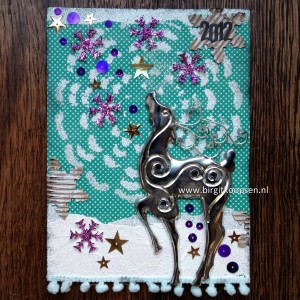
And finally the completed project. I think after Christmas this will make a great cover for a winter mini album but for now it will be part of my Christmas decorations.

Wishing you all a wonderful Christmas time, see you again in January!

Happy crafting!

Birgit Koopsen

Adhesives used in this project:

E-Z Dots Permanent

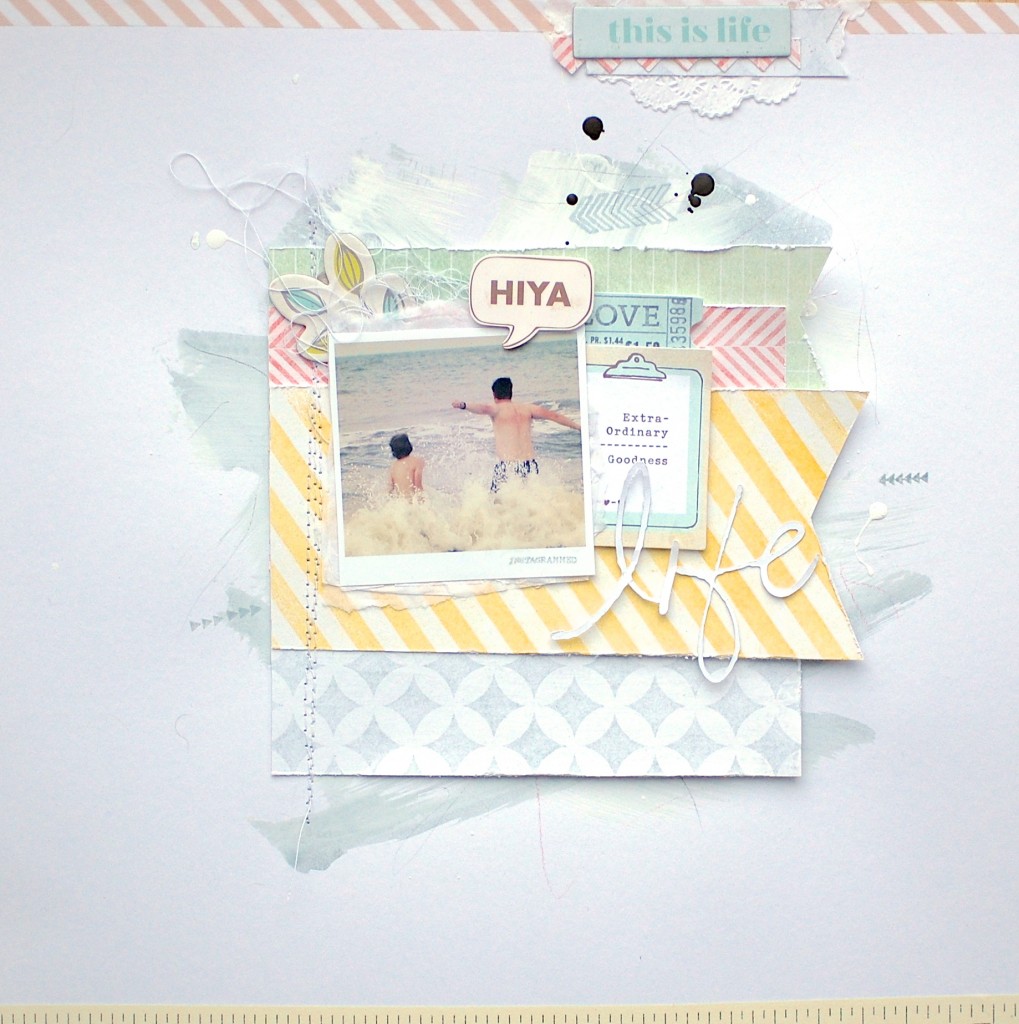
This is life…

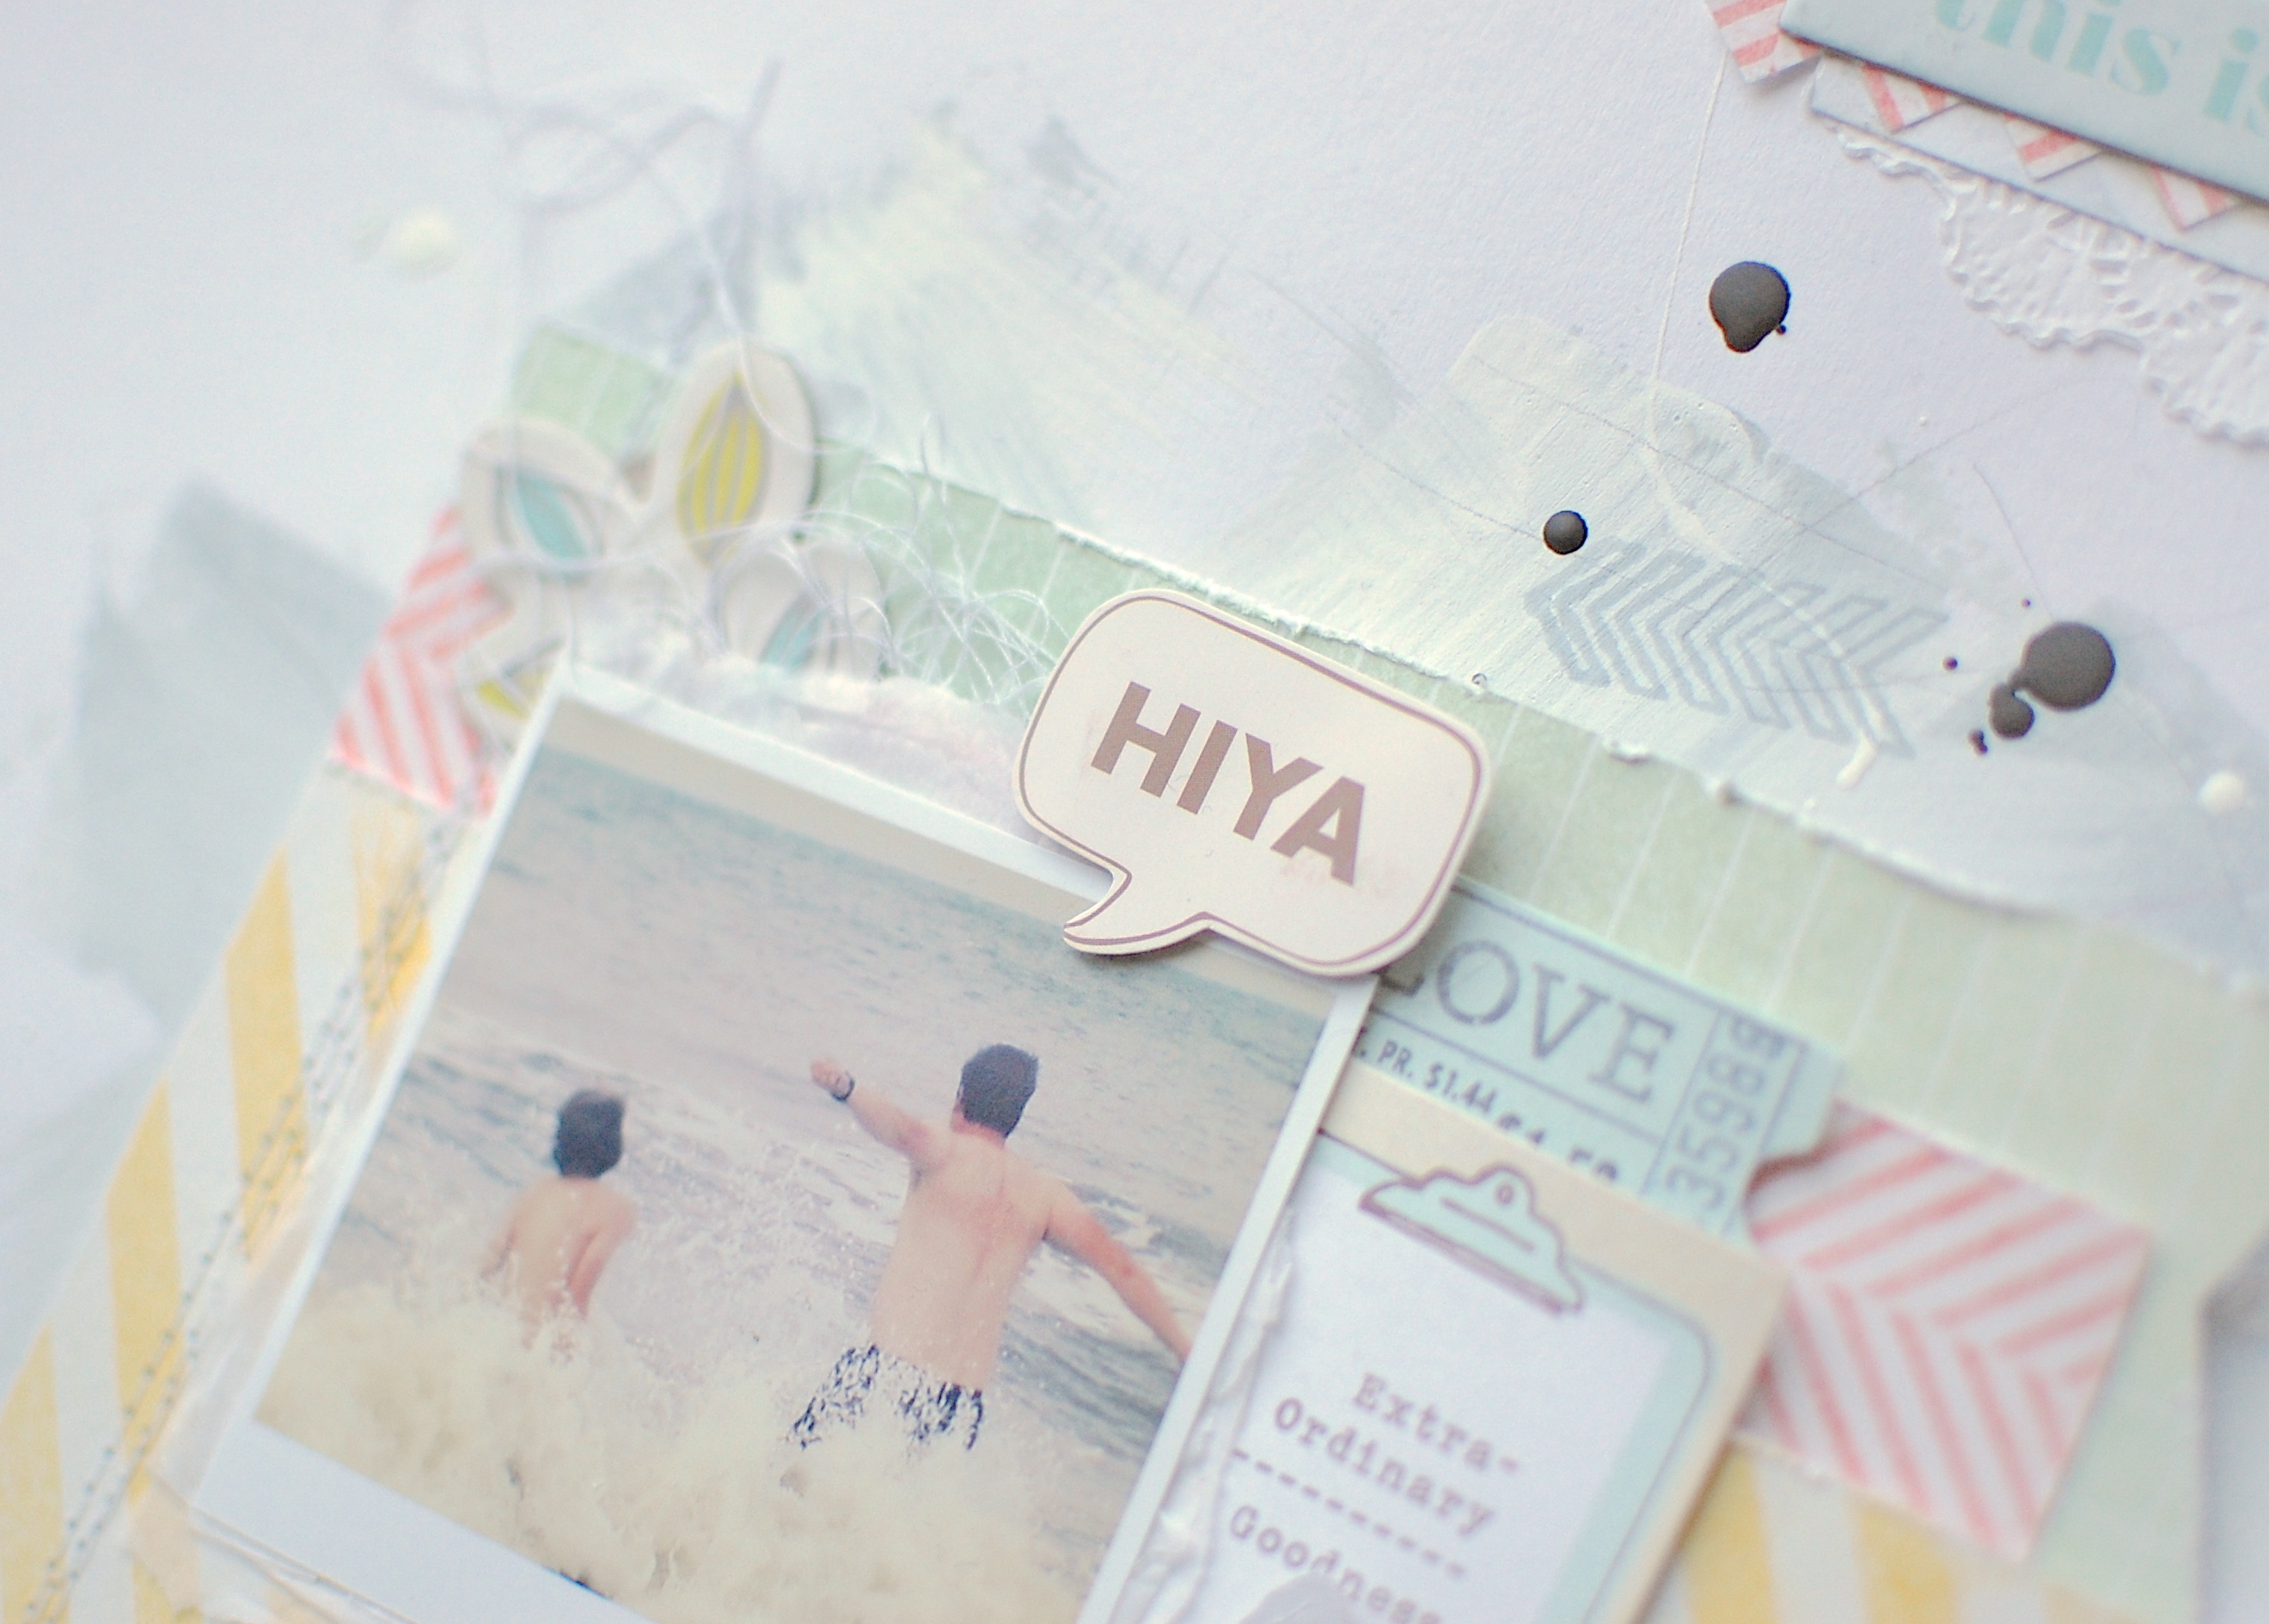
Hi there, Nina here today with a summery beach layout from my husband and son.  For this layout I’ve used the Pink Paislee Artisan Resistible Paper Pad. And I love to make the patterned paper in this colors I want to use. That´s a cool thing 😉  To add the misted paper on the cardstock I’ve used again the E-Z Runner®.

This is Life Scrapbook page by Nina Ostermann for Scrapbook Adhesives by 3L

This is Life Scrapbook Page by Nina Ostermann for Scrapbook Adhesives by 3L

Thank you so much for visiting today,

Nina *my blog*

Supplies I used:

E-Z Runner Permanent Strips

Pink Paislee Resistable Paper Pack 8×8

Heidi Swapp Color Shine

Merry & Bright

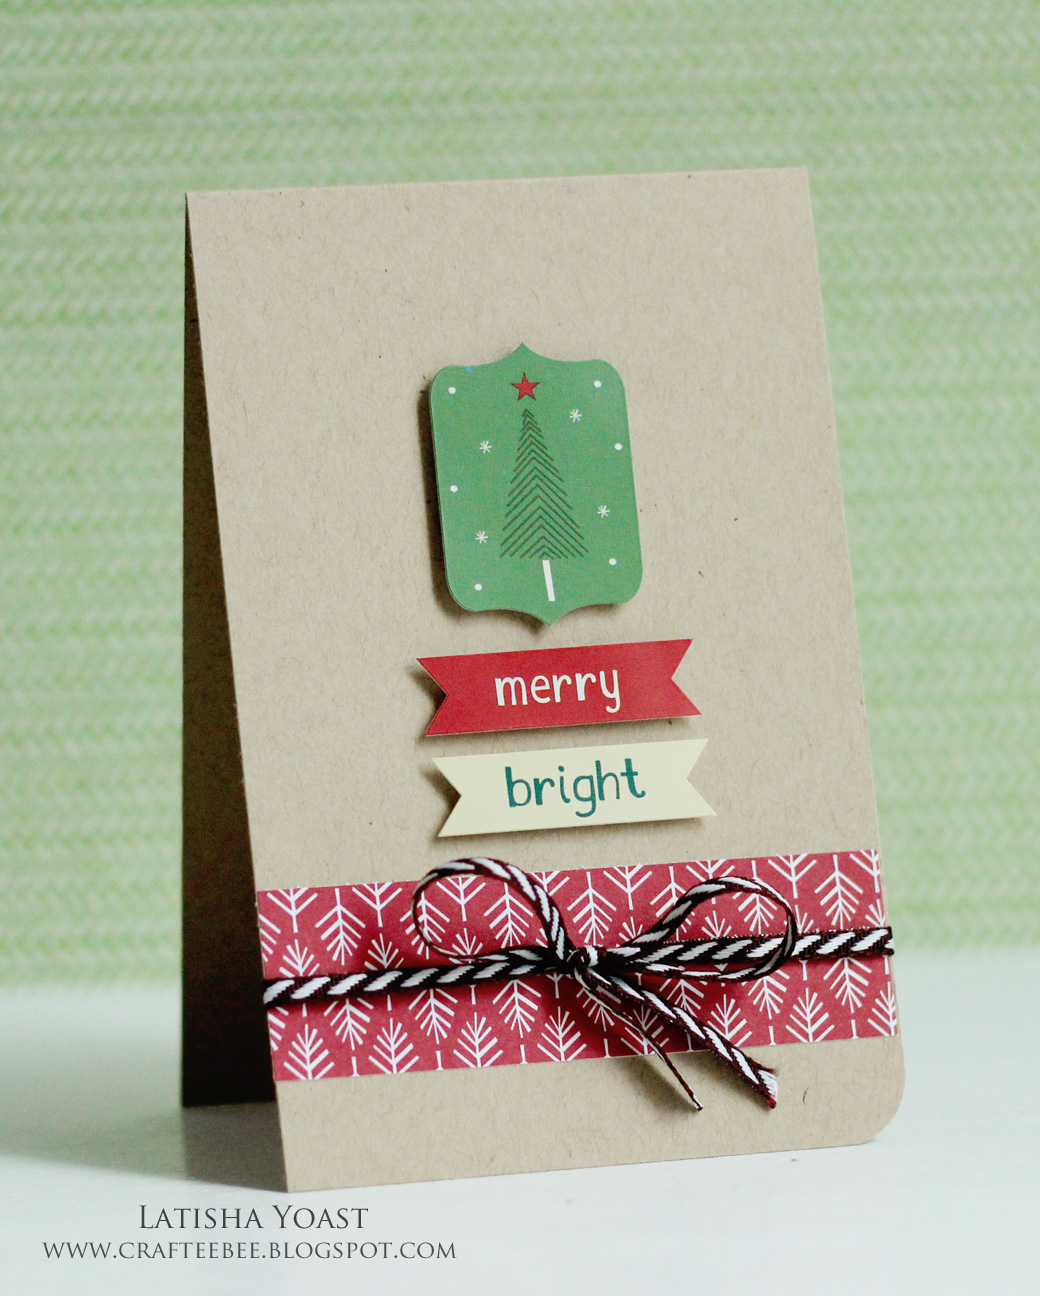
Hello there!  Latisha here with you today.  As the days get closer and closer to Christmas, I find my self wishing for more time.  What about you?  How about we make a really cute Christmas card, without any stamping involved?  Yes?  Lets get started!

Go and grab some Christmas stickers and pattern paper, and card stock to coordinate.  You will also need Scrapbook Adhesives by 3L MyStik Permanent Strips Dispenser & 3D Foam Squares (white, small).  Do you have your supplies?  Lets get started.

The card base is 3 3/4 inches by 5 1/2 inches (so you can get two of these from one 8 1/2 x 11 inch piece of card stock, or 3 from 12 x12 inch paper).  You want to adhere a one inch by 3 3/4 inch of pattern paper to the card base using a MyStik tape runner (I used Lawn Fawn Fa-la-la 6×6 paper pad).  Next wrap some ribbon around the pattern paper, and tie a bow.  In my case, I used a thin trim from May Arts.

The next step is to pick out a few stickers, to attach above the pattern paper.  I chose some Lawn Fawn element stickers from the Fa-la-la collection.  I placed Scrapbook Adhesives by 3L 3D white foam squares (small), on the back of the stickers, then adhered them to the card.  By placing foam squares on the back of the stickers you are creating a little more depth to your project.

There you go, an easy peasy, no stamping card!

Have a great day!
Latisha Yoast

Card with layers

Good morning (or so it is here in Denmark 😉

Today I would like to show you step by step how I did one of my Christmas cards this year.

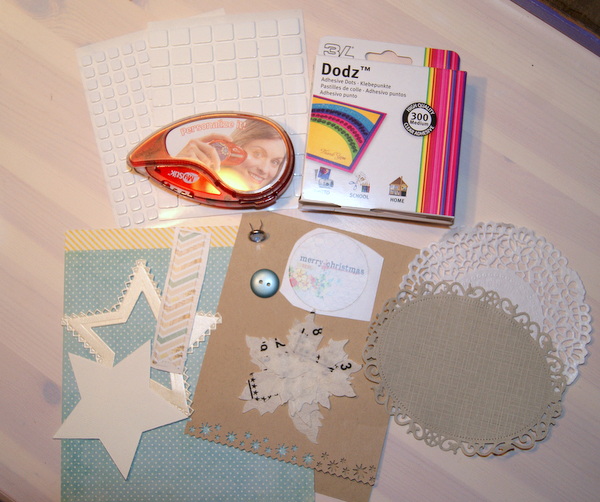
This is all the products I used for my card.

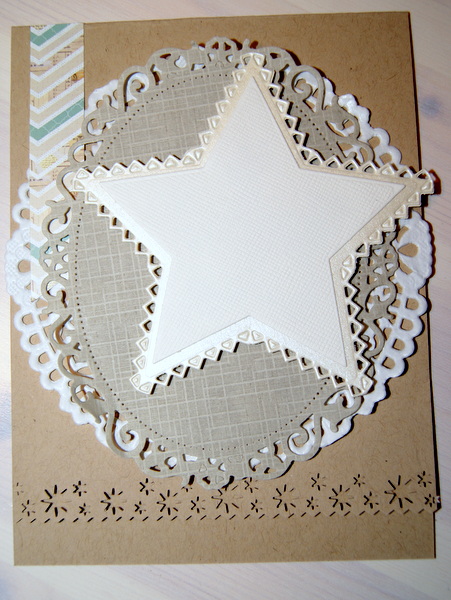
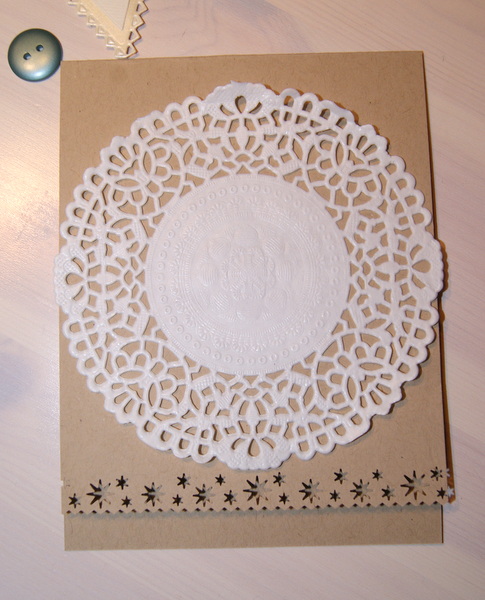
I cut a card base from kraft cardstock and punched a border. Then I added a white doily.

From a scrap piece of wrapping paper I cut another “doily” with a Spellbinders die.

I also wanted to use some star shaped diecuts.

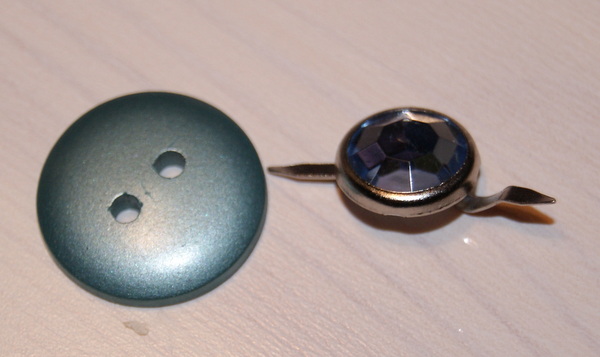
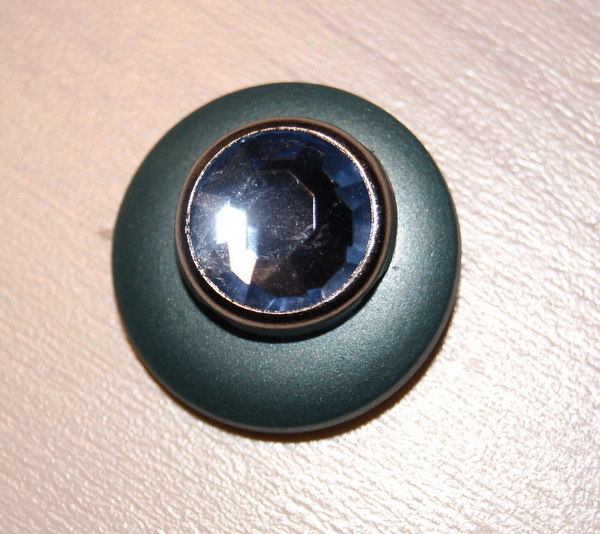
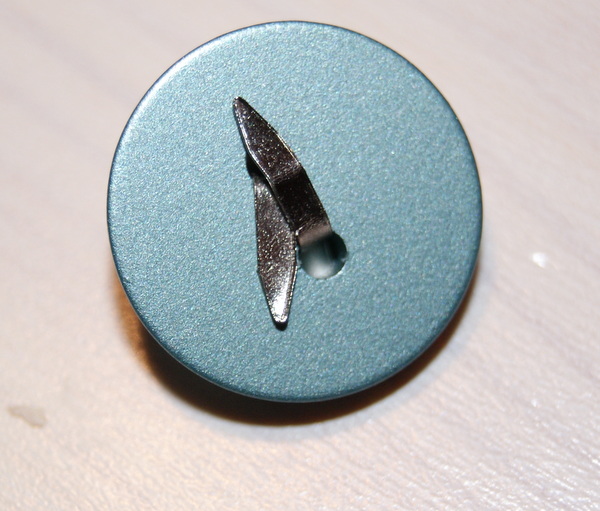
Then I wanted to dress up my button – make it festive for the season 🙂

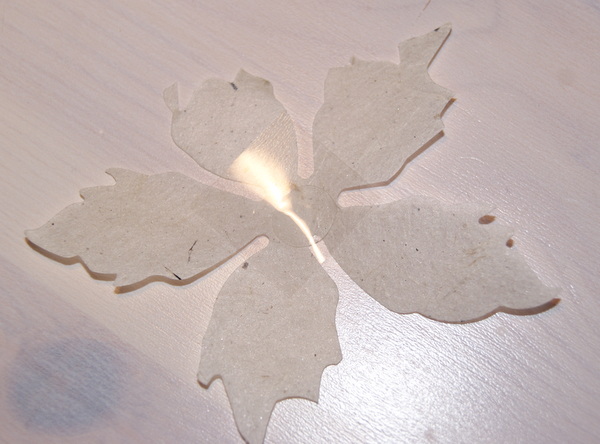
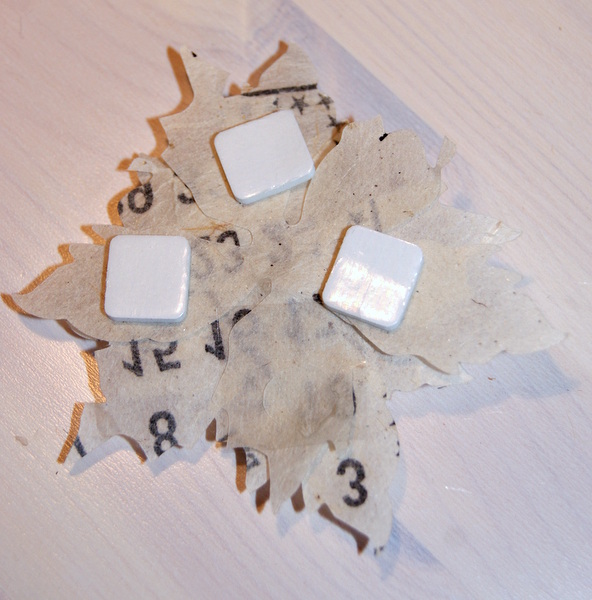
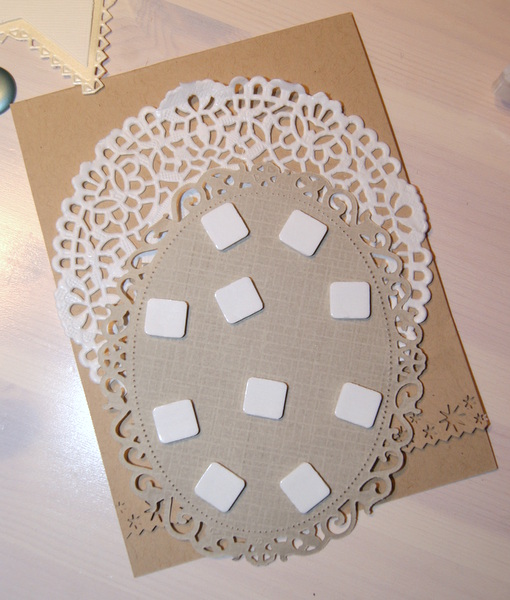
And now I just needed to mount all the layers af my tissue flower together – for this I used the  DODZ – Medium size

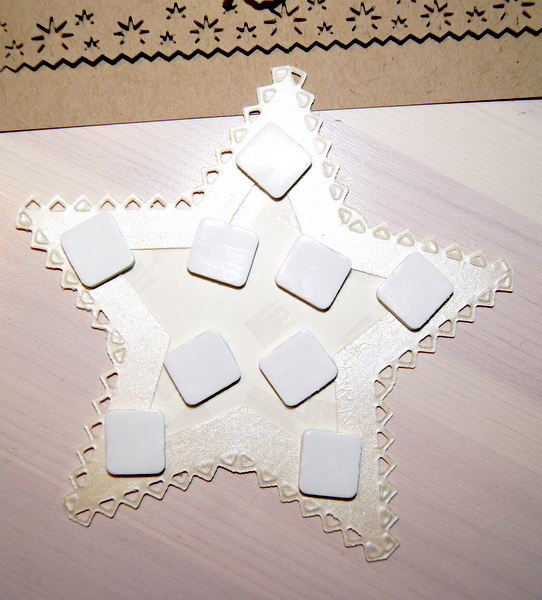
And for the bottom layer I added some of the 3D Foam Squares .

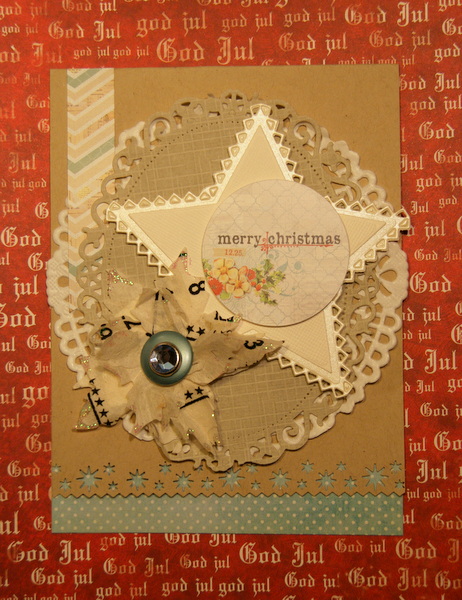
And now the card’s finished:

Have a fun and creative day 🙂

Iben

Save

Save

Merry Christmas Card

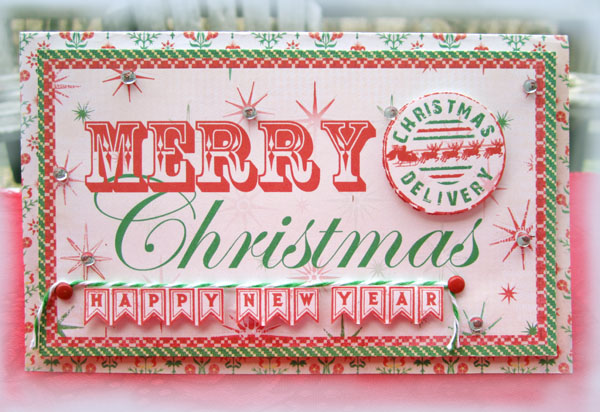
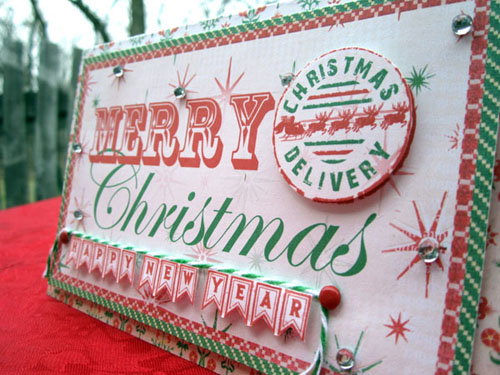
Here we are, on our way to Christmas already. Where did November go? lol   Things are moving fast around here these days.    Today I thought I’d share a Christmas Card.  It’s made with Scrapbook Adhesives by 3L® E-Z Runner® and  3D Foam Squares White Regular Size.The papers I used are from Crafty Secrets Heartwarming Vintage printable Christmas CD.   “Retro Christmas”


I’m so happy there are different sizes of foam squares, because for this little banner pieces needed something smaller, so the 3D Foam Squares White Small, and they worked perfectly!  That extra dimension adds so much.
I hope that you are enjoying the Joy and anticipation of the Christmas Season!
Thanks so much for stopping by!

Vicki Chrisman    by blog- “This Art That Makes Me Happy”

Save

December Daily, A Christmas Journal

Hi there, Birgit here today with some Christmas inspiration.

It’s already December. Christmas is approaching quickly and I decided to join Julie Fei-Fan Balzer’s December Daily to record all the fun and stress of this festive month.

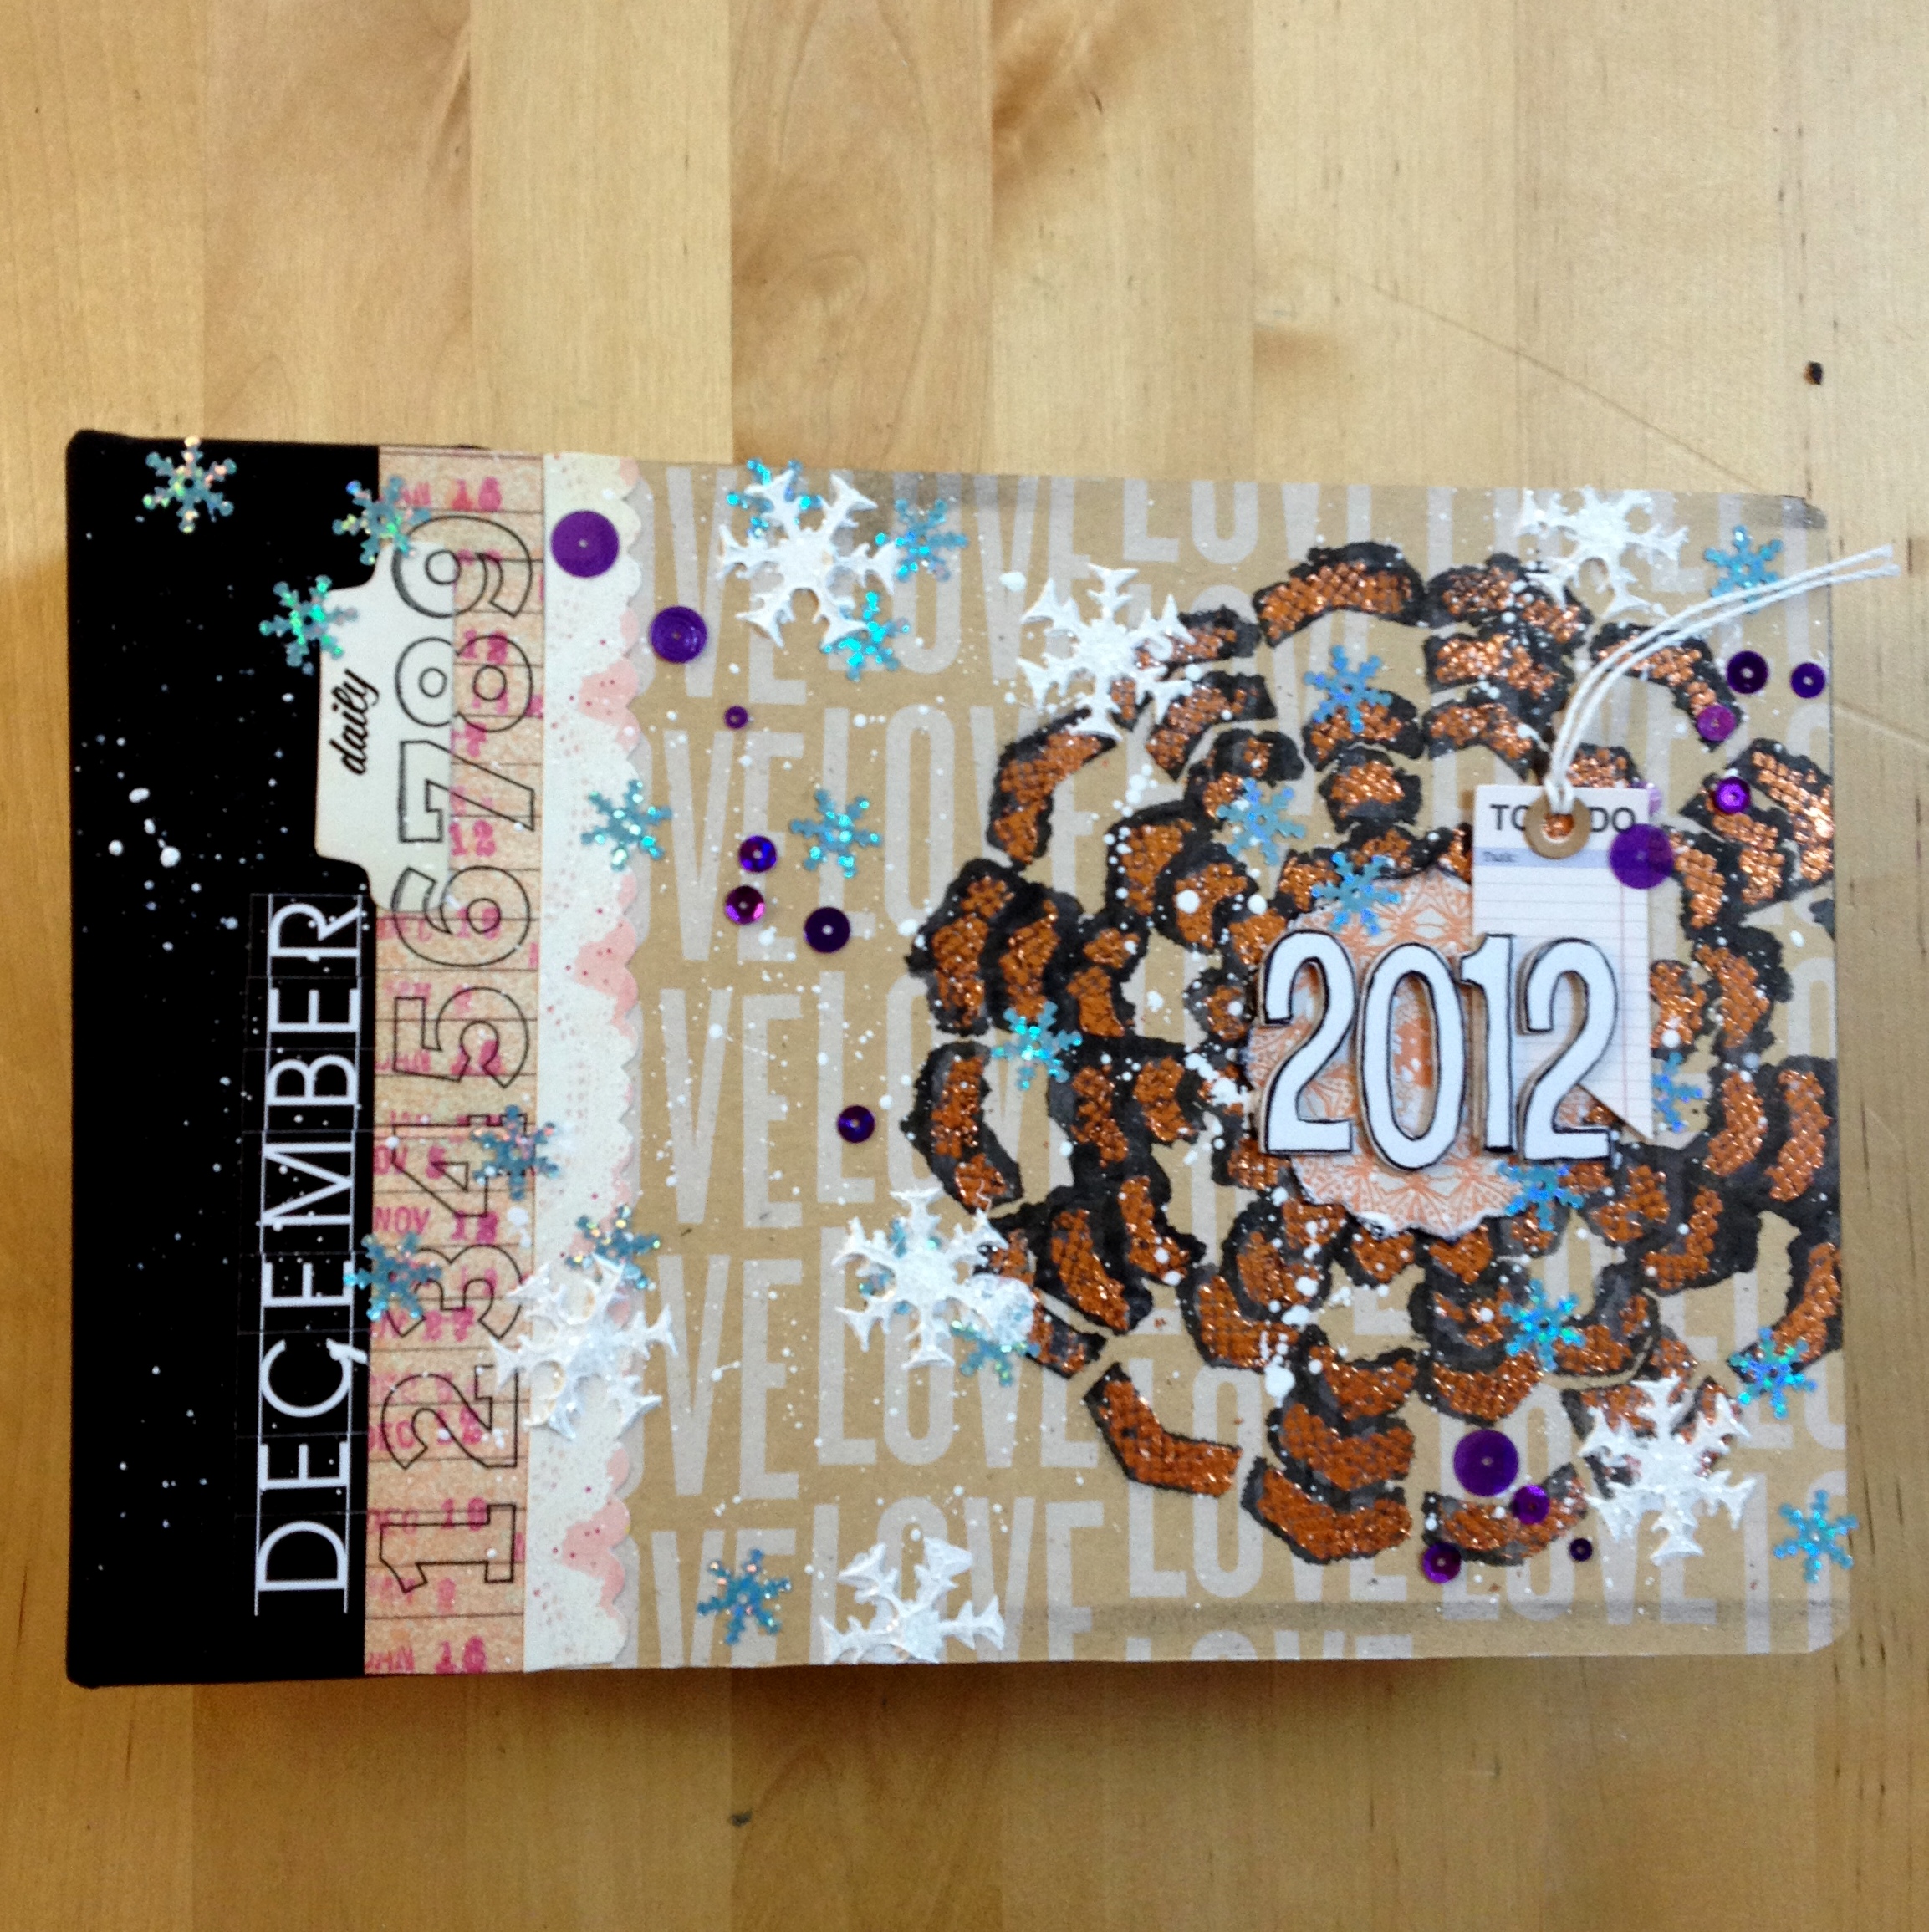
Today I want to share with you how I created the cover of the journal that I will be working in this month.

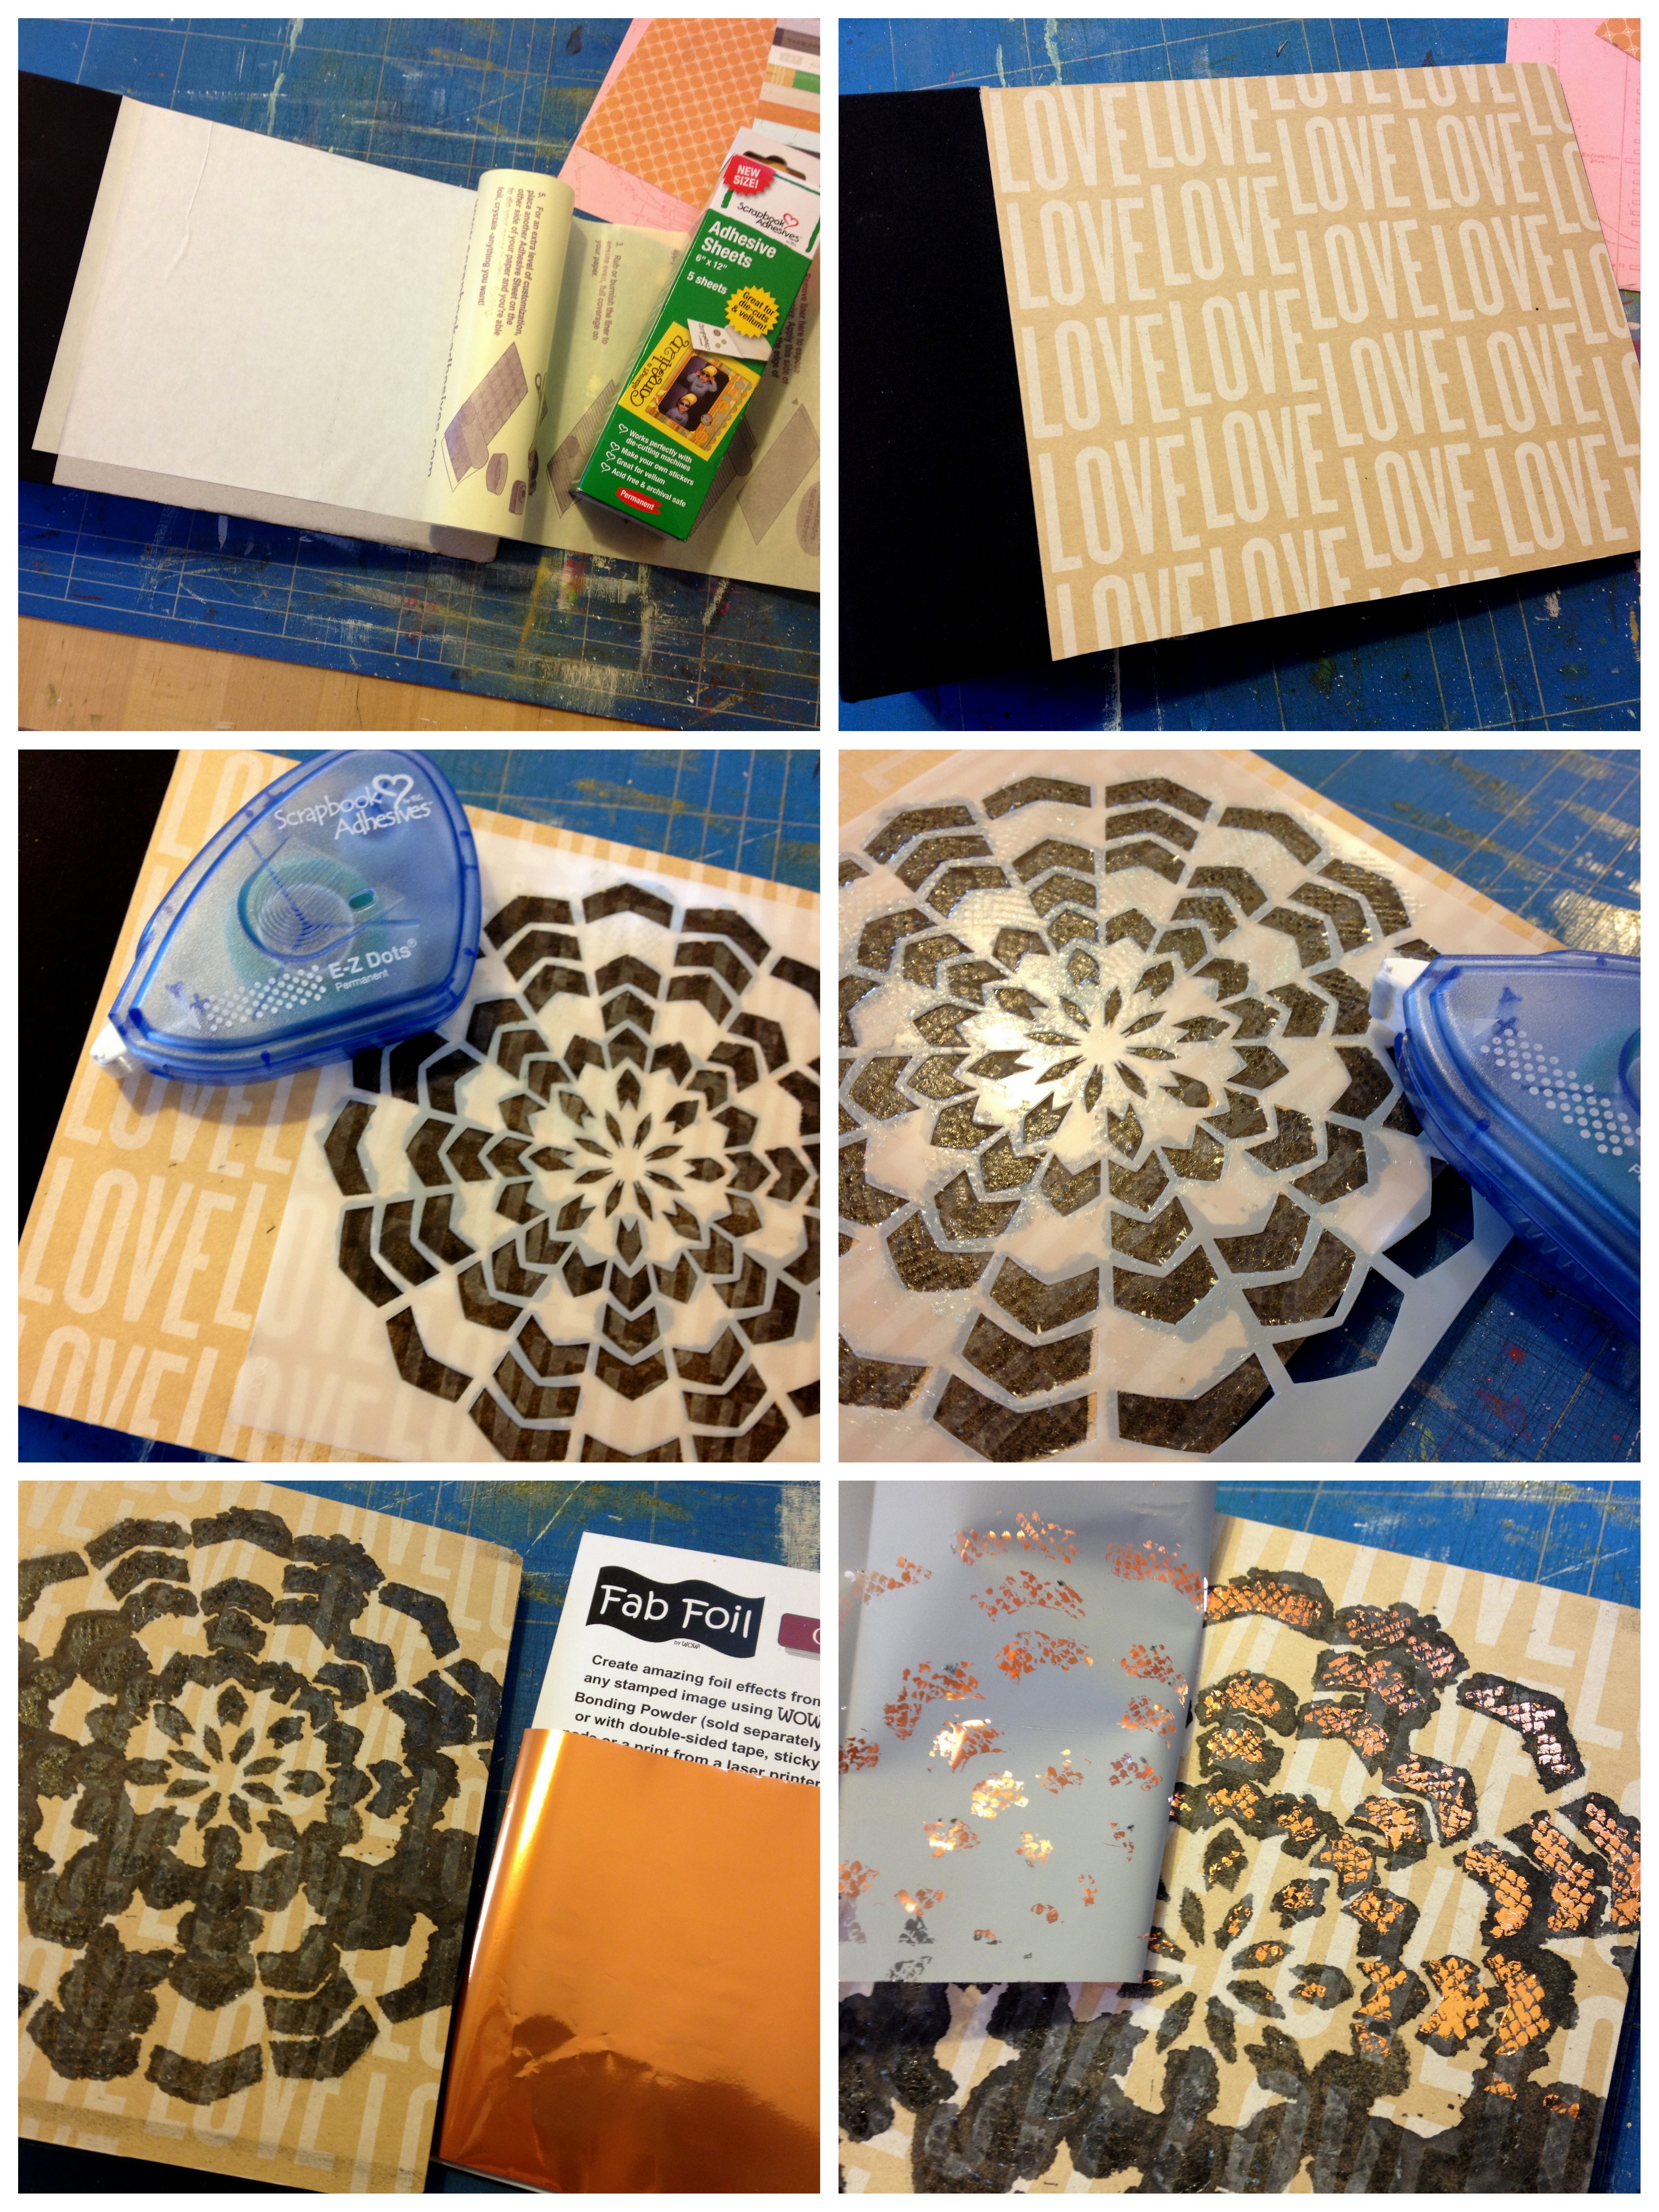
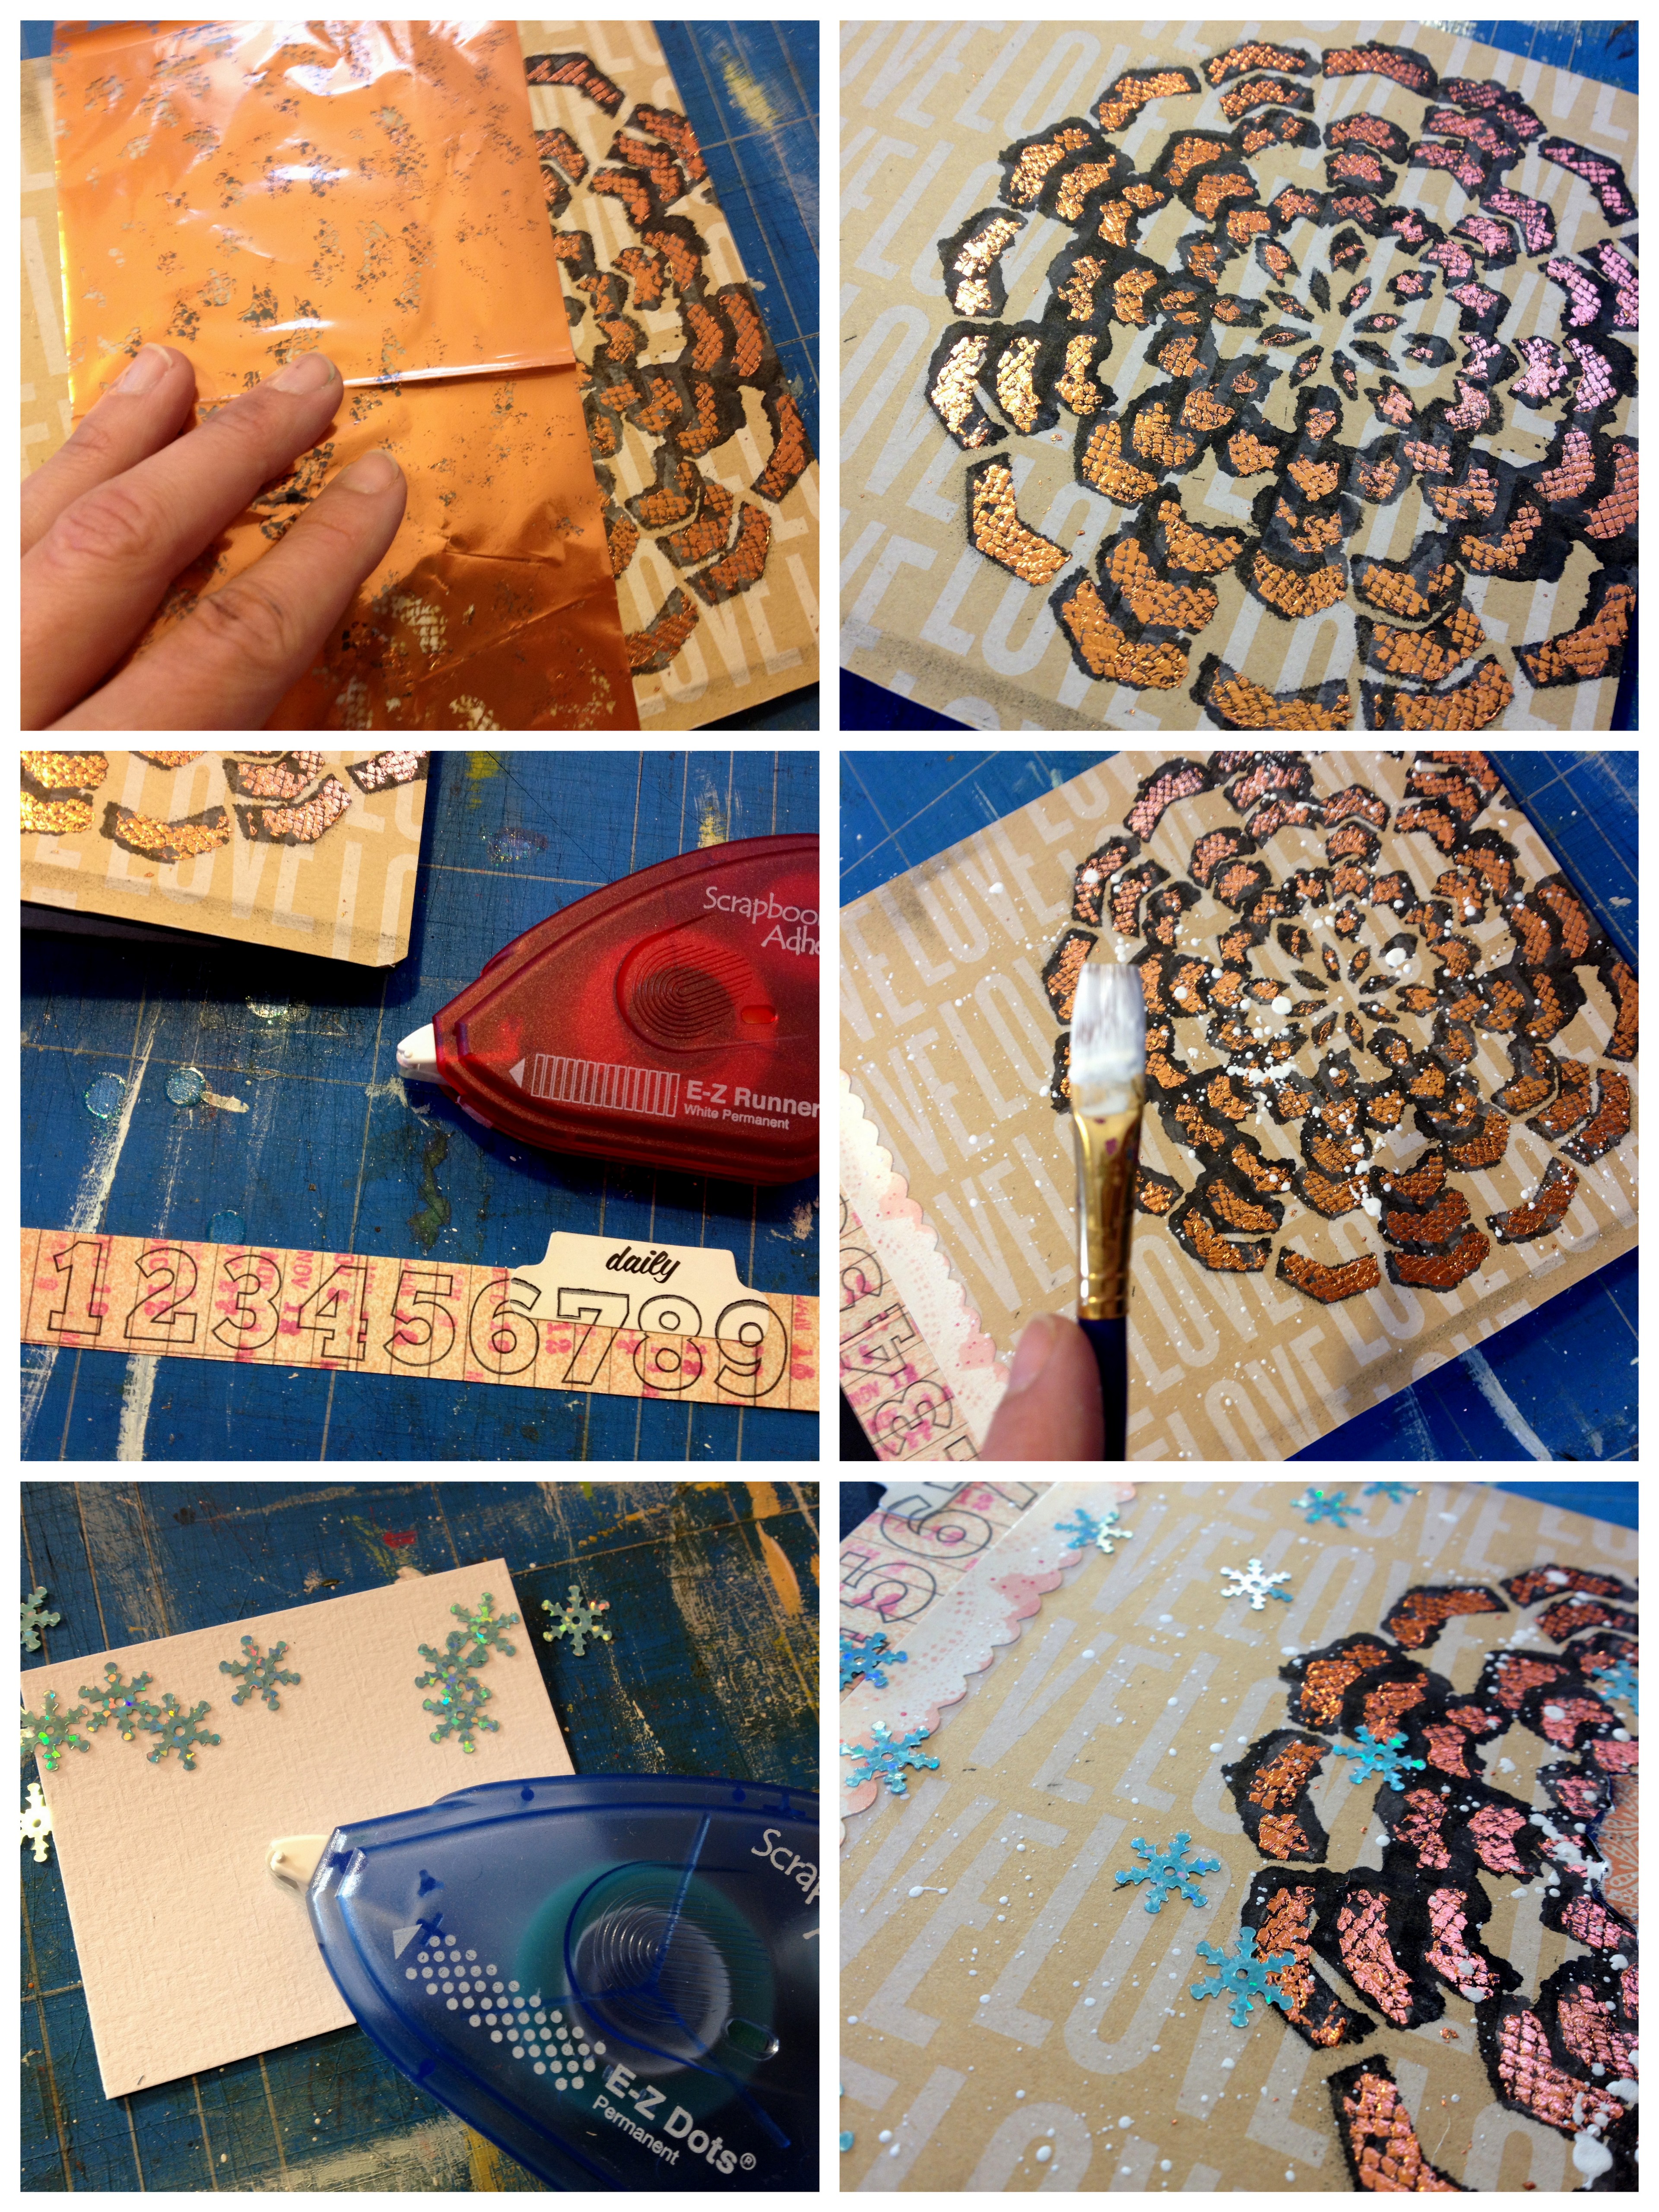
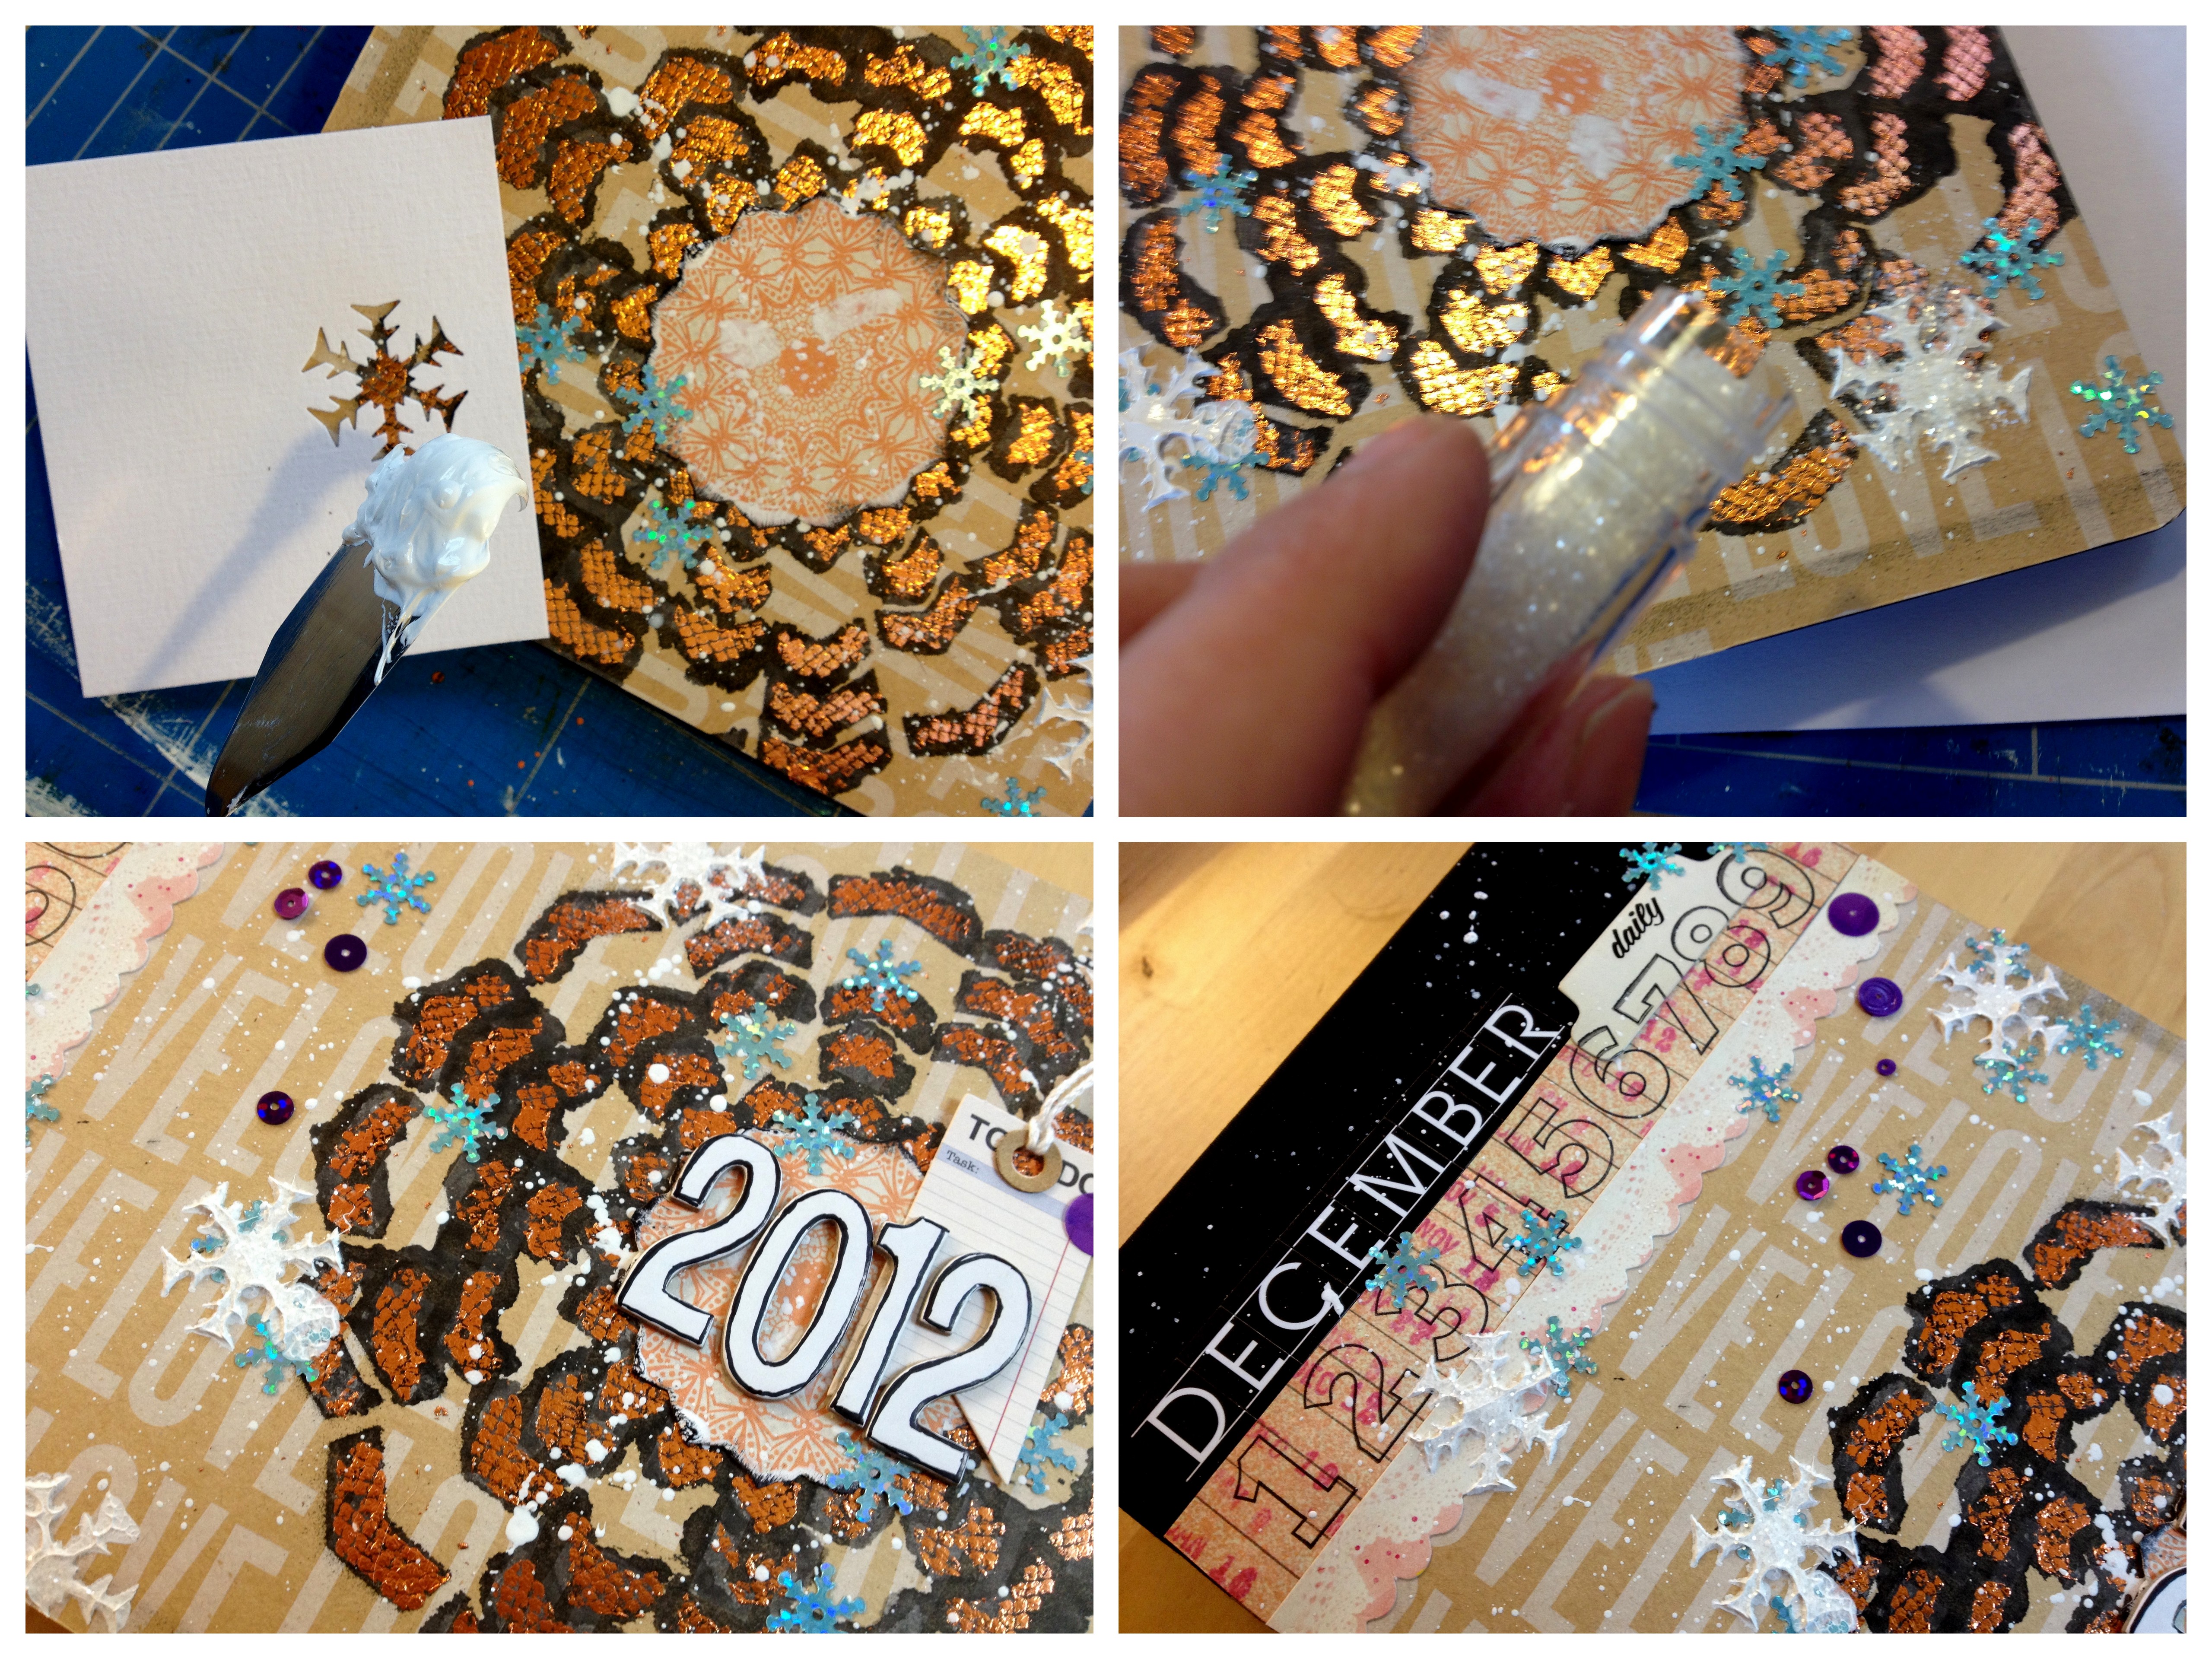
First I covered the book cover with an Adhesive Sheet and applied the background paper. If Adhesive Sheets are used between the chipboard and the paper it will keep the paper from curling and wrinkling when working on it with fluids later. So that is very helpful for especially mixed-media crafters. Then I sprayed with spray paint through a stencil, let the spray paint dry and put the stencil back on top of the sprayed image. I added E-Z Dots® Permanent in the open spaces of the stencil, then removed the stencil and added WOW! Fab Foil to the adhesive.

Keep adding Fab Foil until the cover is not sticky anymore to make sure all the adhesive is covered. I applied all paper pieces using E-Z Runner® Permanent. I added white splatters of acrylic paint and then sequins using E-Z Dots® Permanent again. This is a perfect adhesive to add small shapes since the dots will only stick on the surface of the shape and there will be no adhesive in the open spaces.

Finally I created some shiny snowflakes. I created a little stencil by punching a snowflake from a piece of cardstock and used the negative to add modeling paste. While the modeling paste was still wet i sprinkled glitter on top.

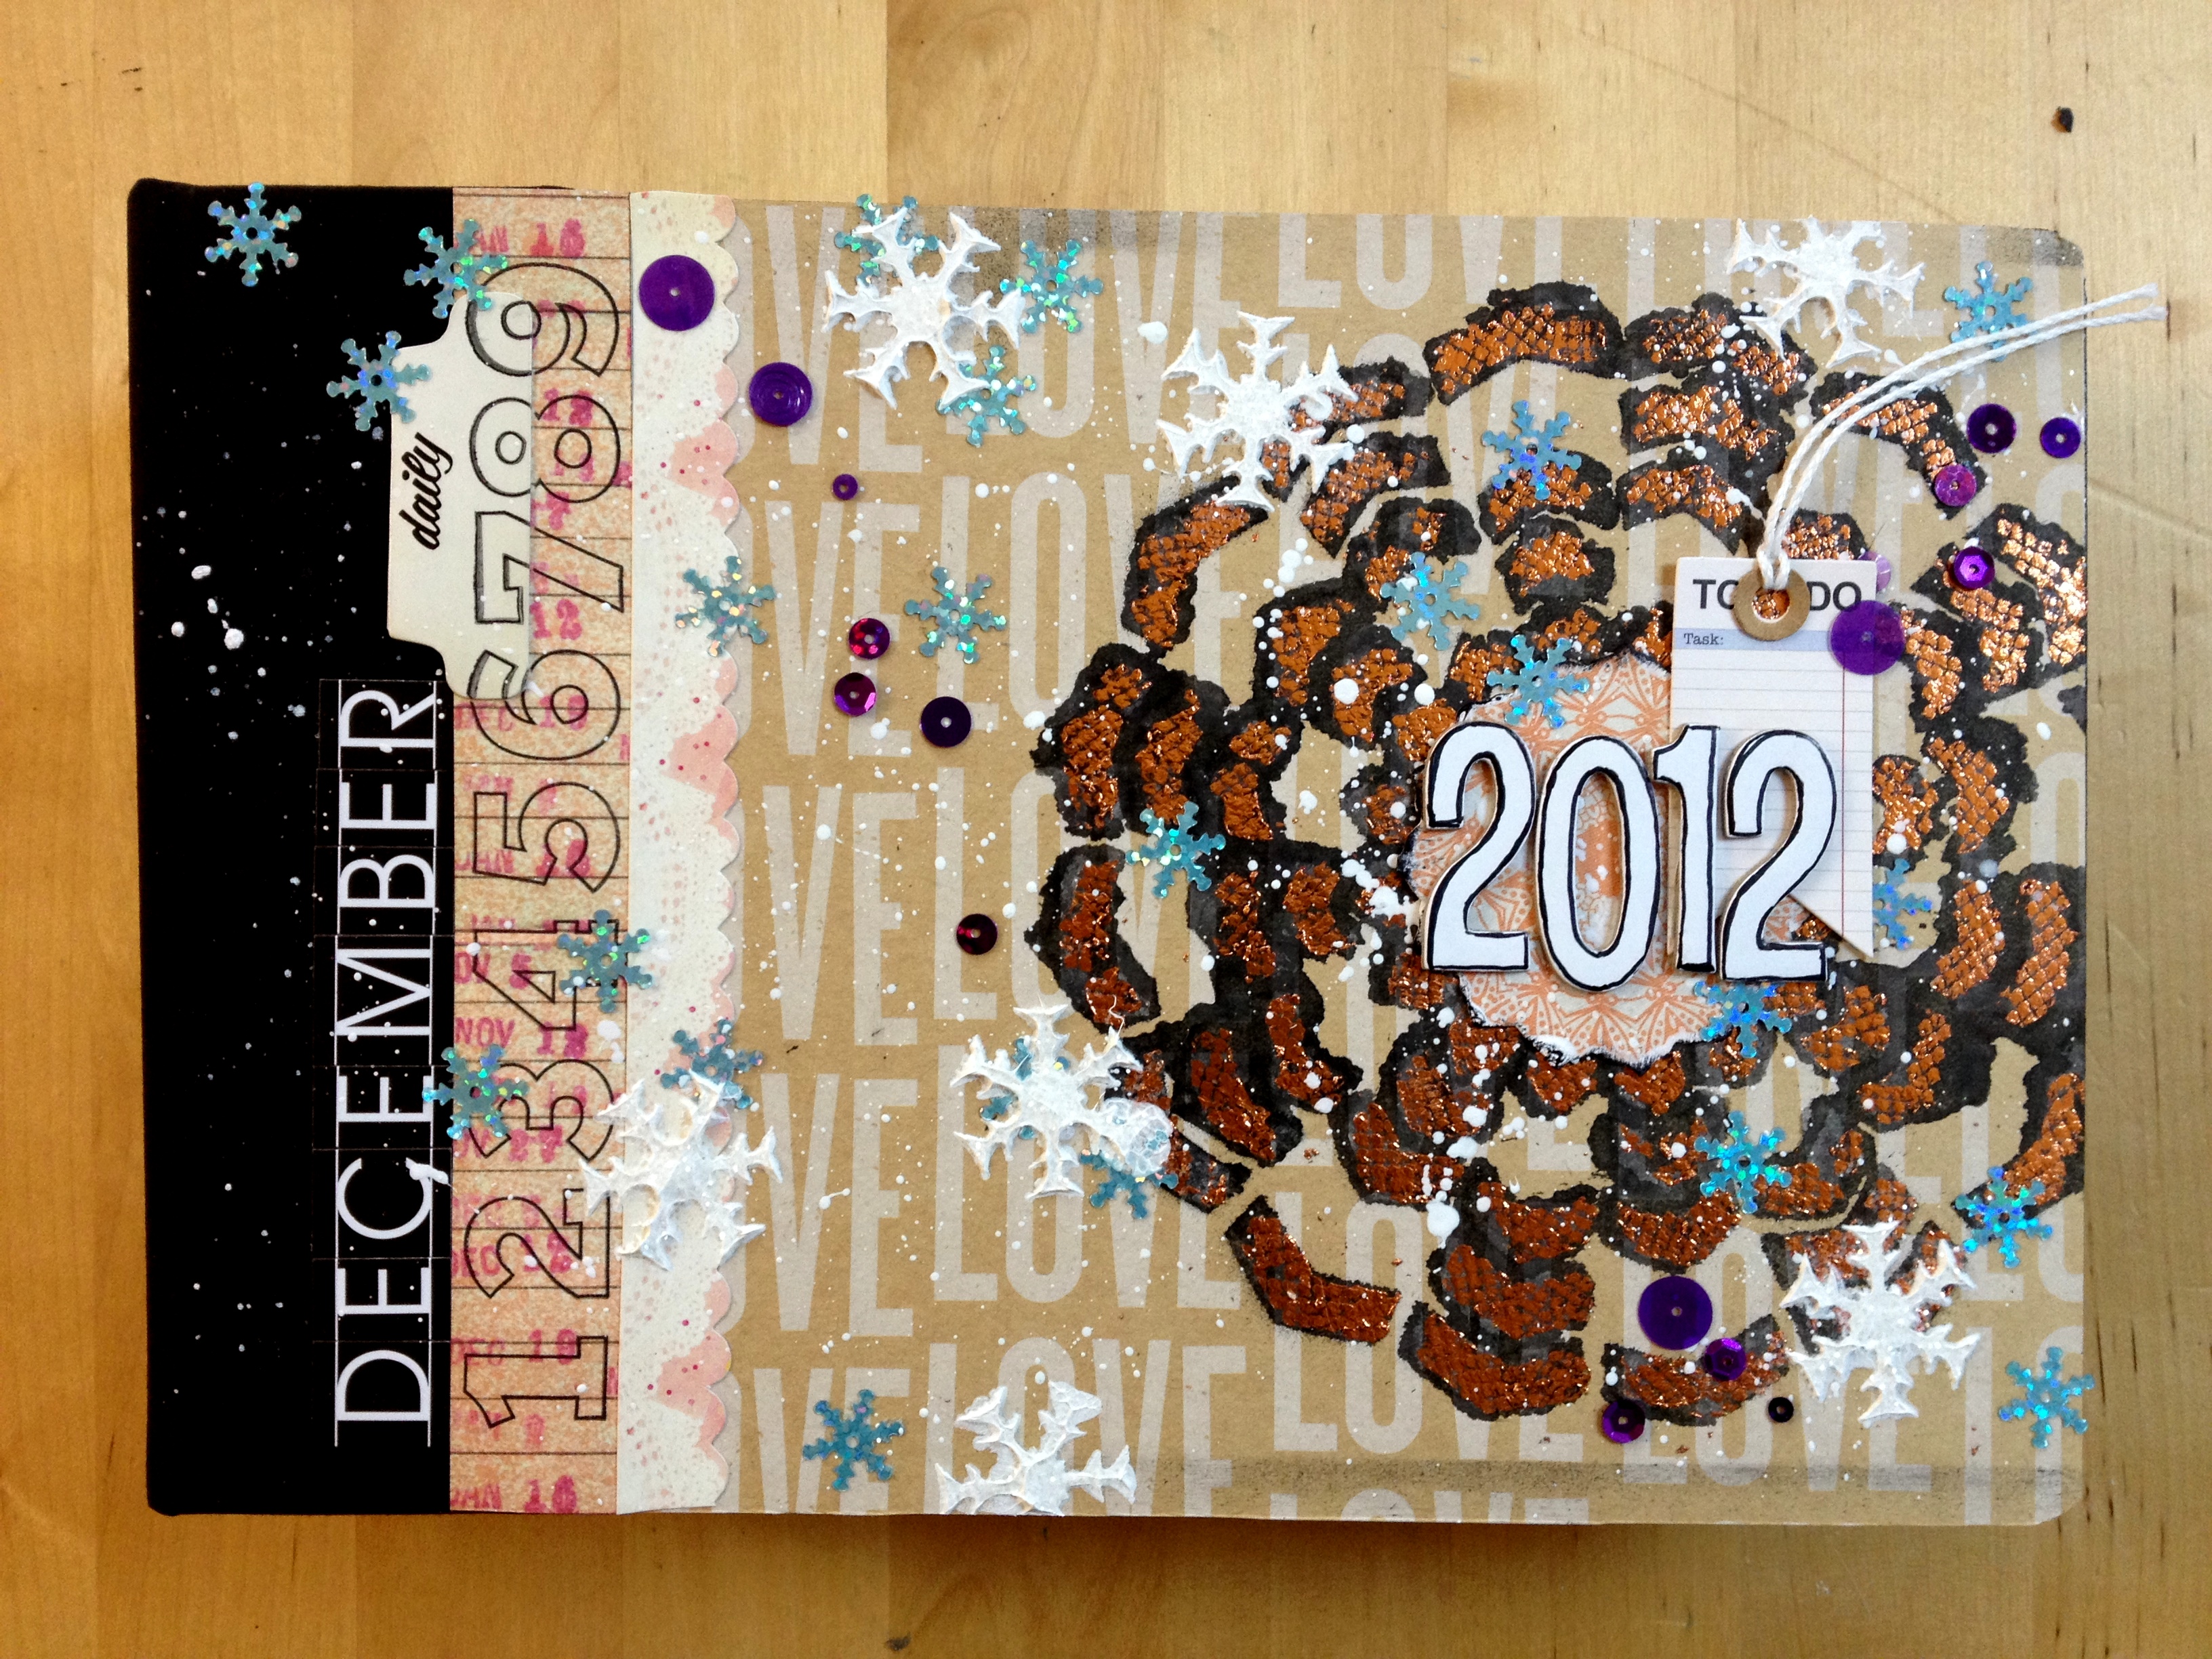
I finished the cover with a little tag and sticker letters. If I use sticker letters on an album cover I always add some extra adhesive since the tend to fall of easily. I used the E-Z Runner® Permanent for that.

And here is a closer look at the cover:

Thank you for stopping by! Wishing you all a wonderful and creative December!

Birgit Koopsen

Adhesives used in this project:

Adorable Reindeer Card

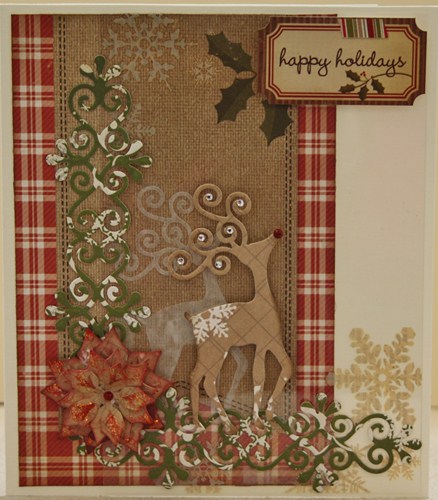
Hello, it is Christine here today sharing a very festive card featuring a rather adorable reindeer.

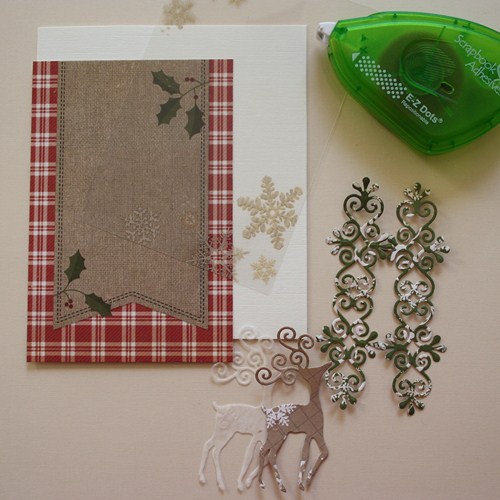
To create my card I gathered together my cardstock, patterned paper  and transparency from Simple Stories – Handmade Holidays,  die cuts from Spellbinders Frosty Forms and Layered Poinsettia.  I am using my E-Z Dots® Repositionable – this is so I can rearrange my card design until I am completely happy.

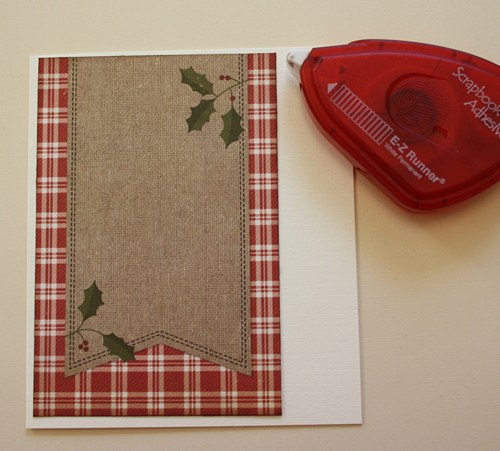
Once I’ve decided on my design I switch to my E-Z Runner® and begin to stick down all my card elements.

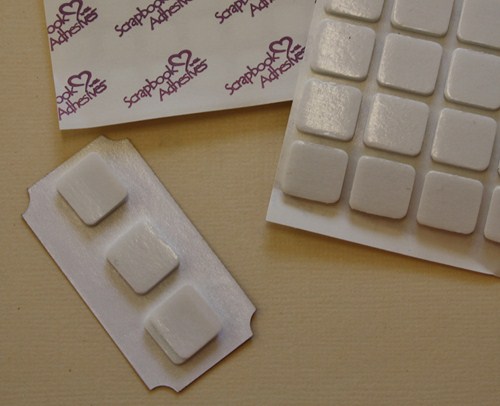
For extra dimension 3D Foam Squares are invaluable.

Here is the finished card.

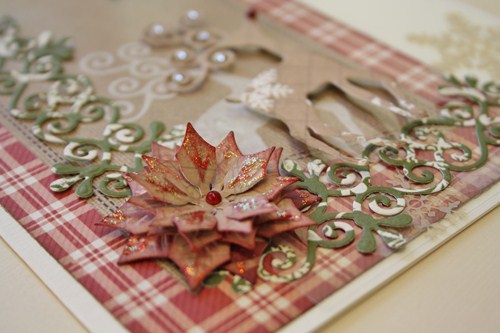
A close up of the pretty poinsettia.

Now all I need to do is put my Christmas tree up!  Here is a list of the brilliant sticky products I have used:

E-Z Dots® Repositionable

E-Z Runner Permanent Strips

3D Foam Squares Regular White


Save

Save

For a Christmas Card Swap

Each year I create cards for a Christmas Card swap with friends from a crafting group. I started my cards, and I thought I would share them!

Beth Pingry Christmas Card 1

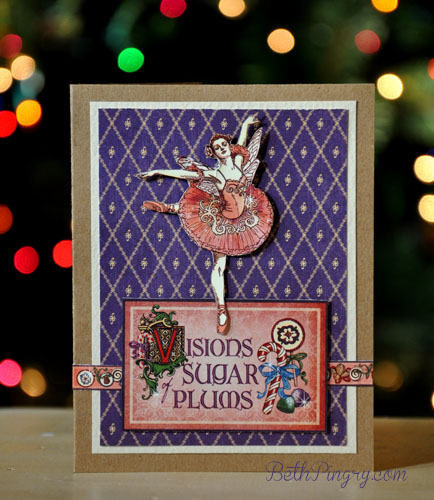
I’m using the Graphic 45 8×8″ paper pad Nutcracker Sweet. While at first intimidated by the larger images and patterns, I’ve come to love these paper pads, they are actually easy to create with!

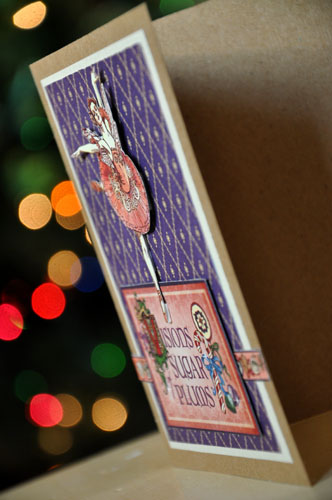
On this card I have layered patterned paper with a fussy cut ballerina, a printed label and a printed border. The Visions of Sugar Plums label is adhered with Thin 3D Foam Squares. I added one to the foot of the ballerina then trimmed around it, and then adhered her with 3D Foam Squares. That way the foot was the same height as the body! See how easy this is?

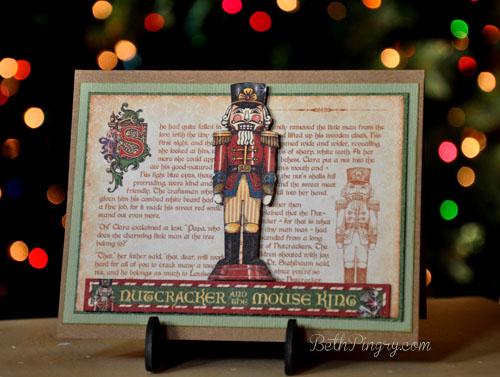
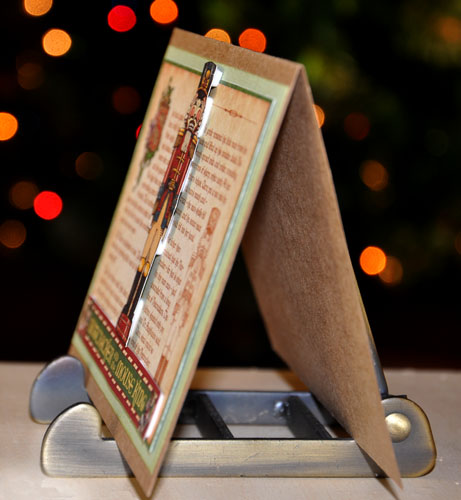
The next card uses regular size 3D Foam Squares for the nutcracker, Thin 3D Foam Squares for the border, and E-Z Runner® Permanent Strips for the background papers.

See, anyone can do this, and the cards look great, will go through the mail great (3D Foam products retain their shape!) and will bring holiday cheer to my friends!

Have a great Saturday!

Beth

Supplies:

Scrapbook Adhesives by 3L®:

E-Z Runner® Permanent Strips, Thin 3D Foam Squares, 3D Foam Squares Regular White

Graphic 45 Nutcracker Sweet 8×8″ papers

Cardstock