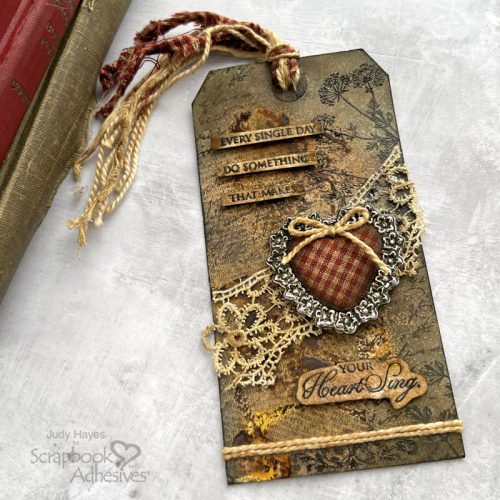
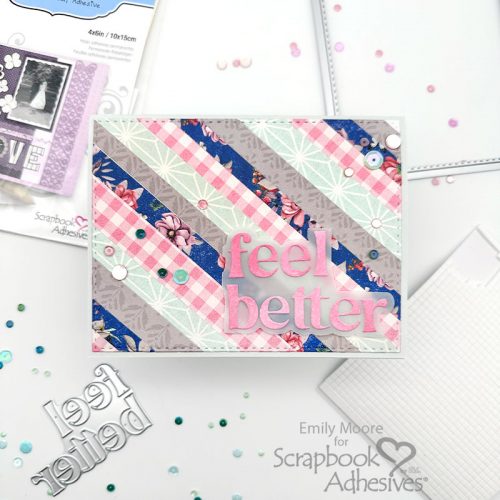
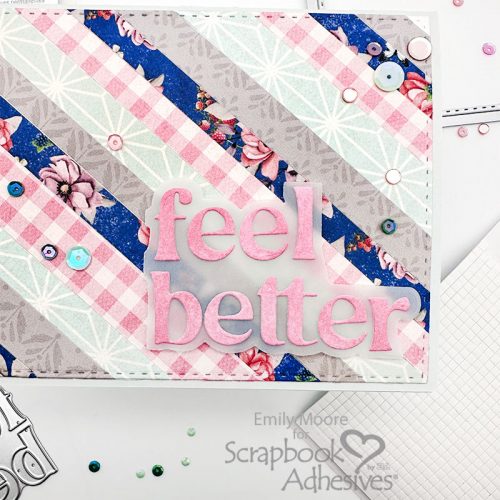
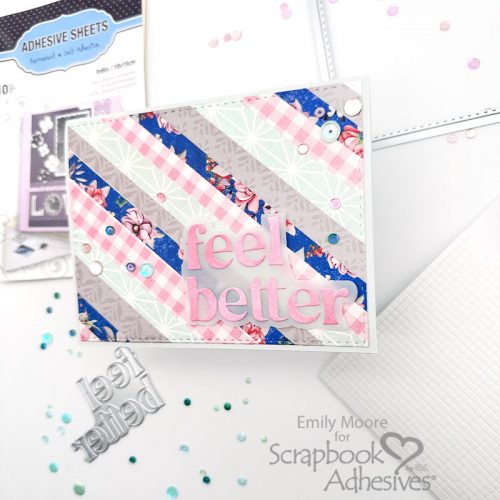
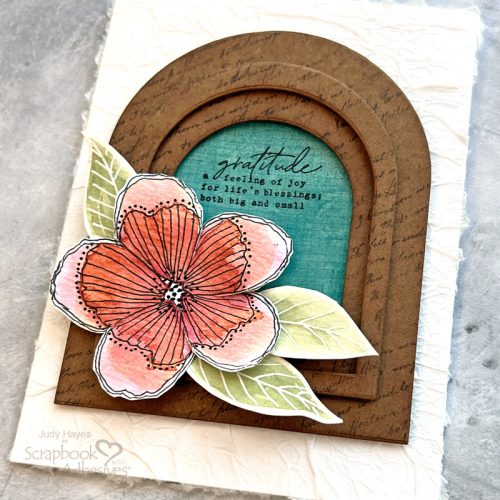
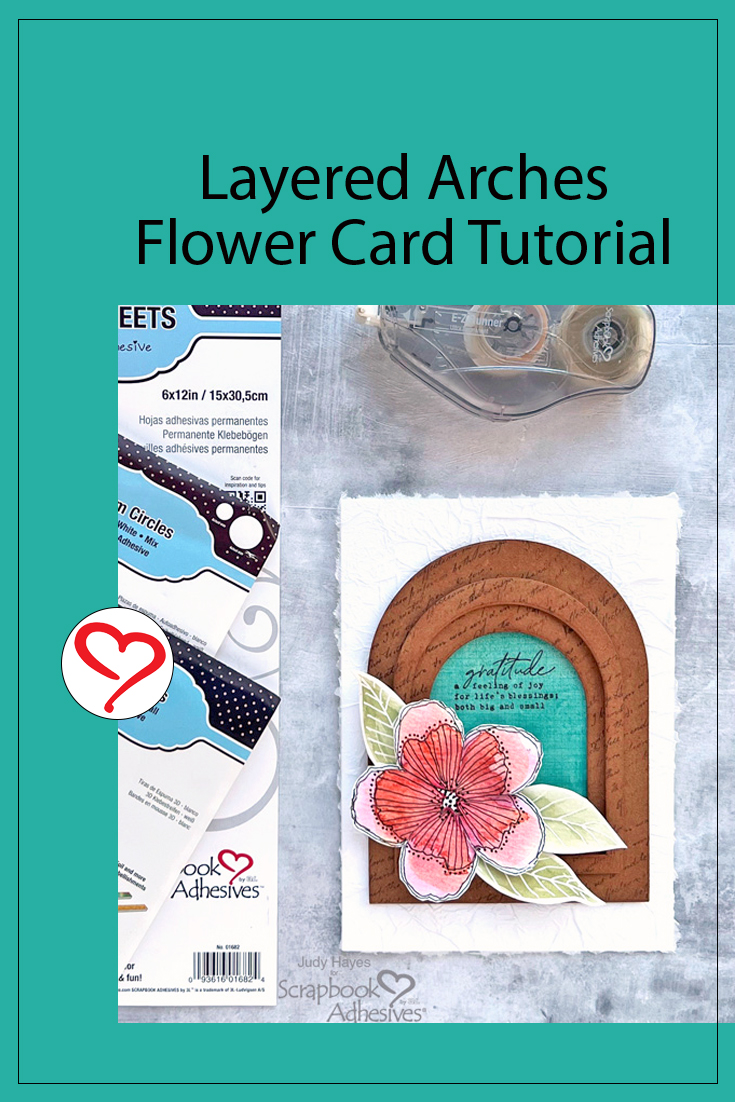
Hi, Judy here today! I’ve put together a Layered Arches Flower card that features an easy textured background made with crumpled tissue paper. The layered arches have dimension created with 3D Foam Strips and frame the verse. The watercolored flower nestles into the corner of the arches and also has dimension with shaped flower petals and leaves held in place with 3D Foam Circles White Mix.
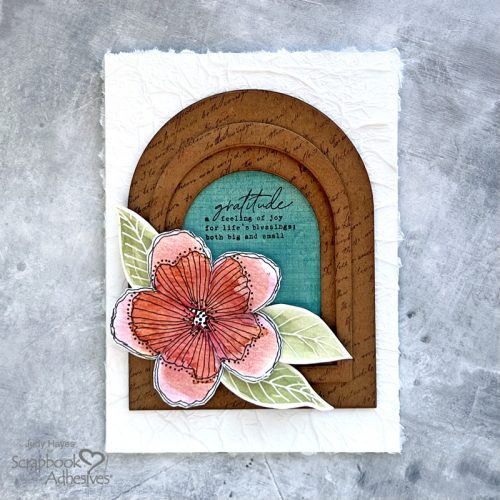
Card Texture
Cut or tear a piece of white tissue paper about 7 x 9 inches. Crumple into a ball, uncrumple and repeat. Unfold tissue and flatten it slightly but leave wrinkles in it. Fold 9.5 x 6.5-inch white cardstock to form a 4.75 x 6.5-inch card.
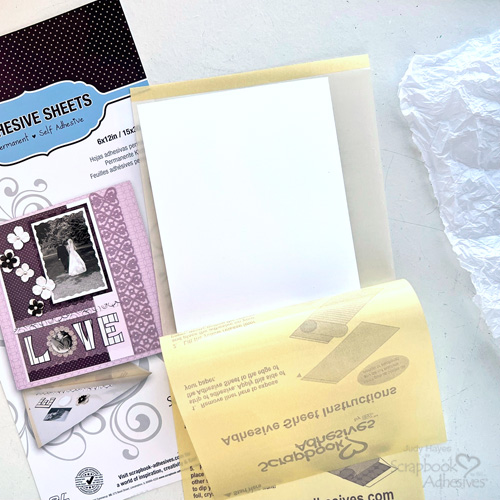
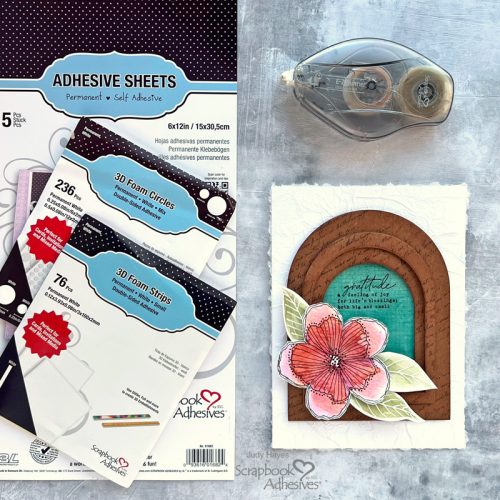
Peel back the liner from Adhesive Sheets 6 x 12in., place the folded card face down, and replace the liner over the card. Turn over the adhesive sheet with the card and rub well to transfer the adhesive. Peel back the liner, lift the card from the adhesive, and place it on the work surface with the adhesive side up.
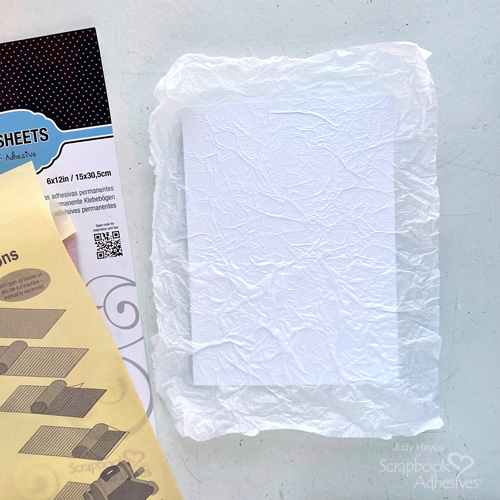
Place wrinkled tissue on it, press it onto the adhesive, and smooth over the card. The photo shows tissue pressed into adhesive at the top and not fully flattened towards the bottom.
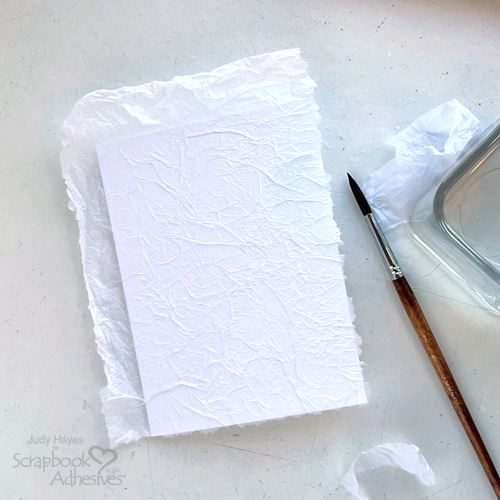
To remove excess tissue, dip a small paint brush in water, brush on tissue along one edge of the card, and tear tissue away. Repeat along all edges of the card.
Prepare Arch Pieces
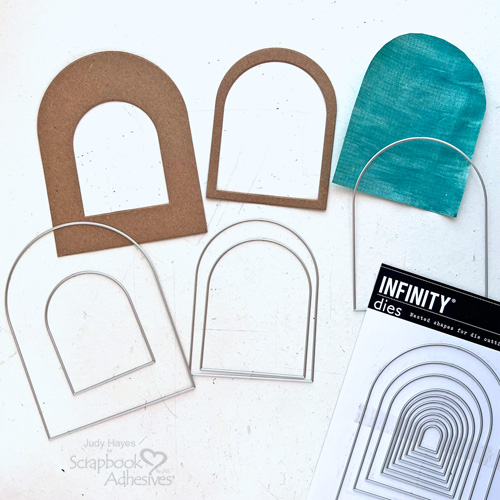
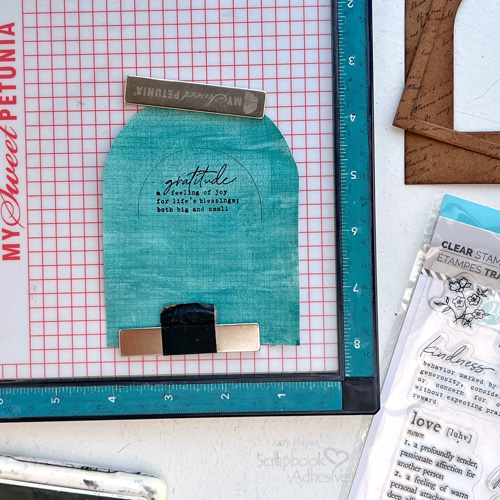
From Kraft cardstock, cut large arched pieces with arch die (#8) and #15 (largest die). Also, cut smaller arch pieces with arch dies #10 and #12. Use arch die #13 to cut painted graph paper.
Stamp on Arch Pieces
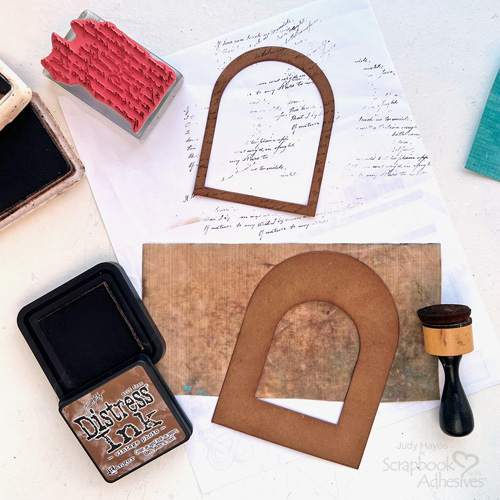
Use a foam applicator with Distress Vintage Photo ink to rub ink over both arch pieces. Randomly stamp script across both arch pieces with Distress Archival Ground Espresso ink.
Stamp Verse
Temporarily place a large arch piece over painted paper and use a pencil to trace the top of the arch.
Use pencil line as a reference to stamp verse with Archival Black Soot ink and then erase pencil line.
Assemble Arch
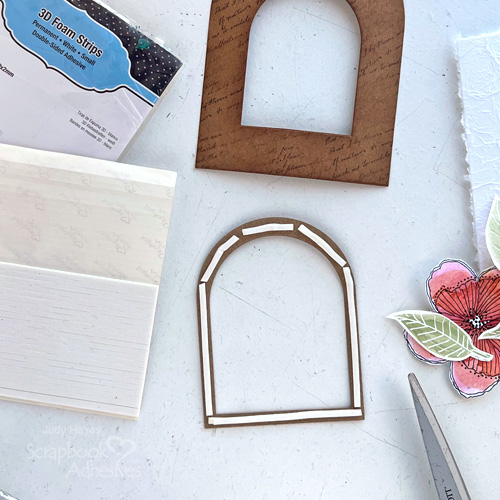
On the back of the small arch piece, apply 3D Foam Strips. Cut as needed to go around the curve of the arch. Peel liners and press in place centered on the large arch.
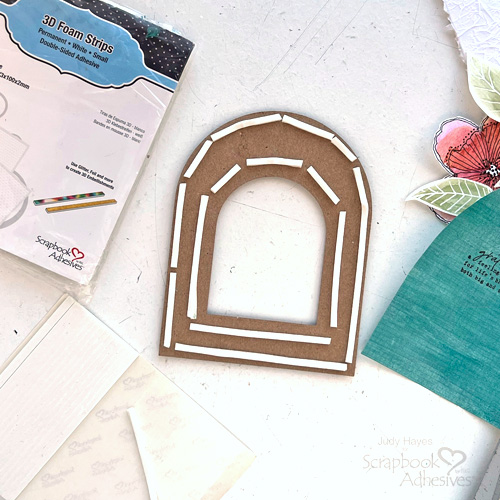
On the back of the large arch piece, place 3D Foam Strips along the opening and outer edges, peel liners around the opening, and fasten the painted paper.
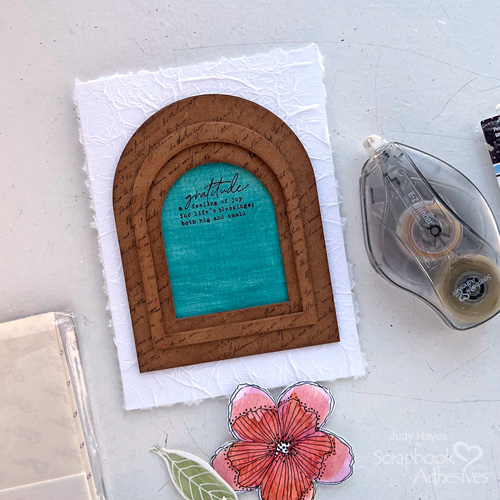
Peel liners from around the outer edges, apply adhesive to the center back of the painted paper with E-Z Runner® Ultra Strong Refillable Dispenser, and attach to the card front.
Attch Flower and Leaves
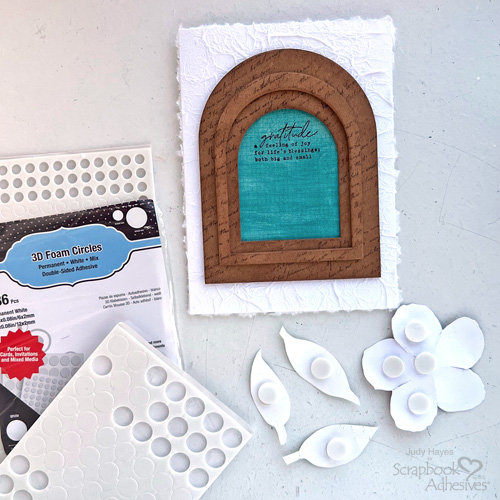
Place large 3D Foam Circles White Mix on the back of the flower center and petals. Layer two 3D Foam Circles as needed on petals. Peel the liner from the center of the flower and position it on the card. Lift petals to remove liners and press petals in place. Add more 3D Foam Circles to petals as needed, peel liners, and press petals in place.
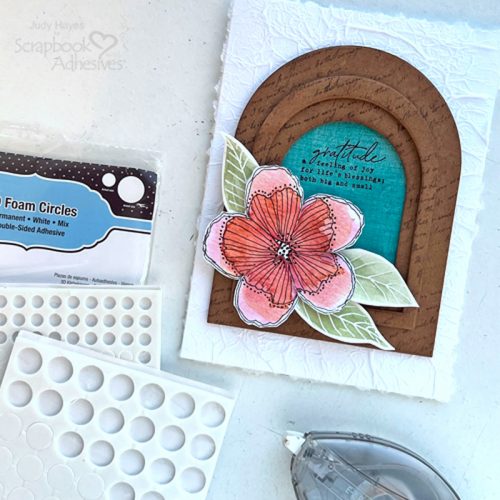
Apply a small amount of adhesive to each leaf stem with the E-Z Runner® Ultra Strong Refillable Dispenser. Remove liners from 3D Foam Circles, tuck leaves under flower petals, and press in place.
Thanks for stopping by!
Judy Hayes
Creative Time: 30 mins
Skill Level: Intermediate
Materials Needed:
Scrapbook Adhesives by 3L®
E-Z Runner® Ultra Strong Refillable Dispenser
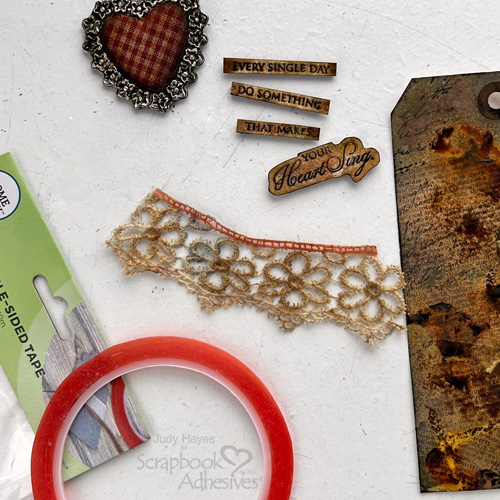
Other: Stamp: Hampton Arts (SC1034), Stampers Anonymous (Tim Holtz Dearly Departed); Ink: Ranger Ink (Distress Vintage Photo, Distress Archival Ground Espresso, Distress Archival Black Soot); Craft Dies: Hero Arts (Nesting Arches); Kraft, White Cardstock; Watercolor Flower and Leaves; White Tissue Paper
Click Preferred Retailers List
Save to Pinterest!
Visit our Website and Blog!
Sign up for our Newsletter so you never miss a contest or giveaway!