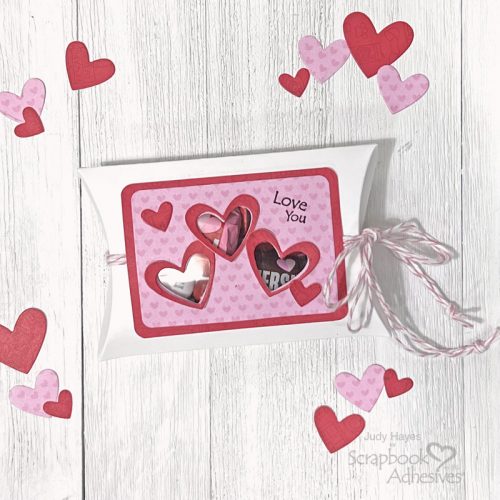
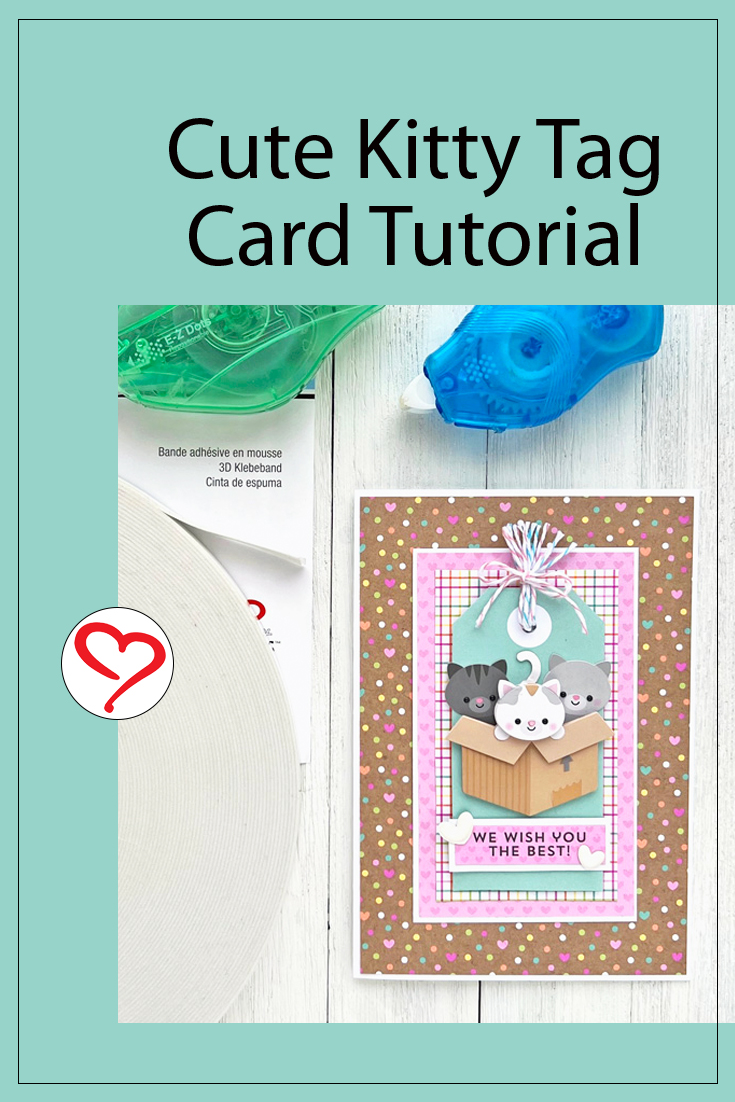
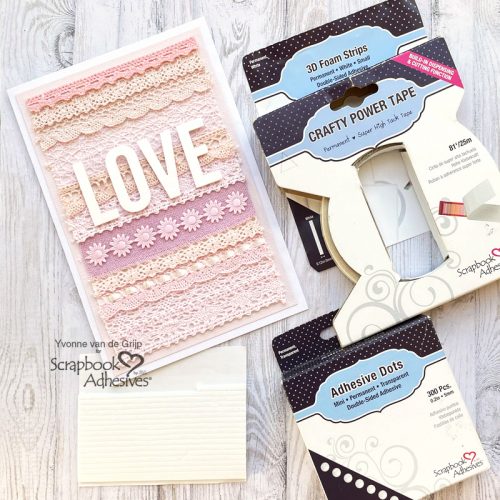
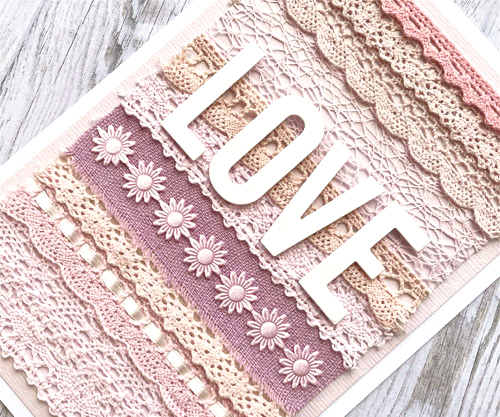
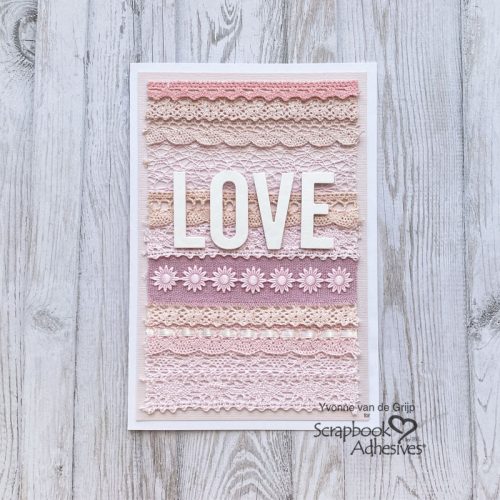
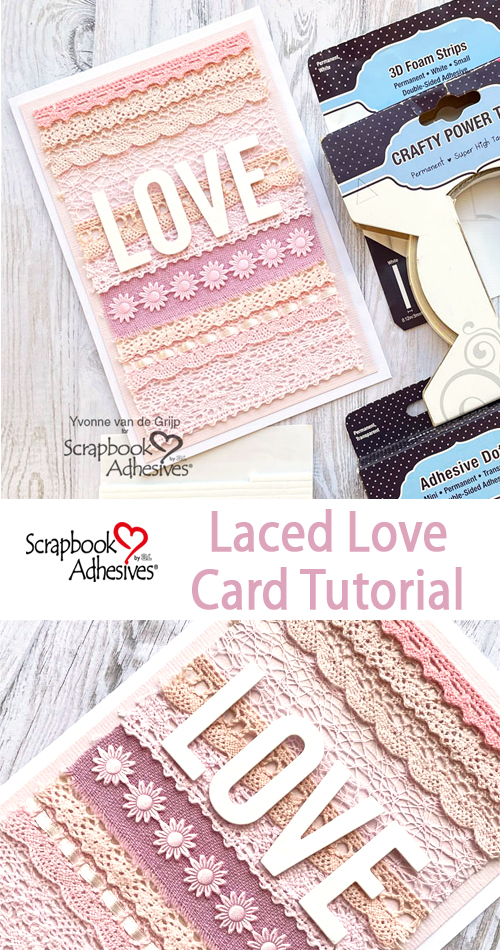
Hi everyone, Yvonne here! With Valentine’s Day coming up soon, it’s time for some LOVE inspiration. With that in mind, I made a Laced Love Card with of course…lots of lace! I would love to show you how to create this delicate card.
I can assure you it’s by far not as complicated as it looks…just use the right adhesive products like Scrapbook Adhesives by 3L! Shall we get started?
Laced Love Card Panel
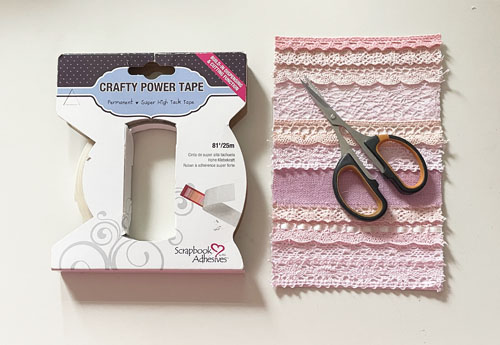
First, trim a piece of soft pink cardstock to the size you would like to have for the top card panel of the Laced Love Card. Then cut lots of pink lace pieces to cover the top card panel horizontally.
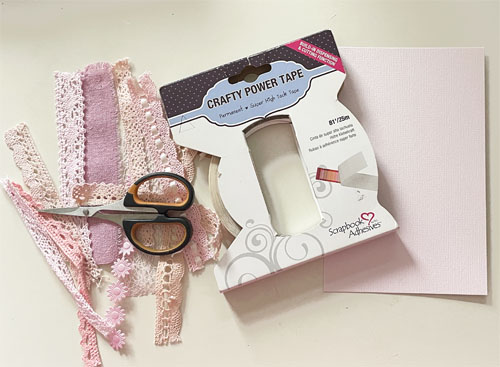
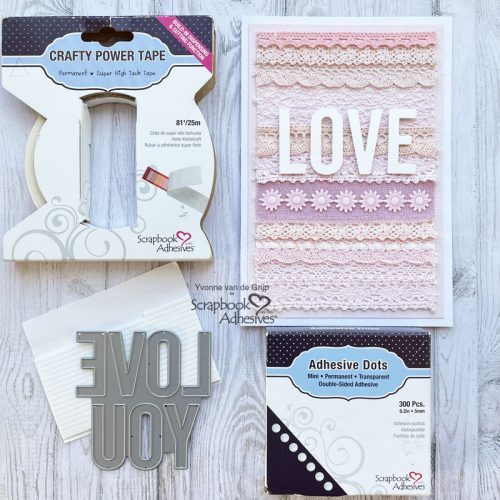
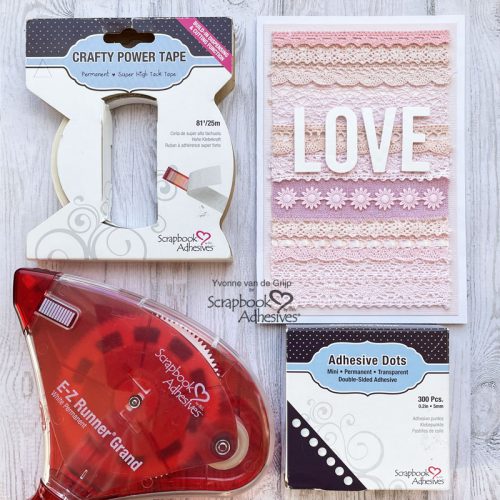
Affixing the lace is super easy. Simply adhere the lace onto the card panel using Crafty Power Tape 81ft. This adhesive won’t show any adhesive traces guaranteed! Next cut off the excess lace using scissors.
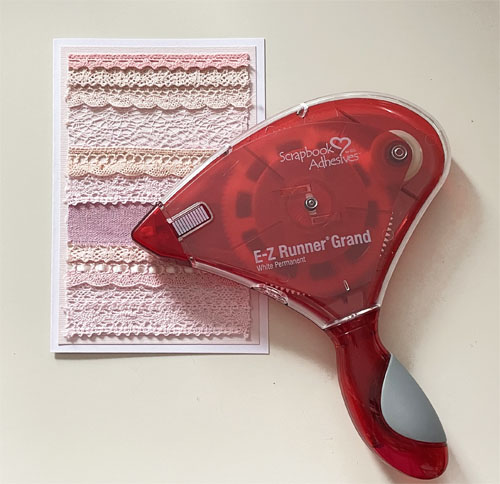
Card Base
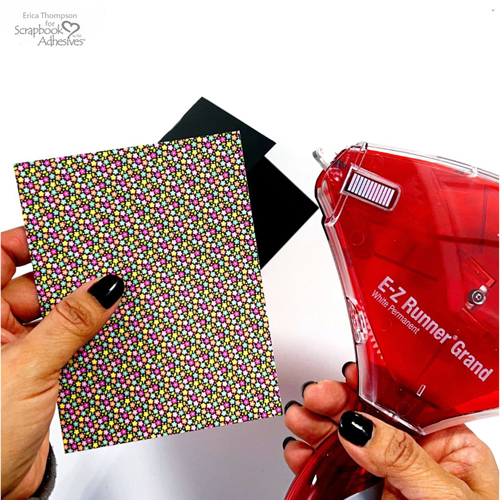
To create the card base for the Laced Love Card, mat the laced card panel onto a soft pink card panel. Next, add to a white card base with the E-Z Runner® Grand Refillable Dispenser.
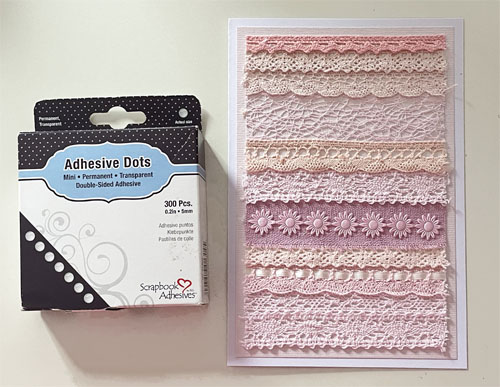
Flowers Element
As a last-minute decision, I added a flower ribbon as a fun element. I used Adhesive Dots Mini to simply place behind each flower heart and adhere to the card. These adhesive dots are clear so it does its job of strong bond without being seen!
Love Sentiment
Since it’s a Valentine’s card, I wanted to add a love element to my card. First I die-cut the word LOVE from white cardstock. Then I adhered the sentiment onto my Laced Love Card using 3D Foam Strips.
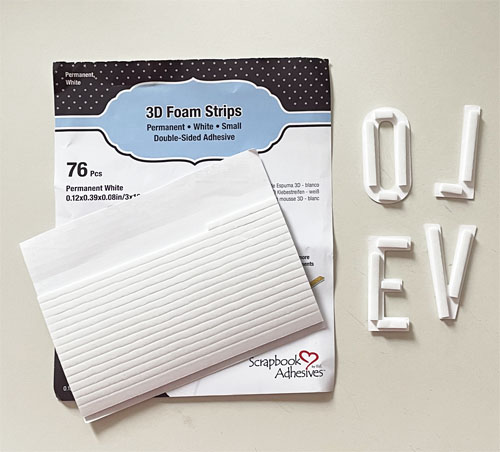
This creates a lovely uplifting effect on the card and is the perfect width at 1/8″. And voilá, the Laced Love Card is ready.
I hope you enjoyed this tutorial and wish you happy Valentine’s Day crafting!

Creative Time: 40 minutes
Skill Level: Intermediate
Materials needed:
Scrapbook Adhesives by 3L®
E-Z Runner® Grand Refillable Dispenser
Other
Cardstock (White, Soft Pink); Die-Cutting and Embossing Machine (Spellbinders® Paper Arts: Platinum 6 Machine); Etched Dies (My Favorite Things: Die-namics: Love You); Pink Lace; Scissors; Paper Trimmer
Save to Pinterest!
Visit our Website and Blog!
Sign up for our Newsletter so you never miss a contest or giveaway!