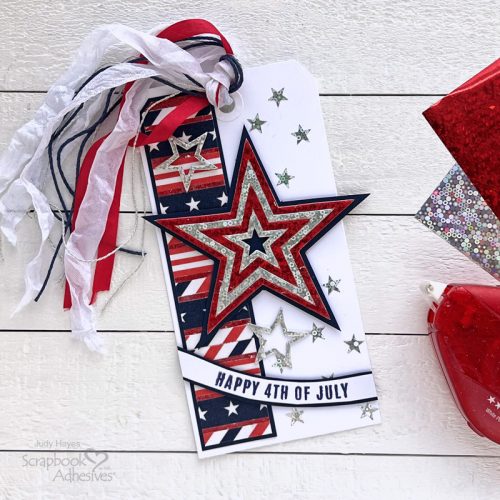
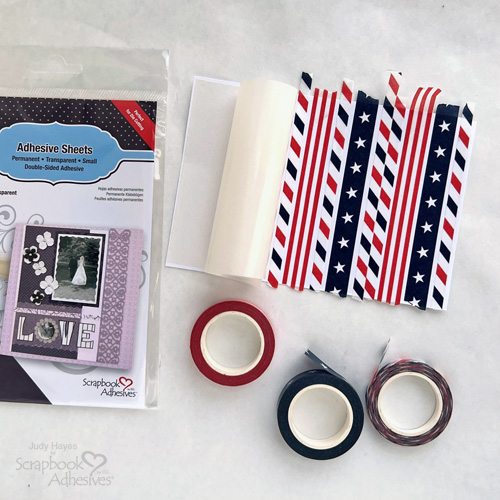
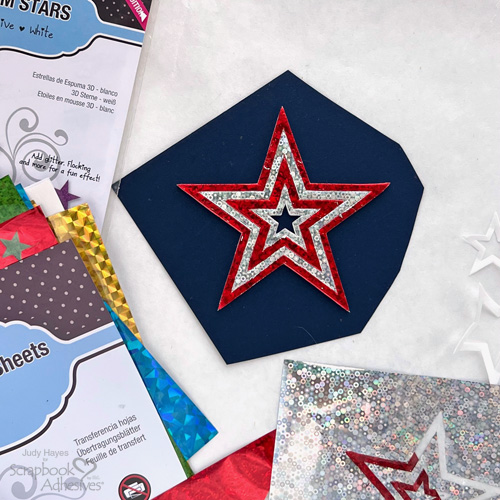
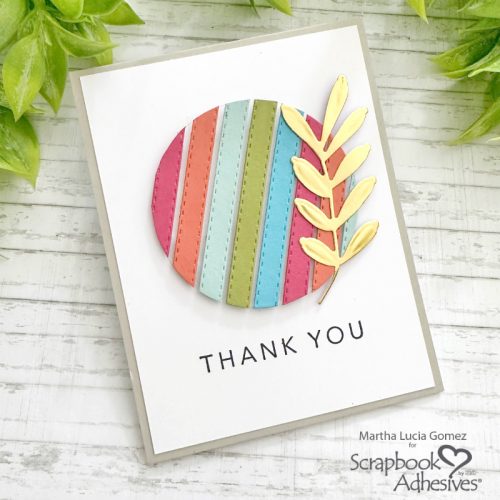
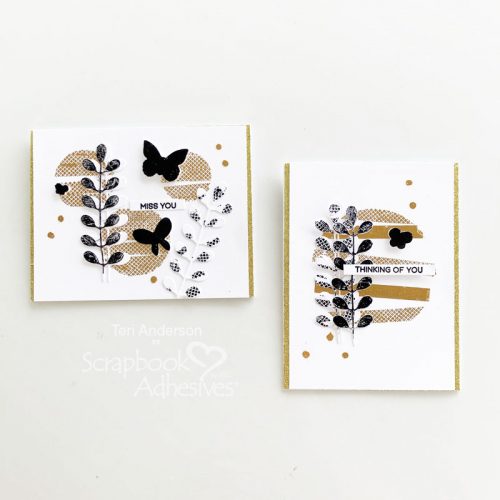
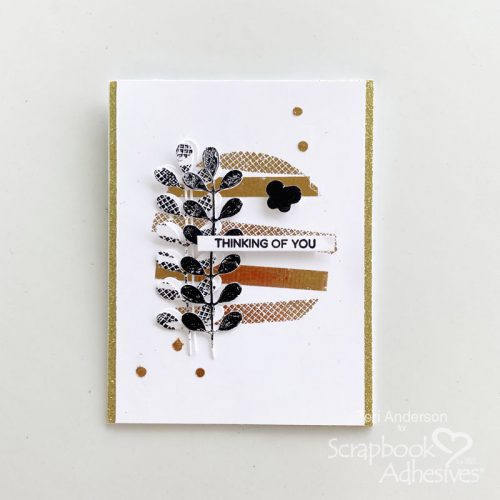
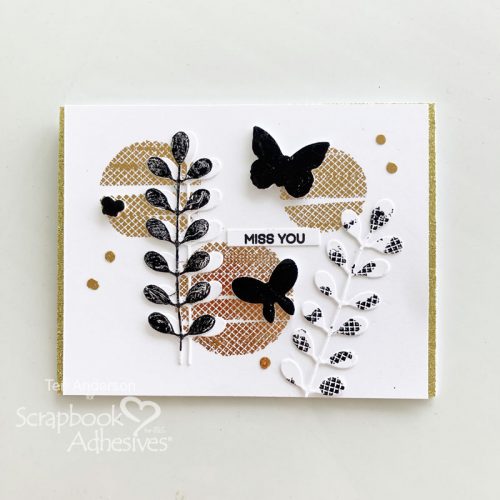
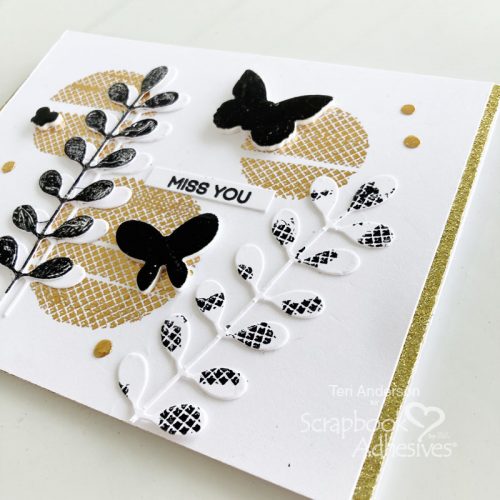
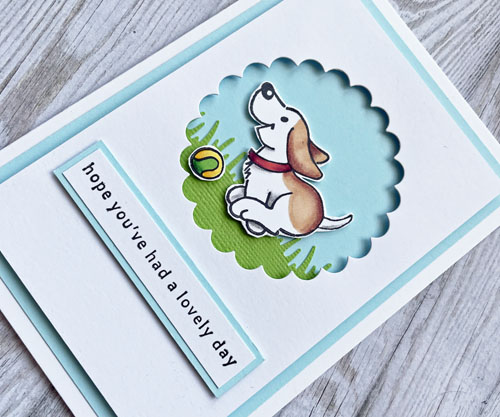
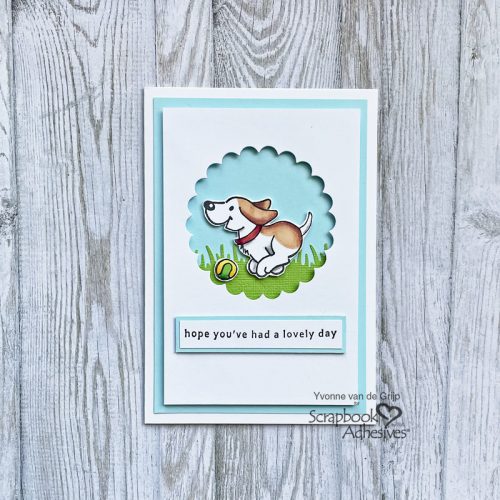
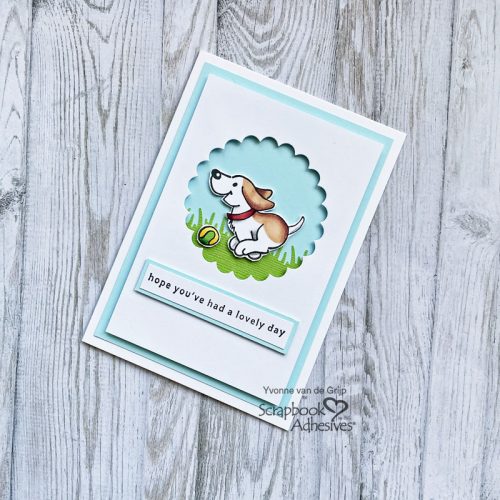
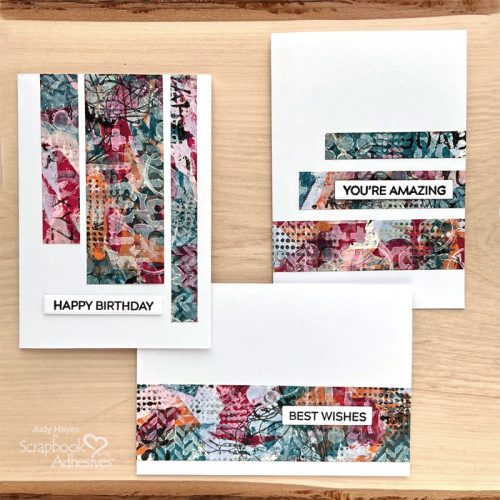
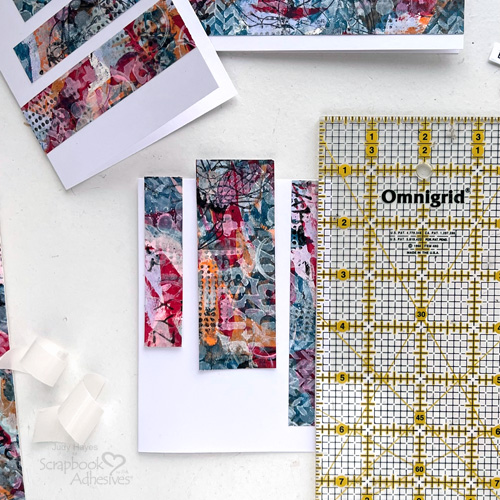
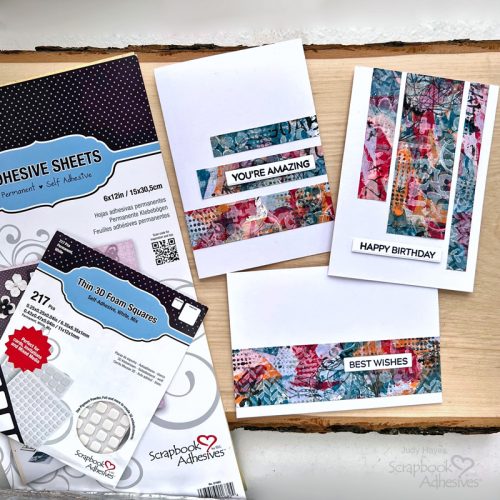
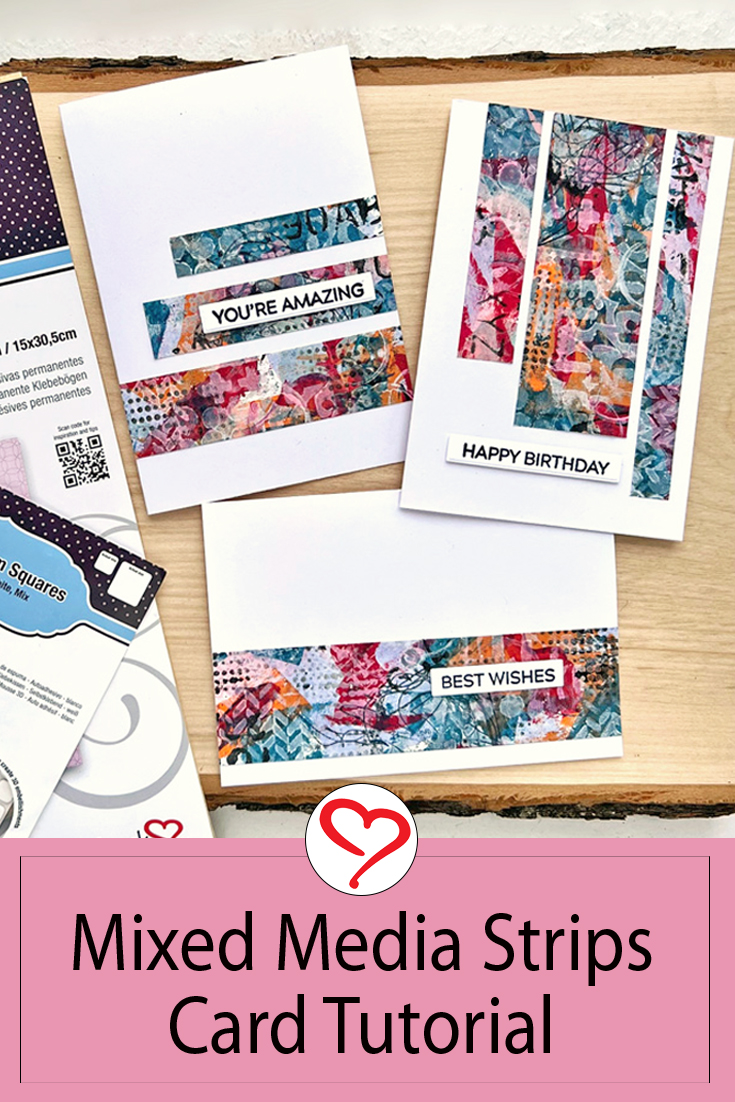
Hi, Judy here today! These three cards are made with mixed media strips made with painted paper and Adhesives Sheets 6 x 12in. The patterns are one of a kind and nice to have on hand for quick cards. As shown in the photo below, I painted three different papers and used one for these cards.
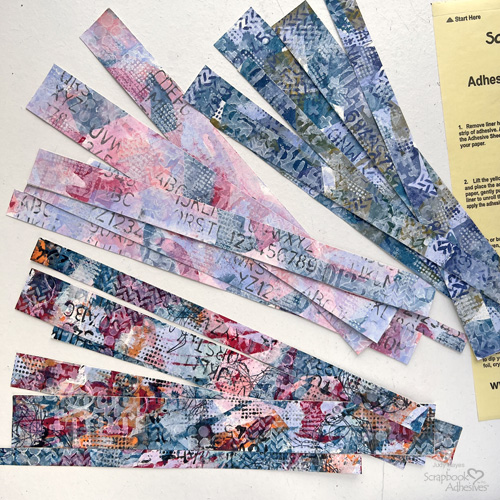
Make Painted Paper Strips
Cut white drawing paper or card stock to 6 x 12 inches. Use a credit card to apply thin layers of assorted colors of Distress paint to completely cover the paper. Allow to dry.
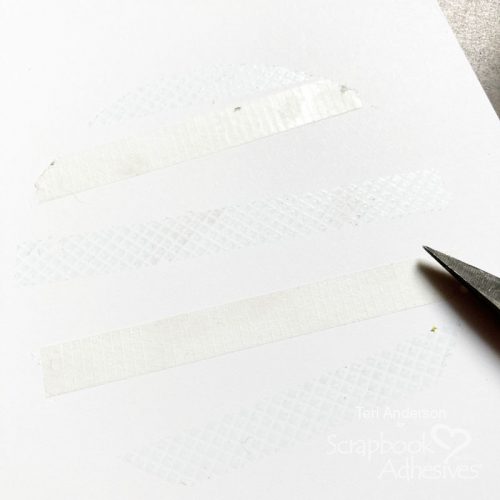
Next, use mini stencils with black and white paints to add patterns randomly over the entire sheet. Add squiggle lines with stamp and black ink. Allow to dry or speed dry with a heat tool. Note that I applied all stenciling without allowing dry time between colors which lets the colors blend somewhat.
Designer’s Tip: To avoid shifting the stencil when applying any time of media, try the E-Z Dots® Repositionable Refillable Dispenser
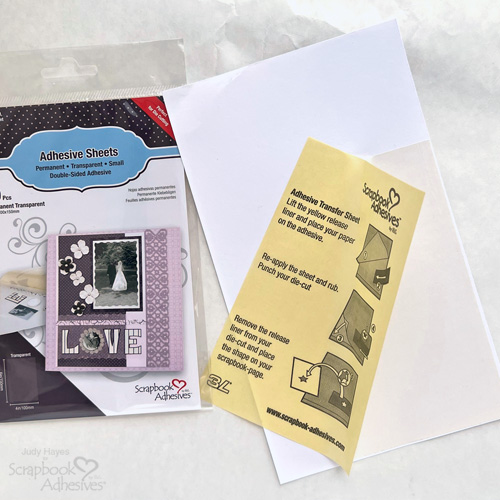
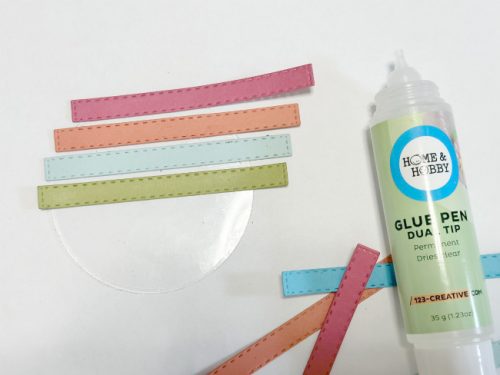
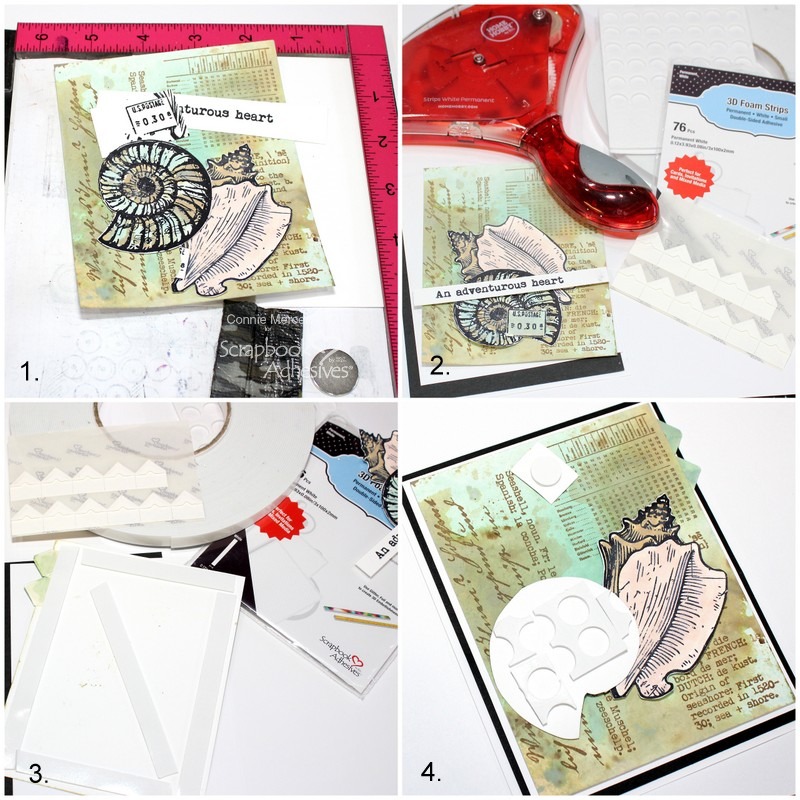
Apply Adhesives Sheets 6 x 12in. to the back of the painted paper and rub well with a bone folder to secure the adhesive.
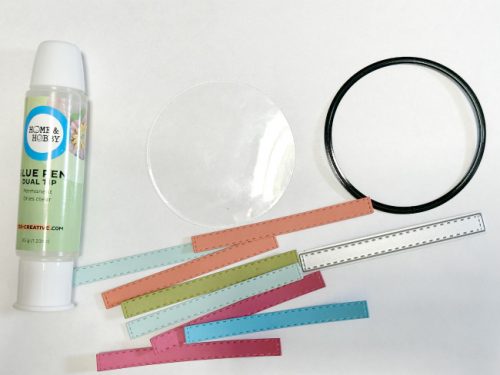
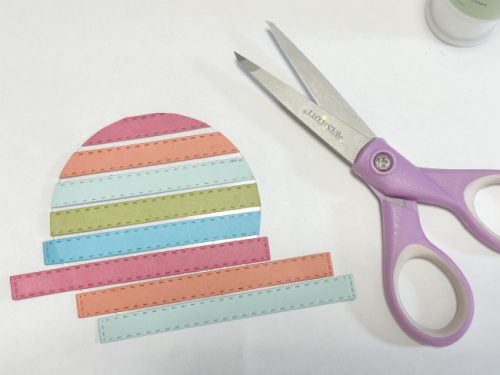
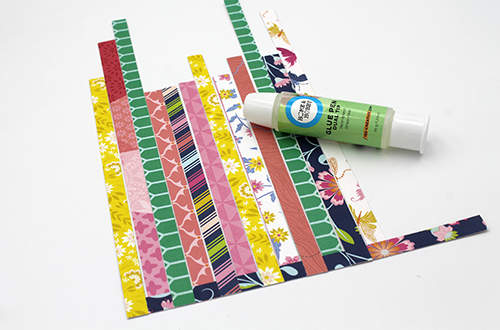
Cut paper into various sizes of strips. I cut to the following: 0.50, 0.75, 1.00, 1.25, and 1.50 inches in width. Look at each card assembly below for length measurements.
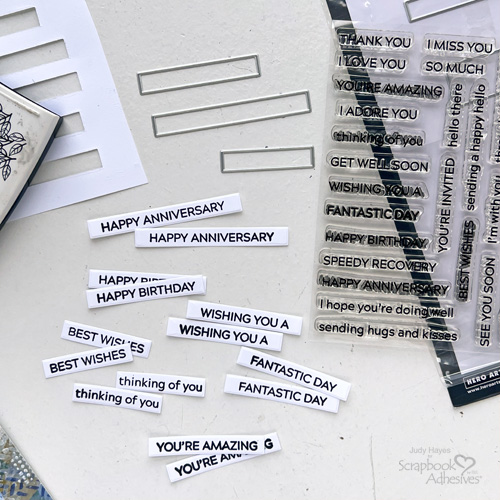
Sentiment Strips
Use black ink to stamp greetings on white cardstock. Then with its coordinating die, cut greeting strips. Choose which sentiments to use and leave the rest for another project
Assemble the Cards
For card bases, cut three pieces of white cardstock to 5.375 x 7.50 inches and fold them in half to make three 3.75 x 5.375-inch cards.
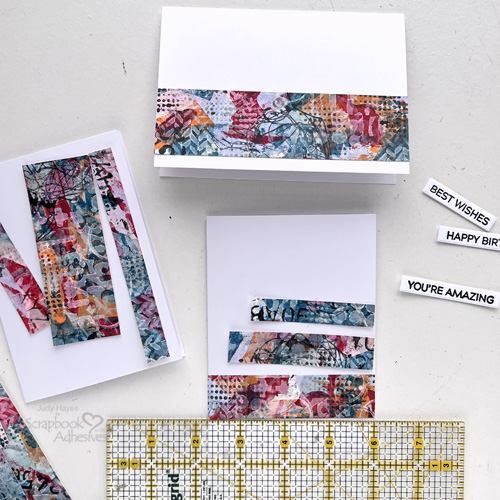
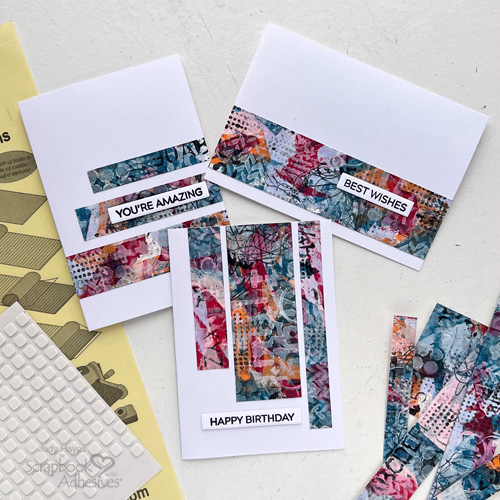
Card 1 (Best Wishes):
This one is a really simple design, simply cut the 1.50-inch painted strip to 5.375 inches long. Then peel the backing from the Adhesive Sheet on the back, and attach it across the card front. Place it about 0.25 inches from the cut edge of the card. Press well to secure.
Card 2 (Happy Birthday):
Cut painted strips to the following length sizes:
- 0.50-inch strip cut to 4.75 inches long
- 1.50-inch strip cut to 4 inches long
- 0.75-inch strip cut to 3.25 inches long
Peel the liner off from the 0.50-inch strip and secure it about 0.25 inches from the open edge of the card and end even with the card top. Designer’s Tip: A quilting ruler is very helpful for straight alignment.
Remove the liner from the 1.50-inch strip, position it about 0.125 inches from the first strip with the top edge even with the card top, and press in place. Repeat with the 0.75-inch strip.
Card 3 (You’re Amazing):
Cut the following length for the painted strips:
- For the 1.00-inch strip, cut to 3.75 inches long (width of card)
- 0.75-inch strip cut 3.25 inches long
- 0.50-inch strip cut 2.75 inches long
Peel the liner off from the 1.00-inch strip and align 0.75 inches from the bottom of the card, and press in place. With the 0.75-inch strip, remove the liner and position one edge flush with the open edge of the card, about 0.25 inches above the other strip, and press in place. Repeat with the 0.50-inch strip.
Finish with Greeting Strips
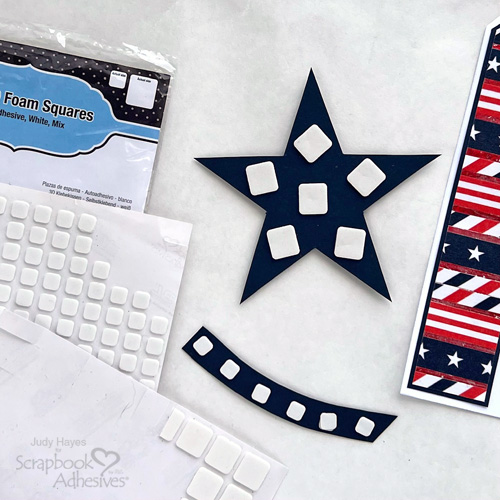
Attach small squares from the Thin 3D Foam Squares White Mix to the back of each greeting strip, peel the liners, and secure each greeting to the following cards: Card 1- Best Wishes, Card 2 – Happy Birthday, and Card 3 – You’re Amazing.
I challenge you to try making some painted paper strips and Adhesives Sheets 6 x 12in. for quick cards! It’s fun!
Thanks for Visiting!
Judy Hayes
Creative Time: 30 mins
Skill Level: Intermediate
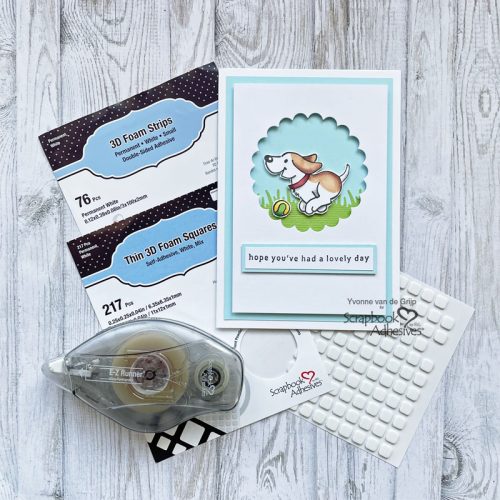
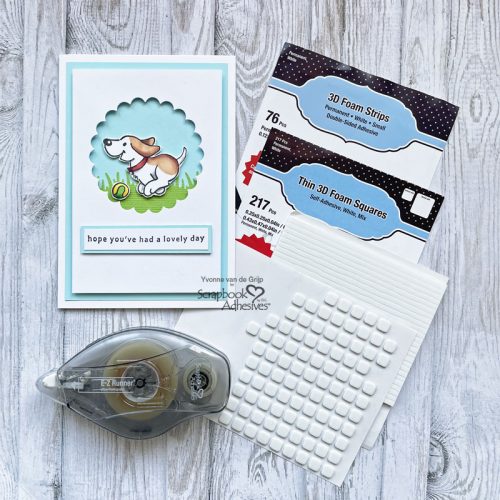
Materials Needed:
Scrapbook Adhesives by 3L®
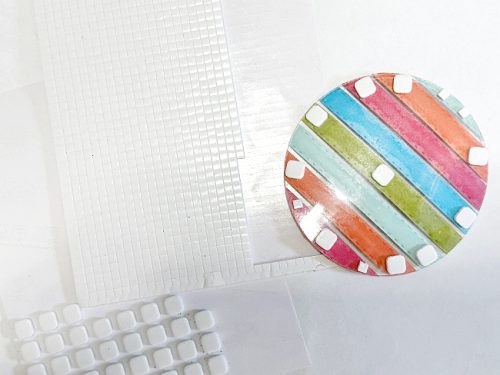
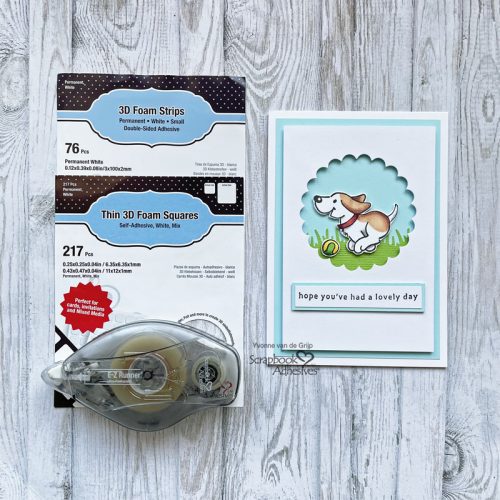
Thin 3D Foam Squares White Mix
Adhesives Sheets 6 x 12in.
Other: Ink: Tsukineko (Versafine Onyx Black); Stamp and Craft Dies Combo: Hero Arts (Message Strips Stamp & Cut XL); Stamp: Stampers Anonymous (Tim Holtz Grunged); Paint: Ranger Ink (Distress Paints in Shaded Lilac, Lumberjack Plaid, Uncharted Mariner, Carved Pumpkin, Kitsch Flamingo, Saltwater Taffy, Black Soot, Picket Fence); Stencils: Stampers Anonymous/Tim Holtz (Mini Stencils from Set 1,8,13) White Cardstock; White Drawing Paper or Cardstock
Save to Pinterest!
Visit our Website and Blog!
Sign up for our Newsletter so you never miss a contest or giveaway!