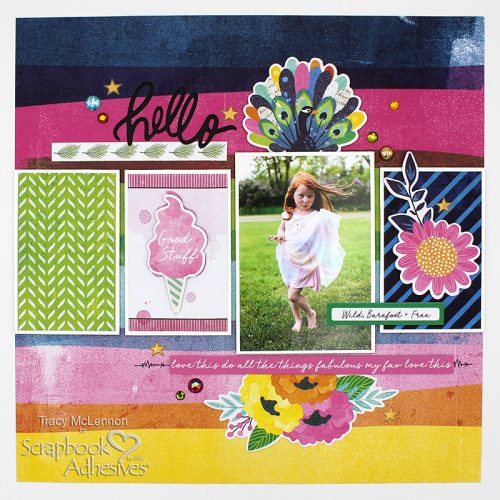
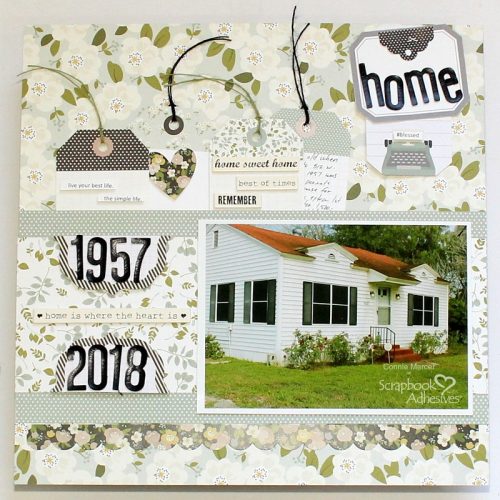
Hi, Connie here with a Home Sweet Home Scrapbook Page using Simple Stories and the Premium Double-Sided Tape 1/2in. which is our tear tape. I needed a strong tape for the pocket that will hold journal tags on the scrapbook page.
Home Sweet Home Back Story + Prep
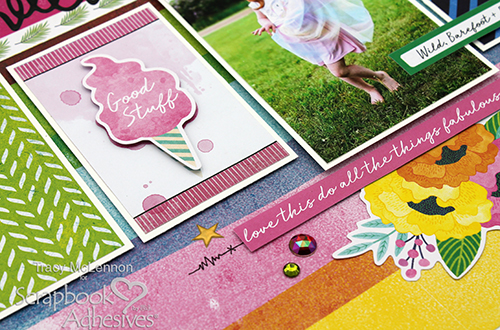
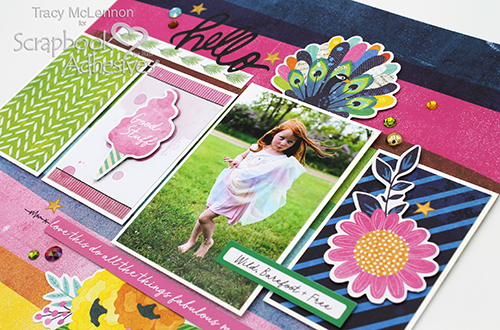
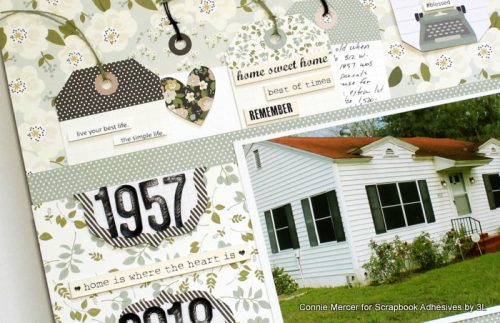
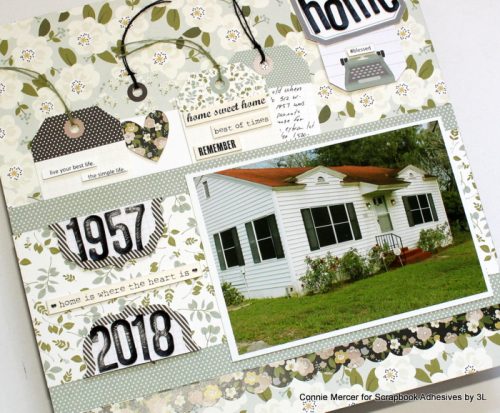
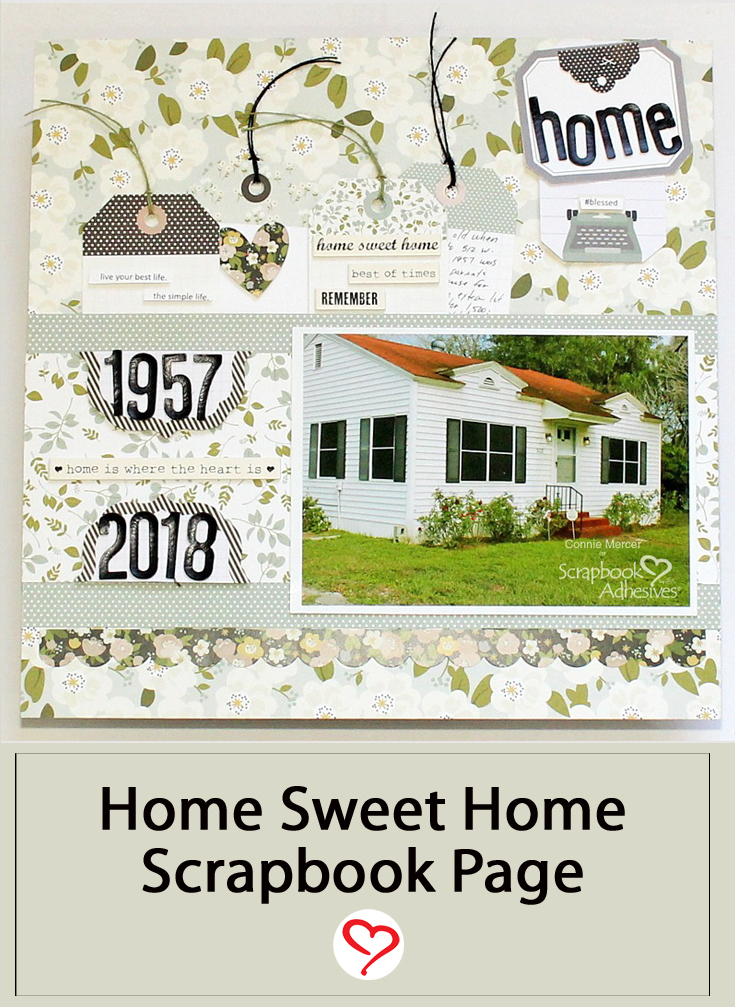
This is a photo of the house that grew up in. As a kid, I thought it was a mansion. It provided everything we needed. It will always be home even though it has a new owner. So many fun times as a kid.
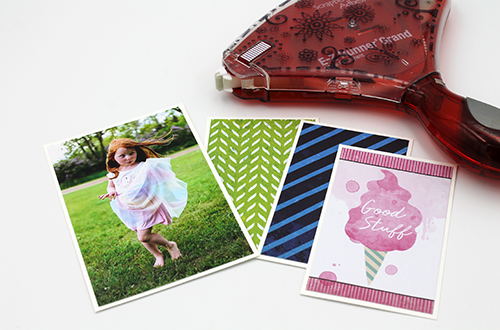
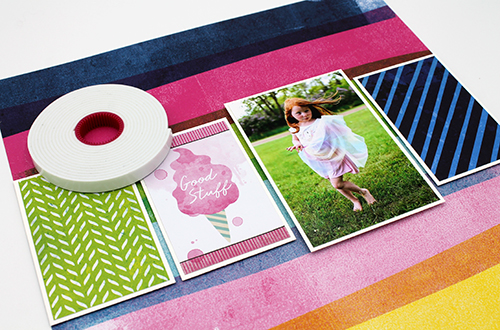
A little prep work ahead of putting the page together. You will need three sheets of patterned paper in the following sizes (each in a different pattern): 12 x12 in., 6 x 12 in., and 3-1/2 x 12 in. There is also a need for some tags and labels. I used Simple Stories’ Happily Ever After Collection to keep it consistent in color and style. Also, I used die-cut shapes in the collection to cluster for a point of interest.
Assembling the Page
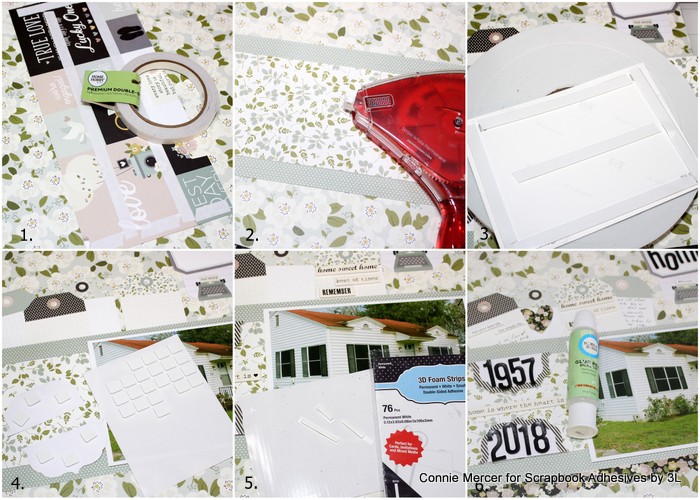
- 1. Use the Premium Double-Sided Tape to adhere the 6 x 12 inch horizontally to the middle of the 12 x 12 in patterned paper. I placed the Premium Double-Sided Tape about an inch from the edge, so the tags will tuck in nicely but be snug.
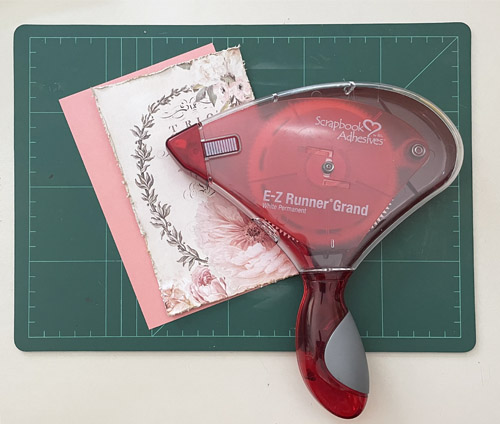
2. With the E-Z Runner Grand Refillable Dispenser, secure the 3-1/2 x 12 in. sheet of patterned paper in the center of the 6 x 12 in. piece.
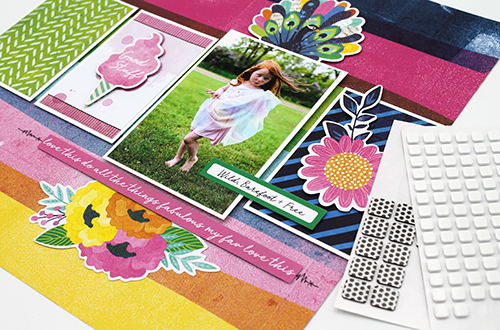
3. Adhere and lift the 5 x 7 in. photo to the right, centered in the horizontal strip with Crafty Foam Tape.
4. Add labels, to the left of the photo, in the center section using 3D Foam Squares White Mix. I used this area to add the dates.
5. Secure the One Line Sentiments with 3D Foam Strips, on the tags and the top embellishment cluster. A perfect size to lift and secure those sentiments!
6. The vinyl letters are from my stash and outdated so they might not be as sticky. I used the Dual Tip Glue Pen to adhere them. It worked perfectly! Some of the tags were decorated with stickers using the 3D Foam Circles White Mix and some were used for journal thoughts.
Thanks for stopping by and scrapbooking the Home Sweet Home page with me. I’m remembering why I loved this craft for over ten years.
Connie Mercer
Creative Time: 60 minutes
Skill Level: intermediate
Materials Needed:
Scrapbook Adhesives by 3L®
E-Z Runner® Grand Permanent Strips
3D Foam Strips
3D Foam Circle White Mix
Crafty Foam Tape 108′
3D Foam Squares White Mix
HomeHobby™ by 3L
Dual Tip Glue Pen
Premium Double-Sided Tape 1/2″
Other
Patterned Papers: Simply Stories (Happily Ever After Collection); Stamps: Blue Knight Rubber Stamps (One Line Sentiments)
Save to Pinterest!
Visit our Website and Blog!
Sign up for our Newsletter so you never miss a contest or giveaway!