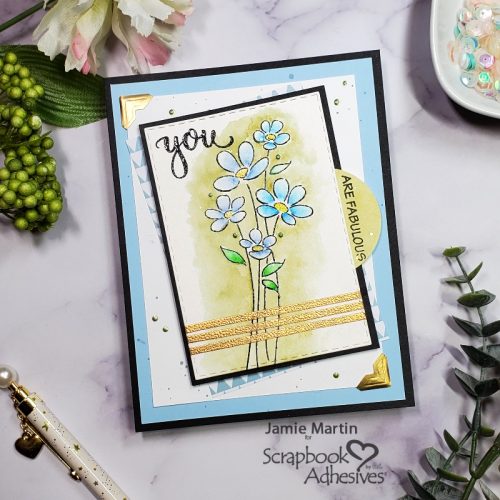
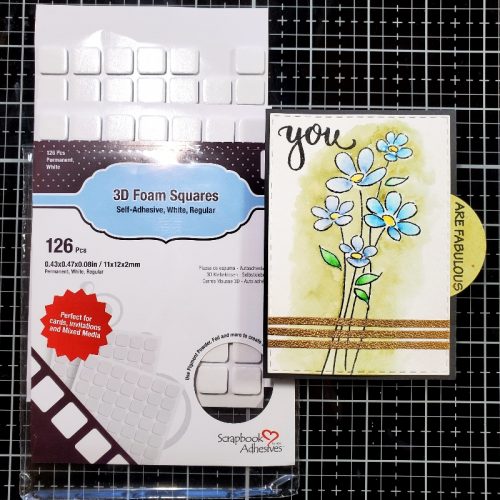
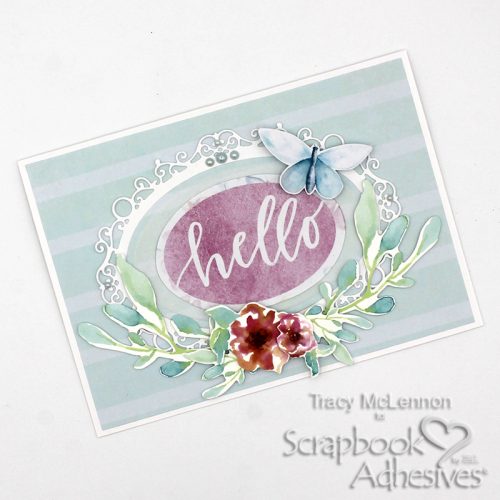
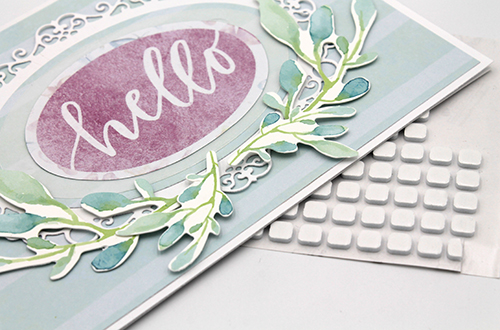
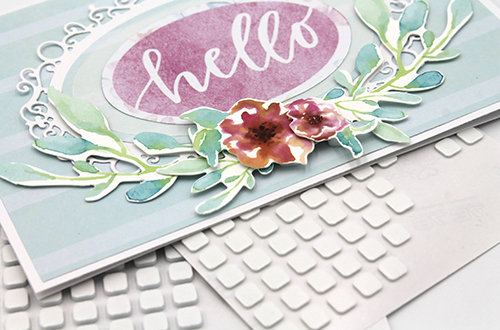
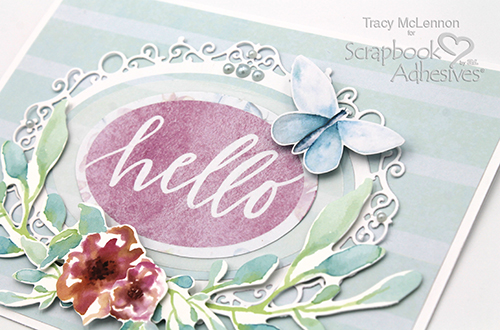
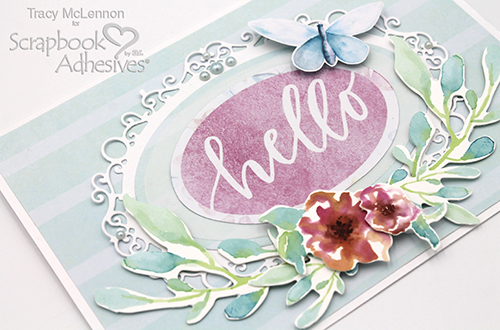
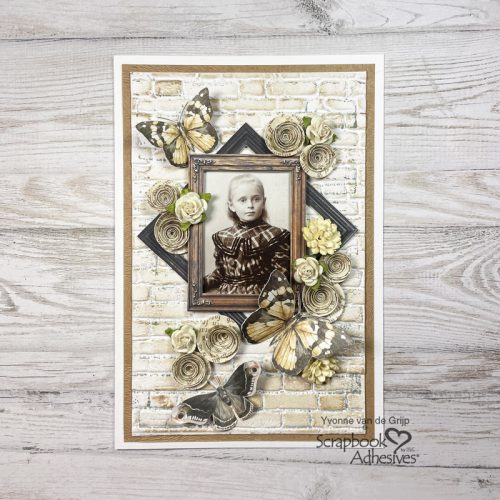
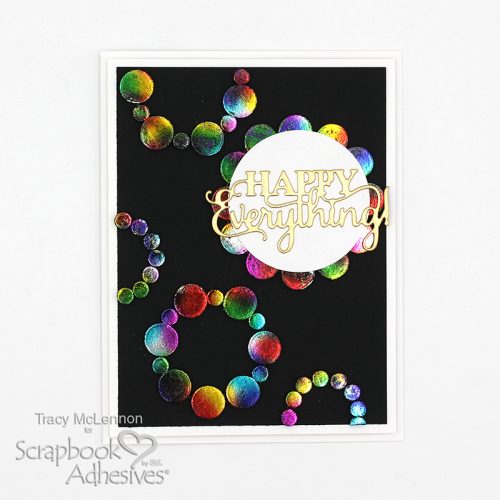
Hello crafty friends! Tracy here, and today I have a pretty little foiled circle card to share. Adhesives can be beautiful and the focal point of your crafty projects. Here are all of the quick and easy details.
Wear Your Adhesive on the Outside
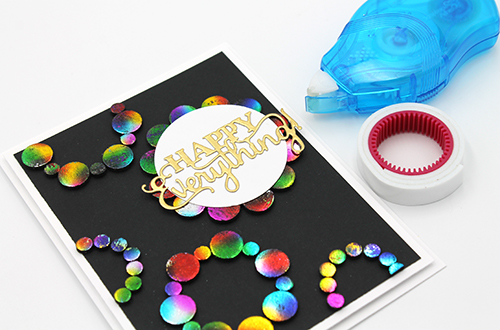
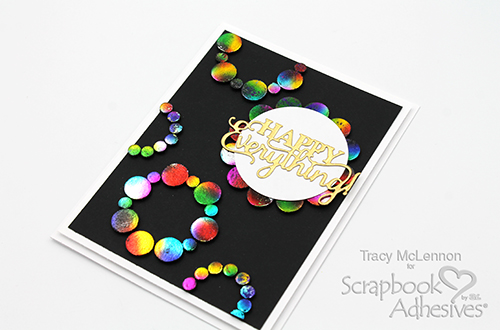
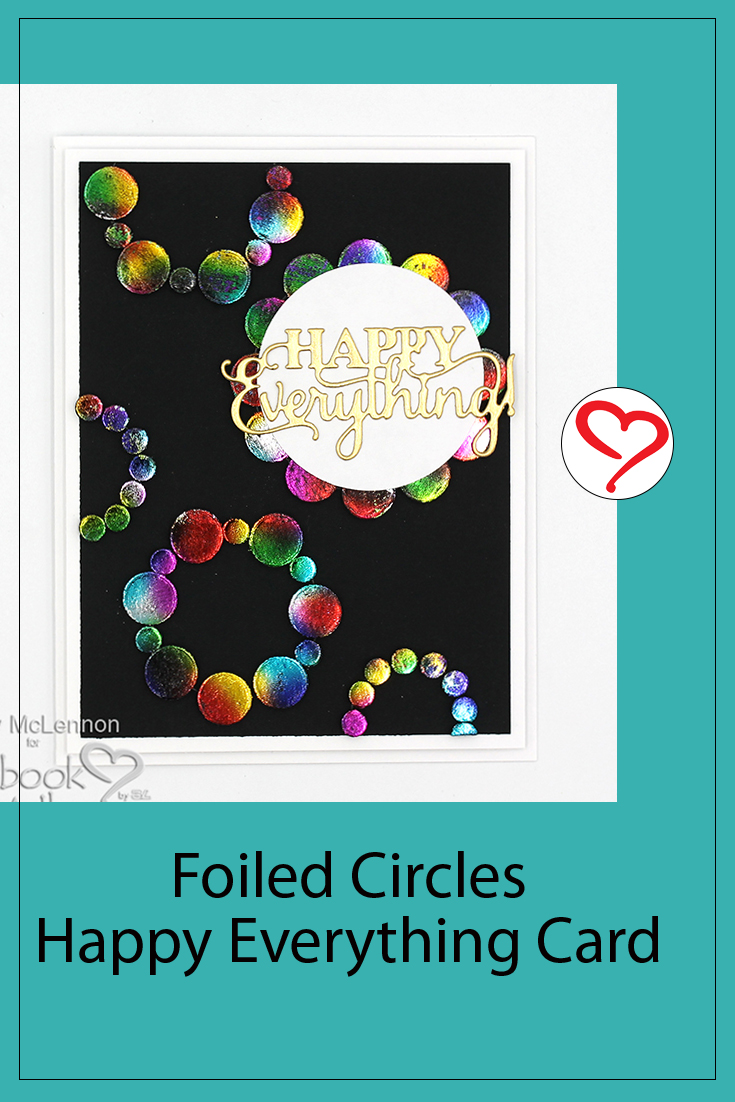
The first step to creating the Foiled Circle Card is to cut your cardstock layers. The card base is A2 from white cardstock. Cut a piece of white cardstock to 4×5.25 and a piece of black cardstock to 3.75×5. Using circle punches I punched circles that were 1″, 1.5″ and 2″. Then traced them onto the black cardstock using a pencil.
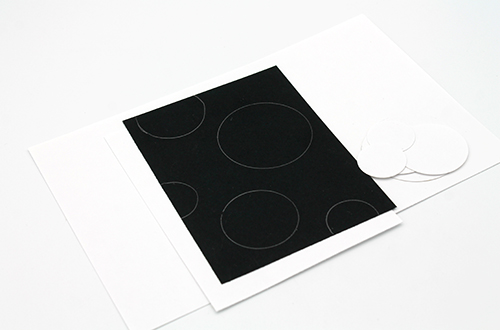
Using 3D Foam Circles Black Mix I covered the traced circles using both sizes, and sometimes a combination of the 2 sizes.
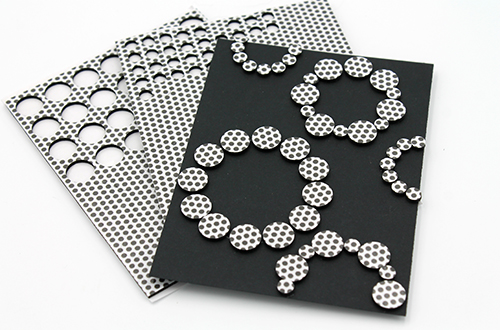
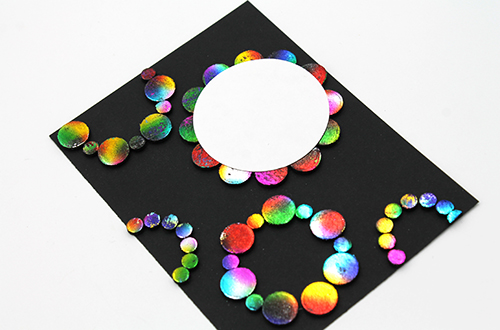
Take out the Metallic Transfer Foil Sheets Holographic Colors, I chose to use the rainbow foil. Remove the backing from the 3D Foam Circles Black Mix and cover them all using the Metallic Transfer Foil Sheets Holographic Colors. Add the large white cardstock circle to the Foiled Circle Card using 3D Foam Circles Black Mix.
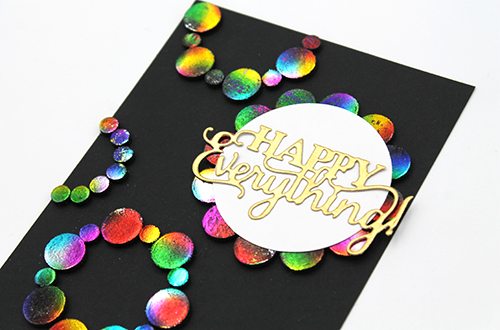
Die-cut out the sentiment from gold cardstock and adhere to the white cardstock circle on the Foiled Circle Card using the Dual Tip Glue Pen.
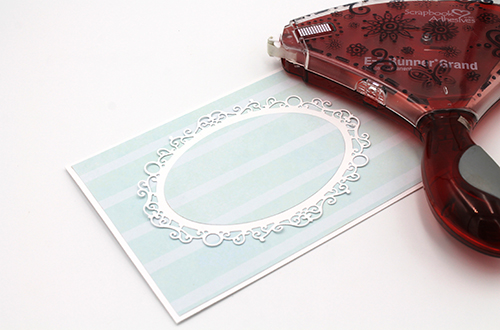
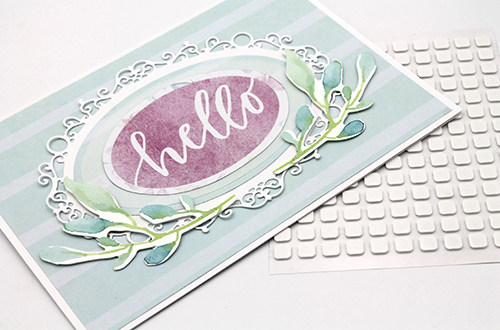
Adhere the card front to the white cardstock mat using the E-Z Runner® Petite Permanent Dots Refillable Dispenser. Place this to the card base of the Foiled Circle Card using Crafty Foam Tape White.

Thanks so much for stopping by!
Tracy McLennon
Creative Time: 30 minutes
Skill Level: Intermediate
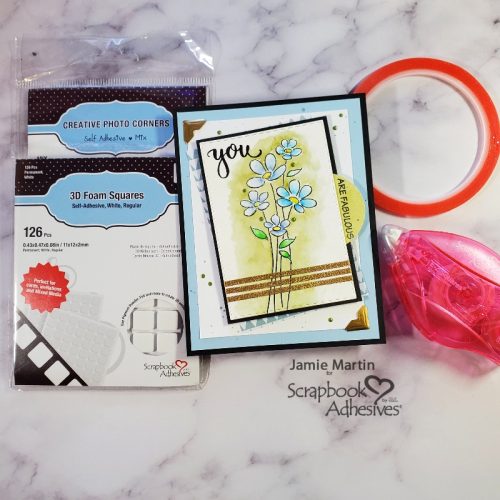
Materials needed:
Scrapbook Adhesives by 3L®
E-Z Runner® Petite Permanent Dots Refillable Dispenser and E-Z Runner® Petite Permanent Dots Refills
Metallic Transfer Foil Sheets Holographic Colors
Crafty Foam Tape White
3D Foam Circles Black Mix
HomeHobby™ by 3L
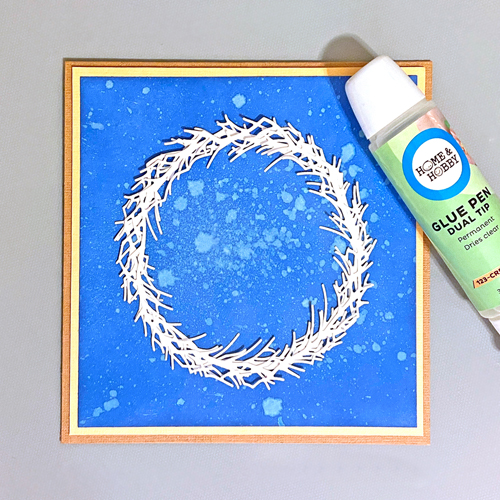
Dual Tip Glue Pen
Other
Cardstock (White, Black, Gold); Sentiment Die; Circle Punches (1″, 1.5″, 2″)
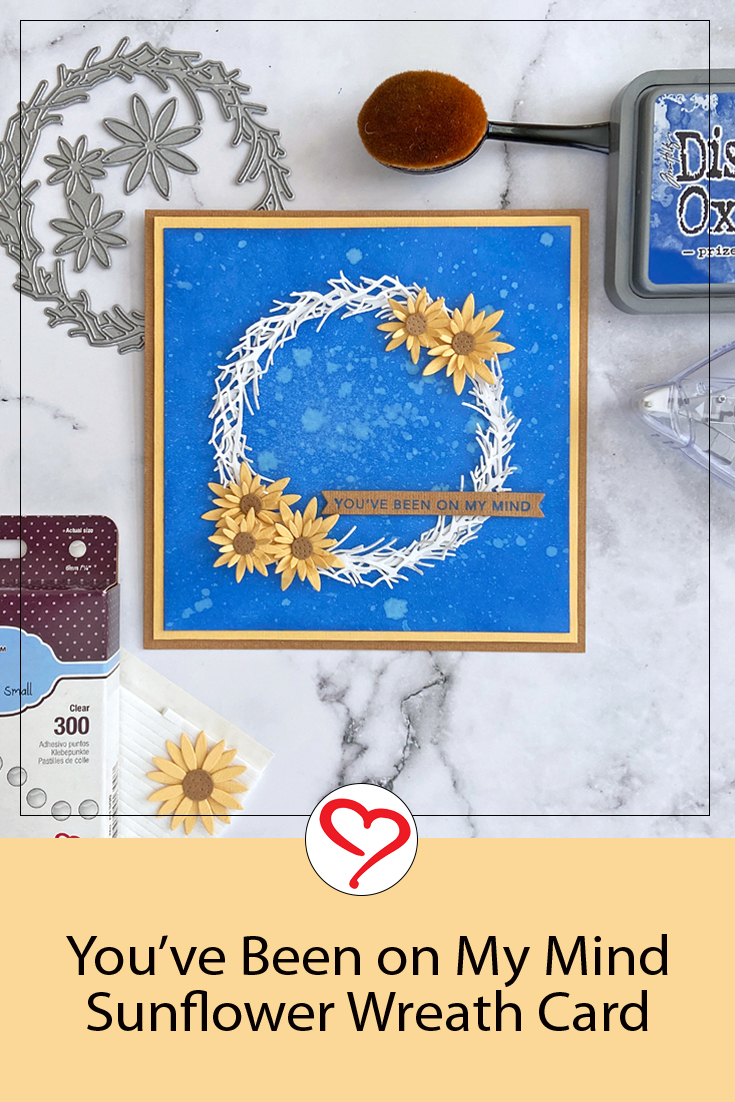
Save to Pinterest!
Visit our Website and Blog!
Sign up for our Newsletter so you never miss a contest or giveaway!