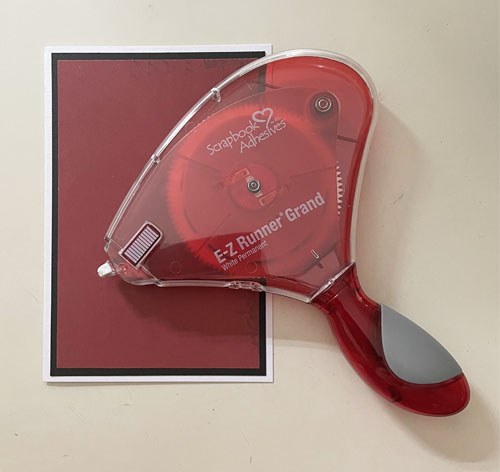
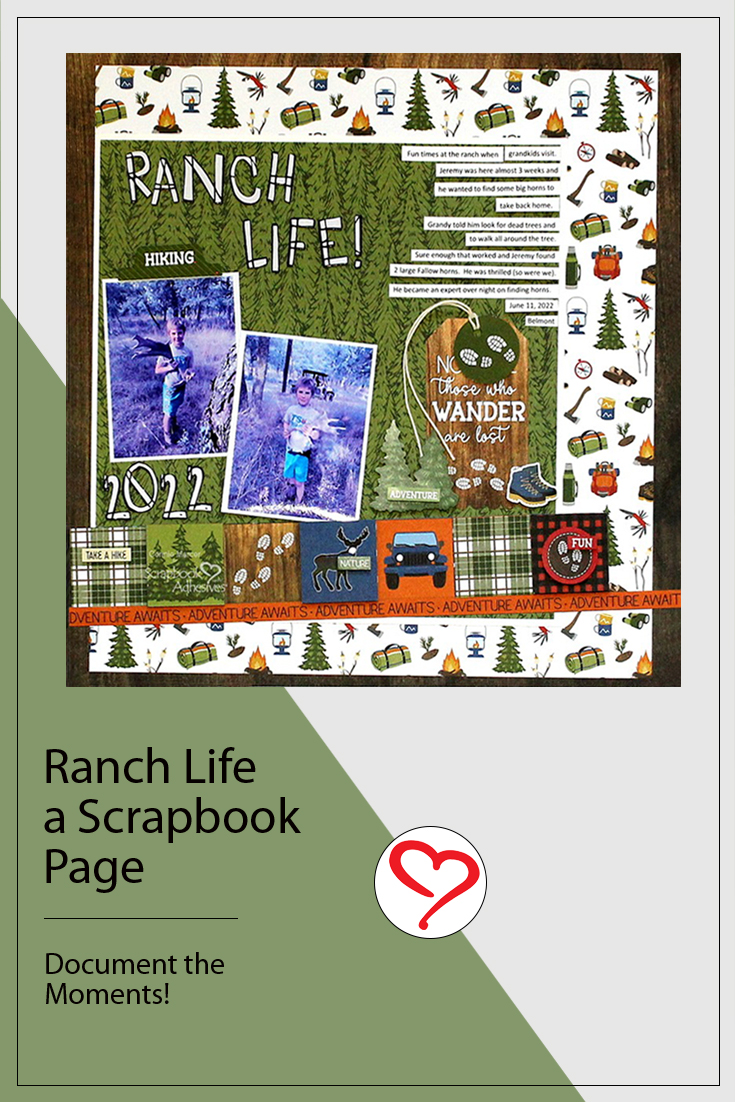
Hi, Connie here with a fun Ranch Life scrapbook page that includes big horns. You know, deer antlers and a little boy. They go together well. I used The Great Outdoors Paper Collection by PhotoPlay as inspiration for my design. The E-Z Runner® Grand Repositionable Dots Refillable Dispenser came in handy to create a border for the layout.
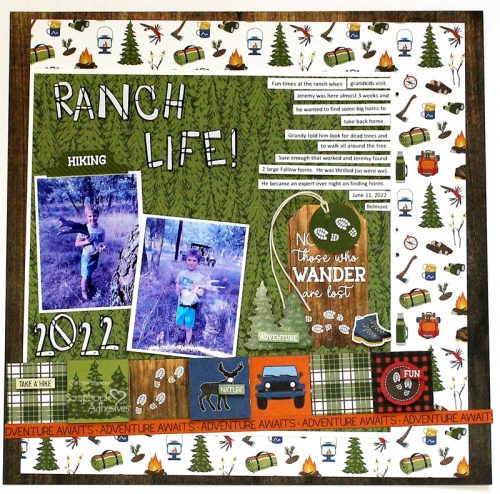
To start, you’ll need to do a few cuts. The camping gear pattern paper is 11″ x 11 1/2″. The cream cardstock is 9″ x 9″ and the pine trees are 8 1/2″ x 8 1/2″. Decide on the border paper you want and set it aside. The embellishments are from the collection but you can always add your own.
Creating Ranch Life
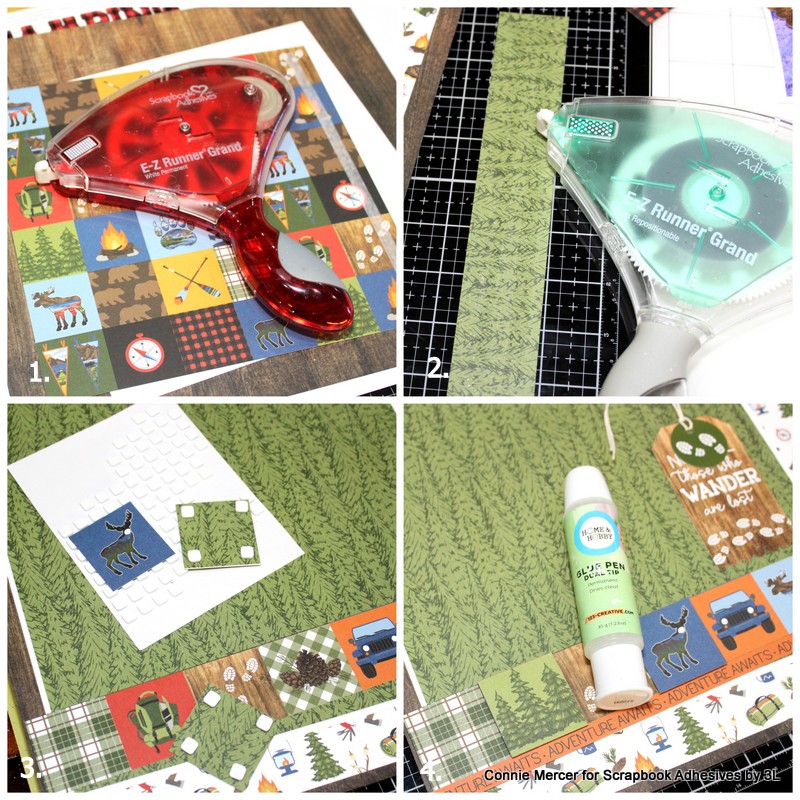
- 1. Adhere all the layers of pattern paper and cardstock using the E-Z Runner Grand Refillable Dispenser.
2. I used the E-Z Runner Grand Repositionable Dots Refillable Dispenser to secure the border (created out of the pattern paper in the collection) to the bottom of the scrapbook page. If it needed to be adjusted which it did.
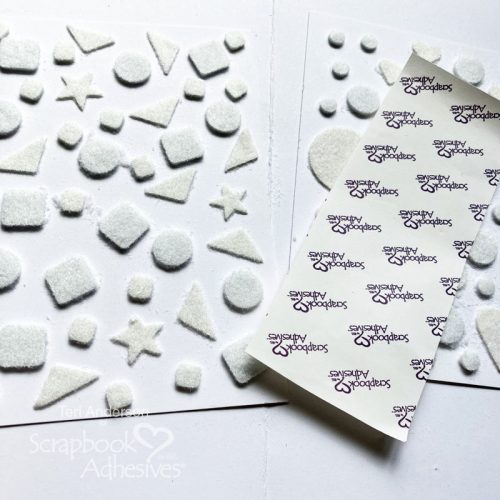
3. The squares are actually a pattern paper in the collection. I cut some different ones and used the 3D Foam Squares White Mix to adhere them over the pattern.
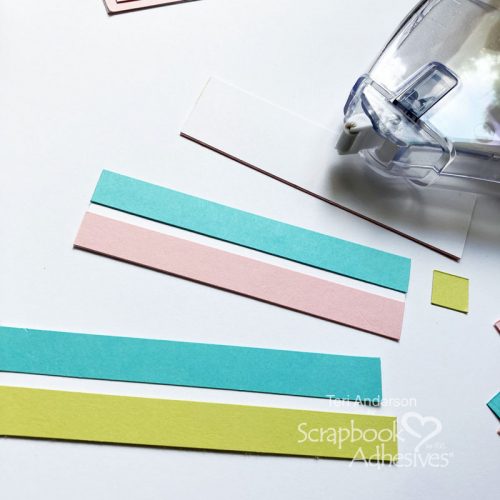
4. The Dual Tip Glue Pen was used to adhere the 1/4″ sticker strip. Tip: Doing this will keep the sticker from curling up as it ages in your scrapbook or prevents it from fall off.
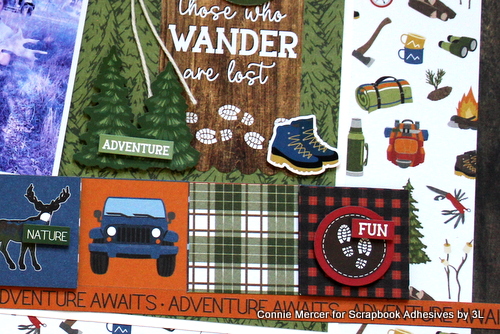
The squares are popped up and then stickers are added.
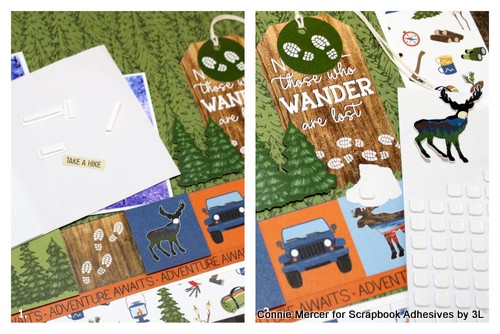
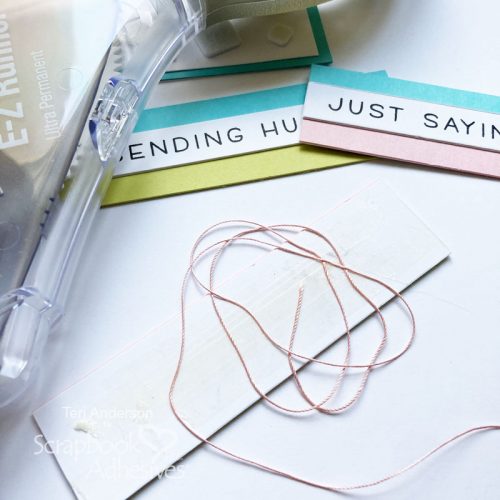
- 1. Adding words to the border using the 3D Foam Strips.
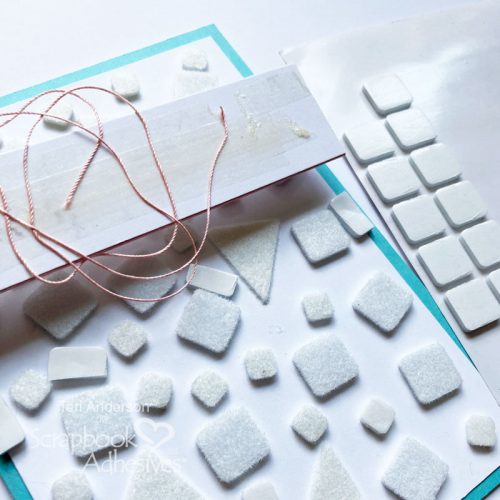
2. Place stickers around the tag using 3D Foam Squares White Mix for dimension.
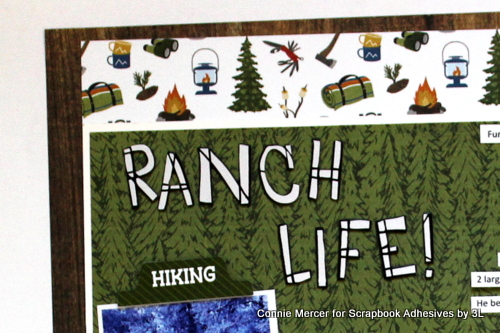
To create the title, adhere the letters, Ranch Life, with the Dual Tip Glue Pen. The journal strips were popped up with 3D Foam Strips but every other strip piece was secured with the Dual Tip Glue Pen for interest.
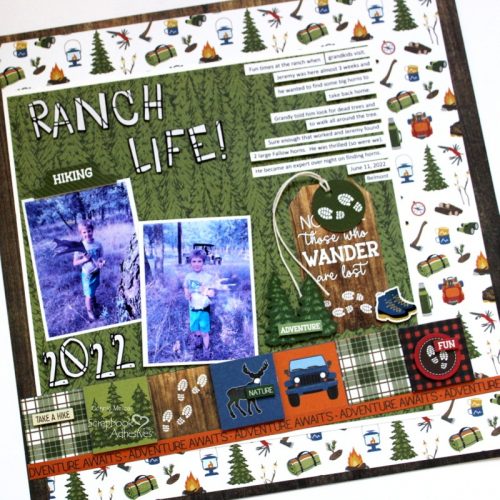
Thanks so much for stopping by. Hope you enjoy this Ranch Life scrapbook page. It was fun to watch this boy find those horns.
Connie Mercer
Skill Level: Beginner
Creative Time: 50 minutes
Materials Needed:
Scrapbook Adhesives by 3L®
E-Z Runner Grand Repositionable Dots Refillable Dispenser
E-Z Runner Grand Refillable Dispenser
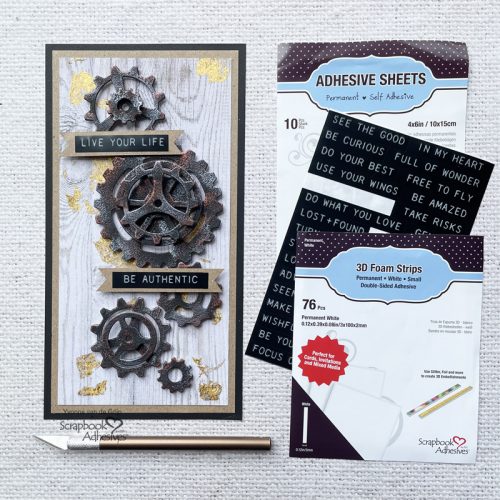
3D Foam Strips
3D Foam Squares White Mix
HomeHobby™ by 3L
Dual Tip Glue Pen
Other: PhotoPlay: The Great Outdoors, twine and stickers
Save to Pinterest!
Visit our Website and Blog!
Sign up for our Newsletter so you never miss a contest or giveaway!