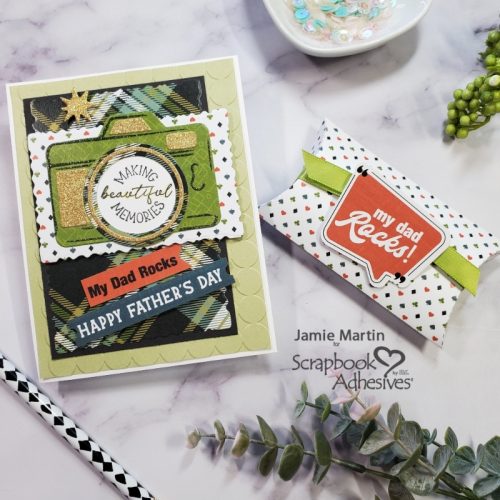
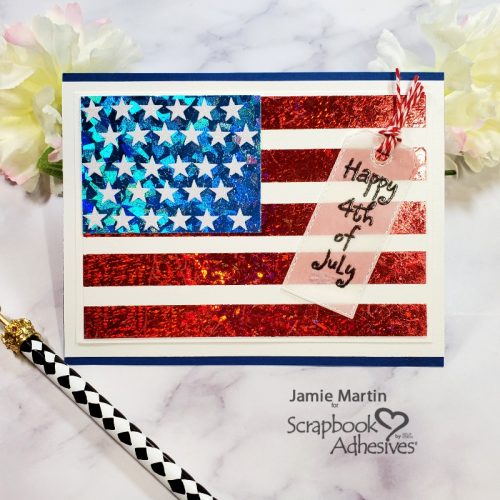
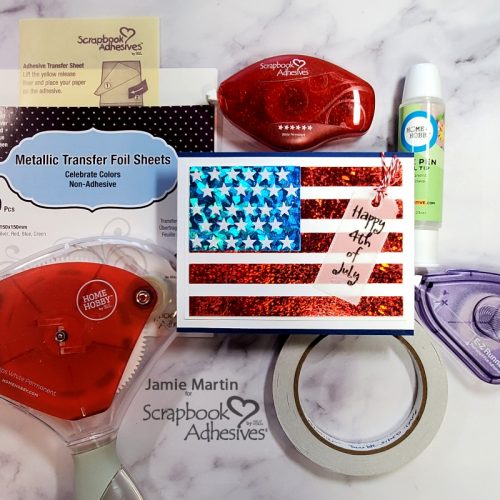
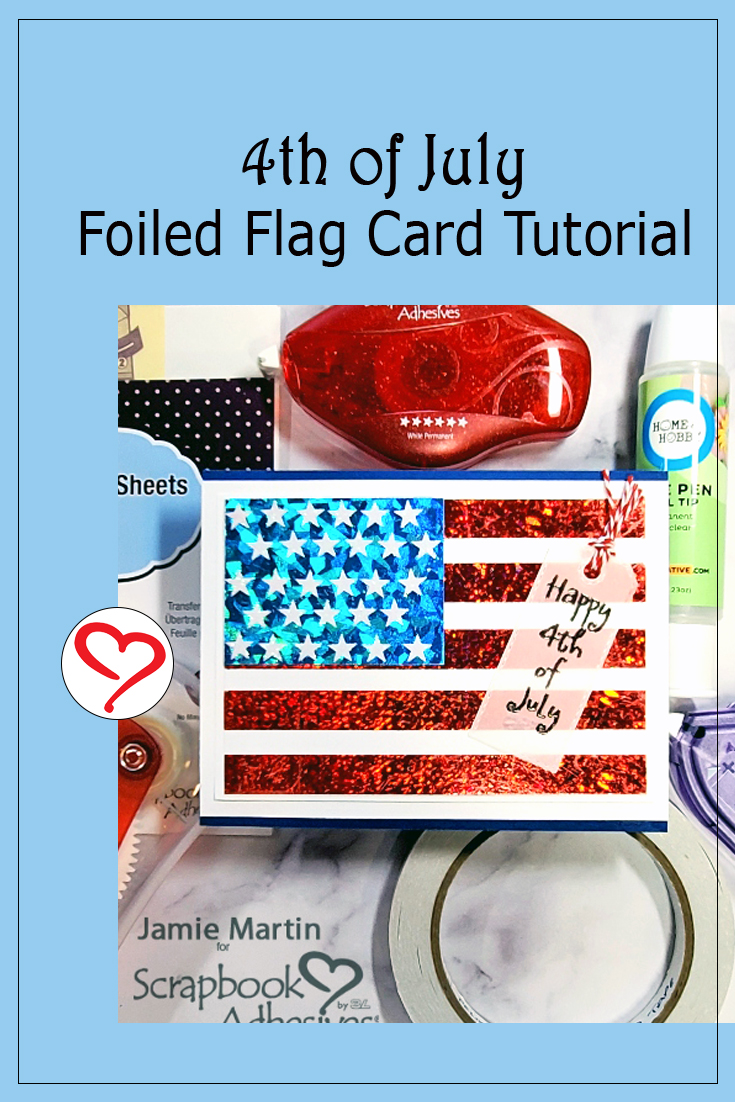
Hi, Jamie here with you today and since the 4th of July is just around the corner, I have a flag card made using adhesives and foil and it’s surprisingly easy.
Create the Foil Flag
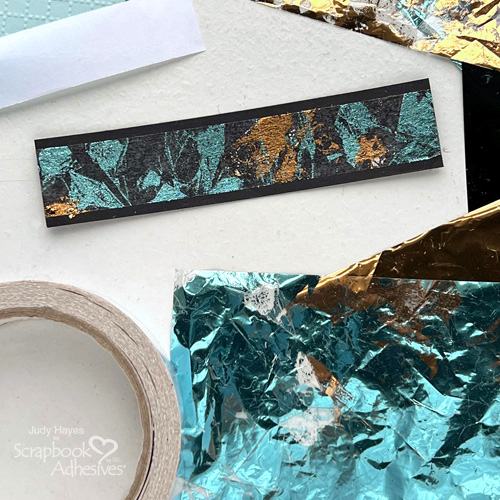
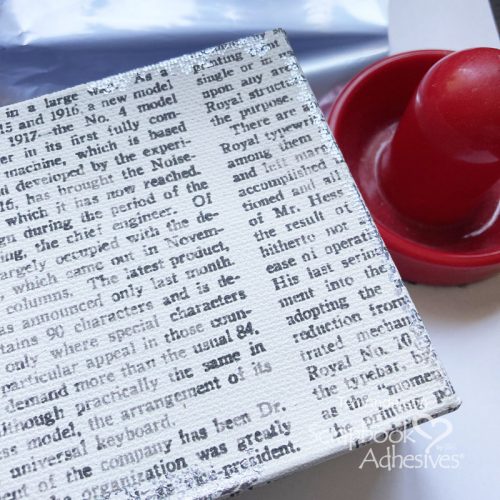
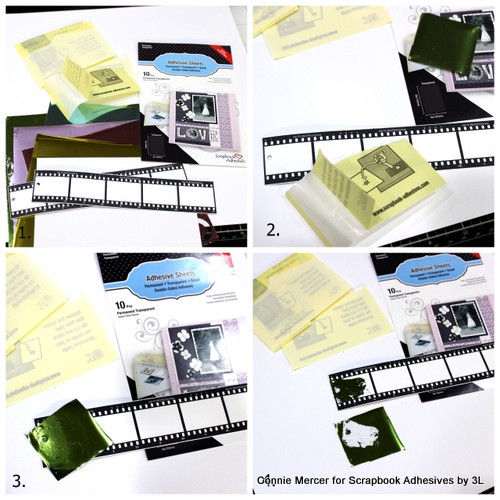
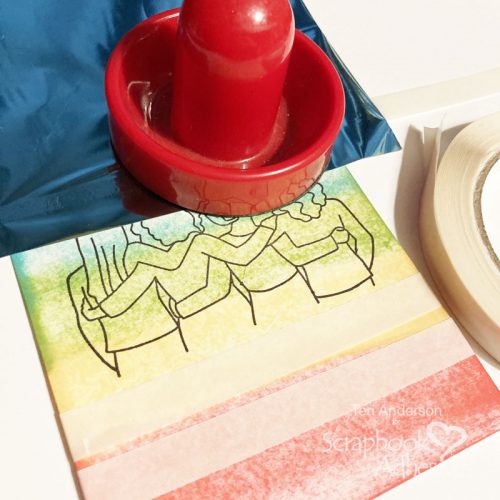
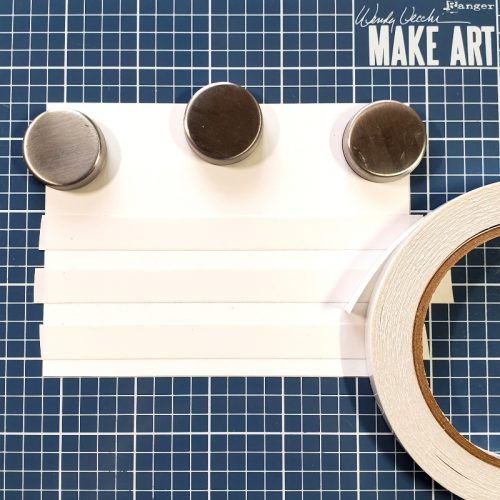
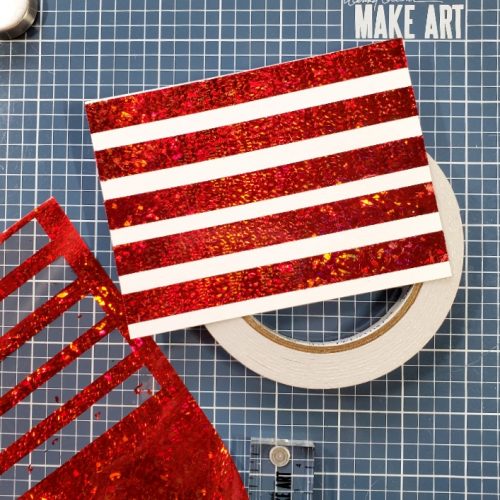
Place strips of Premium Double-Sided Tape 1/2″ on a white cardstock panel, to fill the panel but leave spaces between the tape.
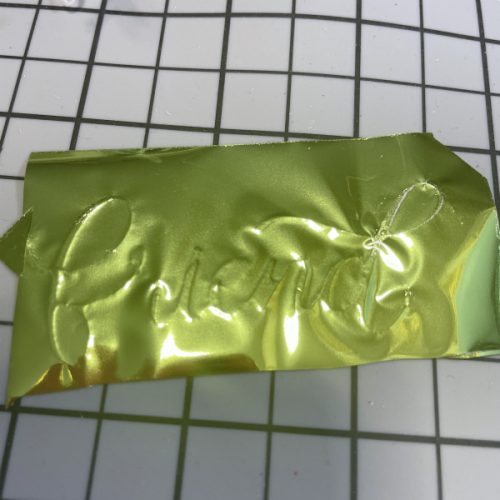
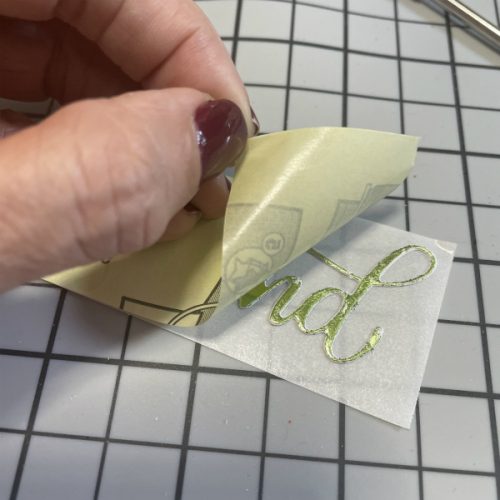
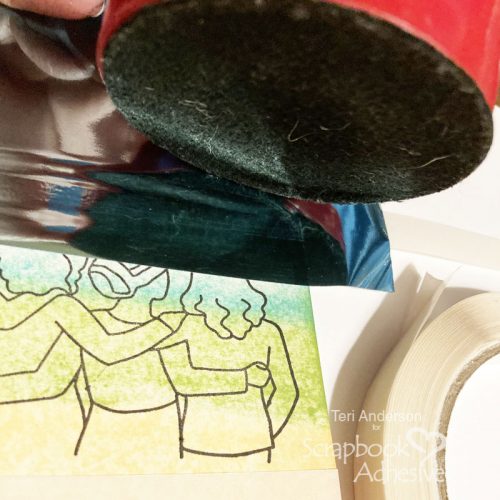
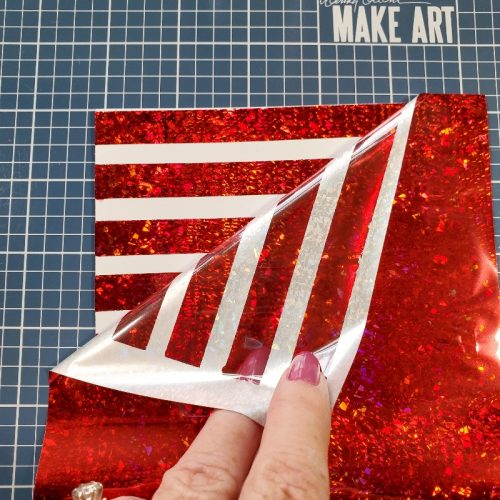
Remove the paper liner on the tape and place red foil from the Metallic Transfer Foil Sheets Celebrate Colors on top of the tape with the pretty side up. Rub the foil with your finger, then remove the foil.
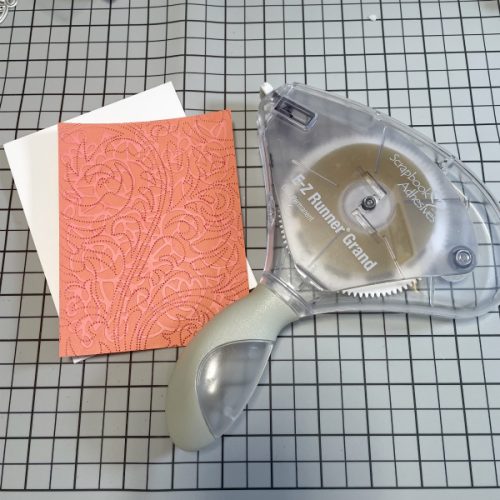
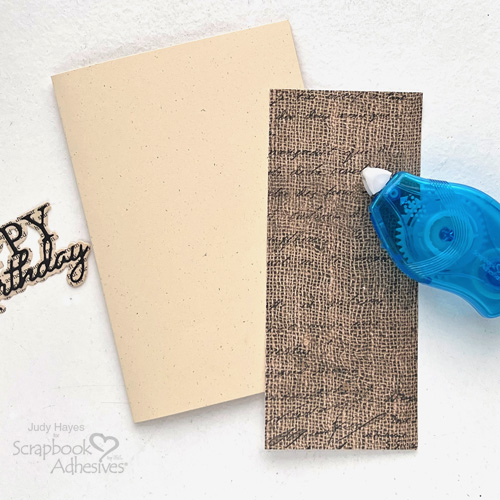
Trim off the white cardstock at the bottom of the pane, then layer this onto a slightly larger white cardstock panel using the E-Z Runner® Grand Refillable Dispenser and set aside.
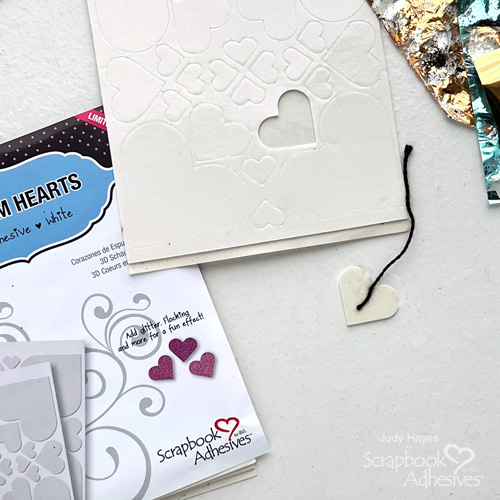
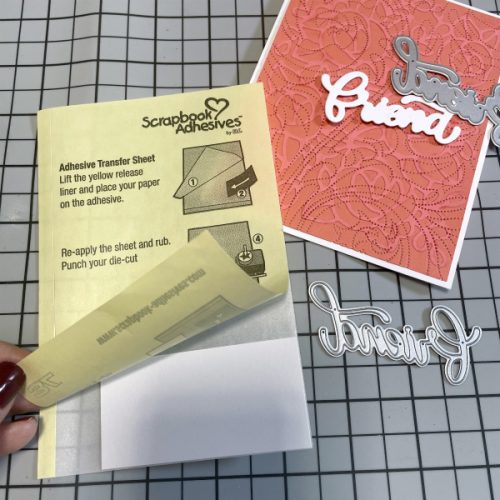
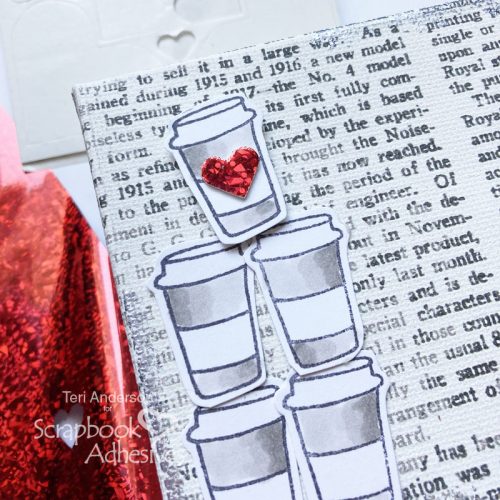
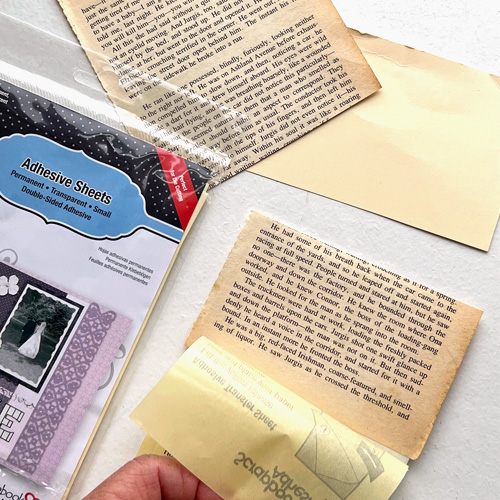
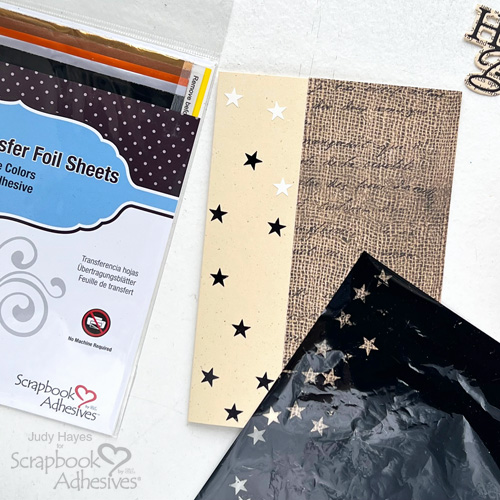
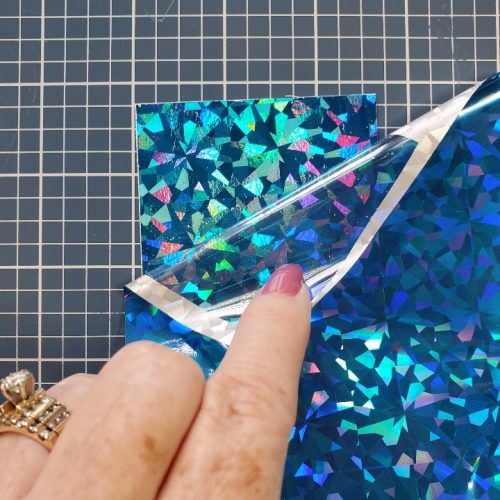
Place an Adhesive Sheet 4″ x 6″ on the same size piece of white cardstock and cut a piece to 2″ x 2 1/2″, save the rest to use later. Remove the paper liner from the cut piece and place blue foil from the same pack, on the top with the pretty side up. Rub the foil sheet and remove the foil carrier from the panel.
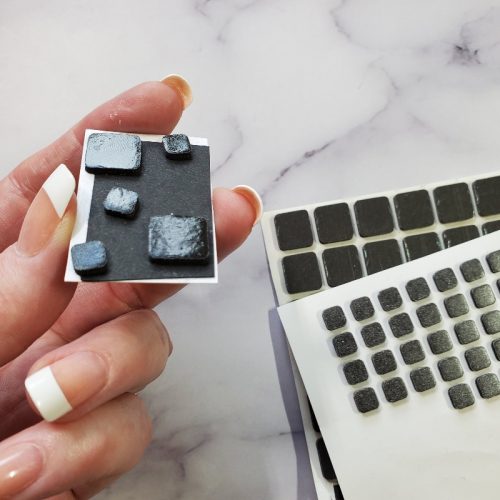
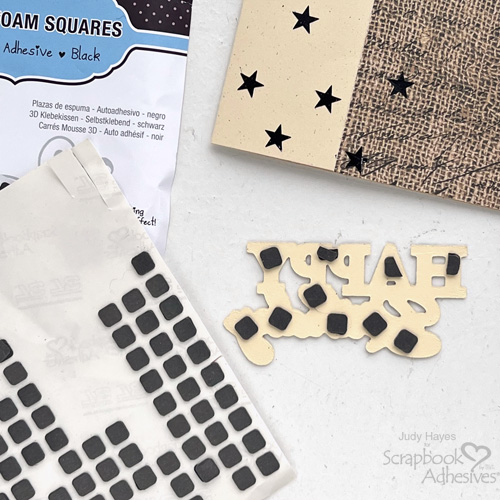
Add in the Stars
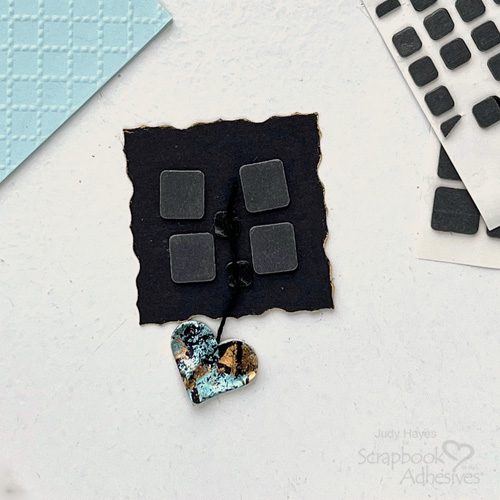
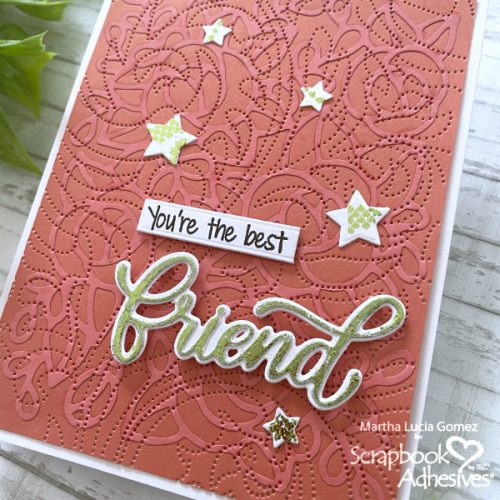
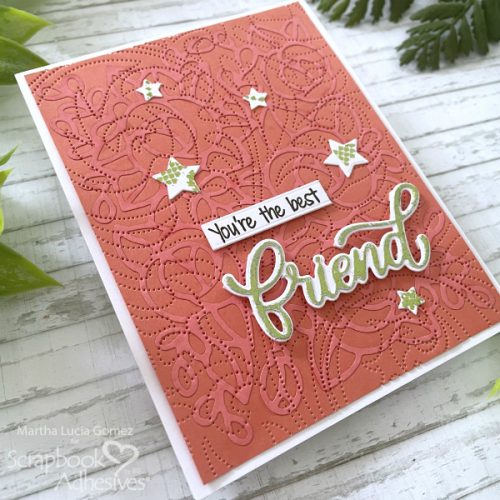
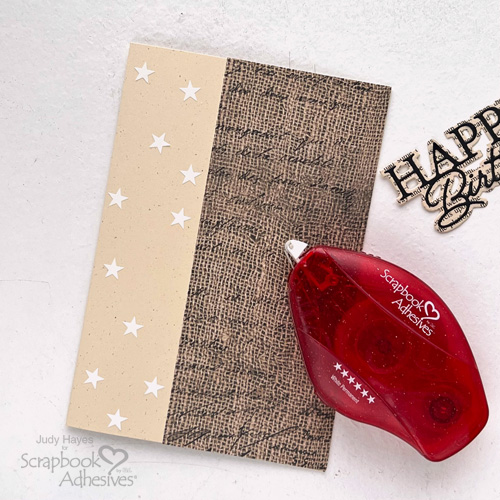
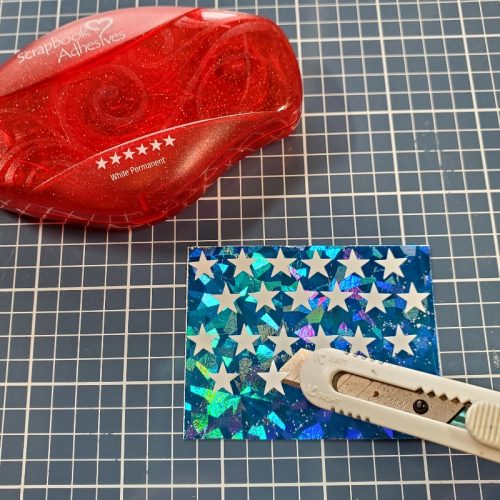
Using a craft knife, remove the stars from the E-Z Runner® Stars and place them on the blue foil panel until it is filled.
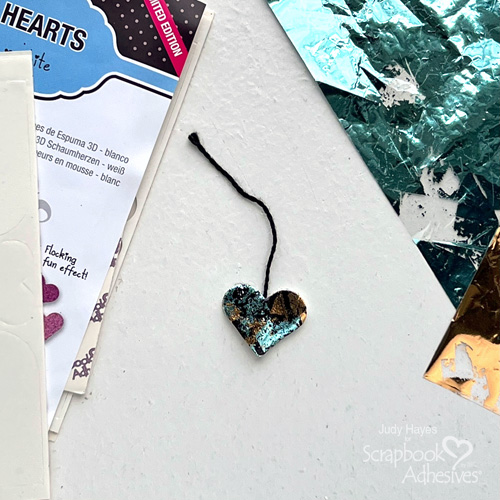
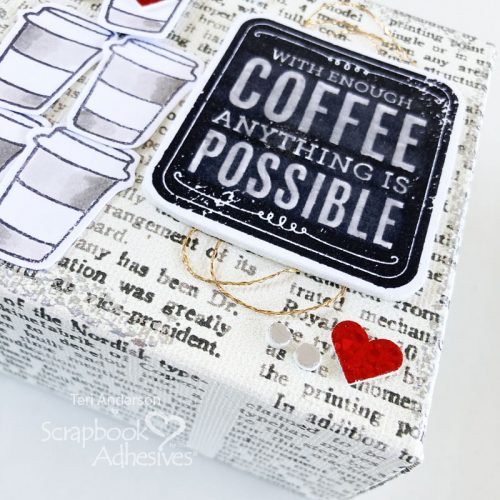
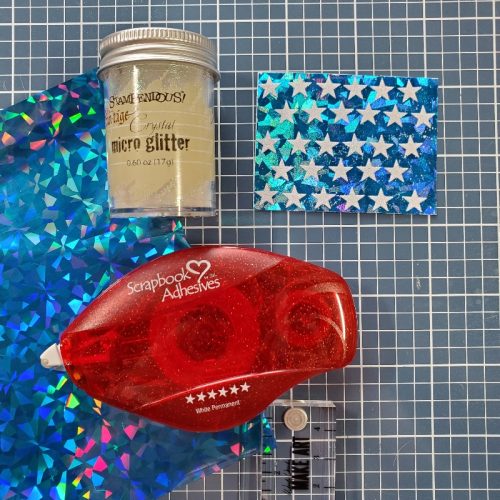
Sprinkle this with Crystal Micro Glitter, rub in the glitter and shake off excess. Return the unused glitter to the jar and attach the panel to the left upper corner of the red foil striped panel using the E-Z Runner® Grand.
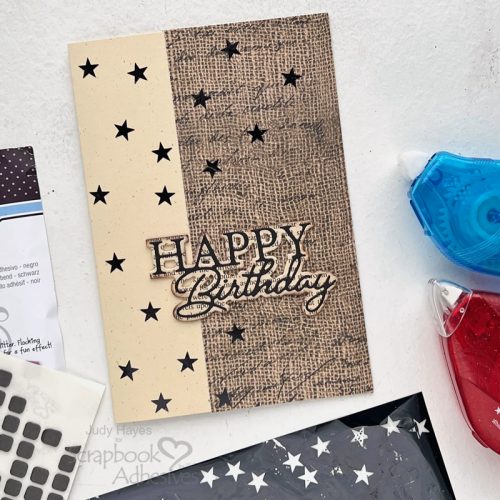
Assemble and Finish the Foil Flag Card
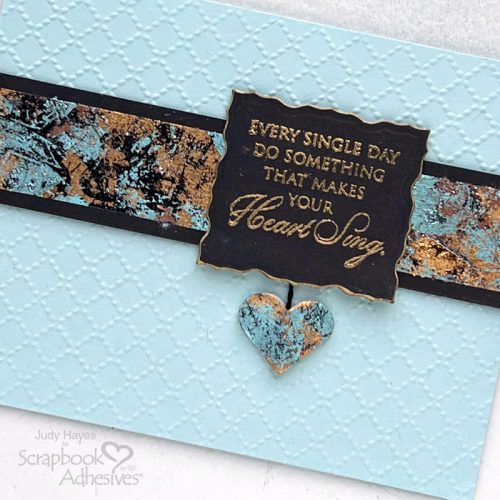
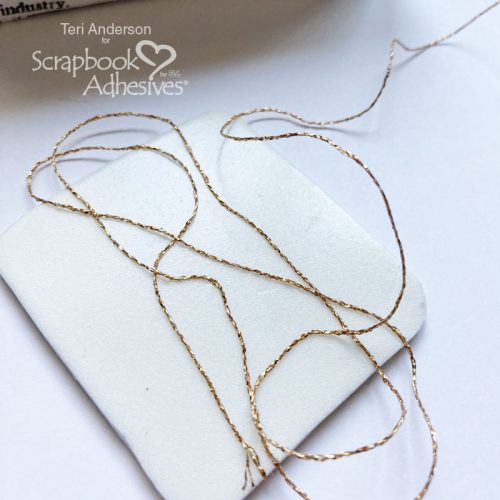
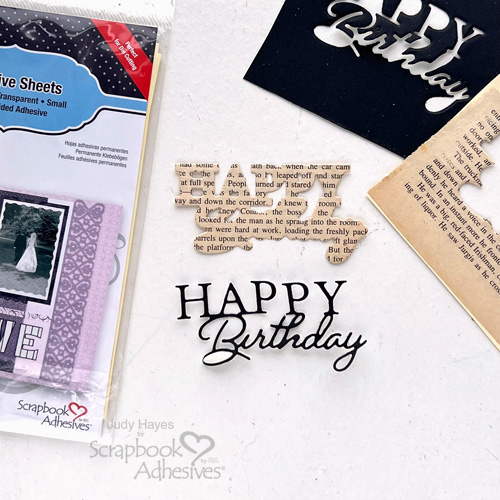
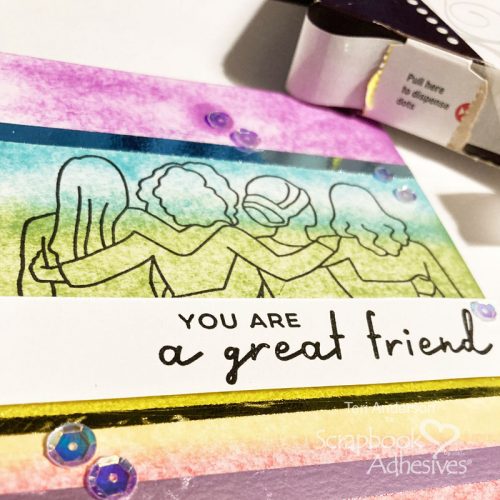
Stamp the sentiment on vellum with Onyx Black VersaFine Ink and emboss with clear embossing powder. Die-cut using a tag die and tie the top with red and white twine. Attach the tag diagonally to the right side of the flag using the E-Z Runner® Permanent Fine Adhesive, it’s pretty much invisible through the vellum.
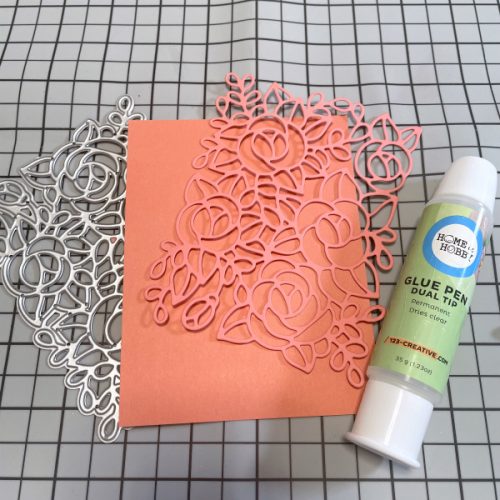
A dot of glue from the Dual Tip Glue Pen was placed on the backside of the twine so that it wouldn’t unravel. Use the E-Z Runner® Grand to attach the flag to a top folding dark blue card.
Creative Time: 20 minutes
Skill Level: Intermediate
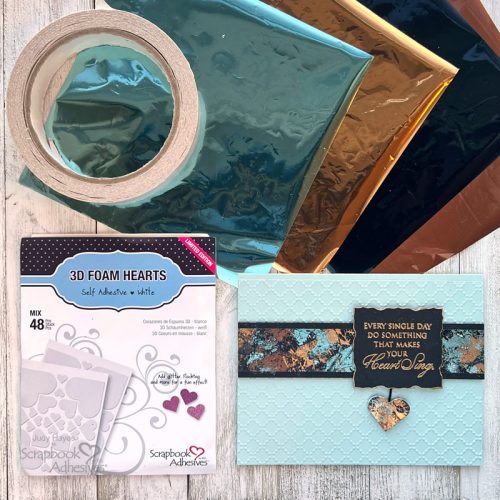
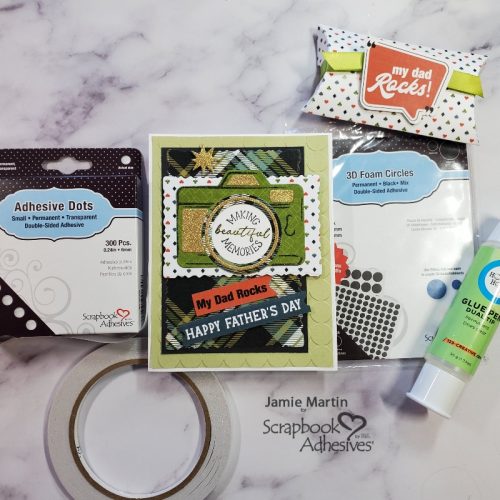
Materials Needed:
Scrapbook Adhesives by 3L®
E-Z Runner® Grand Refillable Dispenser
E-Z Runner® Stars Refillable and E-Z Runner® Permanent Fine Adhesive
Metallic Transfer Foil Sheets Celebrate Colors
Adhesive Sheets 4″ x 6″
HomeHobby™ by 3L
Dual Tip Glue Pen
Premium Double-Sided Tape 1/2″
Plus
Rubbernecker Stamps- 4th of July Fireworks Stamp Set, Nested Stitch Tag Dies
Stampendous- Crystal Micro Glitter, Clear Embossing Powder
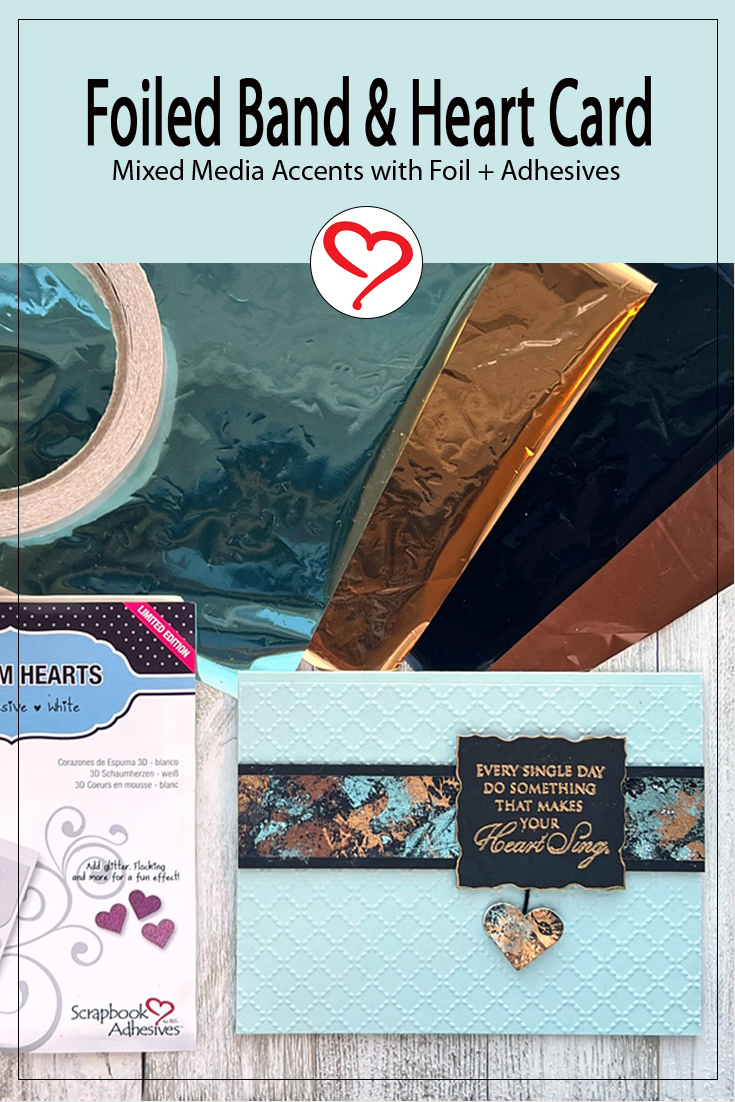
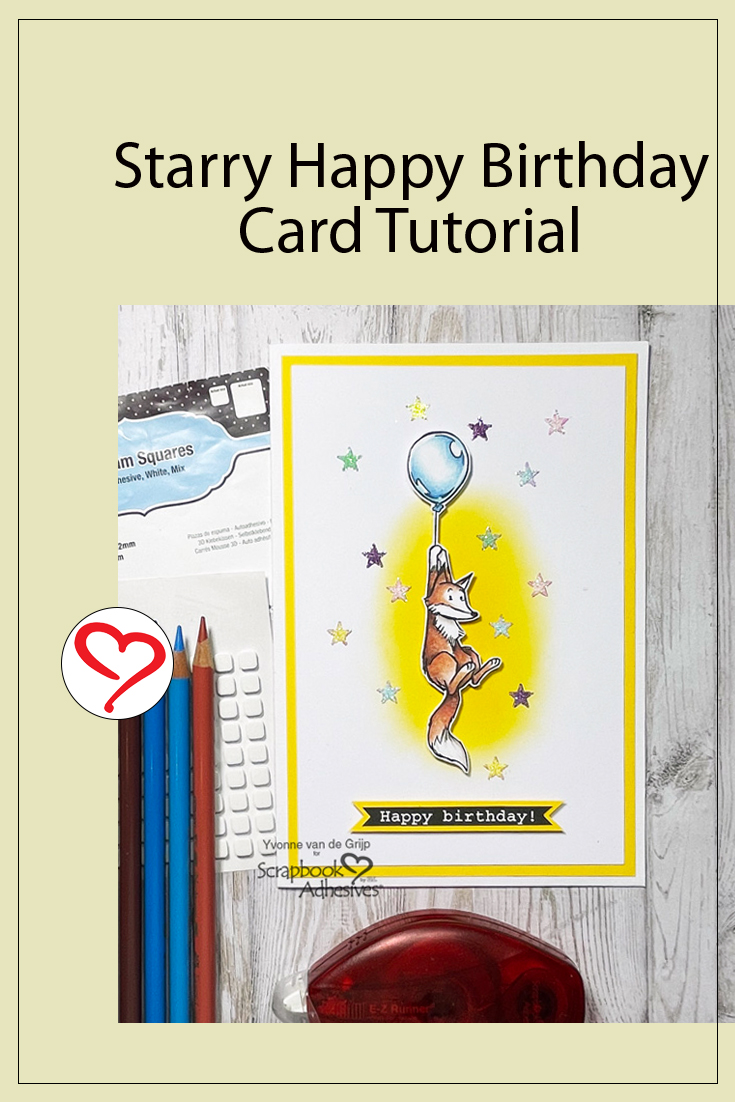
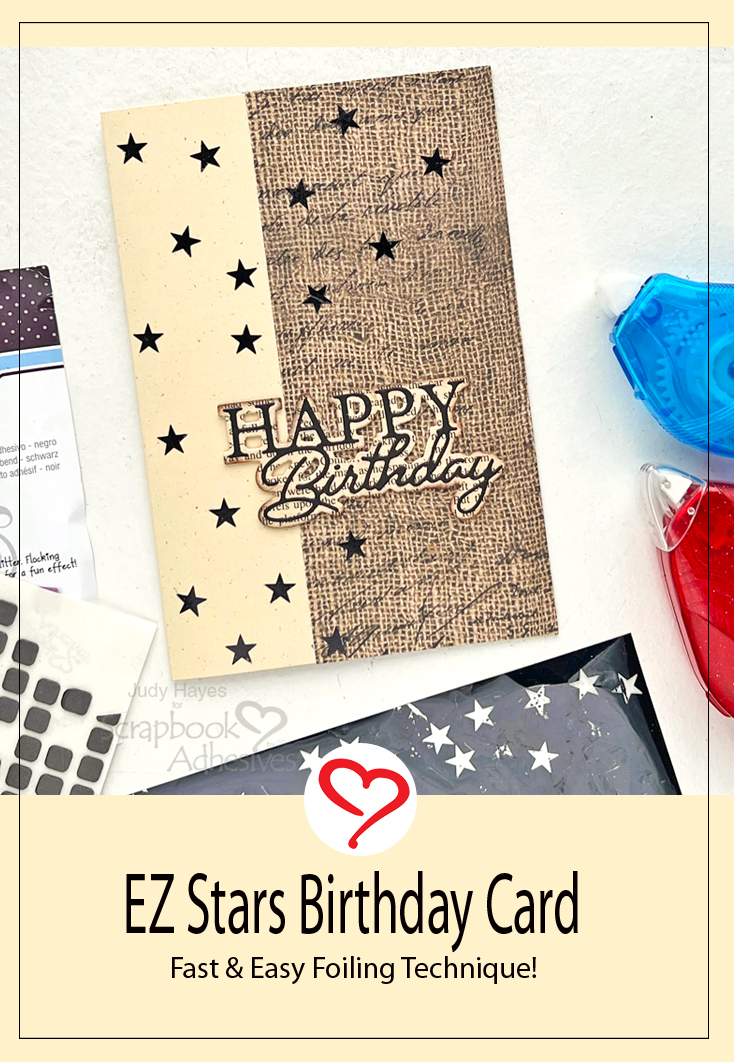
Save to Pinterest!
Visit our Website and Blog!
Sign up for our Newsletter so you never miss a contest or giveaway!