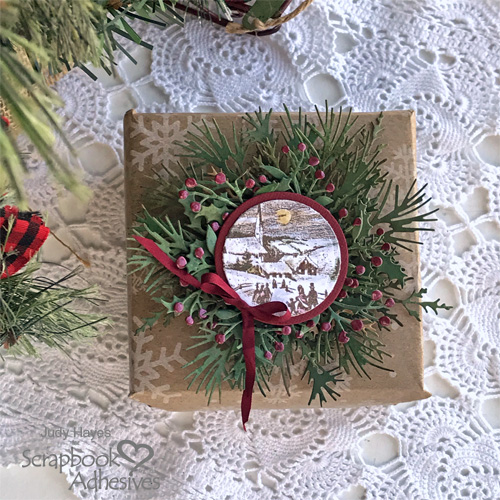
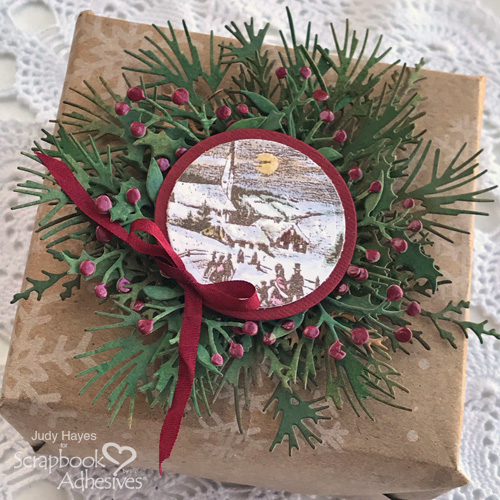
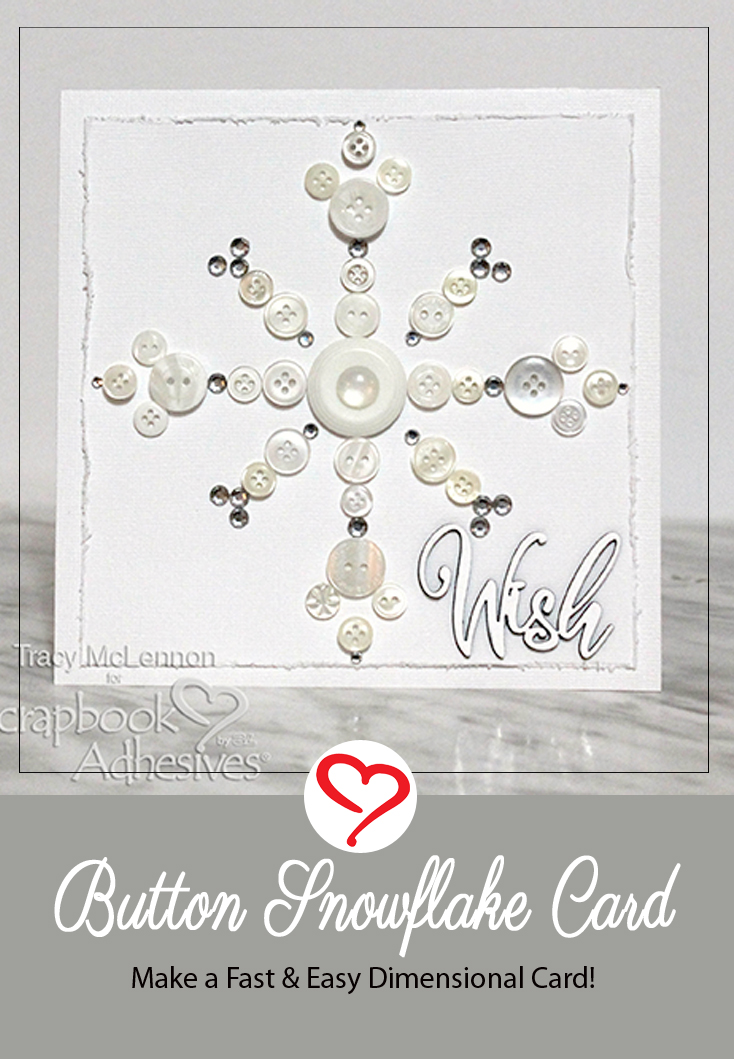
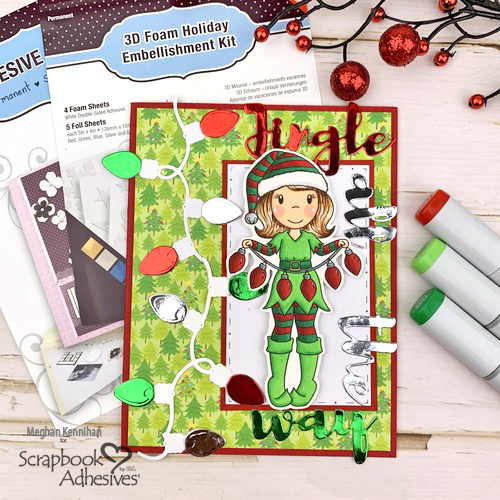
Hello everyone! How are your holiday preparations going? I’m behind as usual but always have way more ideas of things to make than I have time! For example, this Holiday Package Topper can be made ahead to quickly add to a package at the last minute because it’s self-sticking! Let me show you!
Holiday Package Topper Step Outs
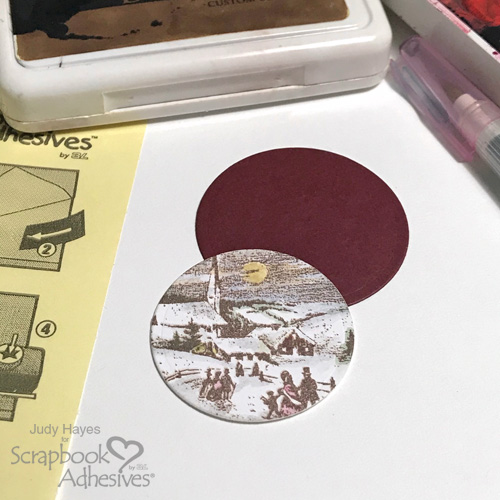
Apply an Adhesive Sheets 4×6 inch to the back of white cardstock and stamp an image with brown ink. Then add color and shading with watercolors. Next, die-cut the image with a 1.375-inch circle shape.
To create a mat behind the circled image, die-cut a 1.875-inch circle from a piece of dark red cardstock.
Designer’s Tip: you can work ahead by stamping the center of the topper or use a decorative circle shape instead. Maybe on another day in front of the tv, cut a pile of greenery. Once the parts are ready, assembly is quite quick!
Remove the liner from the back of the image circle and secure it to the dark red circle.
Apply a small amount of glue from the Dual Tip Glue Pen on scrap liner paper. Load the brush with glue to add over house roofs and some areas of snow. Sprinkle with glitter and shake off excess. Repeat as needed and set aside to dry.
The Greenery
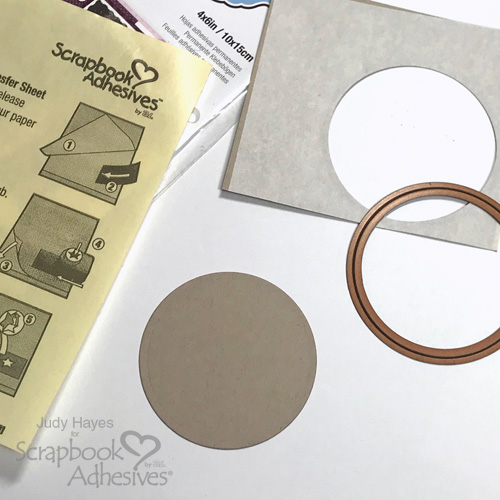
Apply an Adhesive Sheets 4×6 inch to the back of Kraft cardstock and die-cut a 2.25-inch circle.
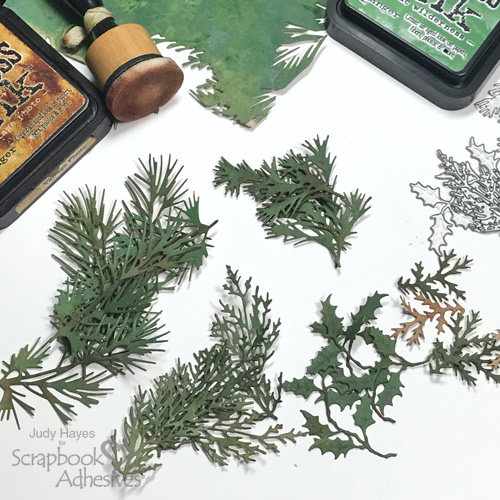
Color the circle with a technique of putting ink directly on a non-porous surface (glass mat), mist with water, and swiping the circle through the green ink.
Repeat the inking process with an extra 5.5 x 8.5-inch piece of Kraft cardstock. Add more color as needed with ink spray. Set aside to dry or use a heat tool.
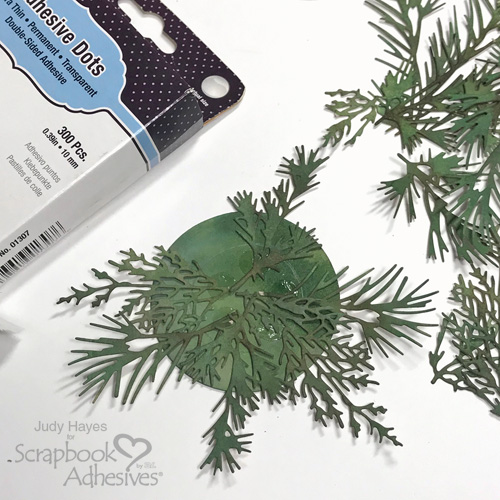
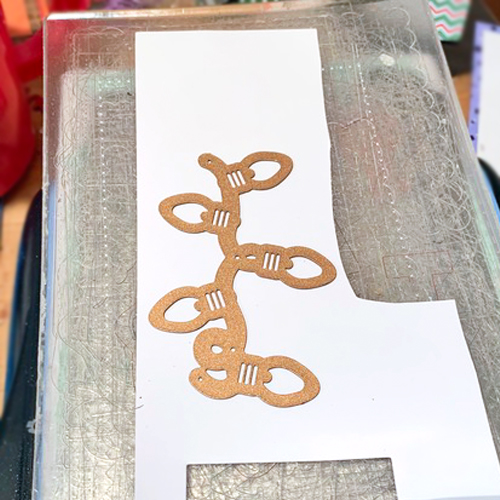
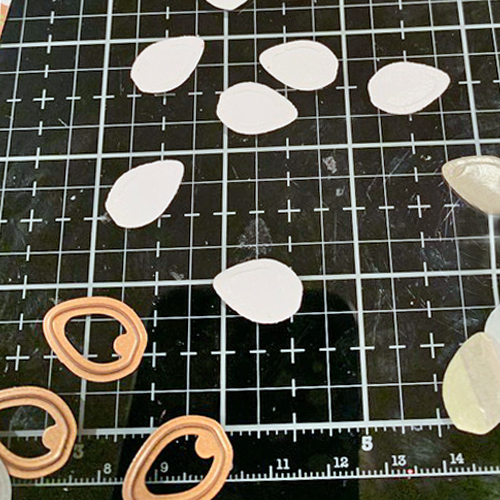
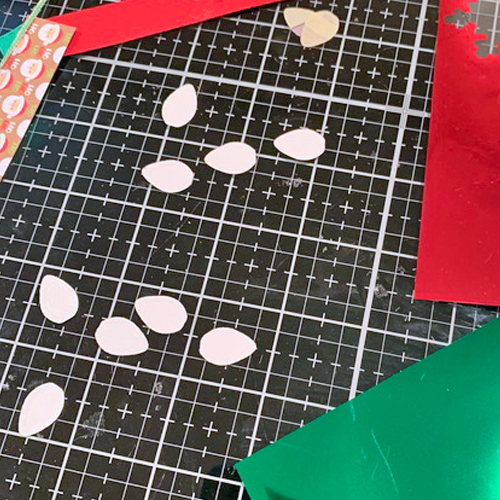
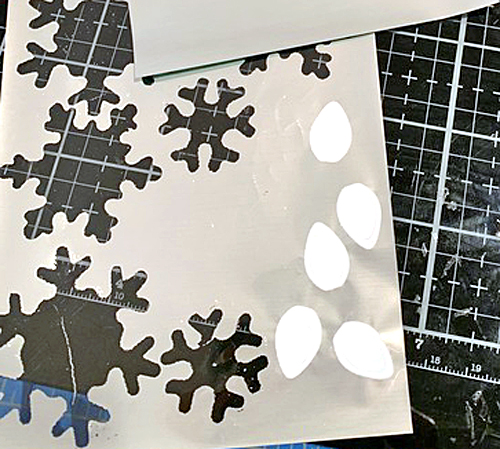
Die-cut foliage shapes for an assortment of greenery pieces. Use foam applicator to ink edges and stems with dark brown ink. Note I used the reverse side of the inked paper for brown twigs.
Place several Adhesive Dots Medium Ultra Thin on the center of the inked green circle. Arrange foliage pieces around the edge alternating different types. Repeat until the base circle is covered.
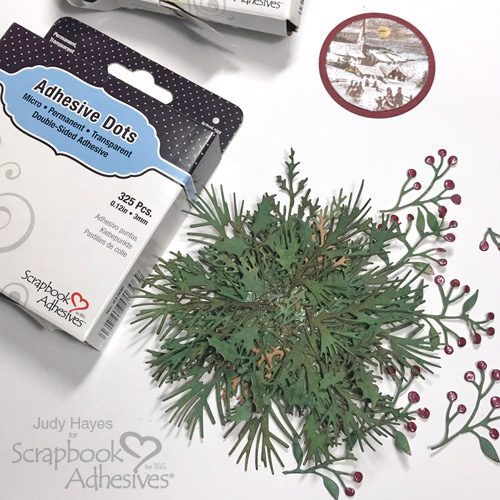
Use color drops to make berries red. To apply berry branches, use Adhesive Dots Micro on its ends to the inked circle. Don’t worry about the adhesive showing as it will be covered by the center image.
Finishing the Package Topper
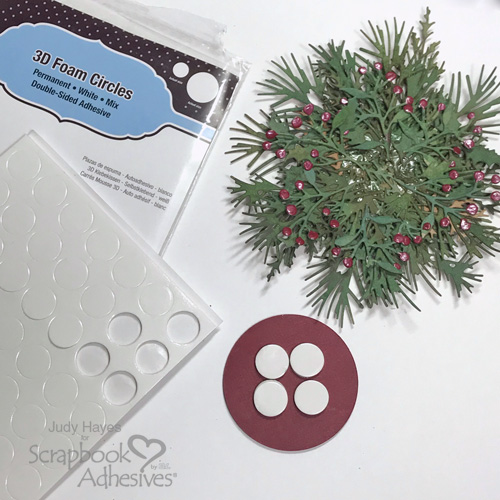
Add four 3D Foam Circles White Mix in regular size on the back of the image circle piece. Remove liners from all and stack another on each of the four for a double layer. Next, remove the liners and adhere on top of the foliage circle.
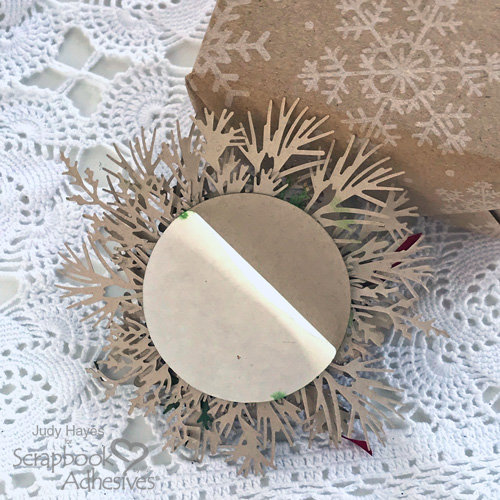
All that’s left is to remove the liner and attach it to a package!
I hope you enjoyed a bit of inspiration I found on a holiday project on Instagram that Paula Cheney/Tim Holtz was showing. Have a wonderful holiday season!
Thanks for Visiting!
Judy Hayes
Creative Time: 45 Minutes
Skill Level: Intermediate
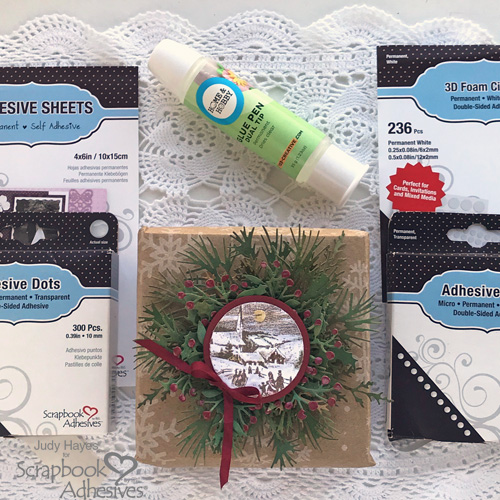
Materials Needed
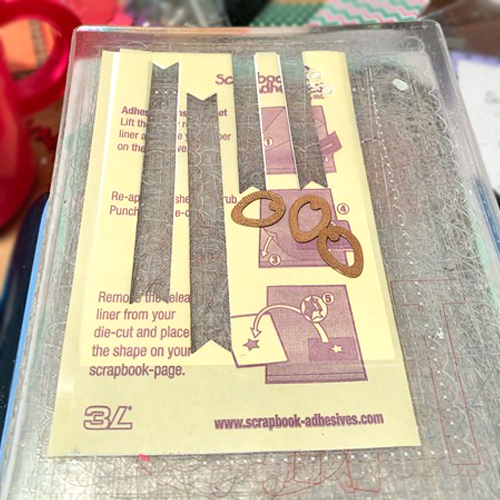
Scrapbook Adhesives by 3L®
HomeHobby™ by 3L
Other:
Martha Stewart Fine Crytal Glitter; Nuvo Crystal Drops Autumn Red; Ranger Archival Ground Espresso Ink, Distress Rustic Wilderness Ink, Distress Oxide Rustic Wilderness Ink, Distress Rustic Wilderness Spray, Distress Vintage Photo Ink; Sizzix Tim Holtz Holiday Greens, Mini Dies; Spellbinders Circle Dies; Stampers Anonymous Tim Holtz Holiday Scenes Stamp Set; Cardstock – Heavy White, Dark Red, Desert Storm(Kraft); Dark Red Silk Ribbon
Save It!
Visit our Website and Blog!
Sign up for our Newsletter so you never miss a contest or giveaway!