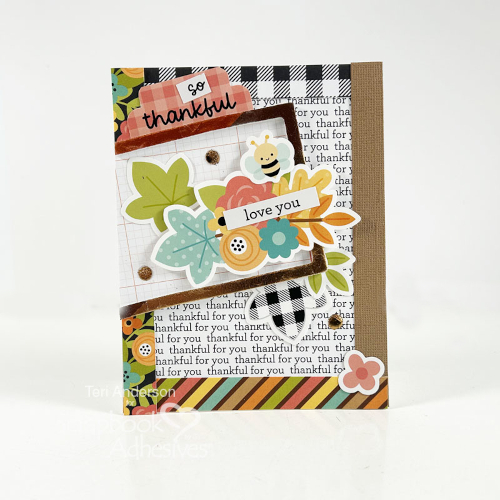
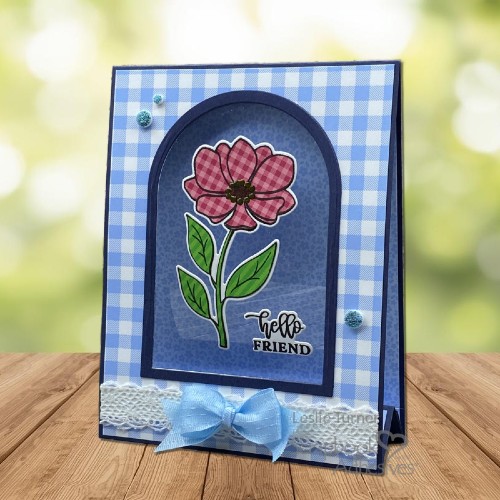
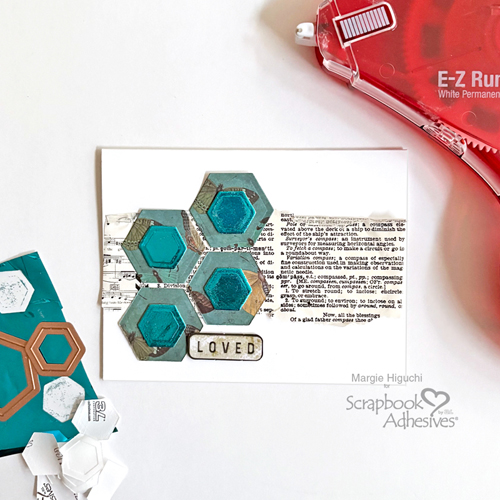
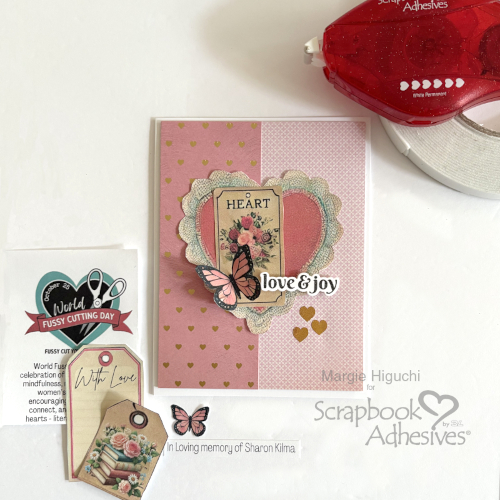
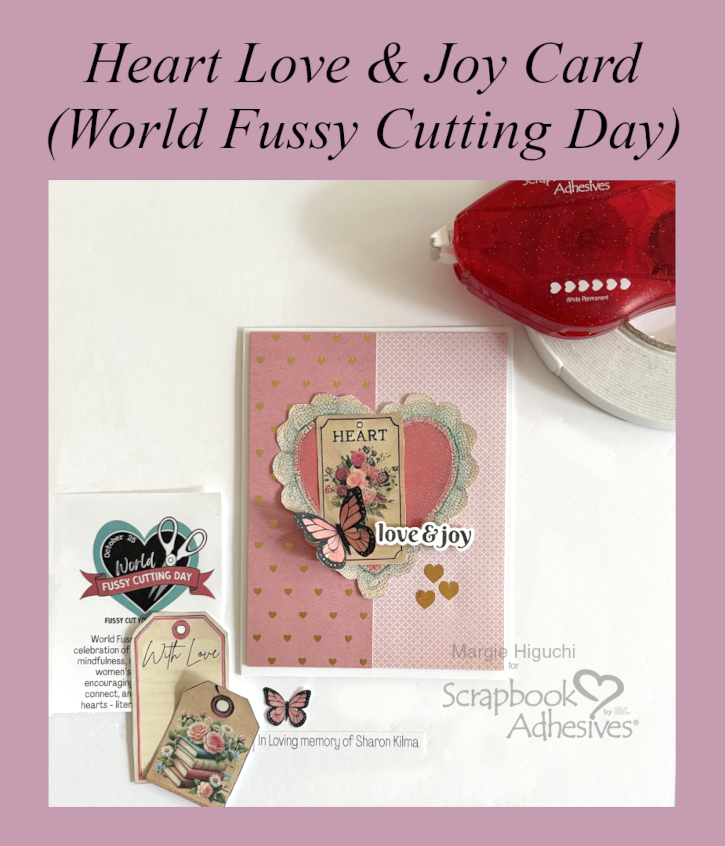
Today is World Fussy Cutting Day and I’ve got out my favorite detailed scissors for this Love & Joy Card. Hi, Margie here today! Let me share about our friend and longtime crafting store owner, Sharon Klima, and her love of fussy cutting that inspired World Fussy Cutting Day.
World Fussy Cutting Day
World Fussy Cutting Day was inspired by our friend Sharon, who passed away suddenly from a heart attack in January 2025. Sharon had owned her store, Buffalo Stamps & Stuff for over 30 years and was known and loved by many in our industry. Proud wife, mom and grandma, she loved memory keeping and cardmaking – especially when fussy cutting was involved.

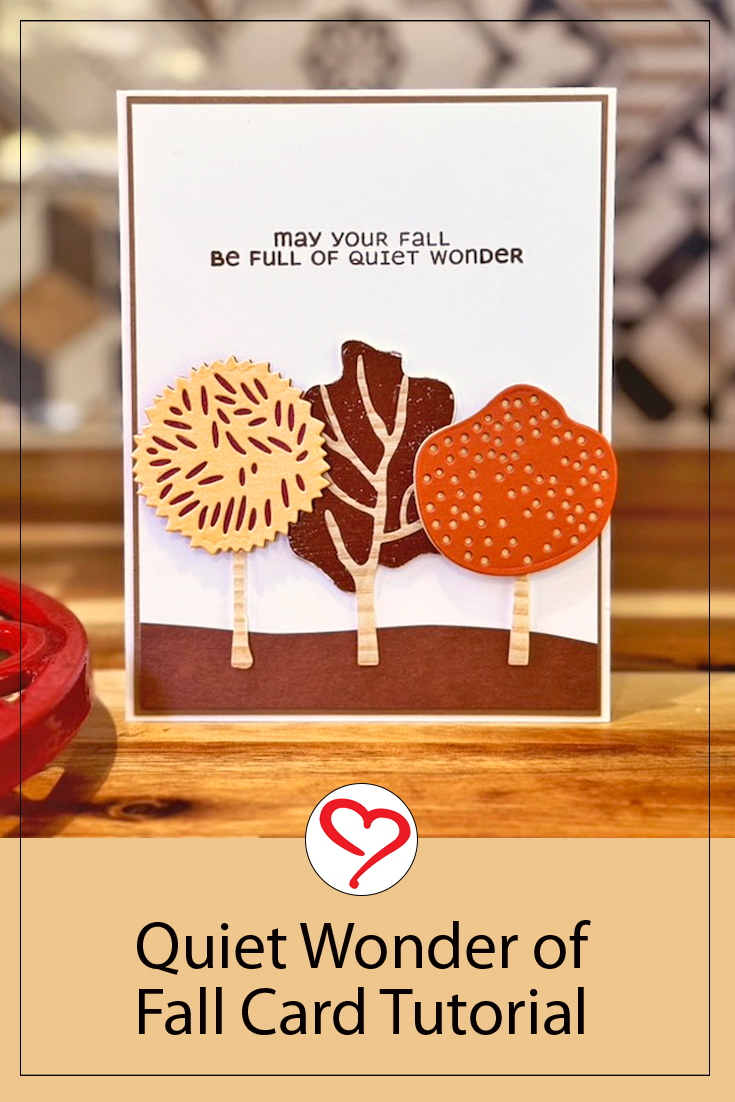
Love & Joy Card Process
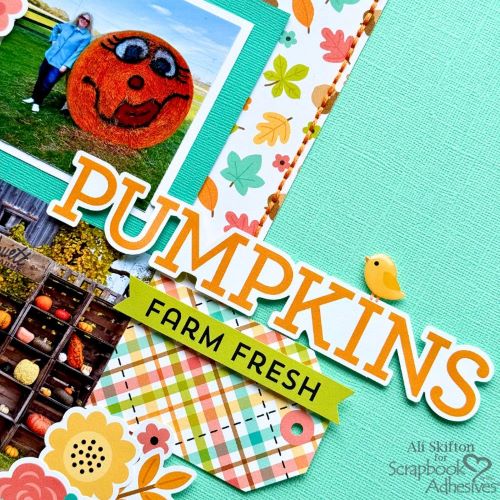
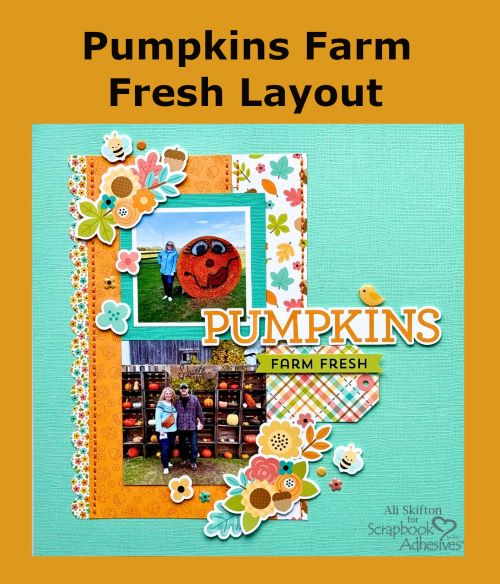
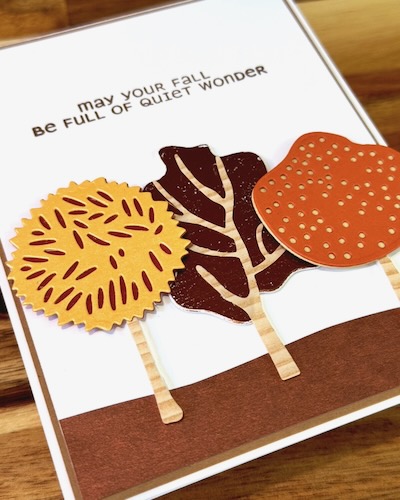
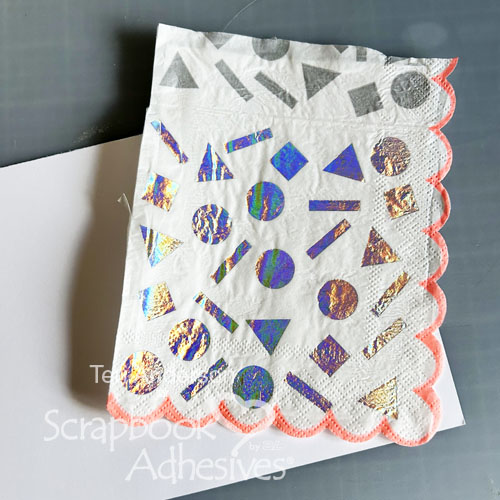
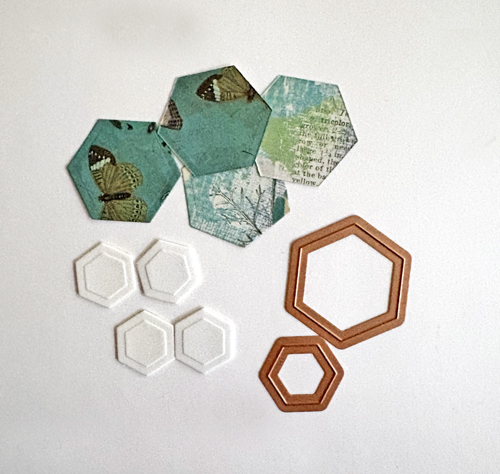
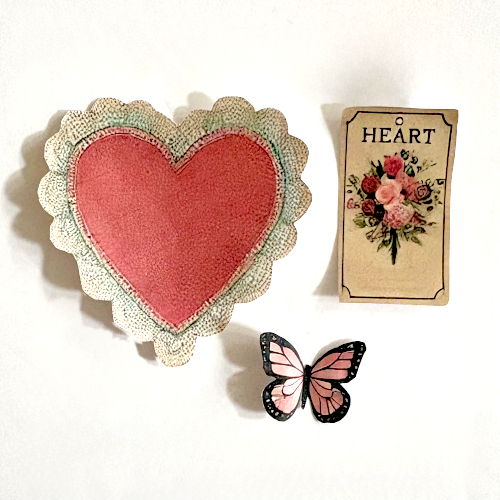
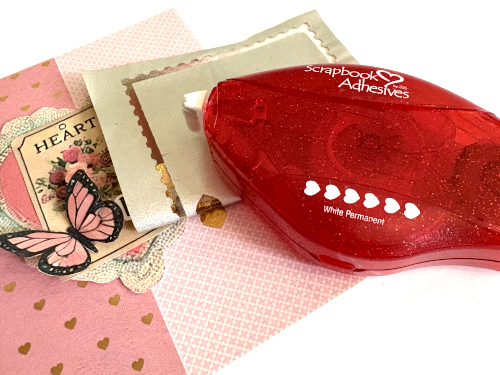
Some of Sharon’s friends created design sheets that people can fussy cut to add to their papercraft creations. I choose this sweet set designed by Samantha L of Scraps of Love (thanks, Sam!) from the FaceBook Group I’ll share below. I picked out a few elements to cluster as a focal point on my card front.
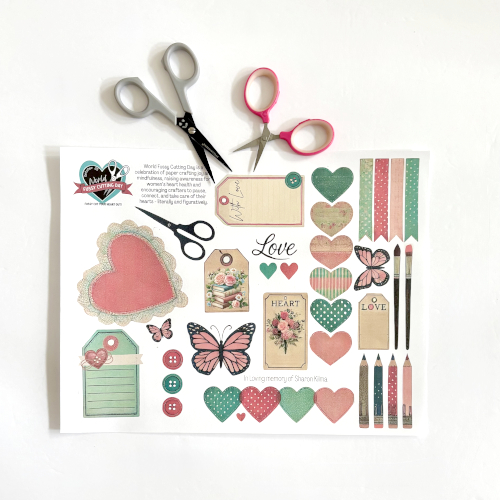
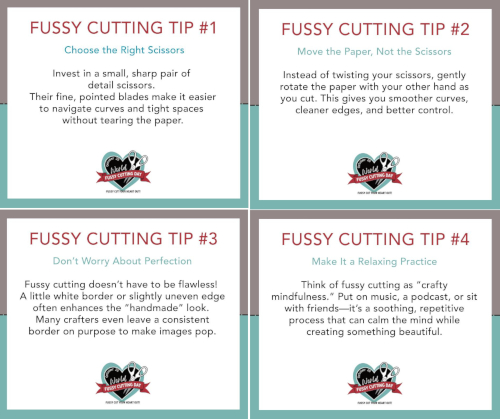
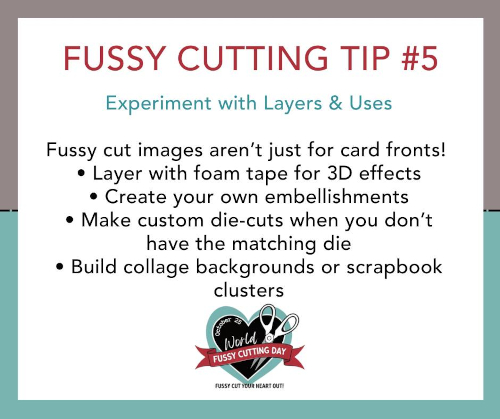
Here’s a few fussy cutting tips that might help you along the way! For the fussy cutting sheets and fun discussions, join the World Fussy Cutting Day FaceBook Group here: https://www.facebook.com/groups/worldfussycuttingday
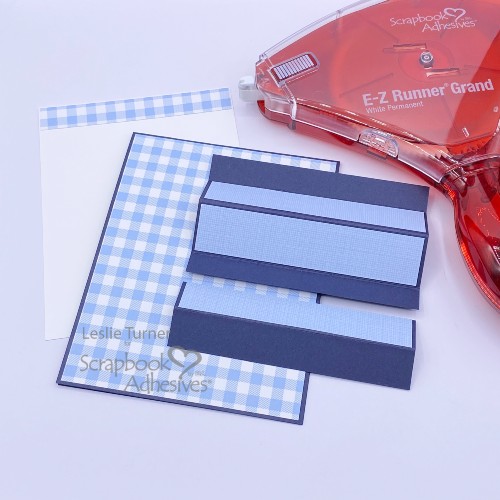
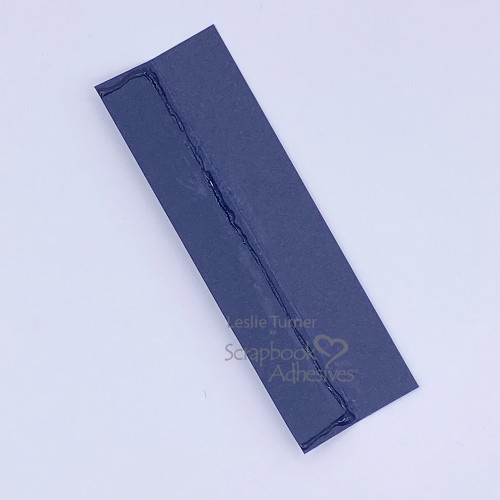
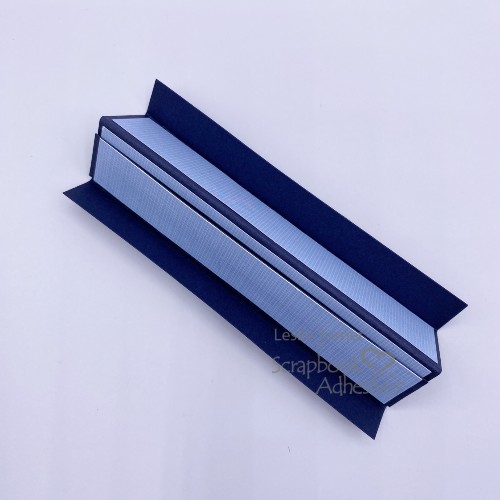
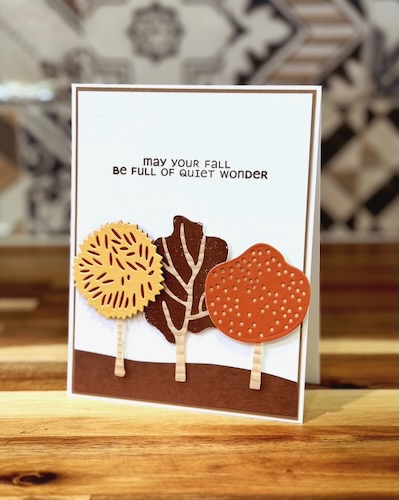
Love & Joy Card Panel
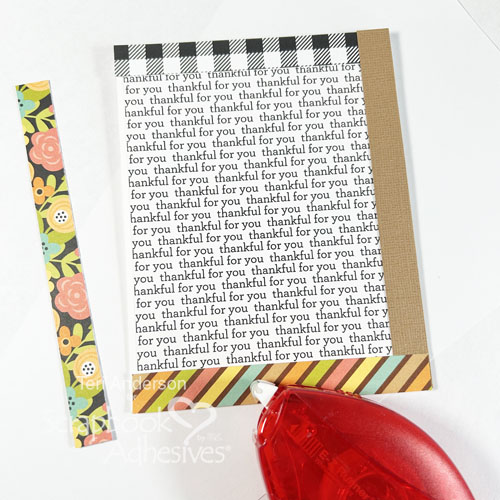
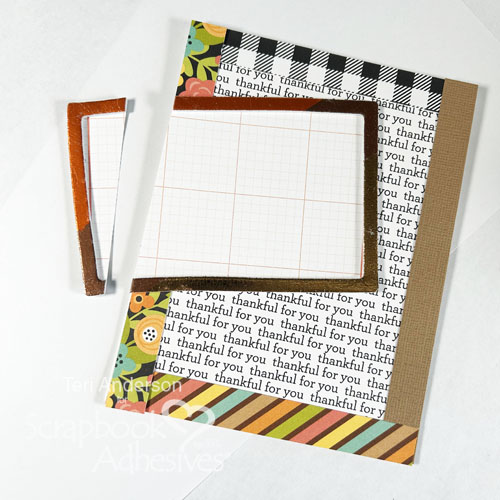
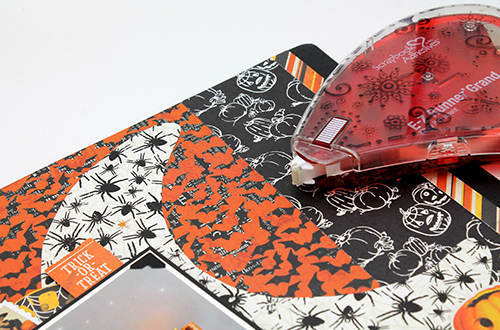
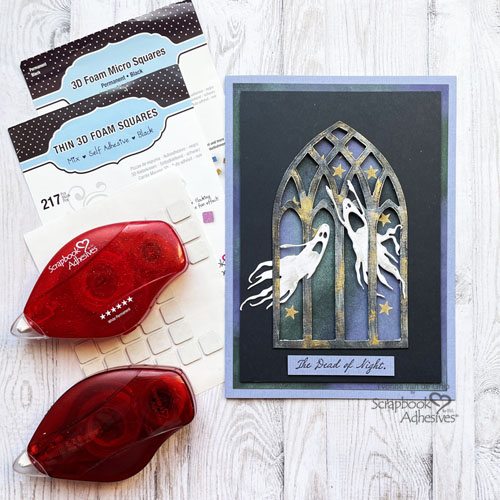
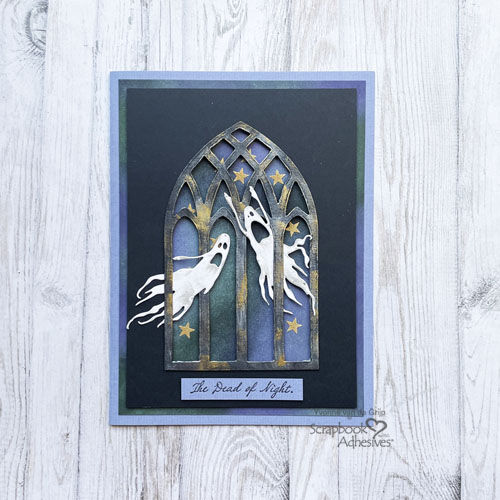
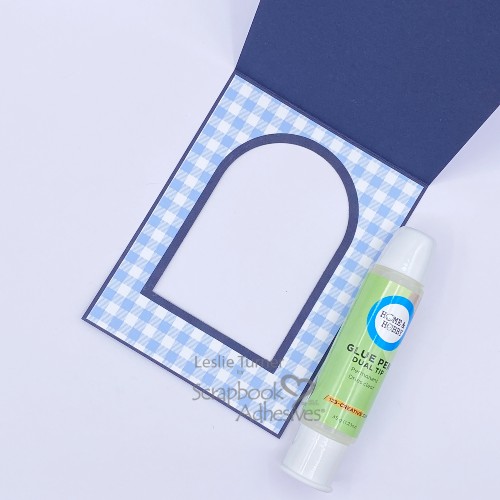
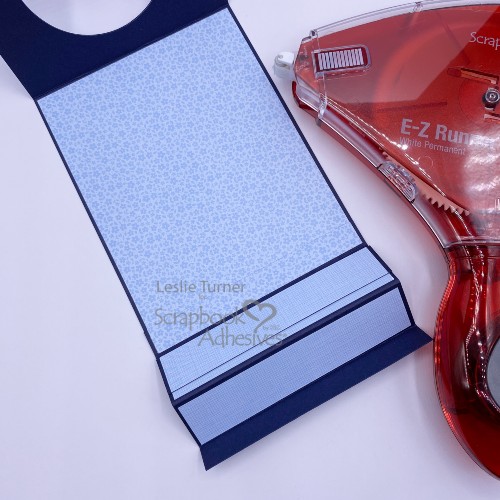
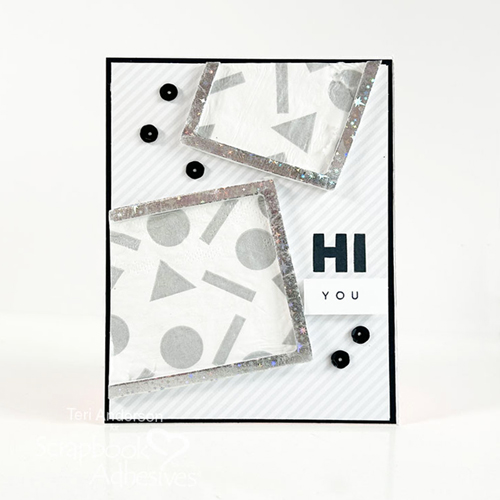
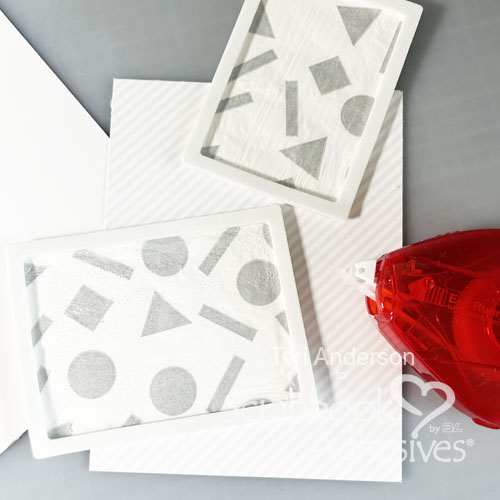
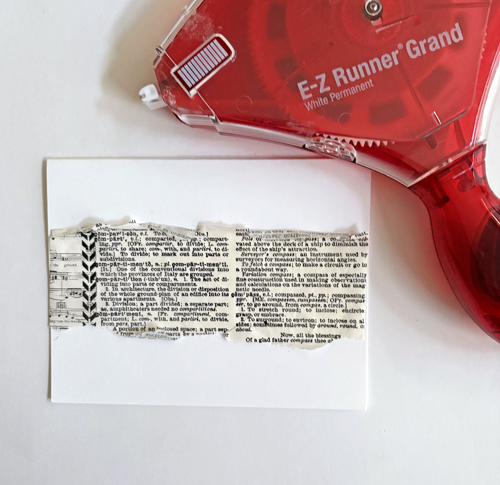
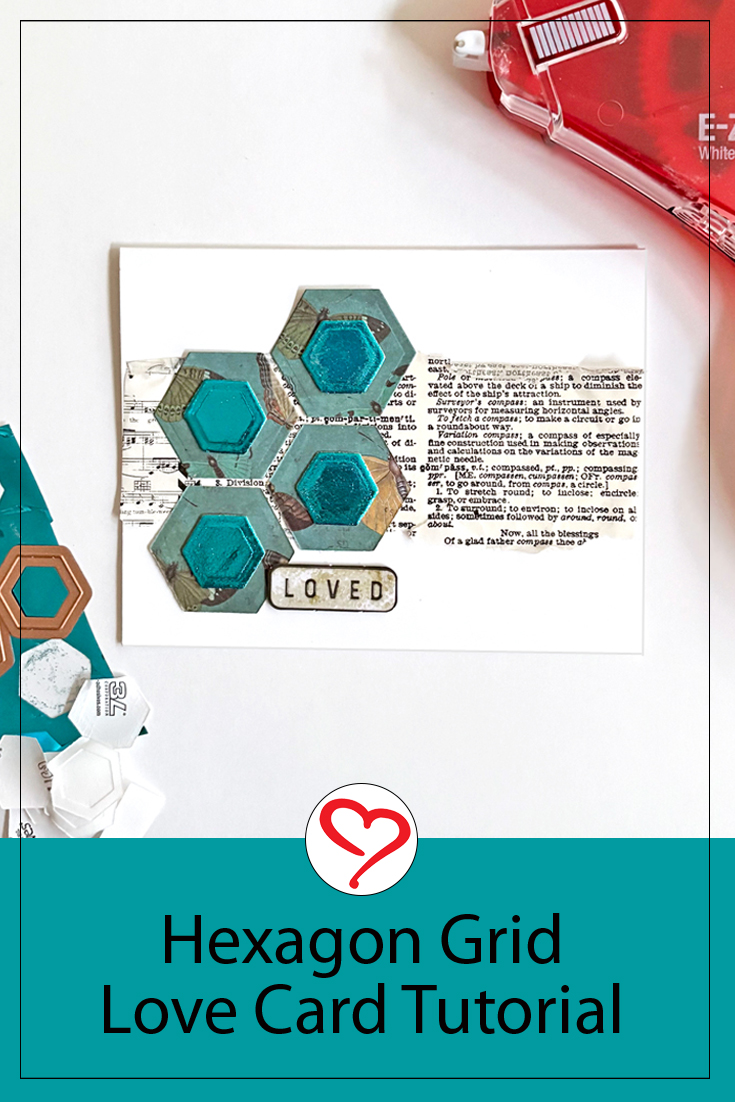
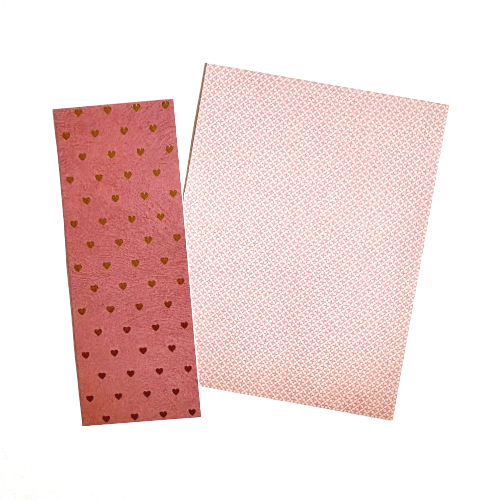
For the panel, I cut a 4 x 5.25″ patterned paper piece for the base and the foiled patterned border was cut to 2 x 5.25″. Layer the border to the panel with the E-Z Runner® Grand Permanent Strips Refillable Dispenser.
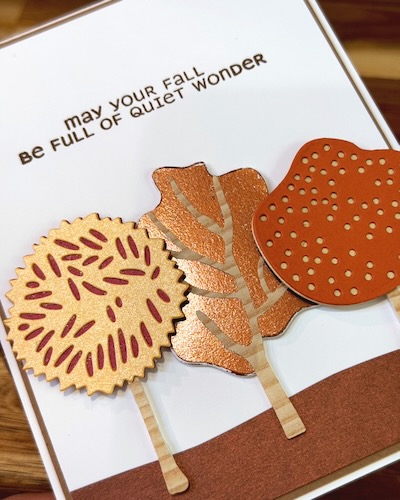
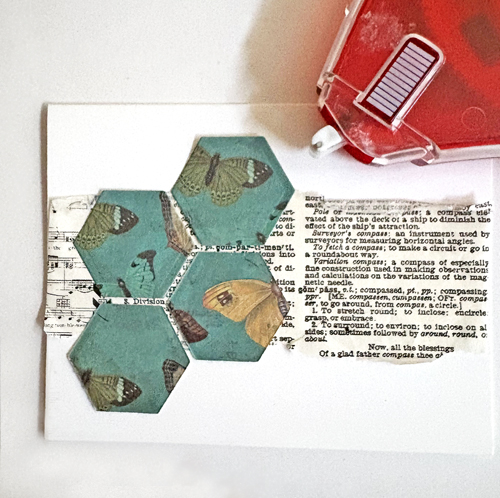
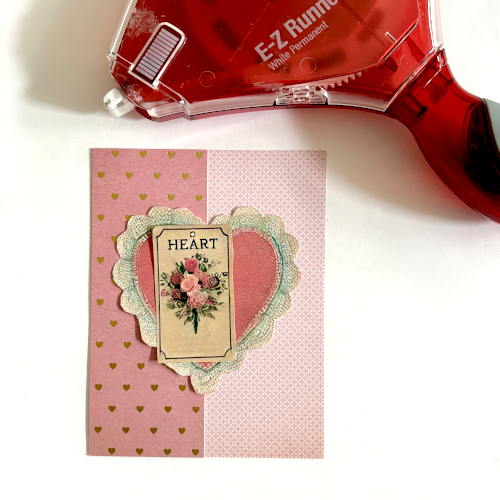
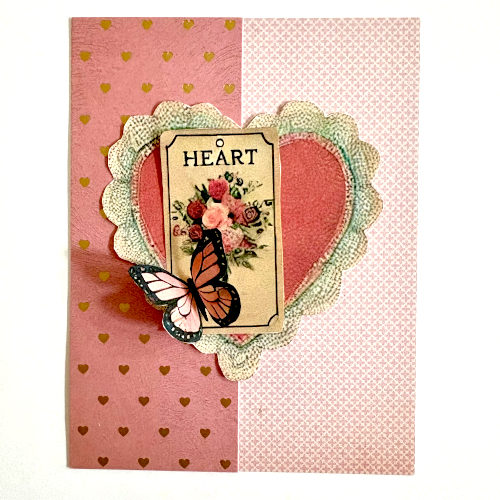
Create the Focal Point
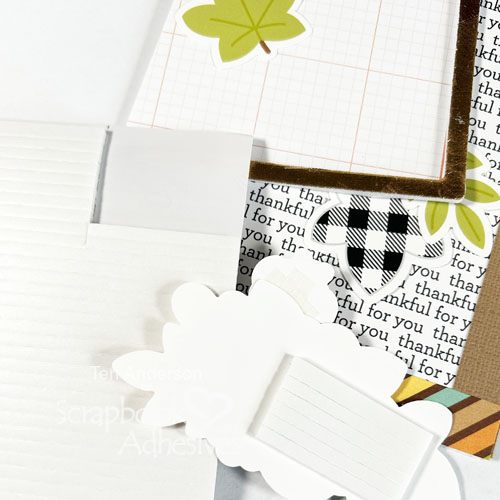
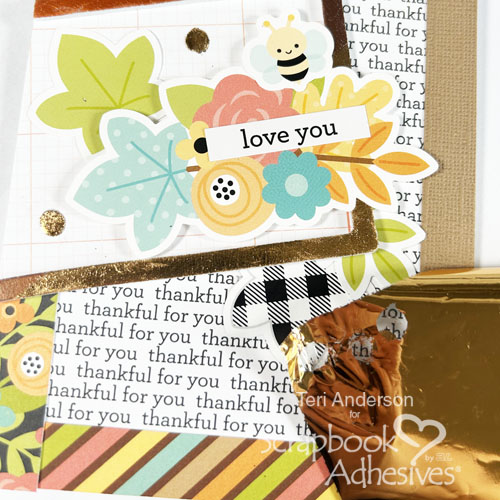
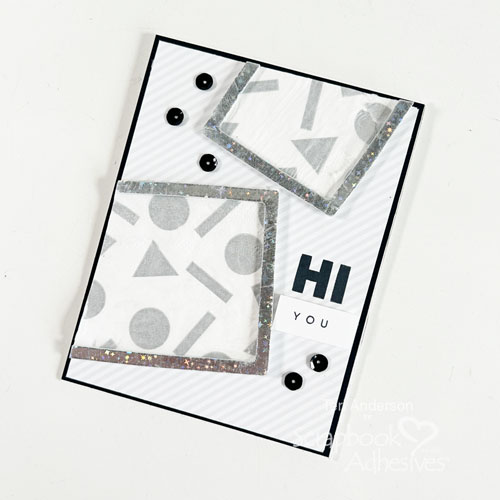
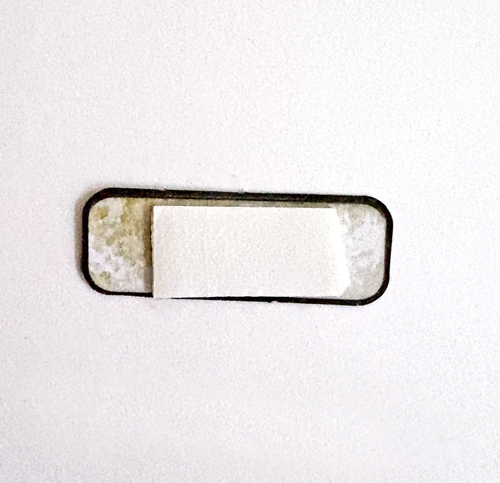
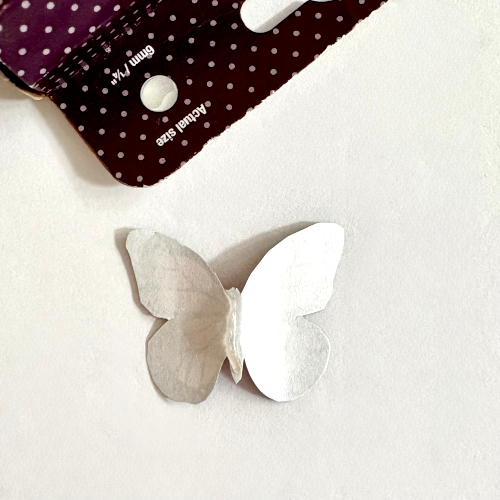
I centered the cut large lacy heart on the panel and placed the heart tag on the left side of the heart with the E-Z Runner® Grand Permanent Strips Refillable Dispenser. Since I didn’t have my Adhesive Lines handy, I rolled my Adhesive Dots Small into a line and applied it to the back of the cut butterfly. After adding it on the bottom left corner of the heart tag, I lifted its wings for dimension.
Finishing Touches on the Card
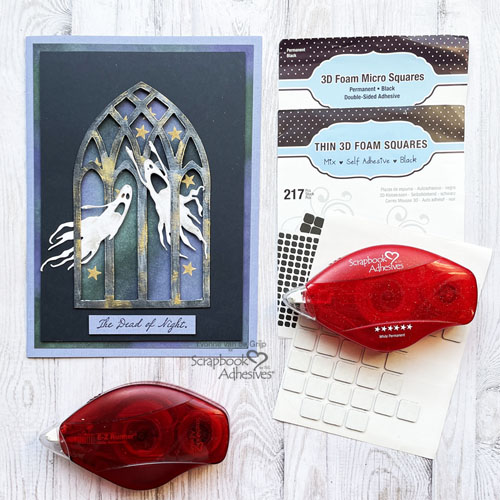
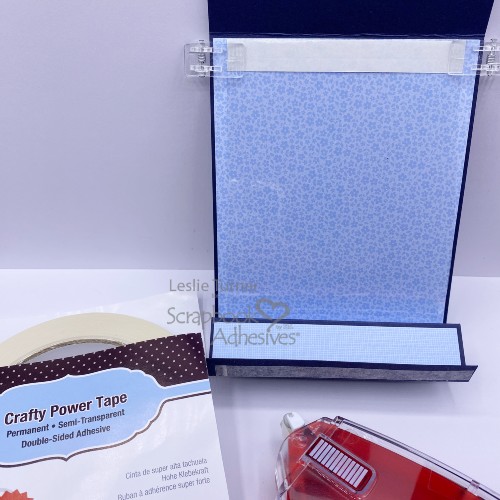
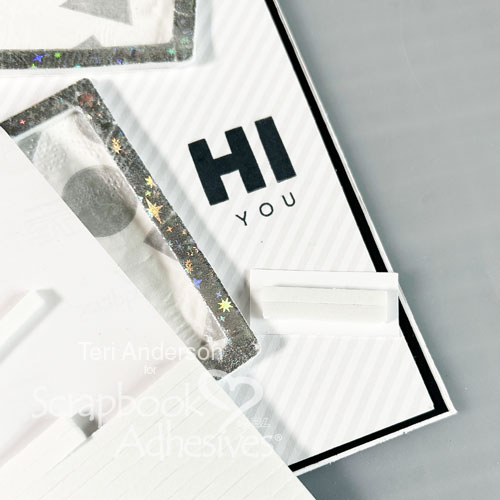
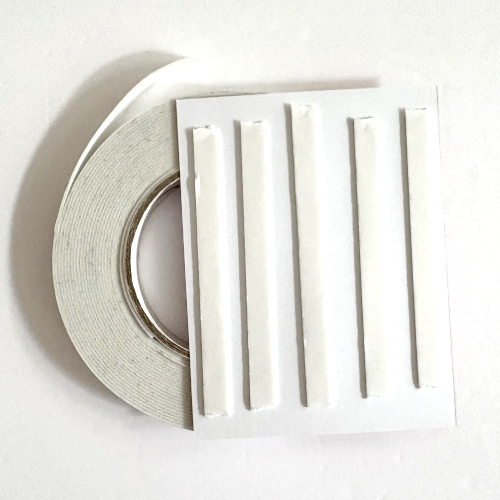
Using the Crafty Foam Tape White 108ft., I added five strips on the back of the panel and centered it on the white cardstock card base. This foam tape has a subtle height vs the regular height of 1/16″ (it’s half of it at 1/32″ – think Thin 3D Foam Squares).
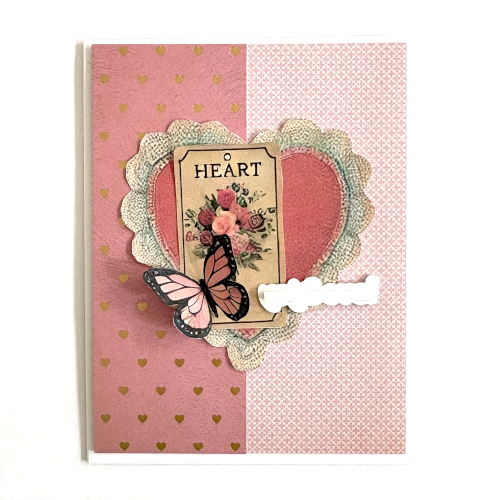
Wear Your Adhesive on the Outside with the E-Z Runner Hearts
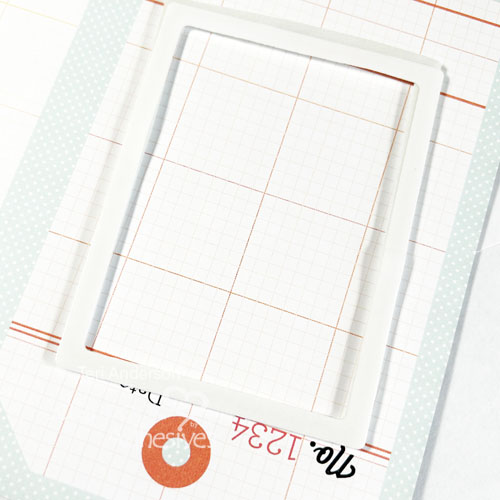
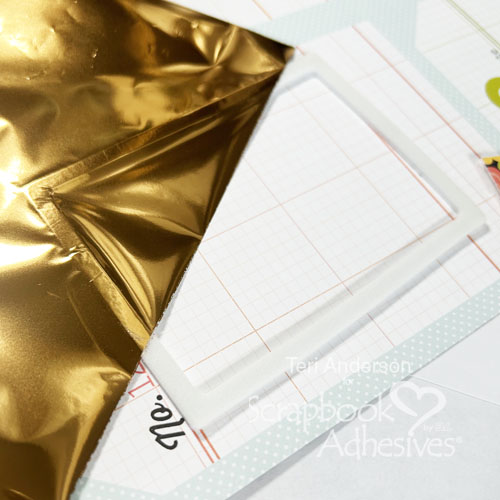
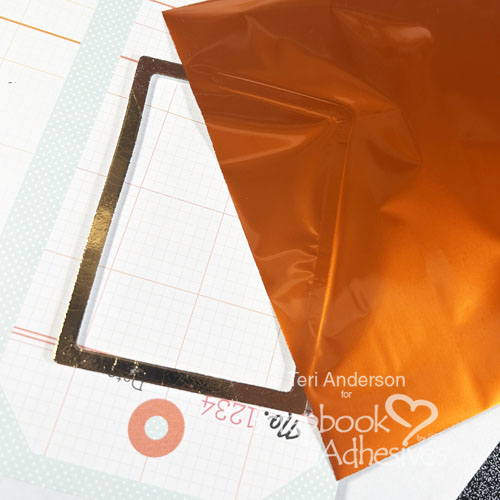
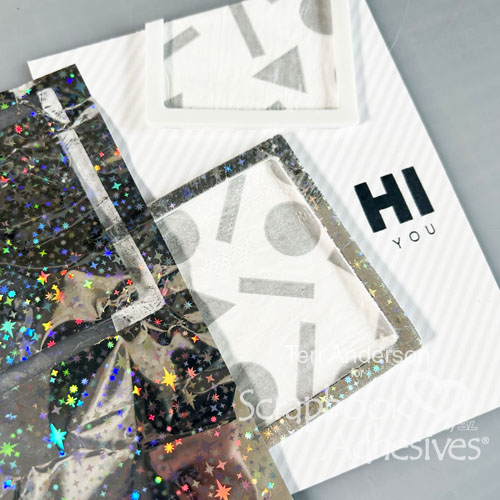
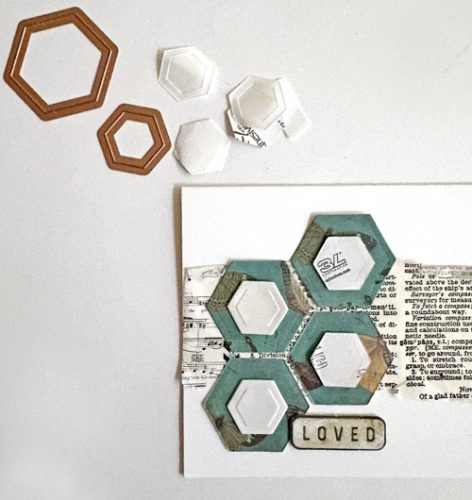
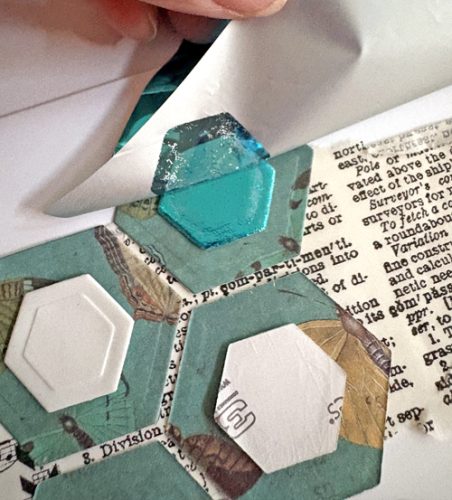
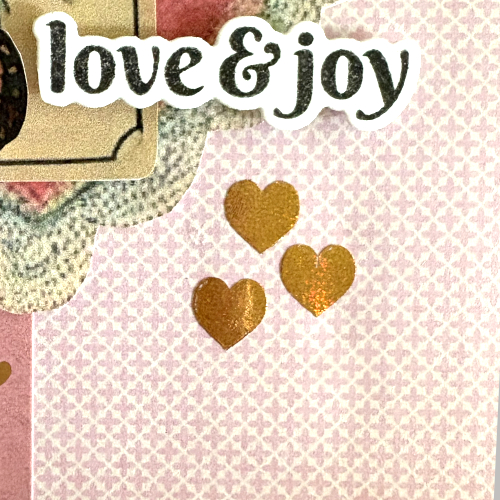
After adding the sentiment by the butterfly with 3D Foam Strips, roll three heart shapes from the E-Z Runner® Hearts Refillable Dispenser. Next, I used a piece of fine gold foil from the Metallic Transfer Foil Sheets Holographic Colors pack and place on a heart shape (color side facing you). Rub to transfer the color to the heart. Peel off to reveal a shiny accent…so easy! Repeat on the other two hearts.
Heart Health Awareness
There are two folds to this day, we also wanted to bring awareness to heart health. The weekend before Sharon passed, she participated as a host instructor for a virtual cardmaking event. Throughout the weekend, she mentioned she wasn’t feeling well but thought nothing of it. She just thought it was something she ate or a touch of the flu. None of us expected that we would lose her on the Monday after the event.
Sadly, Sharon’s story is not unique. Heart disease symptoms are not easy to discern, and they are different in women than in men. Often when we are not feeling well, we tend to minimize our symptoms and push on, caring for others before ourselves.

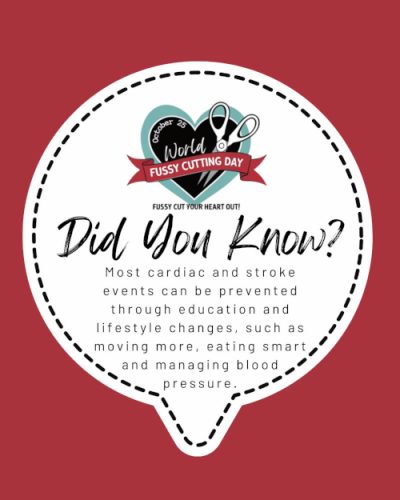
We’d like to think that Sharon would be grateful that her story could be used to help others, and that’s what World Fussy Cutting Day is all about. Let’s learn together about heart disease and how we can better take care of ourselves for many more years of crafting.
Thanks for stopping by and please join the FaceBook Group!
Margie Higuchi
Creative Time: 45 mins
Skill Level: Beginner
Materials Needed:
Scrapbook Adhesives by 3L®
E-Z Runner® Hearts Refillable Dispenser
E-Z Runner® Grand Permanent Strips Refillable Dispenser
3D Foam Strips and Crafty Foam Tape White 108ft.
Metallic Transfer Foil Sheets Holographic Colors
Other: Fussy Cut Sheet #1 Designed by Scraps of Love Samantha Labonte; Patterned Papers: Bo Bunny/American Crafts (Brighton Collection); Stamp: Photo Play Paper Company; Black Ink; Detailed Scissors: Spellbinders Paper Arts + Westcott; White Cardstock
Click Preferred Retailers List
Save to Pinterest!
Visit our Website and Blog!
Sign up for our Newsletter so you never miss a contest or giveaway!