Edit to Add: The Insta Hop & Giveaway is Closed. Thank You for Participating!!
Congratulations to the winner, @pegasong! 🎉
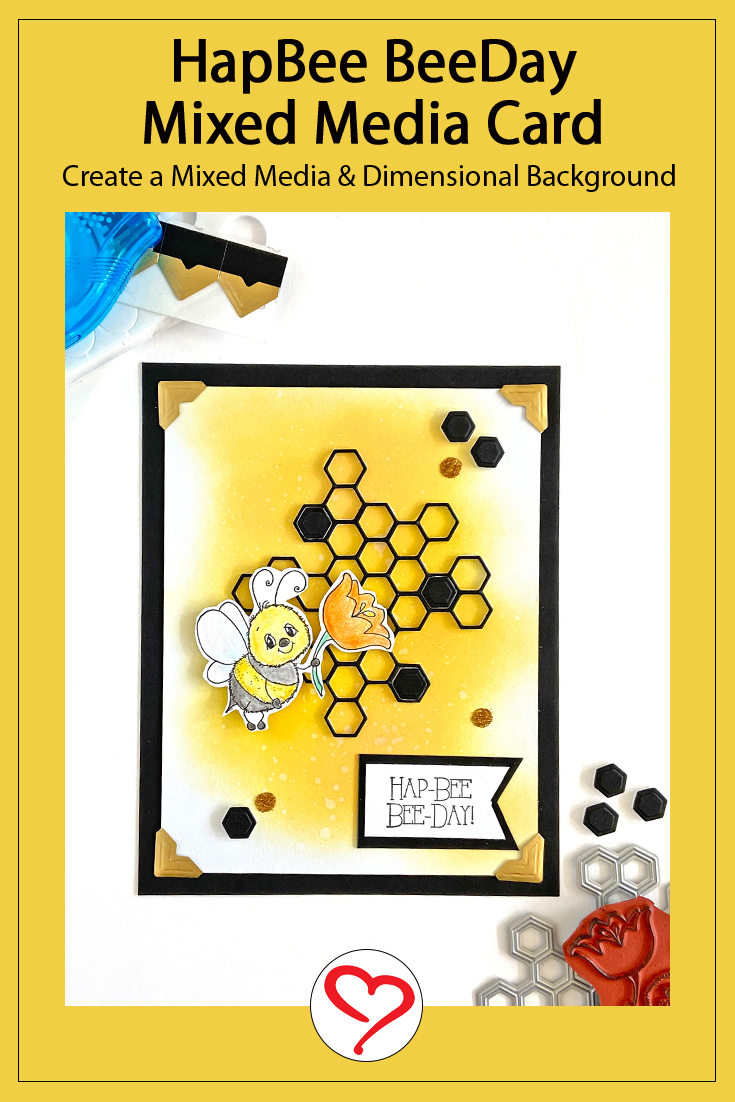
Can you stand this stinkin’ cute HapBee BeeDay Mixed Media Card? I am so excited to share with you this project BEEcause Scrapbook Adhesives by 3L and Whimsy Stamps are collaborating on an Instagram Hop & Giveaway this week! Before we get to the hop, let me show you my cardmaking photo tutorial. Stick around to the end, we’ll take you to the link.
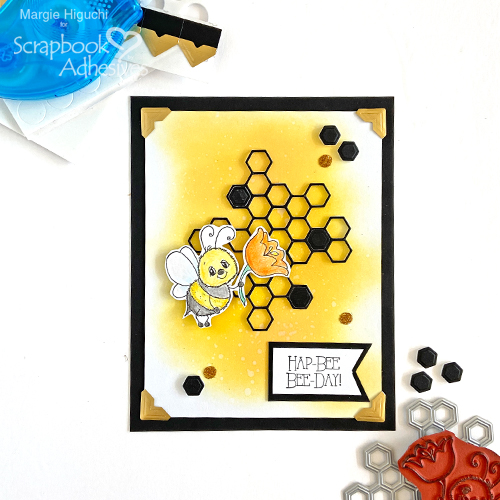
HapBee BeeDay Honeycomb Die Cut
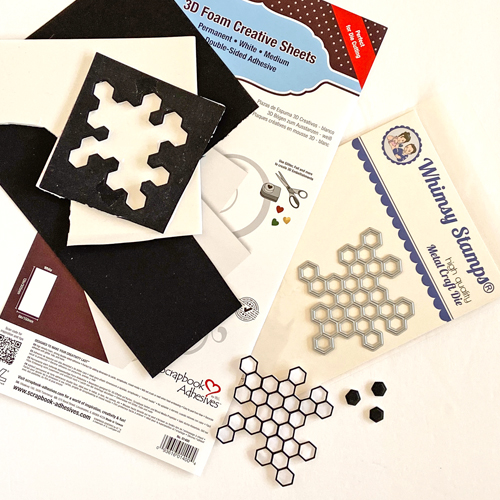
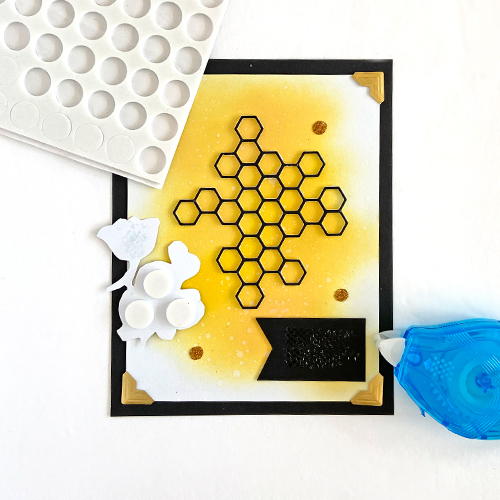
Use a piece of black cardstock and apply 3D Foam Creative Sheet Medium to the back. Die-cut it with the Honeycomb Pattern Die. Designer’s Note: Because it is intricate, I rolled it through the machine about two to three times. Set aside.
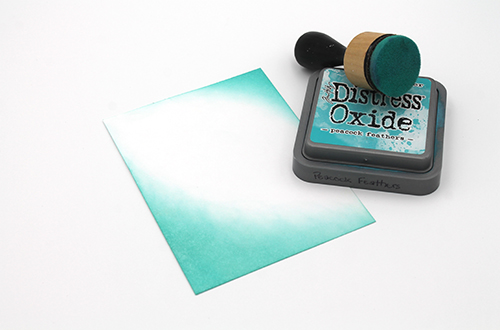
Inking a Background
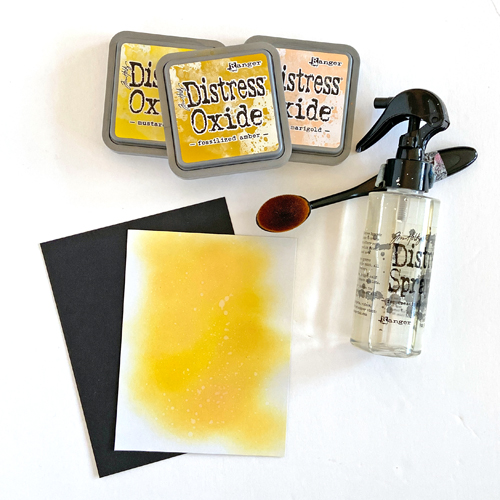
On a 4.25 x 5.5-inch white card panel, I inked the background with Distressed Oxide in Mustard Seed, Fossilized Amber, and Dried Marigold. Then I misted water on it and let dry. It creates a wonderful mixed media backdrop for my card design. 🙂
Stamping Elements
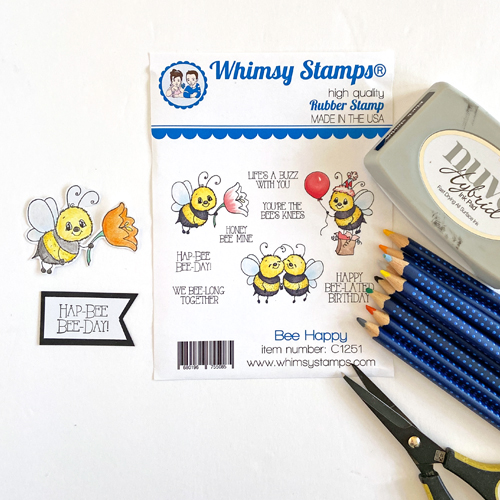
Next, I stamped a sweet bee with a flower from the Bee Happy Rubber Cling Stamp Set on white cardstock and colored it with watercolor pencils. When done, I fussy cut it and set it aside. Next, I stamped the sentiment, cut it to a ribbon tail, and mat it with black cardstock.
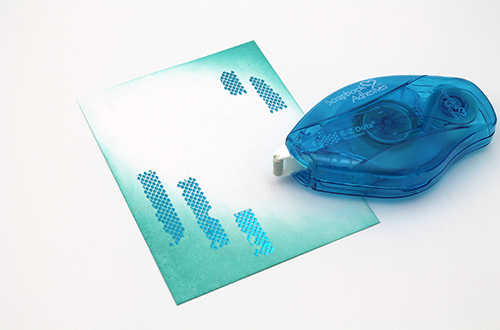
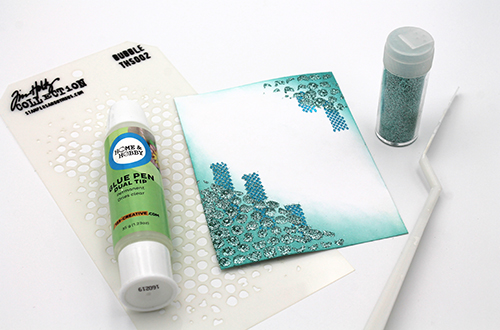
Adding Accents

Using the card elements as a guide, I determined where to place my Adhesive Dots Small. Take off the liners to pour gold glitter on top, press to secure, and tap off the excess. As a result, I have glittered accents for my card panel.
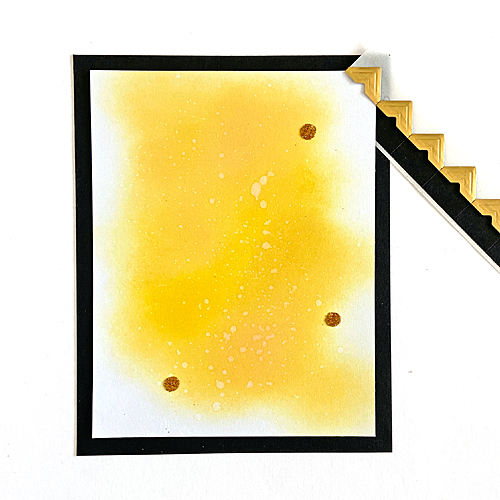
To add more accents, I used the Creative Photo Corners in Gold on all four corners of the card panel and secured it on the black card base.
Assembling the Card
To finish, take off the liner from the back of the honeycomb pattern die cut and place it on the panel. Next, place 3D Foam Circles White on the back of the bee and adhere it to the left of the honeycomb. Add the sentiment to the bottom right corner with the E-Z Runner Petite Permanent Dots. Lastly, add the honeycomb pieces around the panel and the HapBee BeeDay Card is done!
Thanks for buzzing on in to see my HapBee BeeDay Card! Hope to see you again. Keep scrolling down to go to the Scrapbook Adhesives by 3L + Whimsy Stamps Instagram Hop & Giveaway – click the image to take you there!
MargieH
Skill Level: Intermediate
Creative Time: 30 minutes
Materials Needed:
Scrapbook Adhesives by 3L®
3D Foam Creative Sheet Medium
3D Foam Circles White
E-Z Runner® Petite Permanent Dots, Adhesive Dots Small
Creative Photo Corners in Gold
Whimsy Stamps
Bee Happy Rubber Cling Stamp
Honeycomb Pattern Die
Other
Inks: Ranger Ink (Distress Oxide in Mustard Seed, Fossilized Amber + Dried Marigold) and Tonic Studio (Nuvo Hybrid Ink in Black Shadow), Watercolor Pencils: Faber Castell (Art Grip Aquarelle in 105, 108, 111, 115, 147, 163, 199, 234, and 270), Black and White Cardstock; Scissors; Manual Die-Cutting Machine
Save to Pinterest!
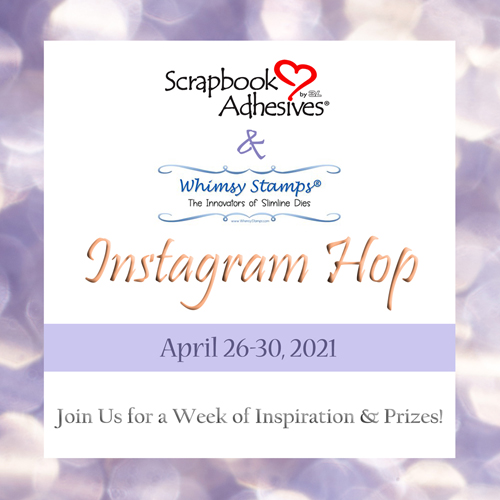
Instagram Hop & Giveaway with Whimsy Stamps!
Scrapbook Adhesives by 3L and Whimsy Stamps are collaborating on each company’s Instagram accounts this week! Find inspiration and details on our giveaways on Day 1, CLICK THE IMAGE BELOW & enjoy!!
Visit our Website and Blog!
Sign up for our Newsletter so you never miss a contest or giveaway!