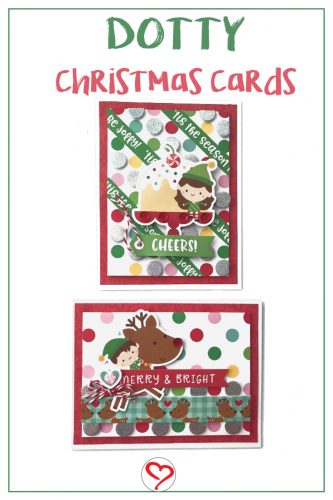
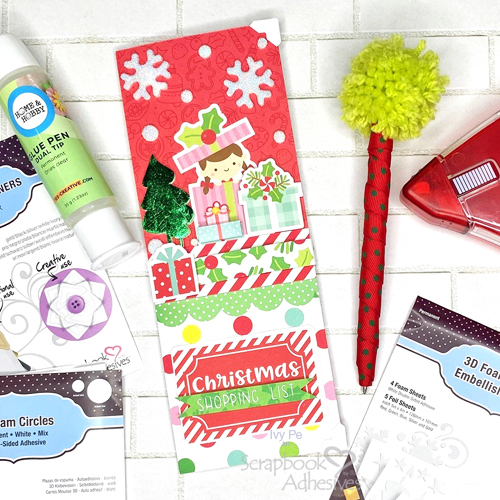
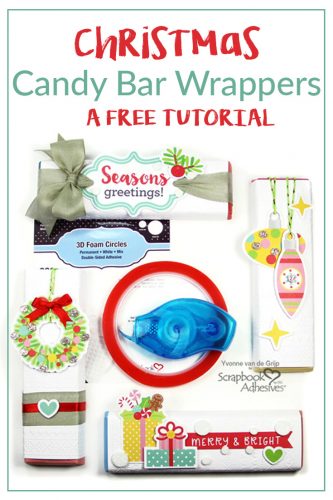
Hi everyone, Yvonne here with some fun ideas to dress up chocolate bars with Christmas Candy Bar Wrappers. Festive chocolate makes great stocking stuffers, and they’re perfect gifts for friends, co-workers and neighbors! Plus, they’re fun to decorate in holiday style!
With glittered 3D Foam Circles, I am using the technique that is known as Wearing Your Adhesive on the Outside. Come on and let me show you how to make the fun festive wrappers!
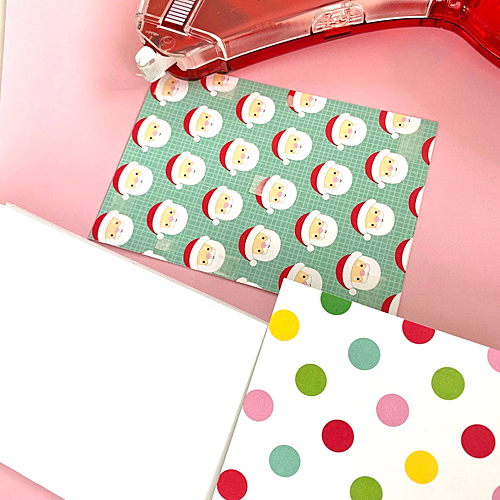
Candy Bar Wrapper Instructions
First, emboss a piece of white cardstock: put some white cardstock between an embossing folder and then run through your die-cutting and embossing machine.
Now trim the embossed cardstock to the right size to fit the chocolate bar. Make sure you have enough overlap to adhere to the wrapper!
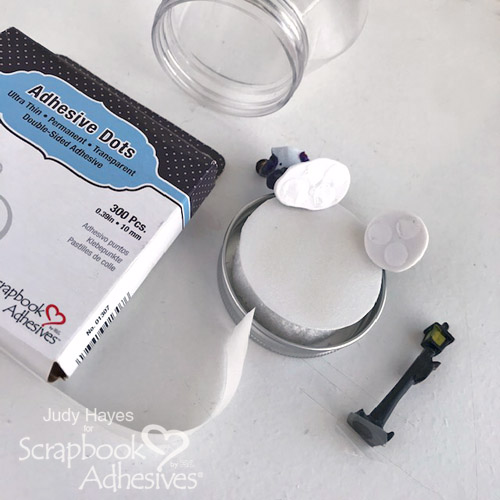
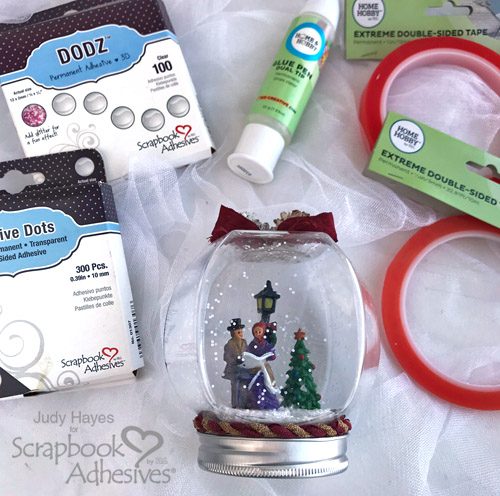
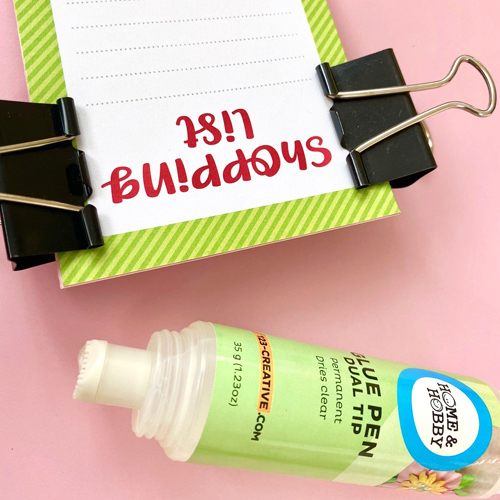
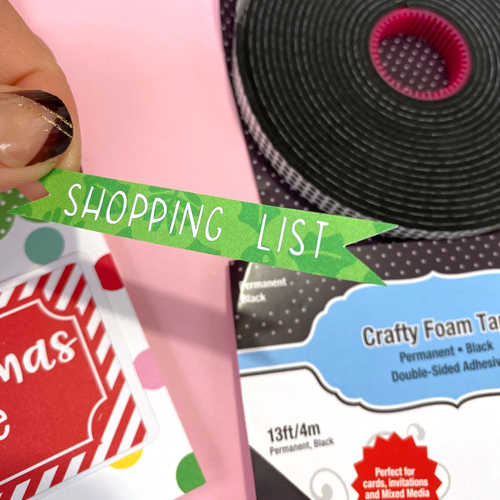
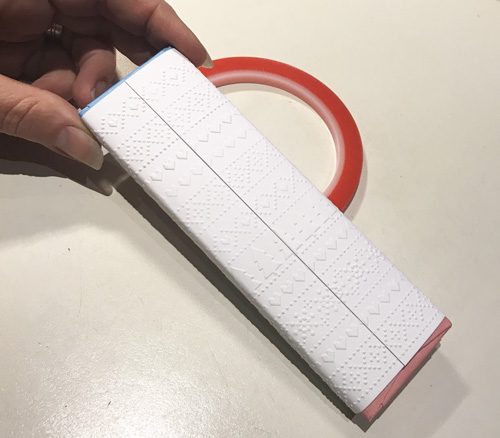
I have used Extreme Double-Sided Tape 1/4in to make sure the wrapper adheres extra secure.
Apply a line of Extreme Double-Sided Tape 1/4in to the front side of one side of the wrapper and then turn over the cardstock around and add a line of Extreme Double-Sided Tape 1/4in to the back side of the other end. This way you will have a double and extra secure adhering.
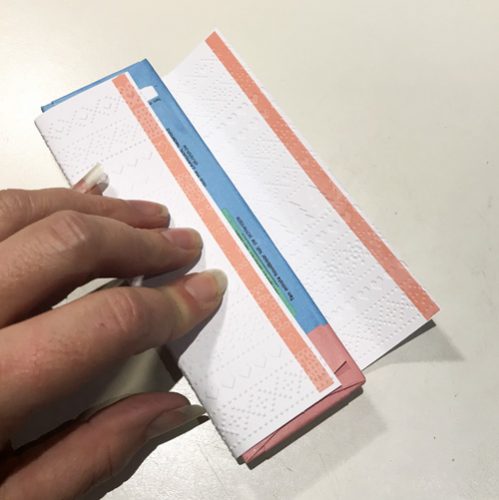
Now remove
both red liners and wrap and adhere the wrapper around the chocolate bar.
Festive Embellishing
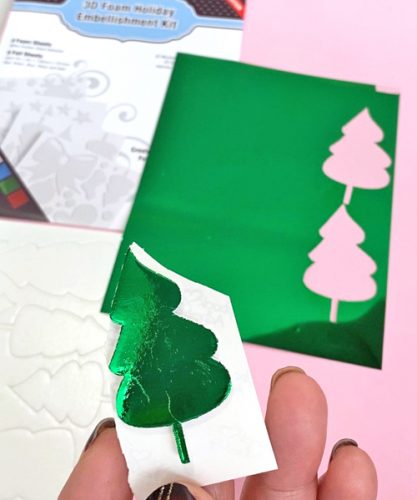
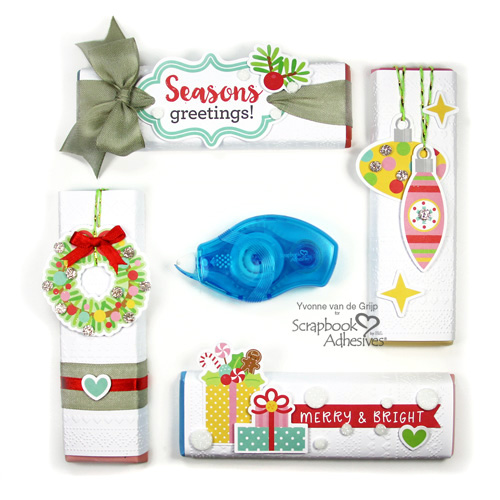
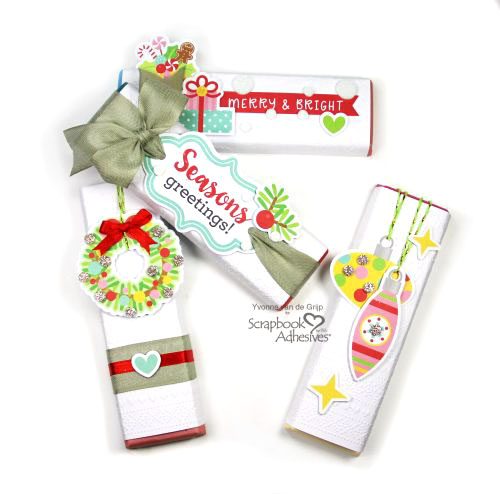
Now let’s embellish to make them Festive Chocolate Bar Wrappers! It’s very easy with die-cut pieces and the Scrapbook Adhesives by 3L® adhesives. I made four wrappers in total.
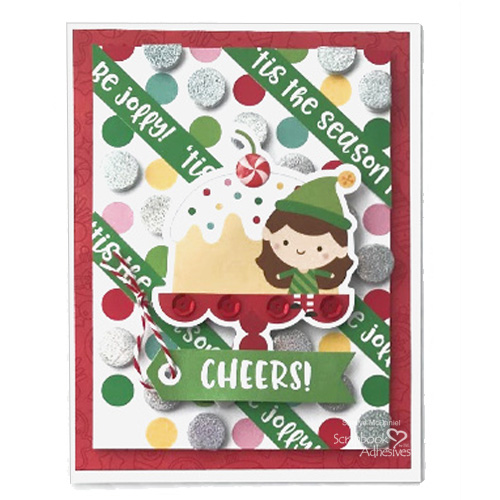
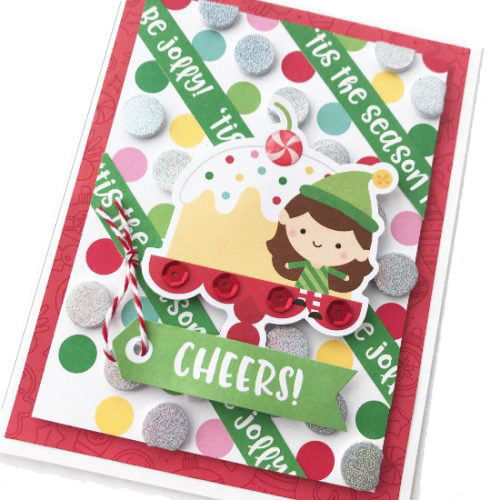
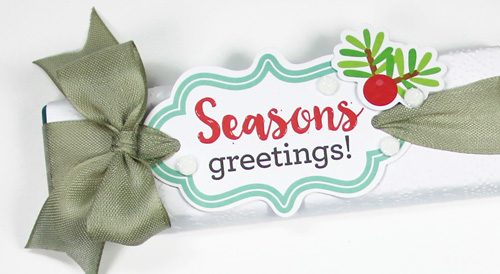
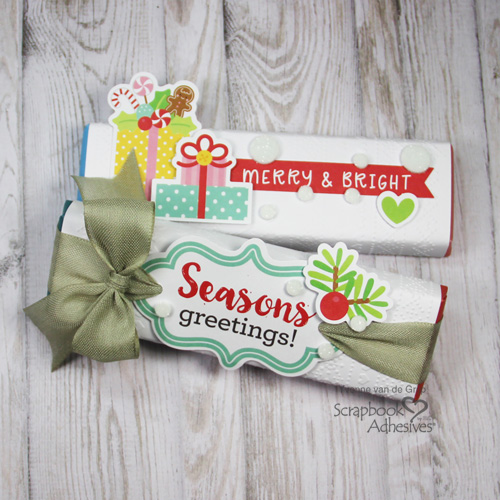
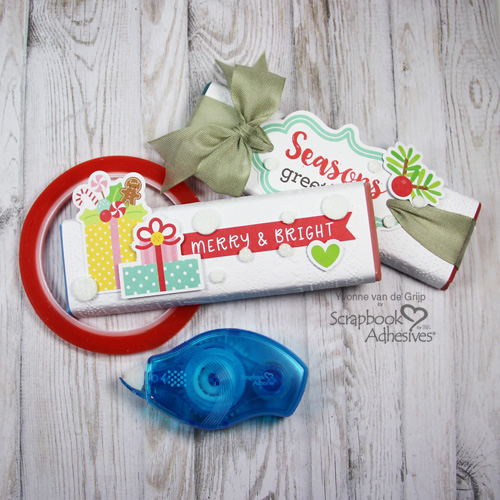
Wrapper 1: Season’s Greetings
First I
punched two small holes in the Season’s Greetings label and then thread some
ribbon through.

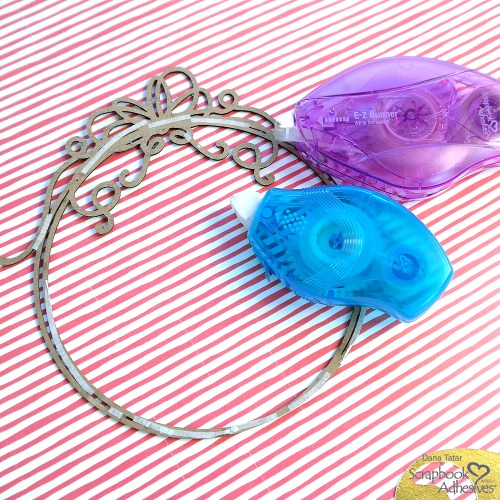
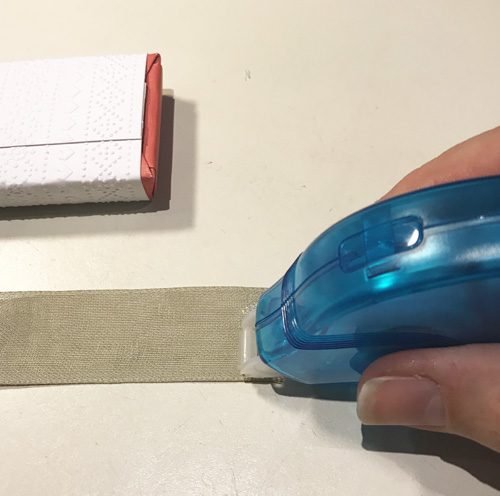
Then adhere the ribbon to the back of the chocolate bar using the E-Z Runner® Petite Permanent Dots Refillable Dispenser.
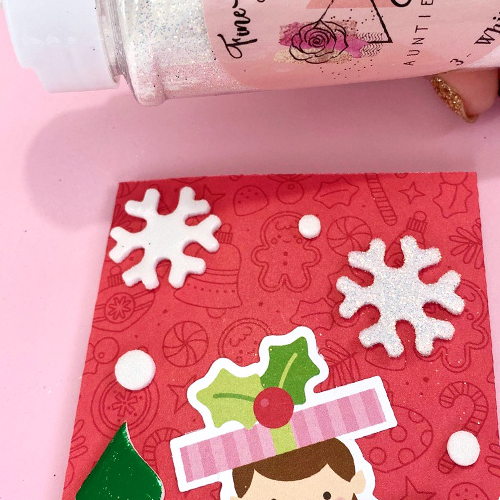
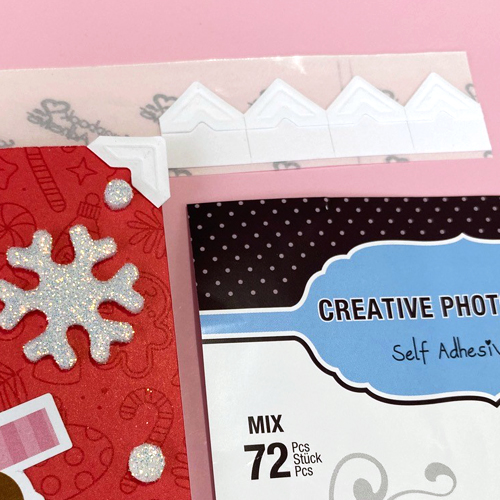
A bow was secured to the front using Adhesive Dots Large. Then adhere a small holly die-cut using 3D Foam Circles White Mix.
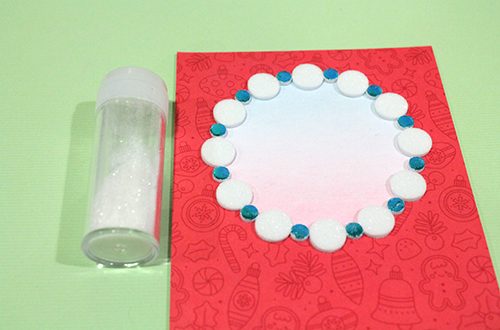
Finally, add some glittered 3D Foam Circles White Mix to represent snowflakes. To Wear Your Adhesive on the Outside, remove the top liner of a 3D Foam Circles White Mix, sprinkle glitter on top and press with your finger to make sure they stay. Tap off the excess and done!
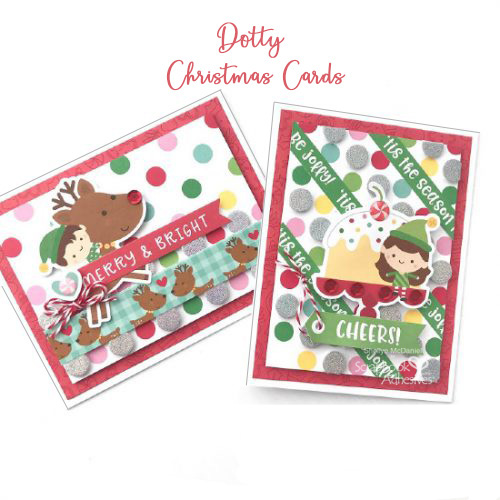
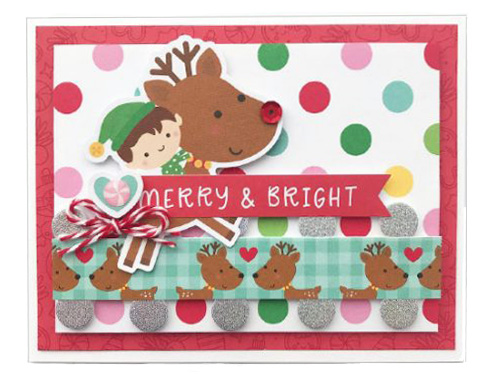
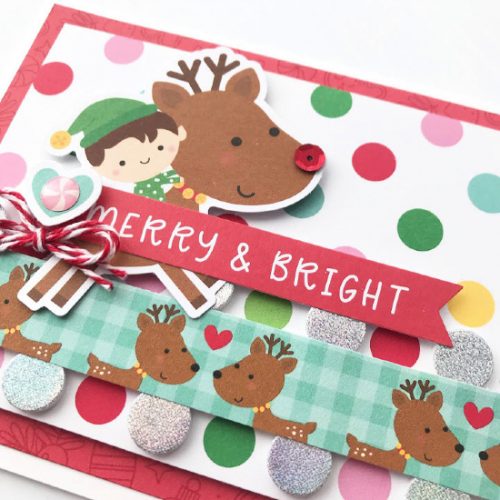
Wrapper 2: Merry and Bright
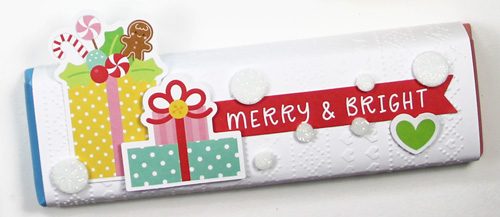
Adhere the large gift box die-cut and sentiment to the wrapper using the E-Z Runner® Petite Permanent Dots Refillable Dispenser. The heart and smaller box die-cuts adhered with 3D Foam Circles White Mix. This way you create some extra dimension. Next, add glittered 3D Foam Circles White Mix to the wrapper as mentioned in the previous step.
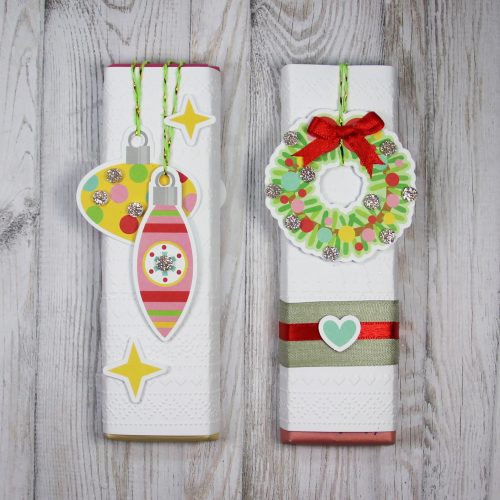
Wrapper 3: Baubles
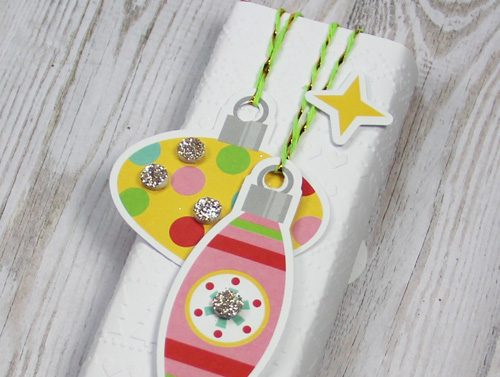
Start by punching a hole in the bauble and thread some green twine through. Then adhere the yellow bauble using the E-Z Runner® Petite Permanent Dots Refillable Dispenser and then the pink bauble and stars using 3D Foam Circles White Mix for dimension.
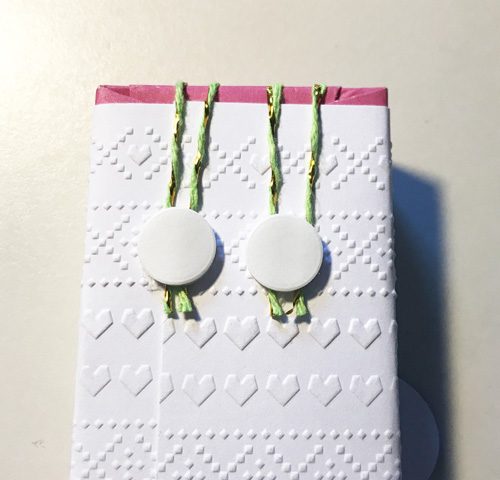
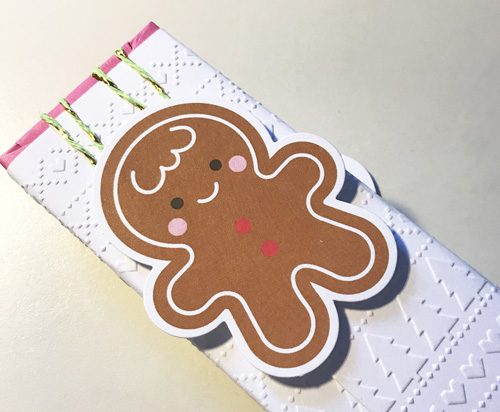
Adhere the twine to the back of the wrapper using 3D Foam Circles White Mix and cut off the excess twine using scissors. Next, remove the liner and embellish with a die-cut so no twine ends are showing.
Finally, adhere some gold glittered 3D Foam Circles White Mix to the wrapper to Wear Your Adhesive on the Outside.
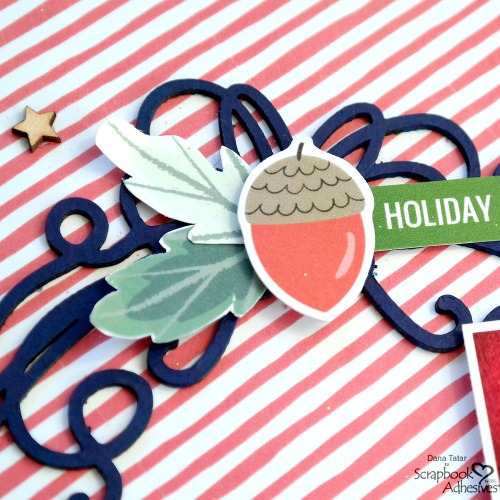
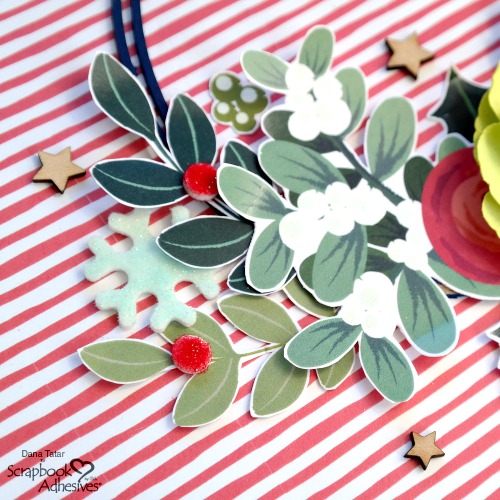
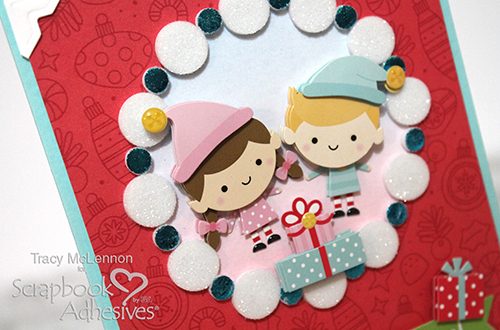
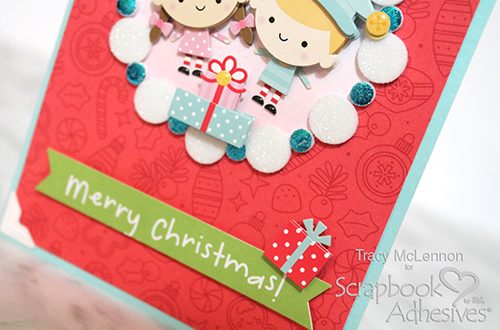
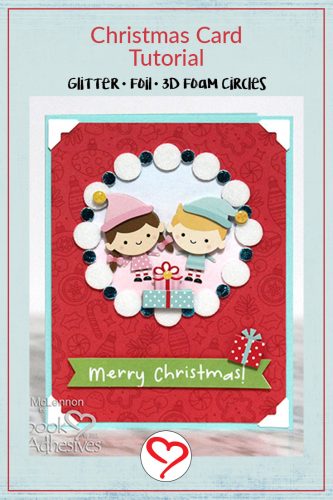
Wrapper 4: Holly Wreath
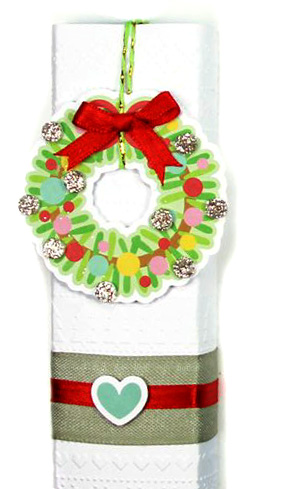
Wrap twine around the wreath die-cut and adhere to the front of the wrapper using 3D Foam Circles White Mix. Then adhere the ends of the twine to the back also using 3D Foam Circles White Mix. To make the twine ends invisible, remove the liner of the 3D Foam Circles White Mix and adhere a tiny die-cut upon.
Then wrap
around some ribbon and adhere to the back of the wrapper using the E-Z
Runner®
Petite Permanent Dots Refillable Dispenser.
Now adhere a small hear die-cut to the wrapper using 3D Foam Circles White Mix. Then adhere a satin bow adhered using Adhesive Dots Large. Finish by adding glittered 3D Foam Circles White Mix.
I hope you enjoyed the tutorial and wish you lots of fun decorating your own chocolate bars into your own Christmas Candy Bar Wrappers!
Happy crafting!
Yvonne van de Grijp
Creative Time: 60 minutes
Skill
Level: Intermediate
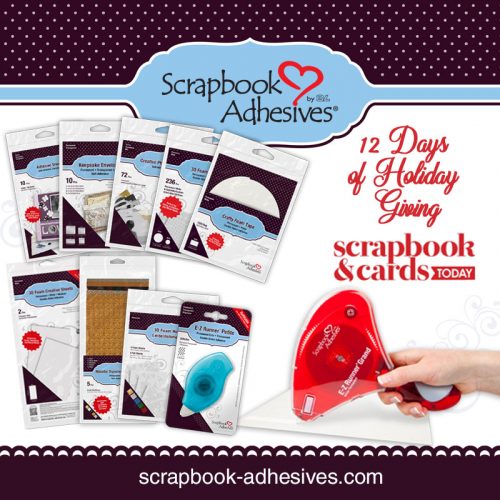
Materials Needed:
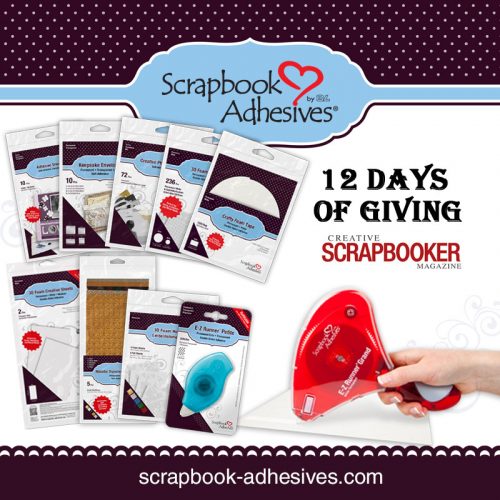
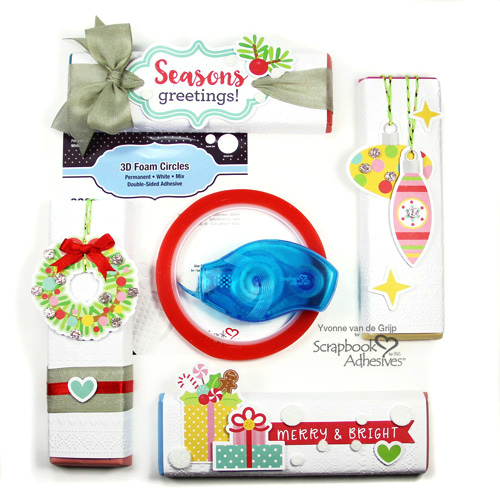
Scrapbook Adhesives by 3L®
3D Foam Circles White Mix
E-Z Runner® Petite Permanent Dots Refillable Dispenser
Adhesive Dots Large
HomeHobby™ by 3L
Extreme Double-Sided Tape 1/4in
Other
Die-cuts (Doodlebug Design inc.™ – Christmas Collection); Cardstock (White), Glitter (Gold, White), Ribbon (Red, Beige), Twine (Green), Scissors, Paper Trimmer, Embossing Folder (Marianne Design), Die-Cutting and Embossing Machine (Spellbinders® Paper Arts: Platinum 6); Chocolate bars.
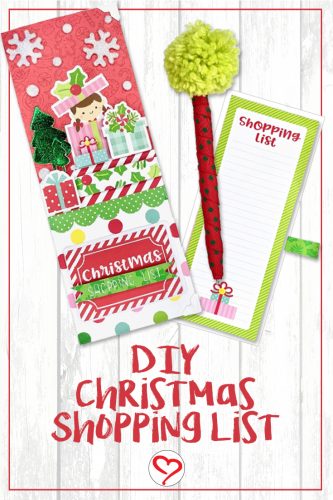
Save it on Pinterest
Visit our Website and Blog!
Sign up for our Newsletter so you never miss a contest or giveaway!