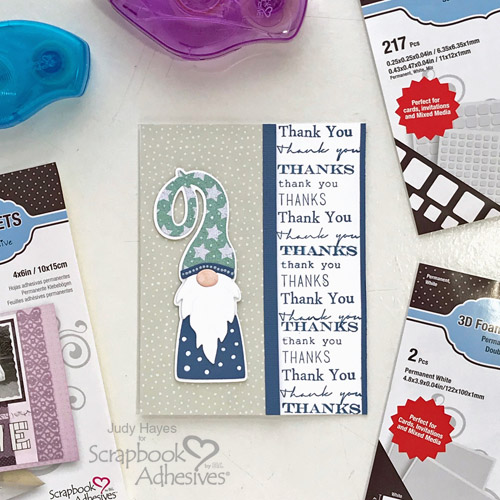
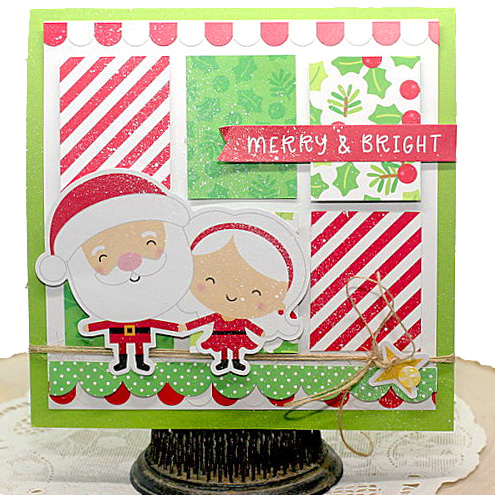
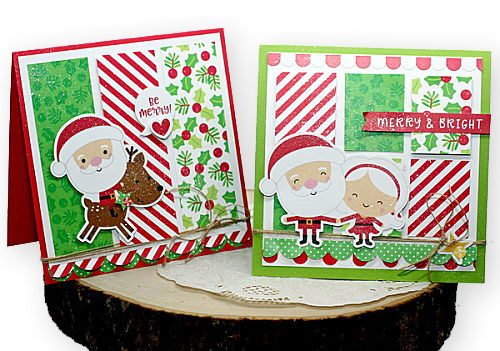
For the Seasons Givings Blog Hop and Giveaway, CLICK: Seasons Givings 2020: DIY Stamp Wheel New Year Card.
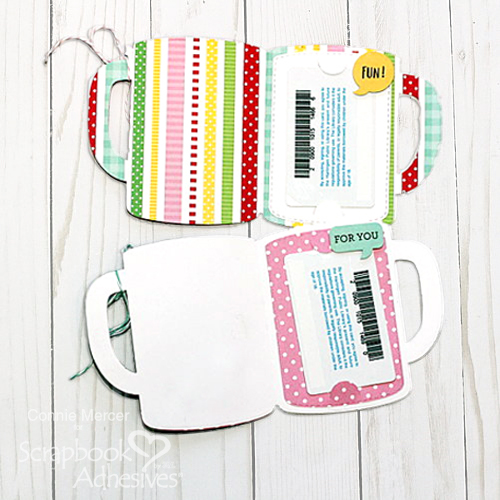
Hi, Connie here with a couple of gift card ideas for a coffee loving friend. I’m creating with a coffee mug die that has a gift card insert inside it, and using Scrapbook Adhesives by 3L to secure the embellishments.

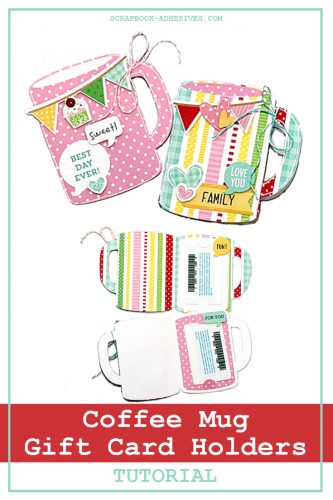
Coffee Mug Gift Card Holder Instructions
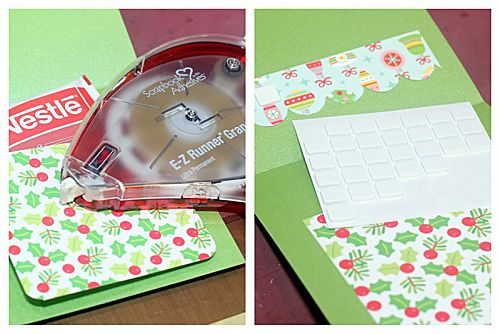
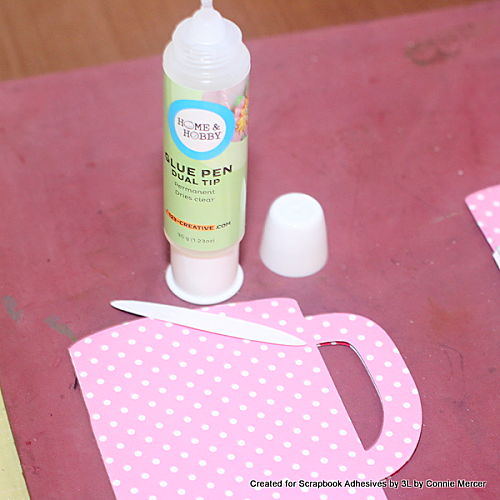
To begin creating these fun gift card holders, use a coffee mug craft die and some pretty paper. Run the die through a die cutting machine. The die set I’m using comes with three parts, so cut all three parts.
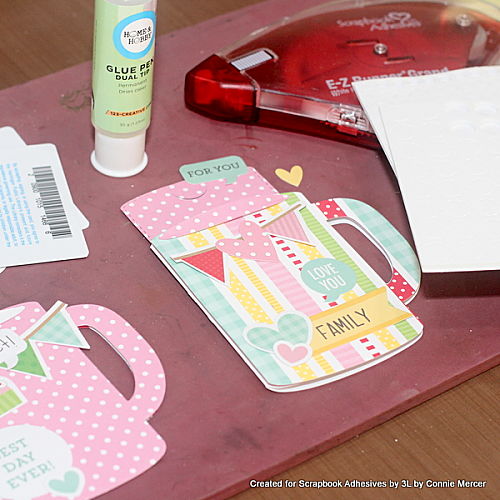
Add the beverage piece to the top of the mug using the Dual Tip Glue Pen. It works great for this and easy to apply too!
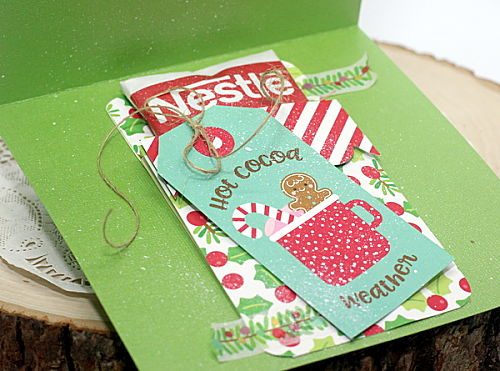
Add the gift card insert to the inside of the mug card, using the E-Z Runner® Grand Dispenser. Simply add your favorite card!

Embellishing the Front
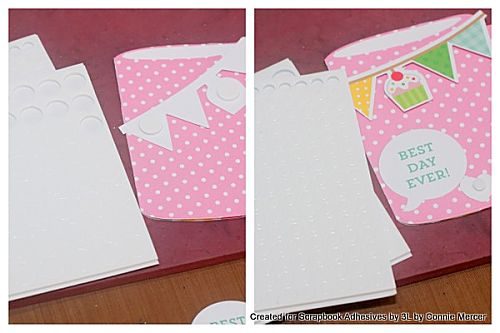
Next is the fun part, decorating the front of the mug. Use the 3D Foam Circles White Mix to adhere the embellishments to the front of the mug card. I love the dimension they add to the premade die cuts! So perfect!
Creative Time: 35 minutes
Skill Level: Intermediate
Materials Needed:
Scrapbook Adhesives by 3L®
E-Z Runner® Grand Dispenser
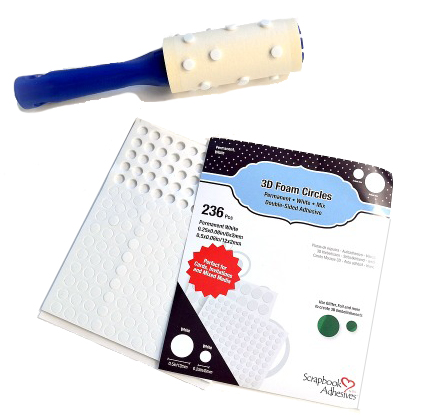
3D Foam Circles White Mix
HomeHobby™ by 3L
Dual Tip Glue Pen
Other
Patterned Papers: Doodlebug Design; Mug Craft Die: Trinity Stamps; Glitter Pen; White Gel Pen; Twine
Thanks for stopping by!
Connie Mercer
Love It and Save It to Pinterest!
Visit our Website and Blog!
Sign up for our Newsletter so you never miss a contest or giveaway!