
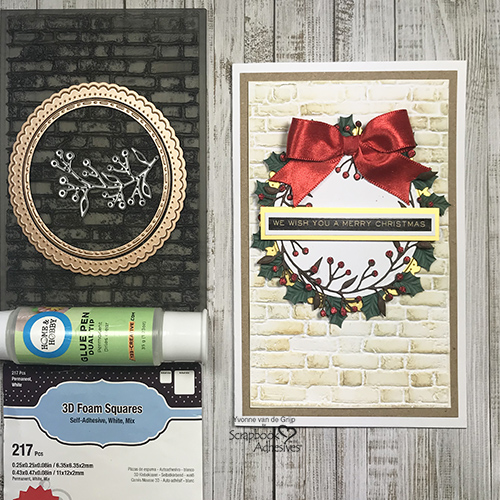
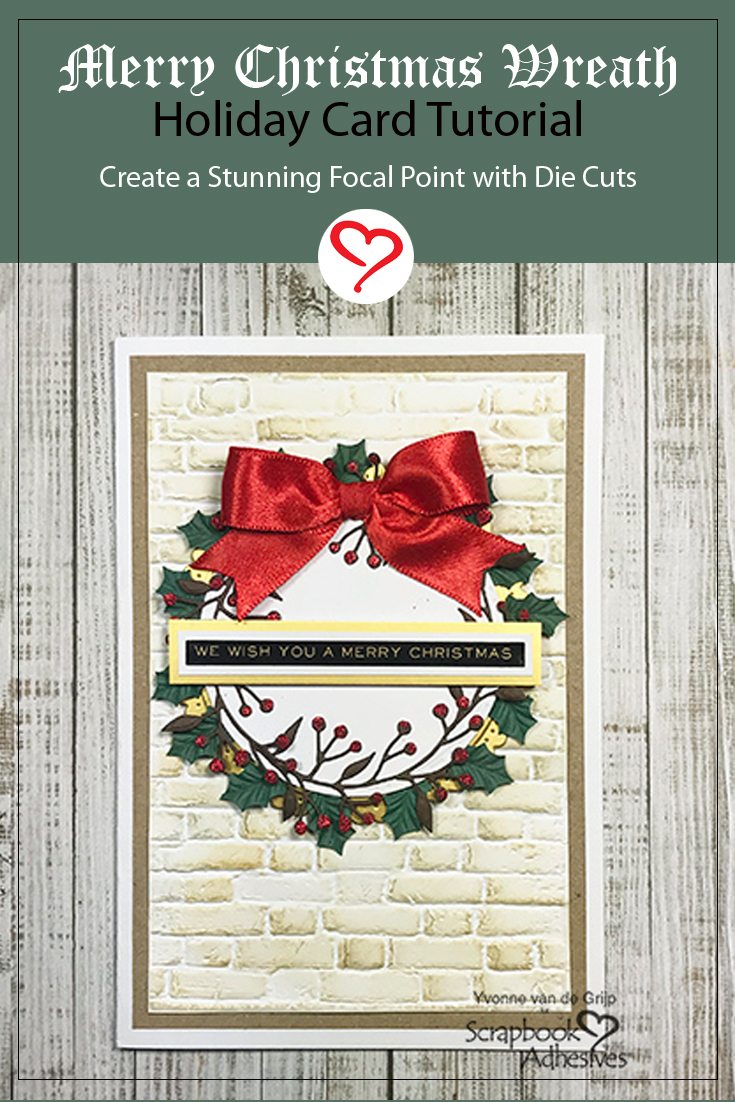
Hi everyone, Yvonne here with some Christmas inspiration. With Christmas coming up next month I started making my Christmas cards. I know this Merry Christmas Wreath Card may look complicated but with Scrapbook Adhesives by 3L products, it’s much easier to create than you might think. Let me show you how in my photo tutorial.
Christmas Wreath Panel Steps
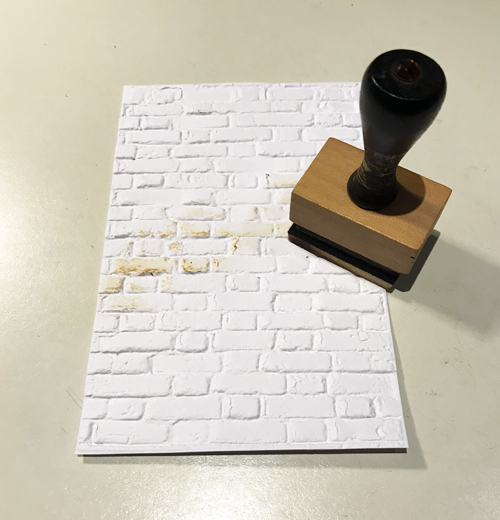
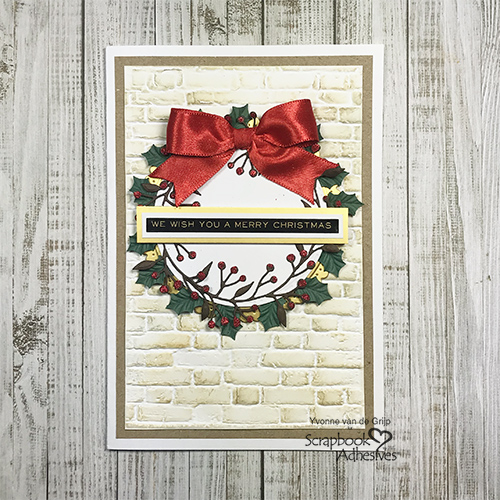
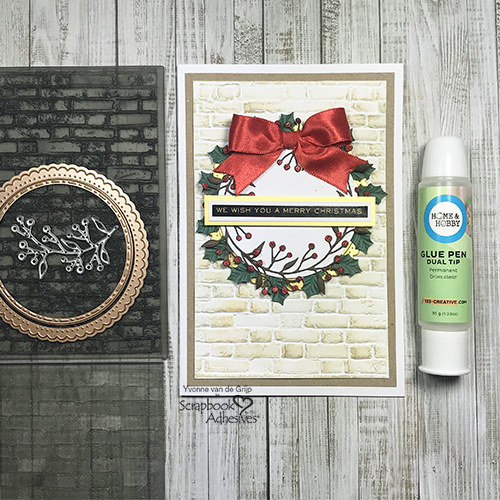
The top card panel for this card was embossed with a 3D brick embossing folder. Place a piece of white cardstock between the embossing folder and run the embossing sandwich through your die-cutting and embossing machine. Then trim the edges to the desired size by using a paper trimmer.
To highlight the embossed design, I used an ink blending tool to softly dab and brush a combination of brown and grey inks.
Card Panel Embellishing Details
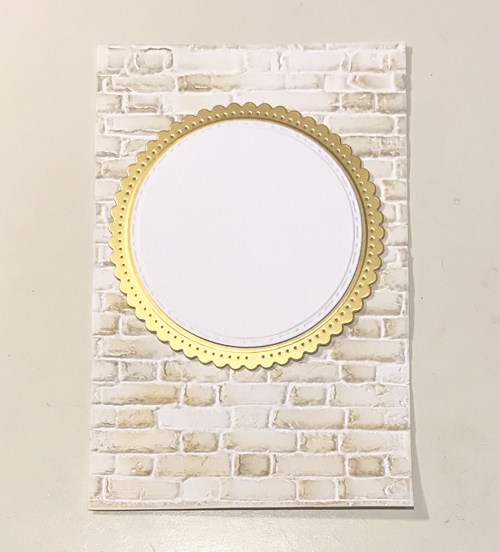
Adhere the embossed panel onto a slightly larger brown card panel and then attach the layered panel to a white card base using the E-Z Runner® Permanent Strips Refillable Dispenser.
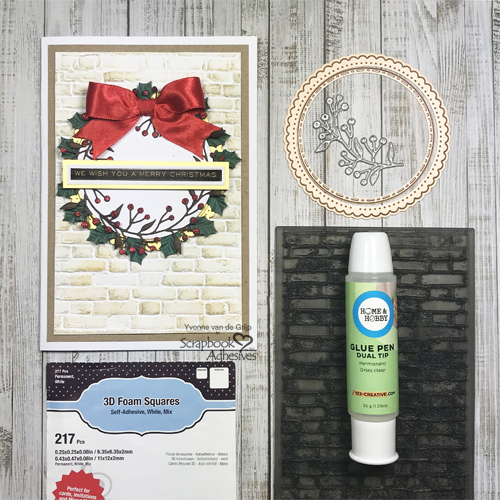
Next die-cut and emboss a scalloped circle from gold cardstock and a slightly smaller white circle from white cardstock. Layer the two die cut shapes with 3D Foam Squares White Mix. Then adhere them to the card base with more foam squares.
Making the Christmas Wreath
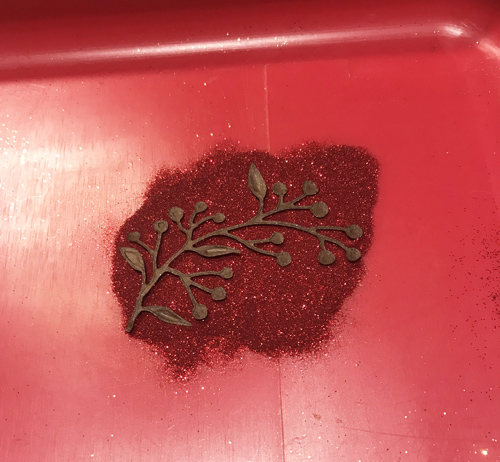
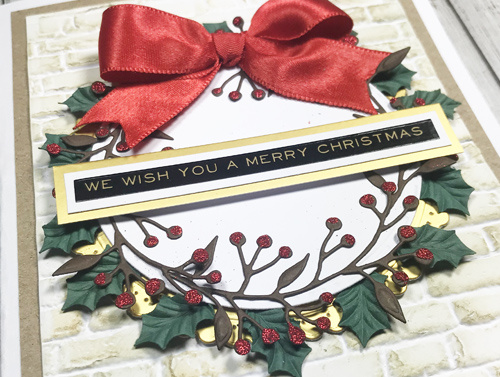
Let’s make the Christmas wreath! First, die-cut several berry branches from brown cardstock. Then add small drops of glue using the Dual Tip Glue Pen onto the little berries shapes.
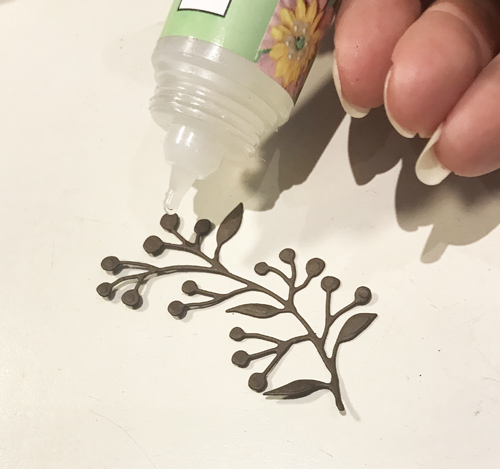
Gently press down the berries into red glitter and tap off any excess.
Set aside to dry. Repeat this step with the other berry branches.
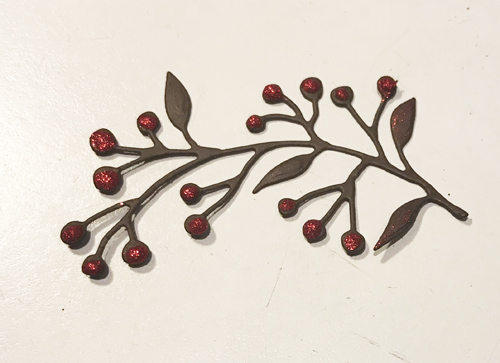
When the glittered berries dry, adhere the branches around the edge of the white circle shape on the card base.
Adhere mulberry holly leaves between the white and golden die-cut circles using the Dual Tip Glue Pen to give color and layer to the wreath.
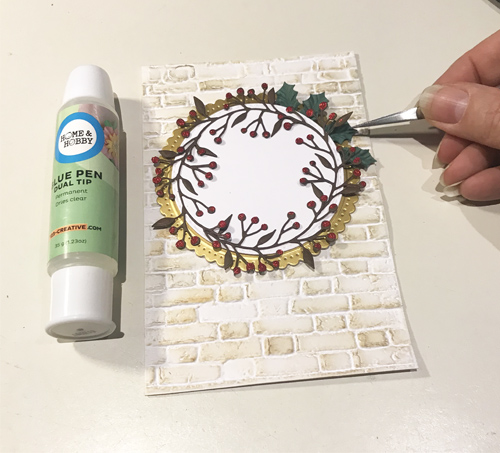
Designer’s Tip: Use tweezers for the precise placement of the leaves.
The Finishing Touches
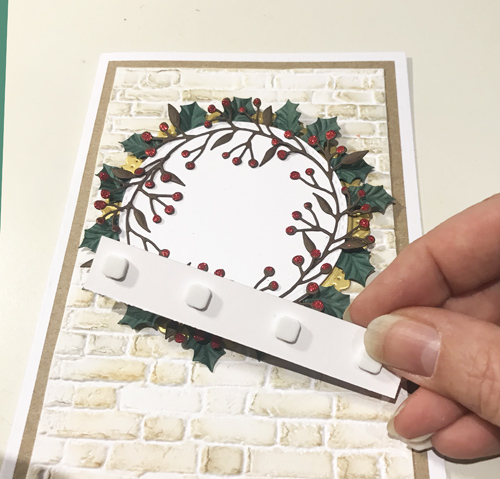
For the sentiment, I used a sentiment sticker which I double matted with white and gold cardstock using the E-Z Runner® Permanent Strips Refillable Dispenser. Lastly, I adhered it to the Christmas wreath using 3D Foam Squares White Mix in the middle of the wreath.
For the final touch, I made a red satin bow and adhered it to the top of the Christmas wreath using Adhesive Dots Large.
Voila…your Christmas Wreath card is ready. I bet it was easier than you thought!
Wishing you happy (Christmas) crafting,
Yvonne van de Grijp
Creative Time: 40 minutes
Skill Level: Intermediate
Materials Needed
Scrapbook Adhesives by 3L®
E-Z Runner® Permanent Strips Refillable Dispenser
3D Foam Squares White Mix
Adhesive Dots Large
HomeHobby™ by 3L
Dual Tip Glue Pen
Other
Embossing Folder: Sizzix/Tim Holtz (Bricked 3D Texture Fades Embossing Folder; Etched Dies and Die-cutting Machine: Spellbinders® Paper Arts (Fancy Edged Circles and Platinum 6 Machine); Sizzix (Thinlits Holiday Greens Mini); Inks and Ink Blending Tool: Ranger Ink (Distress Oxide Inks in Brushed Corduroy and Weathered Wood); Red Glitter; Sticker: Tim Holtz (Holiday Talk); White, Kraft and Gold Cardstock; Satin Bow; Mulberry Leaves; Paper Trimmer; Tweezers
Save It!
Visit our Website and Blog!
Sign up for our Newsletter so you never miss a contest or giveaway!


