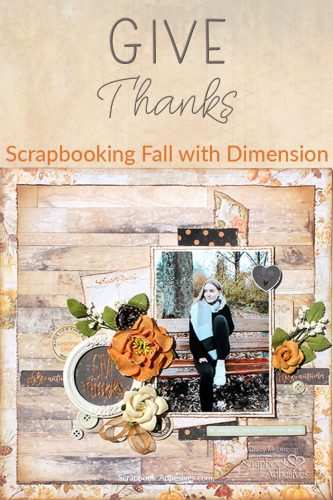
Welcome back, scrapbooking friends! Tracy here, and today I have a little fall themed inspiration for you today. This layout features dimension and texture and all my go-to adhesives to get it done. Here are the details on this Fall Dimension layout.
Summer isn’t quite finished, but I am definitely looking forward to cooler weather and the changing of seasons. I created this layout with that love of fall in mind. Lots of distressed edges and warm tones sums up my Fall Dimension layout.

Let’s Get Started
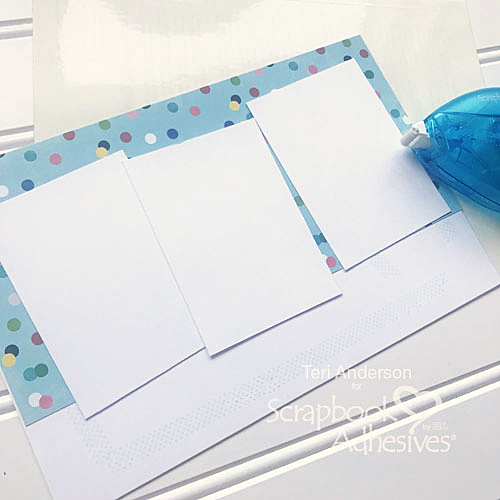
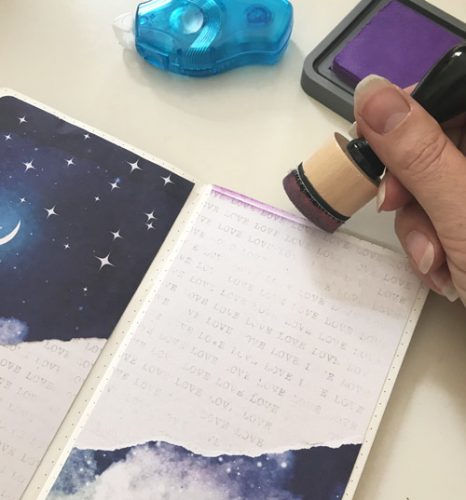
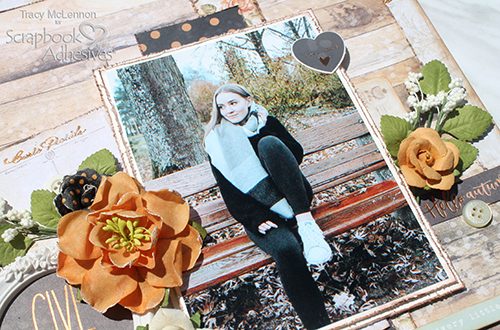
Start by adhering the distressed patterned paper layered background using the E-Z Runner® Ultra Strong Refillable Dispenser. The E-Z Runner® Ultra Strong Refillable Dispenser will make sure your layout’s base will be strong enough to hold heavier embellishments and layers.
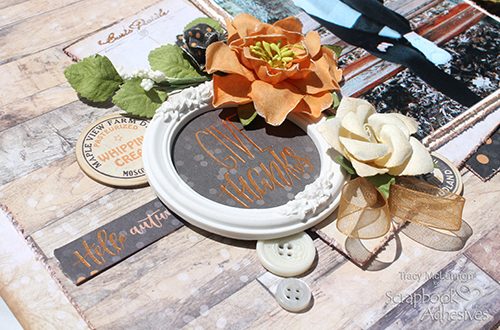
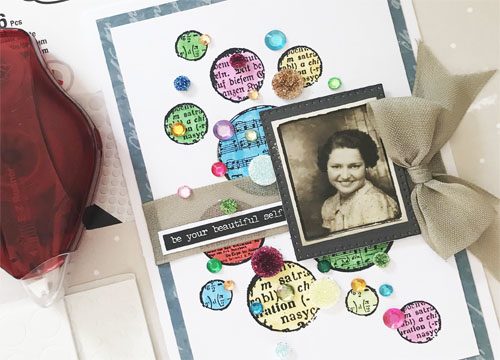
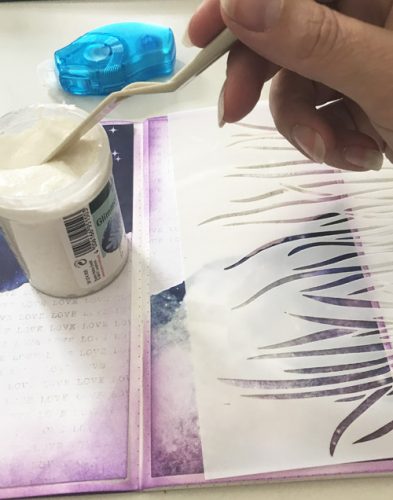
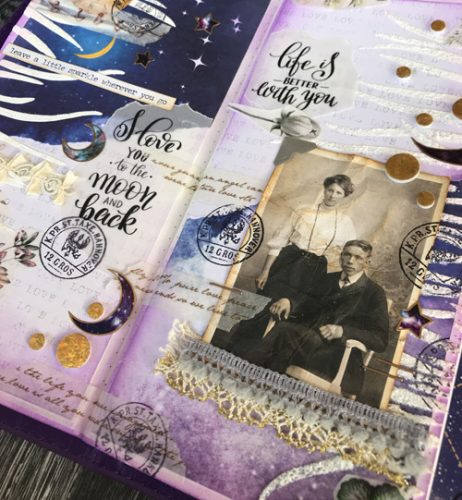
I matted the photo in two layers of cream cardstock with distressed edges. Then adhered the layers together using E-Z Runner® Ultra Strong Refillable Dispenser and then added it to the layered background using Crafty Foam Tape White. The Fall Dimension layout is starting to shape up. Now it’s time for embellishing.
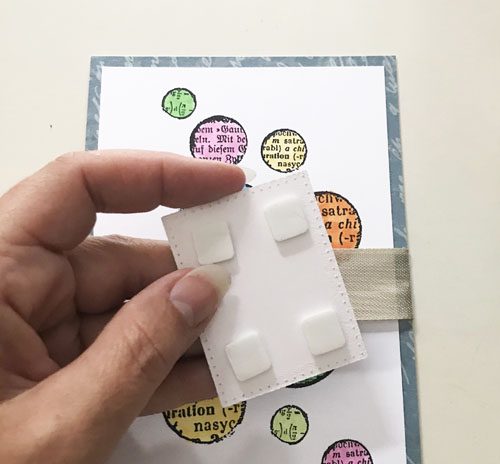
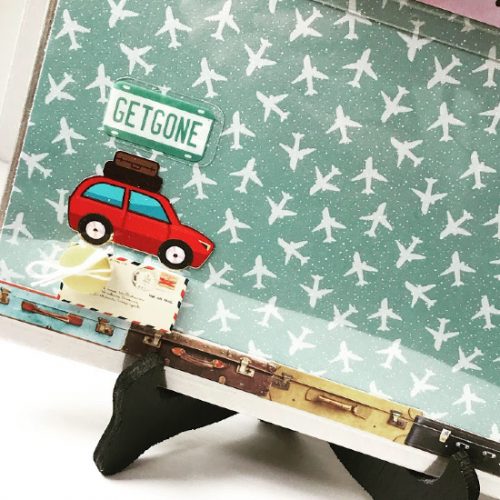
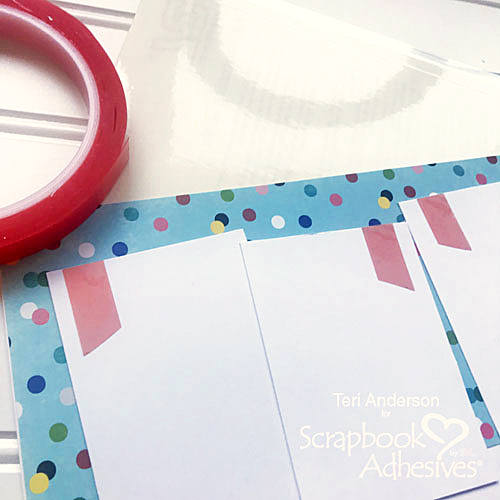
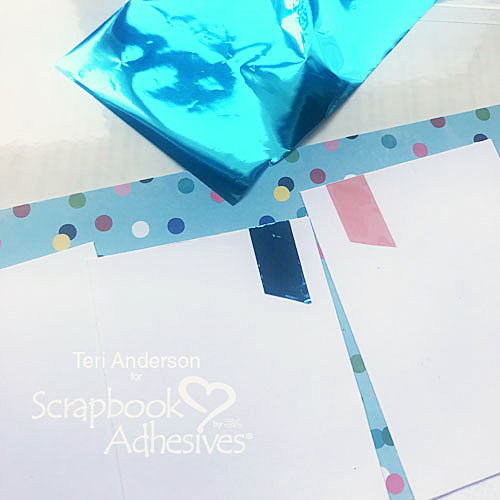
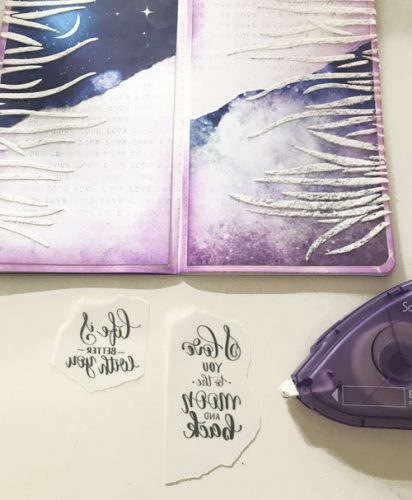
The resin frame in the image above would be one of the tricky things I added to this layout. I used Extreme Double-Sided Tape 1/8in to add the patterned paper sentiment to the back of the frame, and it worked perfectly. Then used two layers of 3D Foam Squares White Regular Size, to get it just above the matted photo.
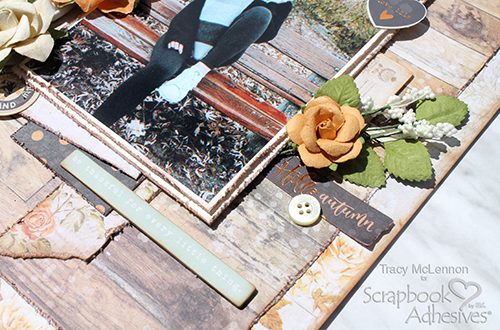
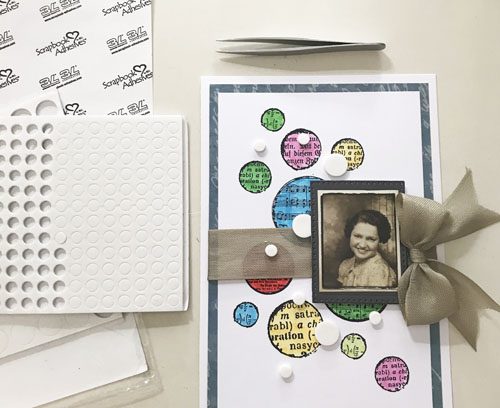
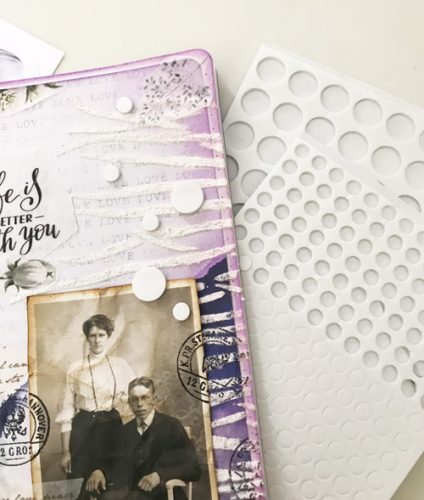
Using Adhesive Dots Medium, I began adding the flowers and leaves around the matted photo and resin frame. Then used Adhesive Dots Mini for adding those slightly smaller embellishments like buttons and ribbon twists. These are the pieces that will make the Fall Dimension layout pop!
Thanks so much for stopping by!
Tracy
Skill Level: Intermediate
Creative Time: 45 minutes
Materials needed
Scrapbook Adhesives by 3L
Crafty Foam Tape White
E-Z Runner® Ultra Strong Refillable Dispenser
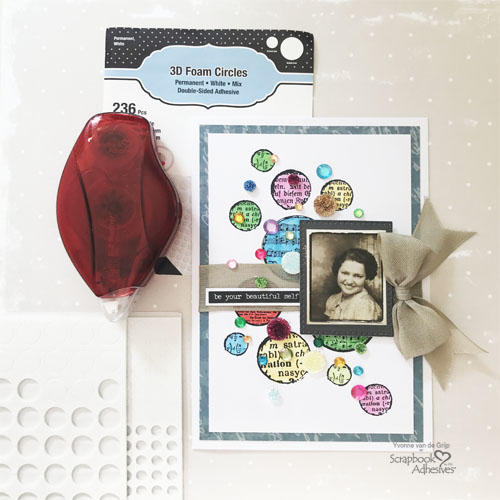
3D Foam Squares White Regular Size
Adhesive Dots Medium
Adhesive Dots Mini
Home Hobby by 3L®
Extreme Double-Sided Tape 1/8in
Other
Patterned Paper and Embellishment: Prima Marketing (Amber Moon Collection); Cream Cardstock; Edge Distresser Tool; Brown Ink; Ribbon; Buttons
Love It. Pin It!
Visit our Website and Blog!
Sign up for our Newsletter so you never miss a contest or giveaway!