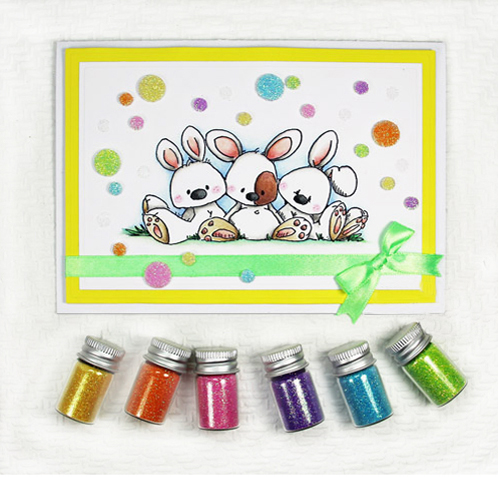
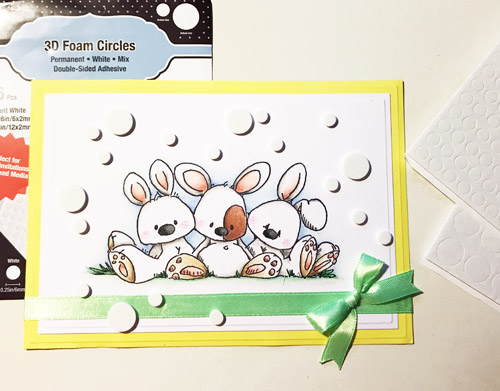
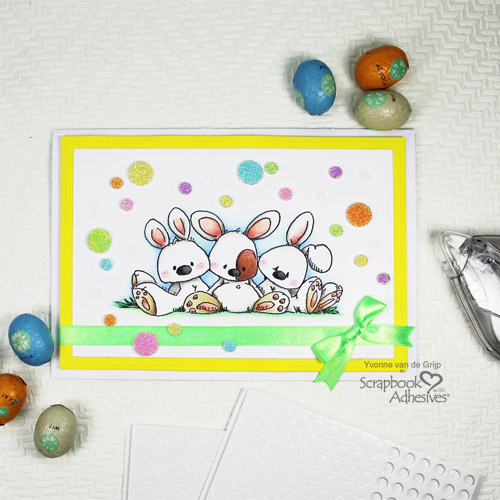
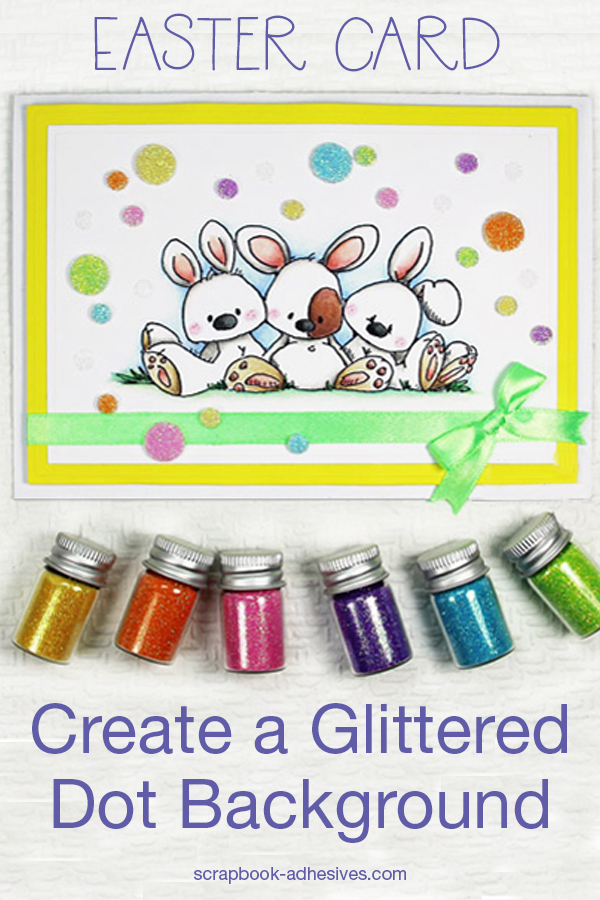
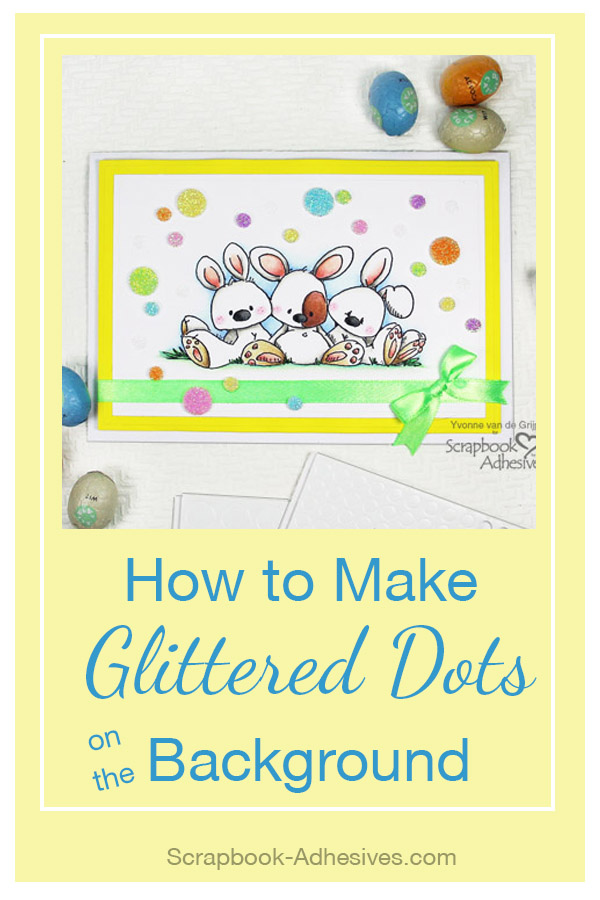
Hi everyone, Yvonne here with a cute Easter bunnies card. With Easter coming up, I am in the mood for Easter cards and colors. The pastel glittered 3D Foam Circles and Adhesive Dots make this card cute and Easter-themed! Scrapbook Adhesives by 3L® products make this card super easy to embellish. Let me show you how I made the card using Wear Your Adhesive on the Outside!
Easter Bunnies Card Base
Start by stamping the bunnies onto white cardstock using a black ink pad and then color the image with pencils. Then cut and emboss into a rectangle shape centering the colored image.
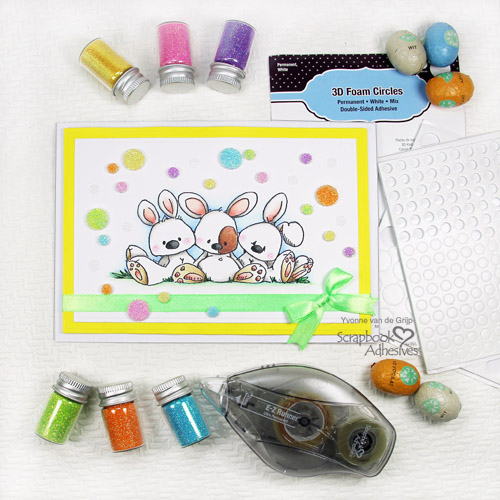
Remove the liner of 3D Foam Circles and sprinkle some glitter upon. And then use your fingers to rub the glitter over the 3D Foam Circle for even more secure adhering. Then tap off the excess glitter and repeat for the other circles.
Extra Dimension
For extra dimension, I used Adhesive Dots Mini. To achieve this, I adhered Adhesive Dots Mini to the card front and removed the liners. Then sprinkle white glitter upon and rub the glitter with your fingers and then tap off the excess.
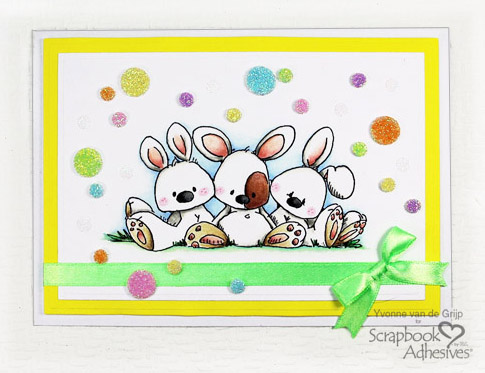
And voila…your Easter Bunnies card is ready to make someone smile!
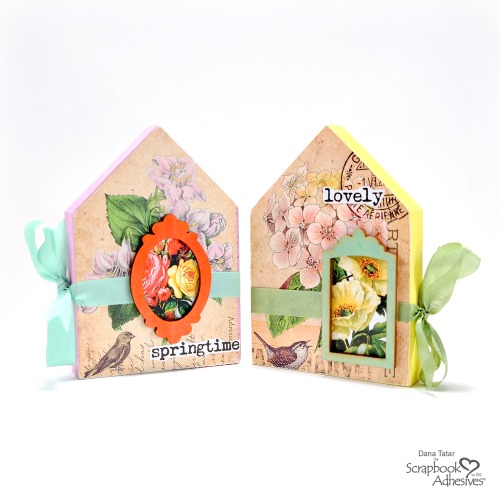
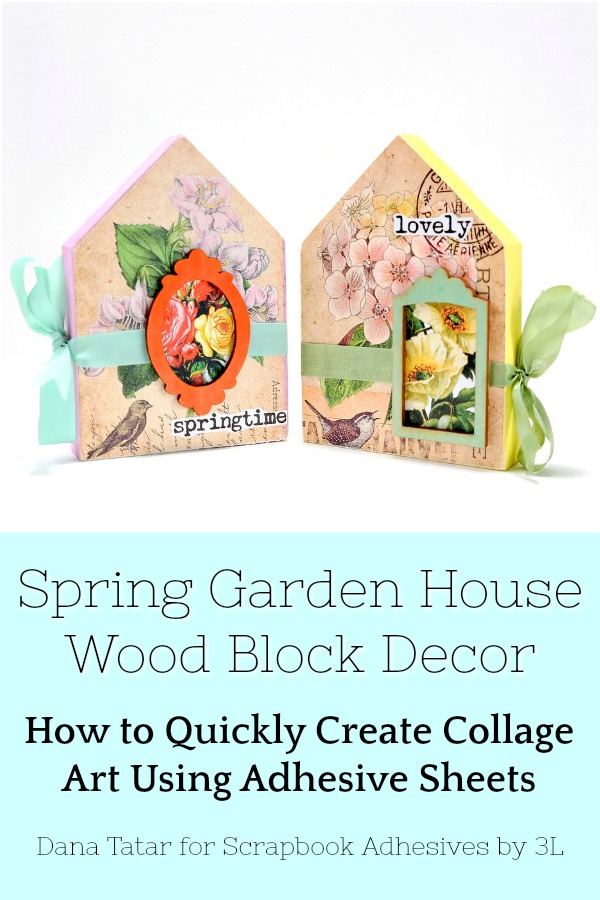
Hi friends! Dana Tatar here today sharing a fun Spring home décor project, Garden House Wood Block. I started this project with a kit, which included wood houses, collage sheets, and embellishments. I used a Adhesive Sheet 12 x 12″ and Crafty Power Tape to quickly assemble this craft.
This colorful Spring décor makes me so happy! The selection of products I used allowed me to apply incredibly strong, clear, edge-to-edge adhesive to achieve the look of decoupage art without the mess and drying time.
Create Garden Home Décor Using Adhesive Sheets
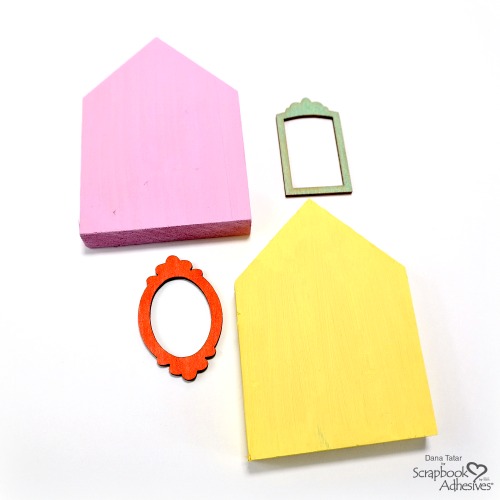
1. Apply bright colors of acrylic paint and watercolors to wood block houses and wood veneer frames. Be sure to apply paint to the back, sides, and front edges of the wood block houses. Let dry.
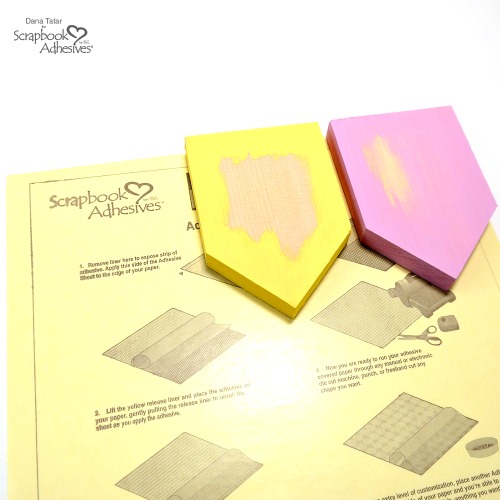
2. Place the wood block houses on the edge of a 12×12 Adhesive Sheet. Then, use a pencil to trace around the shapes. Next, use scissors to cut out portions of the Adhesive Sheet to fit the wood blocks.
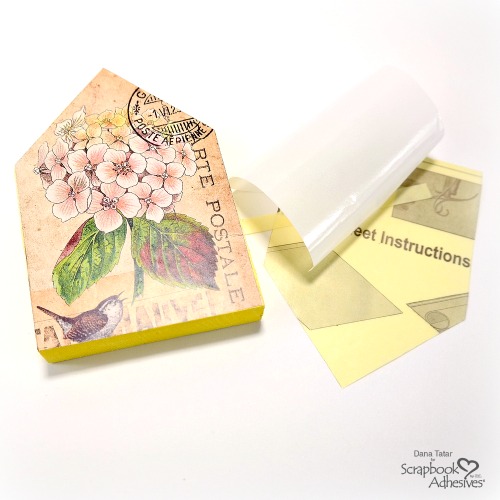
3. Remove the small strip of yellow backing paper and place the exposed adhesive onto the bottom edge of the garden block. Next, remove the larger yellow backing piece and smooth the adhesive onto the wood. Repeat this process for the second block.
4. Cut two garden collage sheets to fit the wood blocks. Then, align the paper onto the adhesive. Press firmly to smooth the paper onto the adhesive. Repeat for the second block.
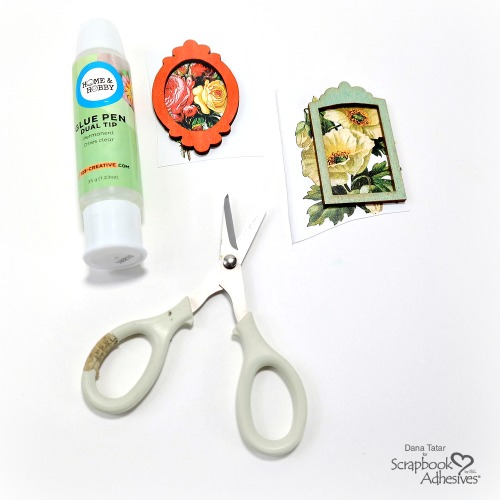
5. Apply glue to the back of two wood veneer frames. Press the frames onto garden collage images and let dry. Cut away the excess paper.
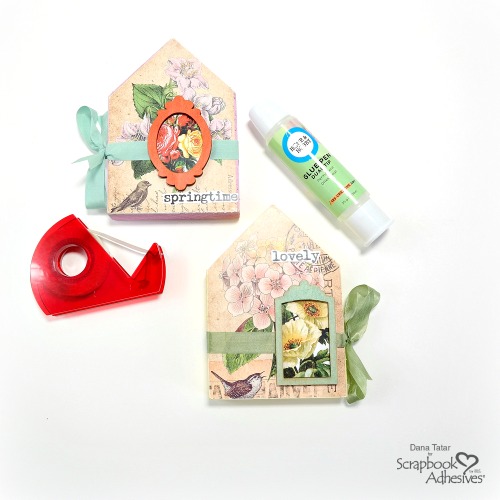
6. Use Crafty Power Tape to adhere the ribbon and the decorated frames to the garden blocks. Use a Dual Tip Glue Pen to apply clipart words to the block houses.
These garden houses would look great on a bookshelf, side table, or in a centerpiece. Where would you put them?
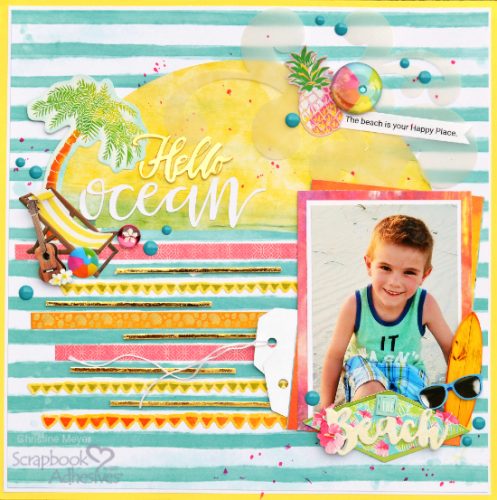
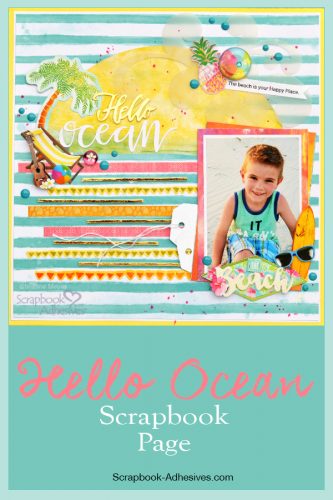
How many adhesives do you need to complete a Scrapbook Layout? As I prepare to create a layout I consider all the different mediums I want to use AND all the different embellishments. Then I gather up all the adhesives I will need to get things done! Christine joining you today with a layout that features a wide variety of adhesives to meet all my needs!
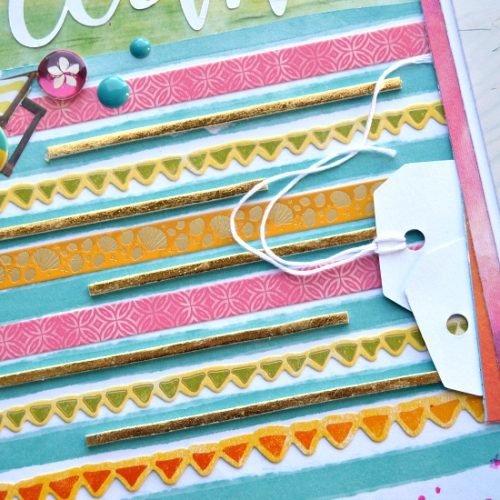
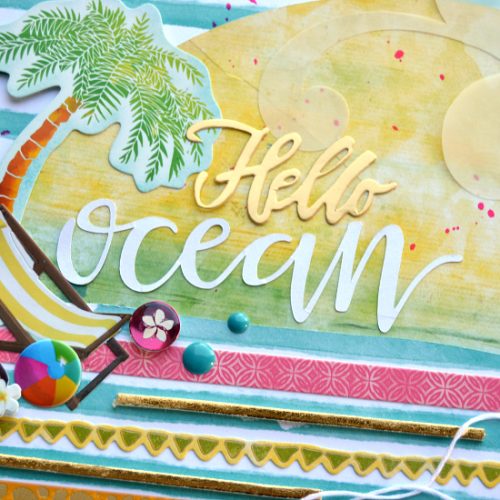
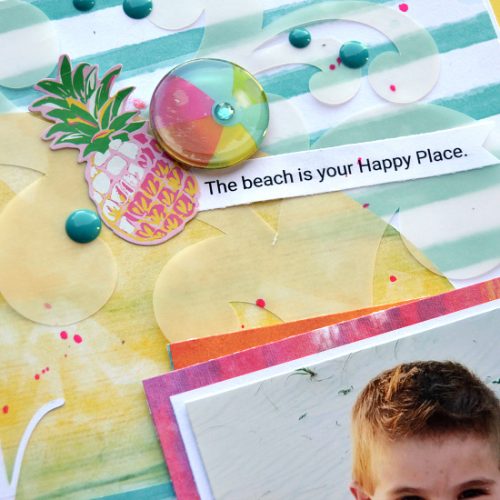
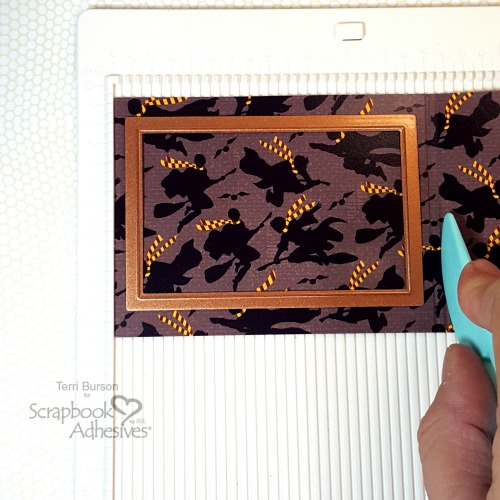
These colorful rows contain a lot of border stickers but also 3D Foam Creative Sheets cut into thin strips and then topped with gold foil from our Metallic Transfer Foil Holographic set! This allowed me to create unique stripes that have both texture and sparkle! To cut these I just combined a ruler, a cutting mat, and a craft knife. It’s a slow process but can really make a neat impact! Once I added them I just laid the foil over the top, rubbed it and pulled it back up. Easy as can be!
Adhesive Sheets are one of my go-to adhesives for adhering things I cut out with my metal die cuts – like this title Hello Ocean! They turn things into a sticker and make it SO EASY! If you do a lot of cutting either with metal dies or an electronic machine, you need these in your adhesive collection!
Did you know our Ultra Strong refill for the E-Z Runner Grand® goes on nearly clear? It is perfect for adhering vellum. In this case, I just needed it a little because I wanted the flourishes to be loose and give off the feeling of waves.
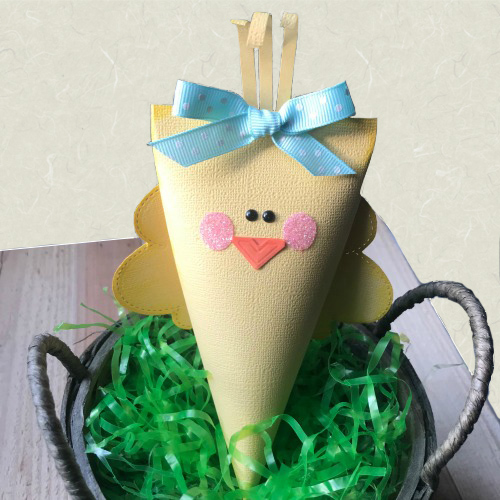
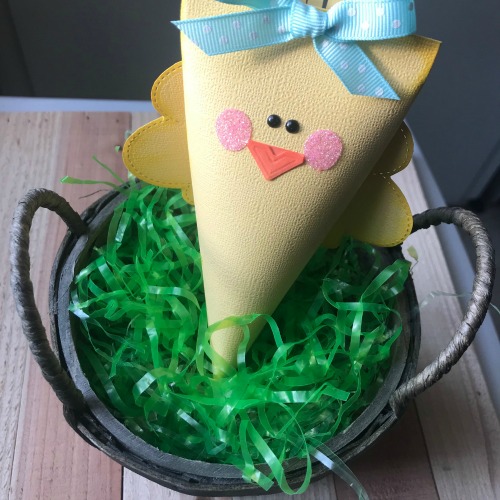
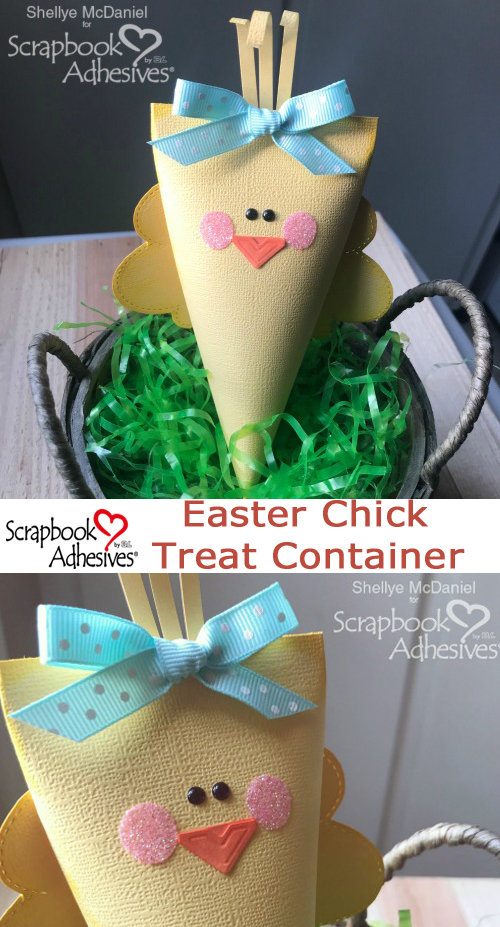
Happy Spring! Shellye here today and I am so excited to be sharing one of my favorite “Treat Container” projects just in time for your Easter basket!
Treat Basics
To get started I have a 6 x 6-in piece of yellow cardstock (any square size will work). Apply a strip of the Extreme Double-Sided Tape1/4-in along one of the edges. Match up the taped edge to the opposite side to resemble a toilet paper roll.
To achieve the sour cream container shape, close up the ends so that they were both going in the opposite direction.
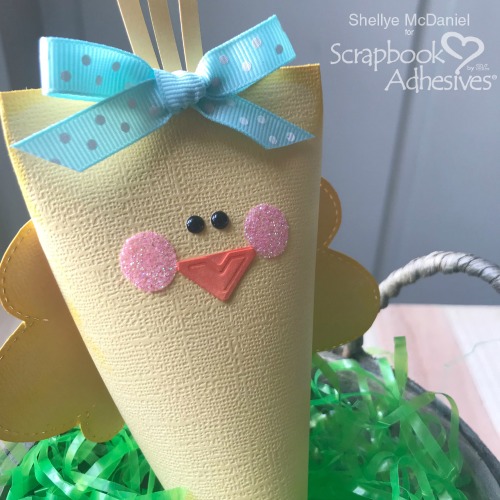
Chick Details
Finally, I created the wings by using a cloud die to die-cut two shapes from the yellow cardstock. I would also suggest a heart or circle for creating the wings if you don’t have a similar shape on hand!
For the beak, I used one of the Creative Photo Corners Ivory and colored it with an orange alcohol marker. I added two of the Adhesive Dots Large for the cheeks and then topped with pink glitter. And one of my new favorites is the Adhesive Lines to attach ribbon bows! These are great because they cover a lot more surface area than the dots and follow the contour of whatever I’m sticking the bow too 🙂
This size container is perfect for jelly beans, robin eggs, m&m’s and other small candies or trinkets! I hope that you’ll give it a try!
Keep reading to see how to win some awesome prizes from Scrapbook Adhesives by 3L!
National Craft Month 2019 with FaveCrafts
Do you know that March is National Craft Month? We’re partnering all month with FaveCrafts and sponsoring two great adhesive prizes! There are new tutorials every day, with daily prizes plus a grand prize! Don’t wait too long, this one ends Sunday, March 31st, 2019, at 11:59 pm EST.
Scrapbook and Cards Today Magazine’s 13th Birthday Party
Our friends at Scrapbook and Cards Today Magazine are celebrating 13 years of free inspiration in their downloadable magazine! We are honored to celebrate this milestone with a fun birthday giveaway!
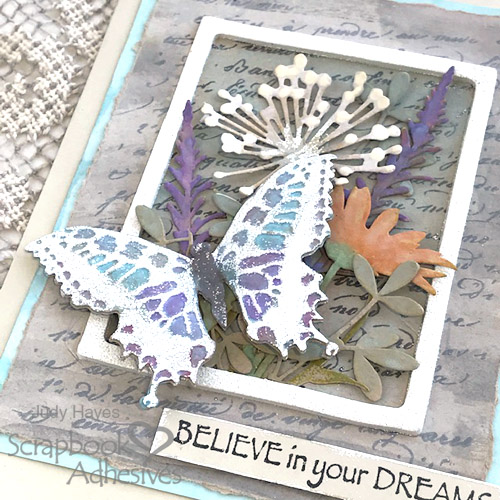
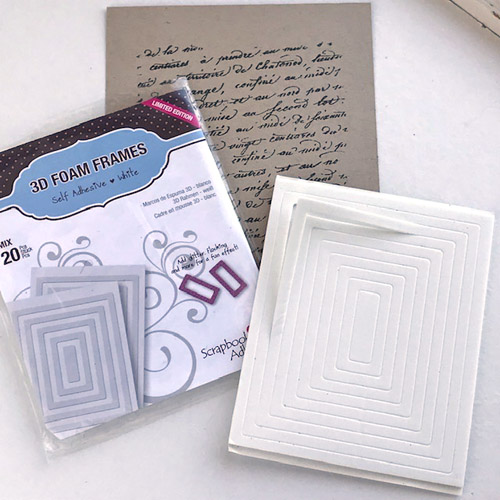
Hello everyone! It’s Judy here today. I have a card with a Framed Butterfly and Flowers using 3D Foam Frames. It’s a quick way to add a dimensional frame to a card.
Create the Background
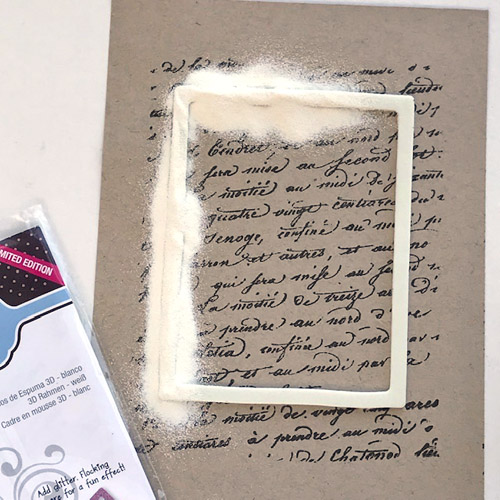
For the background, stamp a script across tan cardstock. Then place a 3D Foam Frame over it.
I used a ruler to align it straight. Lightly position the frame over the image, then center it and adjust spacing at top, sides and finish at the bottom. Be careful not to stretch it as the paper may curl.
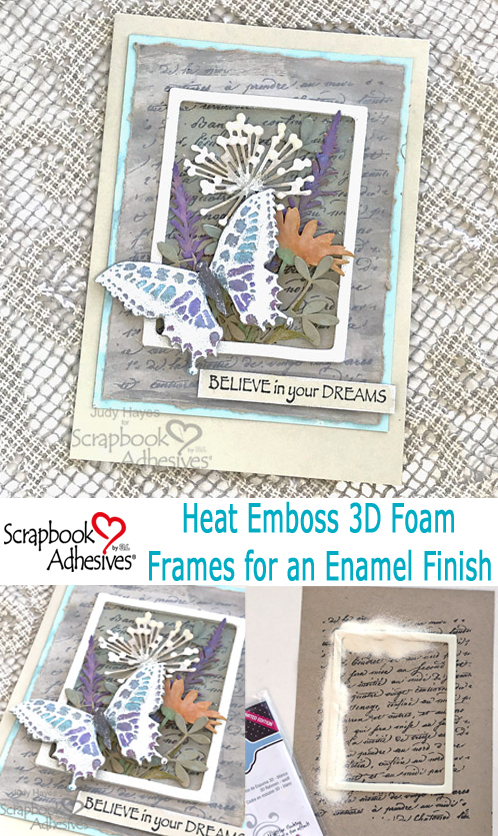
After removing the top liner, cover the 3D Foam Frame with white embossing powder and heat emboss it. I really like the enamel-like finish it creates!
Blue Distress Oxide ink works great as a watercolor inside the frame. Around the outside, I brushed on white gesso mixed with water for a wash of color but not opaque coverage. I placed a ruler along each edge and tore some paper off.
Die Cut the Butterfly and Flowers
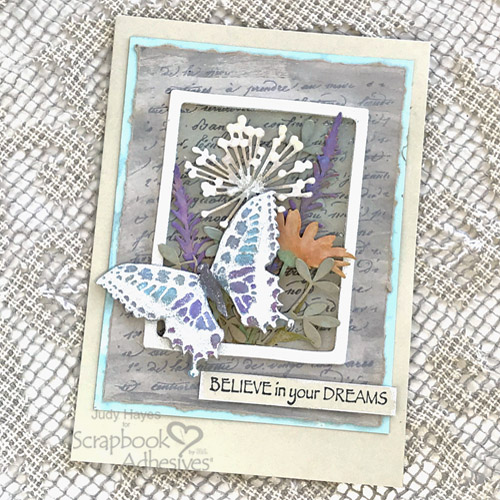
The flowers are all die cut from tan paper and colored with Distress Oxide inks. Arrange them in the frame and snip the stems to fit. All except orange flower are fastened with the Dual Tip Glue Pen. The orange flower has a 3D Foam Square under it to pop it up with stems glued at the bottom.
Now you can cut and emboss the butterfly from same tan cardstock. I rubbed embossing ink over the raised areas, added white embossing powder, and heat embossed it. Then I added color with Distress Oxide inks used as watercolor. It’s popped up on the card with 3D Foam Squares. I stacked one under the body and two under the wings.
Assembling the Card
Finally, assemble the framed butterfly layer onto an aqua mat using E-Z Runner® Ultra Strong Refillable Dispenser. I use Ultra Strong because the paper was warped a bit from painting it. The E-Z Runner® Ultra Strong adhesive is a super strong and immediately tacky adhesive, and it holds the paper in place! That layer is fastened to a 5 x 7-inch card with E-Z Dots® Permanent Refillable Dispenser with a bit of Ultra adhesive at the corners. I like to do that to be sure the corners stay in place! Fasten the verse strip with Thin 3D Foam Squares for just a bit of dimension.
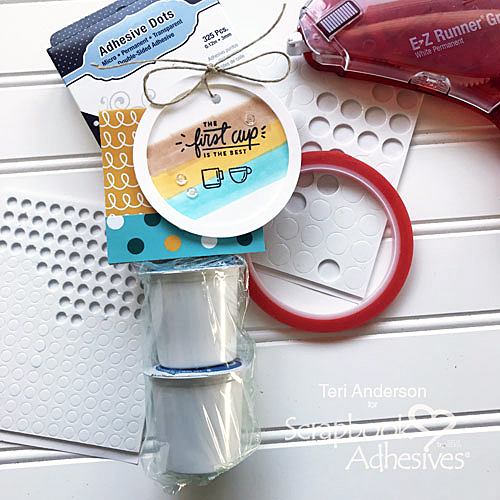
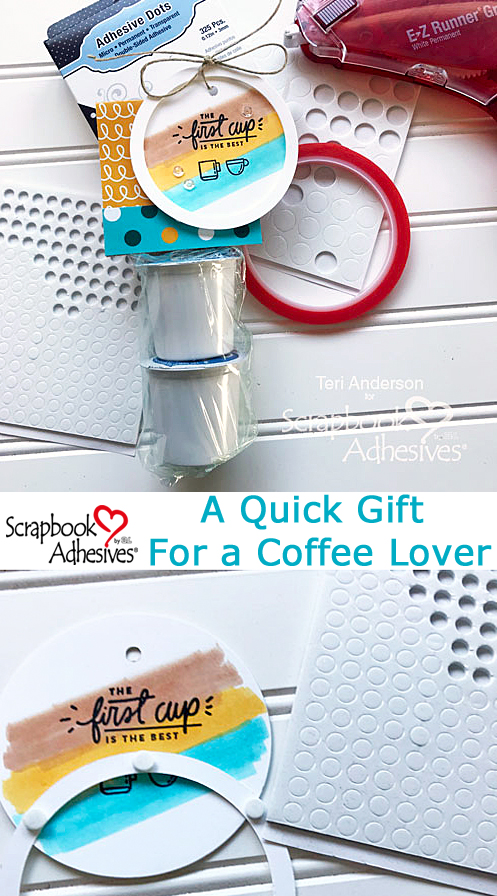
Hi, everyone! Looking for a quick gift to make for a coffee lover? I’m going to show you how to put together a coffee gift that is sure to make her say, “Thanks a latte!”
Create a Coffee Lover Gift Tag
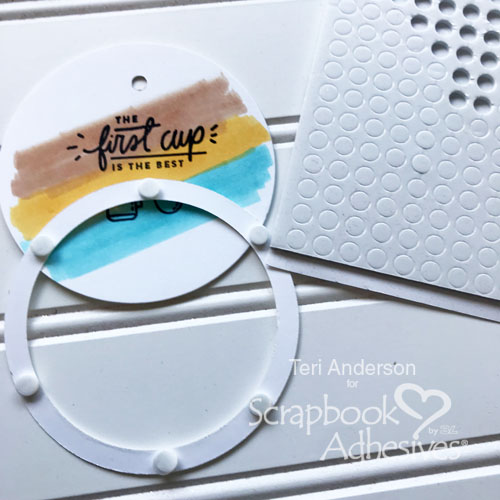
To make a gift tag, first cut a large circle from cardstock. Cut a large circle frame from cardstock as well. If you don’t have a circle frame die, line up two circles on cardstock and run the dies through a die-cutting machine to create your own circle frame.
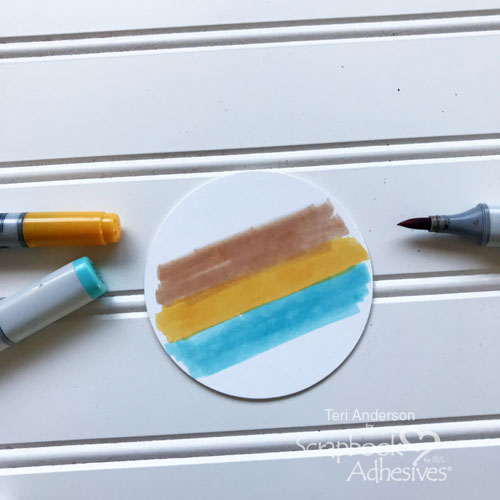
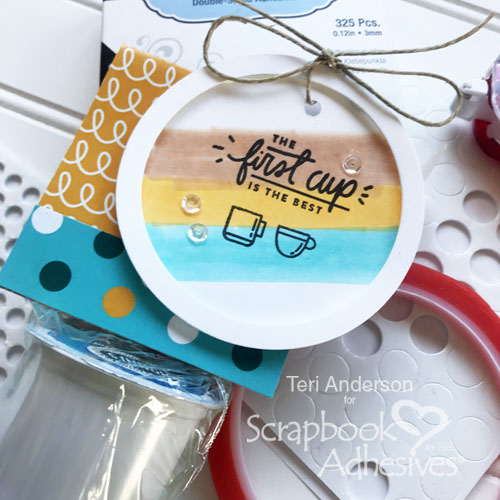
Scribble some stripes onto the cardstock circle with markers. Don’t worry if your lines are perfect! Wobbly lines are just fine for this project.
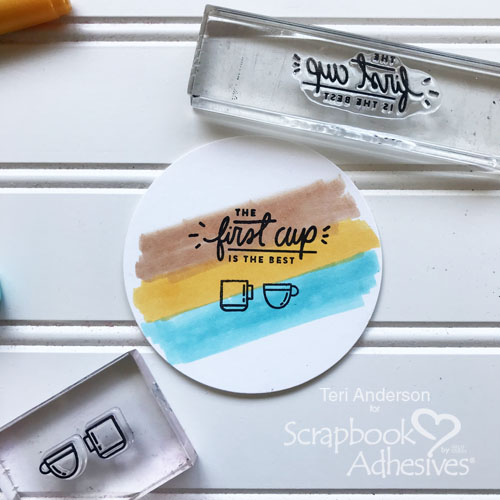
Stamp sentiment and a couple of coffee cups with black ink onto the circle.
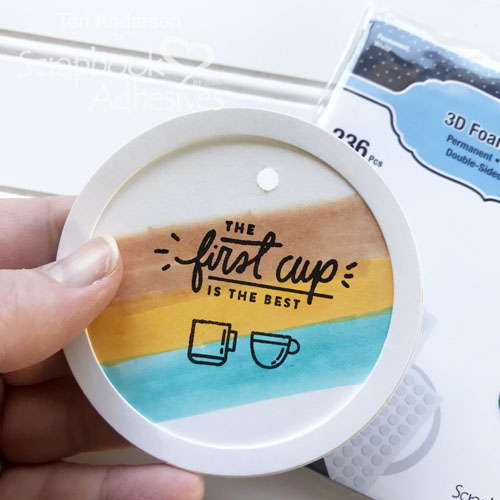
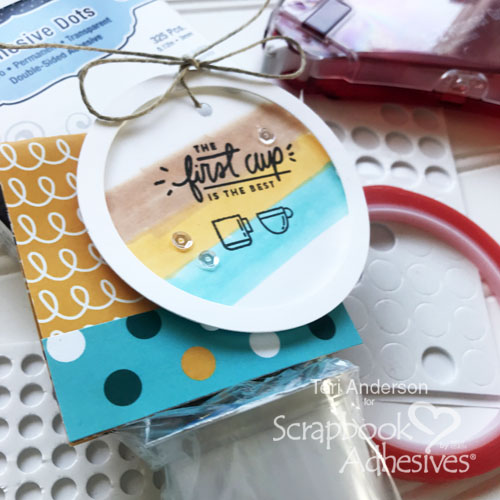
Set the circle frame onto the circle and poke a small hole through the top of the circle. Now set the large circle aside.
Place several small 3D Foam Circles on the backside of the circle frame. Adhere it to the circle. Set the tag aside.
Creating the Gift
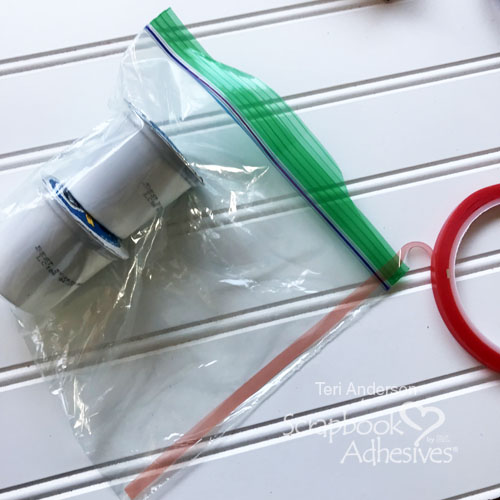
Let’s work on the gift with two coffee pods. Place them a plastic sandwich bag. Adhere a line of Extreme Double-Sided Tape along one of the bag’s outside edges. Leaving the bag open, roll the bag so the coffee pods are nice and tight. Close the top of the bag.
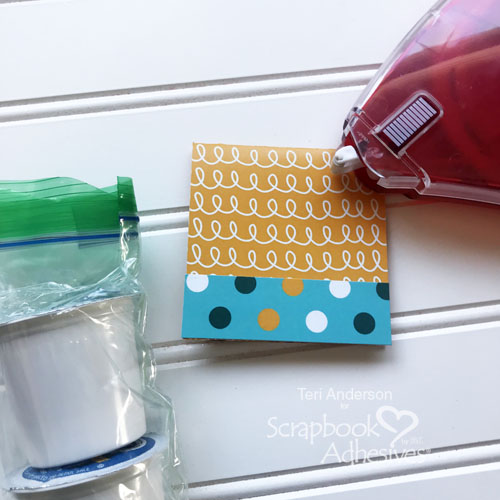
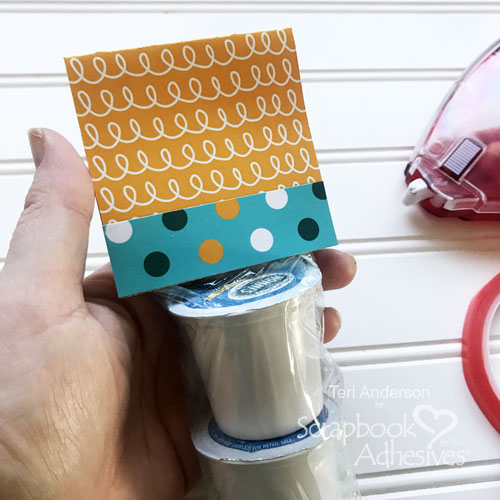
Cut a 3″ x 6″ piece of patterned paper. Fold it in half. Place a strip of patterned paper across the front of it.
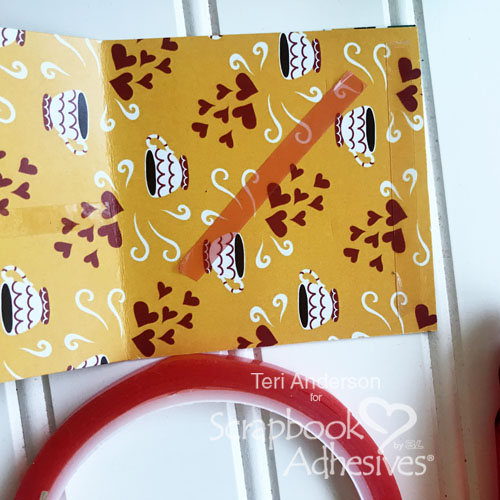
Place several strips of Extreme Double-Sided Tape on the backside of your 3 x 6″ paper panel. I recommend putting some at an angle.
Place the top of the bag on the tape. Fold the paper panel over the bag.
Finishing the Gift
Finish the gift by adding some twine or jute to the gift tag. Tie the tag onto the package of coffee pods or adhere it with 3D Foam Circles or Crafty Foam Tape. If your jute isn’t even, use Adhesive Dots to anchor the jute in place.
Want to add a bit of glitz to your gift? Adhere a couple of sequins to the tag with Adhesive Dots. I find the Micro Adhesive Dots are the perfect size for placing sequins on my paper craft projects.
Other
White cardstock from Neenah Paper; Caffeine Fix stamp set from Everyday Explorers Co.; Coffee and Friends paper pad from Scrapping for Less; Sand, Golden Yellow and Nile Blue markers by Copic; Circle dies from Spellbinders; Jute by Darice; Sequins by Neat and Tangled; Black ink pad
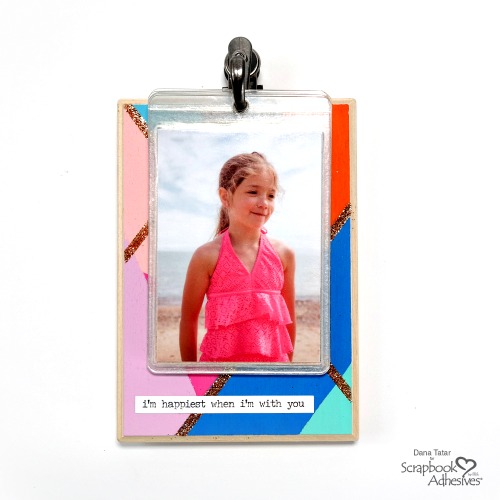
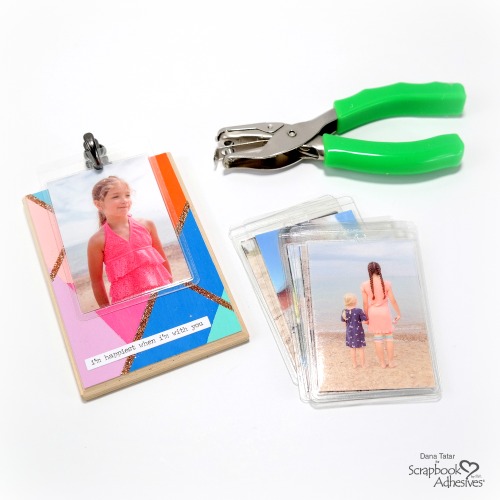
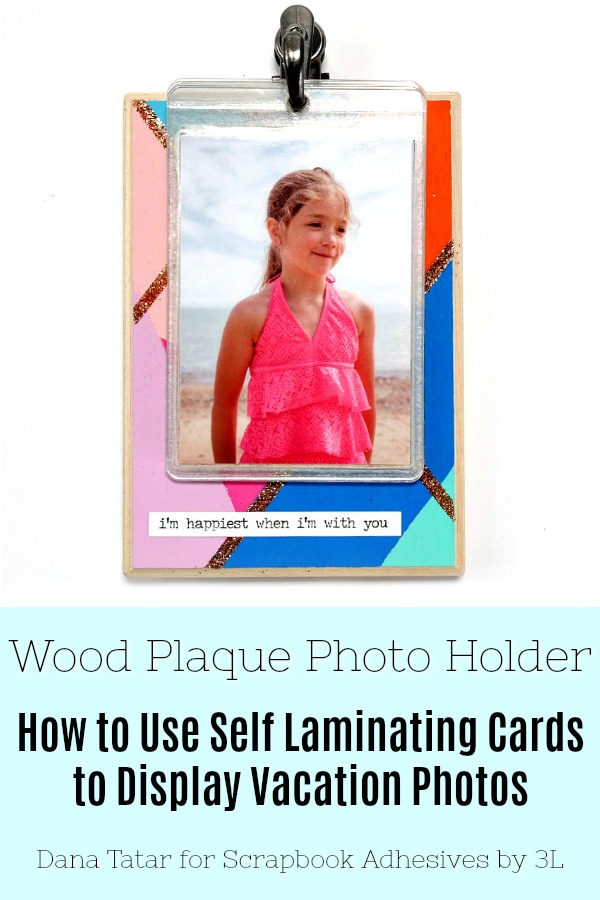
Hi friends! Dana Tatar here today sharing how to assemble a wood photo holder using Self-Laminating Cards and vacation photos. There is something about the excitement of traveling that motivates me to take more (and better) pictures.
I thought it would be fun to showcase some of my favorite travel pics on a small piece of art. I used a wood plaque that measures 3.5 x 5 inches for this project, the perfect size to sit on a desk or side table. The Self-Laminating Cards are easy to rearrange on the clip hook to display another memory.
Make the Photo Holder with Self-Laminating Cards
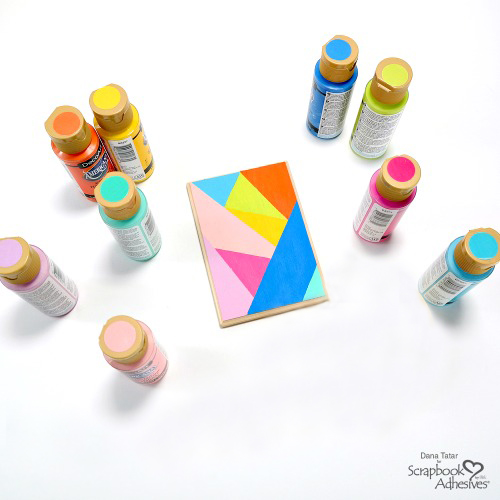
Step 1: Use masking tape to cover portions of the wood plaque. Apply bright colors of acrylic paint to the plaque in a geometric design, removing tape and masking areas as you work. Let dry.
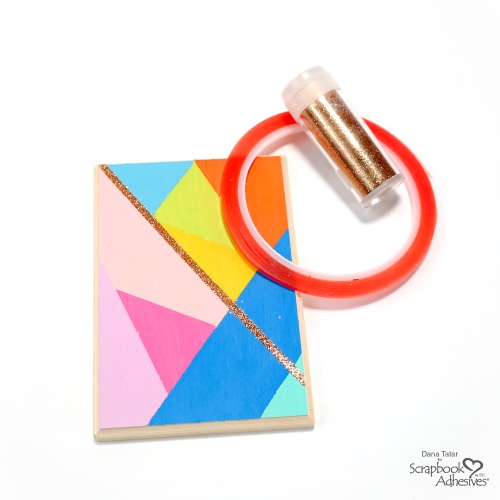
Step 2: Apply Extreme Double-Sided Tape along a painted line on the plaque. Remove the red liner and sprinkle with glitter. Repeat this process several times to add a touch of sparkle to the project.
The Photo Details
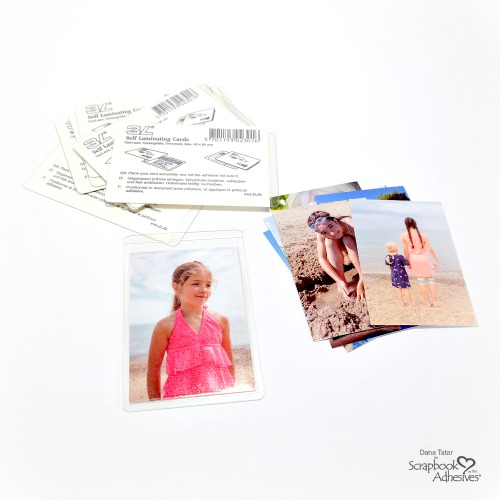
Step 3: Cut vacation photos to fit inside a Small Self-Laminating Card. Be sure to cut the photo slightly smaller than the dimensions of the card to ensure that the self-laminating edges seal. Place the photos inside the Self-Laminating Cards. Remove the liner and press the sides together to seal.
Step 4: Punch a hole in the top of each card. Place the cards onto a clip hook and attach to the painted board. Display and enjoy!
Thanks for stopping by today! I hope I have inspired you to display some of your favorite photos.
~Dana
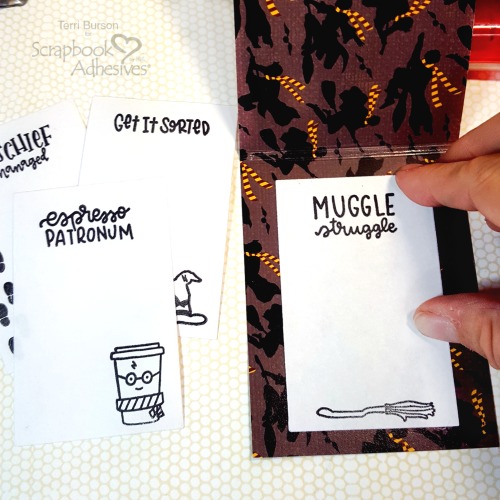
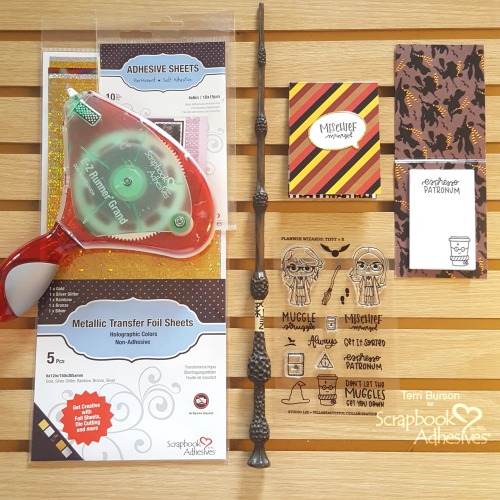
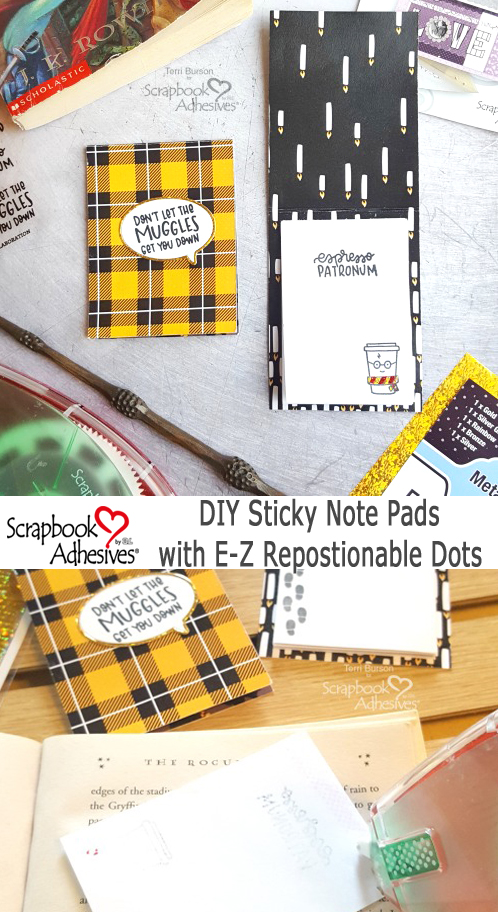
Hello friends, Terri here with creative tips for making these Wizard DIY Sticky Note Pads. We all have Harry Potter fans in our life and these would be great for gifting to your Wizard loving co-workers, friends, and family. Let’s get started!
Easily Create a Booklet Pad
To create this Wizarding booklet, you will only need a few tools; a trimmer, scoreboard and scoring tool, ruler, and thematic card stock. Simply trim an 8 x 3 inch piece of card stock. Preferably, a heavyweight cardstock. Next, measure 4 inches down from the top and score across the width. Drop down 1/4-inch and score again at the width. Fold, and you’ve got your booklet! (I’m using that die below, as a helpful visual for where I want to score.)
Embellish With Foil
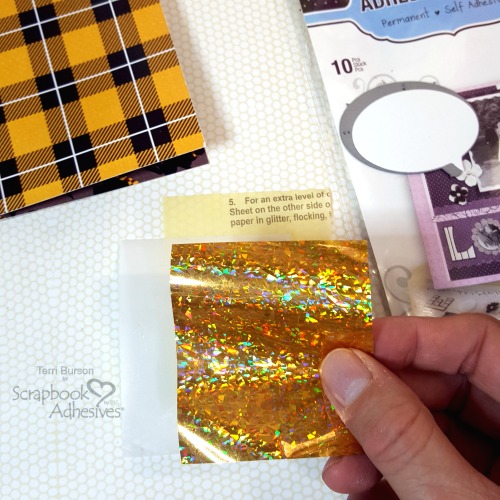
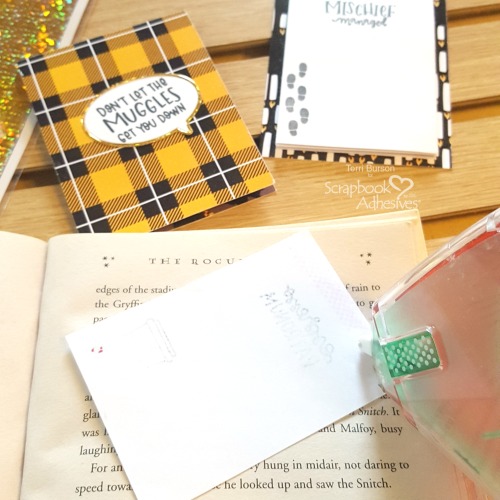
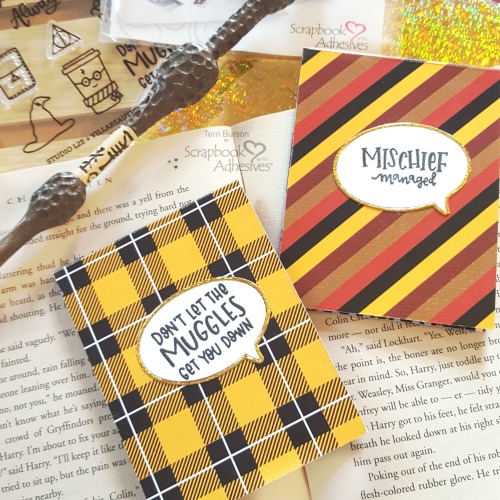
To embellish the front of my booklet, I’m using a bubble chat die with a stamped sentiment. The die actually cuts a separate thin outer ring, which I intend to foil, using the new gold foil from the Metallic Transfer Foil Sheets Holographic. To easily foil, trim a piece of card stock large enough for the bubble die. Trim two sections from the Adhesive Sheets 4×6 inch. Peel the top yellow layer and apply an adhesive sheet to cardstock. Apply foil and rub in. Peel the second piece of adhesive sheet and apply adhesive to back of the cardstock. Do not remove the backing until after running the foiled cardstock and die through your manual die cut machine.
Assembly Line Stamping
For this next step, I’m using planner stamps, black ink, and a small acrylic block. First, I trimmed some plain white computer paper, enough to make 20 sheets sized at 3 1/2 x 2 1/2 inches. Four sheets of computer paper are sufficient for trimming 20 sheets. You can also use a rectangle die and stack at least 5 sections of paper at a time, to speed up the cutting process with a manual die cut machine. You can also stack and trim with a paper trimmer. Using an acrylic block makes quick work of assembly line stamping, using the same stamp for 5 sheets, then switching out stamps for the next 5 sheets, and so on.
Designer’s Tip: When using clear photopolymer stamps, they need to be conditioned for the first use. Rub the stamp across the back of your hand or arm. The oils from your skin will help condition the stamp and allow the ink to fully adhere.
The Perfect Adhesive
When you want to make your own Wizarding DIY Sticky Note Pads, you will need to go for the green. Yes, the E-Z Runner® Grand Repositionable Dots Refill is my go-to cartridge for non-permanent adhesive. Just pop it into the E-Z Runner® Grand Refillable Dispenser and you are good to go. One word of advice, though. The adhesives I mentioned above are exactly what you need to run across the back top portion of your DIY notes. However, the very first paper note that you adhere to your booklet needs a sturdier adhesive. It’s the key to holding everything else in place. Swap out your cartridge for the E-Z Runner® Grand Ultra Strong Refill, and swipe across the top, the backside of your first note and adhere as the base note paper for your booklet. Trust me on this!
To Color Or Not To Color
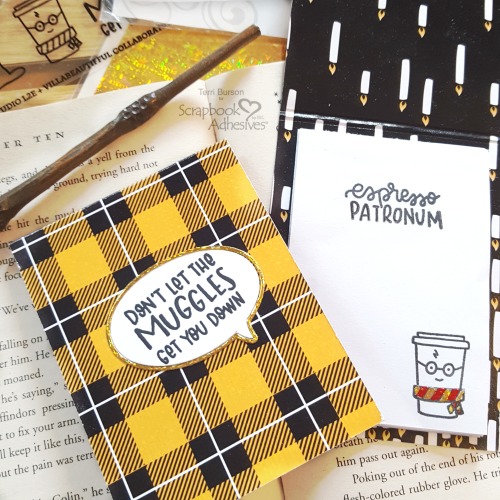
I thought it would be fun to leave all my images black and white. That way, when I gift these, the recipient can have fun coloring the images, if they wish. However, I couldn’t resist adding bling to one of those sweet little wizard coffee cups. I was already finished photographing this project when I ran to get my red foil from the 3D Foam Creative Embellishment Kit, more gold foil from the Metallic Transfer Foil Sheets Holographic, and Premium Double-Sided Tape 1/8in.
First, I hand-trimmed my Premium Double-Sided Tape 1/8in into tiny bits and applied and foiled first the red foil. Next, I applied the bits in the alternating sections and applied the gold foil. I couldn’t resist adding Gryffindor colors to that scarf! It’s also a great way to use up some of your leftover foil sections, which is why I hoard every little piece! It’s also a great way to “Wear Your Adhesive On The Outside.”
Watch my flip-through video!
If you would like links to the products that I used today, please visit my blog, Waving My Wand. Thanks so much for stopping in. I hope you enjoyed this project! Terri
Other
Photo Play Paper, MFT Stamps, StudioL2E Stamps, Fiskars Trimmer, Neenah Card stock, Colorbox Ink, Scrapbookcom Acrylic Block, We R Memory Keepers Trim/Score Board, Spellbinders® Paper Arts Die Cutting Machine
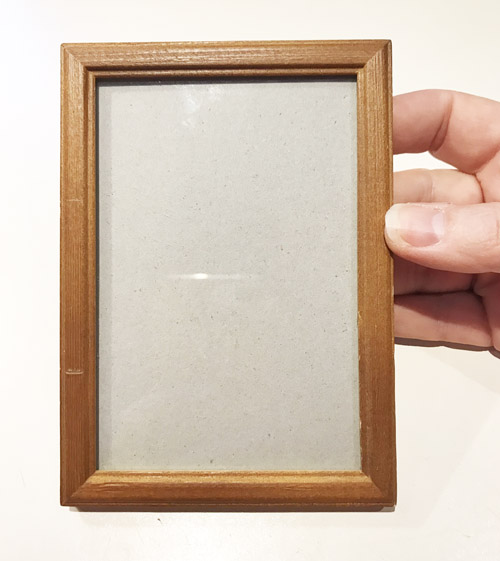
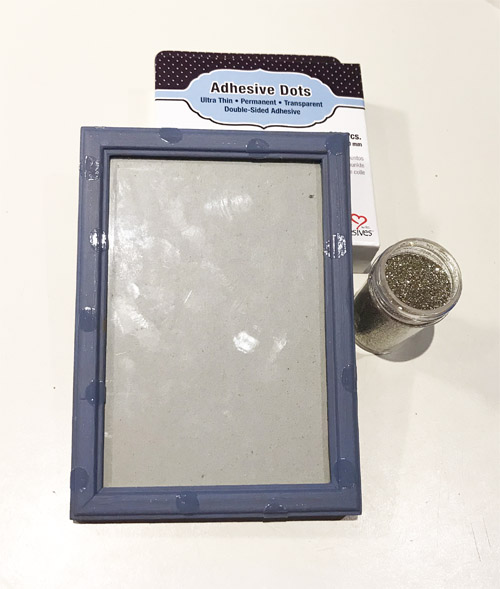
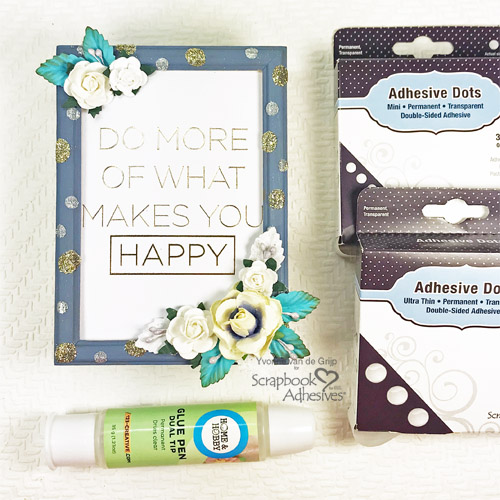
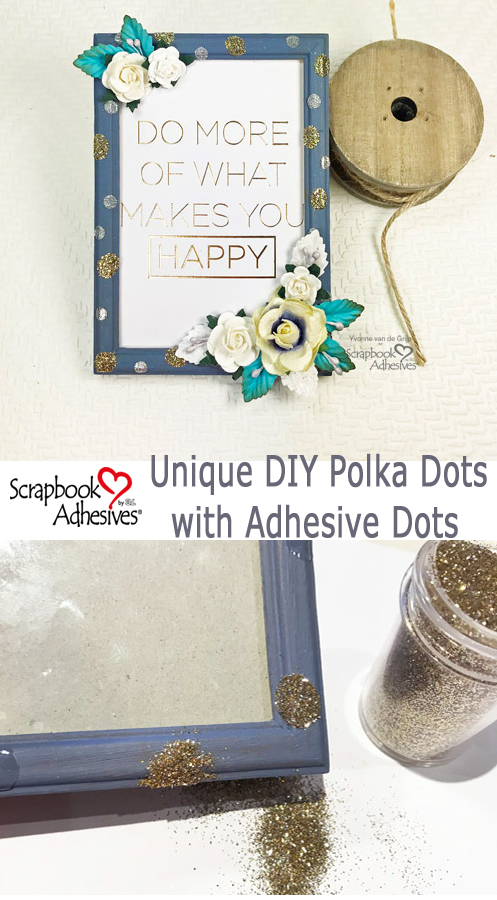
Hi everyone, Yvonne here with a cute and unique DIY Polka Dot Photo Frame…..yep, with lots of glittered Adhesive Dots to Wear Your Adhesive on the Outside on a home decor project! I love framing favorite moments and quotes to put them on display in my home.
What’s more fun than embellishing some boring photo frame into a unique piece of artwork? Let me show you how simple it is to create your own unique photo frame. Come on and let’s get started!
Before the Polka Dot
As you can see, I used an ordinary wooden photo frame bought at a dollar store. But it had a shine or vanish finish so I lightly sanded before painting. Make sure to wipe to get the dust off the frame.
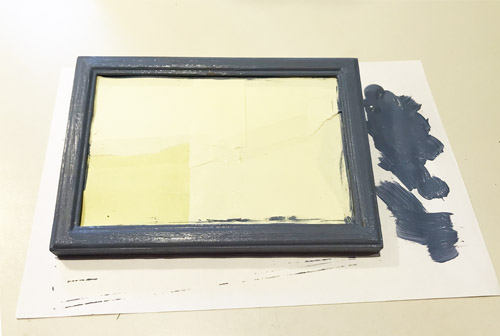
With a brush, I applied a blue-gray color paint on the frame. Let it dry between coats and when the desired color is achieve set aside to dry thoroughly.
Wear Your Adhesive on the Outside with Glitter
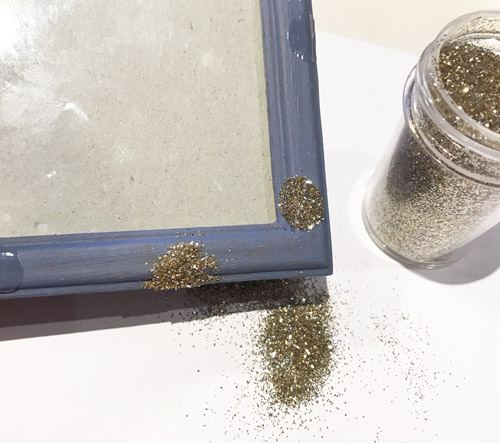
In a random pattern, I adhered lots of Adhesive Dots Medium Ultra Thin to the photo frame. Once I was satisfied with the coverage, I removed the Adhesive Dots’ clear liners.
For sparkle, sprinkle gold glitter over the Adhesive Dots Medium Ultra Thin and gently press/rub the glitter with fingers into the Adhesive Dots for extra secure hold. Then tap off the excess.
Just to make it more interesting, I dded Adhesive Dots Mini to the photo frame for a fun pattern. When I liked the placement of the dots, I peeled off the liners and sprinkled silver glitter silver on top. Again, pressed and rubbed with my fingers to secure it and tapped off the excess.
Designer Tip: After tapping off the glitter, use a soft brush to remove any stubborn excess glitter. DO NOT try to blow it off! Not a good idea….now it’s all over my desk and on my face…LOL!!!
After the Polka Dot
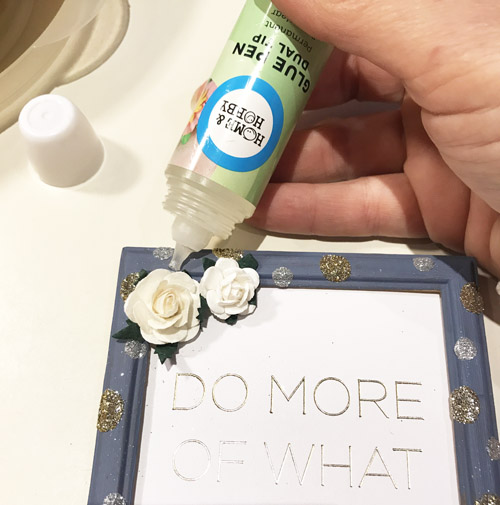
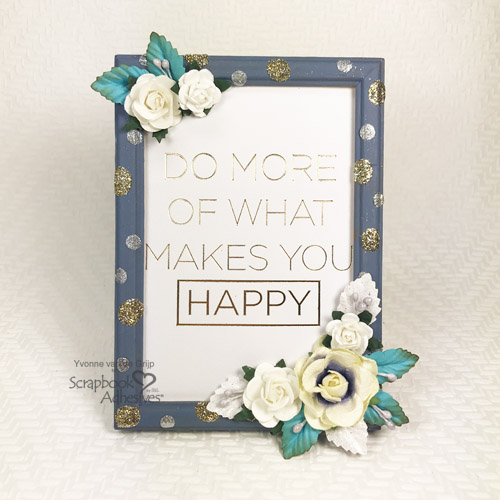
Place the quote into the photo frame. On the upper left corner and lower right corner of the frame, adhere a cluster of mulberry flowers, leaves and stems with the Dual Tip Glue Pen.
And just like that, your unique frame is ready to be displayed in your home!