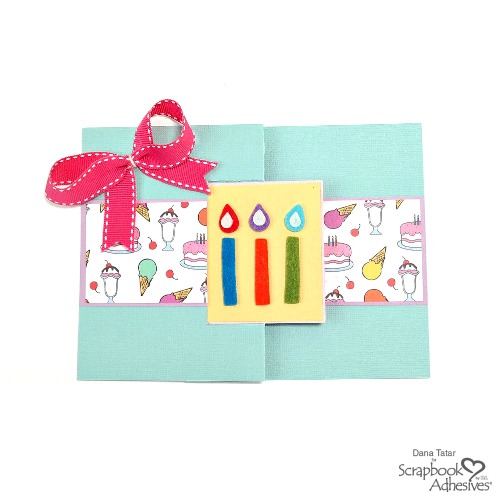
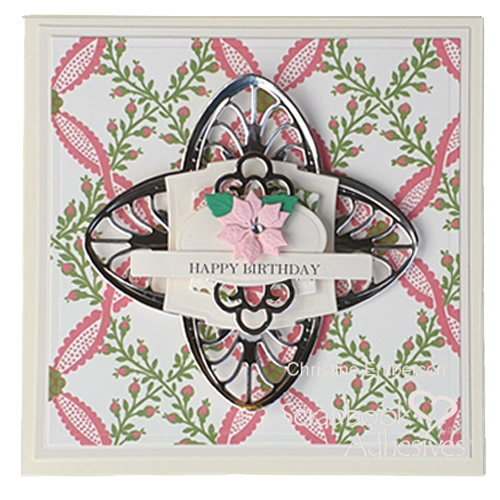
Hi everyone, Christine here today with a multi-layered birthday card tutorial. Adding dimension to your projects instantly makes them attractive and elegant. The good news is…it is easily achievable with Scrapbook Adhesives by 3L®!
Layered Birthday Card Step Outs
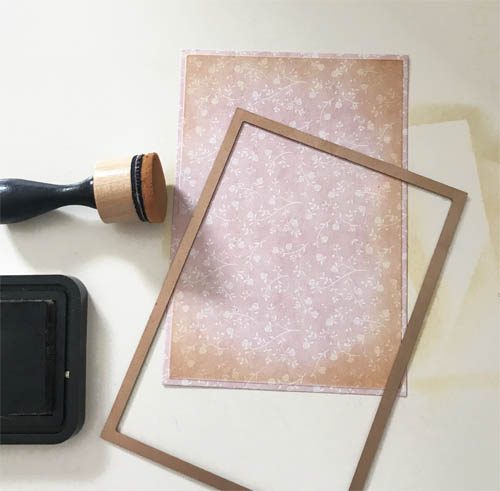
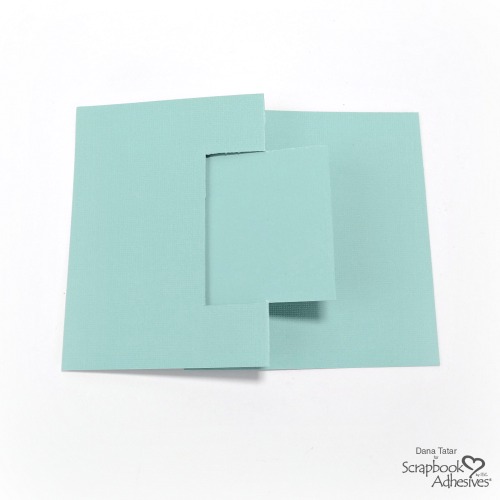
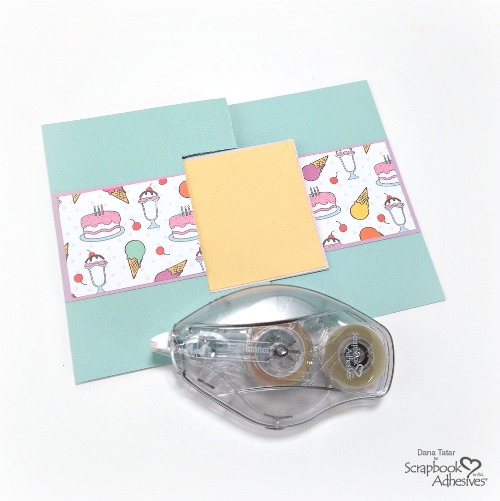
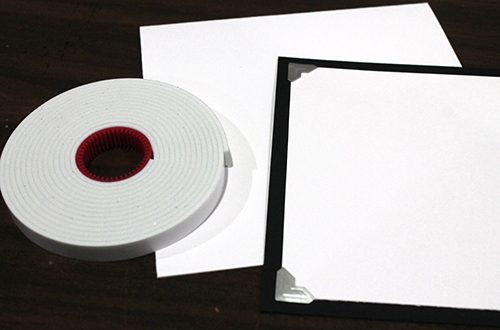
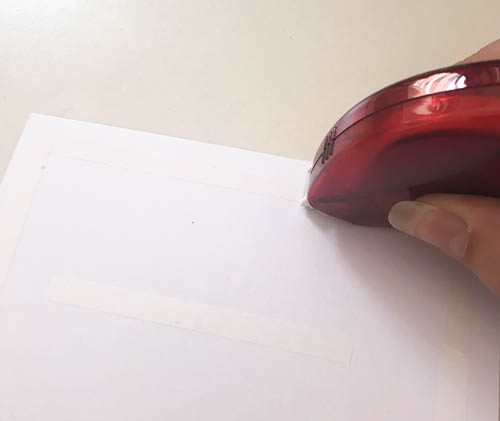
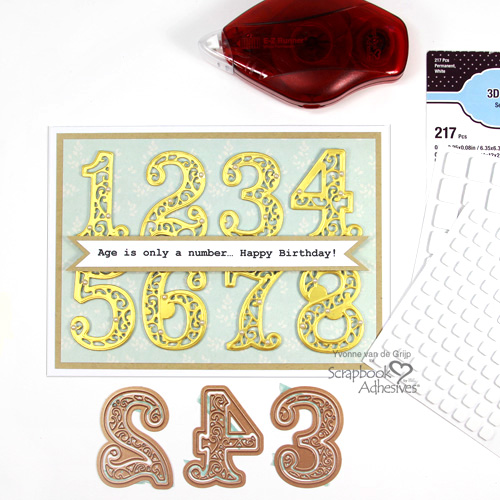
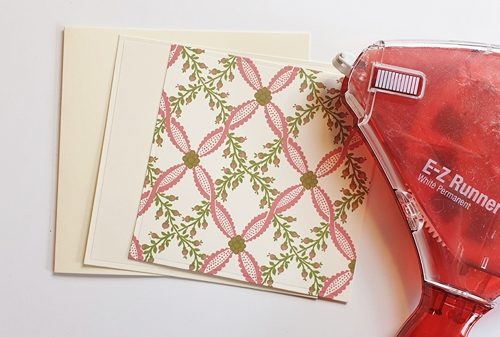
Onto a square card base mat ivory card and patterned paper. Affix into place with E-Z Runner Grand Refillable Dispenser. These dispensers have 150 feet of long-lasting adhesive, and when it’s gone you can easily drop in a refill.
Here’s a one-minute video showing you how to use and refill the E-Z Runner® Grand dispenser.
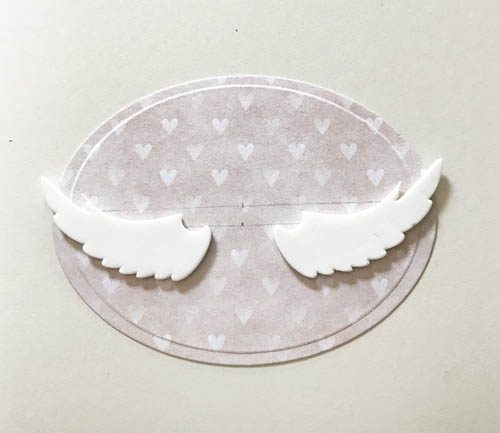
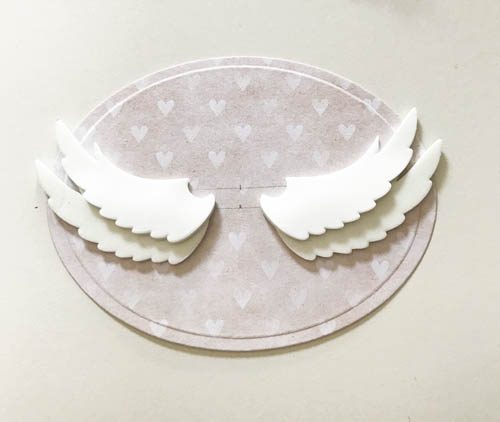
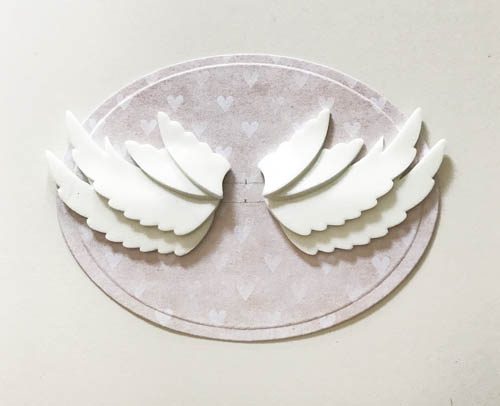
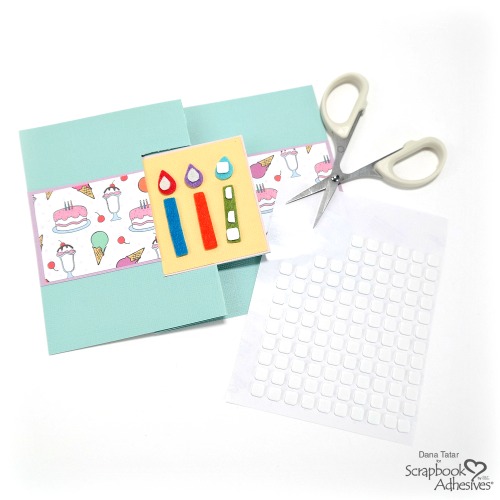
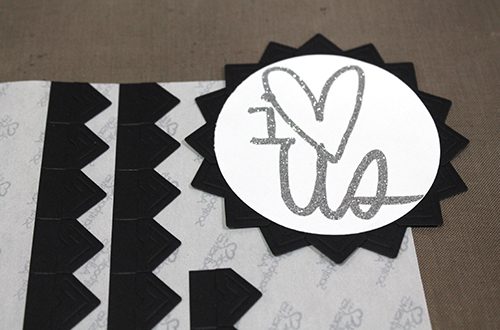
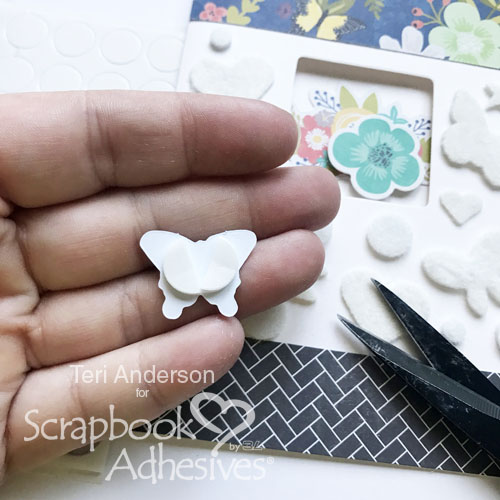
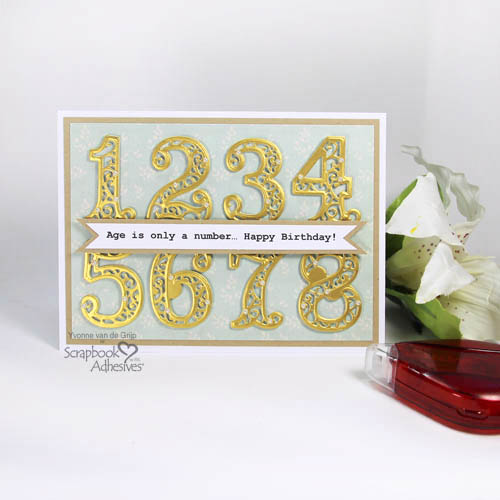
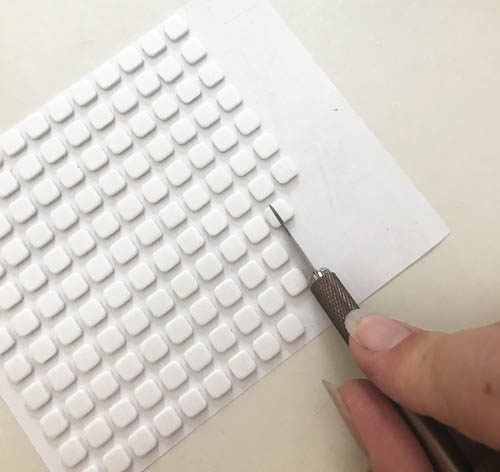
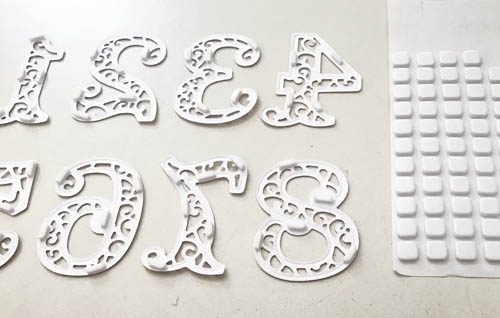
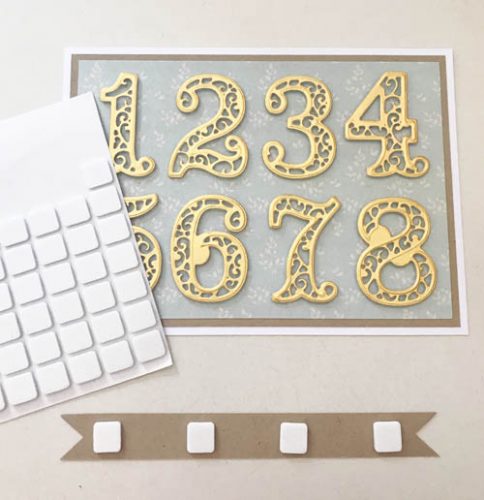
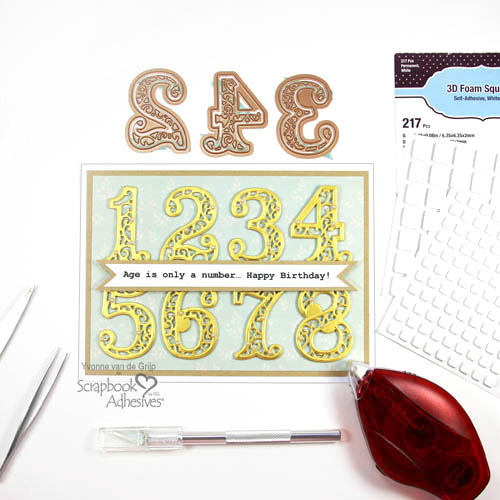
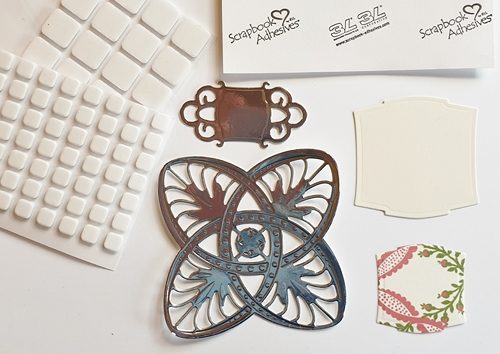
Next, select various die cuts as layered elements for your card. These will be positioned in place using 3D Foam Squares Regular and Small. It is possible to purchase a variety pack so you have both sizes – very handy!
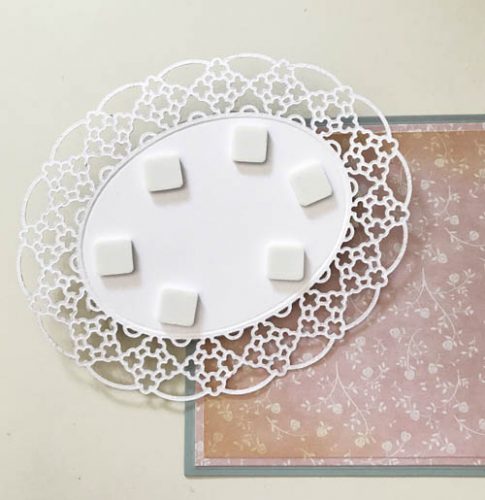
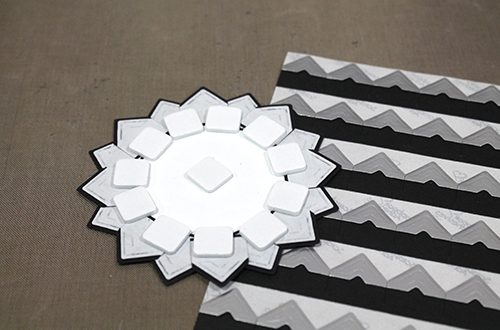
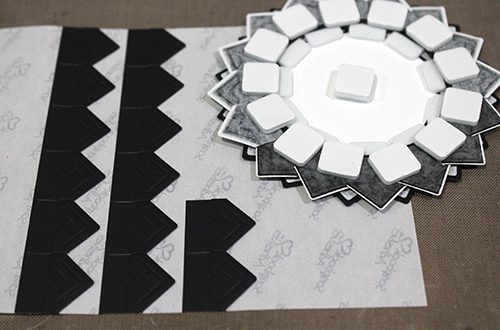
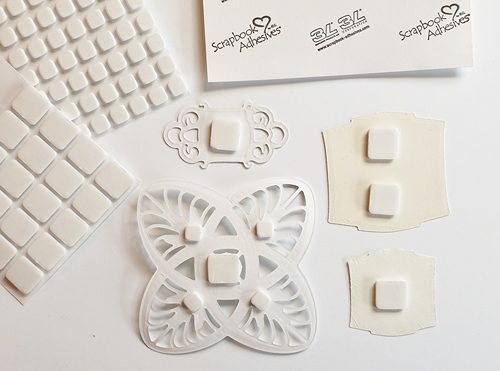
The 3D Foam Squares in place on the reverse of each die cut, you can see how they fit perfectly alternating between regular and small.
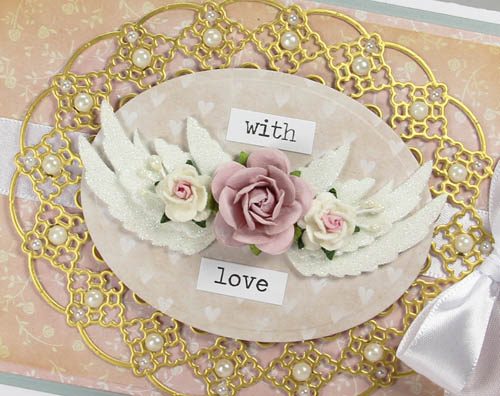
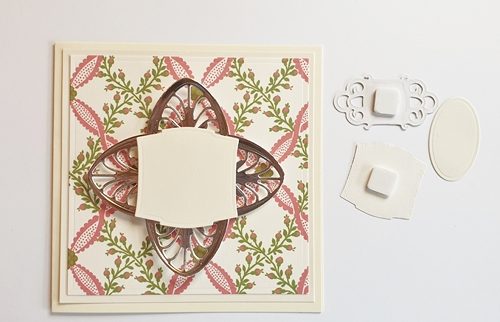
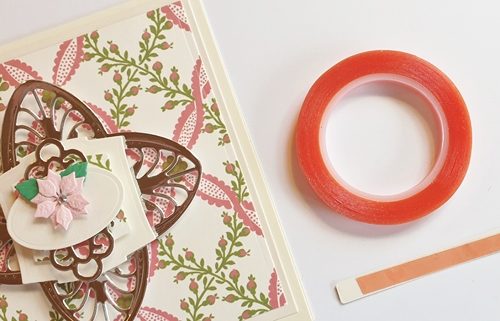
Begin to layer up each die cut, the dimensional card is taking shape.
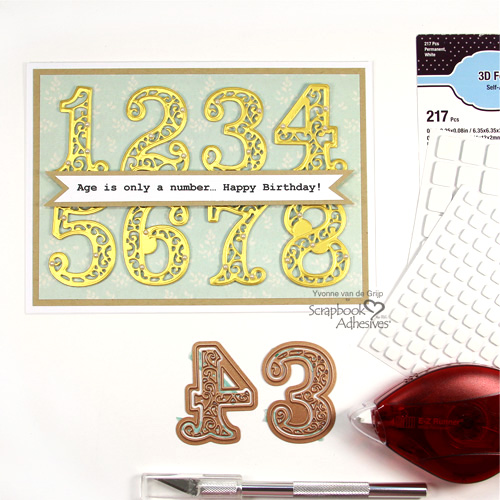
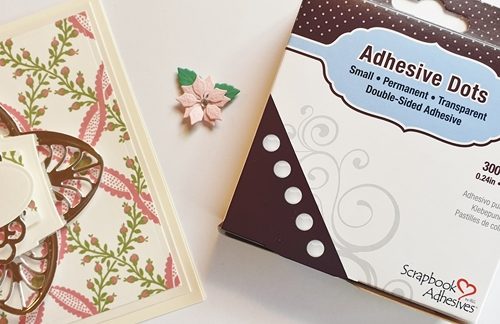
For the tiny flower I’ve used Adhesive Dots Small, these are clear and have a super bond so perfect for keeping smaller items in place.
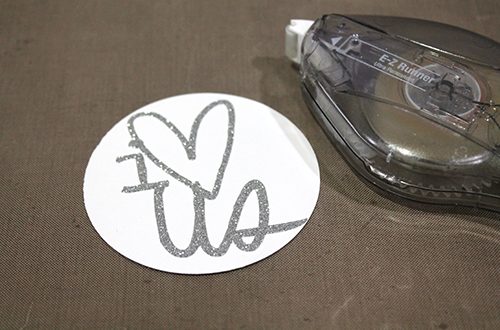
For the typed sentiment, I’ve opted for Extreme Double-Sided Tape 1/4 inch. This tape grips firmly immediately and no drying time.
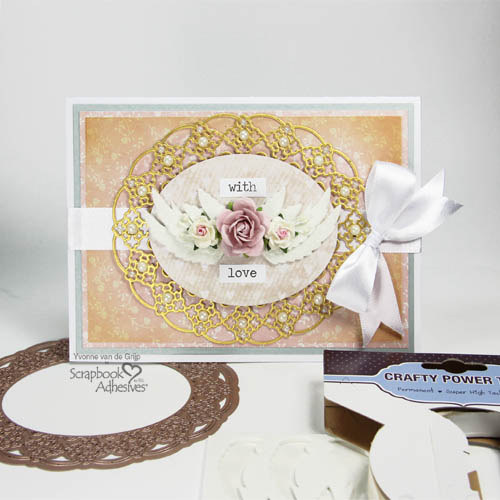
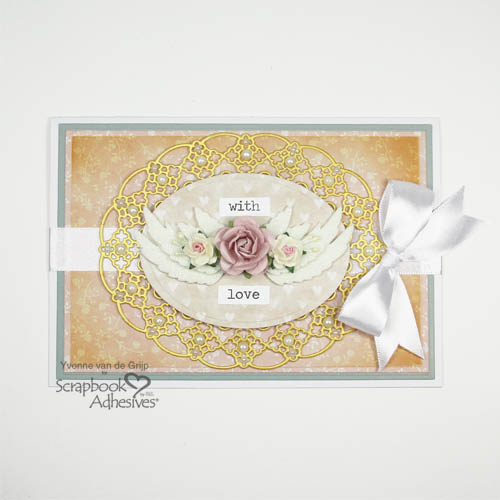
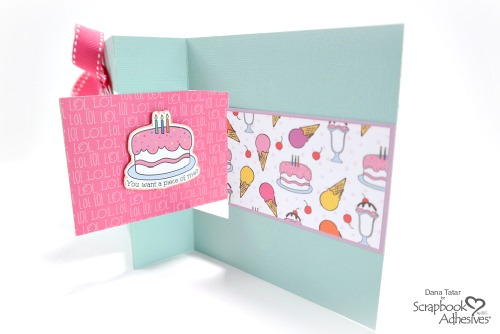
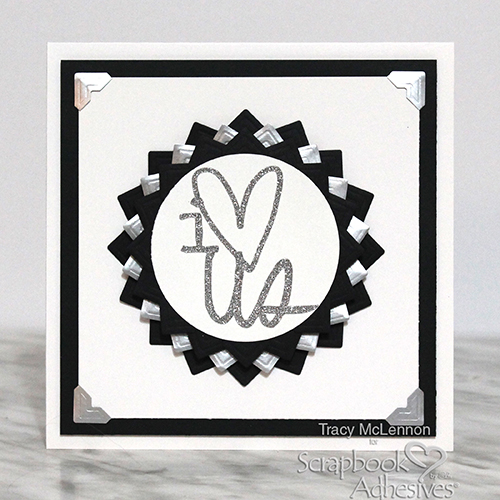
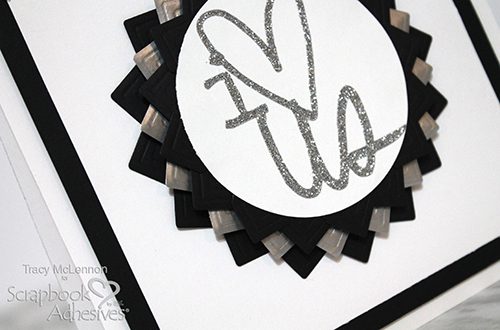
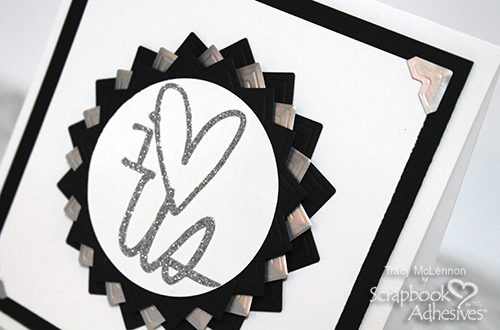
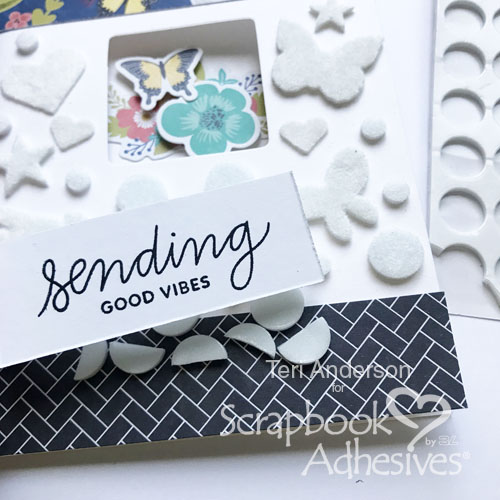
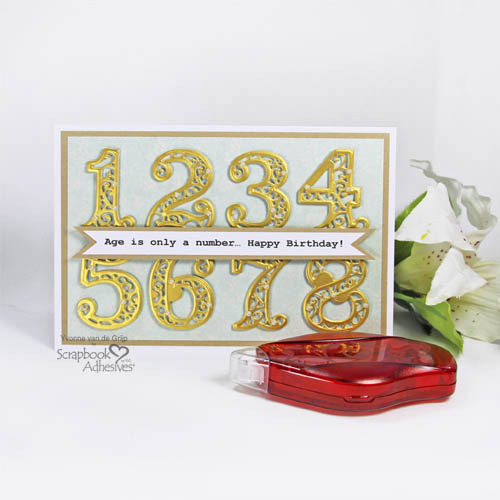
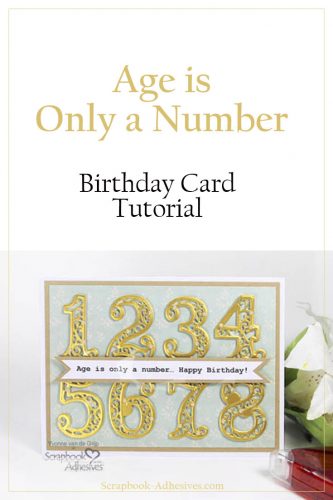
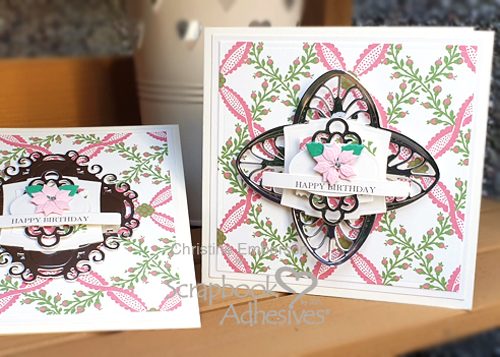
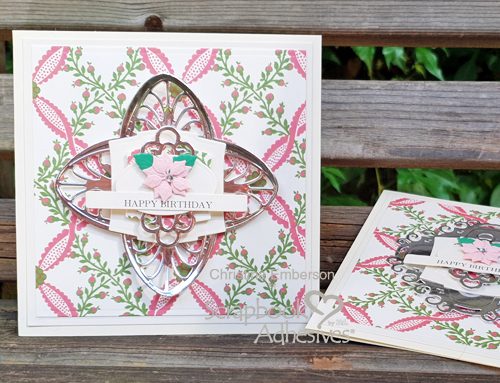
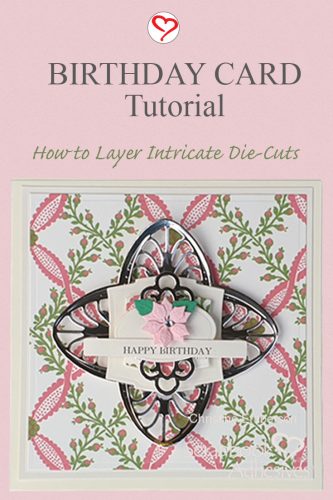
Here is the finished card, I liked the design so much I made another layered birthday card with a different die cut.
Thanks for stopping by and don’t forget to check out the great products on the website.
Christine
Creative Time: 25 Minutes
Skill Level: Beginner
Materials Needed
Scrapbook Adhesives by 3L®
HomeHobby by 3L®
Other
Card Base; Patterned Paper (Anna Griffin); Etched Dies (Spellbinders Paper Arts – Tiffany Lavaliere, Labels One Plus, Decorative Labels Two, and Mini Poinsettia); Typed Sentiment; Gemstone.
,
PIN IT!
Visit our Website and Blog!
Sign up for our Newsletter so you never miss a contest or giveaway!