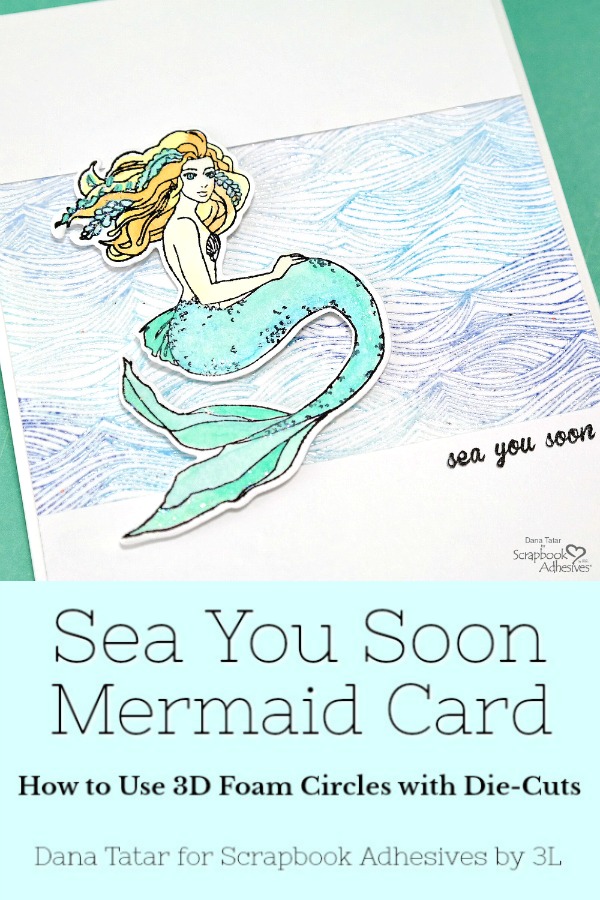
Hi friends! Dana Tatar here today sharing a fun Mermaid card. I hope your Summer vacation is off to a great start. I’m looking forward to spending time at the beach. The sound of the waves is what I enjoy the most.
The Waves Background Stamp from Hero Arts was a must-have for me. I don’t think that I will spot a mermaid at the beach, so I’ll have to settle for stamping and coloring them for my greeting cards.
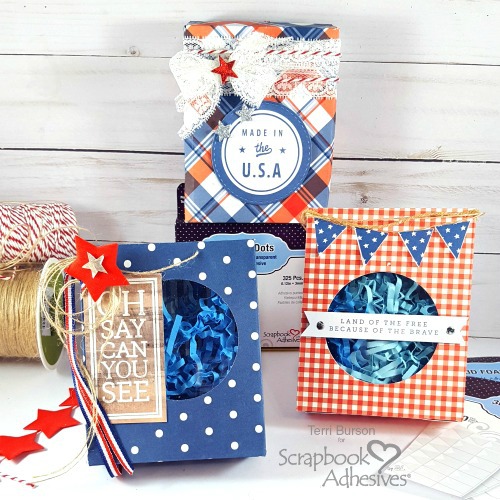
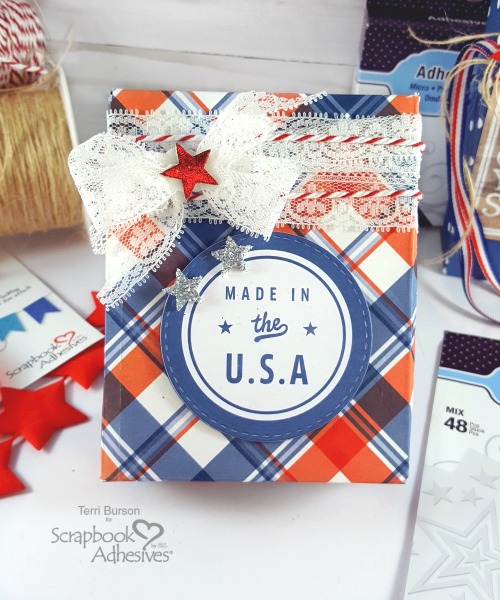
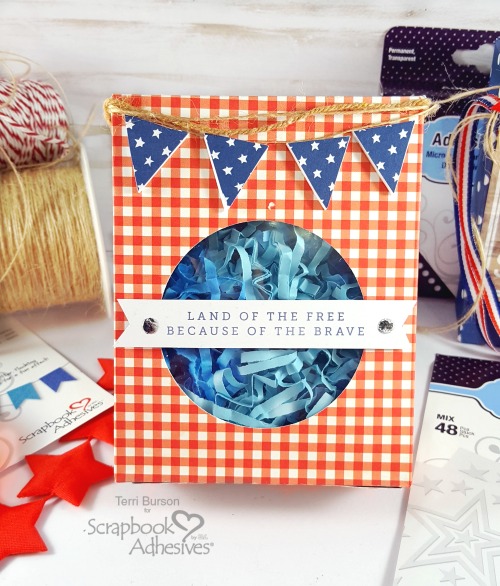
How to Create a Dimensional Mermaid Card
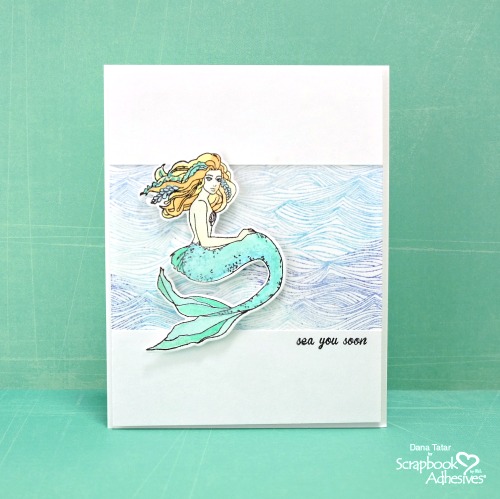
Ink up the Waves Background Stamp with several colors of blue pigment ink and pressed the stamp onto a piece of white cardstock. Next, I covered the wet ink with a layer of clear embossing powder and applied heat to set. I think the mixed blue palette and the shimmer of the embossing powder gives the waves a more realistic look.
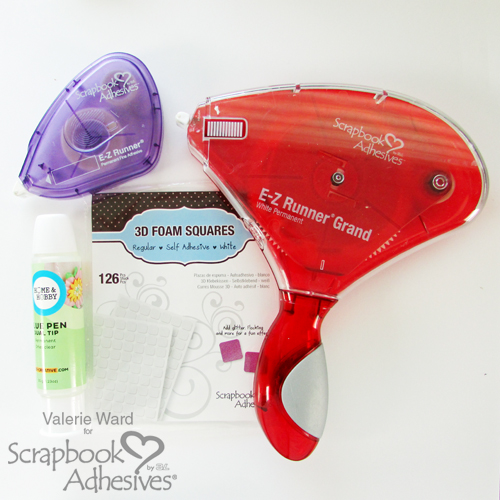
I wanted to be sure that the mermaid would stand out against the wave background, so I used the E-Z Runner® Grand Refillable Dispenser with the Permanent Dots Refill to attach white cardstock rectangles to the top and bottom of the embossed cardstock. To add another layer of dimension to the card, I used a 3D Foam Frame to attach the embossed cardstock piece to the front of an A4 card base.
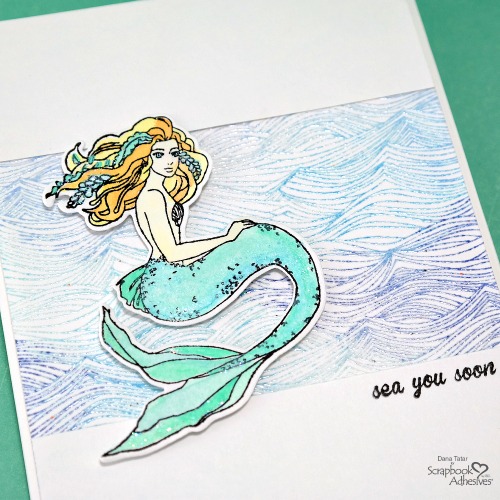
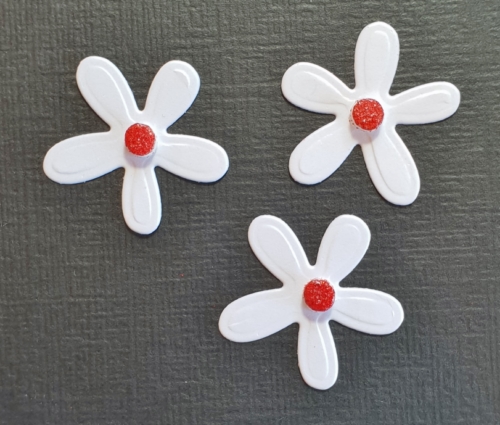
After stamping and die-cutting a mermaid for the front of the card, I used watercolor paint to fill in the image. Once the mermaid was dry I applied glitter glue for a touch of sparkle. Be sure to use a waterproof ink when working with liquid color mediums.
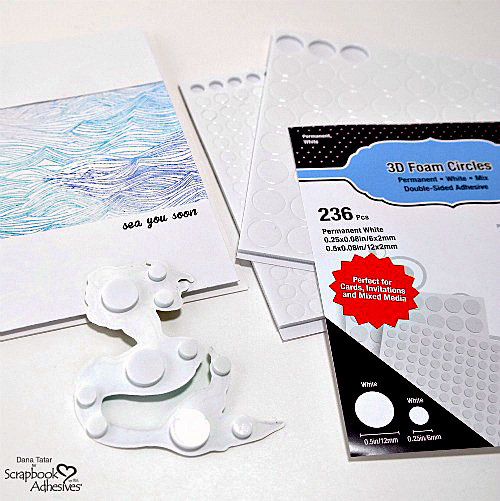
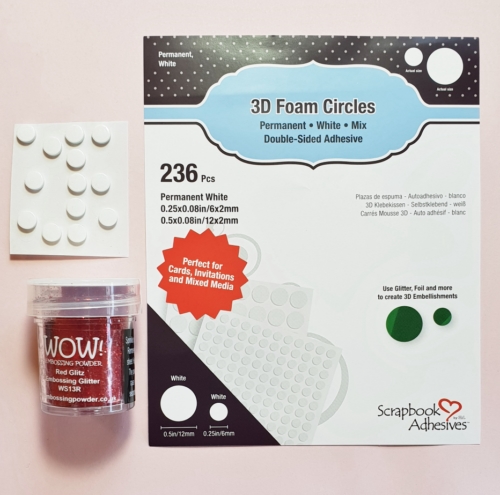
I stamped a simple sentiment onto the front of the card. Then, I used 3D Foam Circles to attach the mermaid die-cut to the front of the card. The White Mix of 3D Foam Circles includes both a sheet of small and a sheet of large 3D Foam Circles, which made applying all-over adhesive to my die-cut quick and easy. The strong permanent bond of the adhesive means that my die-cut will stay put, even on the slick embossed background of my card.
Thanks so much for stopping by today! What’s your favorite thing about the beach?
~Dana
- Creative Time: 45 Minutes
- Skill Level: Beginner
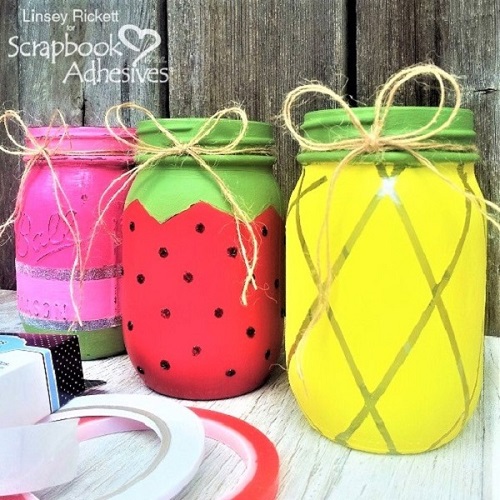
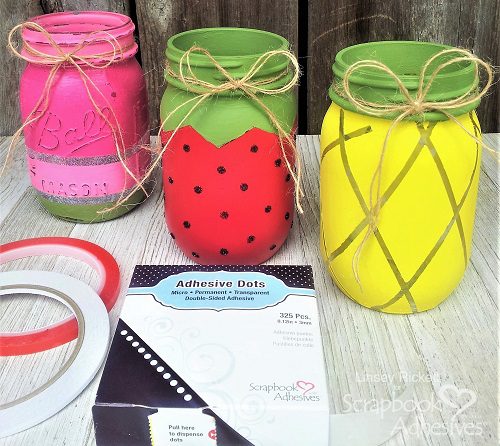
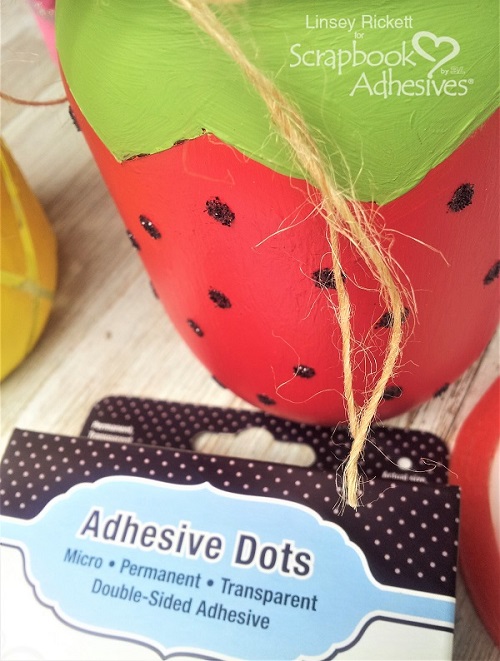
Materials Needed:
Scrapbook Adhesives by 3L® Supplies:
E-Z Runner® Grand Refillable Dispenser
E-Z Runner® Grand Permanent Dots Refill
3D Foam Circles White Mix
3D Foam Frames
Hero Art Supplies:
Waves Background Stamp (CG660); Mermaid Stamp and Cut Set (DC226)
Other Supplies:
White Cardstock; Watercolor Paint; Glitter Glue; Black Archival Ink, Blue Pigment Ink, Clear Embossing Powder
Pin It!

 s
s