You are in our US store • Switch to Europe store

Mini Paper Coffee Cup Treats with Bonus Card and Tag

Aren’t these coffee cup treats adorable?! They’re sized to fit K-cups or sweet treats. Hello, Terri Burson, here today, sharing these fun, mini paper coffee cups. Let me show you how.

Mini Paper Coffee Cup Treats with Bonus Card and Tag by Terri Burson for Scrapbook Adhesives by 3L

Brewing Up Some Coffee Cup Treats

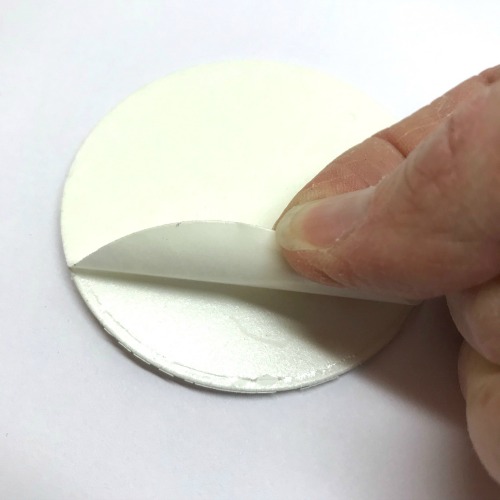
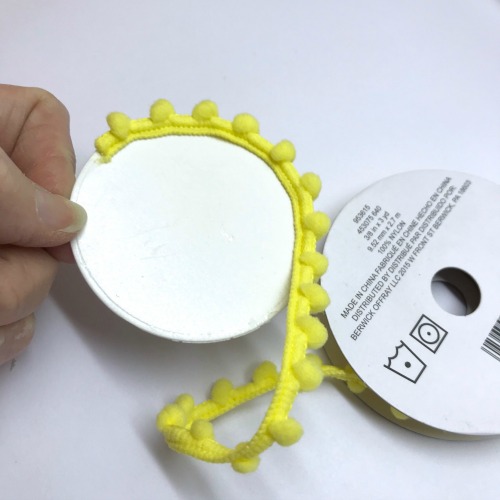
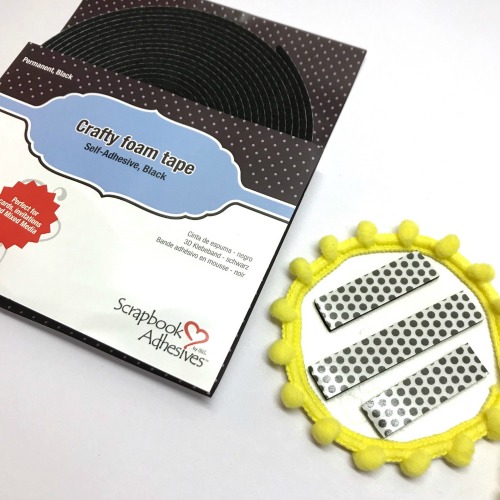
After cutting my paper cups with an electronic cutting machine (details in my video), I adhered my paper cup and seal my vellum tags with the E-Z Runner® Grand Refillable Dispenser, switching my cartridge for the E-Z Runner® Grand Ultra Strong Refill.  3D Foam Squares are perfect for adding dimension to my tag.

The 3D Foam Creative Embellishment Kit is so diverse and easy to use. The 3D Foam Creative is perfect for punching mini hearts.  Simply punch, peel and foil for adding a pop of sparkle and shine to “Wear Your Adhesives On The Outside.” No foiling machine needed.

You’ll find more details on my YouTube video below with bonus tips – I’m bringing out my spice jar!  Find out why!  Before we start, I thought it would be fun to toss in the coordinating card and tag.

Coffee Friends and Perfect Blend Card

This 4 x 5 1/4 inch top-fold card features many of the same papers and embellishments as my cups.  Premium Double-Sided Tape 1/4in tacks the center of my vellum with the 3D Foam Squares White Mix props up my framed sentiment for dimension.  Those delicious foiled foam hearts are just as accents, courtesy of the 3D Foam Creative Embellishment Kit.

Mug Life Shaker Tag

Lastly, we have a coordinating shaker tag that stacks die cut papers with 3D Foam Creative Sheet from the 3D Foam Creative Embellishment Kit, along with a pair of foiled heart accents.   I used the Extreme Double-Sided Tape 1/4in to secure my acetate. Sequins were put in place with the Dual Tip Glue Pen to tie a few of those little pops of red sequins together.

This was such a fun little trio to create, and a great way to “Wear Your Adhesives On The Outside!”  Visit my blog, if you’d like more details on today’s project, by clicking: Treat Coffee Cups with Bonus Card, Tag and Video for Scrapbook Adhesives by 3L®.

Coffee Cup Process Video

Click below to view my process video…I made this while I was a guest designer but now I’m excited to join as a design team member <3

Thank you for stopping by!
Terri

Scrapbook Adhesives by 3L®:
3D Foam Creative Embellishment Kit
3D Foam Squares White Mix
E-Z Runner® Grand Permanent Strips
E-Z Runner® Grand Ultra Strong Refill

HomeHobby by 3L®:
Premium Double-Sided Tape 1/4in
Extreme Double-Sided Tape 1/4in
Dual Tip Glue Pen

Other:
Patterned Paper: Doodlebug Design Sweet Things and Cream and Sugar
Mixed Media Paper: Strathmore Bristol Smooth
Solid Cardstock: Red, White Simon Says Stamp
Other Paper: Bazzill Vellum, Acetate
Tools: Cricut Explore Air, Spellbinders Prizm, Paper Piercer, Foam block, American Crafts Knock Out Mini Heart Punch, Misti Stamp Positioner, Acrylic block, We R Memory Keepers Trim & Score Board
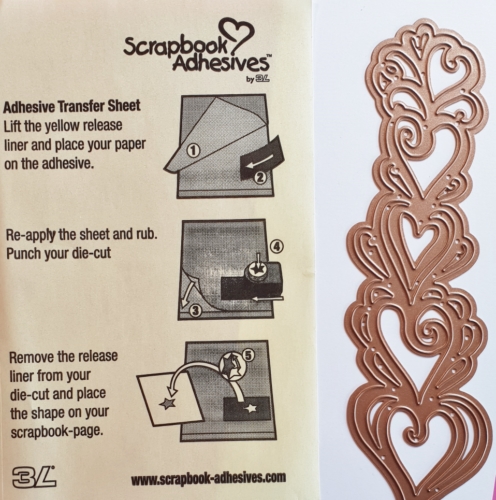
Dies: Umbrella Crafts Jumbo Nesting Dies, Umbrella Crafts Heart Nesting Dies
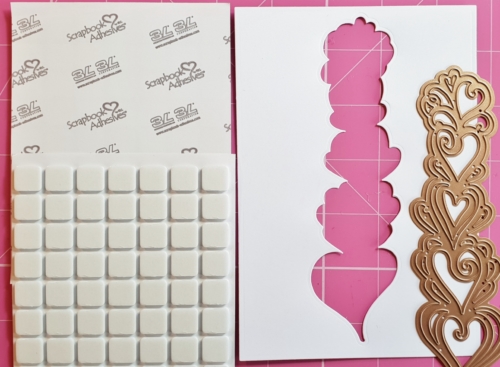
Inks:  Memento Tuxedo Black Dye Ink, Marvy Uchida Primary Brush Markers
Embellishments: May Arts Ribbon, sequins, Doodlebug Design Chunky Brads, Ranger Ink Distress Stickles 2 oz Brushed Corduroy
Stamps: SugarPea Designs, Studio L2E


You’re running out of time to apply for our 2018 Design Team!
Entries accepted through January 26, 2018

CUTE Layered Panda Birthday Card

Needing extra birthday cards for your stash? Who could resist a cute birthday card? Not me! LOL!

Hello everyone, Yvonne here showing you how to make this super cute panda one that will bring a big smile to the recipient 🙂 All it takes is some paint, die-cuts and, of course, lots of our great adhesives!

CUTE Layered Panda Birthday Card by Yvonne van de Grijp for Scrapbook Adhesives by 3L

Creating Birthday Fun!

First cut a rectangle piece of white cardstock as the card panel, and make a background with different tones of green paints. When the paints dry, stamp the sentiment on top.

Mat this background on green cardstock panel and then onto a white card base using the E-Z Runner® Grand Refillable Dispenser.

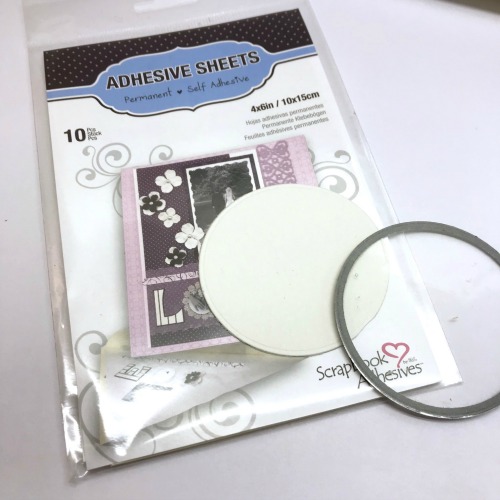
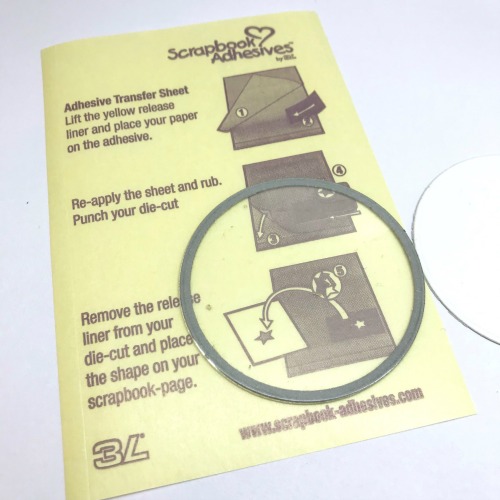
For the bamboo, lift the yellow release liner from a sheet of Adhesive Sheets 4×6″ and lay a piece of kraft and green cardstock on top.

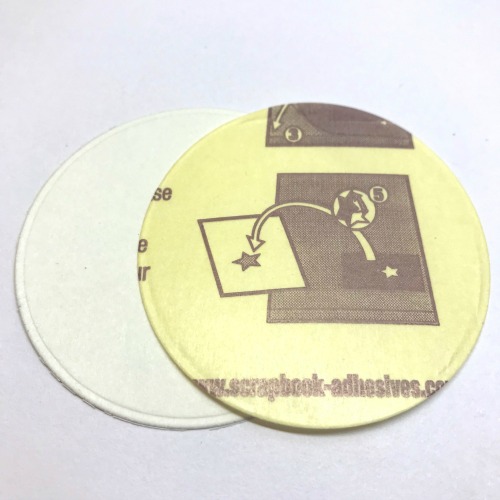
Trim the Adhesive Sheets 4×6″ to the size of the cardstock you are going to die-cut from. Next, die-cut the bamboo and leaves.

Remove the release liner and place the bamboo pieces upon the card. Tip: use some tweezers to position the tiny leaves.

Die-cut the panda from white and black cardstock and glue the black die-cut parts upon the white parts using the Dual Tip Glue Pen.

Adhere the panda to the card base using 3D Foam Squares so that the panda comes to life 😉

Finish the card by painting some white dots on the bamboo leaves and panda eyes.

Give the panda’s cheeks some color with a pink pencil.

Scrapbook Adhesives by 3L® products used:
E-Z Runner® Grand Refillable Dispenser (150″)
Adhesive Sheets 4×6″
3D Foam Squares White Regular Size

HomeHobby by 3L®:
Dual Tip Glue Pen

Other:
Spellbinders Paper Arts® die-templates (Build a Panda, Bamboo Party), Ranger Distress Paint Dabbers, Cardstock (white, green, kraft, black), Lili of the Valley sentiment stamp (Block Sentiments), White ink, Drawing pencil (pink), Pen (black), Paper trimmer

Wishing you happy crafting!

Hugs from Holland,
Yvonne

Keepsake Envelope Mini Book

Hey there crafty friends! Today I have a super cute Keepsake Envelope Mini Book tutorial to share. These little envelopes are not JUST perfect for tucking away those important keepsakes in your albums, they can have a whole other life like this sweet little Keepsake Envelope Mini Book.

Keepsake Envelope Mini Book Tutorial:

Take 2 of the 2 x 4 in. Keepsake Envelopes, and adhere to the 3.5 x 4 in. envelope using 1/8″ Extreme Double Sided Tape.

Add the two 2 x 2 in. Keepsake Envelopes to the 2 x 4 in. envelope, again using 1/8″ Extreme Double Sided Tape.

Using a 1/8″ hand punch, I punched a hole in the flap of the 2 x 4 in. envelope. Run the ribbon through the hole and adhere to the back of that 2 x 4 in. envelope and the 3.5 x 4 in. envelope.

Start covering all of the sections from and back of the mini book using my E-Z Runner® Ultra Refillable Dispenser.

Using a large circle punch, cut out pieces of the 2 middle envelope opening flaps. This creates pockets that you can easily slide things into.

I used 1/4″ 3D Foam Squares to add the mini frame to the front cover and Micro Adhesive Dots to add other chipboard embellishments.

Add your photos, embellishments and tuck away any other keepsakes.

Thanks so much for stopping by!
Tracy

Scrapbook Adhesives by 3L® Used:
Keepsake Envelopes Mix
3D Foam Squares Black Small Size
Adhesive Dots- Micro
E-Z Runner® Ultra Refillable Dispenser
Extreme Double-Sided Tape 1/8in

Others:
Simple Stories- I Am Collection, Cardstock (white, coral), White Ribbon, Circle Punches (1/8″, 1.75″)


Don’t forget we have a design team call going on! Are you interested?
Please click: 2018 Design Team Call Post.

See our New Products for Creativation 2018!

We are pleased to introduce new products for the 2018 Association for Creative Industries show CREATIVATION, in Phoenix, AZ!

New E-Z Runner Grand Refill

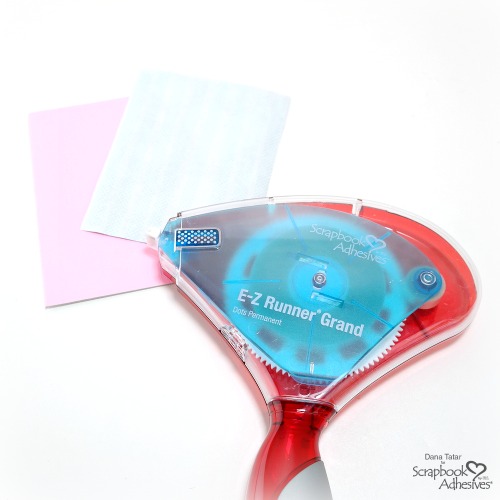
Joining our E-Z Runner® Grand Refillable family is the new E-Z Runner® Grand Permanent Dots Refill, featuring 140 feet of of permanent, double-sided adhesive dots. This refill is for the E-Z Runner® Grand Dispenser. Permanent Dots adhesive is acid free and archival safe for all of your projects.

01254 E-Z Runner Grand Refill Permanent DotsWe offer the sister product in the HomeHobby by 3L® line, the Double-Sided Tape Runner Refill Dots Permanent.

Double Sided Tape Refill Dots Permanent 02006

See this quick video on using and refilling the E-Z Runner Grand and Double-Sided Tape Runner:

New 3D Foam Circles

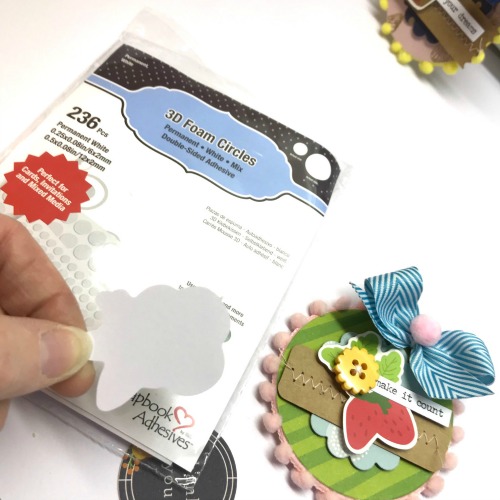
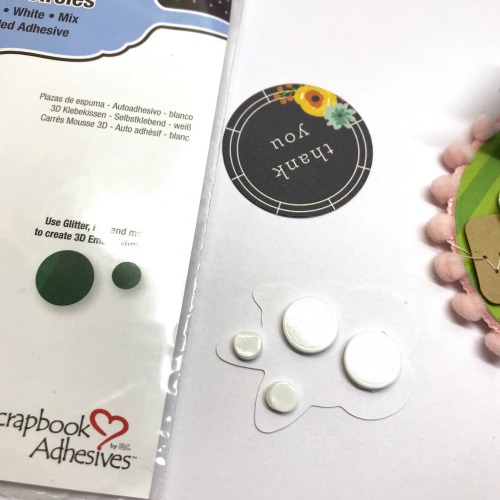
Joining our 3D Foam Family are 3D Foam Circles, in both Black and White! Each package contains 2 sizes, in 1/2 and 1/4 inches, with a total of 236 3D Foam Circles. While these will work great as a foam adhesive to use as a ‘pop’ between layers, they will also make great dot embellishments when you Wear Your Adhesive on the Outside with Foil, glitter, embossing powder and more.

They feature crush-proof high density foam that easily releases from the bottom liner. Top liners are easy to peel off when you’re ready to stick. Adhesive on both sides, top and bottom, is edge to edge permanent adhesive. 3D Foam Circles are acid free and archival safe for all of your projects.

01227 3D Foam Circles Black Mix

3D Foam Circles White Mix #01226

See this quick video on using 3D Foam Squares, they work just like 3D Foam Circles:

Come see at Creativation in Phoenix this weekend, Booth 1235, we have make and takes and demonstrations all weekend!

Creativation logo

New Products will ship to stores in immediately, be sure to ask for these at your favorite retailer or shop here!


We’re looking for a few good designers, apply for our 2018 Design Team.

Perfectly Glittered Hearts for Valentine’s Day

Glittered hearts are the perfect embellishments for Valentine’s Day using 3D Foam Hearts and glitter to “Wear Your Adhesives on the Outside!” Show your loved one how much you care this Valentine’s Day with this sparkly handmade card <3  Christine here today with a tutorial with this LOVEly card – life is always better with glitter!

Perfectly Glittered Hearts for Valentine's Day by Christine Emberson for Scrapbook Adhesives by 3L

Hearts A-Glittered!

Let’s mat a white card square onto your card base using MyStik® Permanent Strips.

On the third piece of square card panel, position 3D Foam Hearts randomly, truly randomly, doesn’t matter where you place them!

Remove the top lining paper of the 3D Foam Hearts and sprinkle with red embossing powder.  Set with a heat gun. Yes, they are heat resistant so melt away!

Affix to card front with Crafty Foam Tape White.

The sentiment is affixed with 3D Foam Squares Regular.

The finished card – simple, bold and perfect for the special someone in your life!

Thanks for stopping by today and don’t forget to check out all the great products on the website.

Scrapbook Adhesives by 3L®:
MyStik® Permanent Strips
3D Foam Squares White Regular
3D Foam Hearts
Crafty Foam Tape White

Others:
Dies: Spellbinders® Paper Arts (6×6 Matting Basics)
White cardstock; Red Glitter; Embossing Powder; Printed Sentiment

Visit our Website and Blog!
Sign up for our Newsletter so you never miss a contest or giveaway!

instagram purple icon facebook icon purple pinterest purple icon twitter purple icon YouTube icon blog subscription purple icon

An Extra Special Anniversary Card using Crafty Foam Tape

A special anniversary card deserves to have an extra special touch by adding layers and dimension in a big way!

Today I wanted to share with you a bit about how I created this card for my sister and brother-in-law for their 60th Anniversary. Even though we couldn’t be there to celebrate, I wanted it to be a big beautiful card that let them know that we send them all our love and best wishes.

An Extra Special Anniversary Card using Crafty Foam Tape by Vicki Chrisman for Scrapbook Adhesives by 3L

Details behind the Anniversary Card

When making a larger and more involved card like this one, I love creating it with lots of dimensions. 3D Foam Squares are great for embellishments but what about when you want to raise up a large matted piece?  The answer is Crafty Foam Tape.  It’s perfect for the task and so easy to use.  Simply cut your pieces to the exact size you need.  In this case, I used it to raise up the entire brown piece of cardstock that I built the rest of the card on.

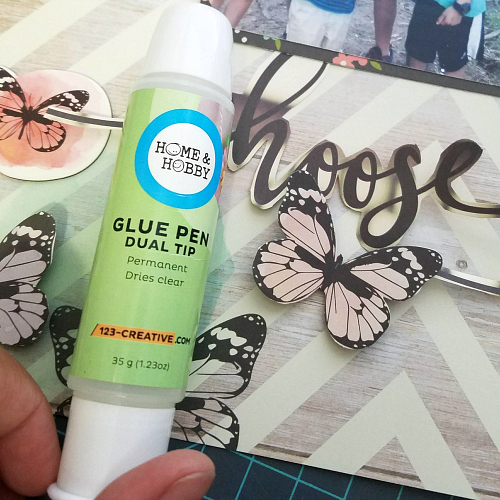
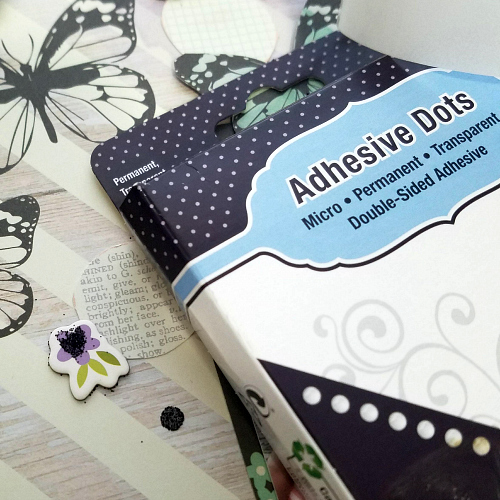
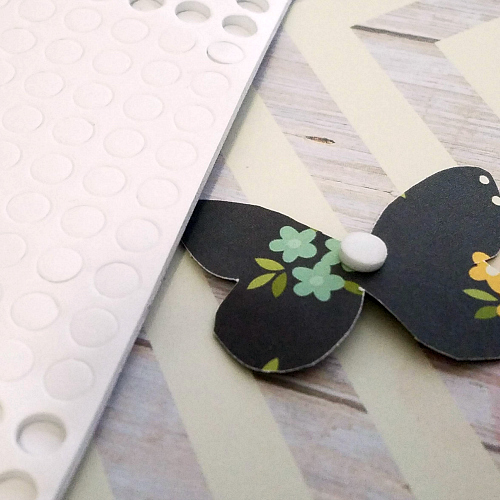
As I put together the rest of the card, I used my 3D Foam Squares White, Small to lift up the smaller pieces like the butterflies.  I used Crafty Power Tape 81″ Dispenser to adhere the vintage lace. Varied sizes of Adhesive Dots were used to secure the other embellishments.  The general adhesive I used on this card was E-Z Runner® Permanent Strips Refillable Dispenser.


When they receive it, I know they will see a lot of love and thought went into creating it. Having the right adhesive makes creating that much more enjoyable.

Thank you for stopping by!
Vicki

Scrapbook Adhesives by 3L® Used:
E-Z Runner® Permanent Strips Refillable Dispenser
Crafty Foam Tape White
3D Foam Squares White, Small
Adhesive Dots
Crafty Power Tape 81″ Dispenser
Other:
Patterned Papers: Graphic 45
Cardstock: Bazzill Basics Paper
Stickers: Jenni Bowlin


Don’t forget we have a design team call going on! Interested?
Please click: 2018 Design Team Call Post.

Pennant and Stars Welcome Sweet Little One Card

Looking for a sweet baby card to create? Hello everyone!  It’s Judy here today with a Welcome Sweet Little One card embellished a combination of 3D Foam Pennants and 3D Foam Stars. For color, I’ve used fine embossing powder (not heated) to the pennants and glitter on the stars. Both stick easily to the adhesive to “Wear Your Adhesives on the Outside.”

Pennant and Stars Welcome Sweet Little One Card by Judy Hayes for Scrapbook Adhesives by 3L

Making it Sweet!

To create the base of my card, I added a patterned paper card panel to the white card base with E-Z Dots® Permanent Refillable Dispenser. The 3D Foam Pennants were fastened across a piece of pearl cotton which in turn, was fastened in back with Premium Double-Sided Tape ¼ʺ Permanent. Dots of white accent the space between pennants. Set aside.

In order to glitter the 3D Foam Star, I had to remove the top liner and sprinkle glitter (make sure to press the glitter into the star shape). Tap off excess, remove from its sheet and place on top of each 3D Foam Pennant (remove the top liner from the pennant shape first).

View this quick video tutorial on How to Use 3D Foam Shapes.

Next, add embossing powder to the pennants. Because we are only adding color, there’s no need to heat emboss. Stamped sentiments were fastened to patterned paper with E-Z Dots® Permanent Refillable Dispenser and popped up with 3D Foam Squares White Regular Size.

Ready to send to a dear friend and her new sweet baby boy!

Happy Creating!
Judy

Scrapbook Adhesives by 3L®:
E-Z Dots® Permanent Refillable Dispenser
3D Foam Embellishments: 3D Foam Pennants and 3D Foam Stars
3D Foam Squares White Regular Size

HomeHobby by 3L®:
Premium Double-Sided Tape ¼in.

Other:
Avery Elle The Everyday Collection 6 x6; Imagine Crafts Tsukineko Neon Amplify! White, Versafine Onyx Black Ink; Taylored Expressions Many Minis-Occasions stamps, Mini Tags die; Glitter; Fine Embossing Powder: White Cardstock; Pearl Cotton

Stacked Hearts Thank You Card with Foiling

I’m sharing stacked hearts die cuts to create a wonderful heartfelt thank you card to someone special today! Hi, Terri Burson here and I am excited to be here to share inspiration like this sweet card.

Stacked Hearts Thank You Card by Terri Burson for Scrapbook Adhesives by 3L

Details on the Hearts Card

My card was created by nesting hearts die cuts, adding the outside edges of a paper lace doily and foiling a sentiment die cut. Simply use 3D Foam Creative Sheet to bring dimension to the sentiment and a bit of silver foil sheet to bring that WOW! factor to my sentiment. You can accomplish this by using the 3D Creative Embellishment Kit to “Wear Your Adhesives on the Outside!”

My 3.75 x  5 in. card base was created with mixed media paper. On the scalloped card panel, I added a splatter design by adding water to Ranger Ink Distress Oxides for color and using a brush to splatter the front.  To stack the hearts, I used 3D Foam Squares for dimension. The rest of the card was assembled with E-Z Runner® Permanent Strips.

Please click below to view my process video, Stacked Hearts Thank You Card. P.S. Note I said 3D Foam Hearts = oops, I meant 3D Foam Squares! Freudian slip: Hearts on the Brain! HA!

Thank you for stopping by! You can find me at my blog by clicking: Waving My Wand

Scrapbook Adhesives by 3L®:
3D Creative Embellishment Kit
3D Foam Squares White Mix
E-Z Runner® Grand Permanent Strips
Other:
Patterned Paper: Lawn Fawn (Watercolor Wishes Paper)
Mixed Media Paper: Strathmore
White Cardstock: Core’dinations
Ink and Spray Mister: Ranger Ink (Distress Oxide Worn Lipstick and Inkessentials Mister Spray Bottle)
Dies: Thanks die, Lawn Fawn (Scallop Rectangle Dies) and Umbrella Crafts (Nested Heart Dies)
Tool: die cut machine and WRMK Trim and Score Board
Paint Brush
Scallop Lace Heart-shaped Paper Doily

Find out how to apply for our 2018 Design Team.

Mountains and Bear Themed Baby Shower Banner

A fun banner is in order for this unique theme of mountains and bear for a baby boy shower! My cousin had hers over the holidays. Why this theme? It’s a reflection of the decor in the baby’s room 🙂 Clever!

Hi Latrice here to share a unique baby shower banner to go with this theme. I used my favorite tape runner, E-Z Runner® Grand Refillable Dispenser, to assemble the banner so that she can keep it for the nursery after the shower! Let’s get started and create!

Mountains and Bear Themed Baby Shower Banner by Latrice Murphy for Scrapbook Adhesives by 3L


Moving Mountains for this Banner!

To create the mountains I was inspired by what the couple had painted on their nursery walls. First, find and grab 13 sheets of white cardstock. Trim to desired sized rectangles.

In addition, find 13 sheets of navy cardstock and trim to make sure you have a white border left and right sides of your navy rectangle. Adhere all the papers together to make 13 one-layered banner bases, using E-Z Runner® Grand Refillable Dispenser.

Next, die cut letters in white cardstock to spell out “Move Mountains.” Pick letter sizes that can fit inside the navy cardstock AND to leave space at the bottom to fit mountain peeks. Adhere the letters with E-Z Runner® Grand Refillable Dispenser.

Hand cut with scissors the mountain peaks in different neutral colored cardstock such as kraft, light blue, navy and grey. Layer the mountains easily with the  E-Z Runner® Grand Refillable Dispenser. Sometimes I get carried away when using my runner but no worries as the permanent strips can easily be folded under if there are any overhangs.

To attach the banner to the ribbon use the same E-Z Runner® Grand Refillable Dispenser. For extra interest to the banner, I added staples and to secure it more so that people can touch it and take photos in front of it.

Here’s a closeup of the banner.

It was such a great shower. The mountain and bear theme was seriously so adorable! Check out the fun cake and marzipan campsite the aunts created.

Scrapbook Adhesives by 3L® Used:
E-Z Runner® Grand Refillable Dispenser
Other:
Cardstock; Ribbon; Staples; Scissors; Silhouette

Looking for our Design Team Call? Please click: 2018 Design Team Call Blog Post!

2018 Design Team Call

Attention Crafters, we invite you to submit an application for our Creative Design Team!

3L Design Team Call 2018

We are excited to announce the Design Team call is open to paper crafters, scrapbookers, and card makers. This is a fantastic opportunity to design with a leading manufacturer in the craft and hobby industry. We’re looking for 12 designers to work with our lines of premium adhesives and other craft materials.

Expectations


  • Design Team term is from April 1, 2018, to March 31, 2019
  •  Create 2 awesome projects per month based on provided theme/product requirements, plus 3 cross-promotional events during the term
  •  Draft blog posts and images on our WordPress blog
  •  Work with established schedules, meet deadlines, and follow guidelines
  •  Great photography, with the ability to perform basic photo editing (cropping, resizing, renaming, adjustment of images as needed)
  •  Create step-by-step tutorials with photos and/or videos and written instructions
  •  Active blog and social media accounts (such as Facebook, Twitter, Instagram, Pinterest, YouTube, etc.)
  •  Exclusive use of Scrapbook Adhesives by 3L® products for all personal and professional projects (no other adhesives or directly competing products allowed)
  •  Engagement with Scrapbook Adhesives by 3L® social accounts to support company and fellow Designer Team Members


Benefits


  • Generous quarterly shipments of Scrapbook Adhesives by 3L® products
  • Social media promotion of your projects on our Company Blog, Facebook, Instagram, Pinterest and Twitter accounts
  • New release products throughout the term
  • Promotional product from industry partners
  • Communication via email and a private Facebook group
  • Your name, head shot, and link to your personal blog on the Design Team Page of the Scrapbook Adhesives by 3L® website during your term
  • Design Team badge for your blog
  • Pay for publication in print magazines
  • Projects displayed at the Association For Creative Industries trade show and other industry events, website and marketing material
  • Compensation for special project requests

How To Apply

The 2018 Design Team has been selected, see our new team here!

Send one email with the subject line: Your Name – Design Team Application, that includes:

  • Attach 3 images showing the type and style of projects we should expect from you. Images should be:
    • JPEG
    • 500 x 500 pixels at 72dpi
    • Watermarks OK
    • Name the images: YourName-1.jpg, YourName-2.jpg, YourName-3.jpg
  • In a Word or PDF document include:
    • Introduce yourself and tell us why you are applying for our team, a paragraph or two is fine
    • Links to your blog and active social media platforms
    • List or link to your Design Team and Publication Resume (previous experience and/or publications not required)
    • Name this file: YourName-intro
  • Your information and images will be used internally for this Design Team call, and will not be used, published or shared in any other way.
  • Use of Scrapbook Adhesives by 3L® products in your project is not required
  • Submissions will be accepted through January 26, 2018, 11:59pm Central time
  •  Design Team members will be emailed no later than February 10, 2018
  • Our Design Team call is open worldwide
  • Late or incomplete submissions will not be considered
  • Email your questions with the subject: Your Name – Design Team Question

About Us

3L Consumer Products A/S has more than 40 years of experience designing adhesive for the creative industry. In 2004 we launched the Scrapbook Adhesives by 3L® brand focusing on providing a full-line of rigorously tested and approved adhesives that are safe for all your crafts.

Join our email list for news, product information and giveaways

Please share this post with your crafty friends!

Let’s Stay in Touch!

pinterest purple facebook purple instagram purple SAby3L YouTube icon twitter purple

We look forward to meeting you!