Hi friends! Dana Tatar here today sharing a fun paper craft tutorial. I have purchased several different types of succulents and cactus for my home. Sadly, they all eventually meet the same fate. My house plants suffer from either too much or too little attention. Despite my best efforts I really struggle to keep my houseplants alive. I’ve solved my problems by folding up a super cute paper cactus trio!
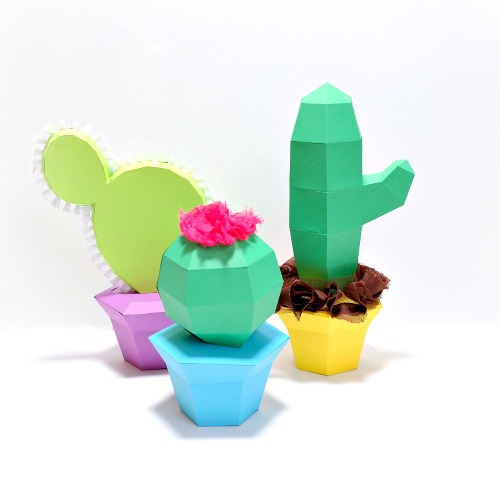
I found the templates for these succulents on the Oxygami Facebook page. They are offering 6 wonderful designs for free! I selected three of my favorite cactus designs to brighten up my décor. After assembling each cactus I added embellishments to help bring these designs to life.
How to Fold and Embellish a Paper Cactus Trio
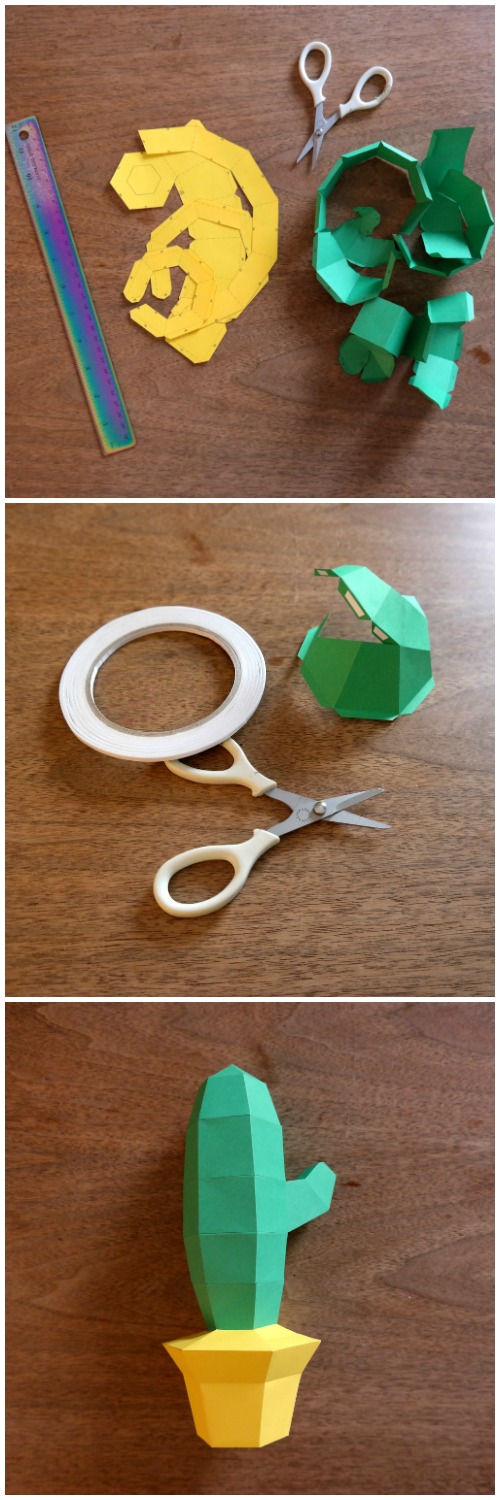
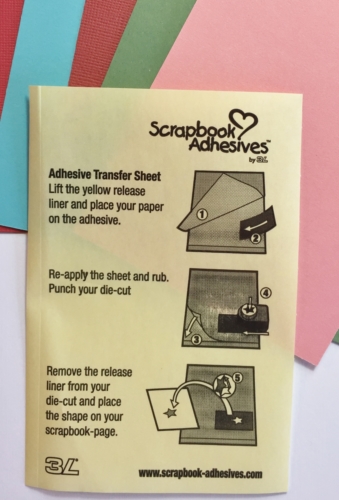
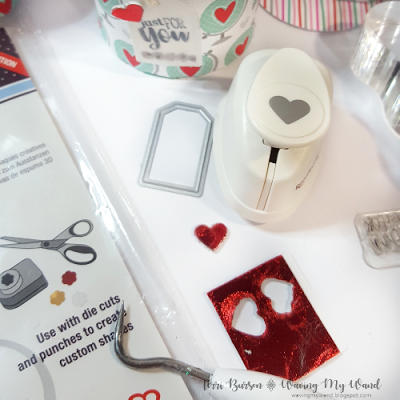
1: Download the patterns and instructions. Print the patterns onto colorful paper and carefully cut out. Score and fold each piece of the pattern according to the instructions.
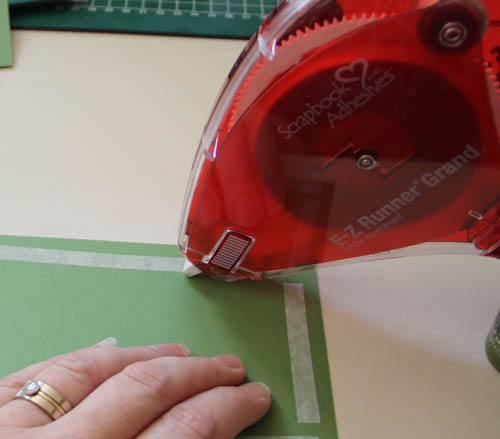
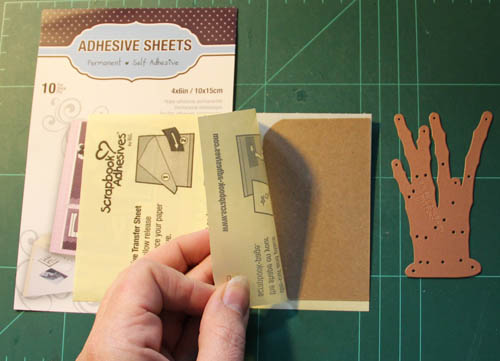
2: Apply Double-Sided Tape to the flaps on each pattern.
3: Remove the paper liner from the Double-Sided Tape and assemble each cactus as directed.
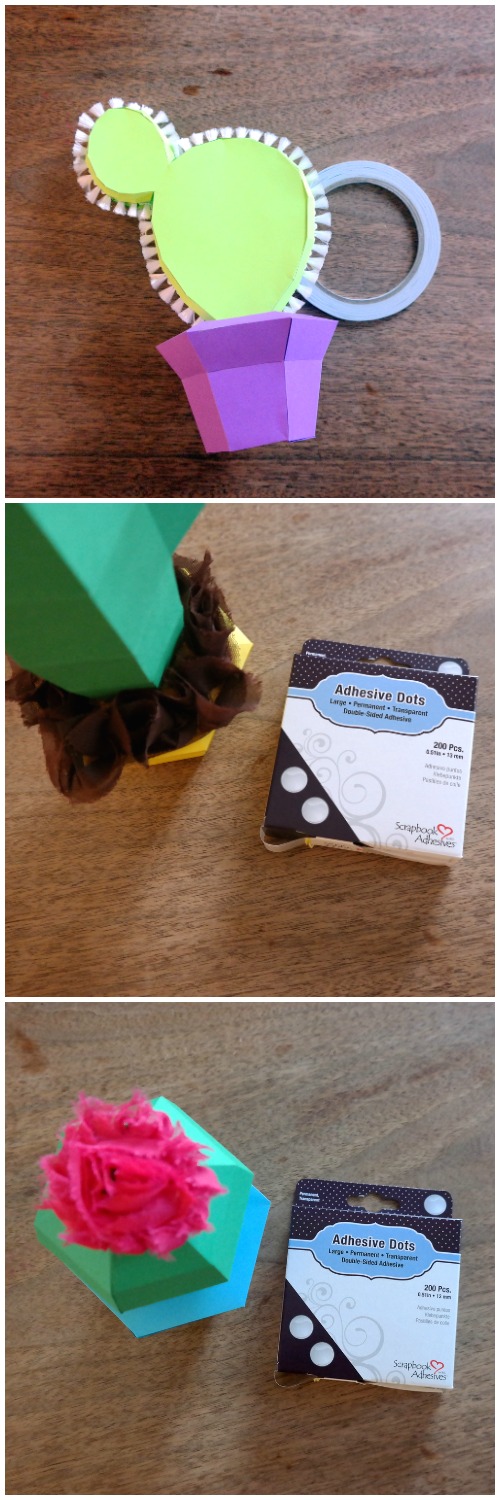
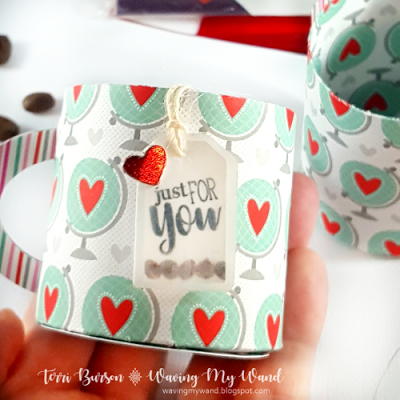
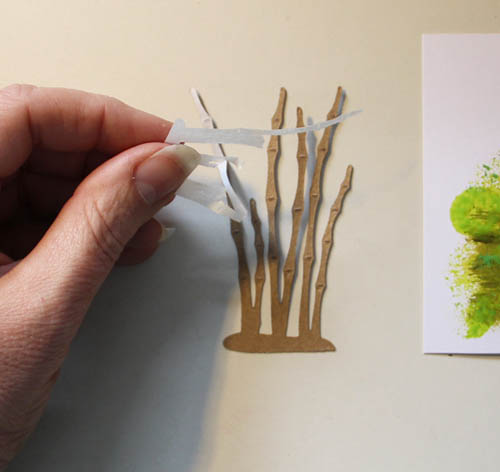
4: Embellish! I mimicked the look of spines by adding a length of white fringe ribbon to the first design. To replicate the look of potting soil, I applied brown floral ribbon to the top of the planter on the second design. Finally, I used a Large Adhesive Dot to add a pink flower to the top of the third design. The Large Adhesive Dots offered both transparency and a strong, flexible hold that was perfect for this project.
I hope I have inspired you to create some dimensional art for your home!
Thanks for stopping by!
~Dana Tatar
Scrapbook Adhesives by 3L Supplies:
Adhesive Dots Large
HomeHobby by 3L®:
Premium Double-Sided Tape 1/8″
Other:
English Cactus Patterns (Oxygami); Colored Copy Paper (Astro Brights); Ribbon