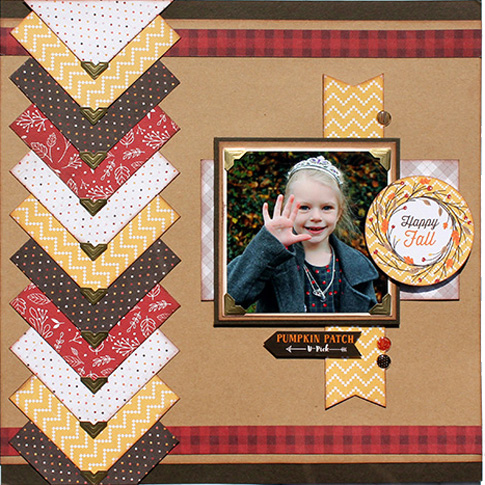
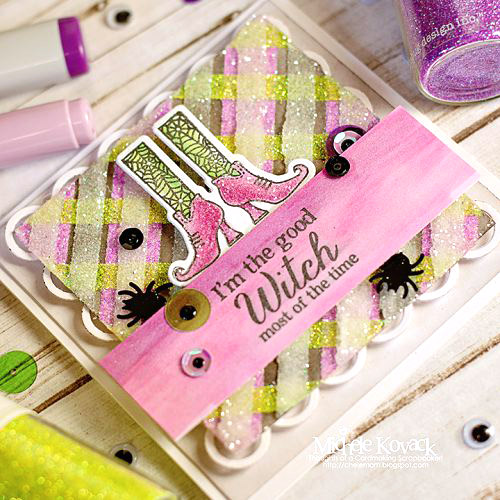
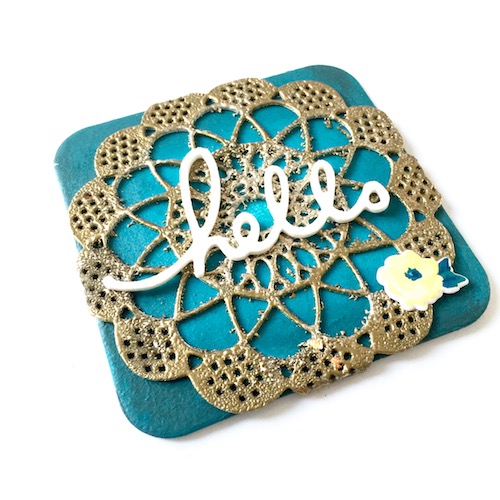
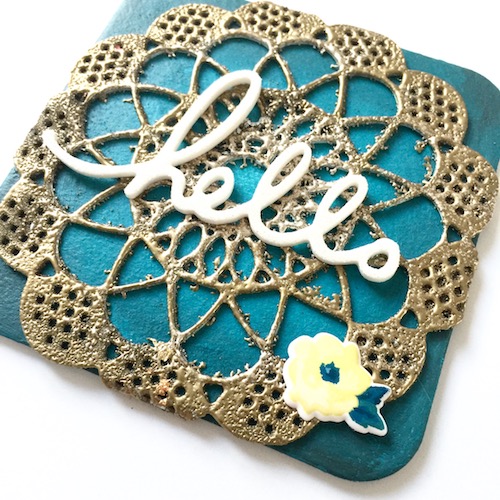
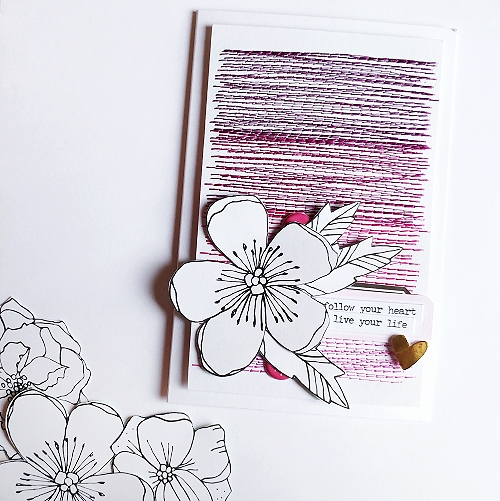
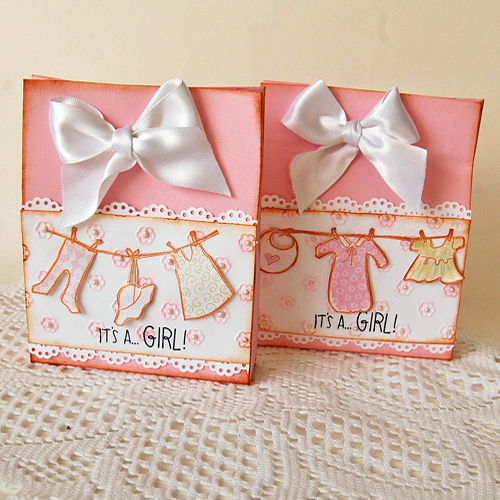
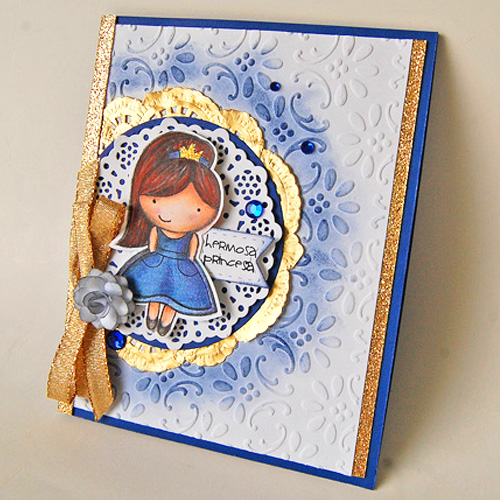
Gold glitter borders bring sparkle and bling to this lovely card for a special girl! Hi everyone, Marilyn here, and I am sharing how to “Wear Your Adhesives on the Outside” with gold glitter and Premium Double-Sided Tape 1/4 in. It’s really easy and give it a try in your next project for some sparkle!

Let’s start from the basics.
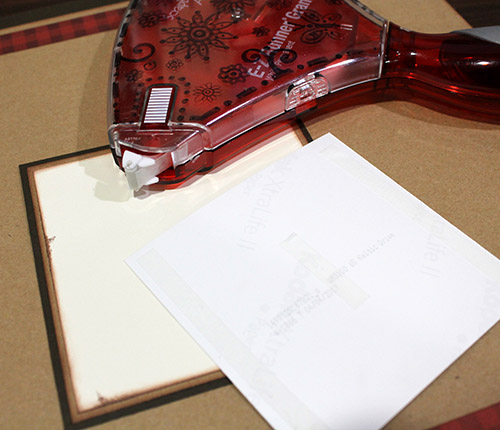
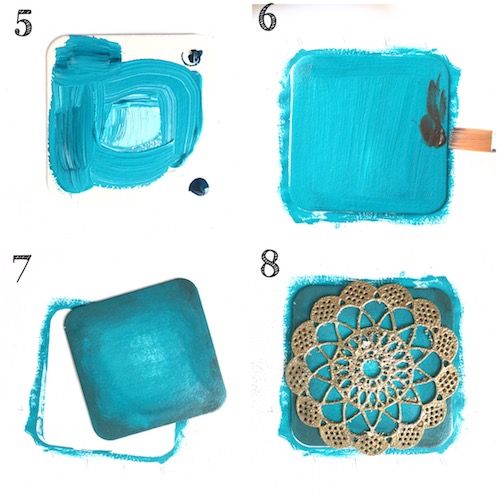
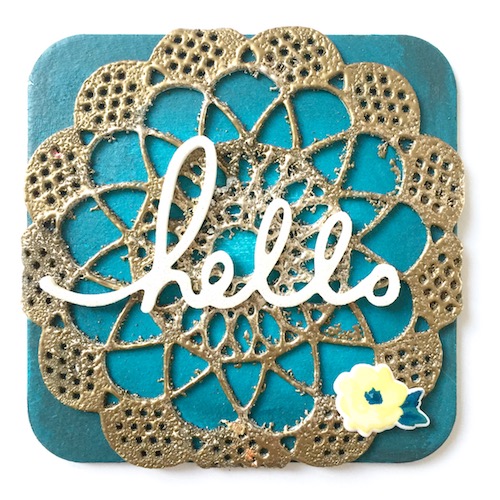
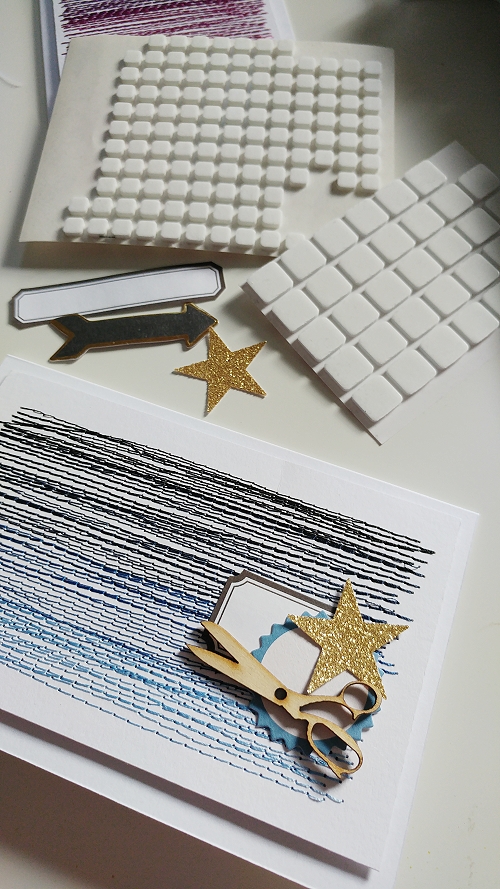
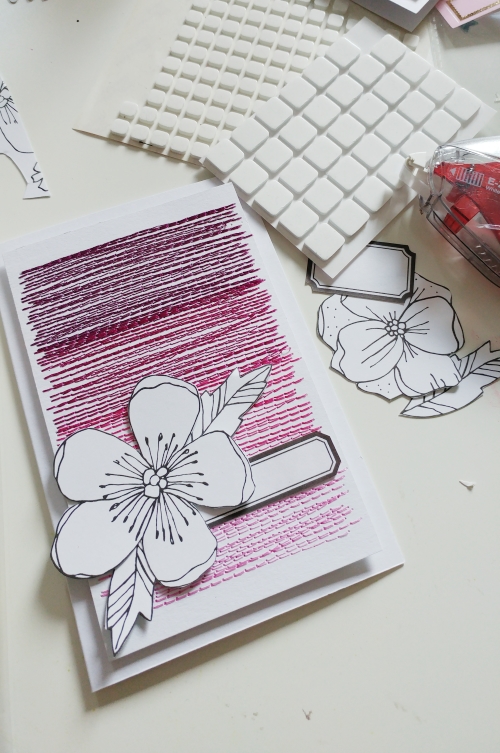
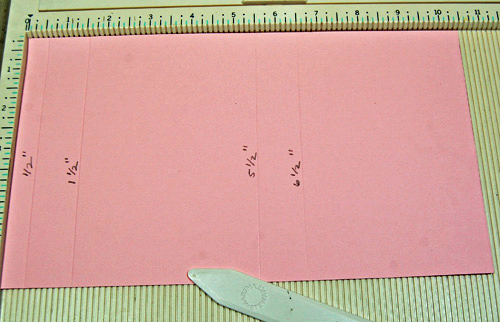
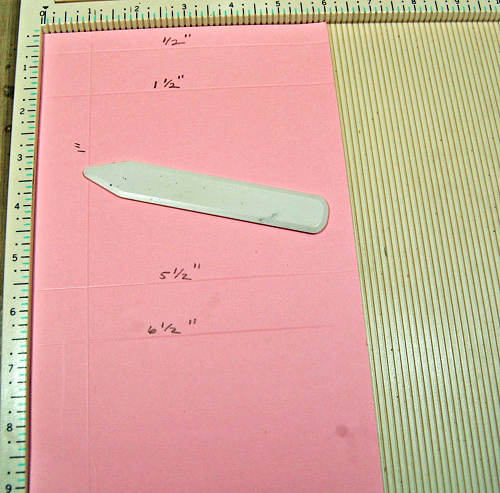
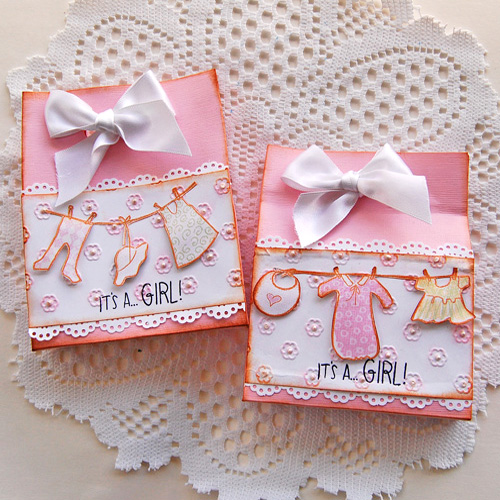
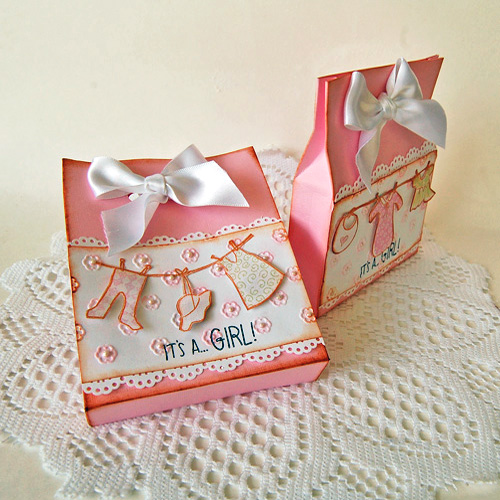
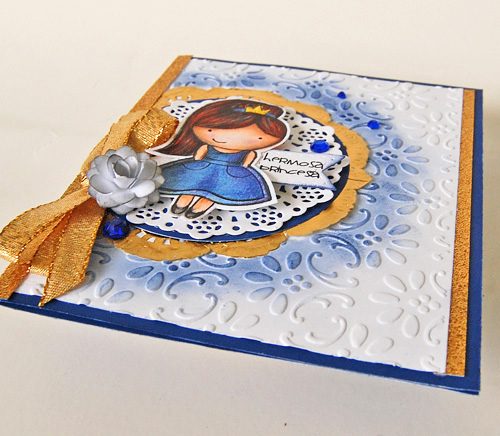
For the card panel, I cut and embossed a 5.25 x 4.25″ white cardstock and adhered to my blue card base with the Premium Double-Sided Tape 1/4 in.
Create the details.
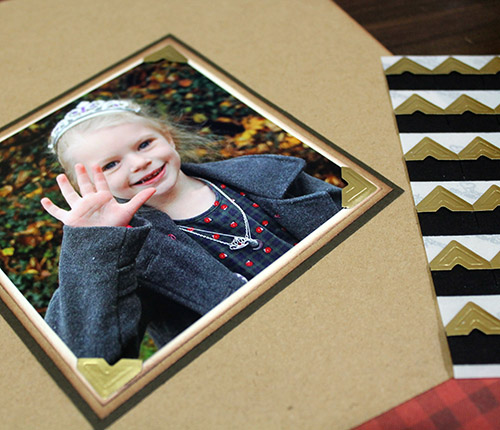
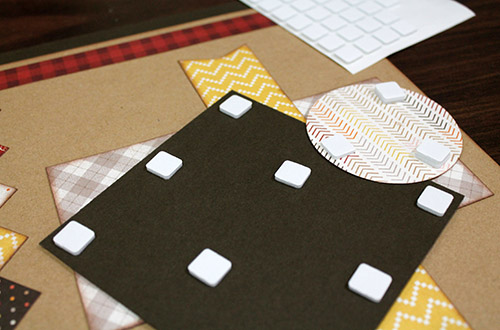
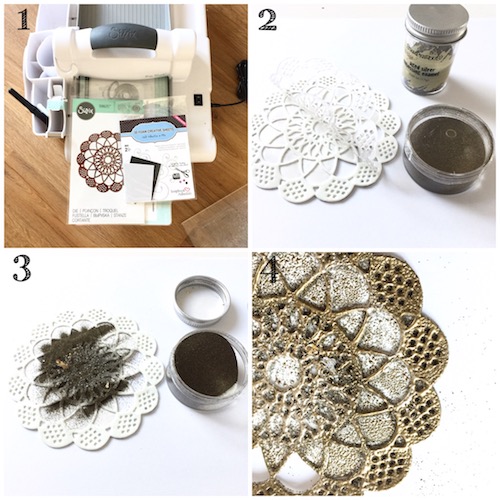
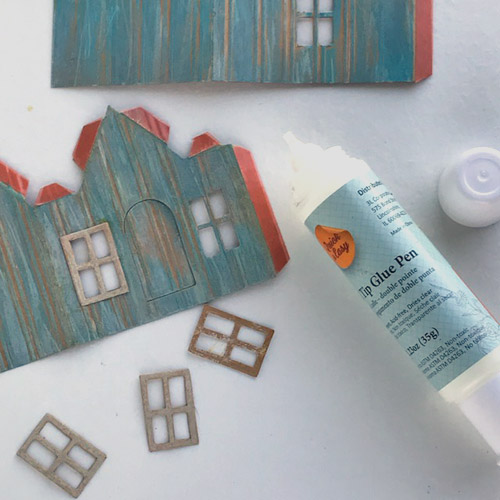
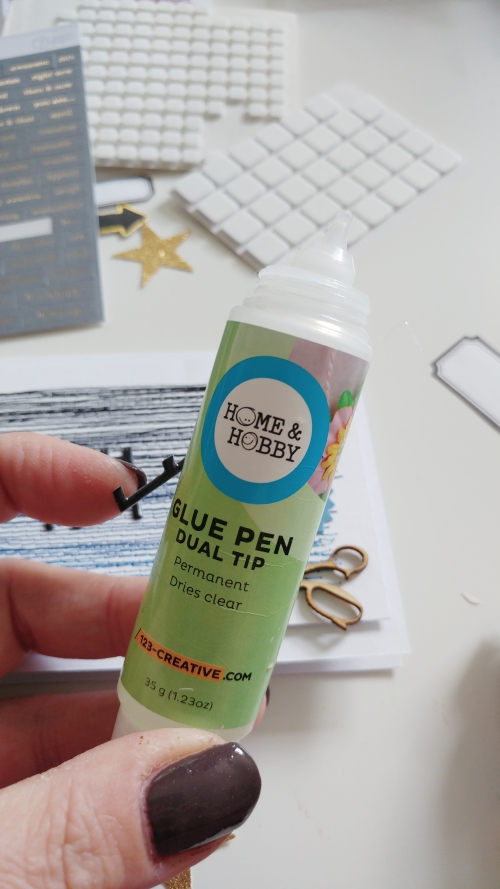
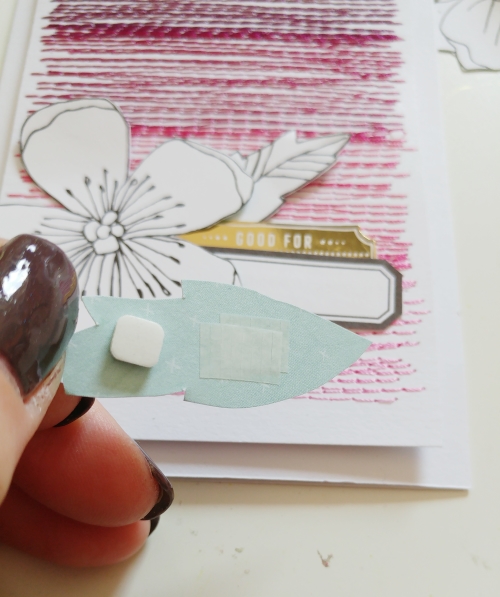
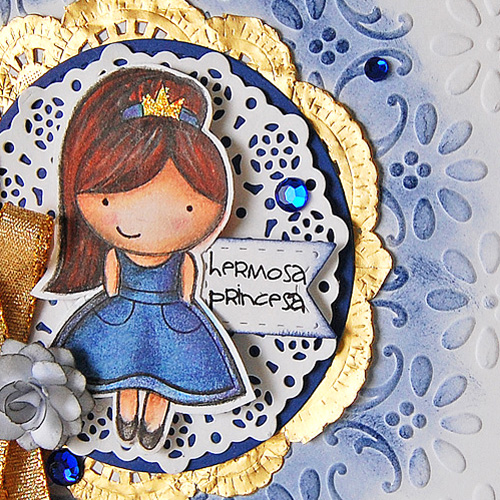
Next, I adhered the doilies to the card with the Dual Tip Glue Pen. For the focal point, I stamped and colored the adorable image. Afterwards, I adhered with 3D Foam Squares White Mix to give dimension on the card .
Wear your Adhesives on the Outside with Glitter.
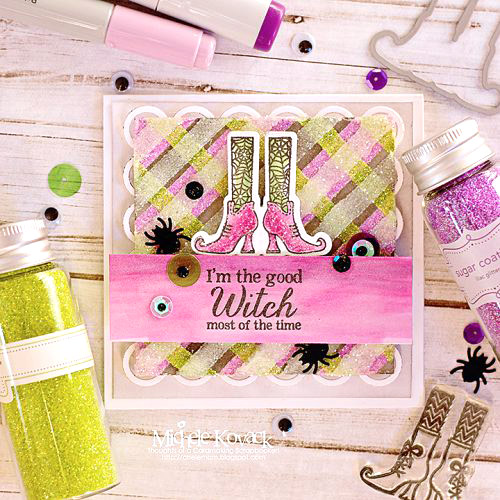
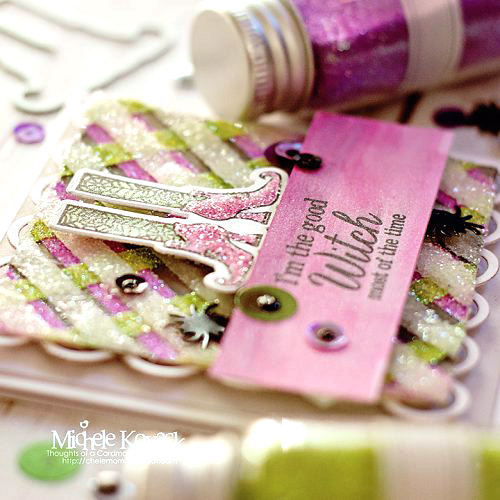
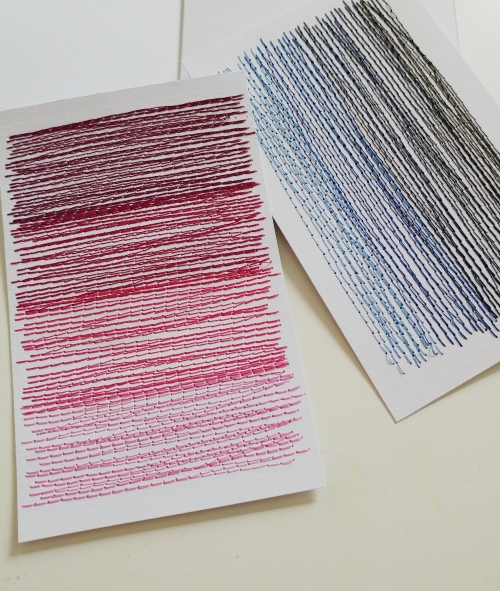
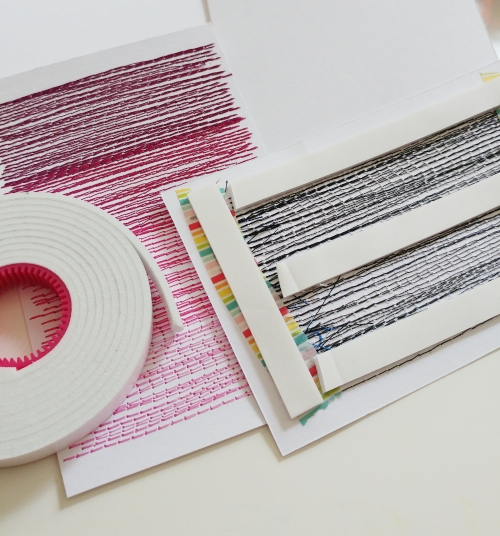
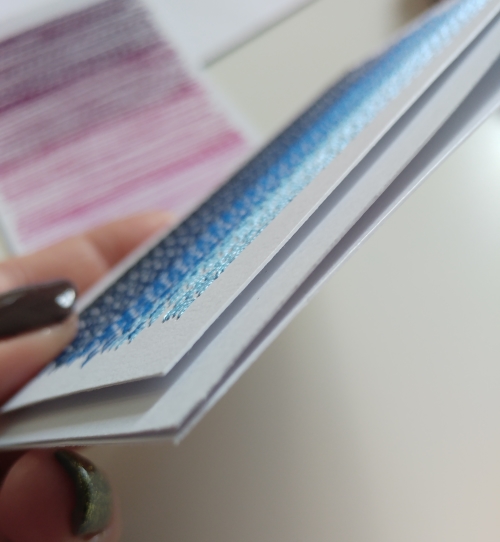
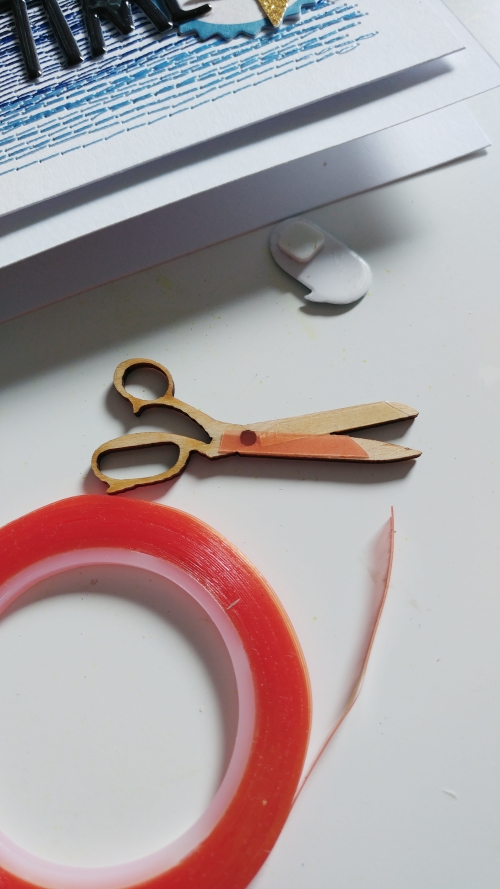
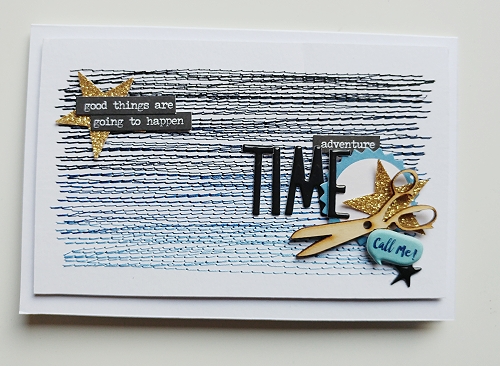
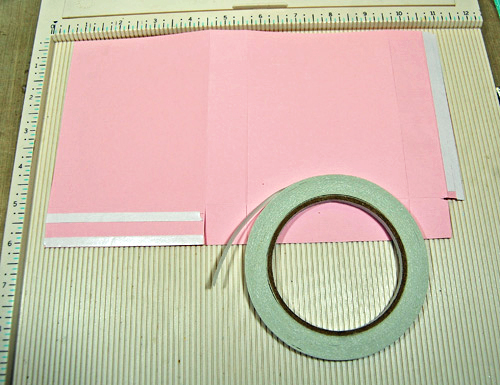
To start my border, I first adhered two stripes of Premium Double-Sided Tape 1/4in to both sides of the card. Remove the top liner from each strip and sprinkle gold glitter on top. Next tap the excess off and you have yourself two beautiful sparkly borders!
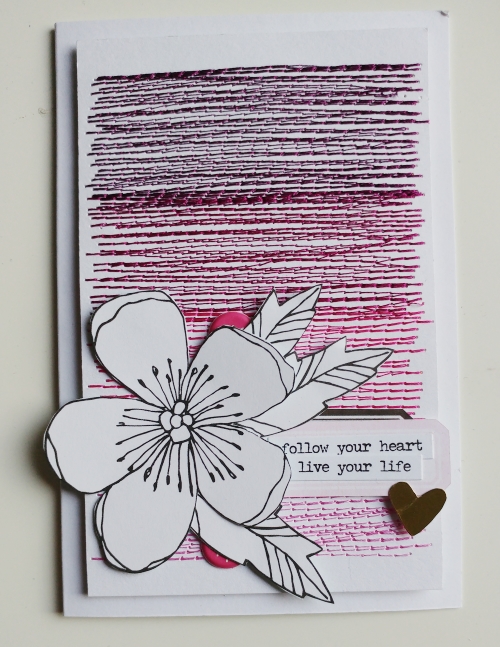
My final touches were adhering both the flower and the bow with Dodz Adhesive Dots Medium. Now it’s done and ready to be given to a special girl.
Thanks for stopping by…until next time!
Marilyn
Scrapbook Adhesives 3L products:
HomeHobby Premium Double-Sided Tape 1/4 in.
Dual Tip Glue Pen
3D Foam Squares White Mix
Dodz Adhesive Dots Medium
Others:
Lolitas stamp